| |
| |||||||
 |
| | LinkBack | Thread Tools | Display Modes |
 04-29-2007, 01:59 PM
| #1 |
| Newbie Join Date: Jun 2006 Location: Los Angeles
Posts: 33
|
i was inspired by my neighbor, he has a 1:1 scale truck thats crazy... anyways... so i rebuilt my truck using some of the ideas that i got from him.... so here is what she looks like right now... i kept the body, moved the body posts... 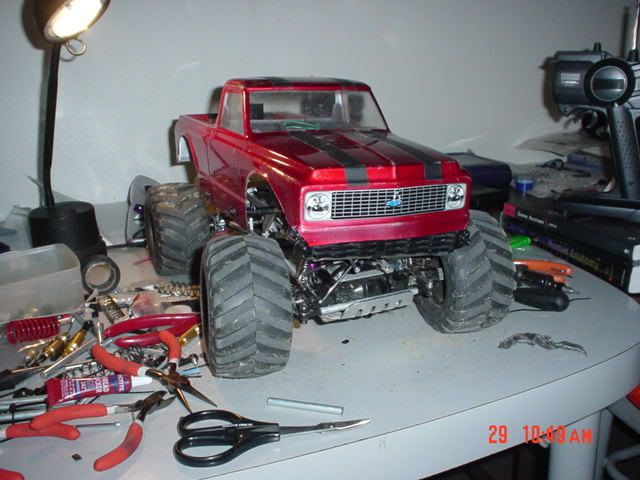 [IMG]file:///C:/Documents%20and%20Settings/jayoo/Desktop/tlt%20rebuild/DSC01559.JPG[/IMG] side shot 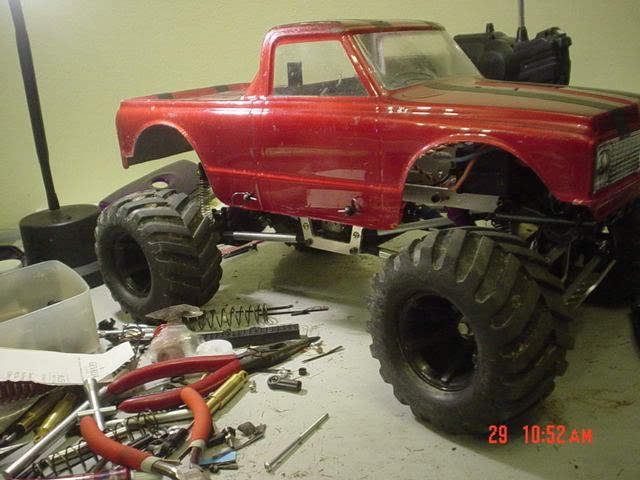 center ground clearance is less than three inches...  flex shot with ruler a hair under 4 and 3/4 of an inch... 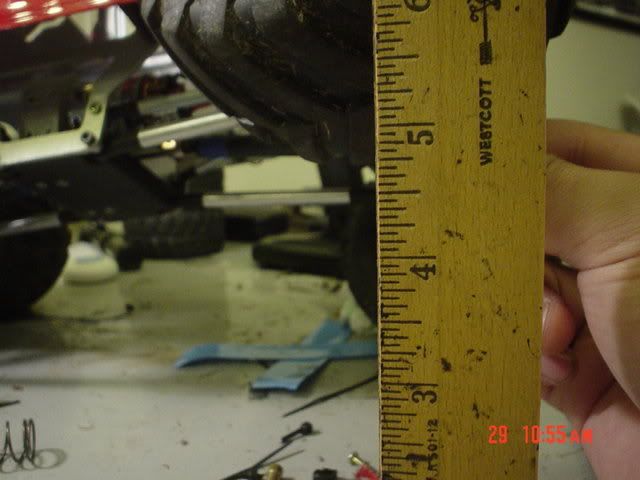 the back, from talking to my neighbor, i decided to try light weight springs, with harder dampening, so i used the stock springs, with an after market (purple) shock...on the top of the spring, i took the stock spring seat, for the shock and drilled a little hole in the center to make it wide enough for a body post... i used 2 body posts attached to the end of the chassis, as top spring seats, and since it comes predrilled, all you do is pop in a clip, to keep the spring from poping out... for the bottom , i used the the metal stock piece with the two holes, and first crimped them into seat some spring, and then widened them at the tip to retain them... works great!!! i can crawl up cement curbs as high as the hood line... it can go up cement steps.... i haven't had a chance to take it on to rock yet... anyway here is the picture... 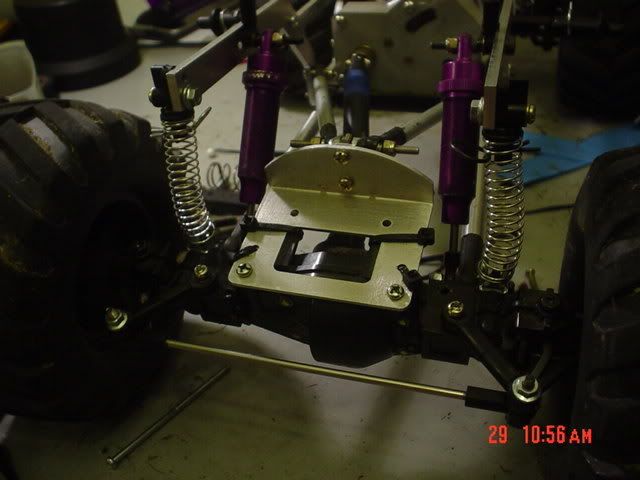 i used one of the long suspension arms to make cross brace for the rear, since, the black block that it came with gets in the way a little... and it cuts down on weight a little standard triange using brake line, r-2 tranny with a super stock motor 8 pinion.. side body posts... getto dust cover (clear tape)  i also had to use 2 stampede drive shafts to make the rear one, because it is a little longer... i also had to use 2 stampede drive shafts to make the rear one, because it is a little longer...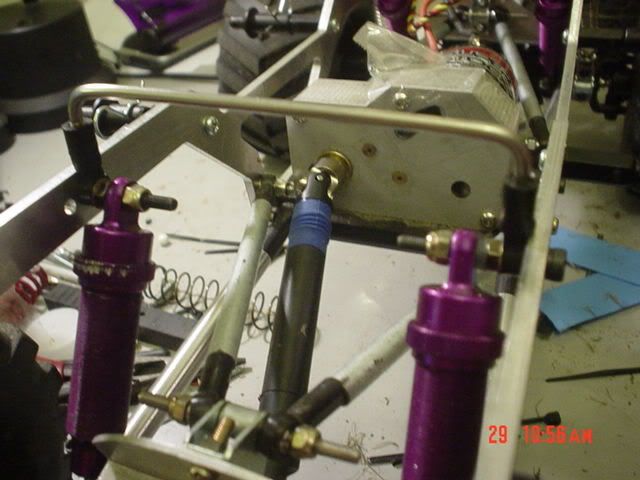 the next few shots are of the front... all the electronics are in the little black box, with a hole cut in the top to keep things cool, the servo, is also mounted on the chassis, i just drilled two holes in the delrin plastic that came with the chassis, and zipped tied the crap out of it, i double sided taped and zipped tied the crap out of the electronics box and since all the electronics except the motor is above the tire line, bring on the mud...  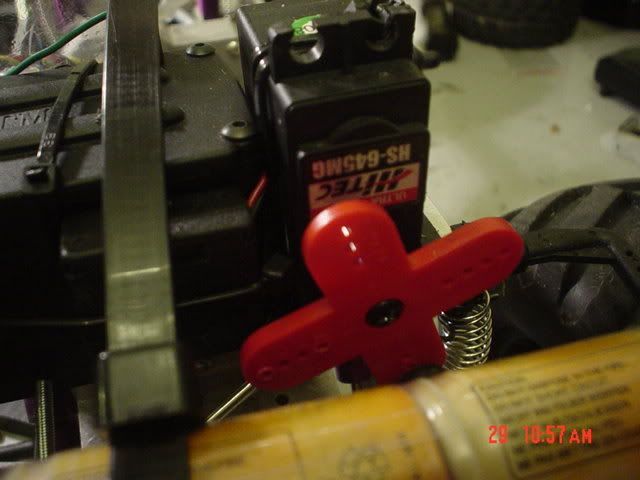 the battery is mounted infront of the servo suspended above the tires...., i used body posts that come with the truck that was in the shape of a "L" then i double taped the battery to stock battery strap of my tlt drifter and zip tied it... im a zip tie fanatic i guess...... and since it has the pre drilled holes, i just clip it to where i want it to be to clear the body im using... also it helps transfer the weight upfrong... unfortunately it still sits kind of high, but the the weight transfer on this thing kicks *** now...  here is what it looks like, if you look carefully, you can see a little screw sticking out the front, that helps keep the battery pack up because the plastic does bend a little...  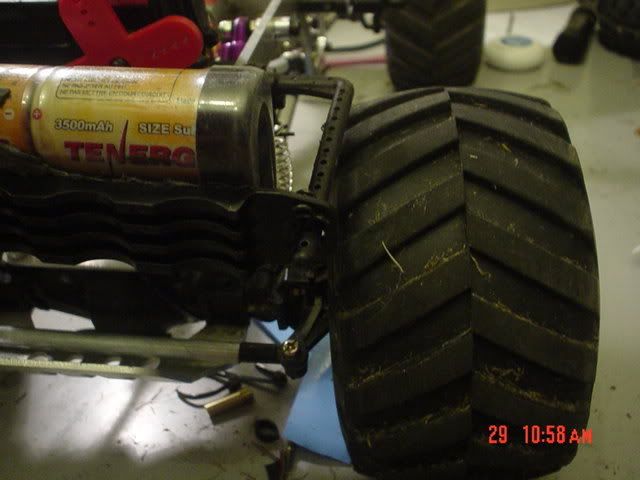 here are my suspension arms, the back arm that connects the chassis to the axle looks like it is at an angle in the picture, but it is actually receding back into space... horizontal sections of bar are fine because the transfers the forces horizontally... but the vertical bar has to match the same angle as the steering bar... i have no idea the correct terminology... i just did lots of looking at stuff on this forum, how everything is bolted together should be pretty self-explanatory 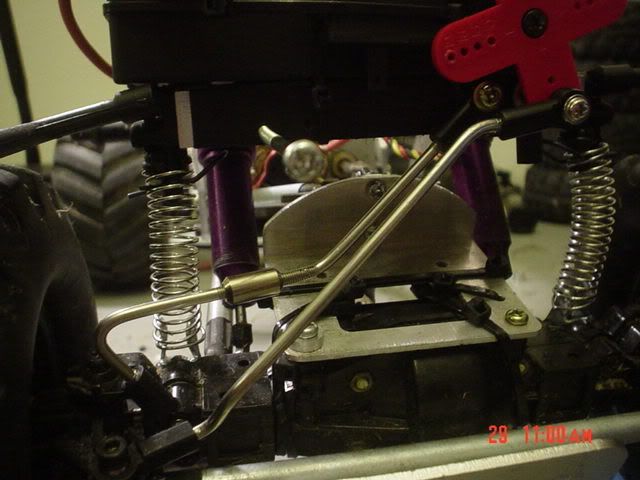 here is a shot with the battery off, you can clearly see the screw that helps hold the battery up!!! 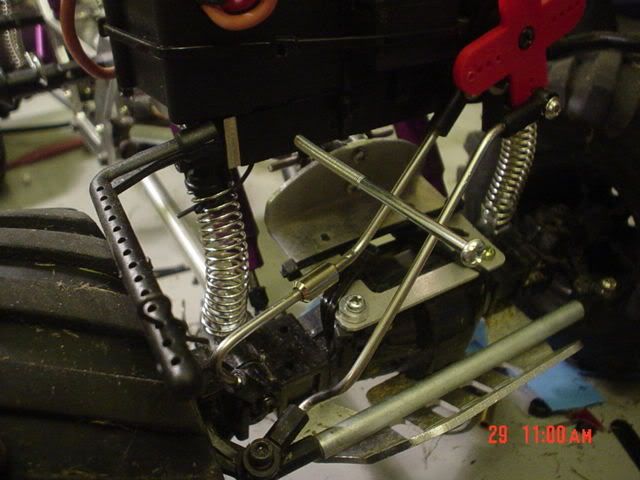 you can clearly see that the two bars are parrallel when it comes to the vertical sections.. for the front i also used thicker rod and brake line to reinforce the steering rod.. an aluminum bumper off ebay from, the tlt tracer kit.. with stampede tires, and hpi 5 spoke deep offset rims... black on black... it looks tight!! here is a complete shot of her naked without the battery.... 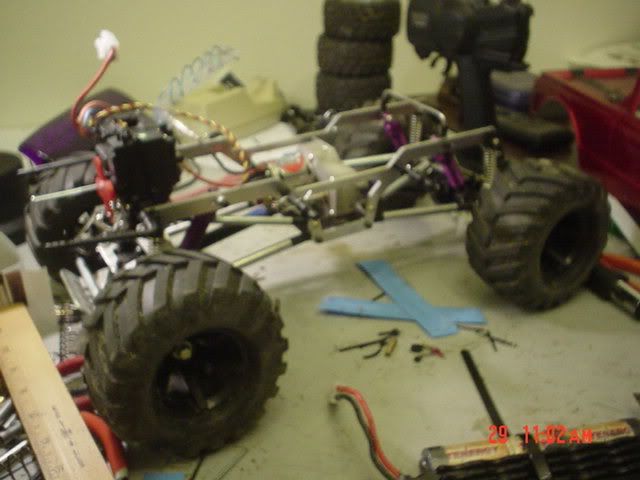 like i said, she crawled like a champ and was able to get up a curb that went up to the hood line... it wasn't able to do that before.... and it was also able to go up the steps by the pool in my complex... let me know what you guys think... oh and she crawls well because ther is a lot of droop... it is limited by how much the spring can flex, so depending on what i want to use it for, i can just pop out the springs, and clip them in and out.. to make it stiff soft etc... hope that was entertaining ... all comments and suggestions welcome.... -james Last edited by james399; 04-29-2007 at 02:13 PM. |

|  |
| Sponsored Links | |
| | |
|
04-29-2007, 02:17 PM
| #2 |
| Quarry Creeper Join Date: Feb 2007 Location: East Aurora
Posts: 289
|
looks nice, i am wondering how u keep those springs atached and keep them from falling off?
|
|
| |
|
04-29-2007, 02:26 PM
| #3 | |
| Newbie Join Date: Jun 2006 Location: Los Angeles
Posts: 33
| Quote:
| |
|
| |
|
04-29-2007, 02:41 PM
| #4 |
| Quarry Creeper Join Date: Jan 2007 Location: I live in my own world,they know me here
Posts: 402
|
A really trick setup would be to find springs that fit inside the shock housing,kinda like air shocks in appearance.
|
|
| |
|
04-29-2007, 02:57 PM
| #5 |
| Newbie Join Date: Jun 2006 Location: Los Angeles
Posts: 33
|
i think the tamiya high lift shocks are like that, someone correct me if i'm wrong...
|
|
| |
|
04-29-2007, 05:14 PM
| #6 |
| I lost my vendor privileges Join Date: May 2006 Location: TOP OF THE HILL
Posts: 3,014
|
nice start/build. i used the same batteries for awhile. they are good ones for the price.
|
|
| |
|
04-30-2007, 05:34 PM
| #7 | |
| Newbie Join Date: Jun 2006 Location: Los Angeles
Posts: 33
|
yeah those batteries were hella cheap lol... does anyone have any other sugestions for the battery placement?? thats the only thing that im not really satisfied with .... any input would be great... Quote:
| |
|
| |
|
| Thread Tools | |
| Display Modes | |
| |


 Linear Mode


