| |
| |||||||
 |
| | LinkBack | Thread Tools | Display Modes |
 08-16-2007, 11:02 PM
| #21 |
| Quarry Creeper Join Date: Mar 2006 Location: Manitoba, Canada
Posts: 215
|
alright so ok guys tell me straight up if these are going to work well in my TLT or not. Radio Shack 2000 mAh 7.2Volt they are not new but i tested them and one says 7.5 V and the other 6 or so (charged not charged) sorry for posting it twice: http://www.rccrawler.com/forum/showt...951#post810951 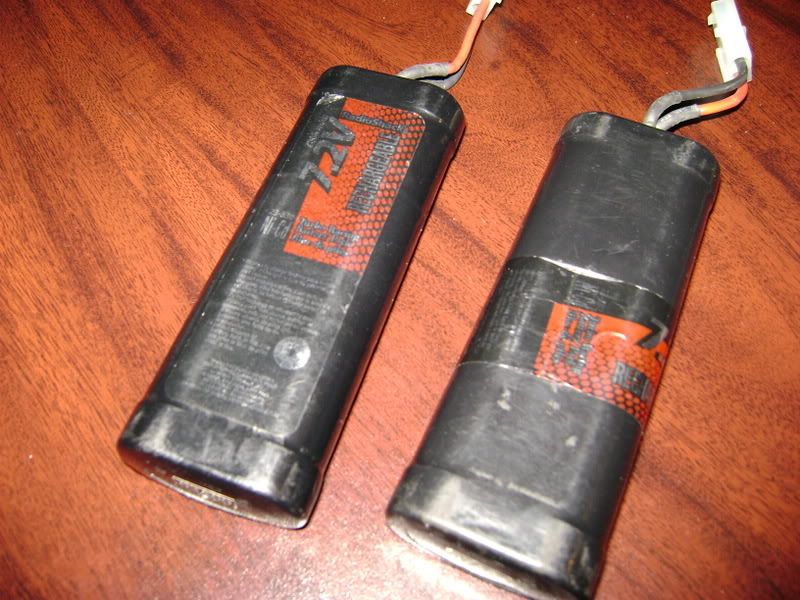 |

|  |
| Sponsored Links | |
| | |
|
08-28-2007, 08:24 AM
| #22 |
| Quarry Creeper Join Date: Mar 2006 Location: Manitoba, Canada
Posts: 215
|
ok here is the finishing touches... 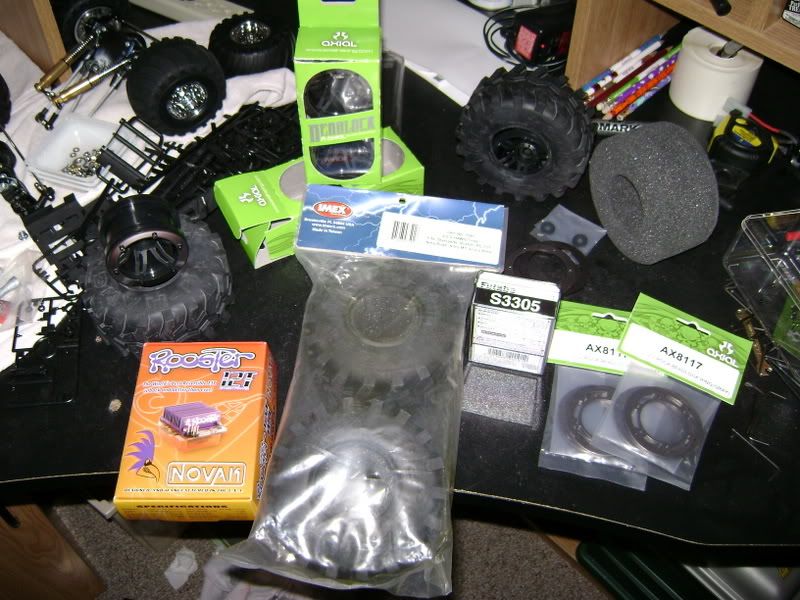 |
|
| |
|
08-28-2007, 02:05 PM
| #23 |
| I wanna be Dave  Join Date: Oct 2006 Location: Martinsburg WV
Posts: 2,781
|
Those stick packs will get you going. Maybe think about moving your lower links inboard mount down to the bottom of the chassis. So they make less of a spot to hang up on like you have now. Try to envision a single plane across the bottom of your chassis, make it as smooth as you can. And once you drive it you'll definitely see the need to "triangulate" the upper links. Looking good so far dude, keep at it!! It's all a learning experience... |
|
| |
|
08-28-2007, 02:25 PM
| #24 |
| Quarry Creeper Join Date: Aug 2004 Location: North Las Vegas
Posts: 371
|
I'm enjoying the build up myself. Can't wait until you got it up and running and then broken. That's the best!!!!! Fixing it will help you figure out where to improve.
|
|
| |
|
08-28-2007, 06:28 PM
| #25 |
| Quarry Creeper Join Date: Mar 2006 Location: Manitoba, Canada
Posts: 215
|
thanks and thanks, I appreciate your respect in realizing that it's not that I don't believe you guys, it's that I like to try something and then inprove from there with your help. And yes its one heck of a learning experiance. wait! I have some pics of it as it is right now, I will put them on here in two seconds...
|
|
| |
|
08-28-2007, 06:37 PM
| #26 |
| Quarry Creeper Join Date: Jan 2006 Location: lehi, Ut.
Posts: 384
|
hello high centering, you should really try lowering your lower links on the chassis your going to get hung up on everything it has no flow across the bottom
|
|
| |
|
08-28-2007, 06:39 PM
| #27 |
| Quarry Creeper Join Date: Mar 2006 Location: Manitoba, Canada
Posts: 215
|
i see what you guys are saying, i will do what i can to change that, i got the truck sitting a little lower but ya i will change those bottom links as it makes plenty of sence, i g2g litterally right now, pics tonight!
|
|
| |
|
08-28-2007, 08:19 PM
| #28 |
| Quarry Creeper Join Date: Mar 2006 Location: Manitoba, Canada
Posts: 215
|
it was like this, but i changed a couple things, you cant notice it though in the next pictures 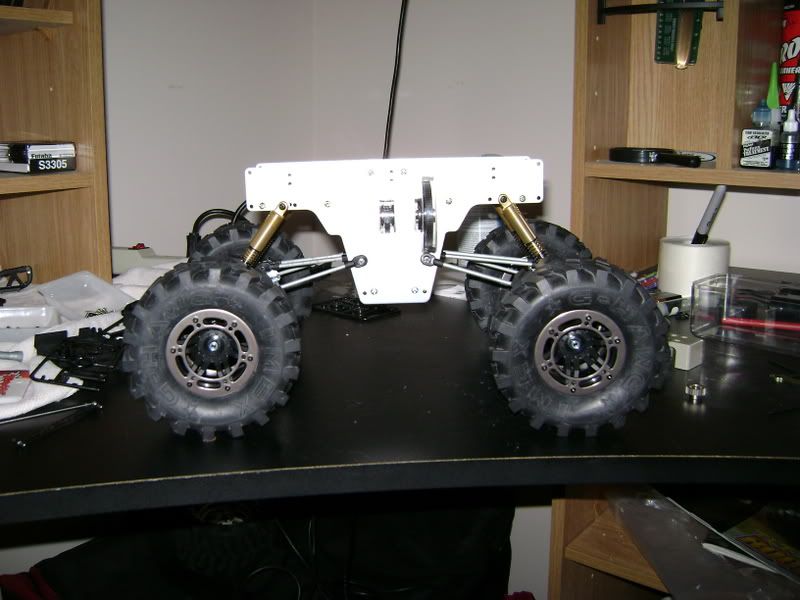 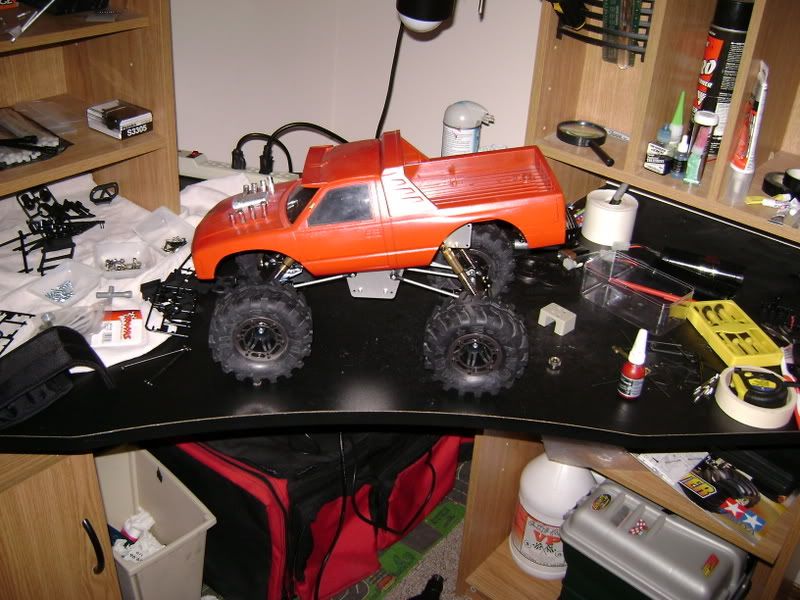 NO THATS NOT how the body is going on!!! haha but it is the body im modifying to put on. 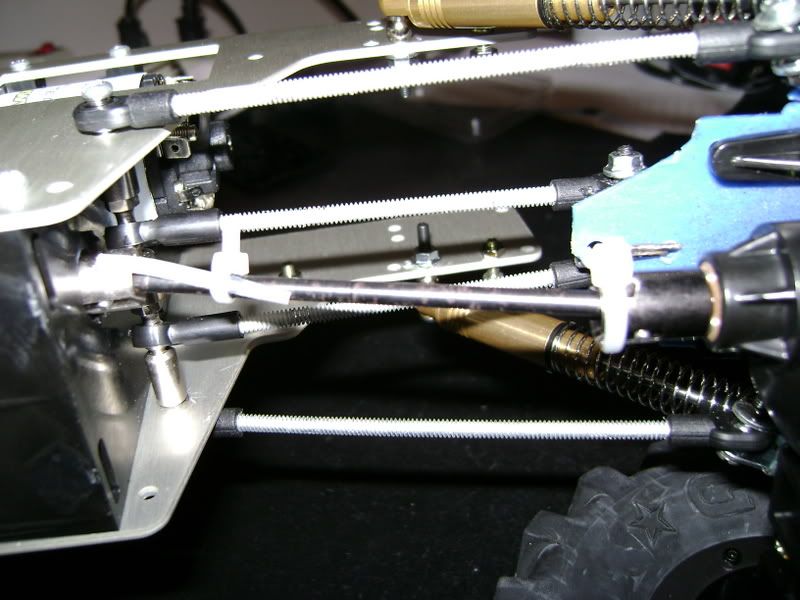 one driveshaft can barely come out when the truck is fully flexed so i did a bit to help and i also did this, if you cant see it well let me know and i will explain it, YES I AM A REDNECK 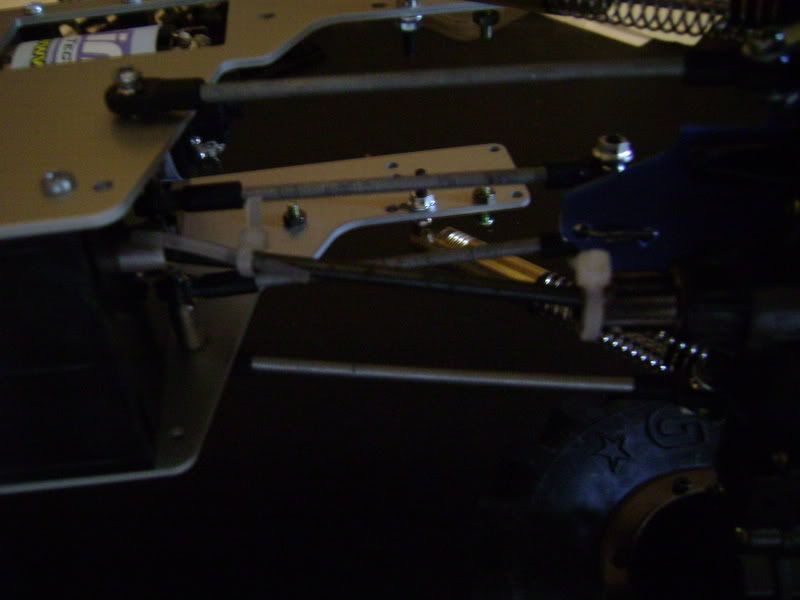 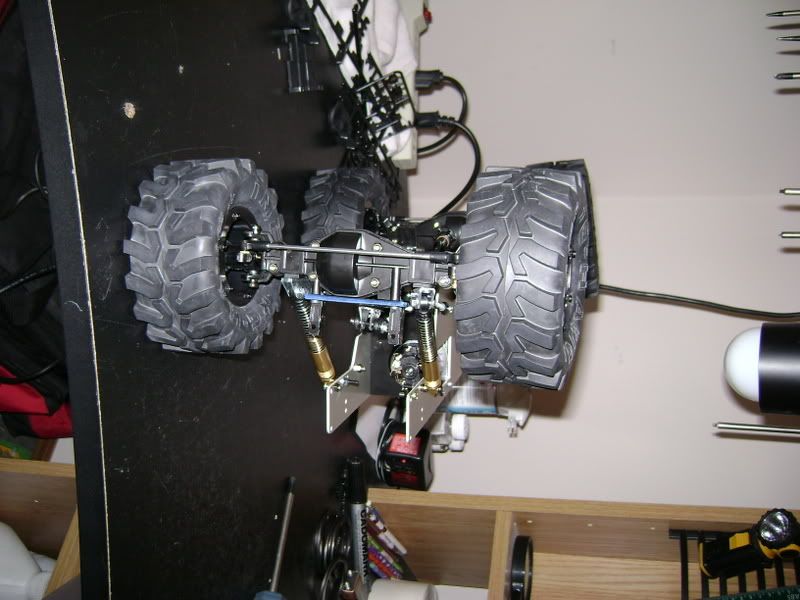 Yes it can sit on its tires sideways, easily can to i should add 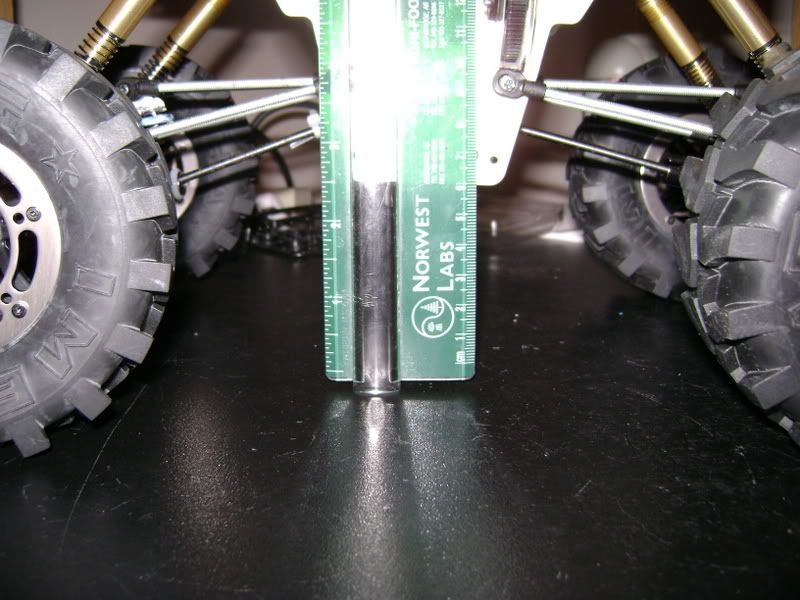 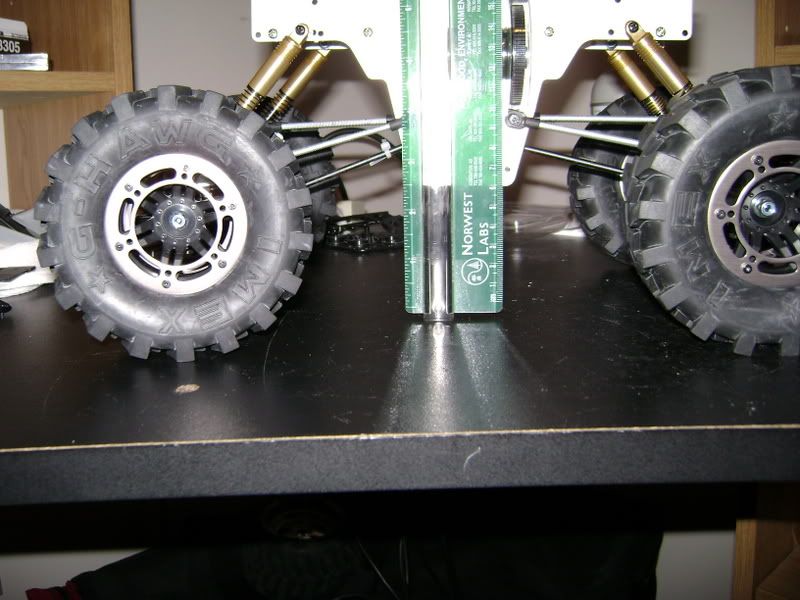 this keeps varying as i keep changing things 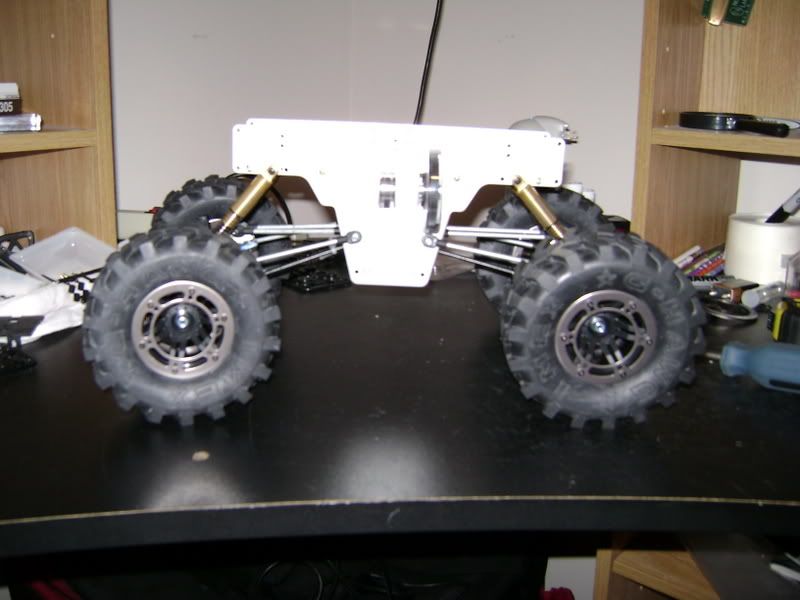 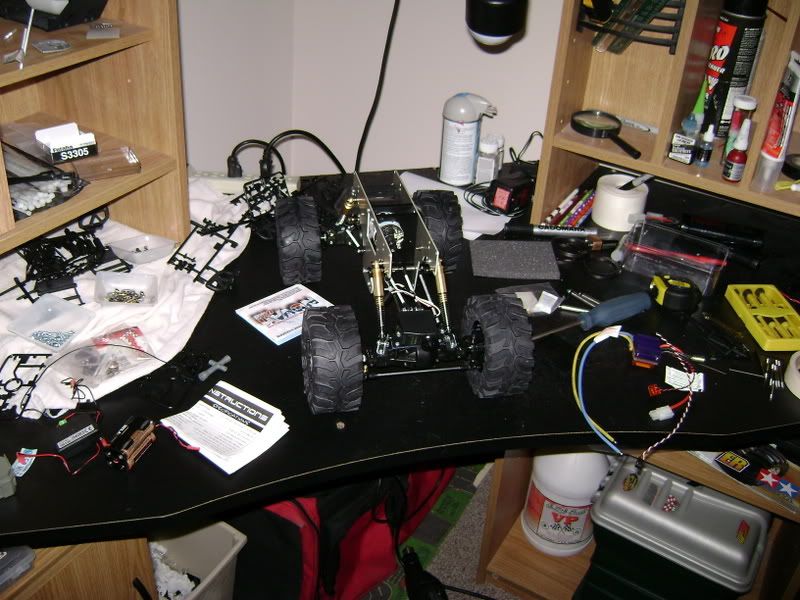 both pictures are it right now as i speak someone asked for alotta pics, so you'll get em!! comment good or bad, you know the drill, thanks |
|
| |
|
08-28-2007, 09:13 PM
| #29 |
| Rock Crawler Join Date: Aug 2006 Location: nc
Posts: 867
|
whats your wb? do you know what link lenghts id need to get a 12"wb using the stocl frame? truck looks good. your build will help me w/ my 1st tlt build comeing up |
|
| |
|
08-28-2007, 09:15 PM
| #30 |
| Quarry Creeper Join Date: Mar 2006 Location: Manitoba, Canada
Posts: 215
|
its around 11.5 or 12, give or take a bit cause i havnt checked since i worked on it, i will mesure the lengths for you tomorrow. ask anything you need i want and would love to help you with your build up
|
|
| |
|
08-28-2007, 09:40 PM
| #31 |
| Rock Crawler Join Date: Aug 2006 Location: nc
Posts: 867
|
thanks
|
|
| |
|
08-28-2007, 10:49 PM
| #32 |
| Quarry Creeper Join Date: Feb 2007 Location: Fresno
Posts: 472
|
Looks good Abe. Thats about how far apart I have spaced my upperlinks at the axle on both of them, but I have them spread out more at the chassis so the links look like a nice "W" when viewed from the top... or bottom. Have you gotten to drive it yet, or still messing with it?
|
|
| |
|
08-28-2007, 10:53 PM
| #33 |
| Quarry Creeper Join Date: Mar 2006 Location: Manitoba, Canada
Posts: 215
|
just gotta mount my bat, esc, and radio then i can try it out for the first time. oh ya have to look into moving the bottom links too. we'll see how far i make it tomorrow oh ya if your wondering i have it where it sends me an email thats how i reply fast, otherwise i would forget to check it the next day lol |
|
| |
|
08-28-2007, 11:10 PM
| #34 |
| Quarry Creeper Join Date: Feb 2007 Location: Fresno
Posts: 472
|
HD velcro tape, and stick it to the top of the servo. It worked for me with my 6 cell Mini-T packs, and the big sub c packs (like yours), untill I moved the servo to the side and mounted a 7 cell 2/3 a pack next to it.
|
|
| |
|
08-28-2007, 11:12 PM
| #35 |
| Quarry Creeper Join Date: Mar 2006 Location: Manitoba, Canada
Posts: 215
|
velco, i thought about that too but forgot about it. i acually use velcro on my transmitter to hold my glow lighter and heat temp for my savage haha
|
|
| |
|
08-28-2007, 11:16 PM
| #36 |
| Quarry Creeper Join Date: Feb 2007 Location: Fresno
Posts: 472
|
yeah, its handy stuff. Even the 23 (ish) foot drop onto the rocks below, which destroyed one of my links, didnt dismount the battery. Yet it rips right off when I need to swap a dead batt for a charged one.
|
|
| |
|
08-29-2007, 09:05 AM
| #37 |
| Quarry Creeper Join Date: Mar 2006 Location: Manitoba, Canada
Posts: 215
|
sounds like you cant beat that, ok i need to mount esc bat and radio, then move those lower links. after that im ready to try. ONE THING THOUGH... in my esc (rooster) instructions... it says to mount the radio as far from everything else as possible, same with the antena. True? (it says cause it all makes whatever noise and so forth)
|
|
| |
|
08-29-2007, 10:28 AM
| #38 |
| Quarry Creeper Join Date: Mar 2006 Location: Manitoba, Canada
Posts: 215
|
drive shaft problem SOLVED and i'm very happy cause it has annoyed me for very long. i moved my lower links down which i was going to anyways as said up there^ (looks better also) and i properly attatched my upper link mount so that crummy play in it is gone thumbs up, if you dont see the difference, compair these 2 pics. before, look at the blue plate: after, bolted on properly 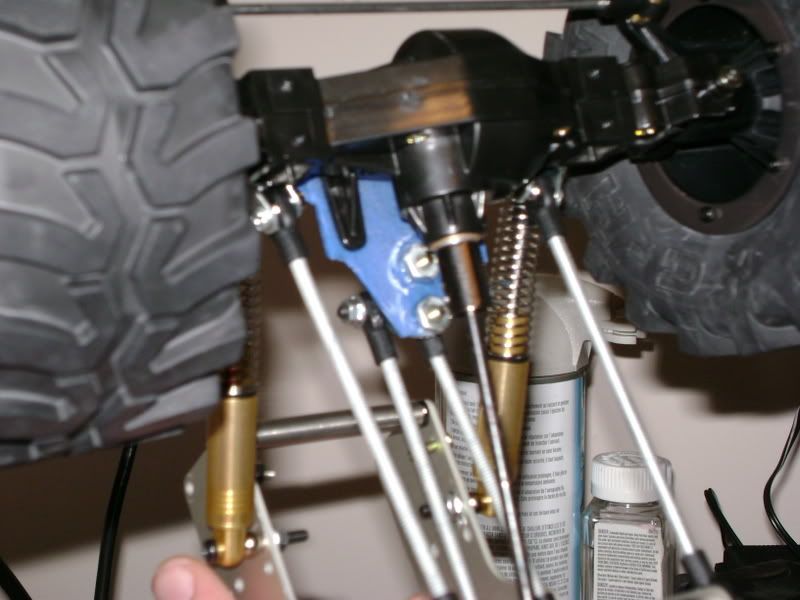 i then extended my upper links so the the drive cup on the axle faces up more, you'll notice the rear faces up lots too, this is because i am using dog bone style driveshafts. i also have it set up now so that it isnt pinching and cutting at my dogbone where is meets the drive cup. 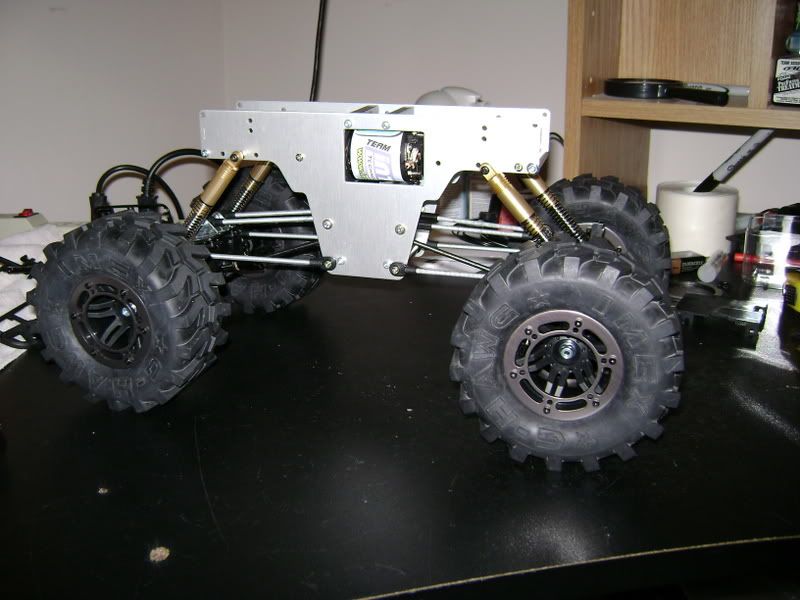 Last edited by Abednego; 08-29-2007 at 10:49 AM. |
|
| |
|
08-29-2007, 10:36 AM
| #39 |
| Quarry Creeper Join Date: Mar 2006 Location: Manitoba, Canada
Posts: 215
|
cammo5: WB -Just short of 11 inches. front end: lower mounts: 8 cm. upper mounts: 7 cm. rear end lower mounts 79mm. upper mounts 59mm. Please note i measure just whats showing of the rod, NOT the rod ends too. I use traxxas short rod ends. you need 2 packs of 6 if your doing it how i did it. |
|
| |
|
08-29-2007, 12:07 PM
| #40 |
| Rock Stacker Join Date: Feb 2007 Location: canada, manioba,winnipeg
Posts: 49
|
alex you should run some e-maxx drive shafts
|
|
| |
|
| |


 Linear Mode


