| |
| |||||||
 |
| | LinkBack | Thread Tools | Display Modes |
| Sponsored Links | |
| | |
 03-28-2019, 01:04 AM
| #2 |
| I wanna be Dave Join Date: Aug 2016 Location: Orange County, CA
Posts: 3,643
| Section A: Transmission Assembly We start off with the transmission. Section A. Here is the parts bag for Section A.  Step A1 Parts 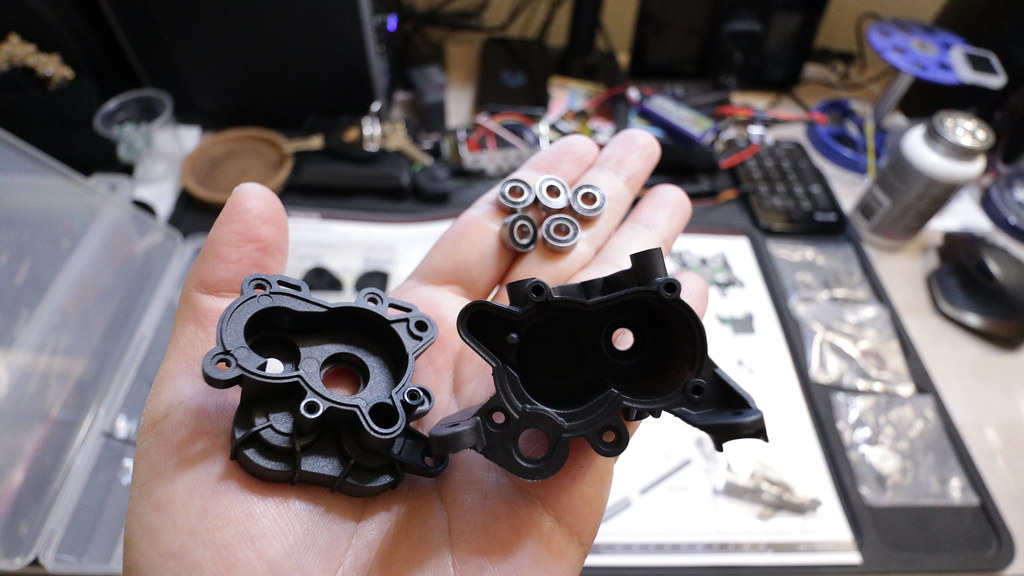 Step A1 complete 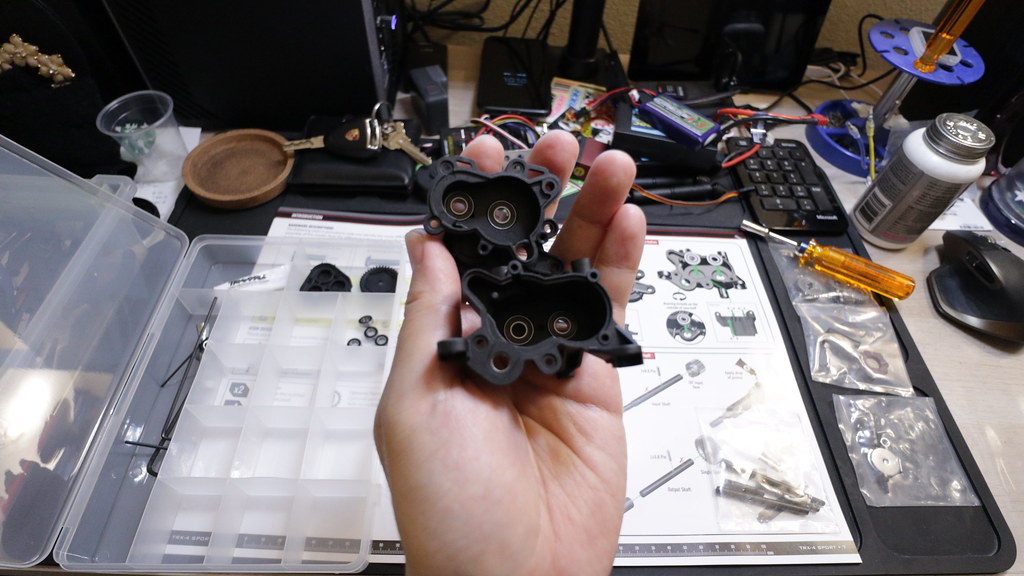 Step A2 parts 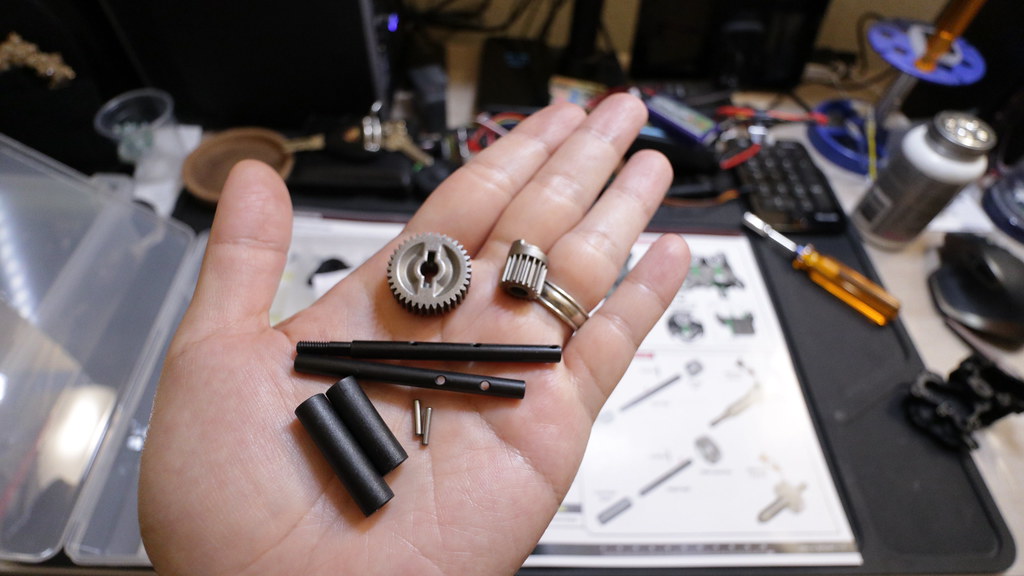 Step A2 complete  Step A3 parts 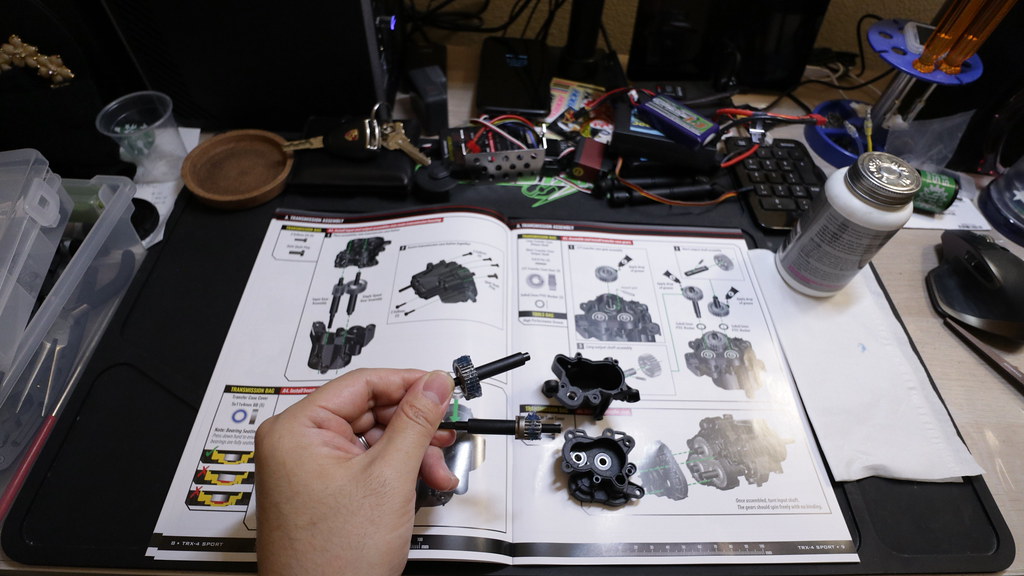 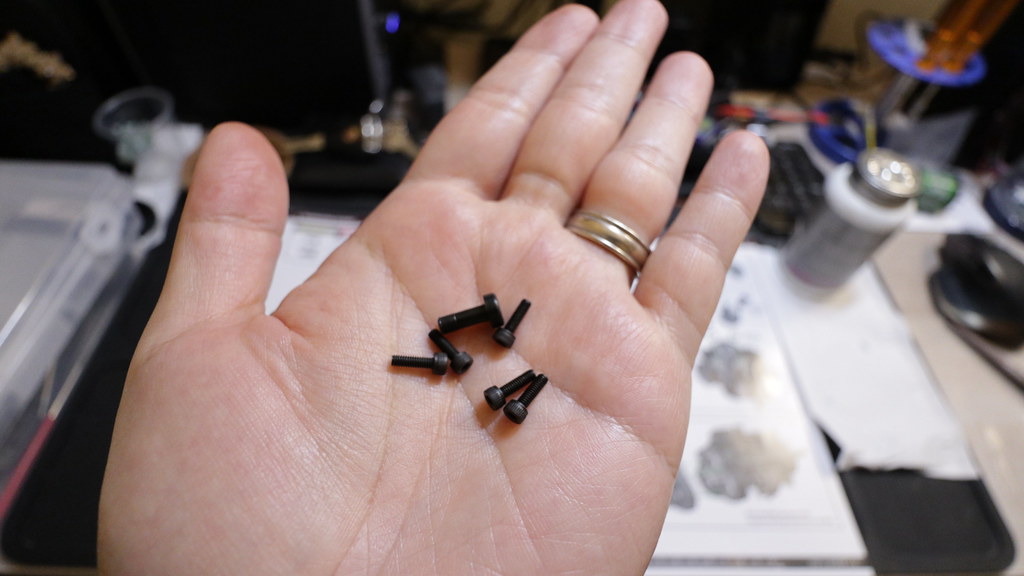 Step A3 complete 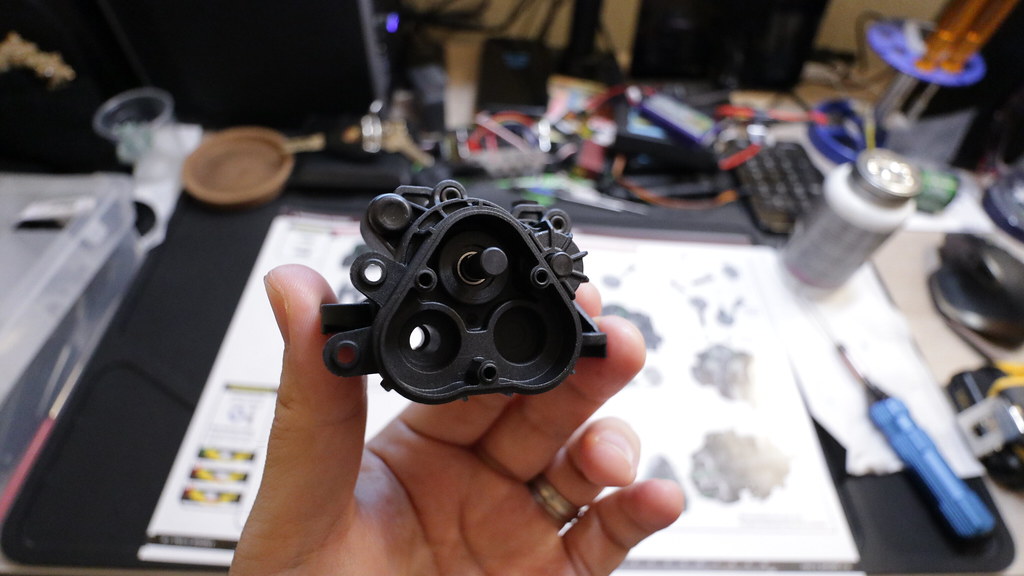 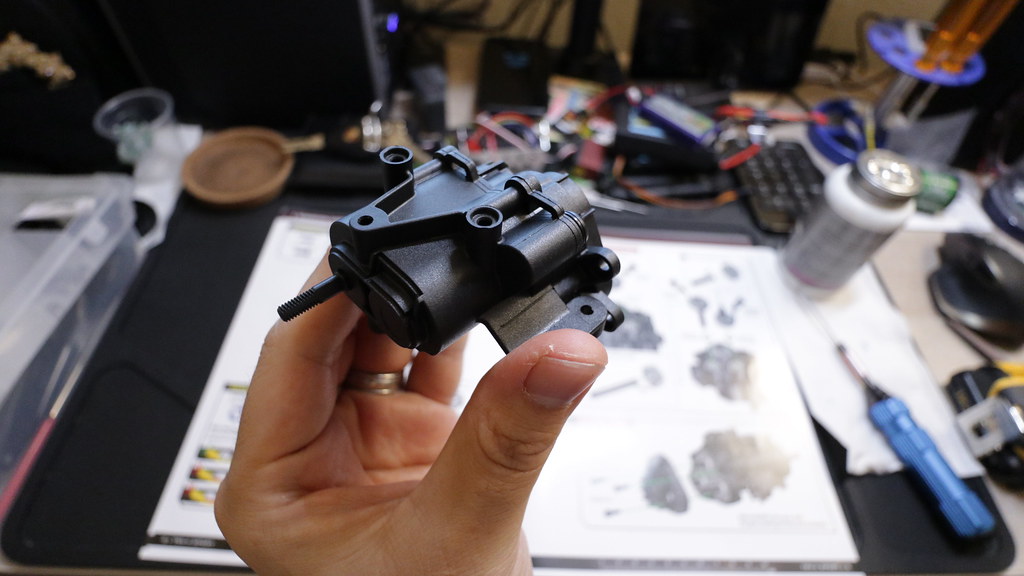 Parts for Step A4 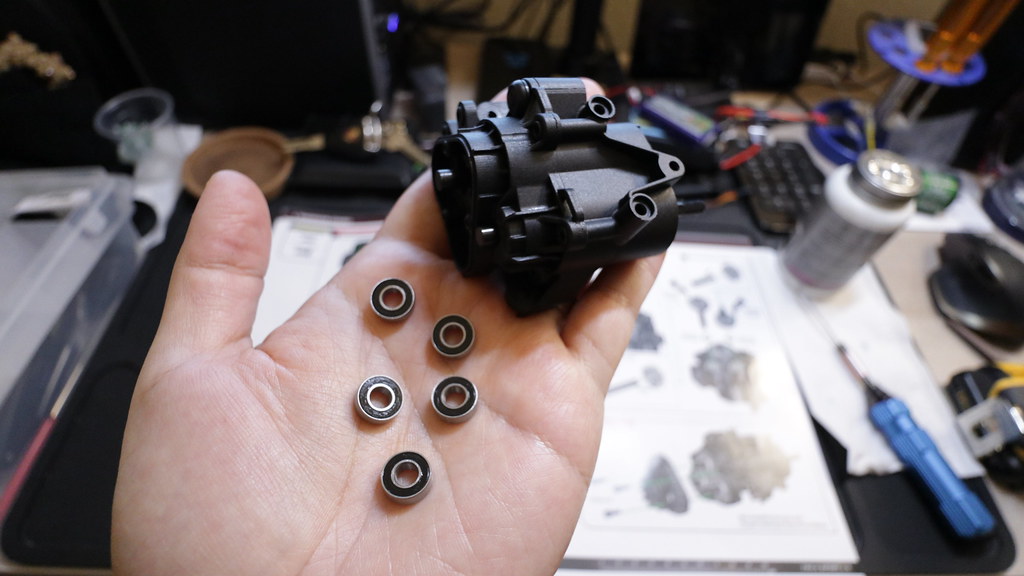 Step A4 complete 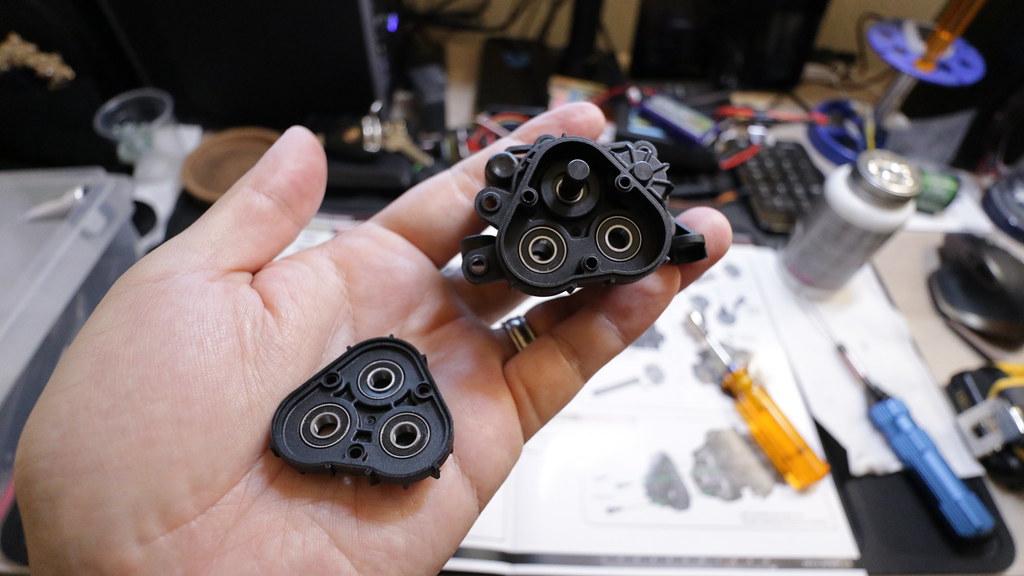 Step A5 parts 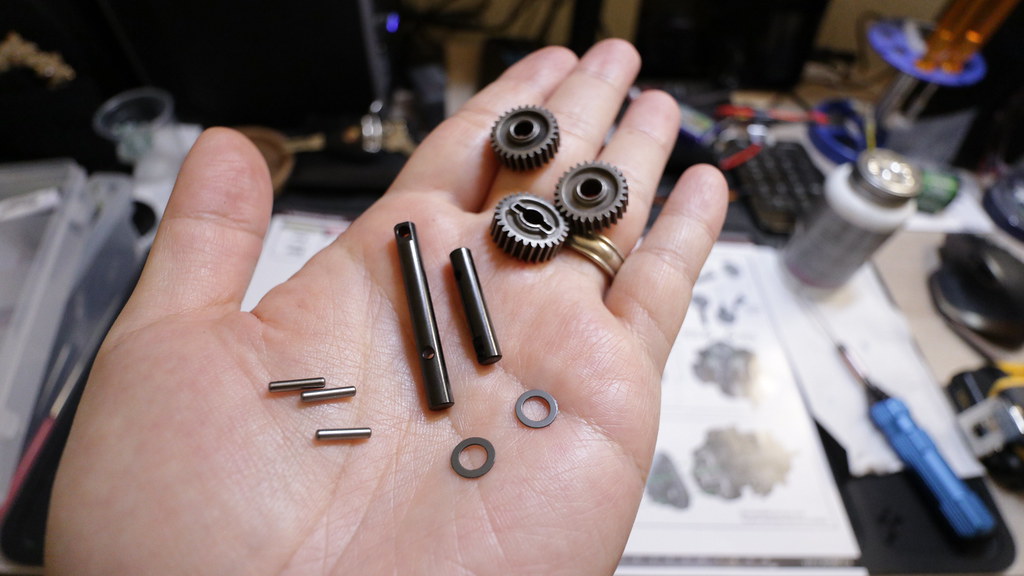 Step A5 complete 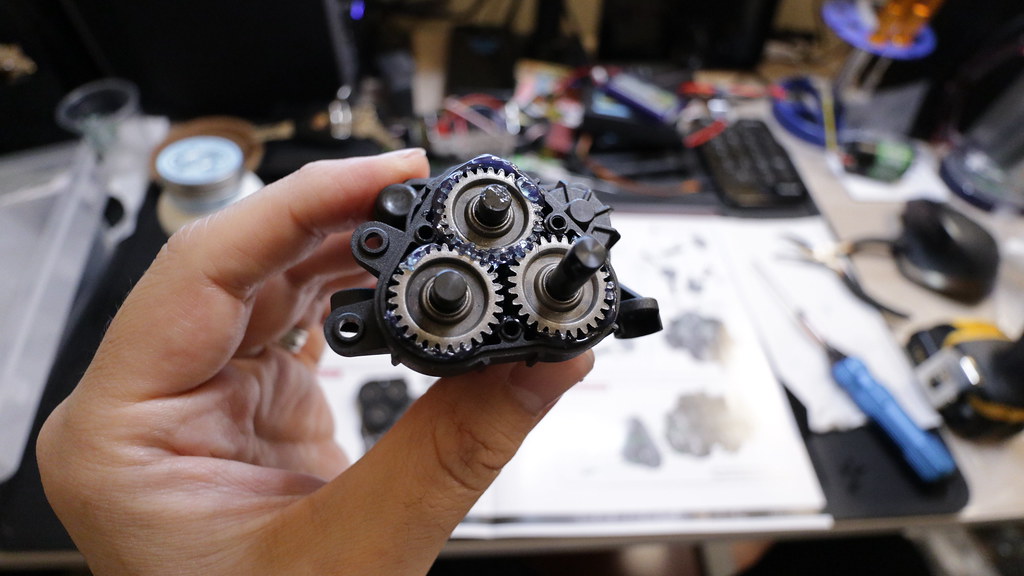 Step A6 parts 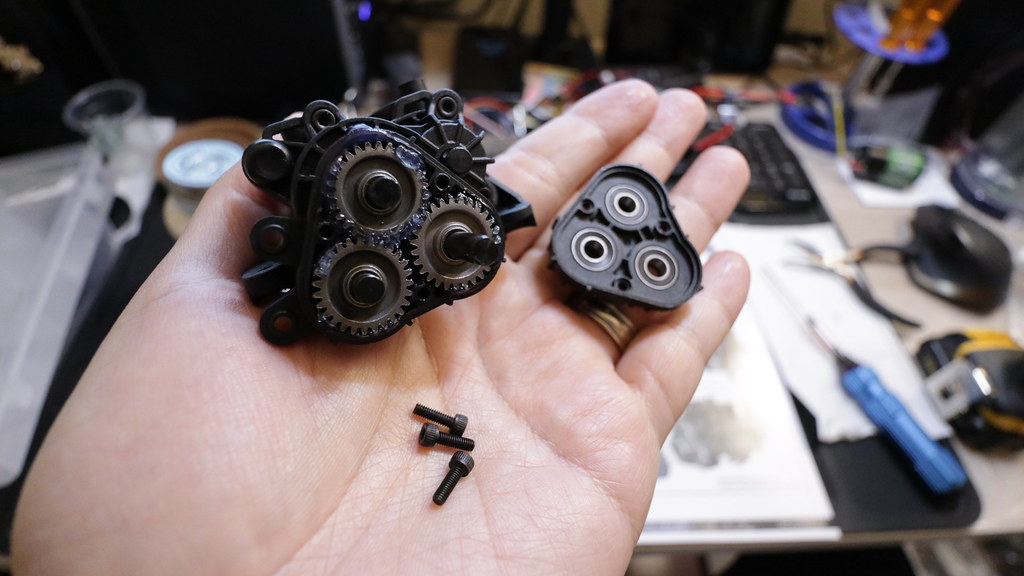 Step A6 complete 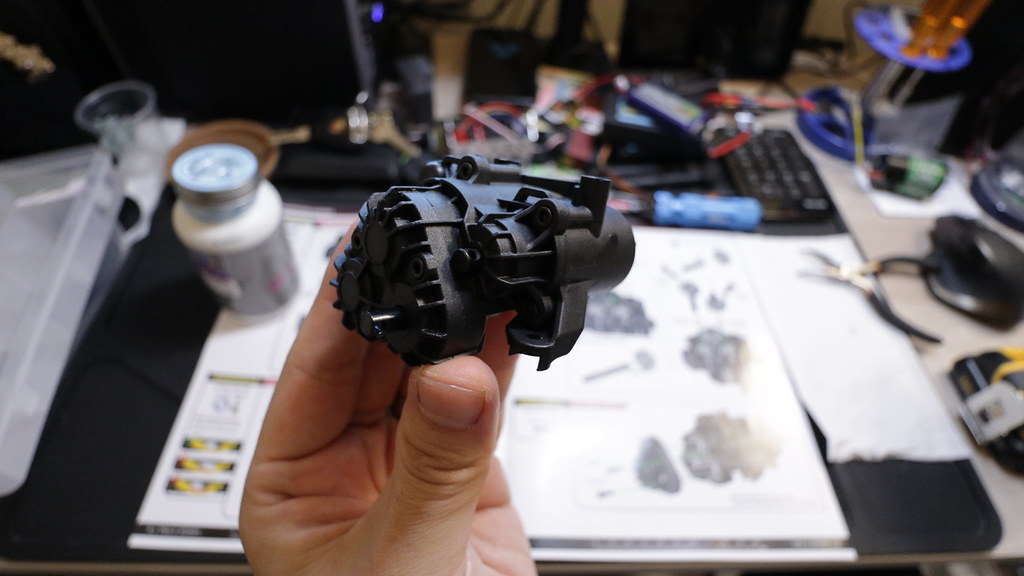 Step A7 parts  Step A7 completed 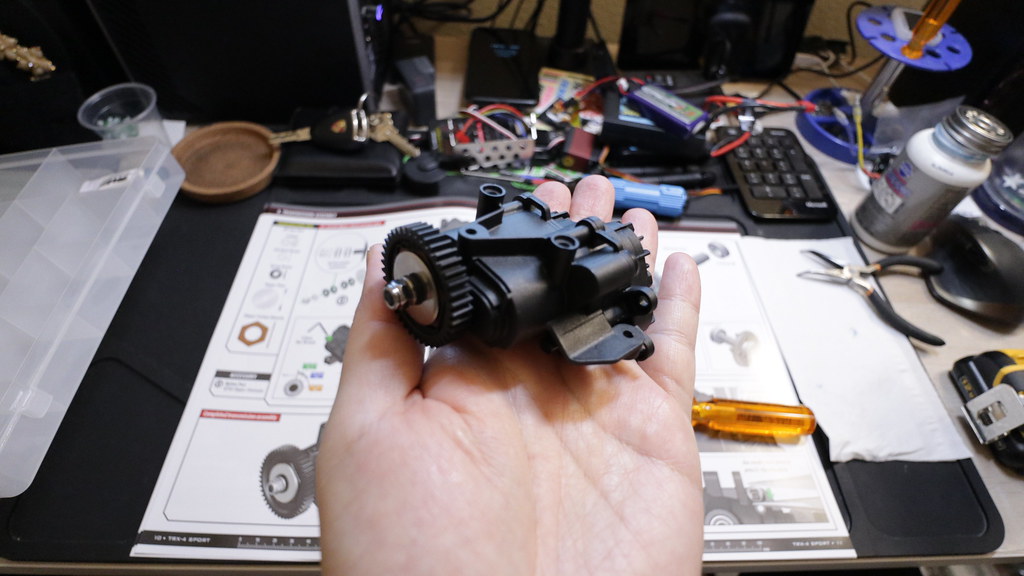 And that's all for the "Transmission Assembly" - Section A |

|  |
|
03-28-2019, 08:35 AM
| #3 |
| Moderator   Join Date: Sep 2008 Location: PA
Posts: 13,935
|
Good to see you finally building the Sport, Sport! Is that blue grease on the gears the Versachem Brake Caliper Grease? If so how does it compare to Axial's grease, Vanquish's grease, marine grease or something else you have experience with? |
|
| |
|
03-28-2019, 09:22 AM
| #4 |
| I wanna be Dave Join Date: Dec 2016 Location: san diego
Posts: 2,723
|
NICE! you are killing it with these builds man. your part 3 came out on my feed right next to those other youtube guys... KILLING IT! also tell Mrs. Soze we said THANK YOU for letting you play so much! hopefully i can convince my father in law he needs one of these in time for proline by the fire... keep up the incredible work sir! |
|
| |
|
03-28-2019, 09:51 AM
| #5 | ||
| I wanna be Dave Join Date: Aug 2016 Location: Orange County, CA
Posts: 3,643
| Quote:
If I used nitrile gloves I'd probably do a better job spreading it using less because I hate the way it feels on my hands... but since I don't I usually just put more and then rotate the gears to make sure it spreads evenly while trying to avoid getting the grease all over the place. I can't remember what Axial's grease is like, but I probably have a tube of it somewhere. I haven't used the other two. I've also started trying Permatex anti-seize on the universals/cvds. It goes on really light and spreads really easily and evenly. It doesn't seem like dirt/grit will be sticking to those joints with it which is the reason I switched to it. I'm still testing it out though, and I'll try it out at CDM rocks (sand) when I get the chance. Quote:
Last edited by soze; 03-28-2019 at 09:54 AM. | ||
|
| |
|
03-28-2019, 12:01 PM
| #6 |
| I wanna be Dave Join Date: Aug 2016 Location: Orange County, CA
Posts: 3,643
| Section B: Rear Axle Assembly Yay, we move on to the axles! You need this rear axle parts bag. 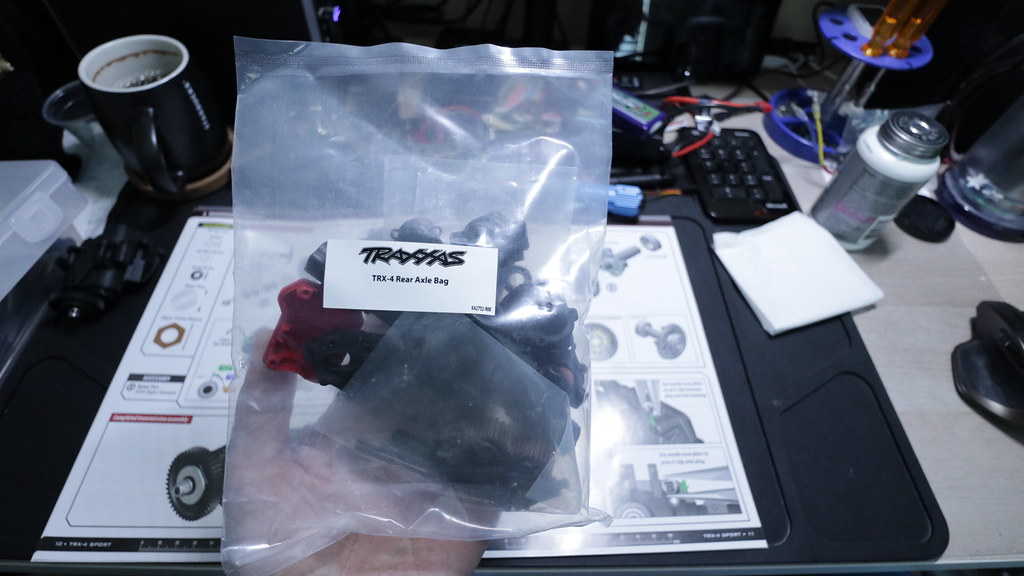 You also need the spool bag. 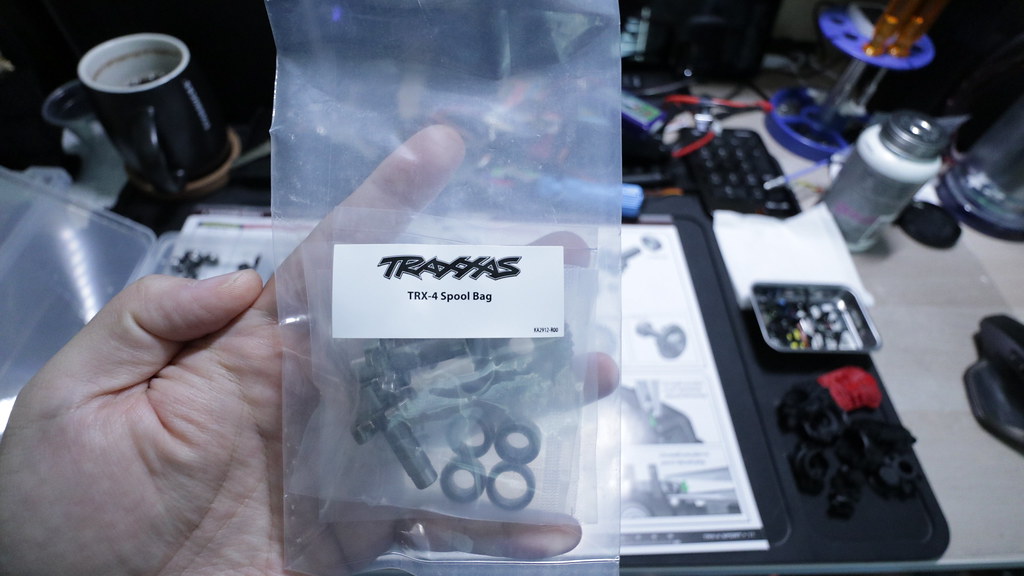 Step B1 Parts 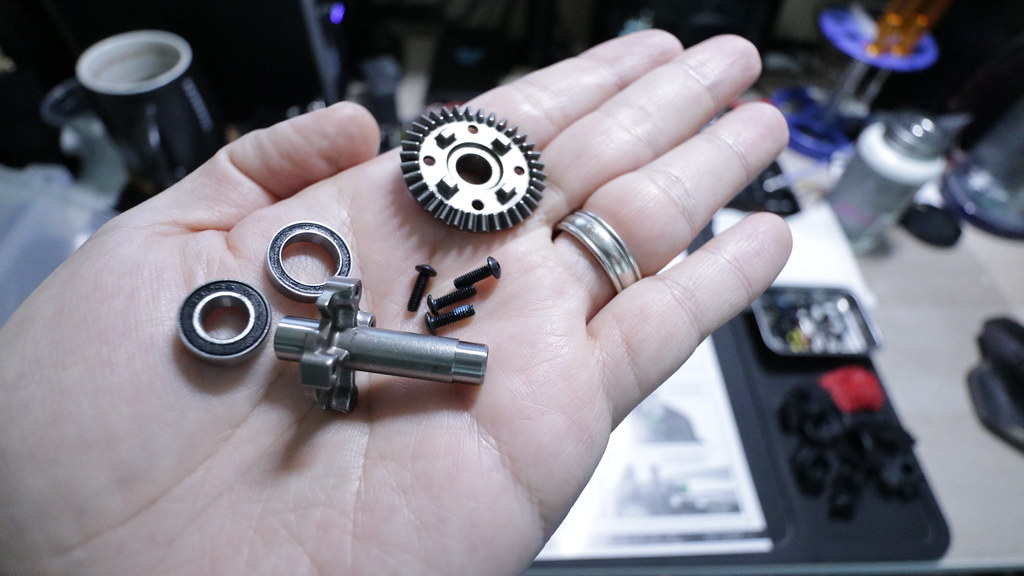 Step B1 Complete  Step B2 parts  I think some have had issues with getting the diff plugs go though easily, but it didn't seem to be an issue on my build at all. The e-clips on the other hand.... yeah we all know by now that I hate e-clips. Step B2 complete 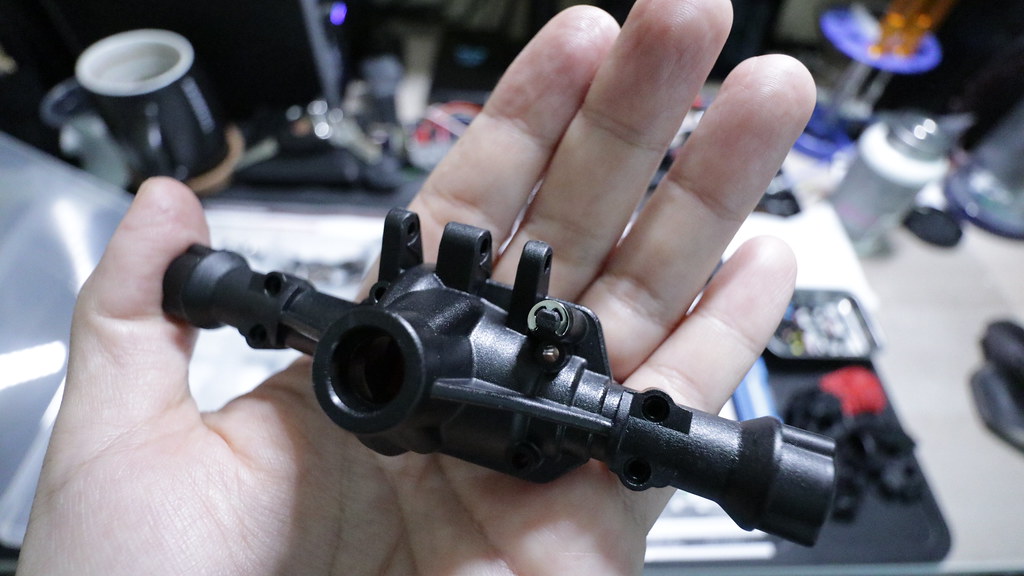 Parts for Step B3  You need to be very careful with the ball bearing sizes used in this step. The 5x11x4mm bearing is shown with blue shield in the instructions, but in reality it's black. So carefully measure the bearing sizes, or just match it up with the instructions since it's 1:1 scale. Step B3 complete 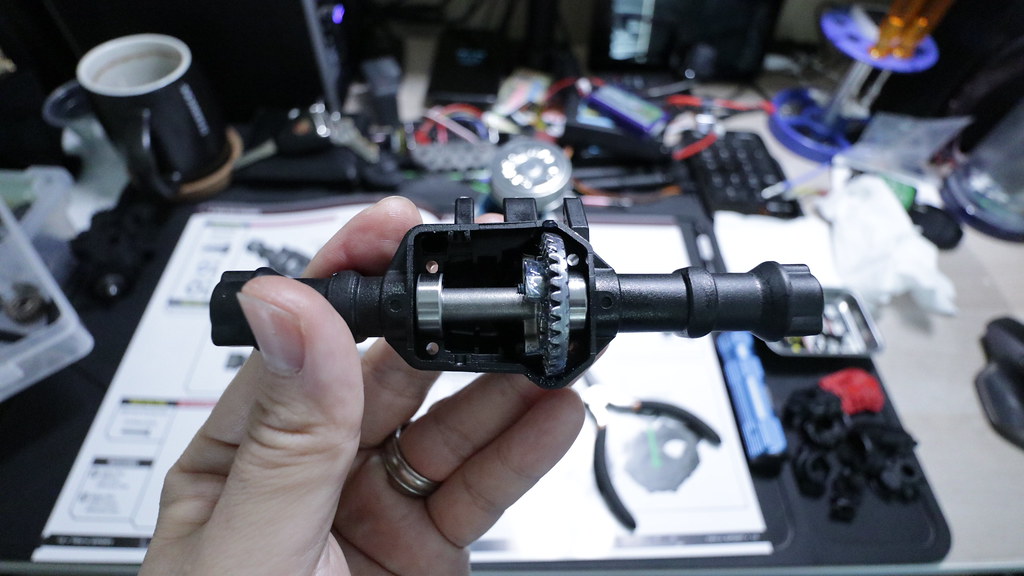 Parts for Step B4  Step B4 complete. Make sure to not overtighten the diff cover. 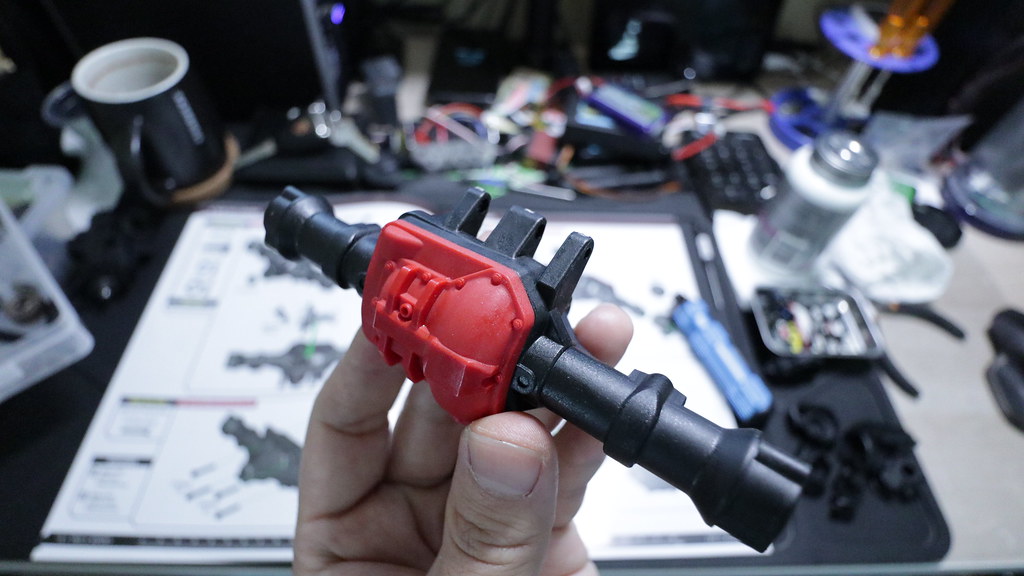 Parts for Step B5  What I liked about the parts for this step is that the parts clearly had identifying markers for which part goes on the left and right. Nothing left up to vagueness. Step B5 complete. 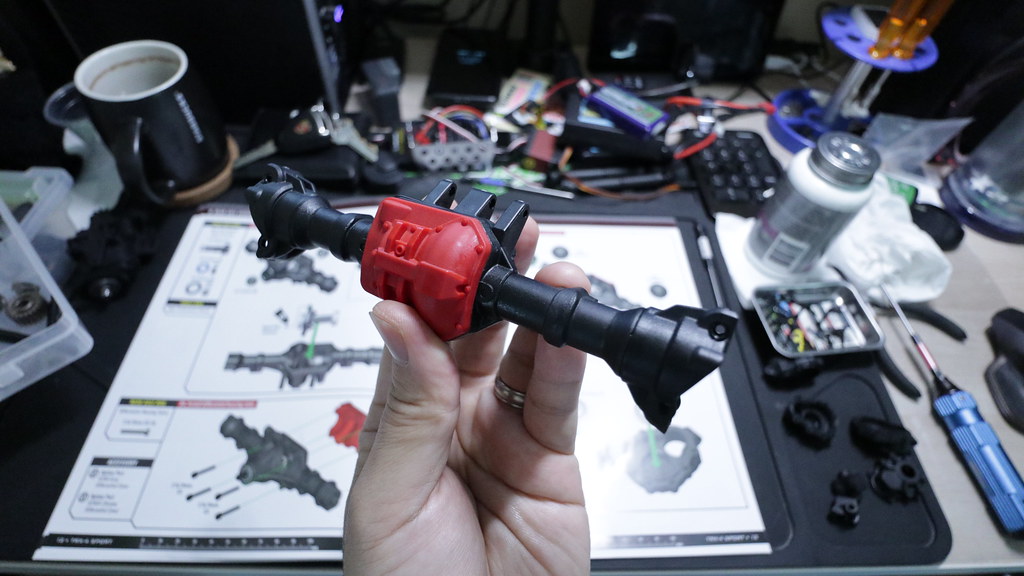 Parts for Step B6 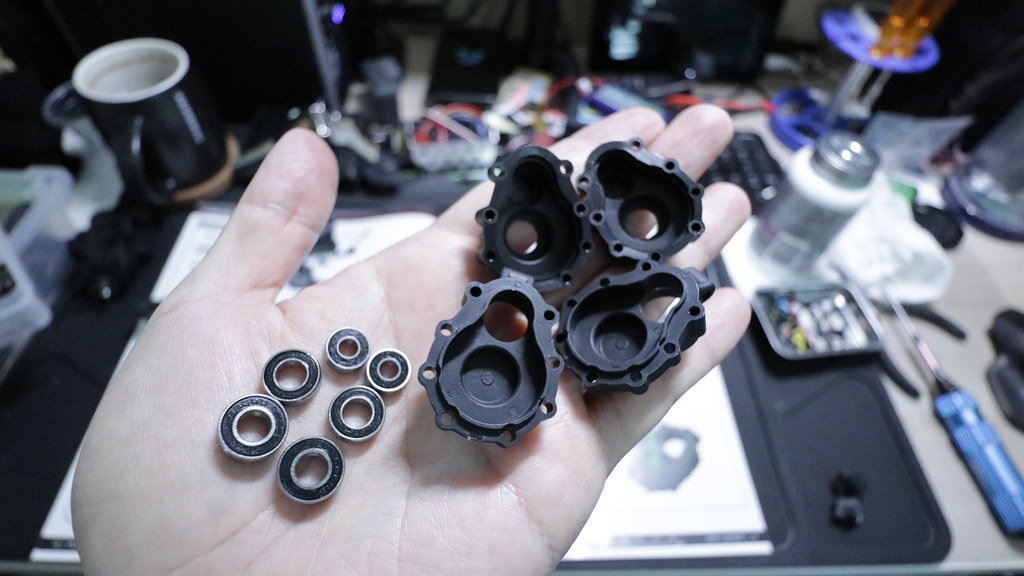 Again, with this step, you need to carefully match up the ball bearing sizes. The 6x12x4mm is shown with blue shield in the instruction manual, but they are all black shielded. Measure carefully, or match up carefully with 1:1 illustration in the instruction manual. Step B6 complete 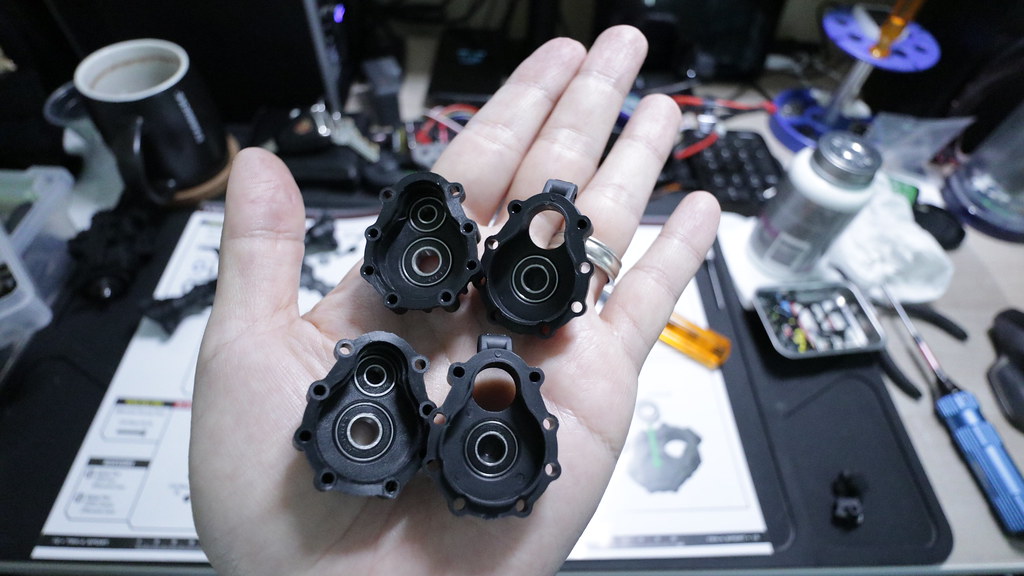 Parts for Step B7  Step B7 complete. In the picture it looks like I used too much grease, but that's not the amount that it actually ended up with. What I usually do is pack the grease on thick, close up the assembly and give it a good few rotations to spread the grease out, then remove the excess. Didn't bother to or rather forgot to another picture post excess removal though.  Parts for Step B8 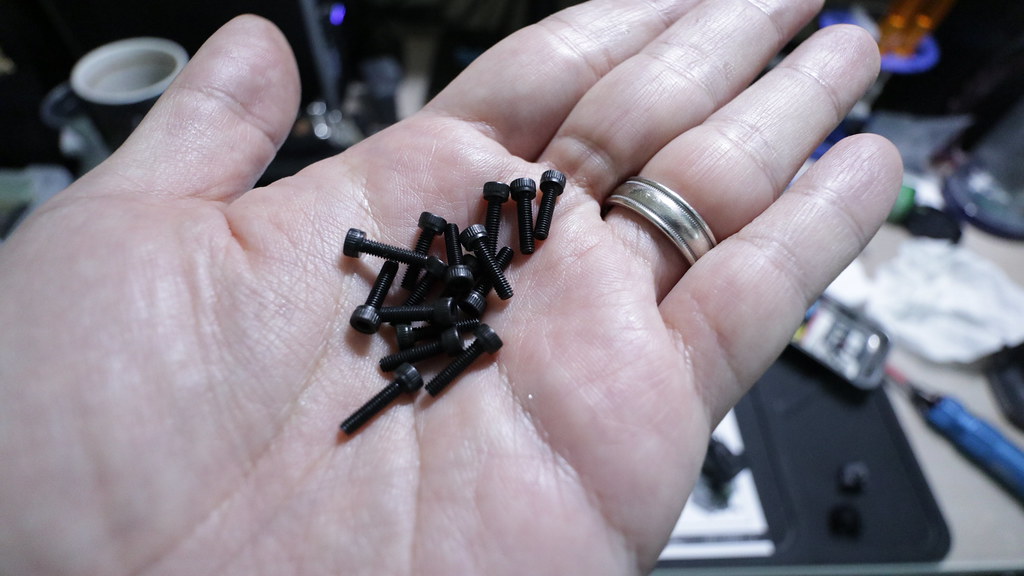 Step B8 complete. Be sure not to over-tighten the screws in this step.  Step B9 parts  Step B9 complete 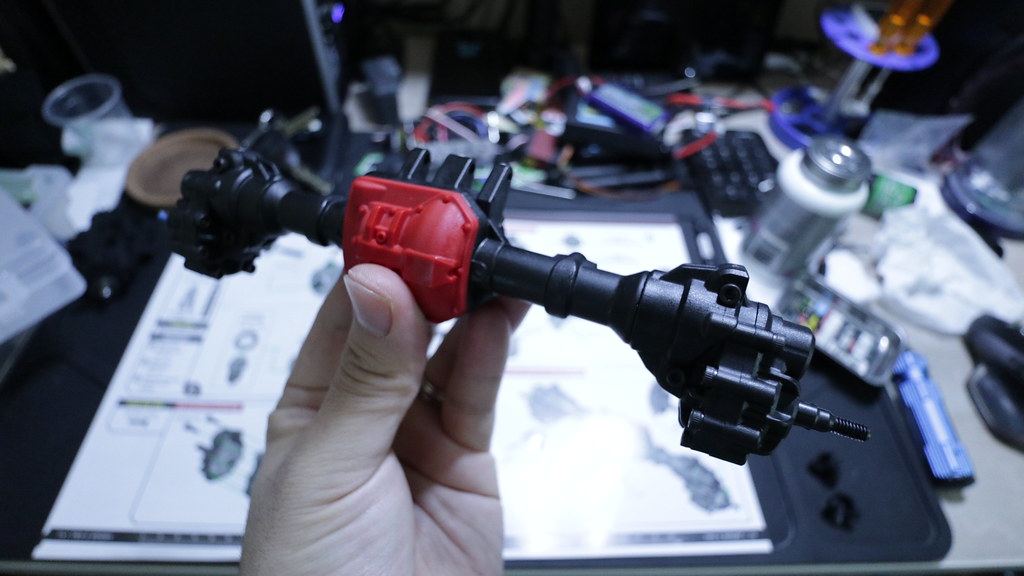 Parts for Step B10 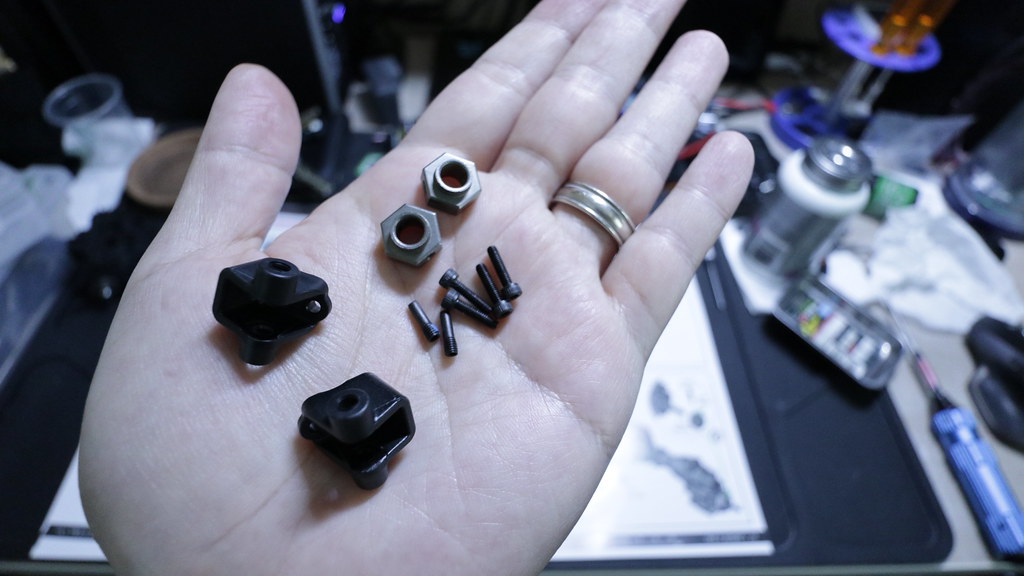 No need for fiddly pins that fall out of the hexes! Thank you Traxxas! Was nice that this kit comes with metal wheel hexes and locking screw pins. Step B10 complete  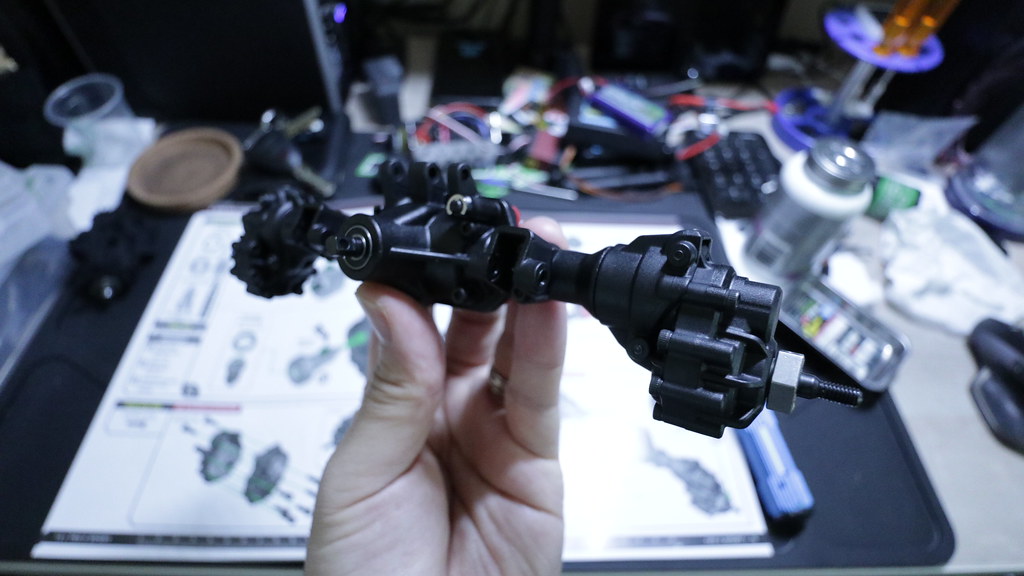 And... we're done with Section B - Rear Axle Assembly. |
|
| |
|
03-28-2019, 12:18 PM
| #7 |
| Gold Star Baby!   Join Date: Dec 2017 Location: Las Vegas
Posts: 2,554
|
Great thread Soze! Happy to see another sport build
|
|
| |
|
03-28-2019, 12:18 PM
| #8 |
| Moderator Join Date: Sep 2008 Location: PA
Posts: 13,935
|
That grease sounds like the stuff I've used. It does seem like you know when you put too much on because it always gets pushed to the outside. Good start to a thread! |
|
| |
|
03-28-2019, 12:28 PM
| #9 |
| I wanna be Dave Join Date: Aug 2016 Location: Orange County, CA
Posts: 3,643
| Section C: Front Axle Assembly You'll need the front axle parts bag.  Steps C1- C4 are pretty much the same as the rear axle assembly steps B1-B4, so I'll skip over those. Parts for Step C5 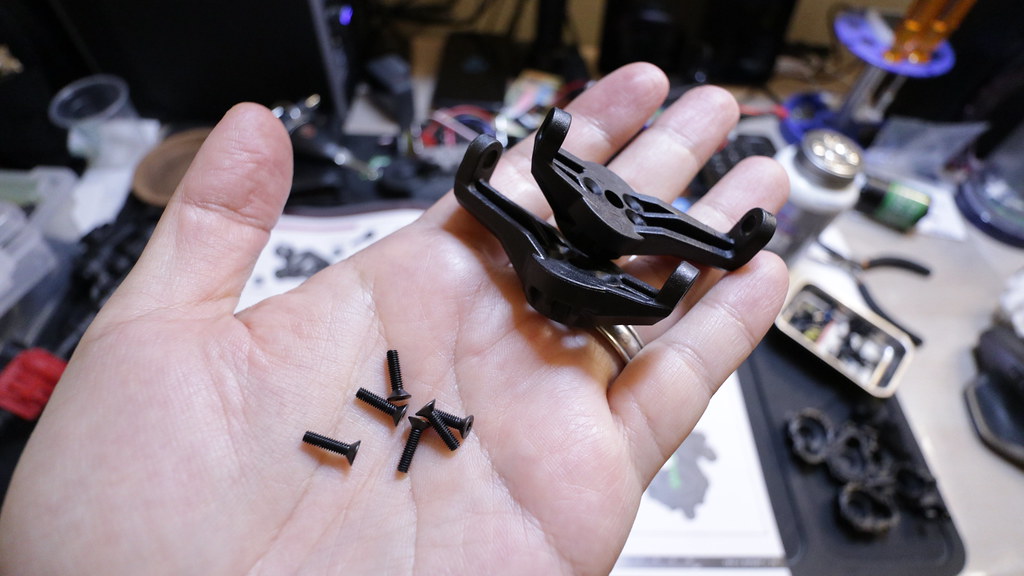 Step C5 complete 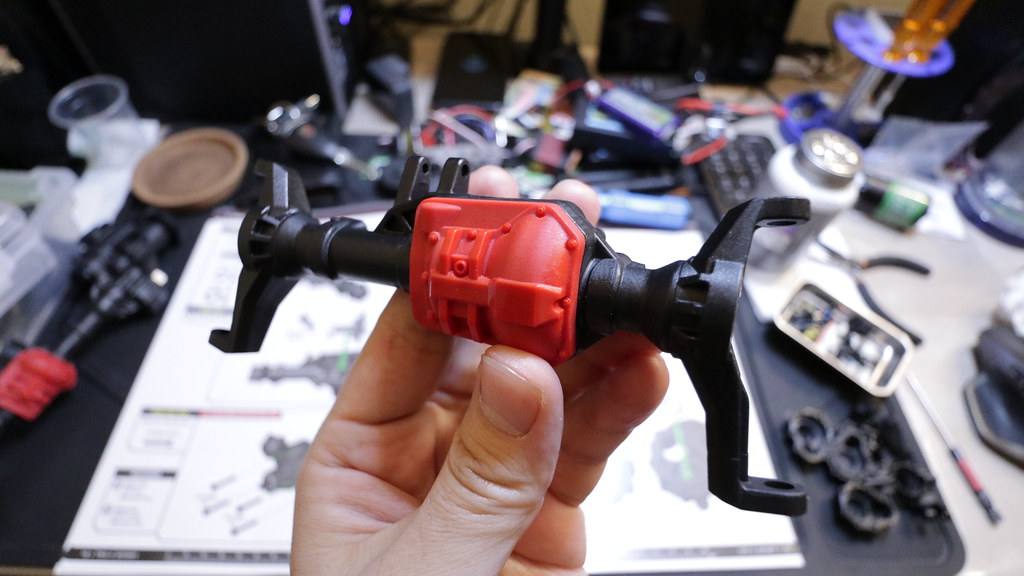 Step C6 is the same as rear axle Step B6  Parts for Step C7 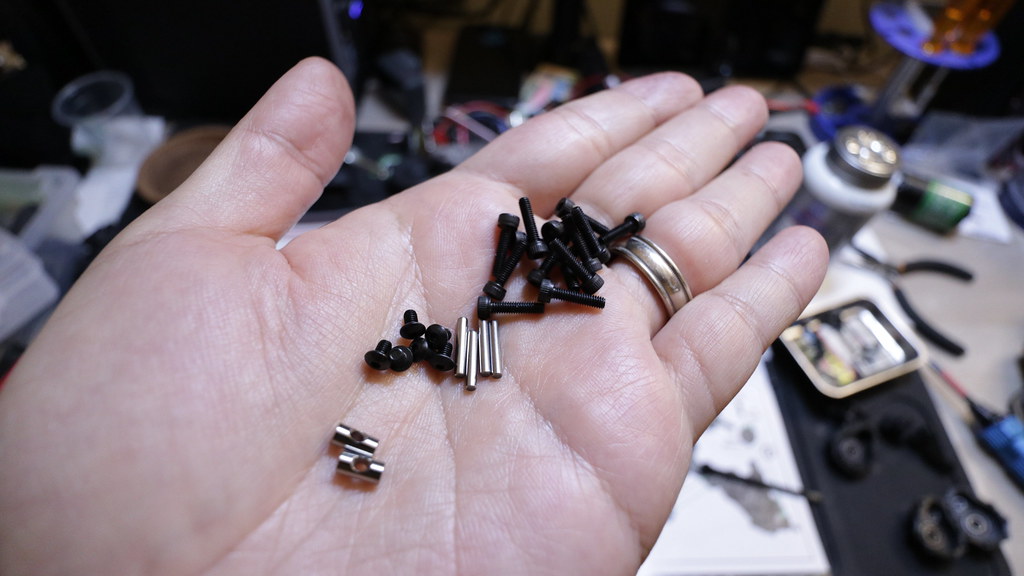  Also trying out/starting to use Permatex anti-seize on my CVD/Universal joints.  You can put on a little of it, and it spreads really easily and evenly with a few rotations.  Versachem grease on the gears  Step C7 complete 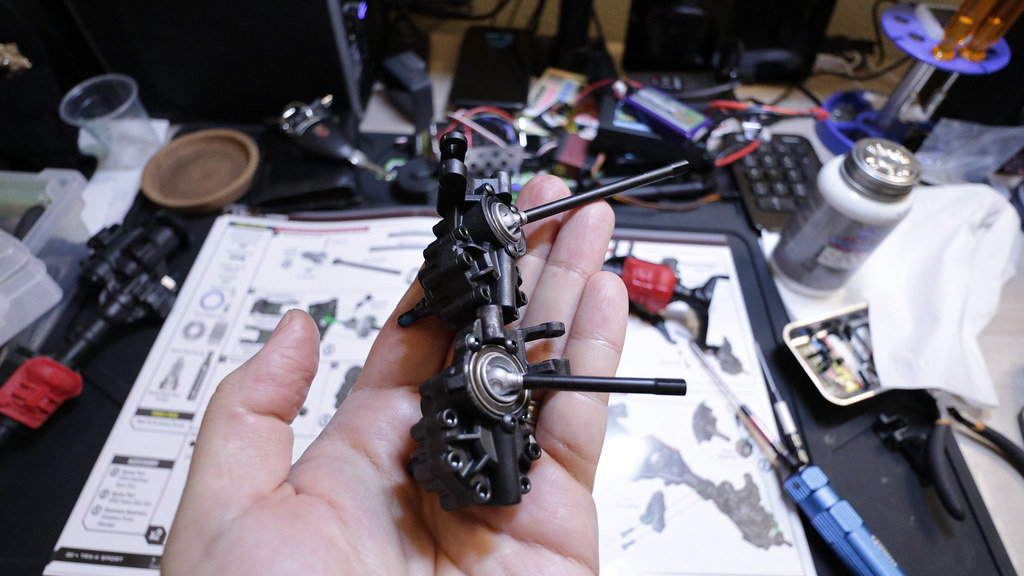 Parts for Step C8 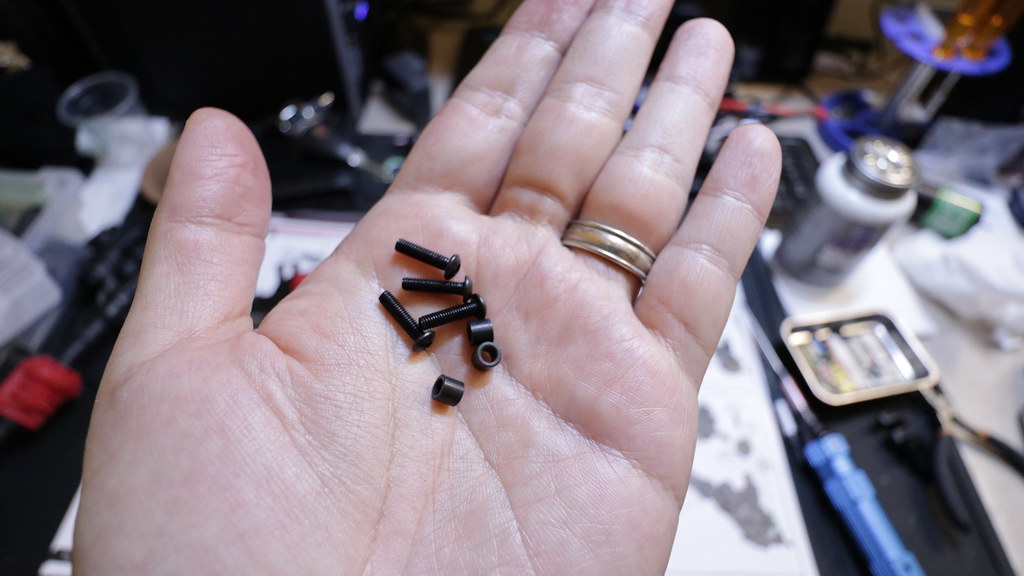 Step C8 complete 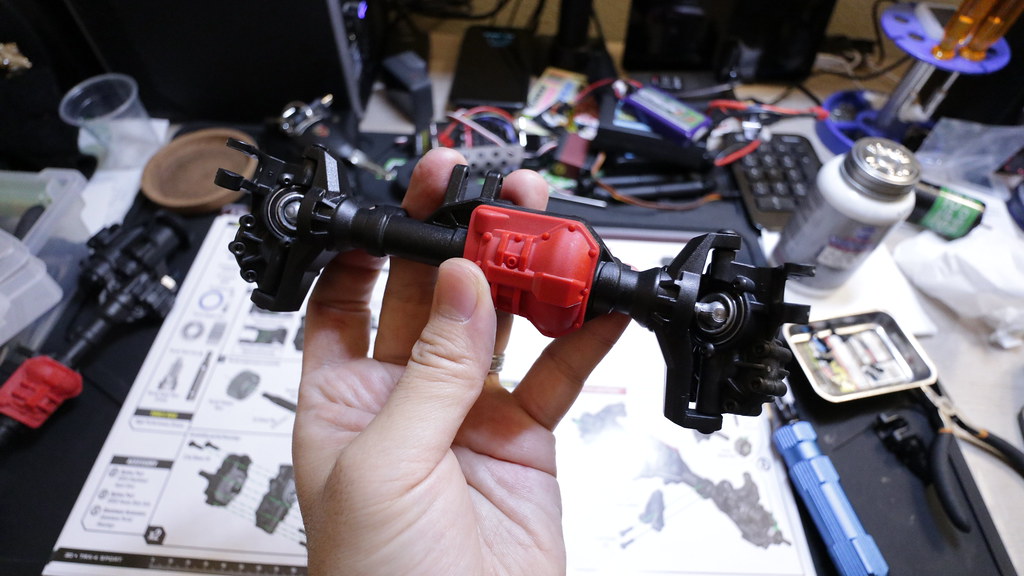 Step C9 is basically the same as rear axle Step B10 except one of the link mounts is now a link mount + panhard mount. 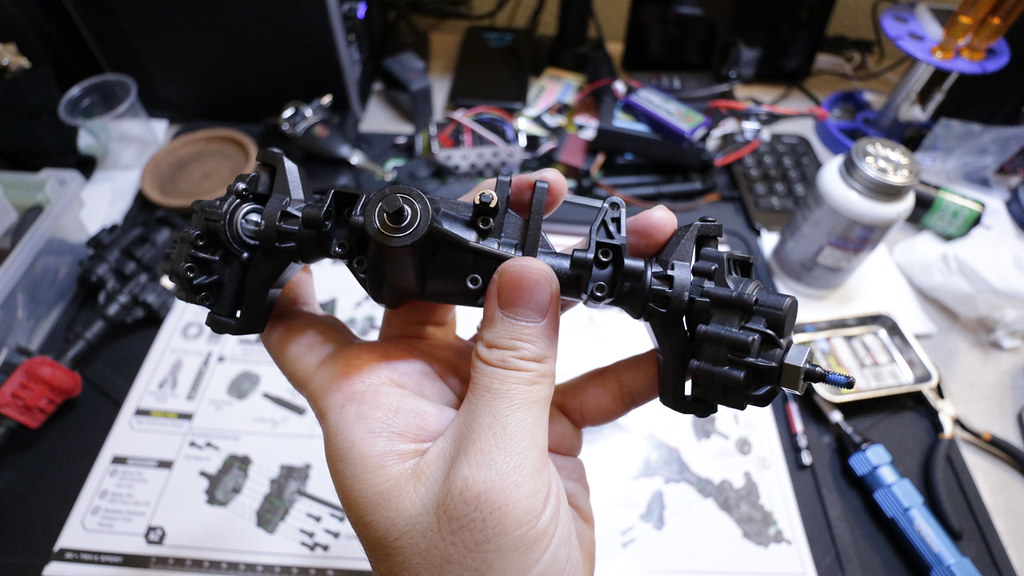 And now we're done with Section C - Front Axle Assembly. We now have a set of TRX4 Sport axles! 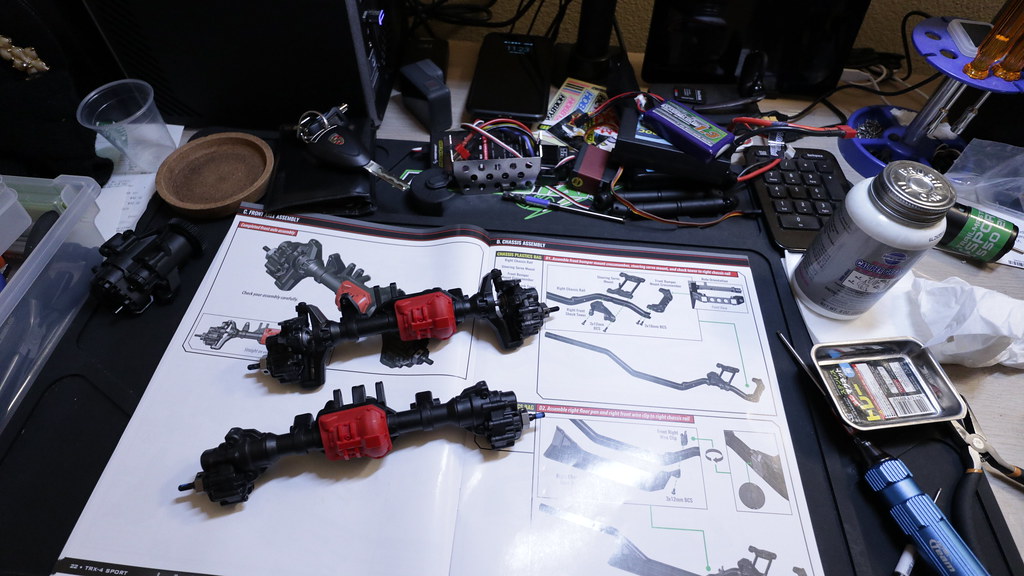 Last edited by soze; 01-07-2020 at 11:44 PM. |
|
| |
|
03-28-2019, 12:34 PM
| #10 | |
| Rock Crawler Join Date: Jul 2016 Location: Southern Oregon
Posts: 767
| Quote:
| |
|
| |
|
03-28-2019, 12:39 PM
| #11 | |
| I wanna be Dave Join Date: Aug 2016 Location: Orange County, CA
Posts: 3,643
| Quote:
| |
|
| |
|
03-28-2019, 12:41 PM
| #12 | |
| I wanna be Dave Join Date: Aug 2016 Location: Orange County, CA
Posts: 3,643
| Quote:
| |
|
| |
|
03-28-2019, 01:29 PM
| #13 |
| I wanna be Dave Join Date: Aug 2016 Location: Orange County, CA
Posts: 3,643
| Section D: Chassis Assembly Can start to see the build coming together now. Here is the parts bag that you'll need. 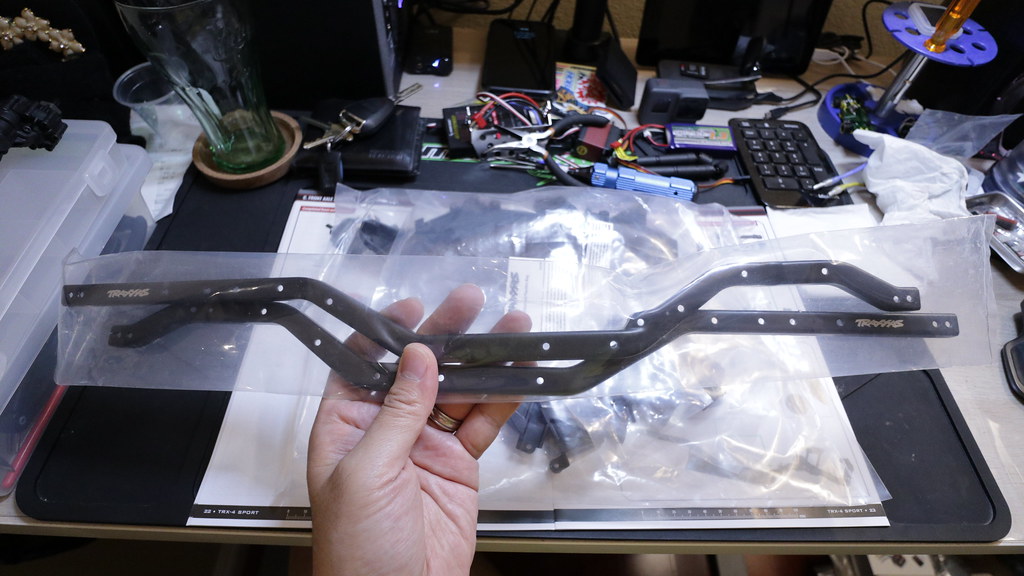 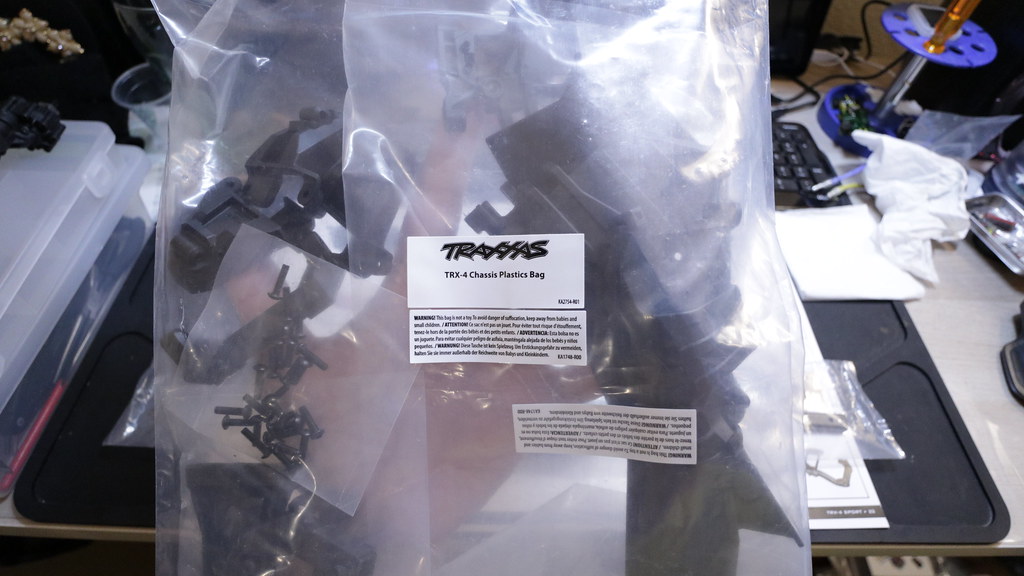 You'll need these for Step D1  Step D1 complete 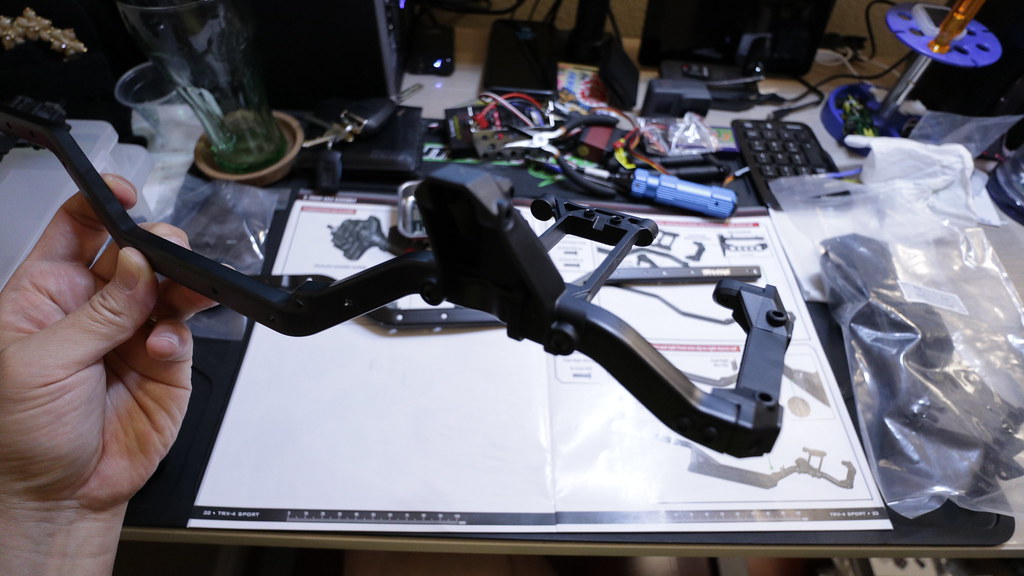 Parts for Step D2 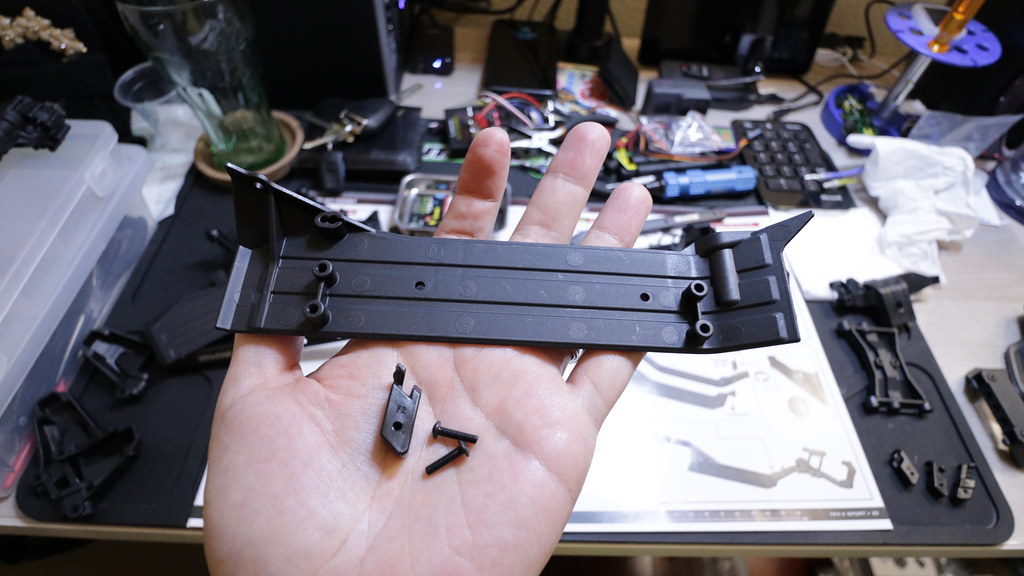 Once again, it's nice that Traxxas clearly marked pieces with FR, FL, RR, RL so that there is no confusion which brackets go where. Step D2 complete 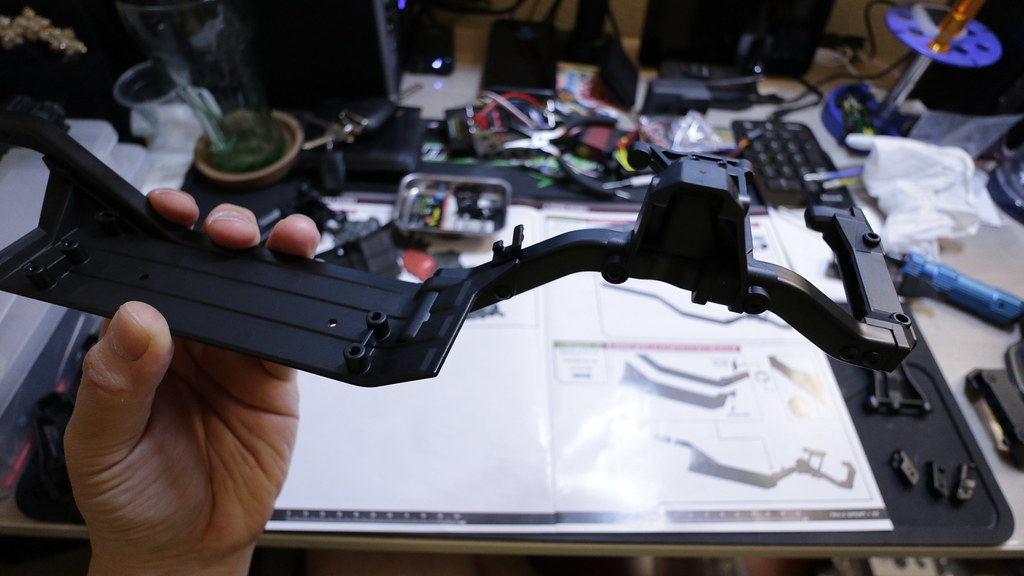 Step D3 parts Step D3 complete 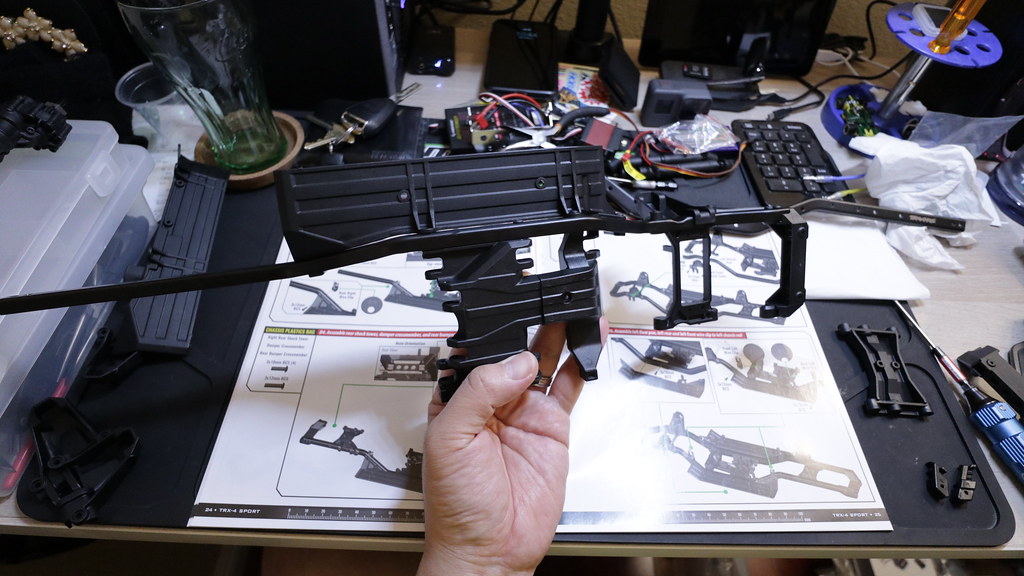 Parts for Step D4 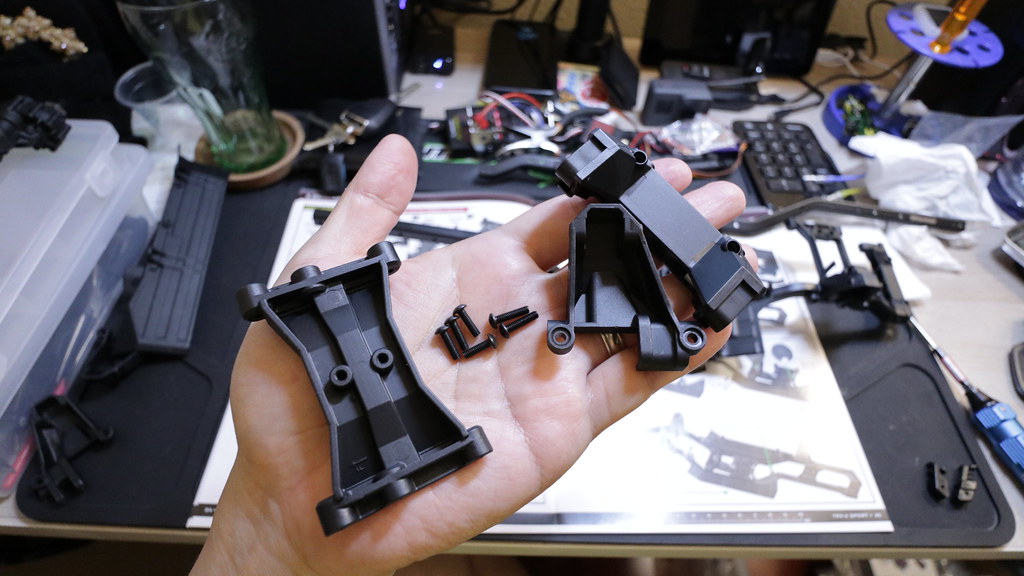 Step D4 complete  Parts for Step D5 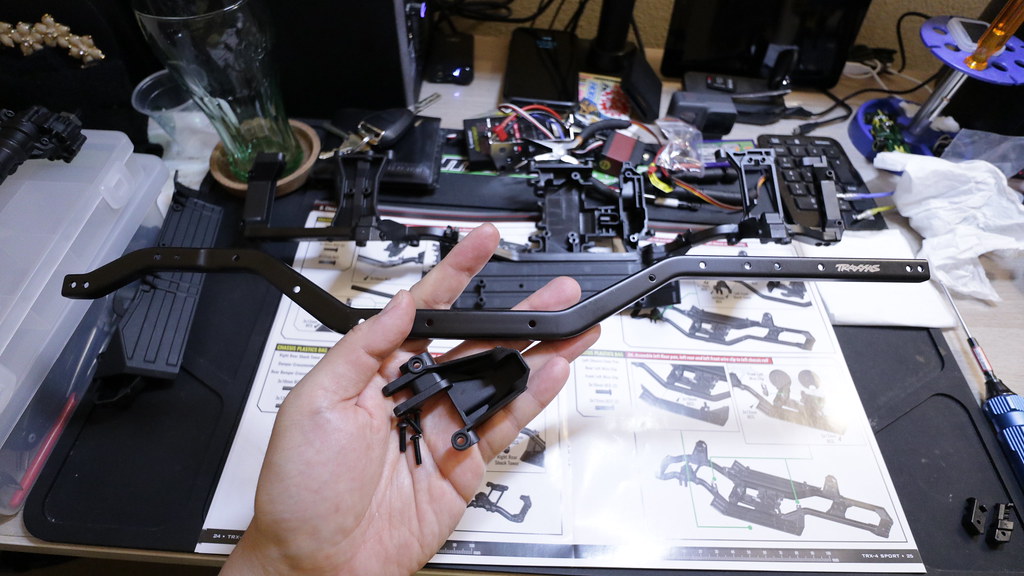 Step D5 complete 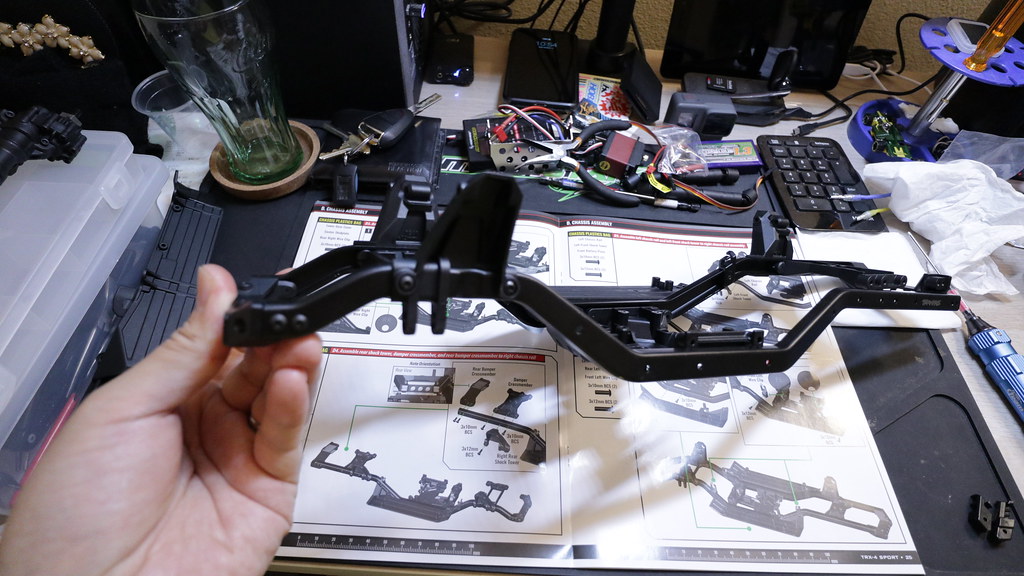 Parts for Step D6 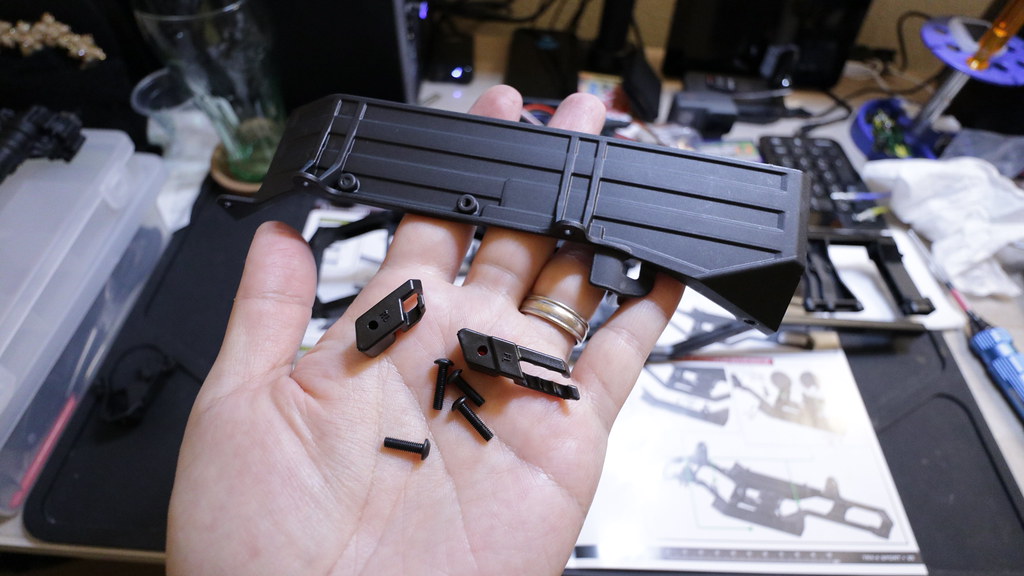 Step D6 complete 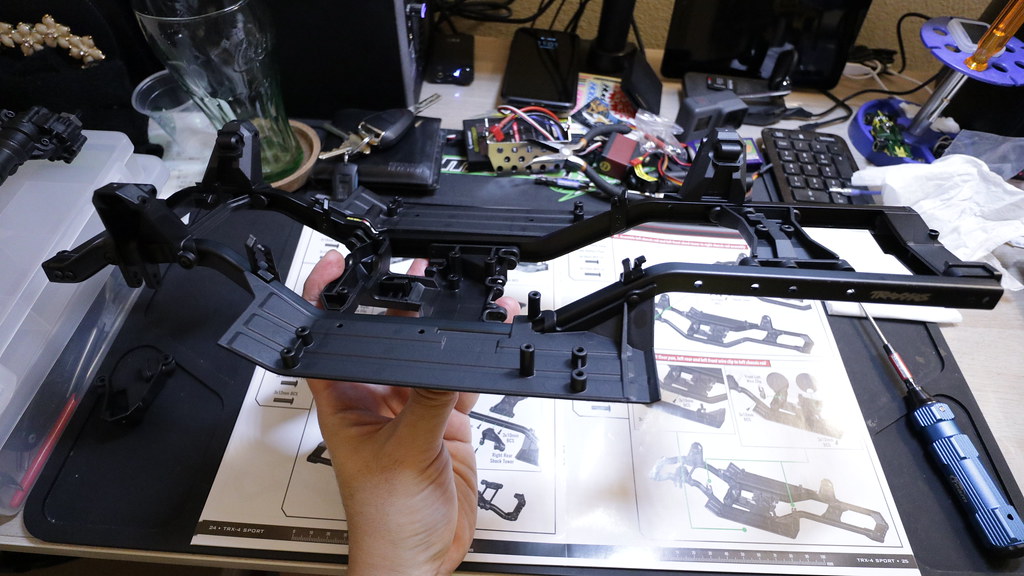 Parts for Step D7 - you'll notice one 3x10mm is missing. It was missing from my parts bag, but I had a spare one from my parts bins. 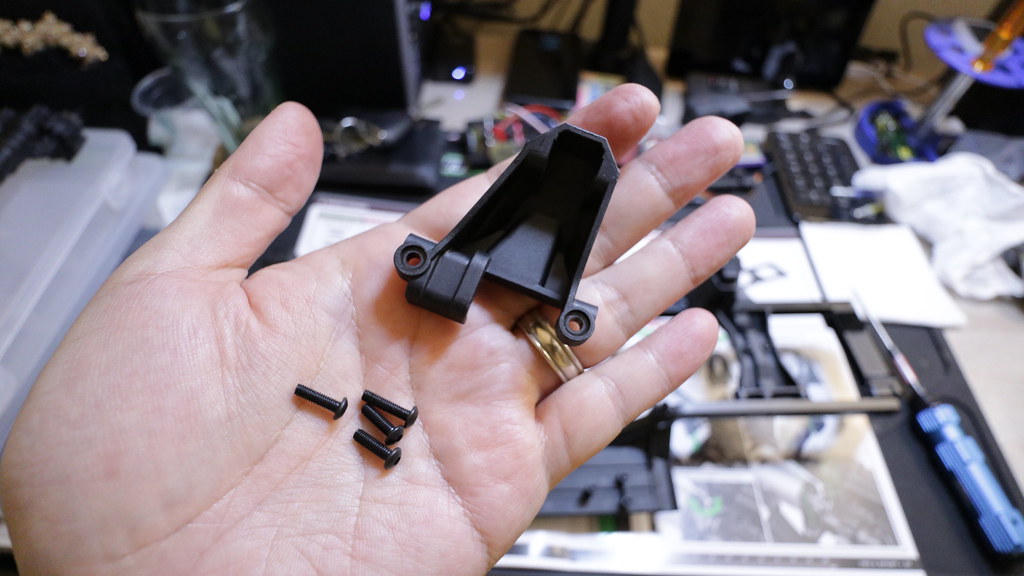 Step D7 complete 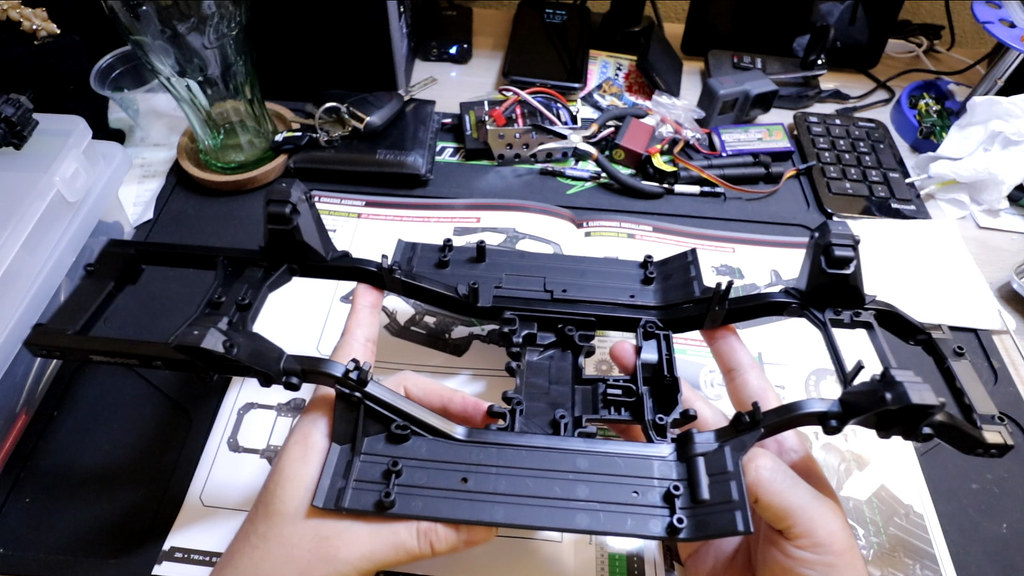 That's all for Section D: Chassis Assembly |
|
| |
|
03-28-2019, 02:02 PM
| #14 | |
| Rock Stacker Join Date: Jan 2010 Location: US
Posts: 74
| Quote:
| |
|
| |
|
03-28-2019, 02:23 PM
| #15 |
| Moderator Join Date: Sep 2008 Location: PA
Posts: 13,935
|
I wasn't missing any screws, but I was astounded that there were very few leftovers and absolutely no c-clips. Did your chassis rails come pre-scratched like mine? |
|
| |
|
03-28-2019, 02:27 PM
| #16 | |
| I wanna be Dave Join Date: Aug 2016 Location: Orange County, CA
Posts: 3,643
| Quote:
 I could see it getting scratched in the bag though... the frame rails are rubbing up on each other as packaged. | |
|
| |
|
03-28-2019, 02:45 PM
| #17 |
| RCC Addict Join Date: Nov 2010 Location: England
Posts: 1,603
|
That anti seize you used on the CVD's reminds me of some stuff I used at work a few years ago. It actually contained silver! So wasn't cheap, but I wasn't paying for it Nice to see another sport build. The quality of kits recently is getting much better that just a short time ago. i was very impressed with my Venture SBK. Seems like companies are realising people won't buy crap any more. Can only be a good thing. |
|
| |
|
03-28-2019, 03:09 PM
| #18 |
| I wanna be Dave Join Date: Aug 2016 Location: Orange County, CA
Posts: 3,643
| Section E: Electronics Installation So as far as electronics go, I'll be using the following: Turnigy MG959 V2 Servo (eBay) Holmes Hobbies Trailmaster Sport 550 21T Brushed motor (eBay) FlySky GR3E 2.4GHz 3-Channel Receiver (eBay) FlySky GT-3C 2.4 GHz Radio (eBay) HobbyWing Quicrun WP-1080 Esc (ebay) You'll need the electronics parts bag for this section 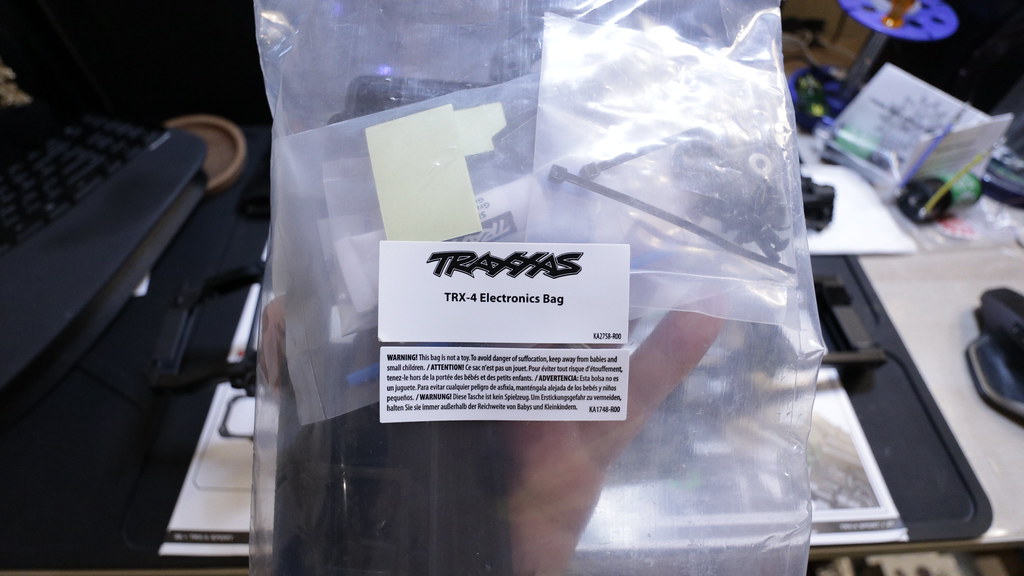 Step E1 Parts 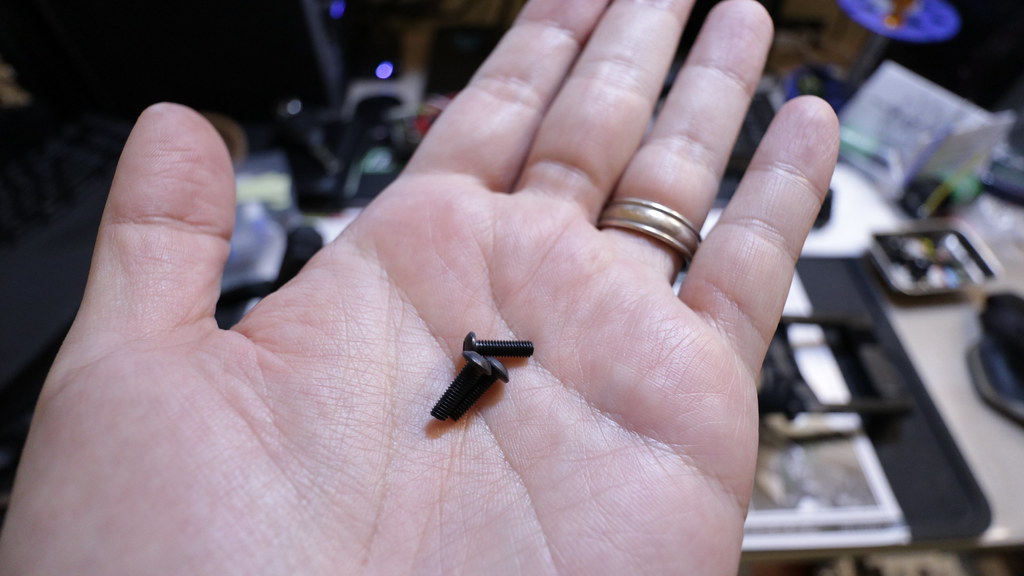 Step E1 complete. Fits like a glove. 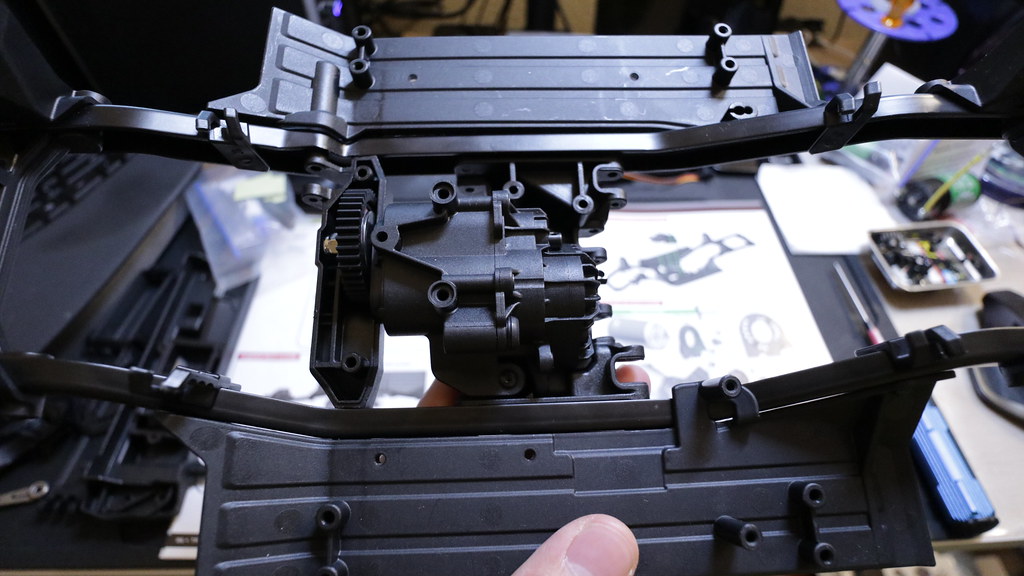 Step E2 parts 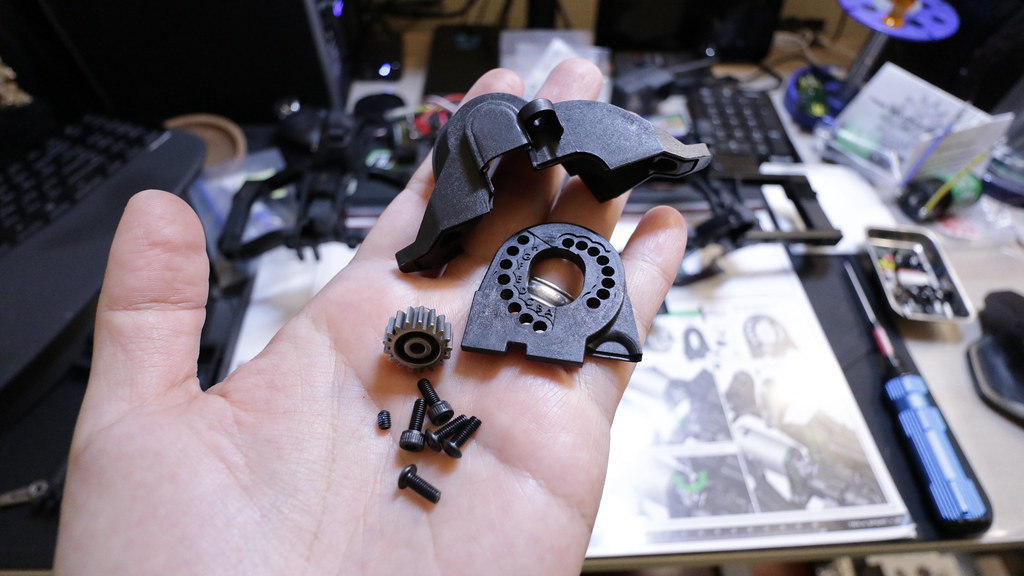 You'll notice that I'm using the stock 17T pinion, and the stock 39T spur from the earlier transmission step. I'm building it as is initially as I'm using the Holmes Hobbies 21T 550 motor instead of the Traxxas 21T Titan Reverse 550. I've already purchased the 45T spur + pads and 12T/13T pinions to be used later. Using a Holmes Hobbies 550 21T Trailmaster Sport. I really should swap to using bullet plugs, but I've got a bunch of Tamiya style connectors in my parts... and it just makes sense to use them. 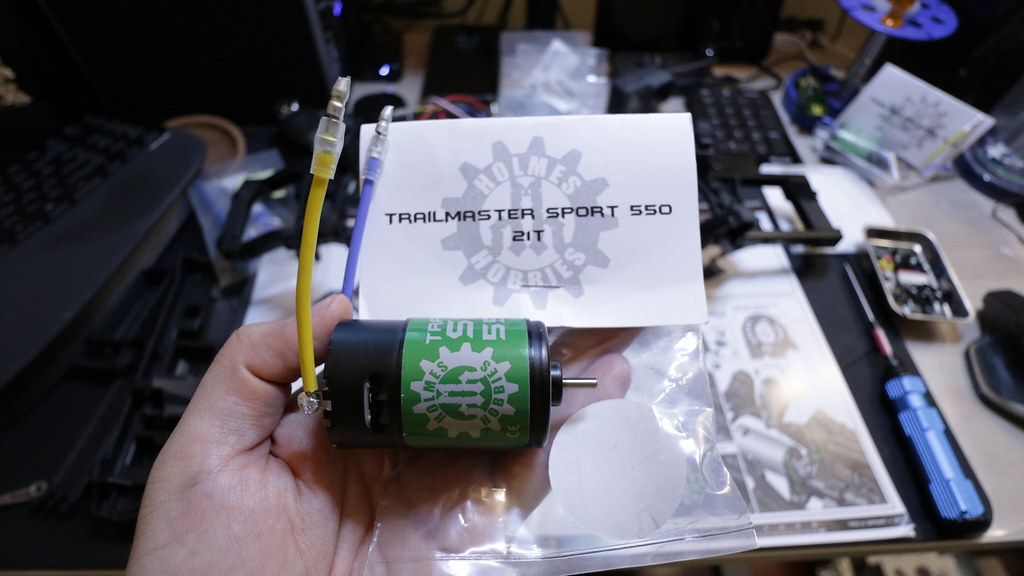 So the Holmes Hobbies motor shaft is shorter than a Traxxas Titan motor shaft, so I had to mount the pinion the opposite way from what the instructions wanted.  With the stock 17T pinion + 39T spur, we'll be using the "C" mounting hole on the motor mount. I might look into updating this part later on. 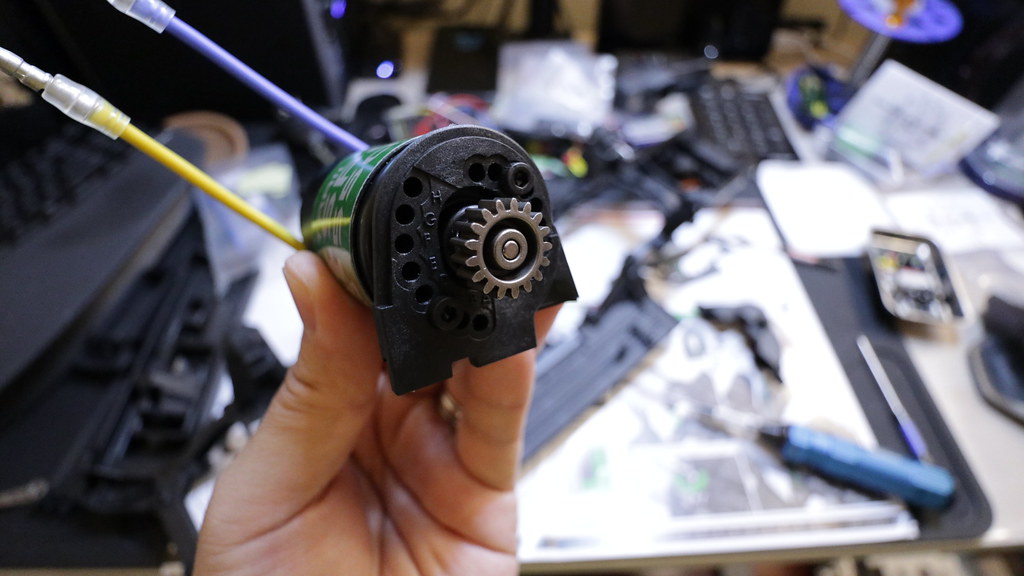 Step E2 complete 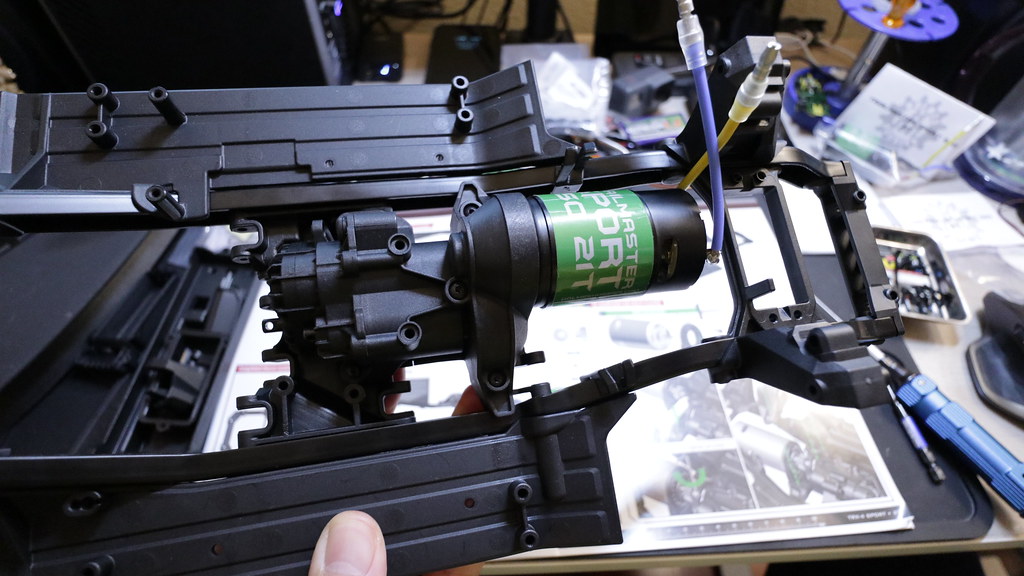 Parts for Step E3 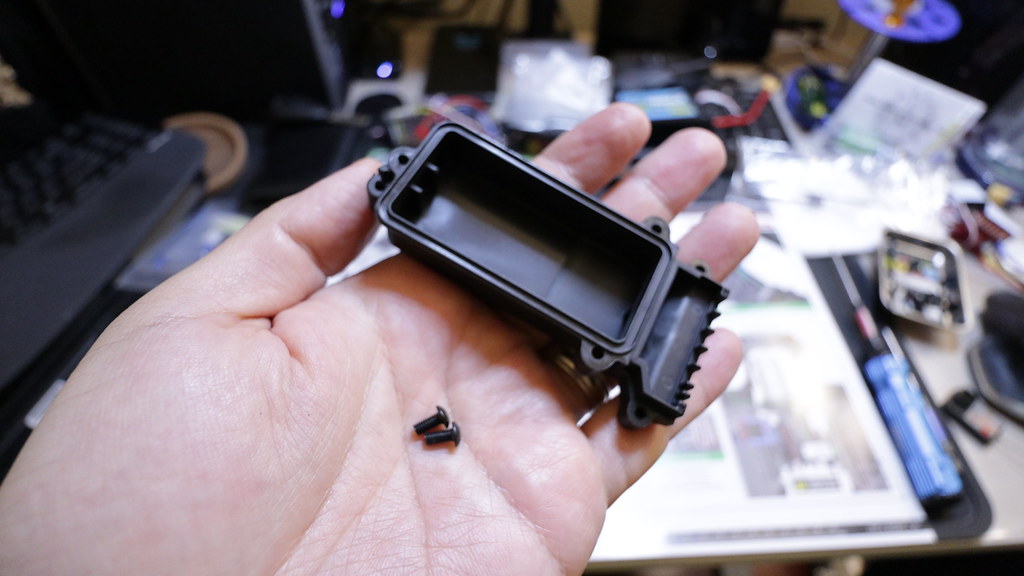 Step E3 complete. Using a FlySky GR3E receiver so there were a few challenges in regards to the length of antenna, receiver wire lengths, etc. 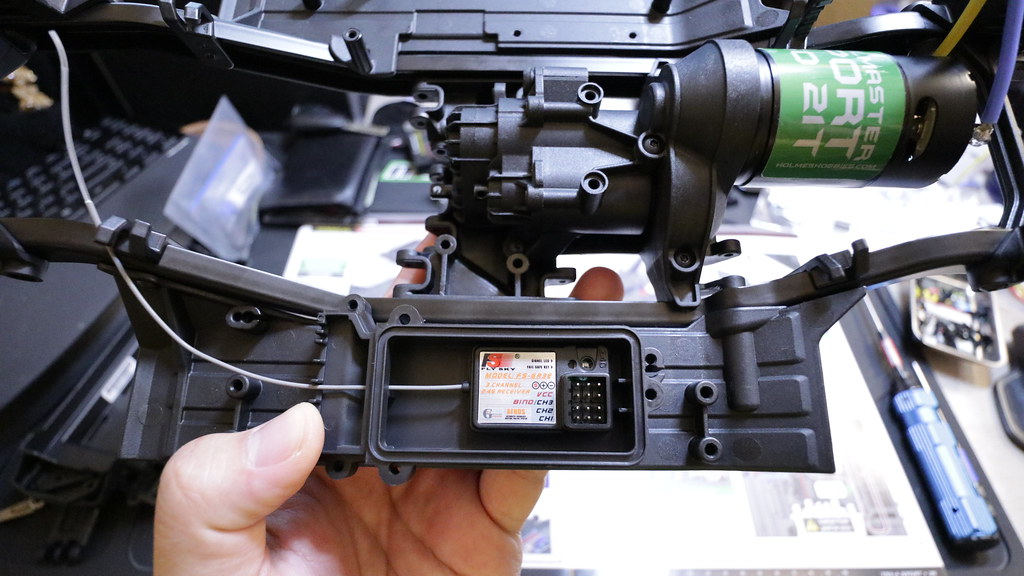 Step E4 parts 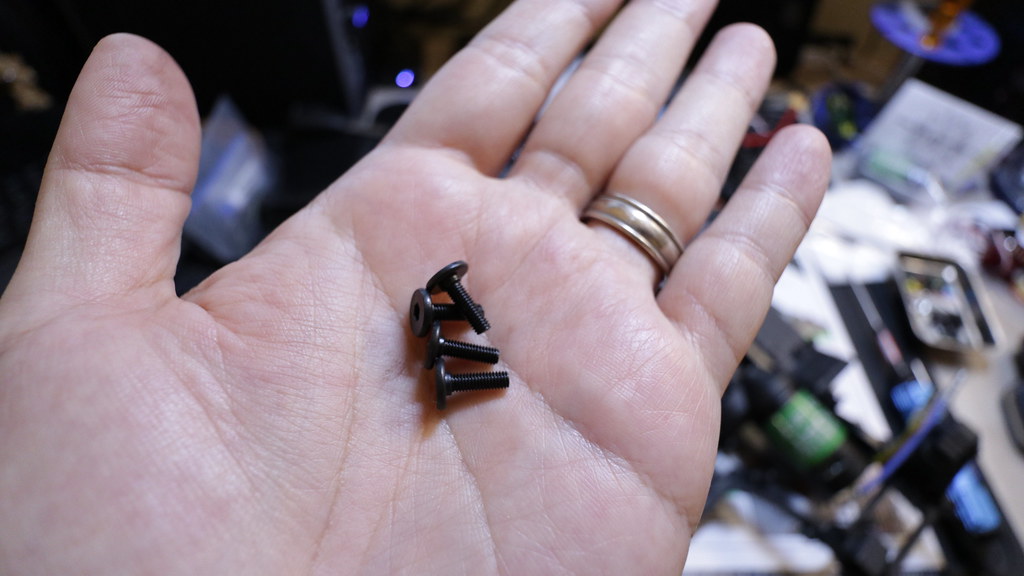 Using a Turnigy MG959v2 servo that I had on hand for now. 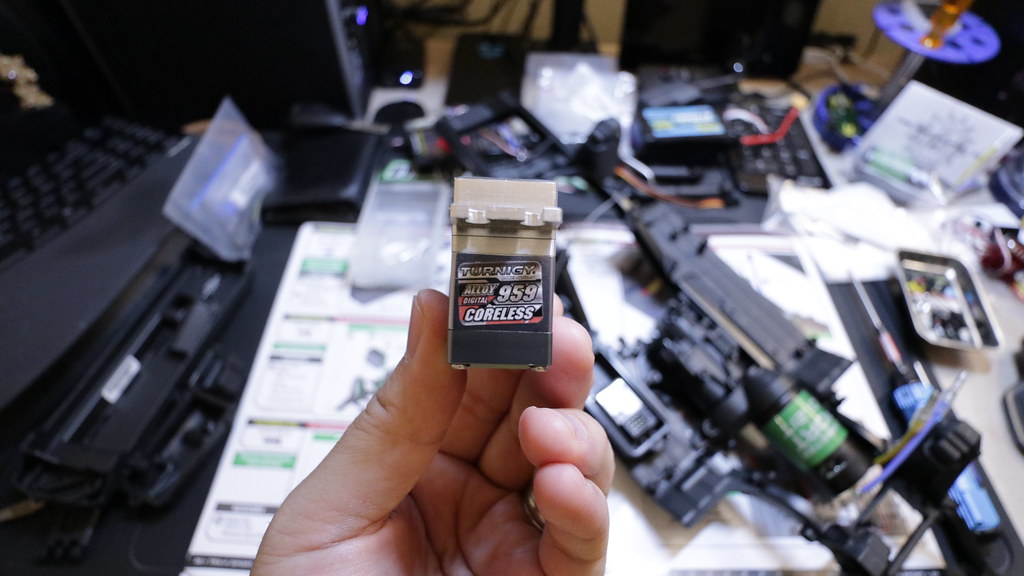 Step E4 complete 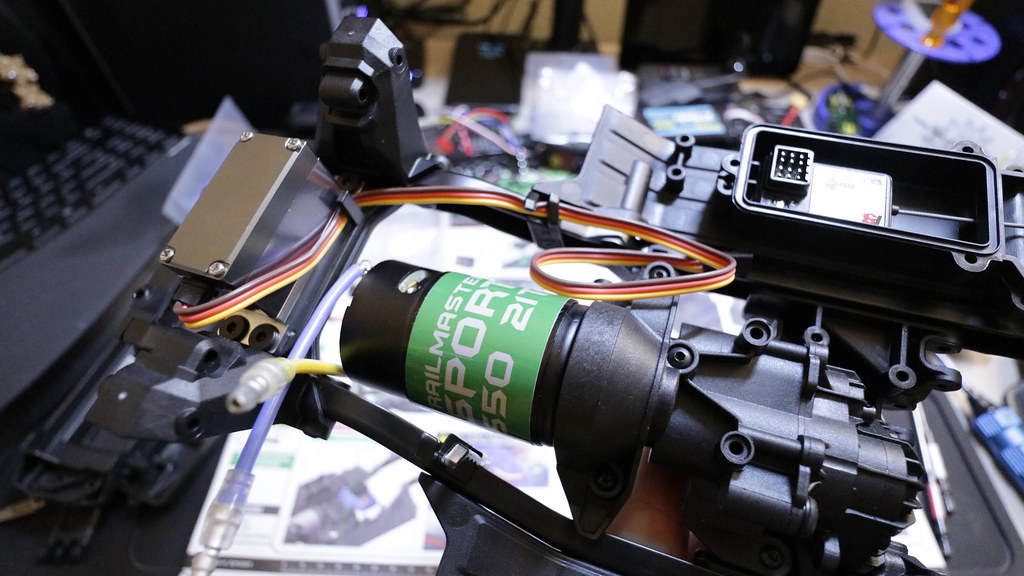 Step E5 had two 3x12mm screws used for mounting the Traxxas esc. I'm using a Hobbywing Quicrun WP1080, so those weren't needed. 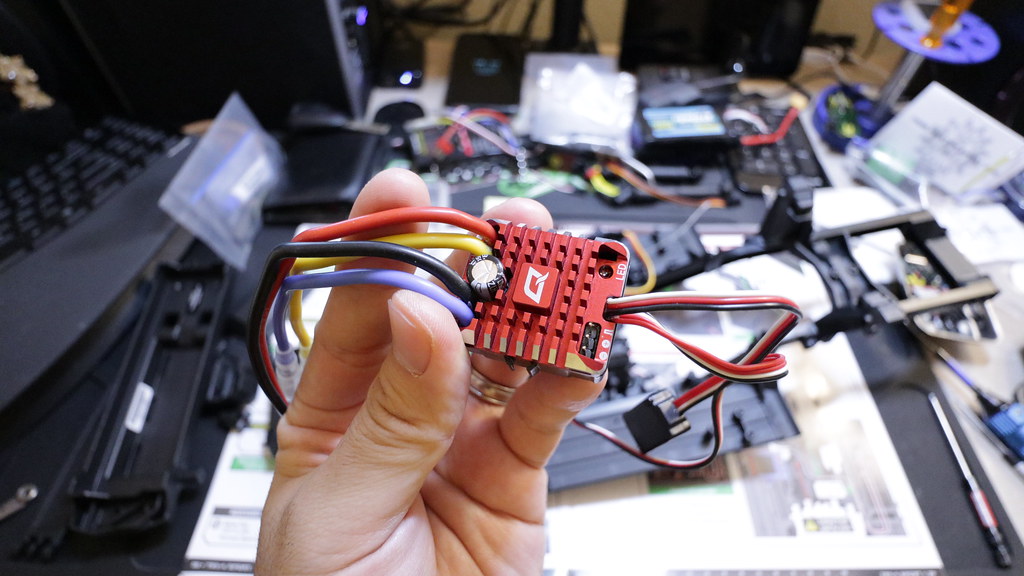 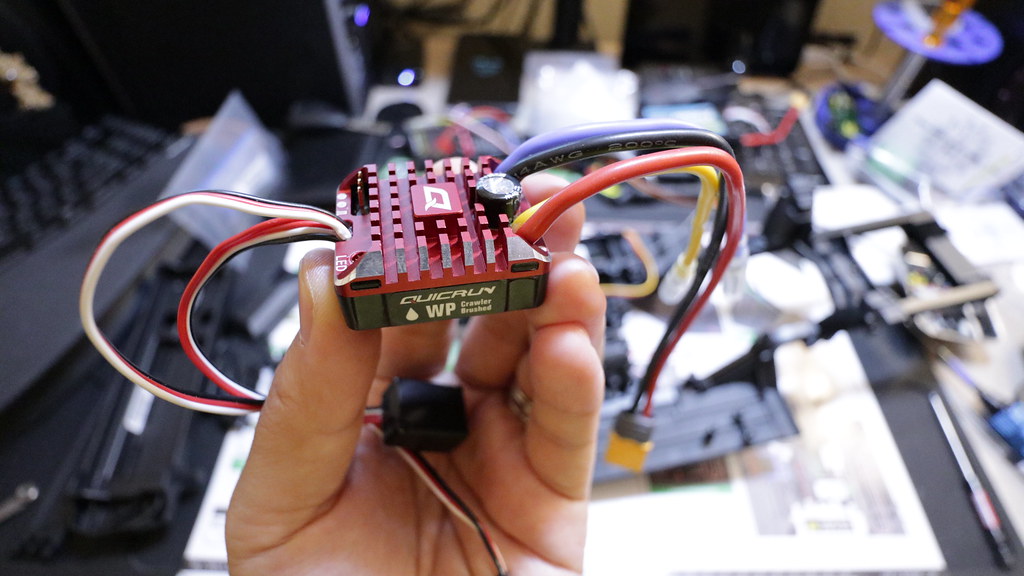 Step E6 parts 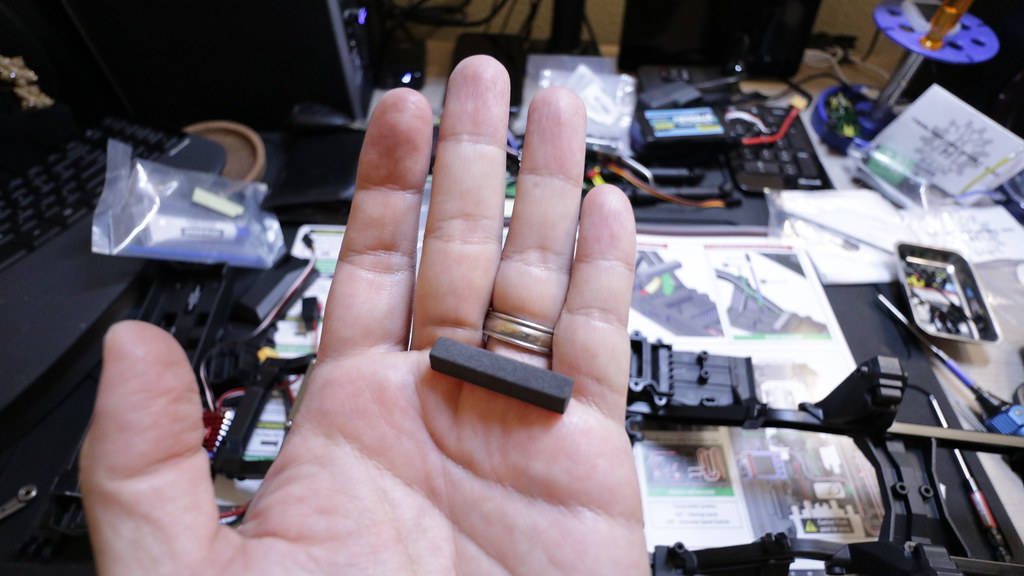 Step E6 complete. You can see I rotated my receiver around. I did it to accomodate wire lengths. I'm still playing around with it to see if I can get the receiver light to line up with the receiver light window on the case. 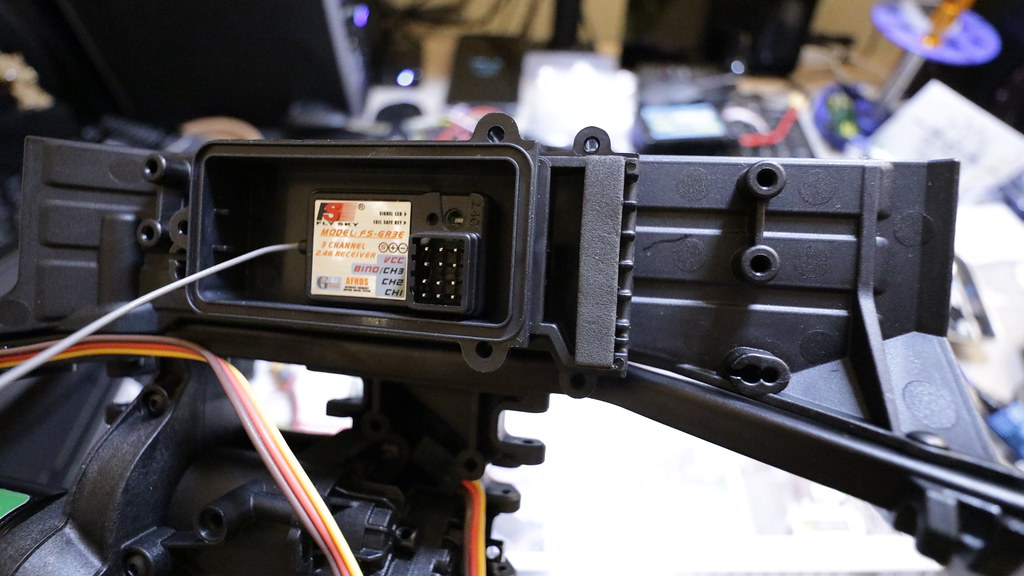 Step E7 Parts 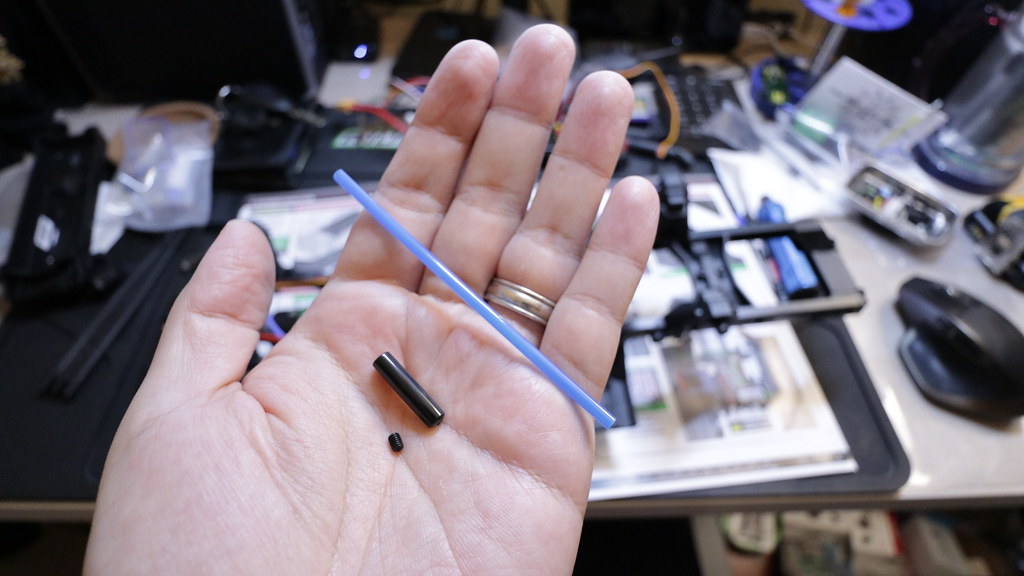 Step E8 is basically routing the wires to the receiver and securing them with the included zip ties. I had to create 2 wire extensions as neither the servo nor the esc wire was long enough to reach the inside of the box comfortably. It looks like I'll have to create 2 more longer ones so that I can turn the receiver around to the other orientation and hopefully line up the light to the light case light window. 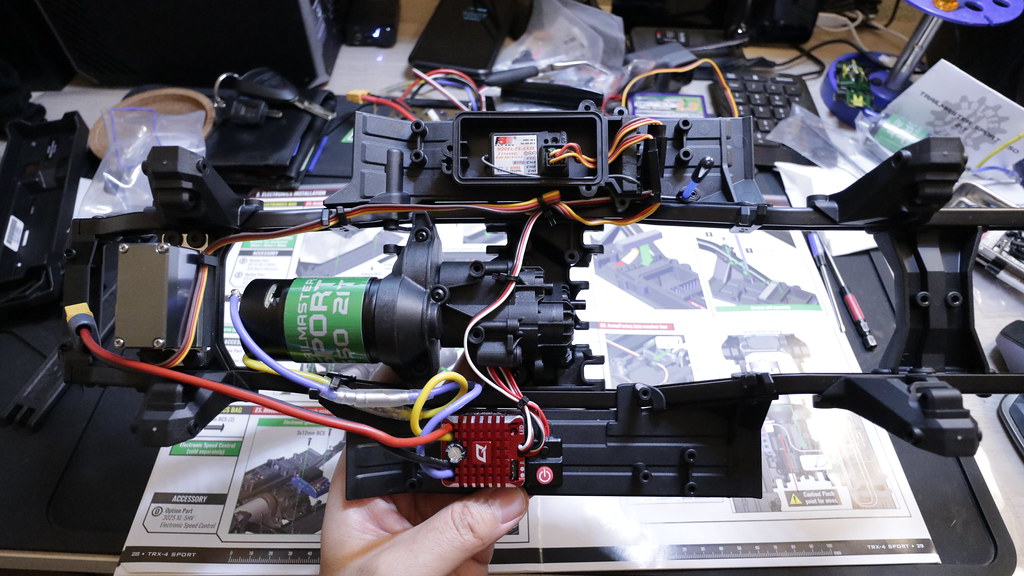 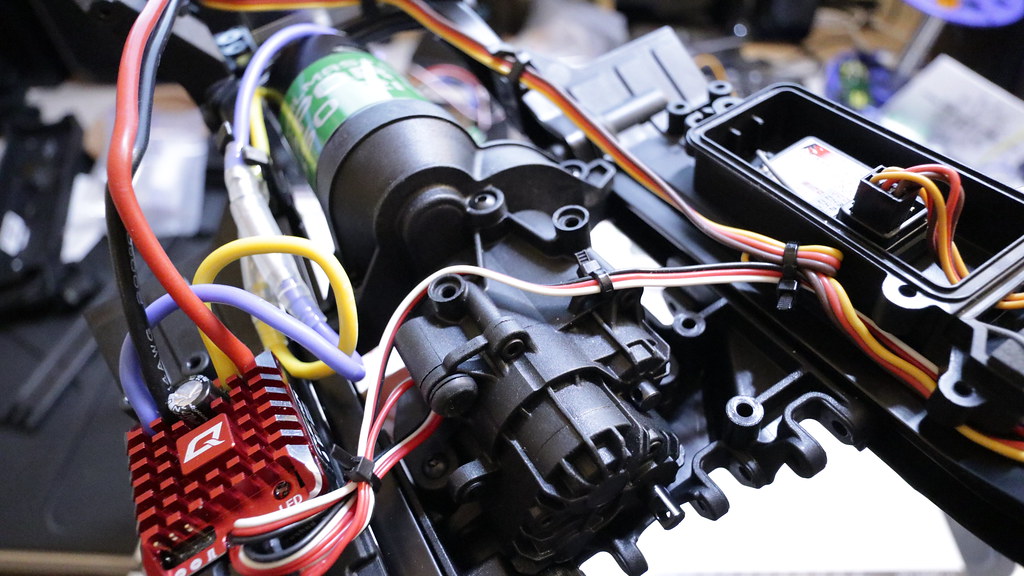 Parts for Step E9 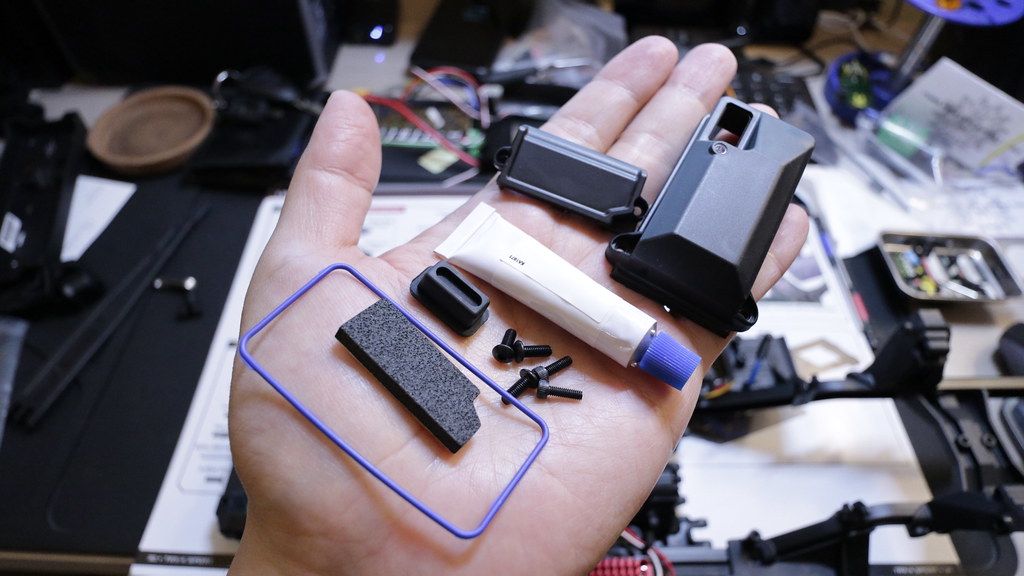 You need to grease the foam seal on the receiver box outlet 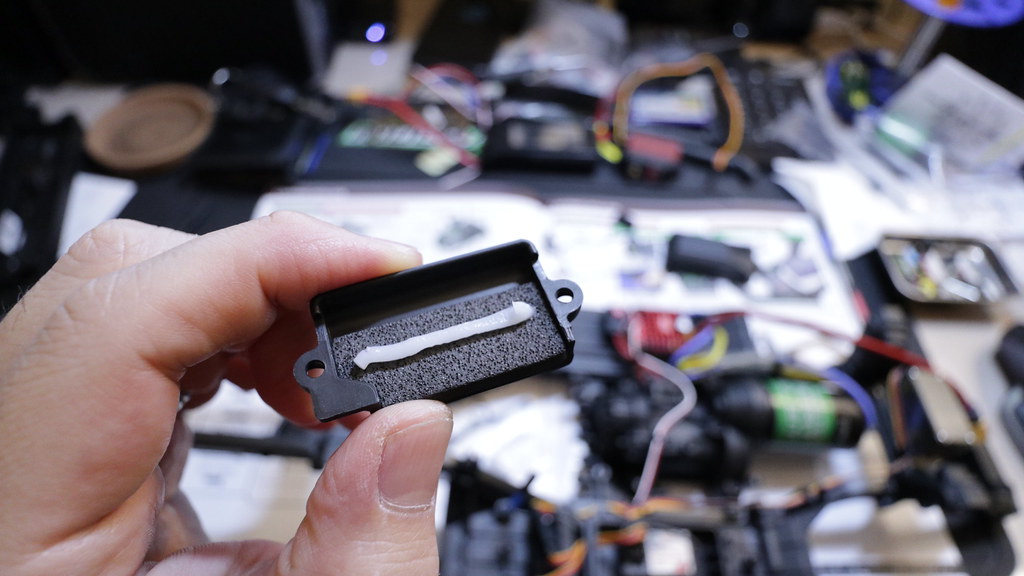 Receiver box o-ring in place 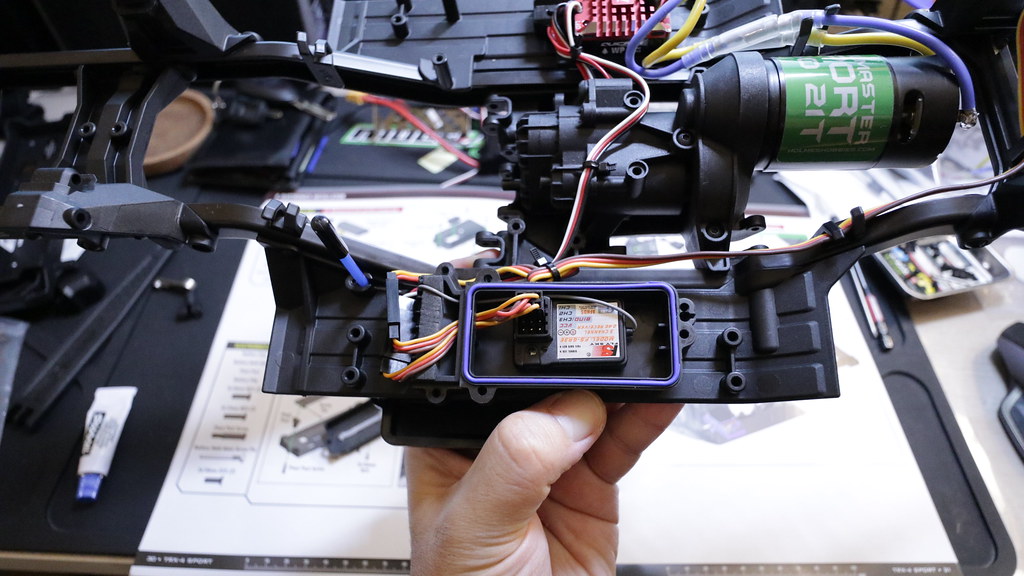 Step E9 completed. Receiver box all closed up. 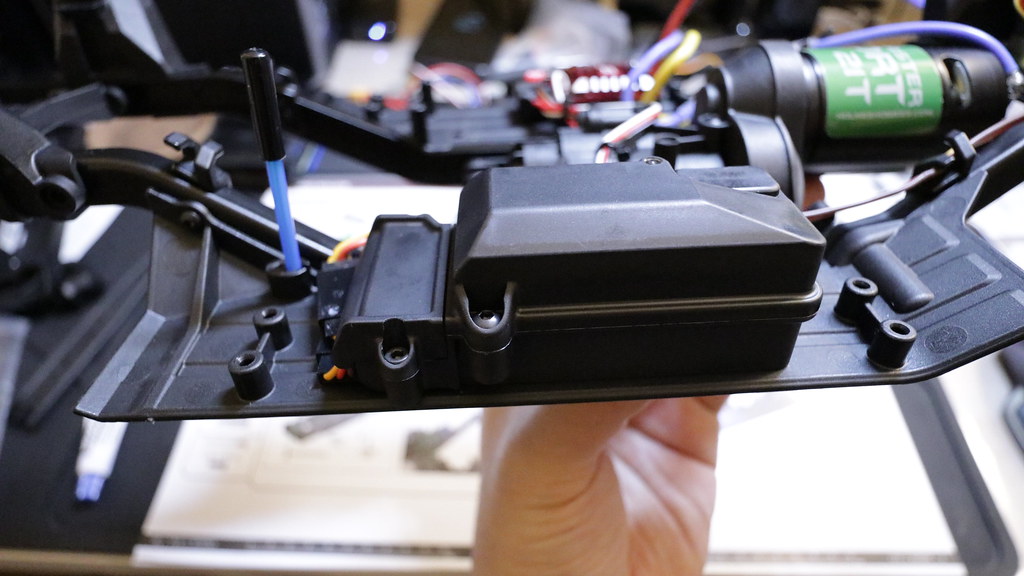 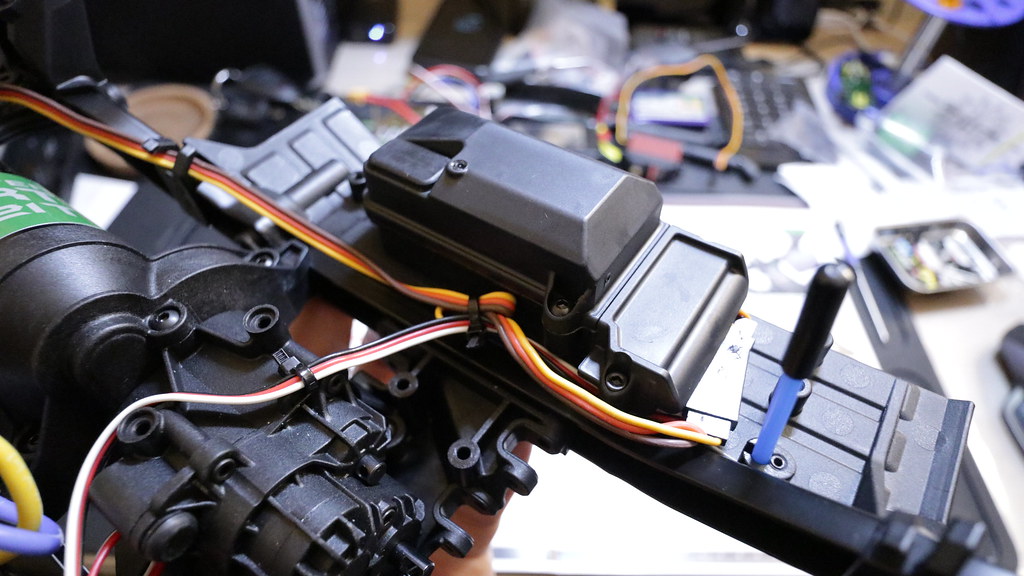 Parts for step E10 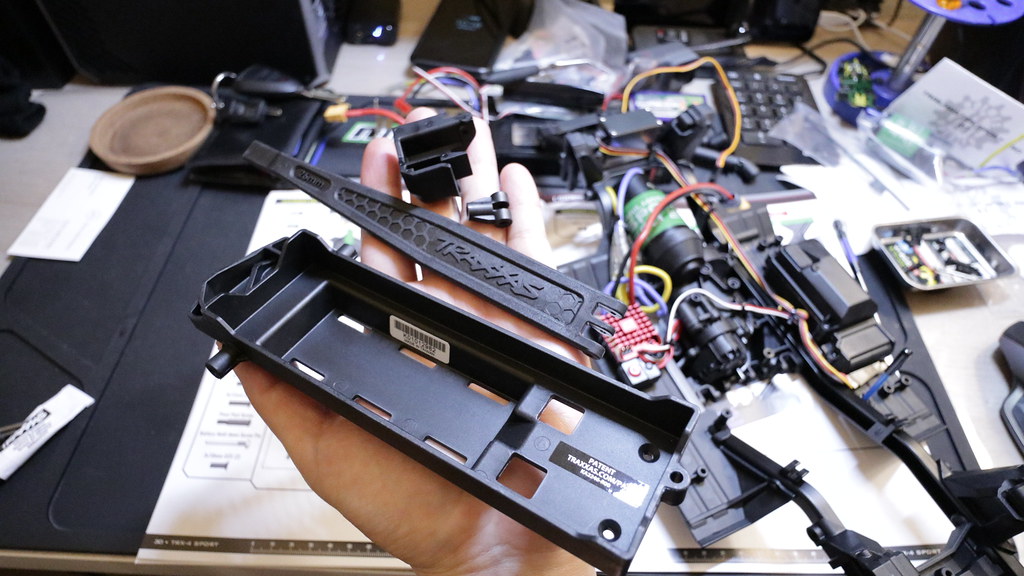 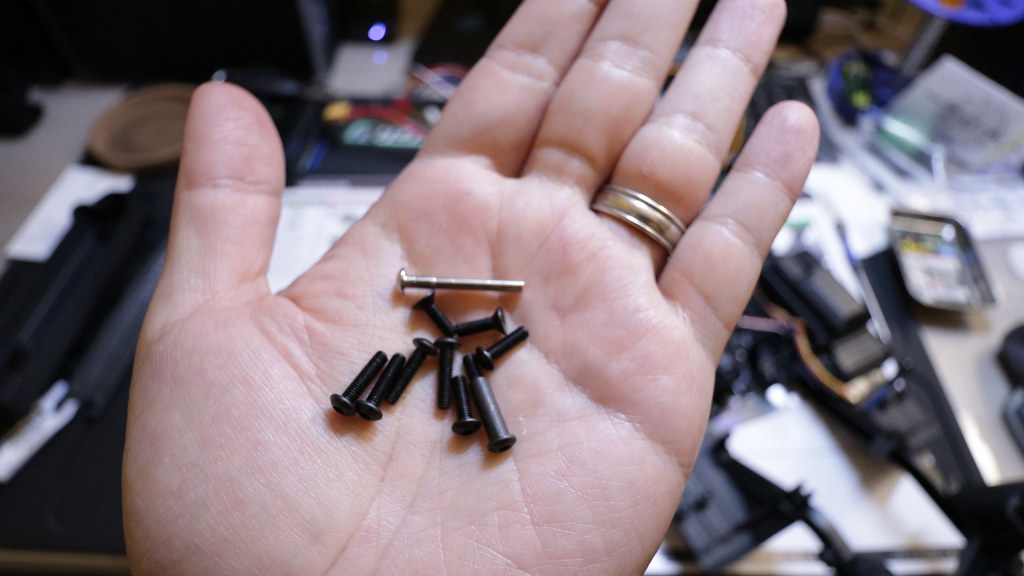 Step E10 completed. I have a feeling this is going to be coming off eventually for a 3D printed low center of gravity tray in the future. 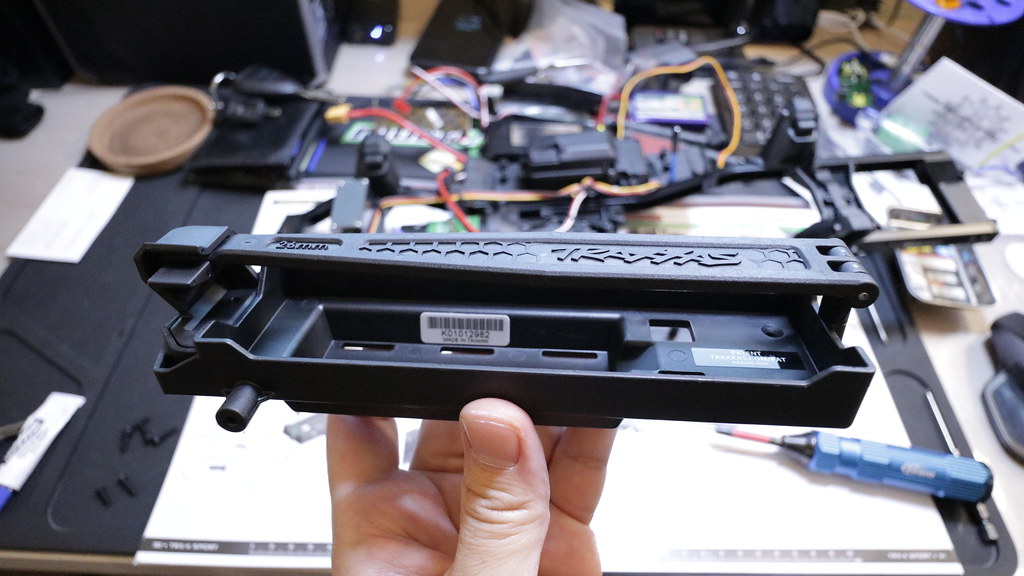 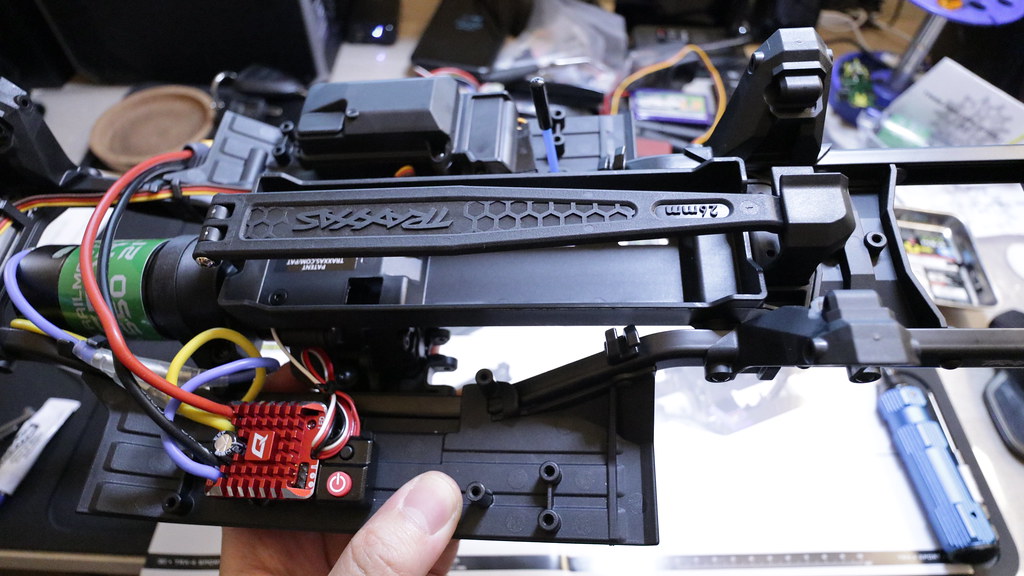 Parts for step E11. Metal servo horn included! 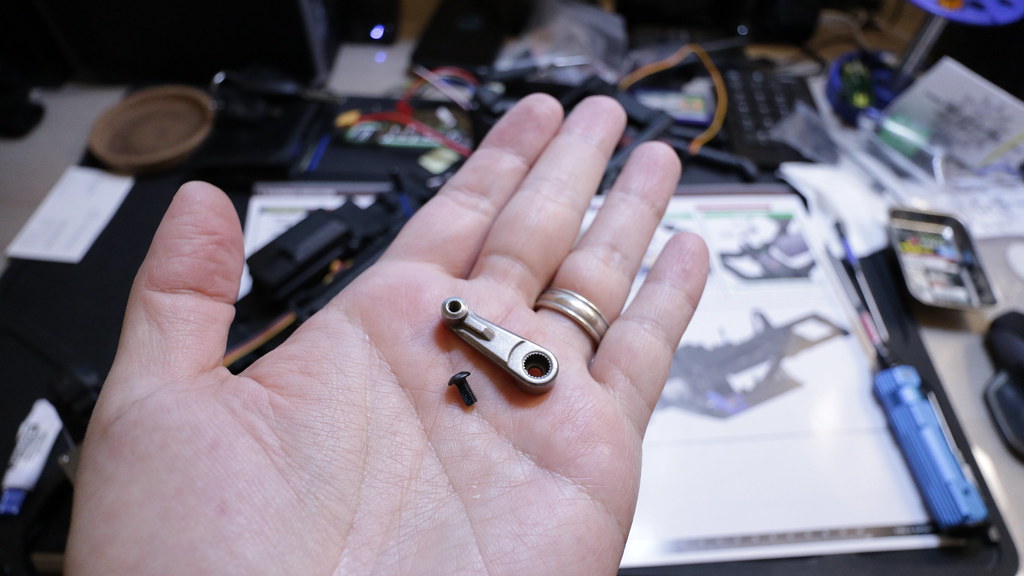 Step E11 complete  That completes Section E - Electronics Assembly!  Last edited by soze; 01-07-2020 at 11:47 PM. |
|
| |
|
03-29-2019, 06:02 AM
| #19 | |
| Moderator Join Date: Sep 2008 Location: PA
Posts: 13,935
| Quote:
Does Traxxas offer the slipper pads separately or are you using another brand for the 45T spurt? Anti-seize is messy stuff. It's not something I ever want on my RC bench. I'm still wondering how it looks after mud and water. You'll have to keep us posted. But I think somewhere else you said you stick to the dry.
| |
|
| |
|
03-29-2019, 06:11 AM
| #20 |
| Go Buckeyes!  Join Date: Jun 2017 Location: Mid-Ohio
Posts: 4,134
|
Nice build thread! Very detailed and informative. Who needs a manual when you have Soze! It's great to see all the Sport Kit builds going on at the same time. Kinda makes me want to buy another and join in. I really enjoy watching your build on YouTube. Looking forward to the next. |
|
| |
|
 Soze rejoices the Traxxas TRX4 Sport Kit - Similar Threads
 | ||||
| Thread | Thread Starter | Forum | Replies | Last Post |
| TRX4 Sport kit | svt923 | Traxxas TRX-4 | 265 | 06-27-2019 04:16 PM |
| Traxxas TRx4 sport bashing | F.i.M.S presents Rc. | Videos! | 0 | 01-13-2019 07:31 PM |
| Trx4 bronco with Sport body and traxxas lift kit | Exiwolfman | Traxxas TRX-4 | 0 | 10-13-2018 02:20 PM |
| Trx4 kit or trx4 sport | mebeknob | Newbie General | 10 | 09-26-2018 10:38 PM |
| |


 Linear Mode


