| |
 10-09-2015, 03:16 PM
| #121 |
| RCC Addict Join Date: Sep 2015 Location: Southern Maine
Posts: 1,024
|
I'd like to know how that articulates after adding the sway bar. You only did it to help with the torque twist right? I know the 1:1 guys always ditch the sway bars to help with flex. Are those axial parts on the ascender!? Shame shame lol Ben |

|  |
| Sponsored Links | |
| | |
|
10-09-2015, 03:27 PM
| #122 |
| I wanna be Dave  Join Date: Jan 2006 Location: Corruptifornia
Posts: 12,107
|
Any swaybar limits articulation, that is how they work, they key is not to limit it too much...all a balancing act. A proper swaybar should not limit vertical travel, this truck has plenty of flex maybe a bit more than needed. I find trucks crawl better when the front does more of the flexing in scale rc and 1:1. Why yes, yes they are, thanks lol.  I went to LHS and looked at every swaybar they had for all scales of vehicles and this seemed best so far. I went to LHS and looked at every swaybar they had for all scales of vehicles and this seemed best so far. |
|
| |
|
10-09-2015, 04:34 PM
| #123 |
| RCC Addict Join Date: Sep 2015 Location: Southern Maine
Posts: 1,024
|
Nice. I'll keep that in mind for someday. I've got to get some softer foams but going to tires and foams when I get my new beadlock wheels but will probably wait for Santa to bring those for me lol. I do mostly loose dirt and rock crawling and the stock tires don't flex much at all to help grab the rocks. Still having fu. With it as it for sure though! Be |
|
| |
|
10-09-2015, 05:56 PM
| #124 |
| I wanna be Dave Join Date: Jan 2006 Location: Corruptifornia
Posts: 12,107
|
I'm loving the stock tires with the little heavier RC4WD stamped steel wagon wheels, perfect 1.9 wheel/tire weight imo, with CI DW foams for Pitbull Rockbeast tires, works perfect. I really like the look of RC4WD 1.9 IROKs too, but have not tried them.
|
|
| |
|
10-11-2015, 01:35 AM
| #125 |
| I wanna be Dave Join Date: Jan 2006 Location: Corruptifornia
Posts: 12,107
|
I started with the stiffest wraith rear bat,but after testing settled on the softest for now. I used 5mm thick axial spacers on the swaybar arms between the am and upper endlink (green spacers). The endlinks are 48mm eye to eye using parts from the slash swaybar kit, there is zero binding and it crawls much better with this setup. I was rereading some threads on ascender swaybars and noticed that Metalry101 used axial bent plastic link ends to prevent binding at the lower end links instead of what I did. The wraith swaybar is 89mm long, I bought 2mm (3/32") and 2.38mm (1/8", 0.125") music wire and may make my own bar for the axial arms with a bar length of 110mm to effectively soften the bar and prevent binding at end links. My setup for now is working well and no binding! More testing and pics later. I haven't played with swaybars much so I'm not sure what effect changing link length has on bars effectiveness. Different link length will change the angle of the bar and links, logic says a neutral bar and link position at ride height would be best imo. Need to thicken front shock oil or get new pistons and drill holes same size as I did for rears. Now that the rear swaybar is working well, when braking or fast let off the gas on descent the front right dives and the left rear lifts. Last edited by Natedog; 11-18-2015 at 05:36 PM. |
|
| |
|
10-15-2015, 03:13 PM
| #126 |
| I wanna be Dave Join Date: Jan 2006 Location: Corruptifornia
Posts: 12,107
|
Soldered up some flexible, waterproof, 3M self-adhesive backed red LEDs that I got from Professorcake, thanks again! After soldering, I dabbed a little E6000 around the leads, solder joints and the led end, then shrinkwrapped it just in case and provide strain relief for the wires. These are for rock lights, I've always wanted to try red after always using standard white light leds for this, for looks and to help with night vision and glare. 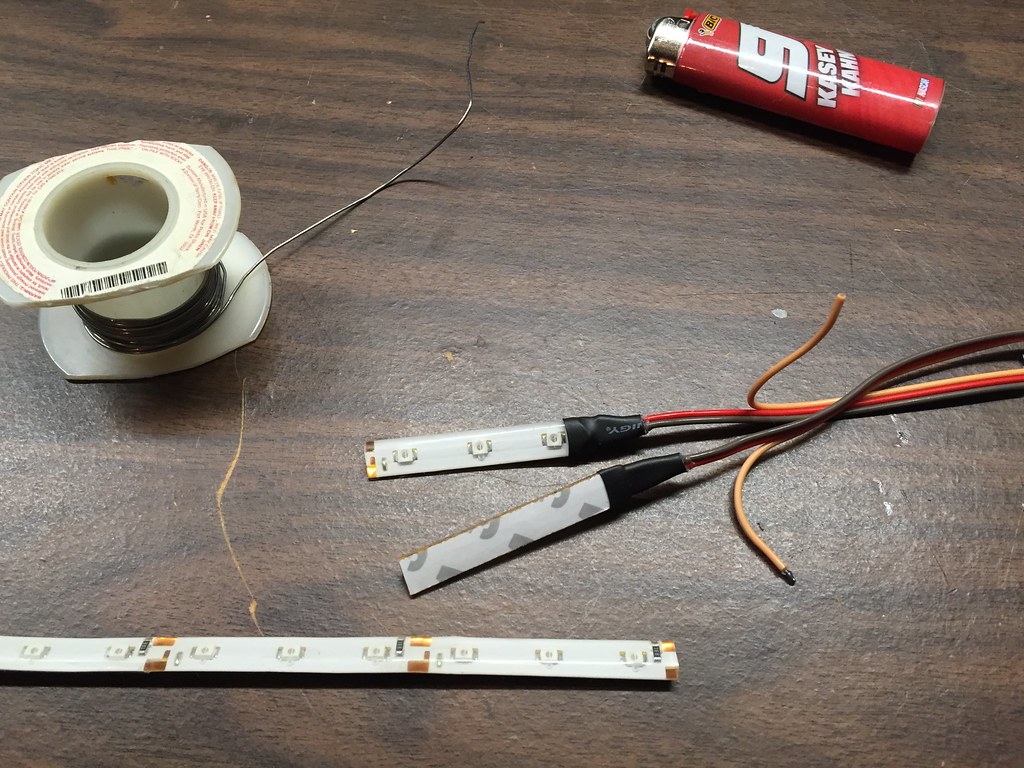 IMG_0607 IMG_0607 Six LED headlight/marker light harness. I'm going to ShoeGoo this down the middle of the underside of hood pretty much as it sits, then crimp a RX plug on the end of the two wire leads. I've been doing a bunch of lexan body reinforcement using drywall mesh tape and E6000, this body has been taking a beating, but I want it to last as long as possible. 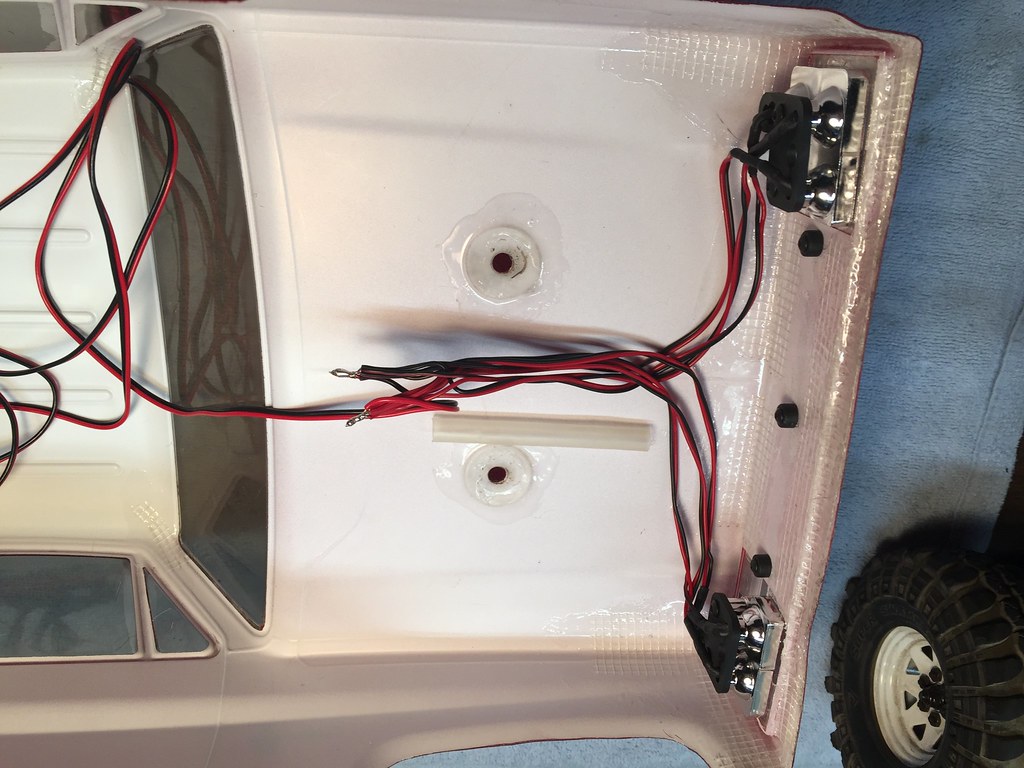 IMG_0608 IMG_0608 Y-harness plugged to RX and threaded out from the box to plug two light harnesses into. 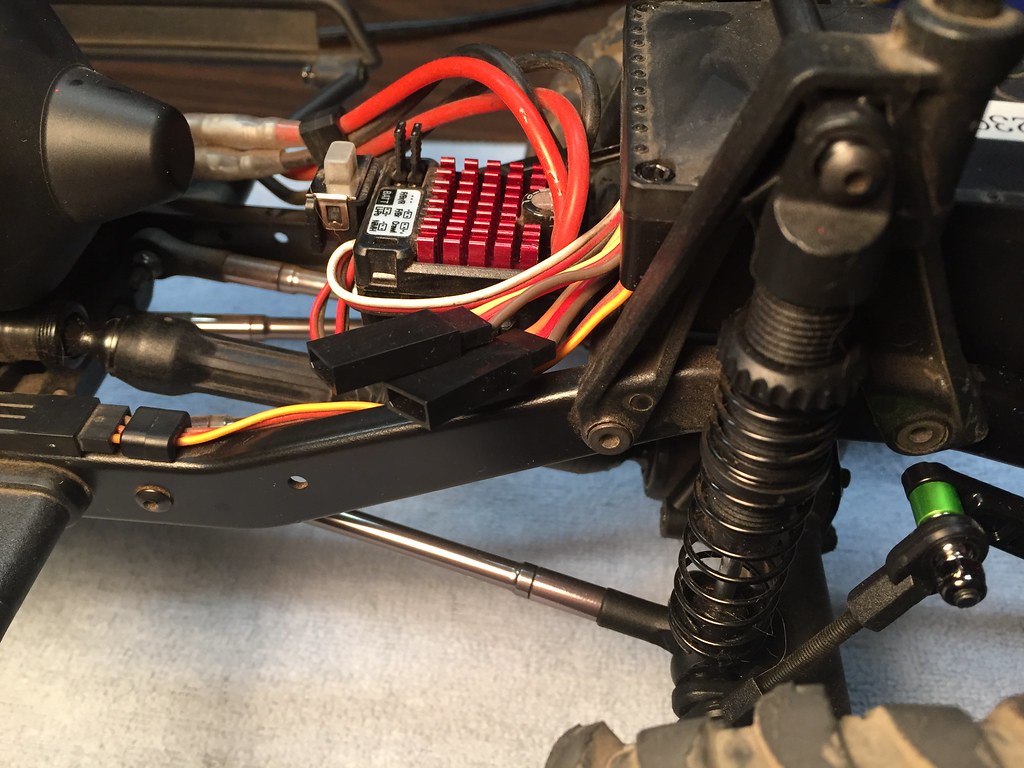 IMG_0609 IMG_0609 Rocklights, one strip of three LEDs front and one strip of three in the rear powered by 2S. 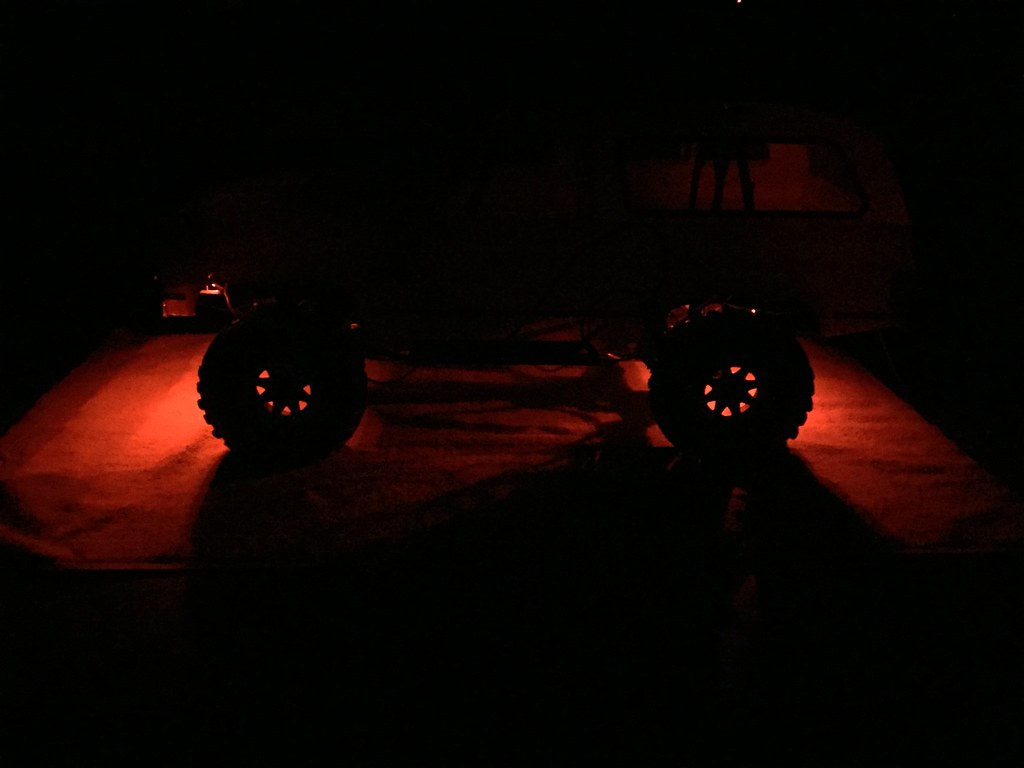 IMG_0610 IMG_0610 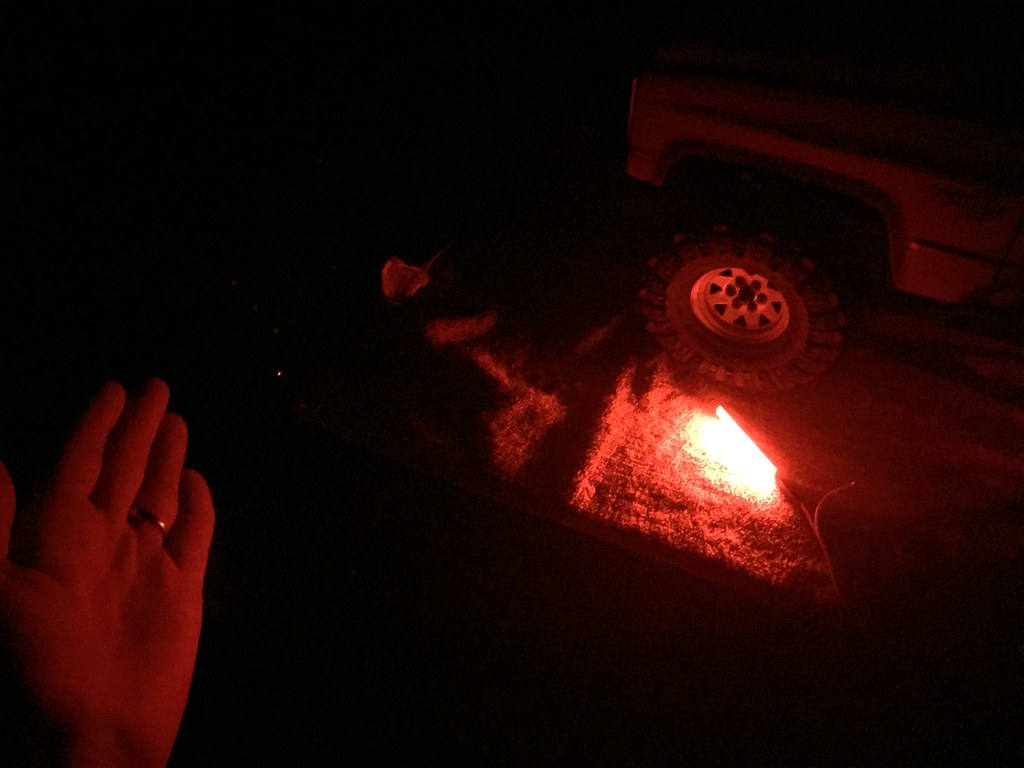 IMG_0611 IMG_0611 One SuperBright LEDS soft white dot LEDs just in the rear for comparizon, these are great on 3S, but as you can see kinda meh on 2s...not bright enough.  IMG_0612 IMG_0612 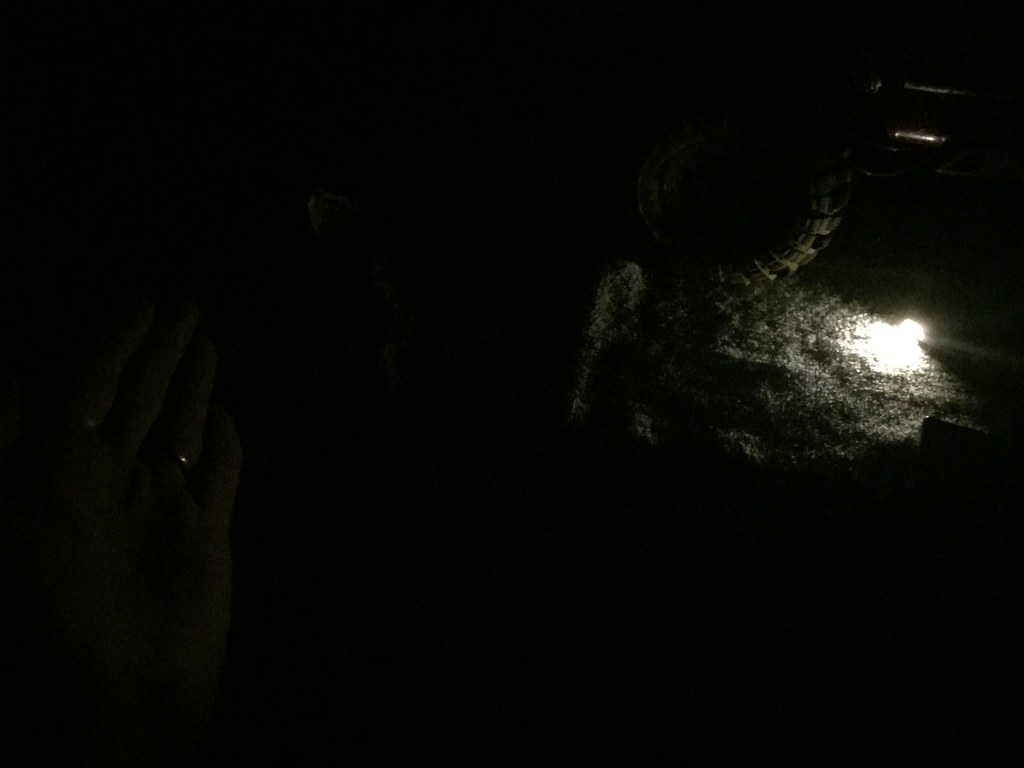 IMG_0613 IMG_0613 Last edited by Natedog; 03-29-2018 at 12:44 PM. |
|
| |
|
10-15-2015, 04:42 PM
| #127 |
| RCC Addict Join Date: Sep 2015 Location: Southern Maine
Posts: 1,024
|
Nice I was just thinking of under body lights at some point. I'm dying waiting for my light kit that I ordered from my local hobby shop. I got the realistic light kit that has headlights low and high beam, turn signals, brake and park lights. Hopefully I can figure out how to wire them in. I never thought of red under body lights but that's bad a$$! I'm thinking of powering mine with a 9 volt and remote led controller/dimmer that's on ebay. That way it's not pulling power from my 2s battery pack and I can thru. Them on and off without having to unplug them or cool with wiring. I'd love to see your set up all out up headlights and all. The days are getting shorter so they'll come in handy for sure. Where did you get the red lights, another member or online somewhere? Also, what is the stuff you and I think many dip their electronics in to water proof them? I'm not at ranger to nearly shrink and have plenty but nothing else. Thanks! Ben |
|
| |
|
10-15-2015, 05:31 PM
| #128 |
| I wanna be Dave Join Date: Jan 2006 Location: Corruptifornia
Posts: 12,107
|
Hey Ben, Thanks for the kind words. I thought about 9volt battery too, but I hate buying any non-rechargeable battery. It's easier, less junk and less weight to just wire into your receiver, lipo balance tap, battery main power wires, or if you want separate battery, buy small 800 - 1000mah lipo dedicated to lights. Yes, less daylight and we go back to standard time first Sunday in November, so that has lit a fire under me to finish lights. I got the lights from Professorcake in a great deal for a second set of Ascender tires, LED strip and wiring and plugs. I forget where he bought them, but there's a couple links below. Our LHS sells all the different colors by the foot at reasonable prices. R/C Country Hobbies - 15 Photos - Hobby Shops - East Sacramento - Sacramento, CA - Reviews - Yelp HobbyKing stocks all colors too, great price too. Here's the red: Turnigy High Density R/C LED Flexible Strip-Red (1mtr) Turnigy High Density R/C LED Flexible Strip-Red (1mtr) 60 LED's per meter!! LED's are arranged in sets of 3, you can cut the strip and make new strips or extend strips to make any combination of 3 lights! Features: Comes with adhesive tape backing for easy mounting Flexible enough to be bent at any angle Easy to use. Just peel and stick! Large voltage input range up to 12V DC! (Great for 2-3S Lipoly) Specifications: Standard length: 1 meter Strip width: 8mm LED quantity per strip(1 mtr): 60 LEDs Working voltage: DC12V Working current(1mtr): 400mA Wire length(1mtr): 10cm Weight including wire(1mtr): 11g Certification: CE & Rohs Vaterra LED Light Bar Insert Slickrock (PART NUMBER: VTR310000) is a great pre-wired setup for rocklights (white, not red color) and can be used in their plastic housing (or make your own from styrene) as a forward facing lightbar on the bumper or roof. Vaterra LED Light Bar Insert Slickrock Vaterra Light Bar Housing Slickrock (PART NUMBER: VTR210014): Vaterra Light Bar Housing Slickrock Waterproofing electronics I've use MCG Products conformal coating spray (it can be sprayed into a small cup or jar and brushed on too). It works very well and is what most OEM waterproofers use. Corrosion X is something your dip the parts into, it does not dry, and must be re-applied periodically. I have not used Corrosion X, but others said it works very well. Do not use Plasti-Dip for waterproofing directly on electronics, it's way too invasive, messy, holds in too much heat, and can crack parts off of the circuit board in extreme heat/cold temperature changes. |
|
| |
|
10-19-2015, 05:22 PM
| #129 |
| I wanna be Dave Join Date: Jan 2006 Location: Corruptifornia
Posts: 12,107
|
Crawled again yesterday testing some rear swaybars on and noticed that during articulation the rear axle looks a little too far forward in the wells, probably about the 3/16" like CarterFab moved his. Don't Touch My Jimmy: GMC Jimmy build by CFM Wraith rear swaybar works great and the torque twist has gone to almost nil using the softest bar in the kit. It measures 0.047" at thinnest center and overall is 0.098" at the thicker part, it is still a bit too stiff imo for lightweight rig like mine. I have several sizes of music wire and am going to cut one from 0.078", 0.062", and 0.055" and sleeve the ends where the arms clamp with some aluminum or brass tubing. The crawling was greatly improved! Still seems like maybe try some 10mm internal limiters, not sure it really needs this much suspension travel. Also have several ideas for raising the front axle panhard mount and steering linkage to match. Swaybar doing it's thing! 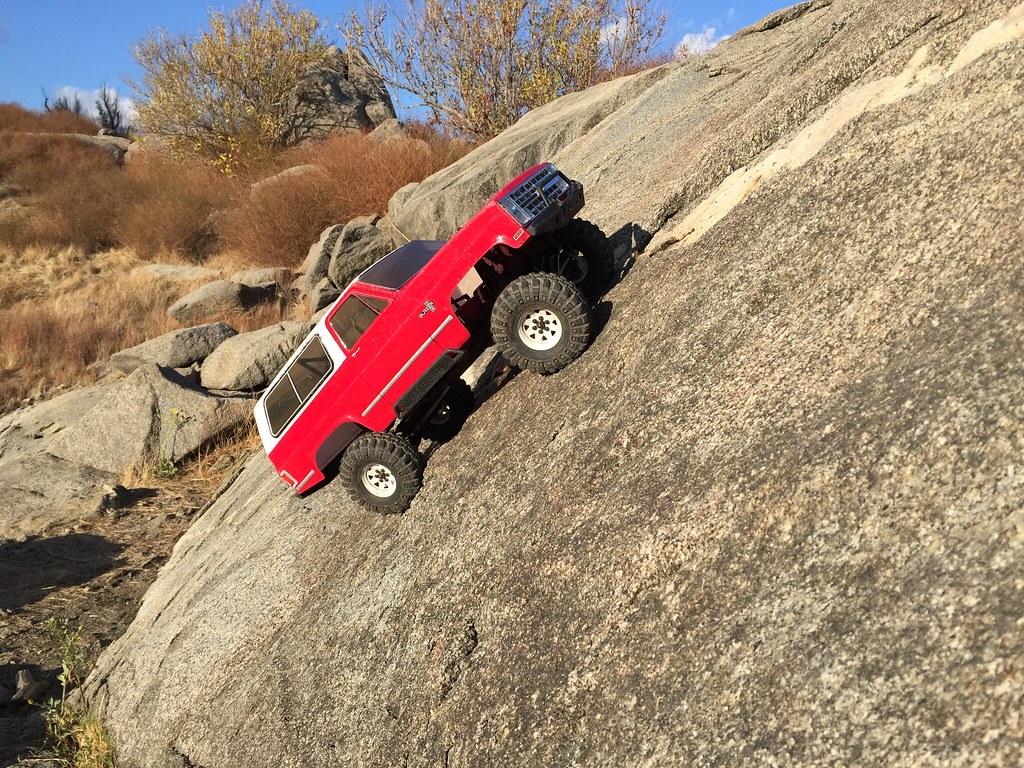 IMG_0614 IMG_0614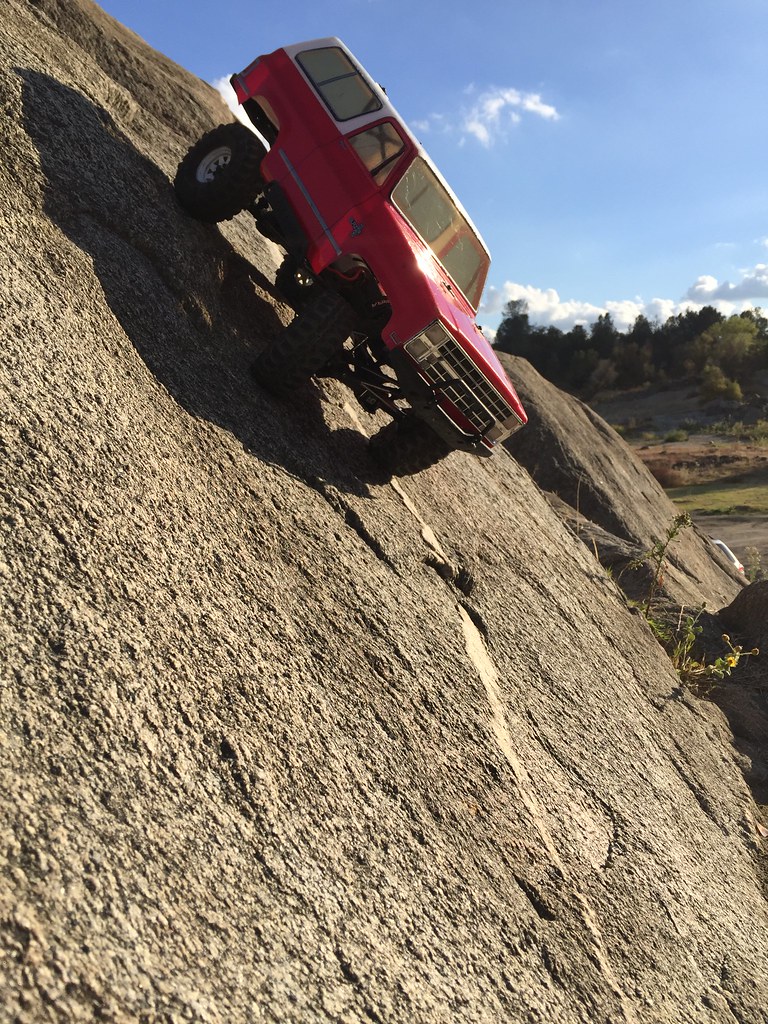 IMG_0615 IMG_0615 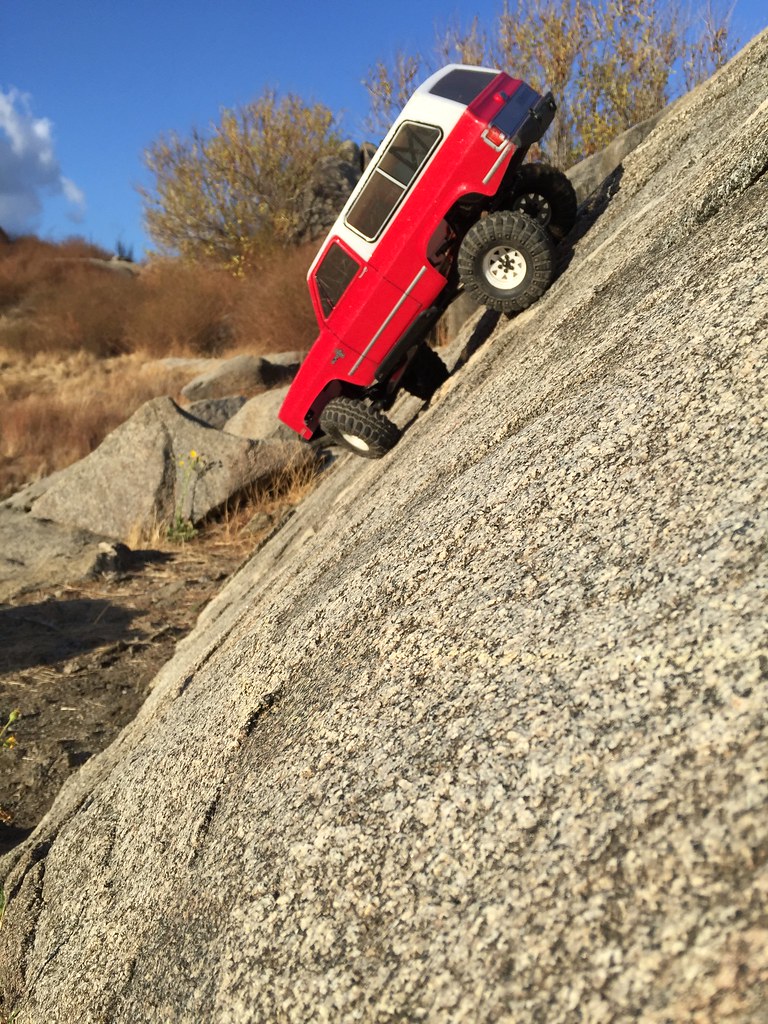 IMG_0616 IMG_0616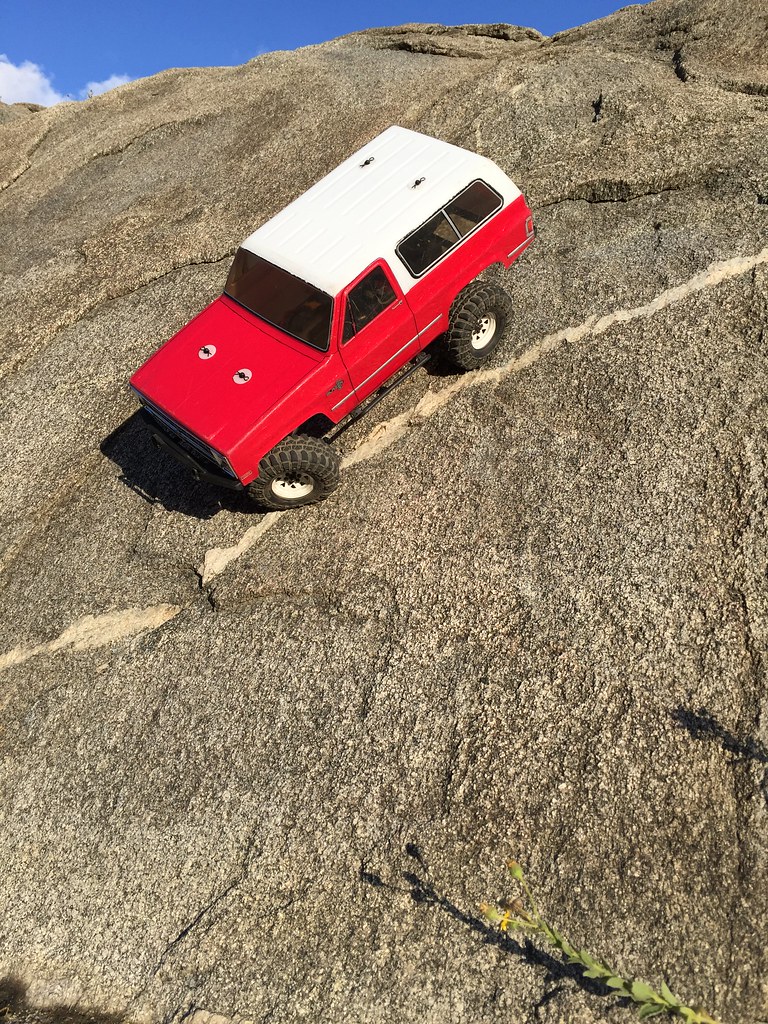 IMG_0617 IMG_0617 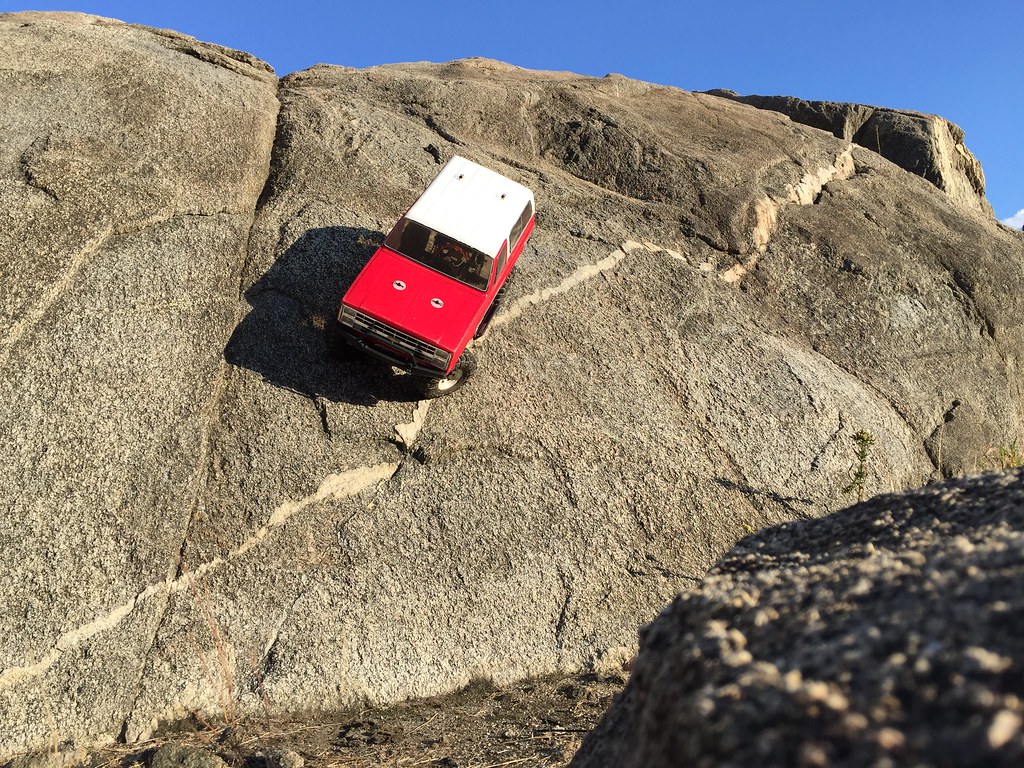 IMG_0618 IMG_0618 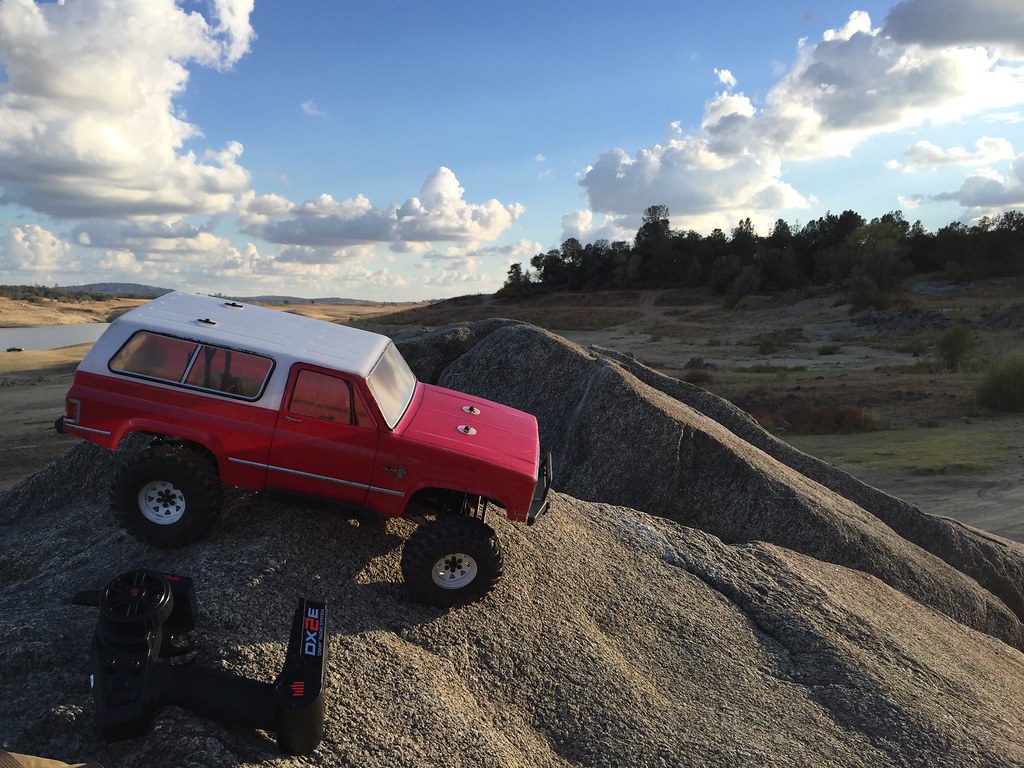 IMG_0619 IMG_0619 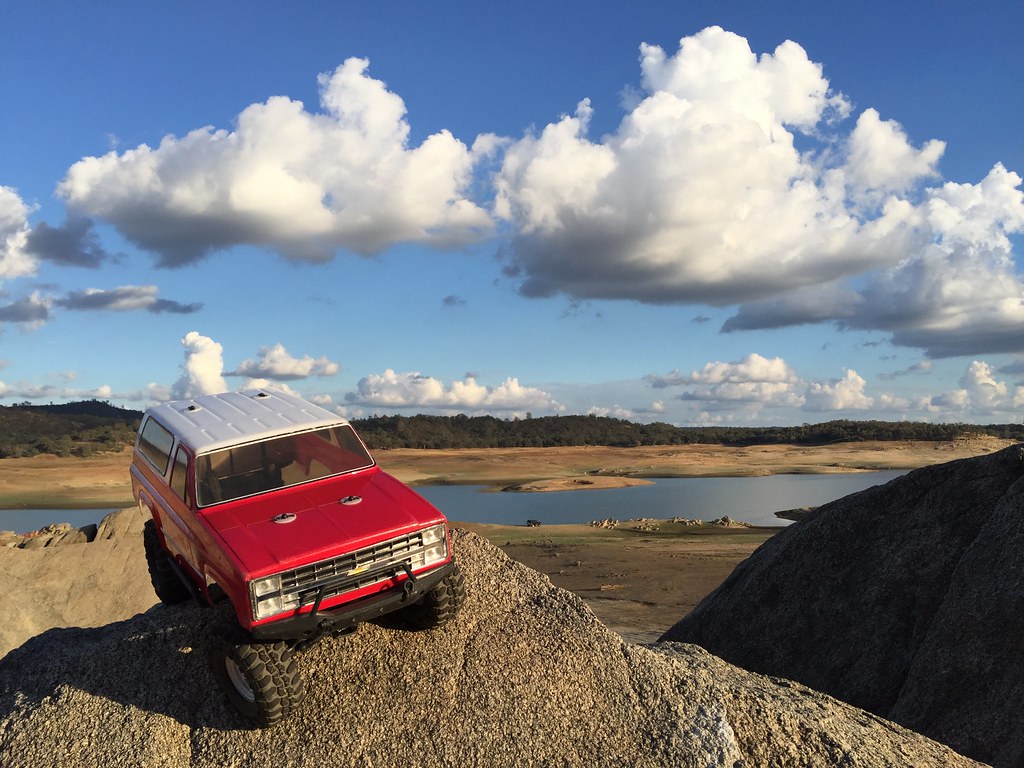 IMG_0620 IMG_0620 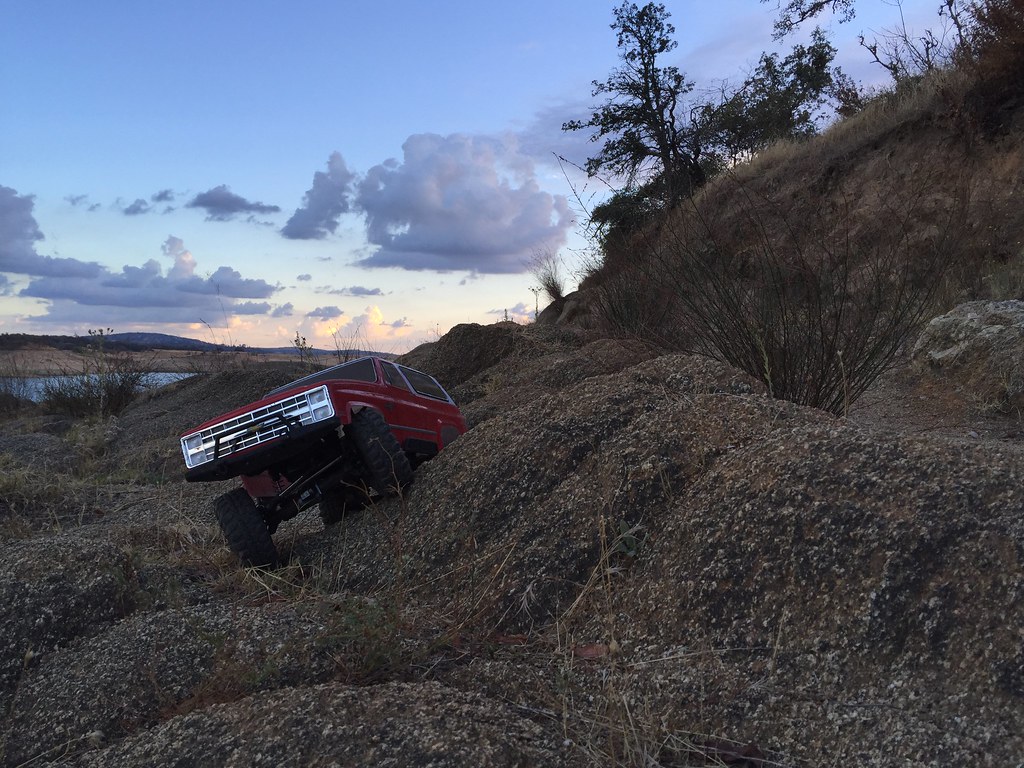 IMG_0621 IMG_0621 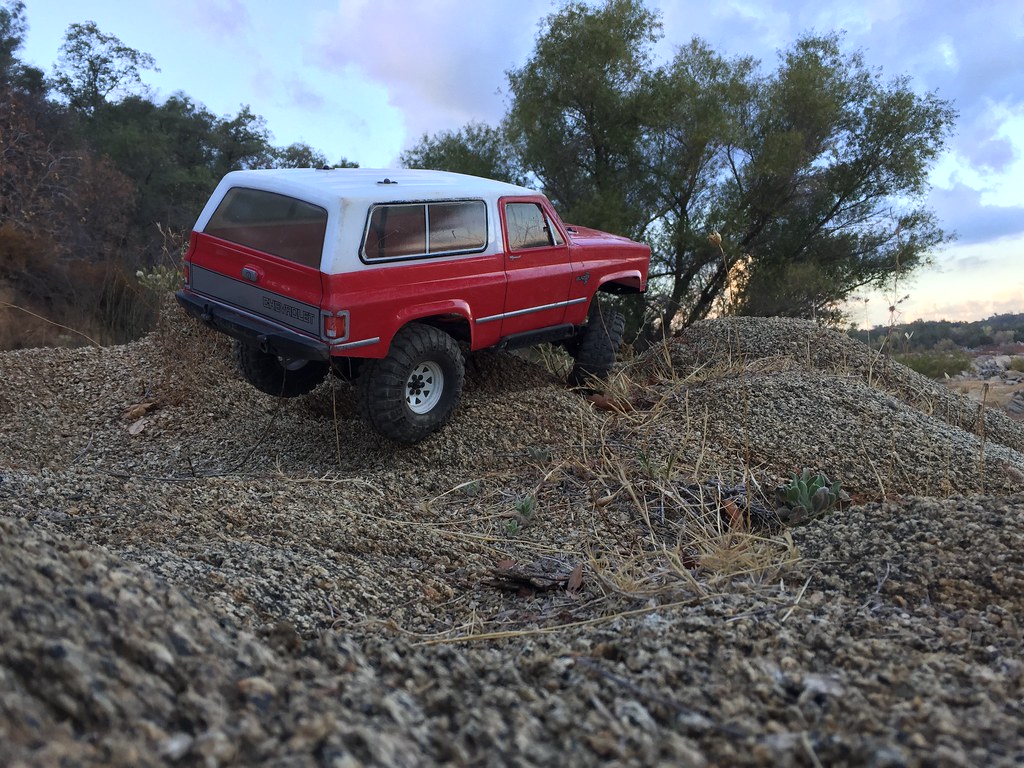 IMG_0622 IMG_0622 Last edited by Natedog; 03-29-2018 at 03:06 PM. |
|
| |
|
10-19-2015, 05:28 PM
| #130 |
| I wanna be Dave Join Date: Jan 2009 Location: New Port Richey, FL.
Posts: 2,545
|
Love those rocks!
|
|
| |
|
10-19-2015, 05:30 PM
| #131 | |
| I wanna be Dave Join Date: Jan 2006 Location: Corruptifornia
Posts: 12,107
| Quote:
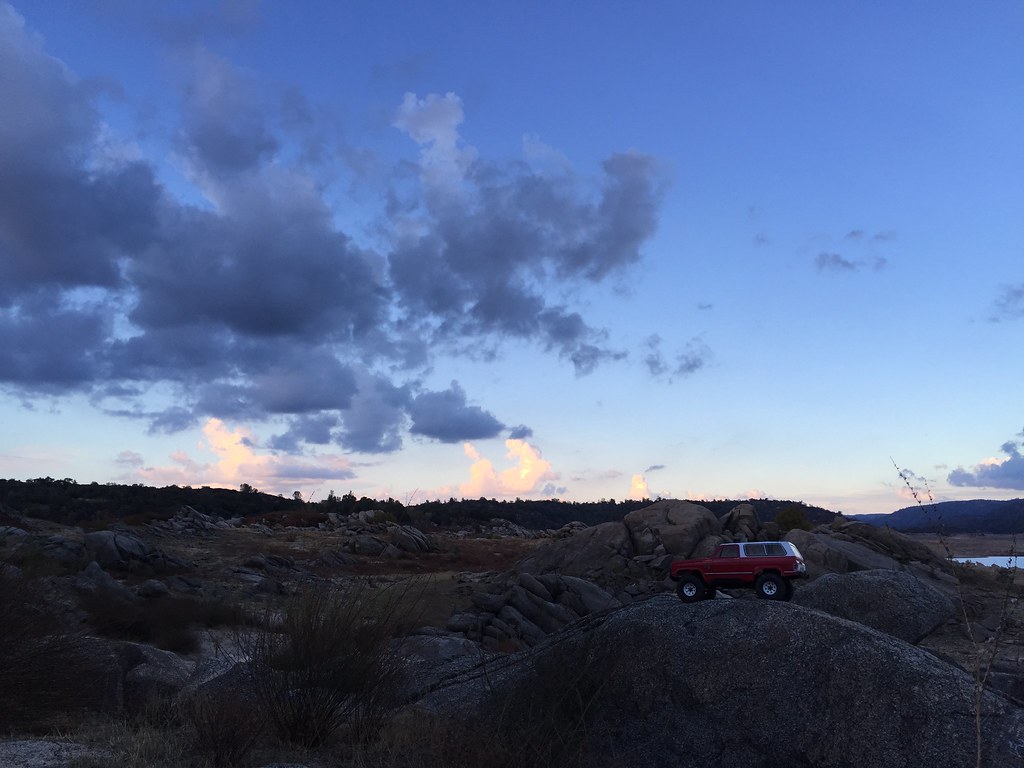 IMG_0623 IMG_0623 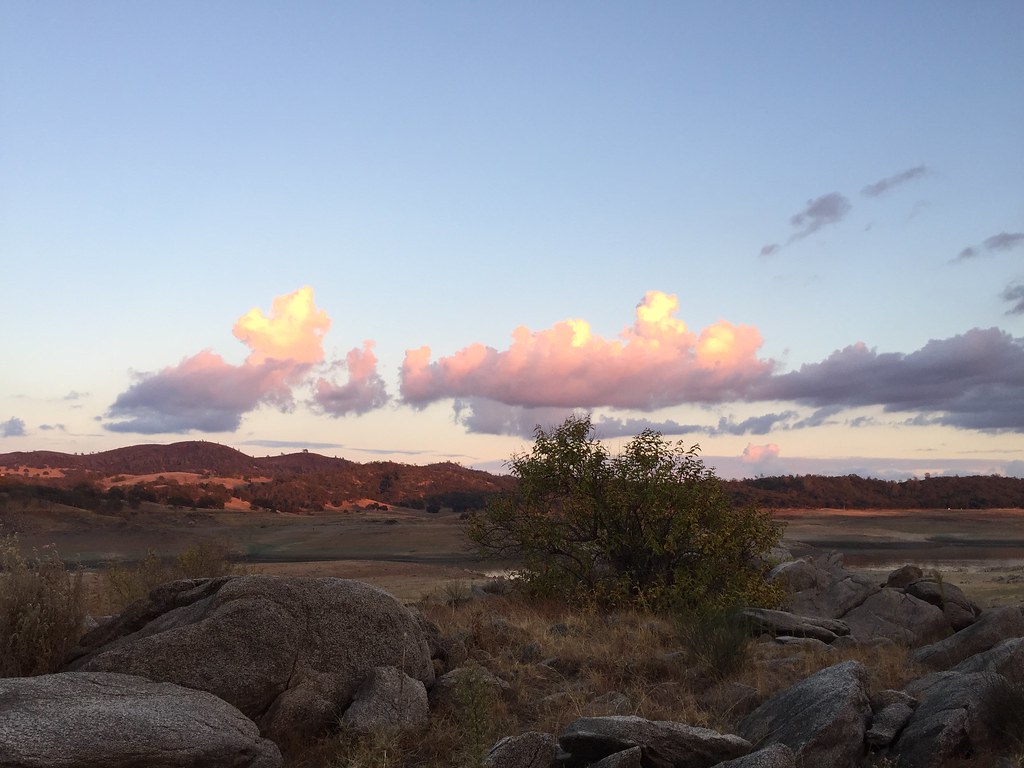 IMG_0624 IMG_0624 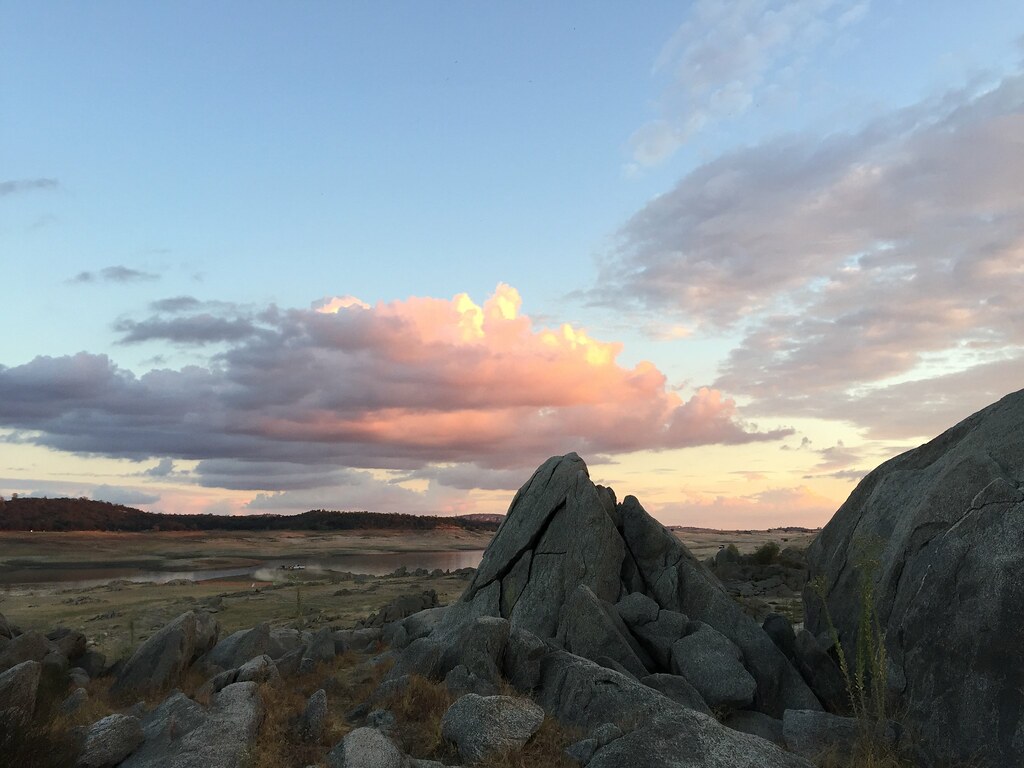 IMG_0625 IMG_0625 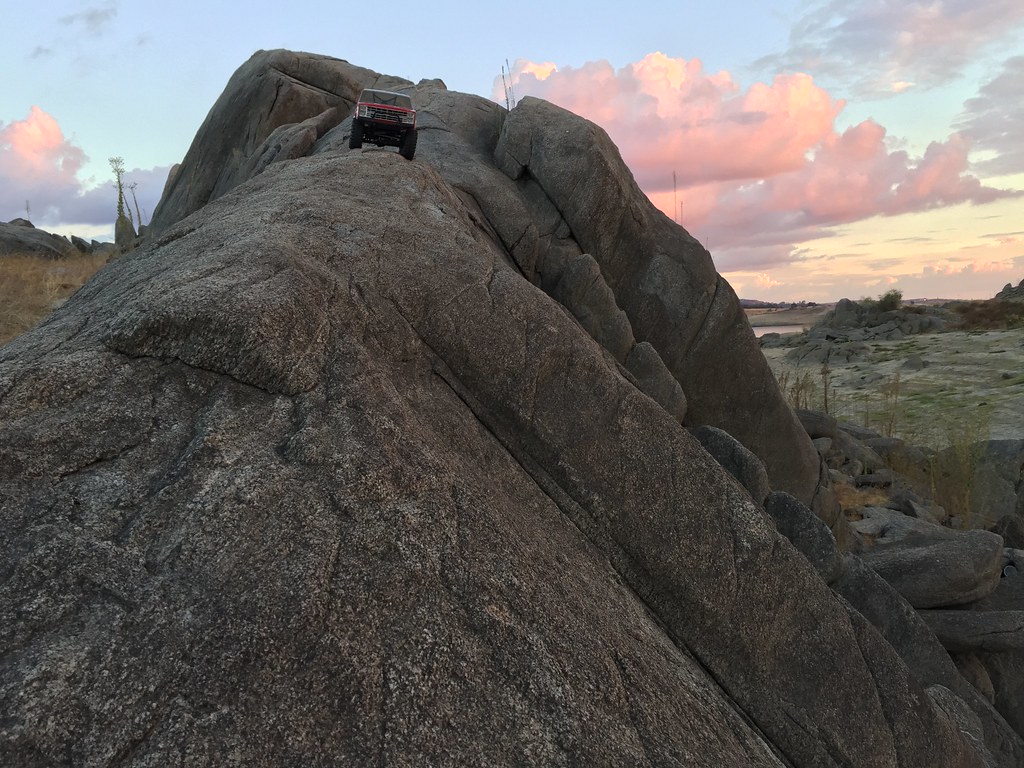 IMG_0626 IMG_0626 IMG_0627 IMG_0627 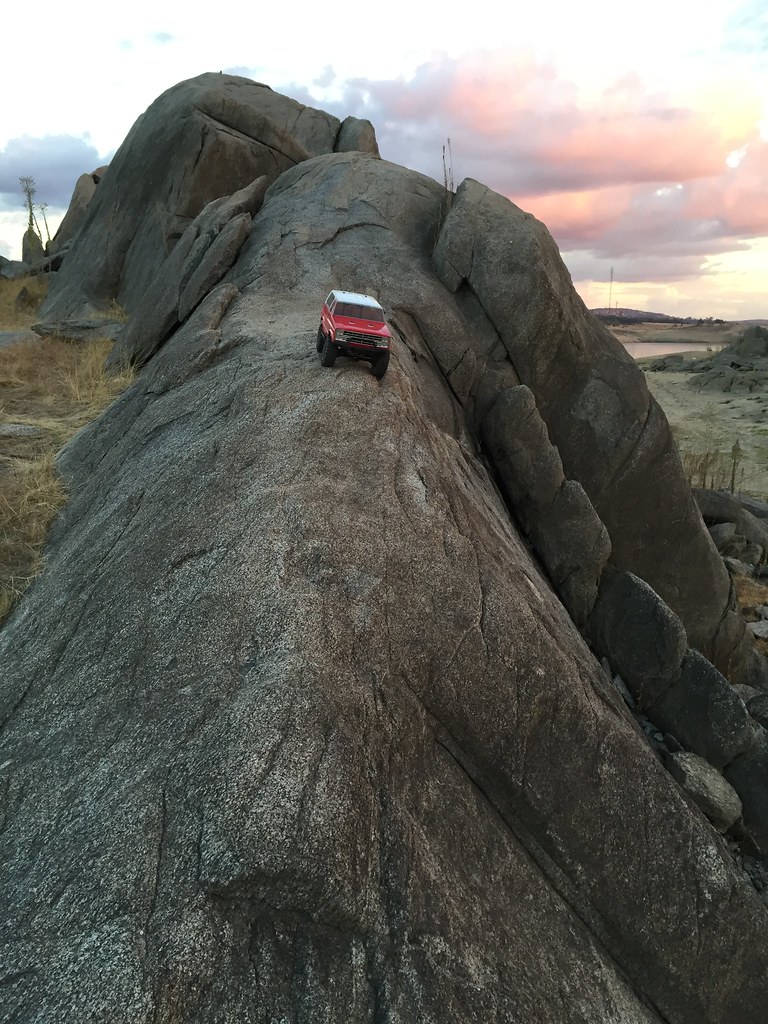 IMG_0628 IMG_0628 Little carnage...gotta admit I like to push this things limits, it's had a few long tumbles and it's kinda like a rental truck when hanging out with friends without a cralwer. 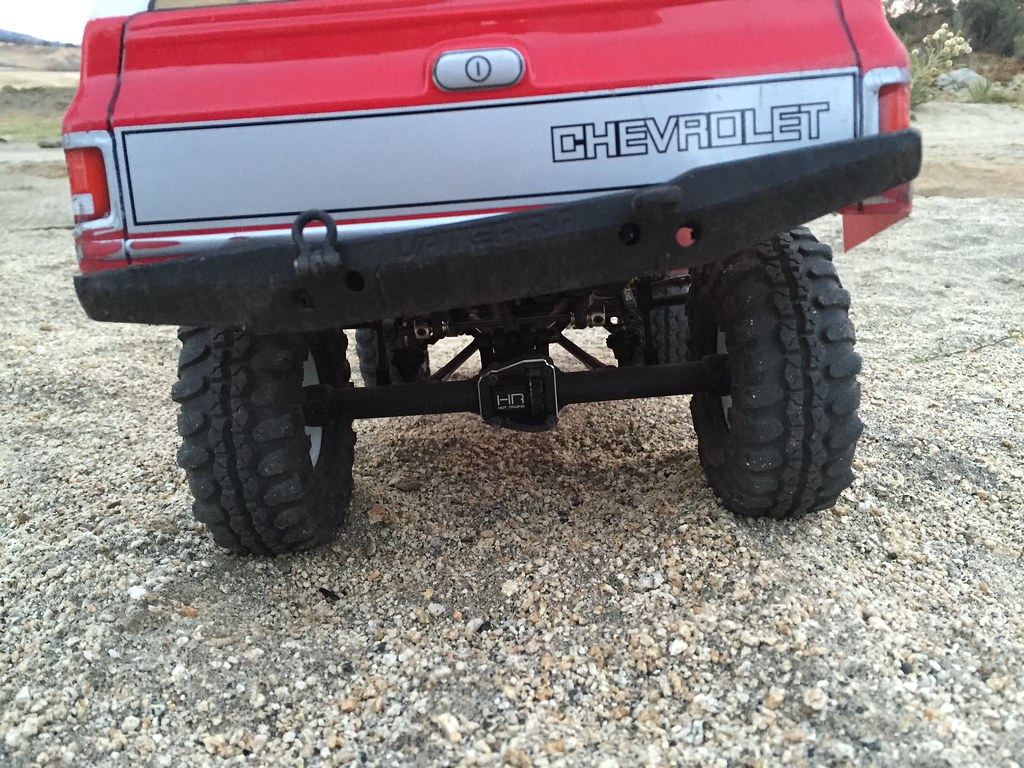 IMG_0629 IMG_0629 Salida... 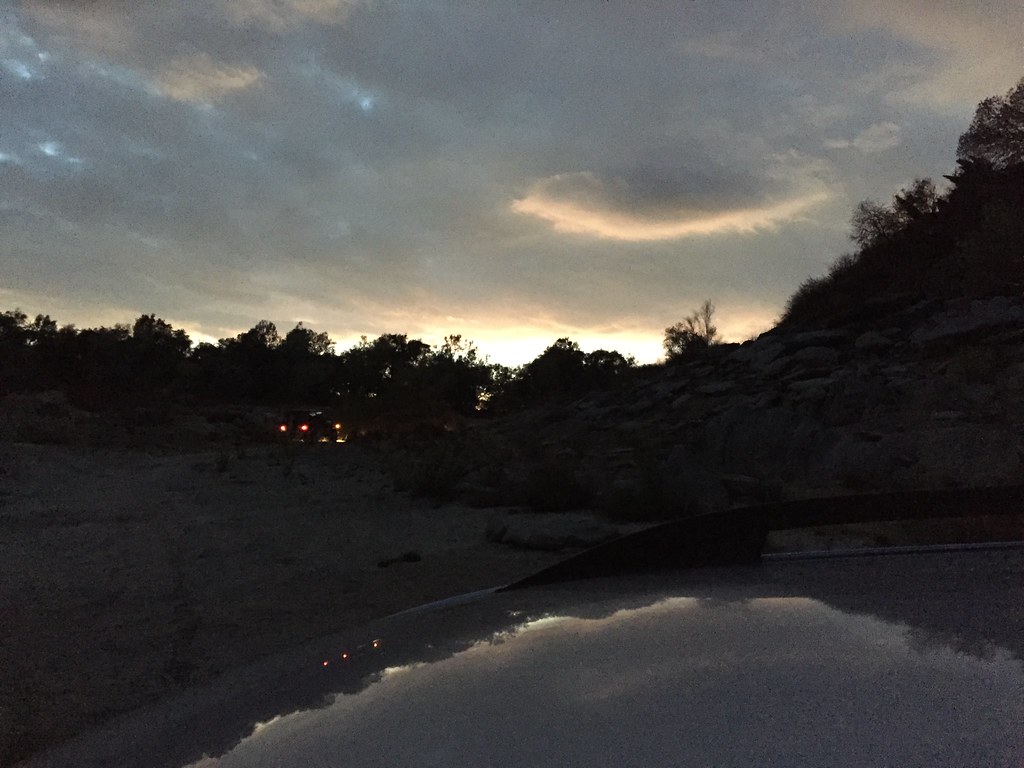 IMG_0630 IMG_0630 Carnage exam in the workshop  IMG_0631 IMG_0631 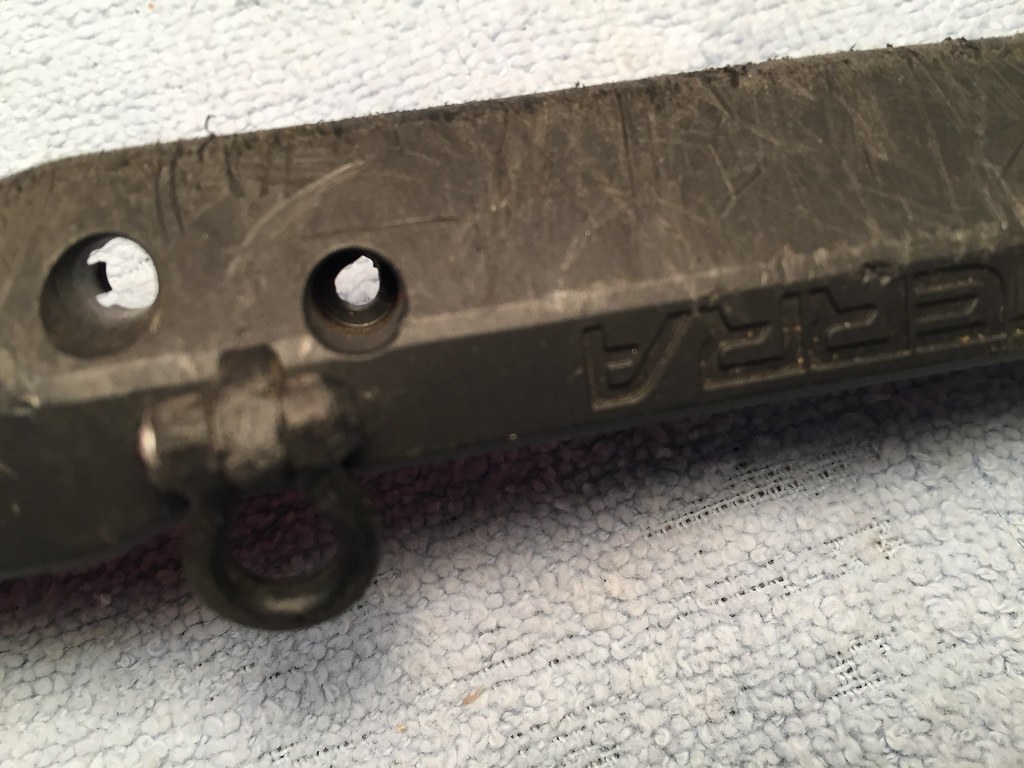 IMG_0632 IMG_0632 Repairing, cut off the little hanging on plastic where the screw head ripped through the rear bumper, dug in ma box and found some old Losi race buggy shock ends that were press fit. Drilled all the way through, cut off the loop, trimmed, pressed into bumper with little CA on it, trimmed flush, drilled out to M3 screw slip fit, going to buy some 3x40mm buttonhead screws to replace the stock 3x30mm since the bumper mount area is now considerably thicker. Probably cut some old Axial lower links at an angle to act as 'washer's so the peice can't pull through again just in case the CA doesn't hold. The plastic should be thicker down in these holes so that the screw heads don't pull through like this. Last edited by Natedog; 03-29-2018 at 03:21 PM. | |
|
| |
|
10-19-2015, 07:44 PM
| #132 |
| RCC Addict Join Date: Sep 2015 Location: Southern Maine
Posts: 1,024
|
Beautiful pictures! That things just loves to climb! That sucks about the bumper but at least you've got it fixed. If I break mine it'll give me an excuse to buy the chrome metal ones that look like the factory bumpers. Pricy but good looks for sure! Ben |
|
| |
|
10-20-2015, 07:28 AM
| #133 |
| I wanna be Dave Join Date: Sep 2011 Location: Douglassville, PA
Posts: 4,225
|
Beautiful scenery! And good lord, how old is that lighter? I limited my shocks 10mm internally - best handling move I've made. Much more stable now, it was way too flexy before. Great work on that swaybar, I might have to give that a shot as well. I just narrowed my axles and the TT is back in a big way (though it tucks perfectly in my smaller Bronco body) Good stuff, keep it coming! |
|
| |
|
10-20-2015, 07:59 AM
| #134 |
| Rock Crawler Join Date: Dec 2008 Location: Fortuna Calif.
Posts: 997
|
Well thats it, I just went thru your whole thread. I am going to pick up one this week, love my Axials but I need a change all of my rigs have become rinse and repeat. Seeing how they can take a beating this last weekend and talking with Rich from Vaterra has me convinced that I need one |
|
| |
|
10-20-2015, 10:07 AM
| #135 | |||
| I wanna be Dave Join Date: Jan 2006 Location: Corruptifornia
Posts: 12,107
| Quote:
Team Losi Racing 3x40mm Button Head Screws (qty 4) [part number TLR5907] Team Losi Racing 3x40mm Button Head Screws (4) [TLR5907] | Parts - AMain Performance Hobbies - AMain Performance Hobbies Quote:
I'm thinking part of the sidehill problem is the longer shocks, although this is much improved with the swaybar. Did you limit all four shocks?Thanks, swaybar is huge and mandatory imo, try it you'll like it. OS builds an Ascender Yes, I really like how your Bronco turned out! Quote:
Glad to hear that you're going to get one too! Hmmm....Blazer and Bronco???  Crawl For A Cure: Crawl For A Cure 2015 Last edited by Natedog; 12-12-2019 at 04:23 PM. | |||
|
| |
|
10-20-2015, 10:21 AM
| #136 |
| Pebble Pounder Join Date: Apr 2009 Location: Whitehall,Maryland
Posts: 169
|
Great pics man.And your idea will be used on mine.Im still running no sway bar and its getting on my nerves.I was out yesterday to a similar spot with the Bronco and the blazer I think the swampers that come with these trucks are every bit as good as any tire out there
|
|
| |
|
10-20-2015, 11:02 AM
| #137 |
| I wanna be Dave Join Date: Jan 2006 Location: Corruptifornia
Posts: 12,107
|
Rear bumper mounted after repair, buttonheads about flush with bumper face and should be much stronger. Rear swaybar etc at ride height. 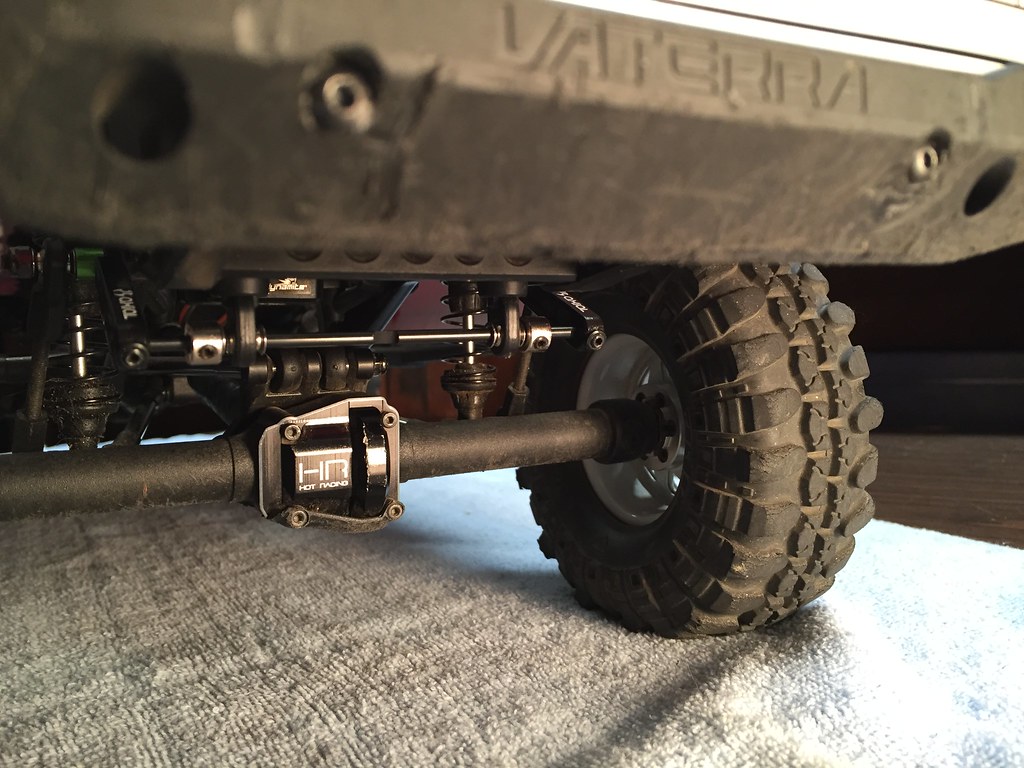 IMG_0633 IMG_0633 Last edited by Natedog; 03-29-2018 at 03:26 PM. |
|
| |
|
10-20-2015, 11:04 AM
| #138 | |
| I wanna be Dave Join Date: Jan 2006 Location: Corruptifornia
Posts: 12,107
| Quote:
Yes, these Swampers are great tires, I have a couple sets now, need to buy more RC4WD Wagon Wheels to mount them on!
| |
|
| |
|
10-21-2015, 03:15 AM
| #139 |
| I wanna be Dave Join Date: Jan 2009 Location: New Port Richey, FL.
Posts: 2,545
|
It's all looking good man!
|
|
| |
|
10-21-2015, 08:03 AM
| #140 |
| Rock Crawler Join Date: Dec 2008 Location: Fortuna Calif.
Posts: 997
|
Natedog the GTG is SAt. at 10. Beals Pt., you know the last parking lot past the Dottons turnoff? I am also going to the Crawl for a Cure . Maybe I will see you Sat. or at The Cure.
|
|
| |
 |
| |


 Linear Mode


