| |
| |||||||
 |
| | LinkBack | Thread Tools | Display Modes |
 01-06-2012, 04:44 PM
| #1 |
| Rock Stacker Join Date: Mar 2011 Location: Blah Blah22
Posts: 54
|
Ok peeps, Today I started on this soon to be awesome Venom Safari Re-Do. This whole thing started with a concept and a sketch. 040.jpg picture by whosyodaddy1 - Photobucket This concept and sketch included; a roof rack, Flat bed, moving electronics, frame rail "heighteners", A mini reese hitch, lights, and a bumper. All of this would be custom work. So please follow my build, give advice, and help me out! And I know some of you are going to criticize my work, but before you do, Im 14 and this is my first crawler! So first off, before I started today, this is how she sat. Completly stock and boring!! 040.jpg picture by whosyodaddy1 - Photobucket 040.jpg picture by whosyodaddy1 - Photobucket Then I started. First was cutting up the body... http://i1135.photobucket.com/albums/...1/DSC08946.jpg You can kinda get the picture of how shes going to sit.. http://i1135.photobucket.com/albums/...1/DSC08947.jpg More cutting! I cut the back section out of the back half and it almost butted up perfectly!! http://i1135.photobucket.com/albums/...1/DSC08948.jpg http://i1135.photobucket.com/albums/...1/DSC08949.jpg So then i made a mock up of what i wanted the bed to be like.. http://i1135.photobucket.com/albums/...1/DSC08949.jpg THEN, came mocking up where I wanted the electronics to sit.. I figured why not move em up front and have some weight up there.. (cardboard mock up) http://i1135.photobucket.com/albums/...1/DSC08965.jpg I liked that set up alot, so i traced it on some steel.. http://i1135.photobucket.com/albums/...1/DSC08966.jpg I used a DeWalt angle grinder to cut it with a cutting wheel, and a sanding wheel to make it look perty... http://i1135.photobucket.com/albums/...1/DSC08968.jpg Got the general shape cut out.. http://i1135.photobucket.com/albums/...1/DSC08969.jpg All cut out before clean up.. http://i1135.photobucket.com/albums/...1/DSC08970.jpg CLEANED UP!!! http://i1135.photobucket.com/albums/...1/DSC08971.jpg Holes drilled for mounting.. http://i1135.photobucket.com/albums/...1/DSC08974.jpg Mounted with zip ties right to the frame rails and placed the electronics where i wanted them.. http://i1135.photobucket.com/albums/...1/DSC08975.jpg Well since this one is getting pretty long ill stop it and start another one..... |

|  |
| Sponsored Links | |
| | |
|
01-06-2012, 09:19 PM
| #3 |
| I wanna be Dave Join Date: Jan 2006 Location: ...the burning end of the rope.
Posts: 5,013
|  This concept and sketch included; a roof rack, Flat bed, moving electronics, frame rail "heighteners", A mini reese hitch, lights, and a bumper. All of this would be custom work. So please follow my build, give advice, and help me out! And I know some of you are going to criticize my work, but before you do, Im 14 and this is my first crawler! So first off, before I started today, this is how she sat. Completly stock and boring!!   Then I started. First was cutting up the body... 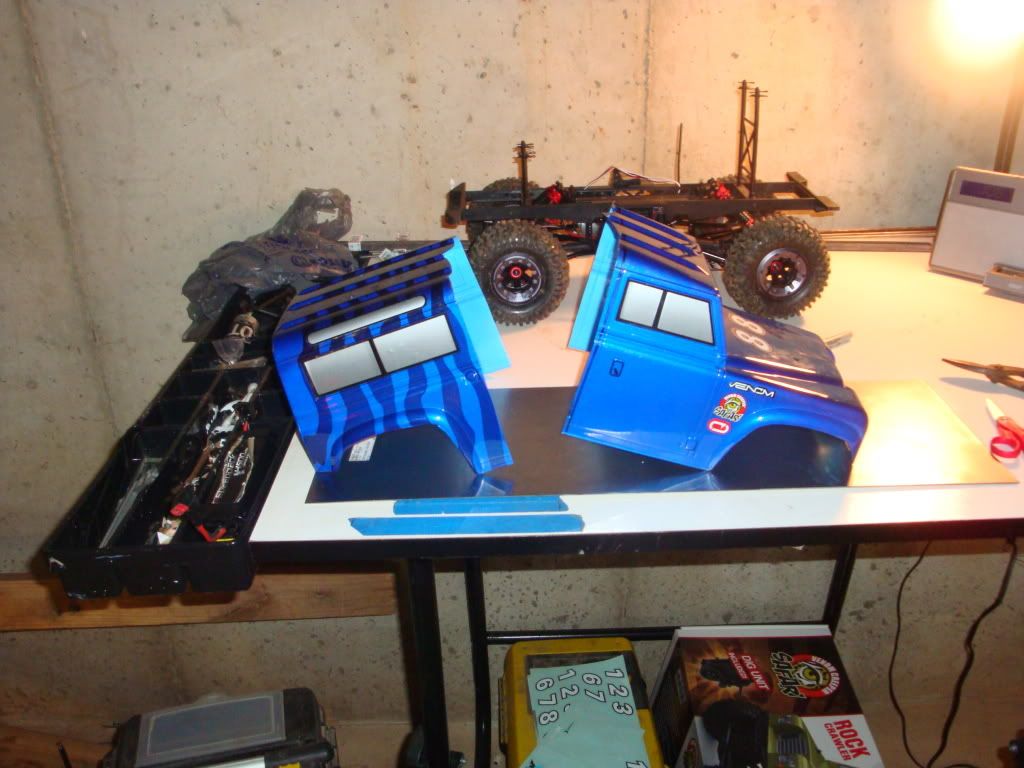 You can kinda get the picture of how shes going to sit.. 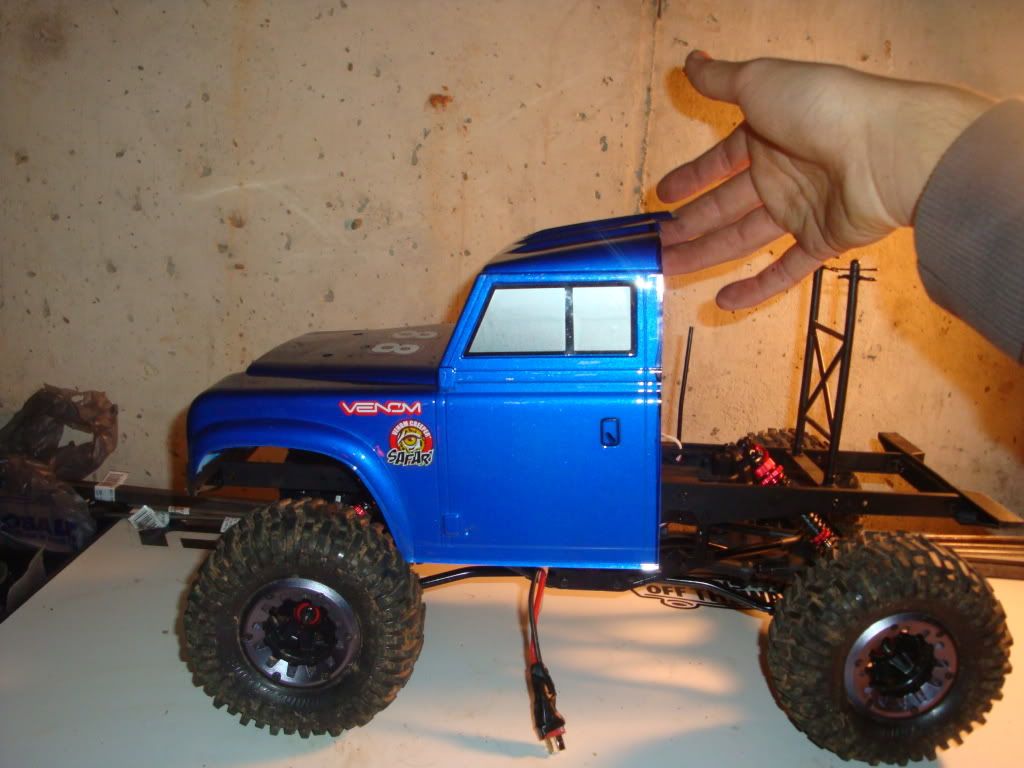 More cutting! I cut the back section out of the back half and it almost butted up perfectly!! 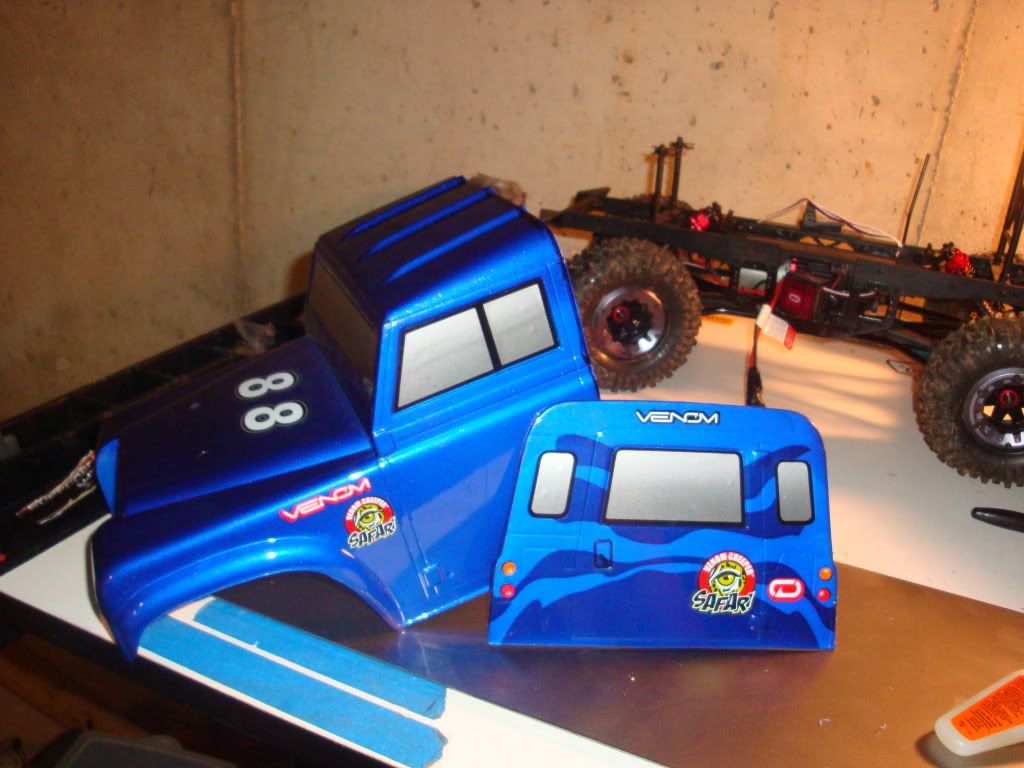 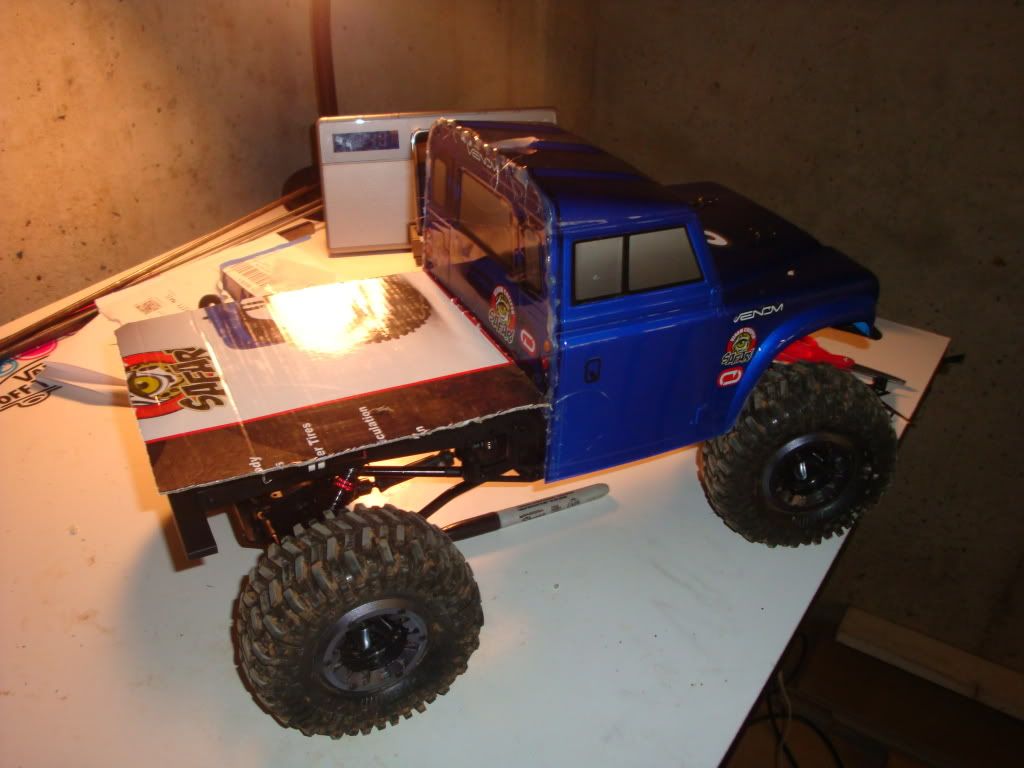 So then i made a mock up of what i wanted the bed to be like.. THEN, came mocking up where I wanted the electronics to sit.. I figured why not move em up front and have some weight up there.. (cardboard mock up) 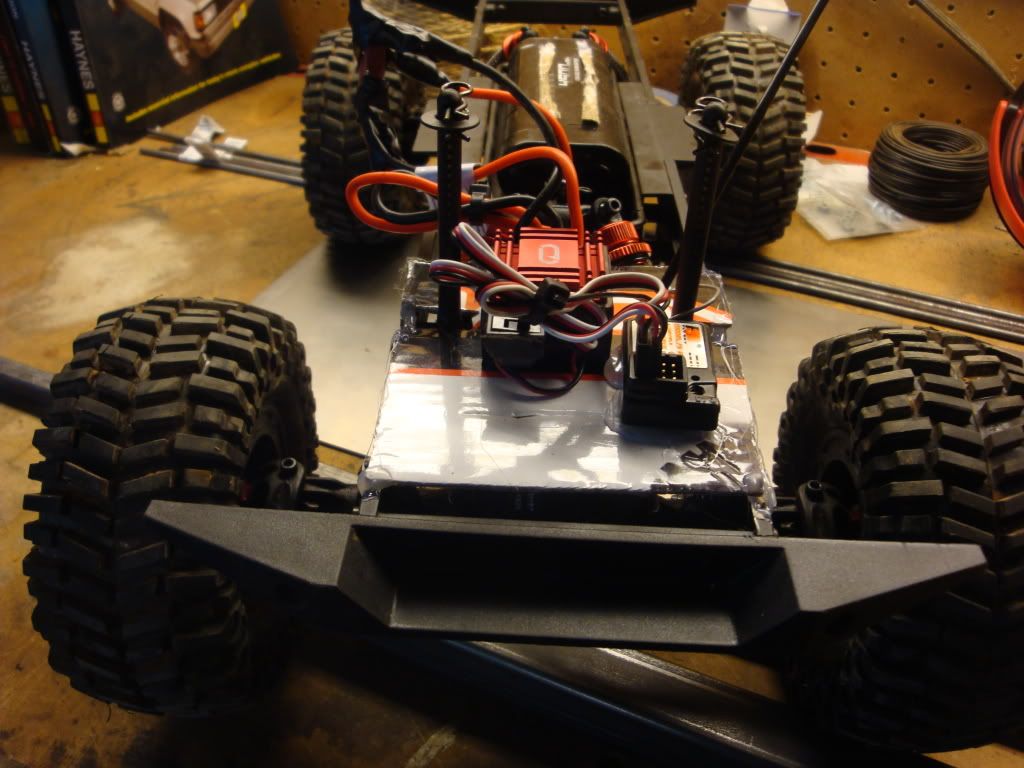 I liked that set up alot, so i traced it on some steel.. 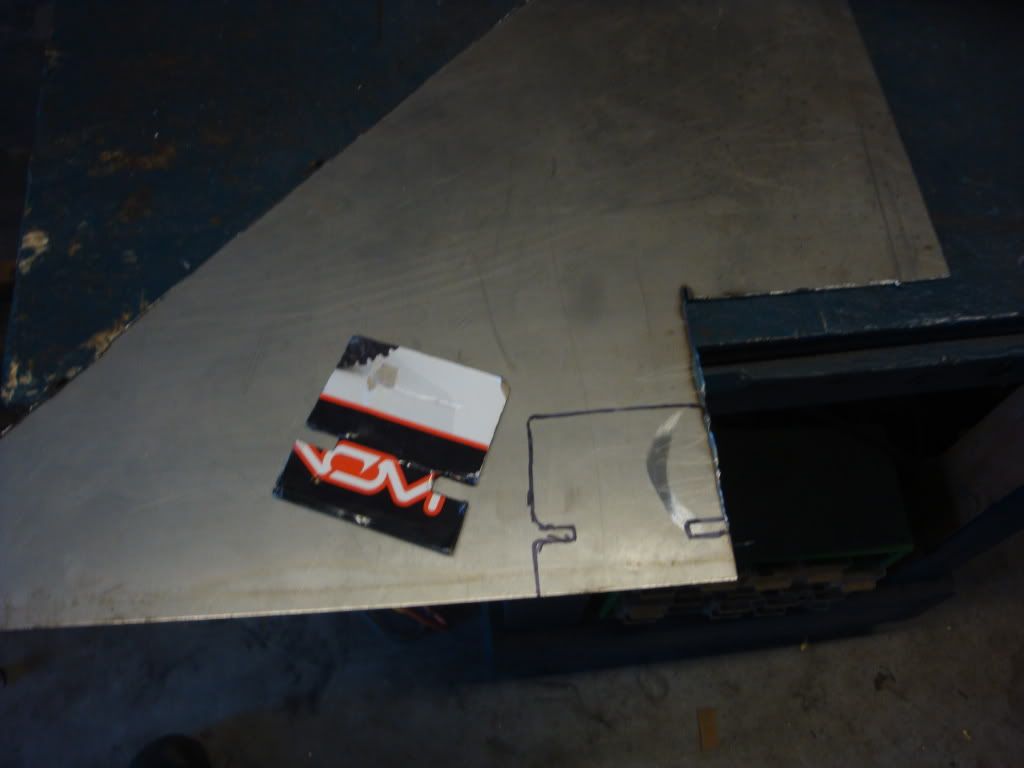 I used a DeWalt angle grinder to cut it with a cutting wheel, and a sanding wheel to make it look perty... 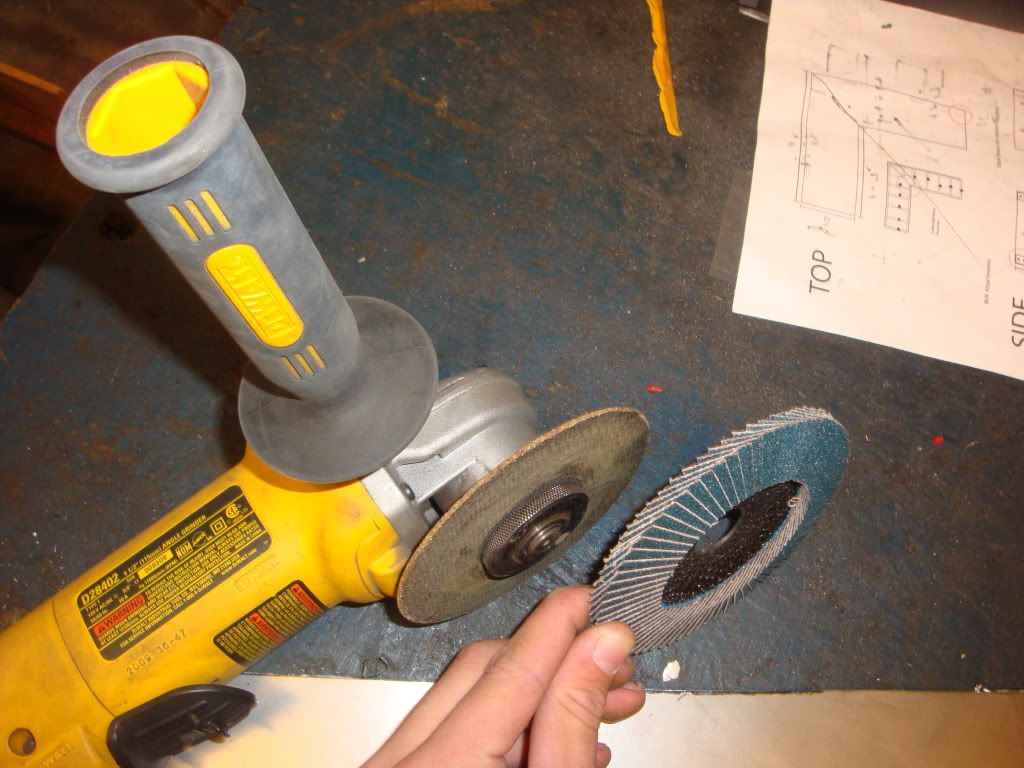 Got the general shape cut out.. 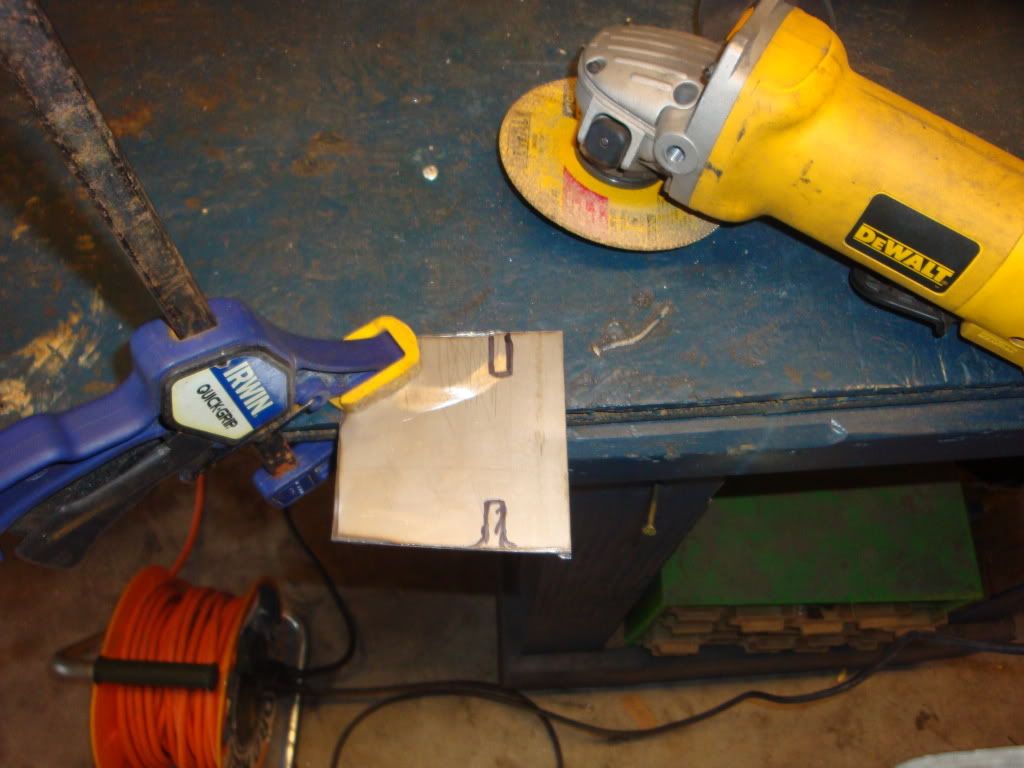 All cut out before clean up.. 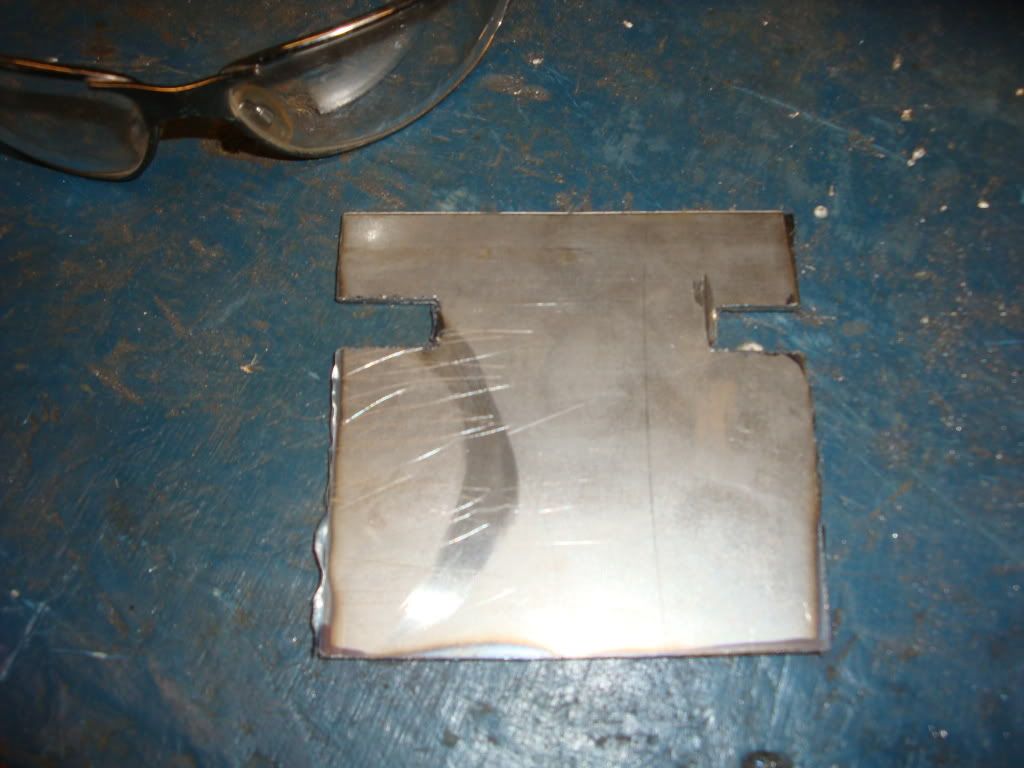 CLEANED UP!!! 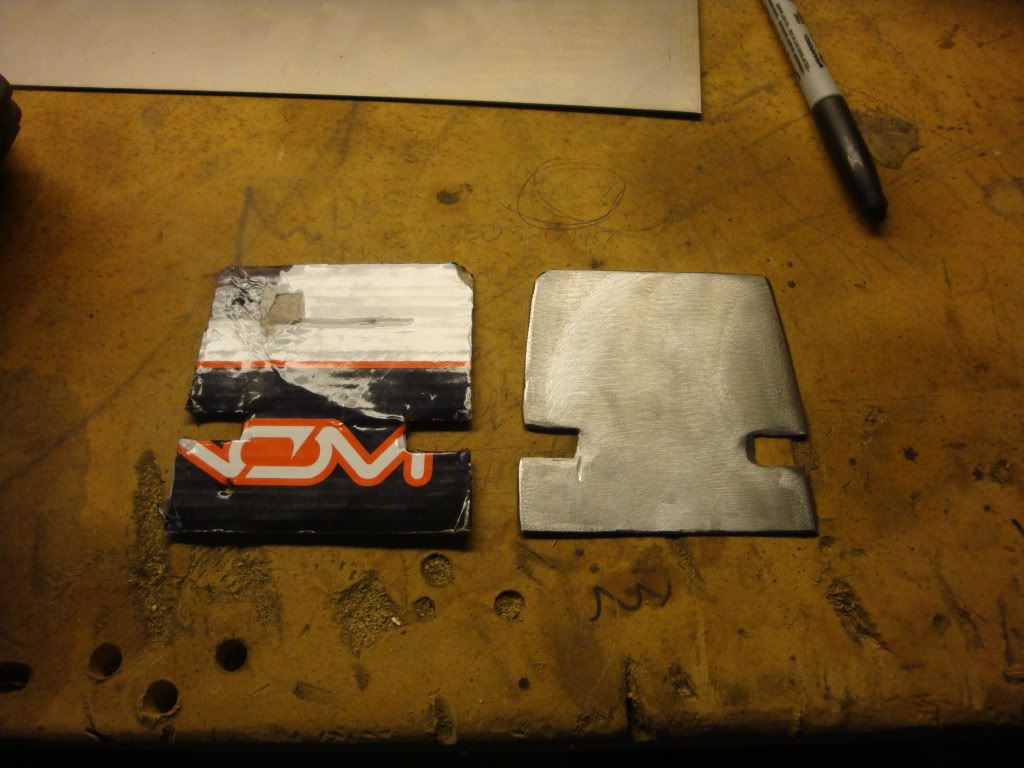 Holes drilled for mounting.. 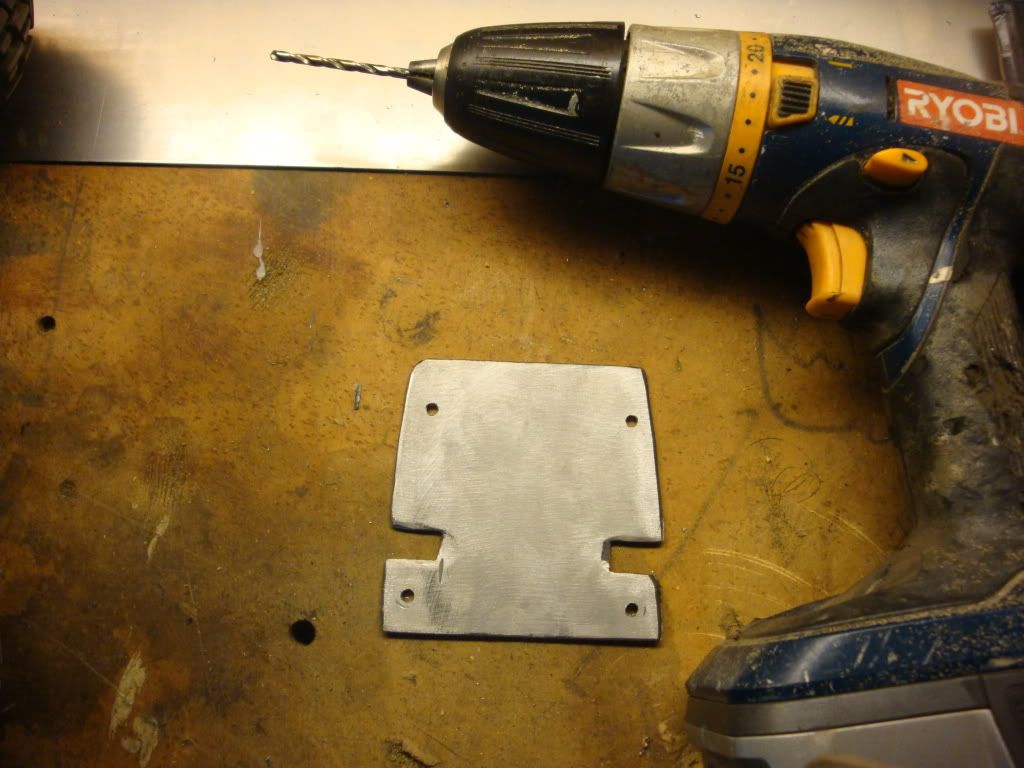 Mounted with zip ties right to the frame rails and placed the electronics where i wanted them.. 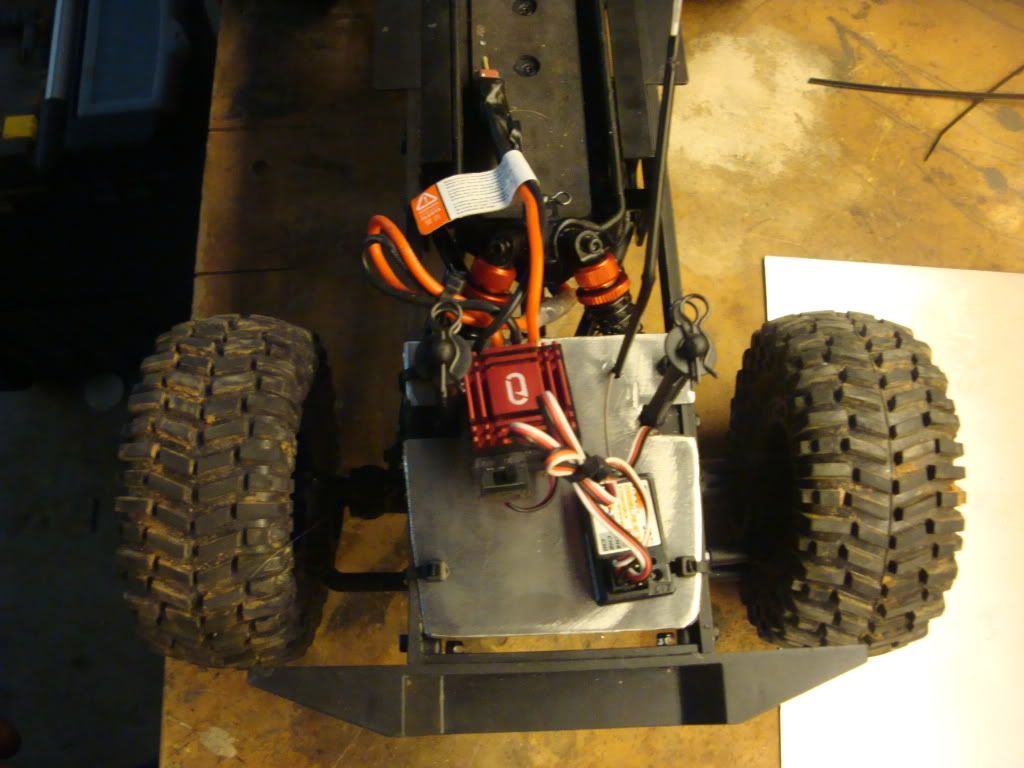 Well since this one is getting pretty long ill stop it and start another one..... Ok here it goes again.. To give the flat bed a one inch "boost" I cut 1"x1" tube in half to create 1/2in" x 1" C channel.. 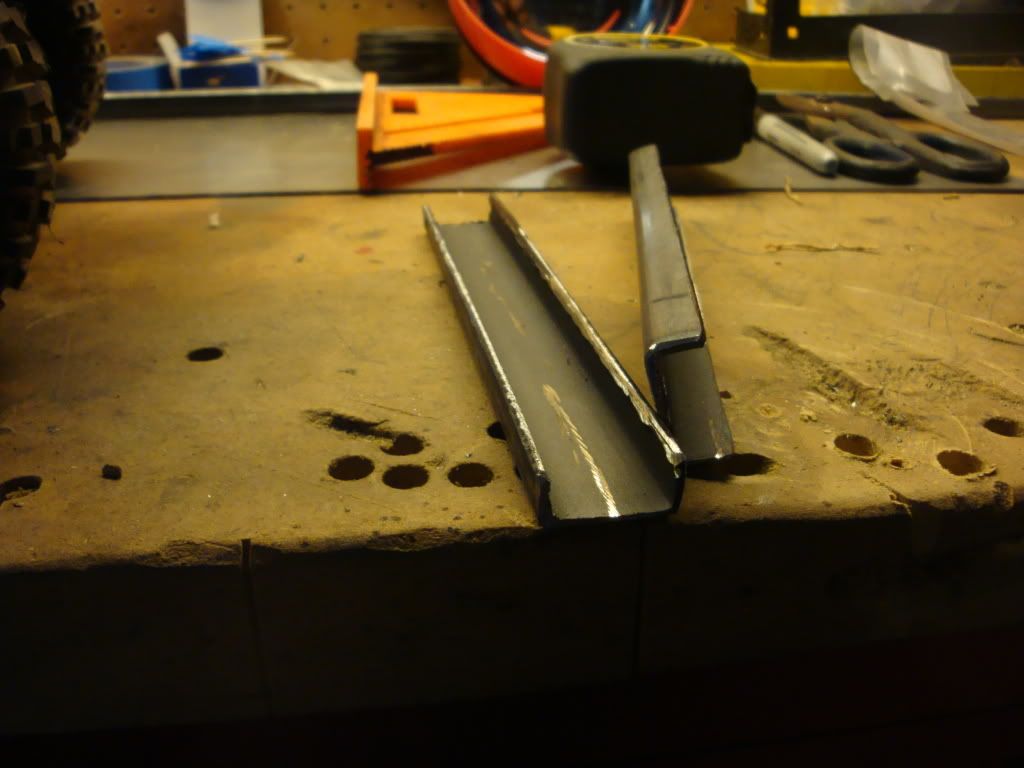 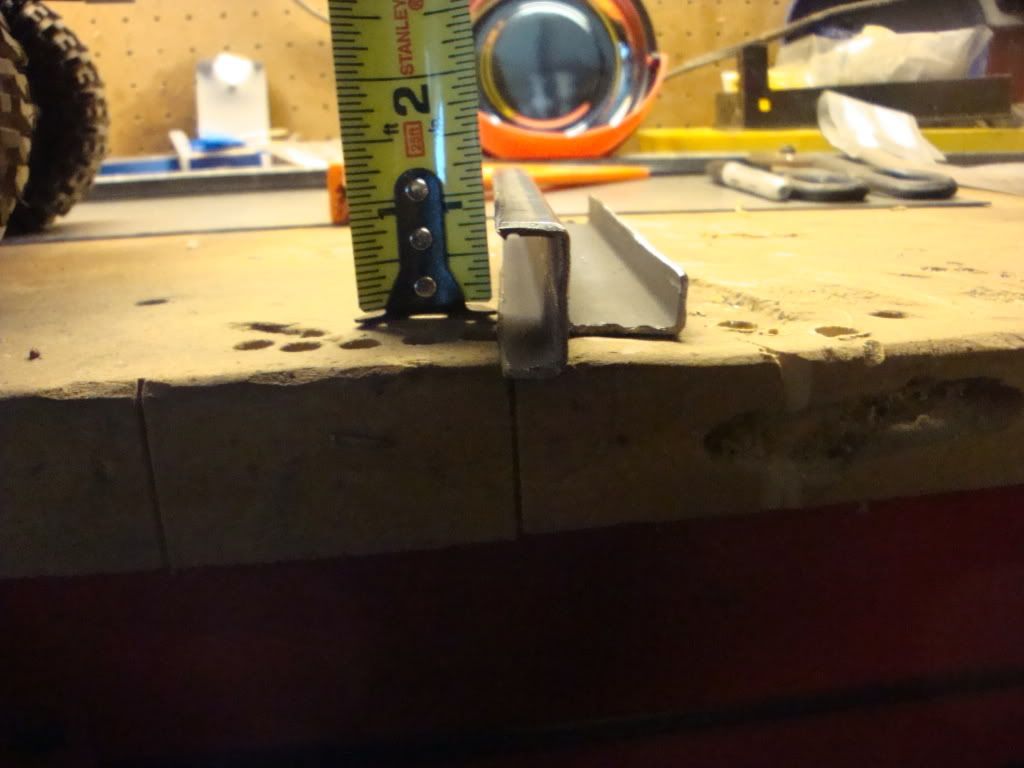 I cut them 7 and 1/4" long.. 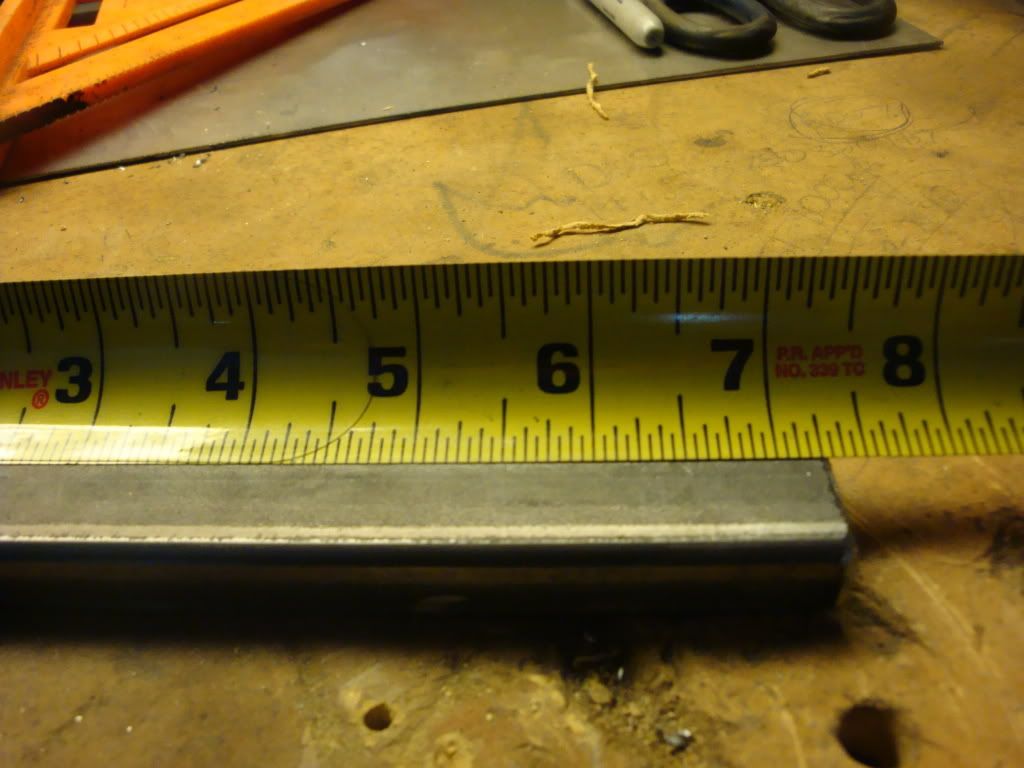 Here they are just sitting on the existing rails.. 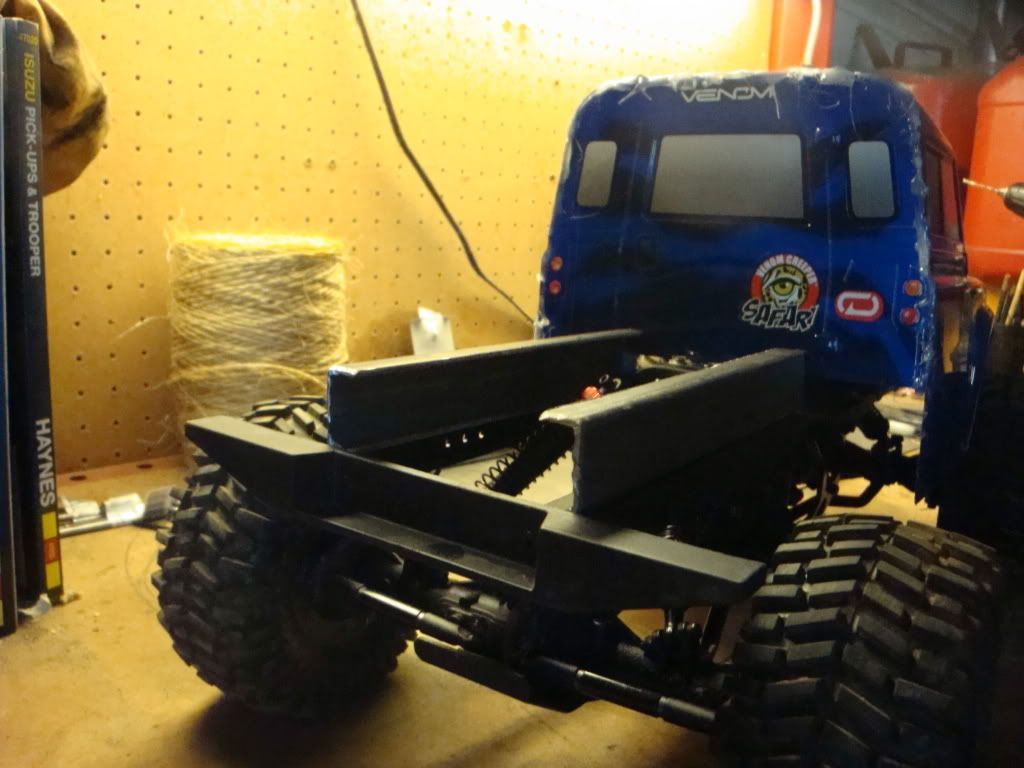 This is how i decided to cut them and mount them..  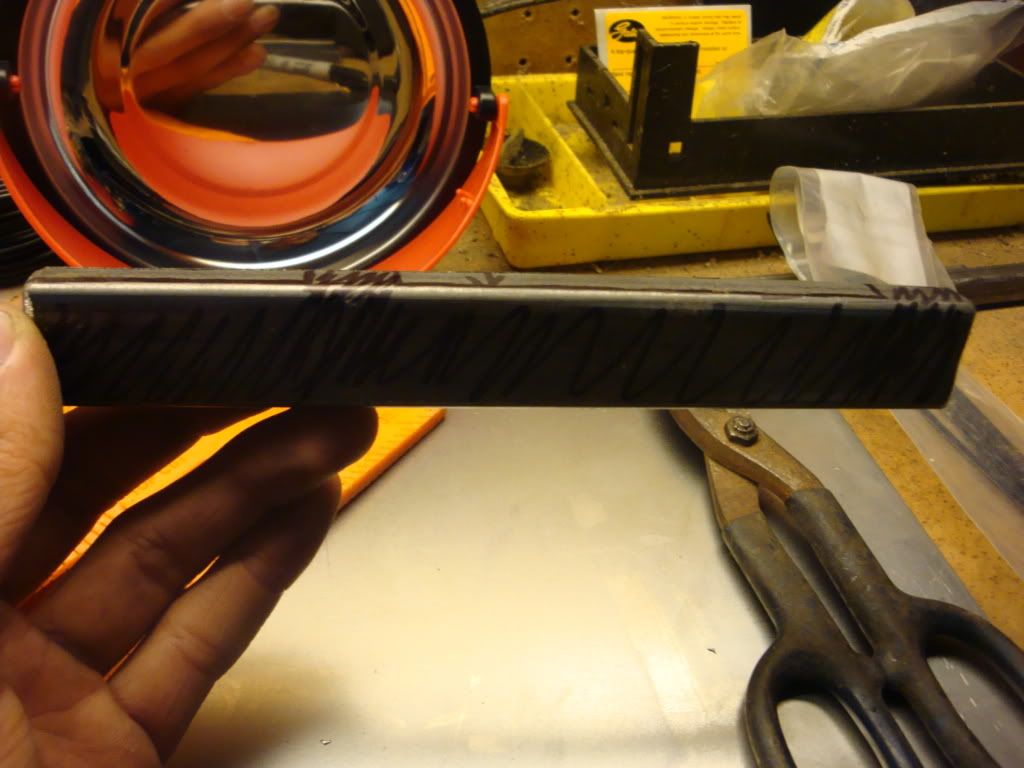 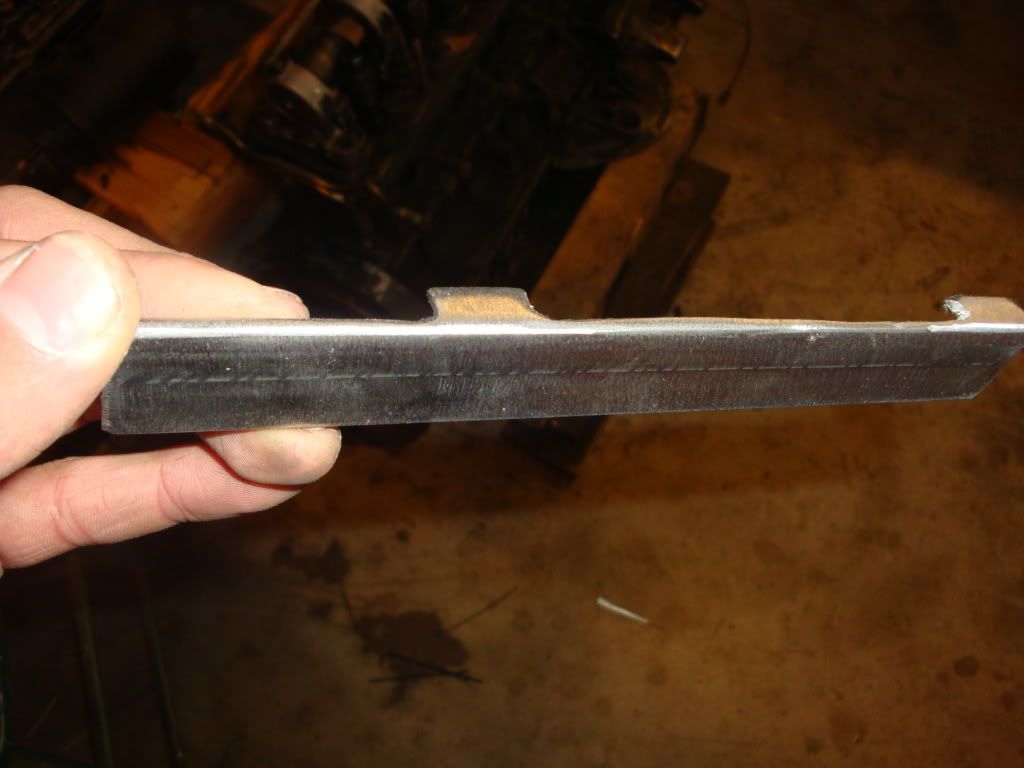 So about 6 hours into the day I realized something... I HAD GONE 6 HOURS WITH NO MUSIC!! So I turned on the shop radio.. 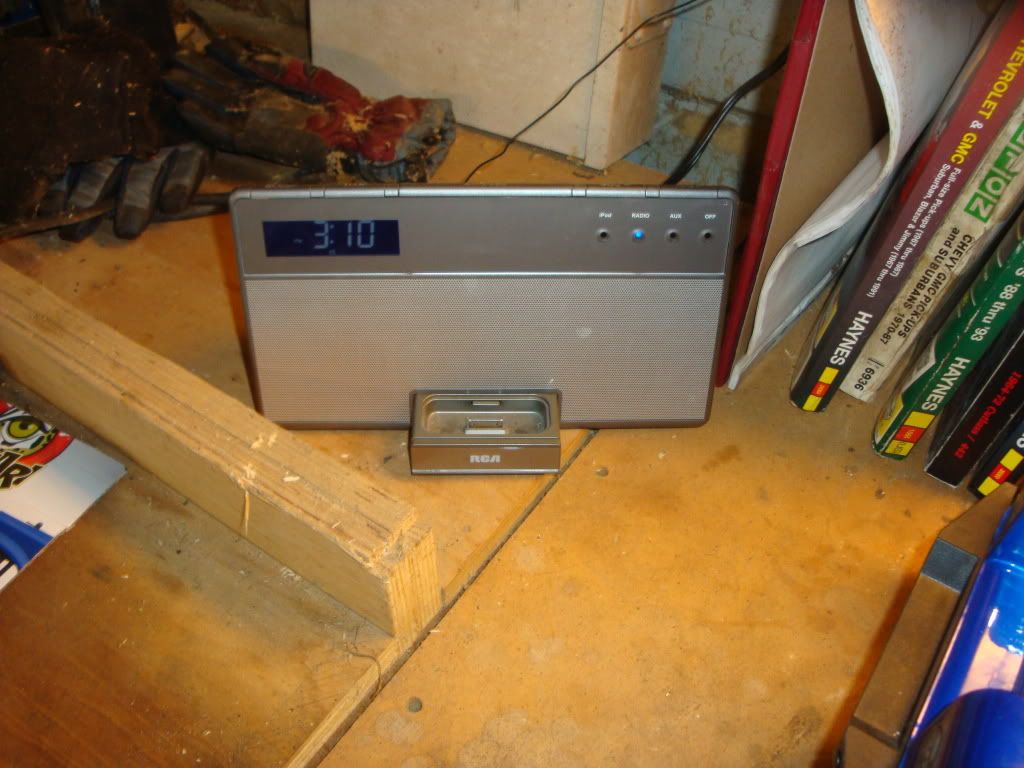 So I decided where I wanted to drill the holes to mount the rails so i drilled and started cutting the threads with the screw in the plastic.. 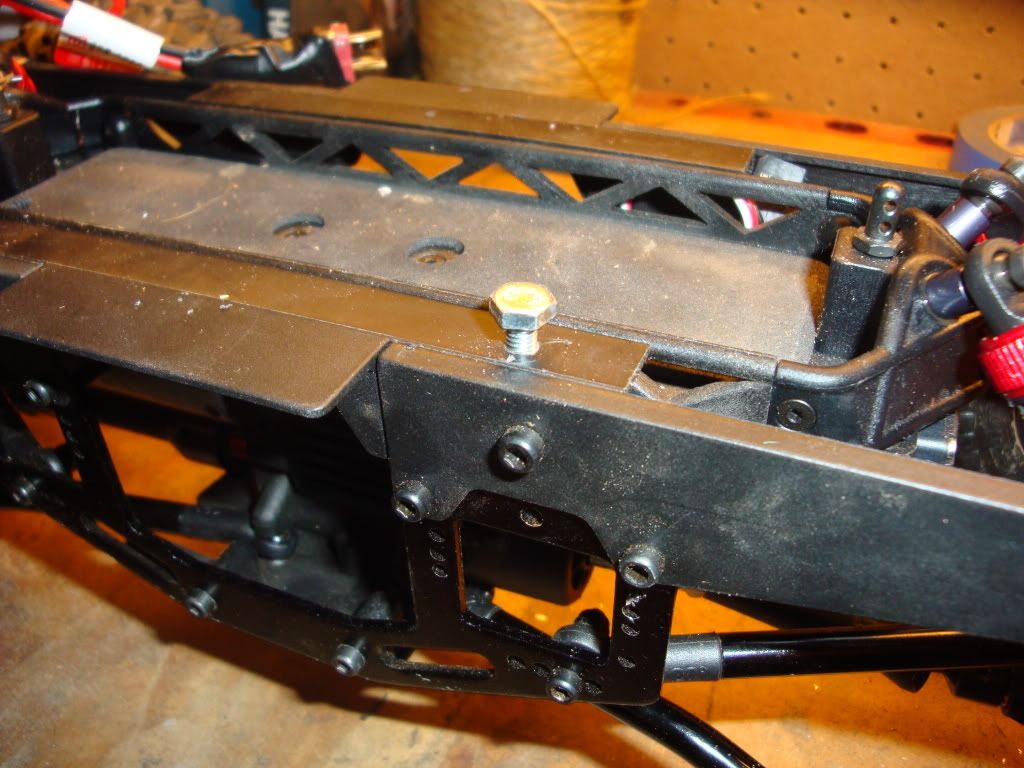 Then i drilled both holes, and mounted it.. 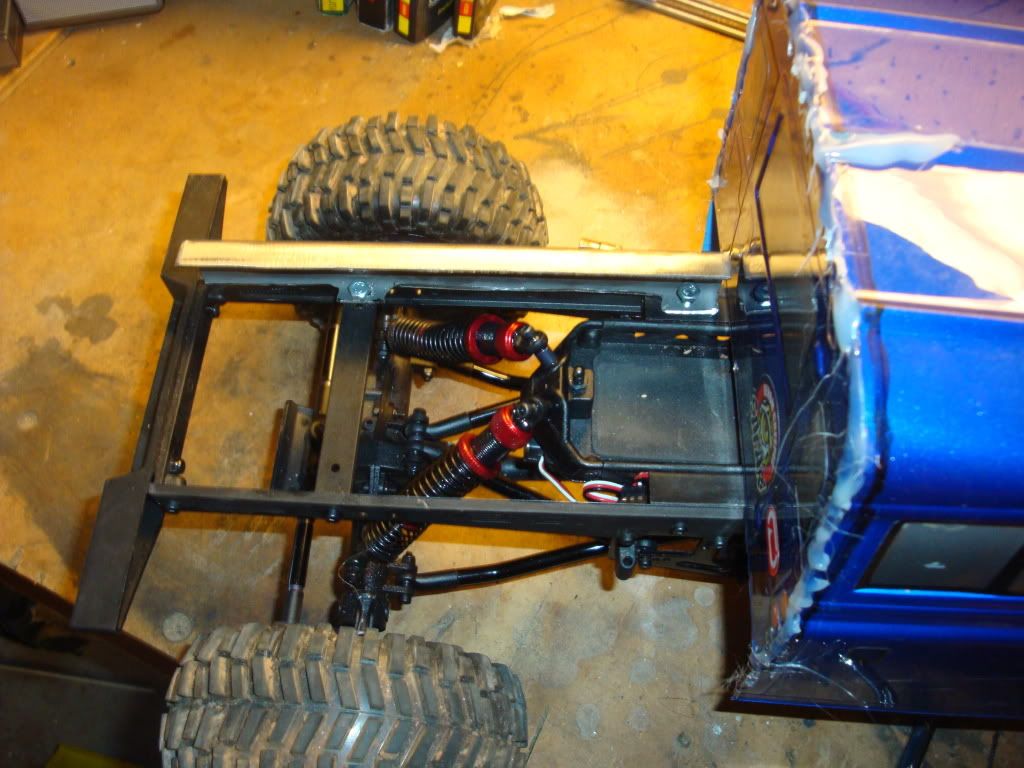 Cut the other one out and mounted it too.. 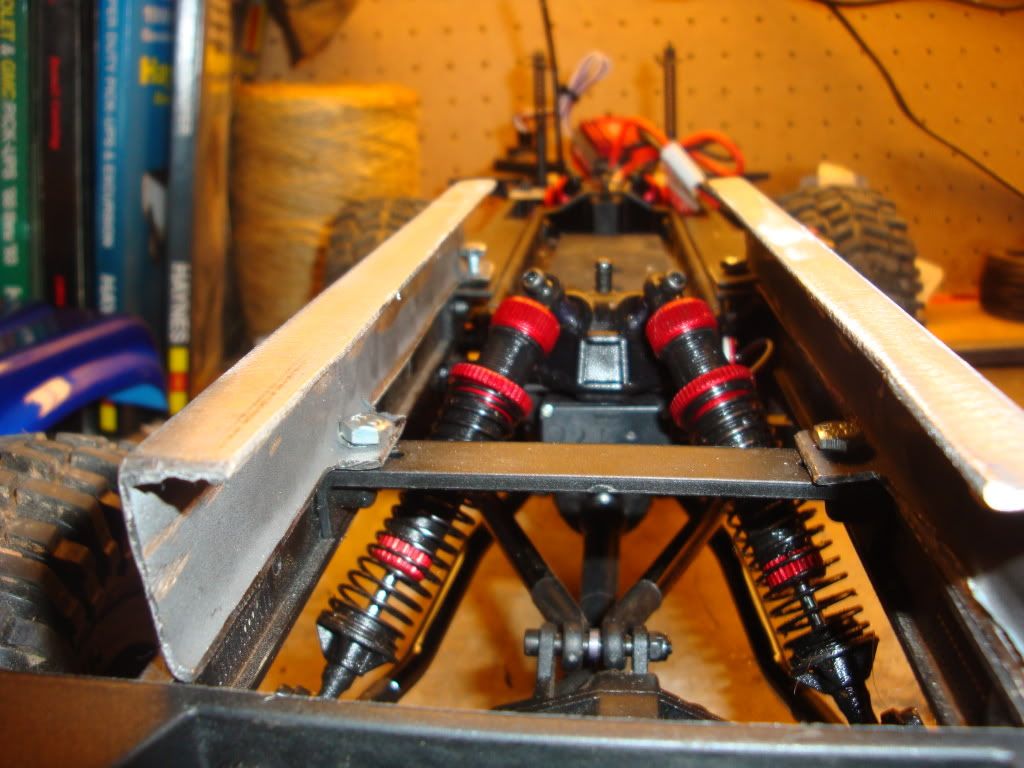 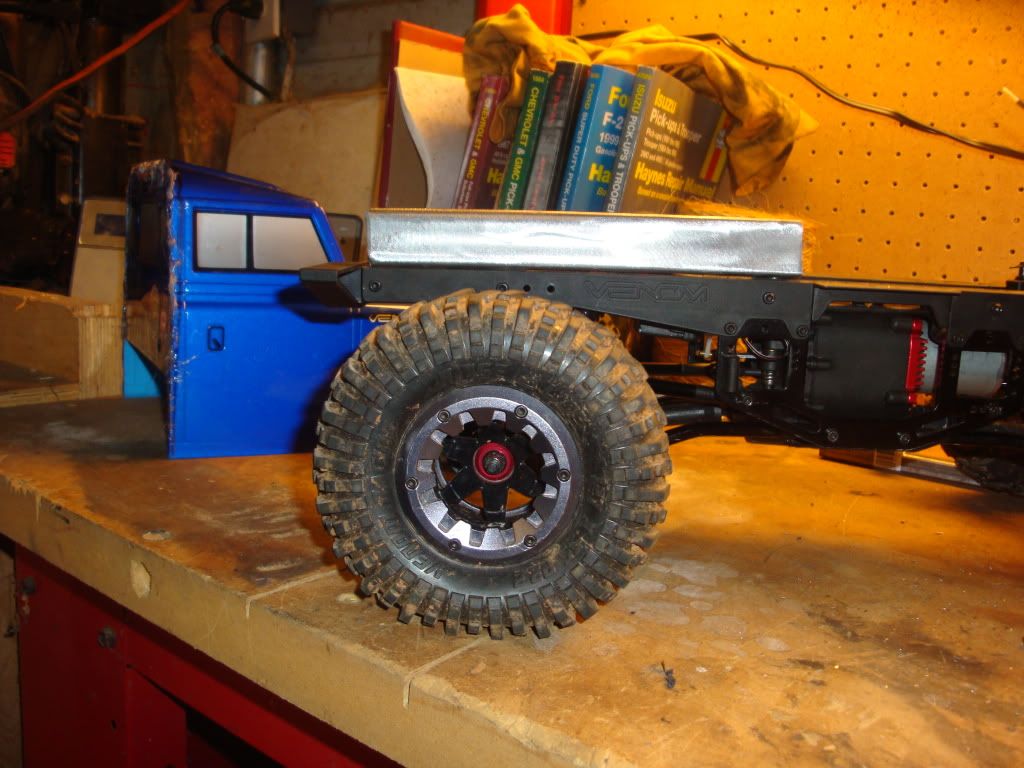 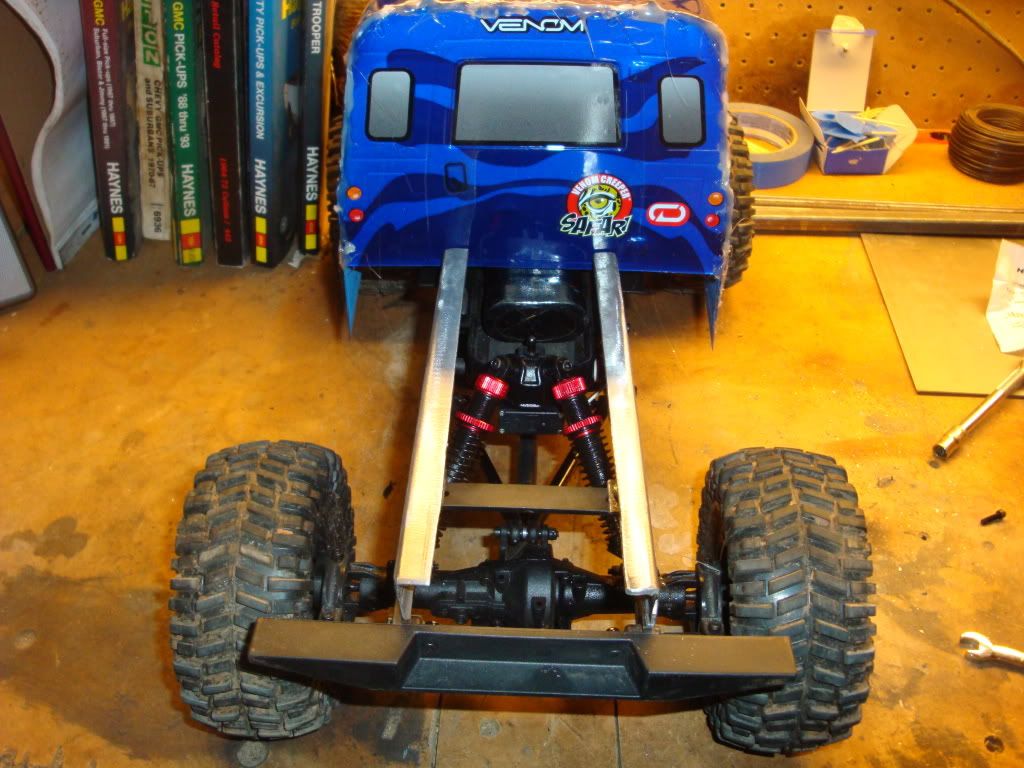 Now before I moved on to putting the bed on top and closing that area off, I decided to make the reese hitch... I think you can follow whats going on by looking at the pictures.. 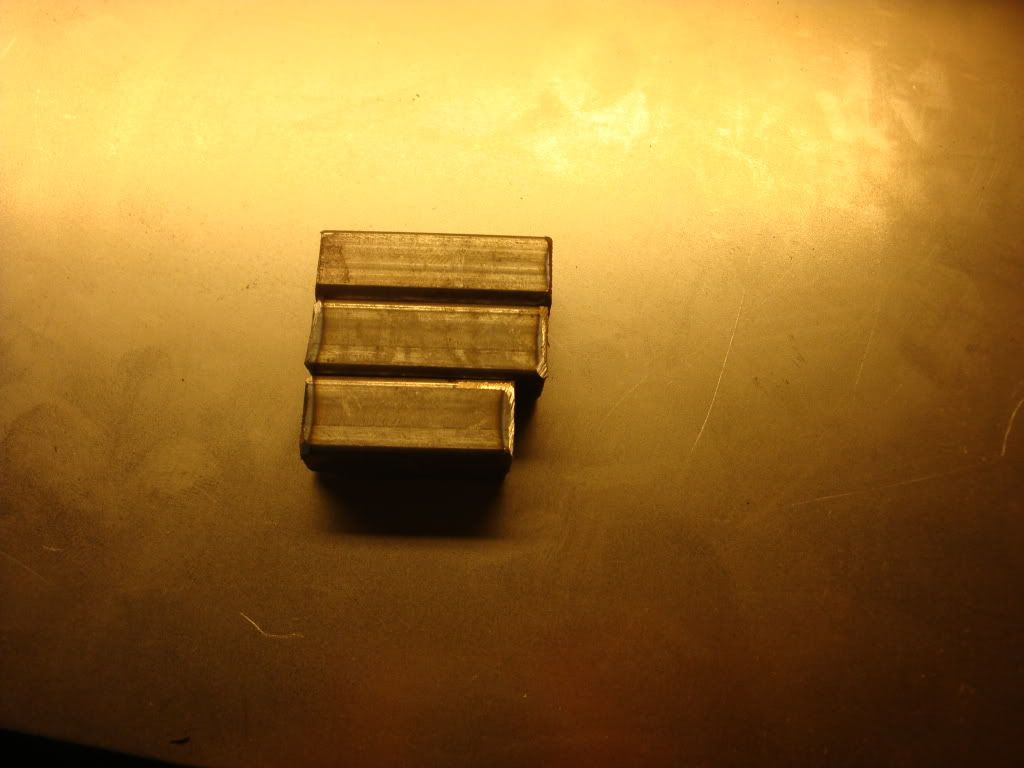 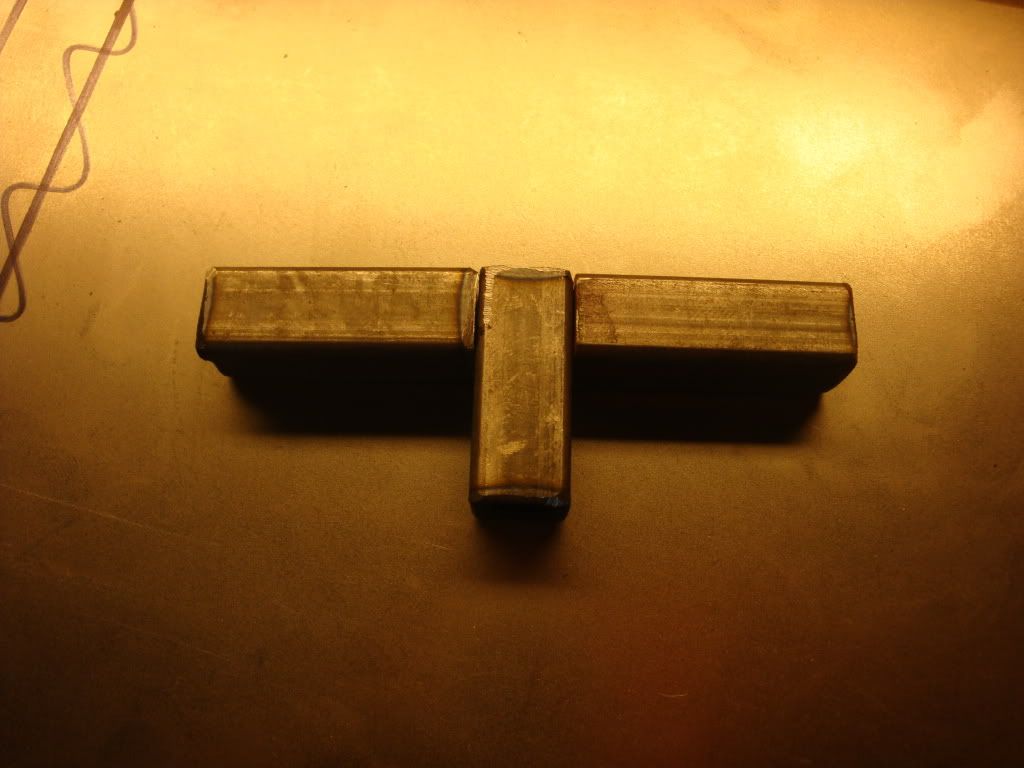 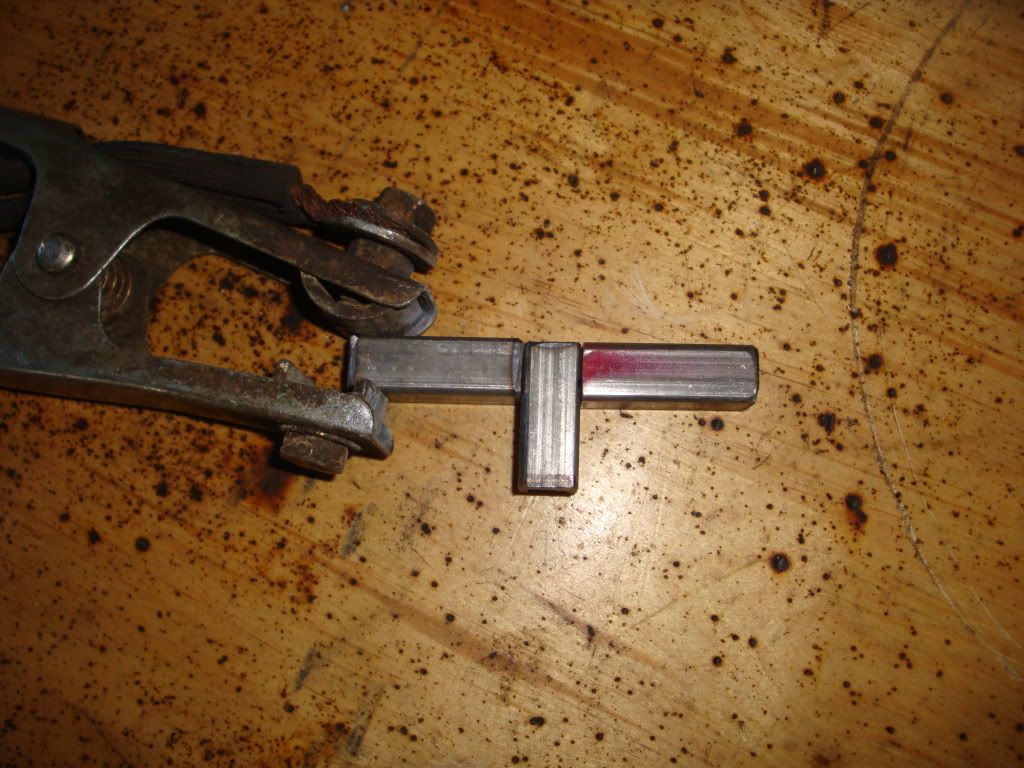 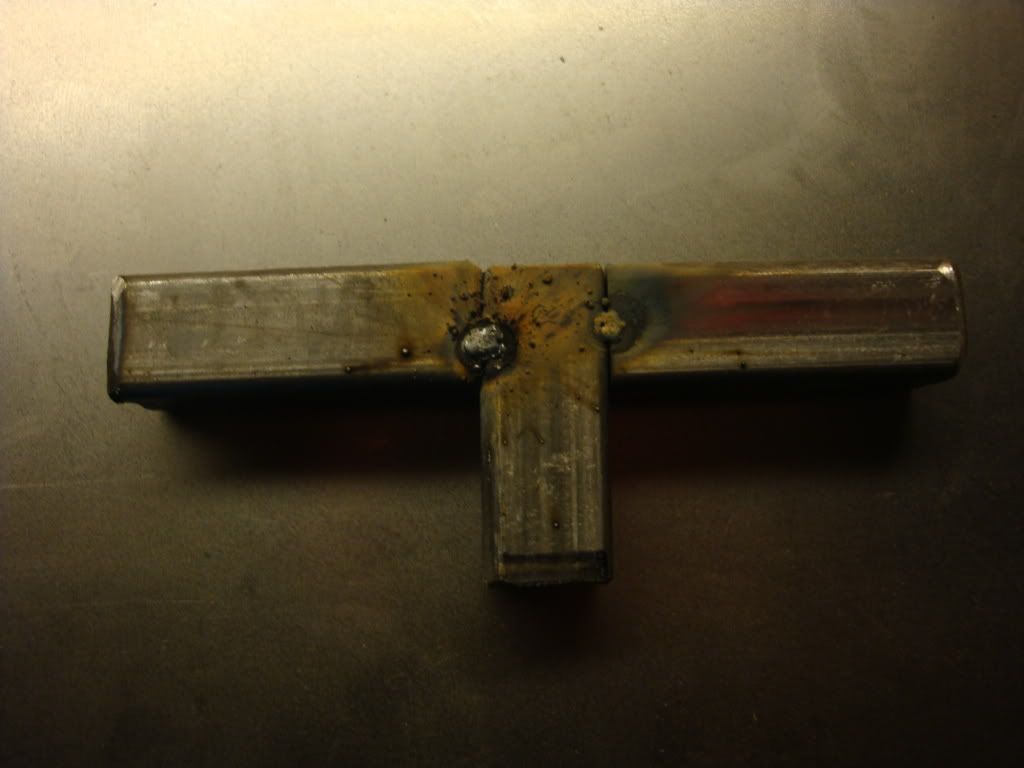 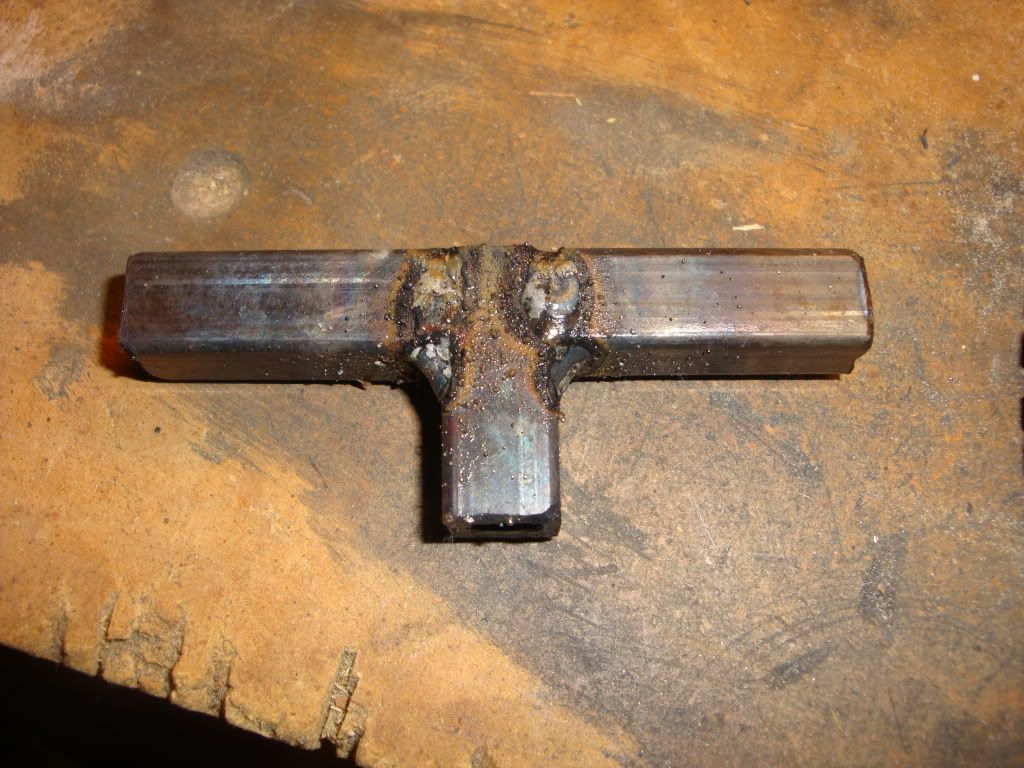 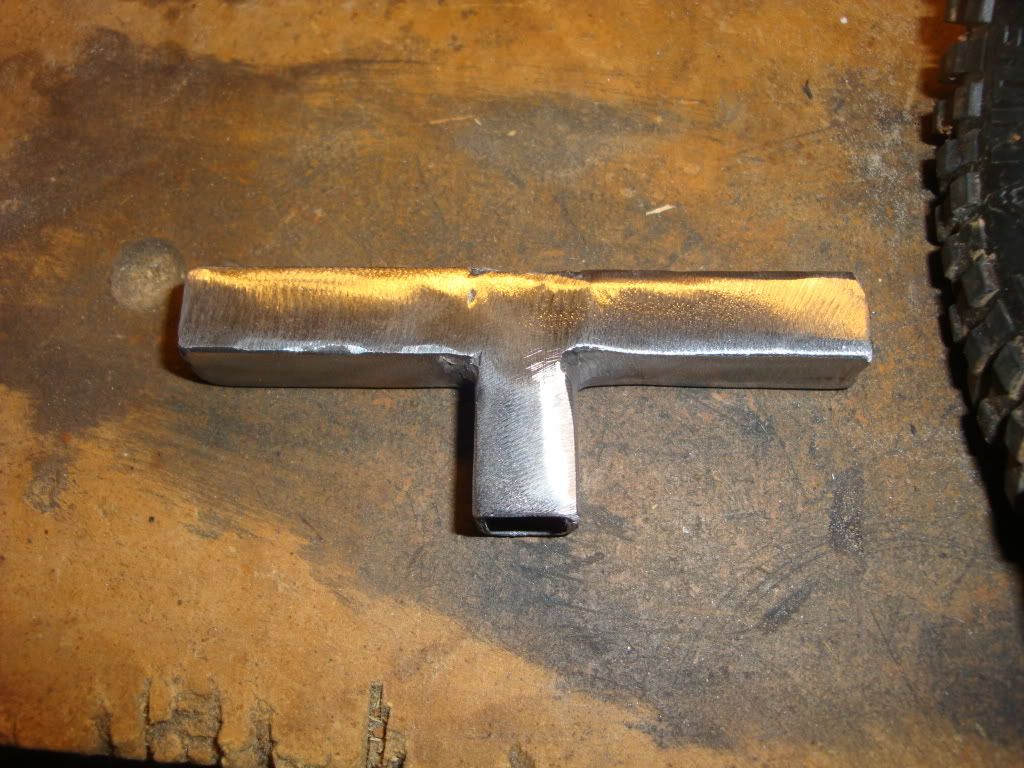 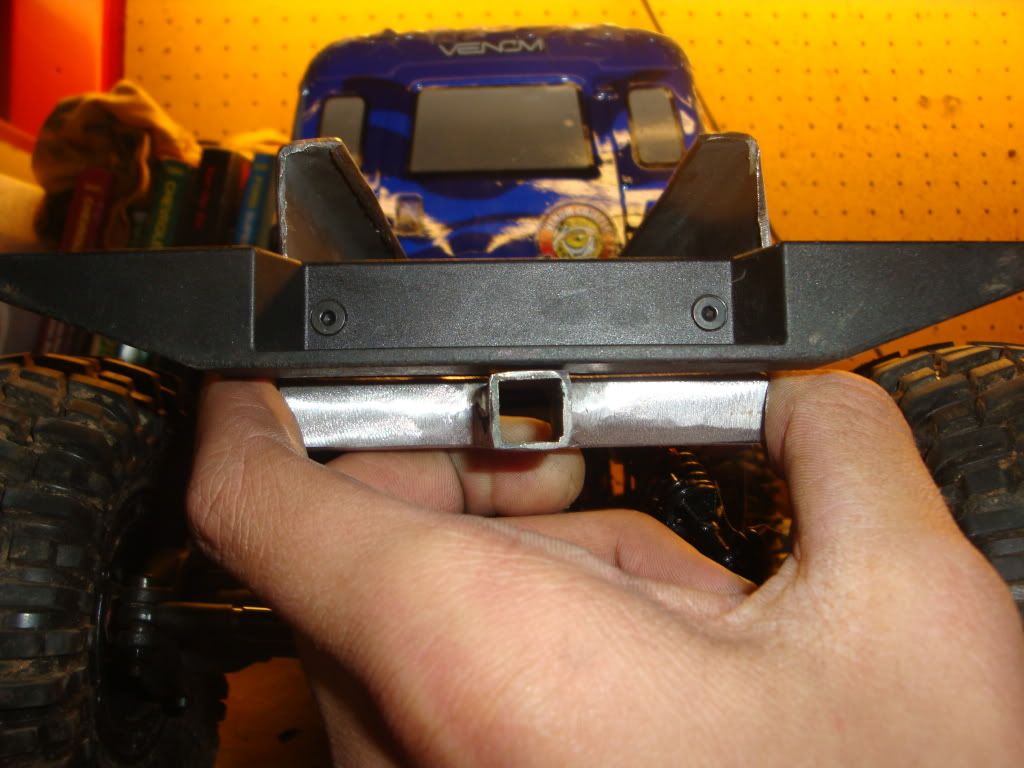 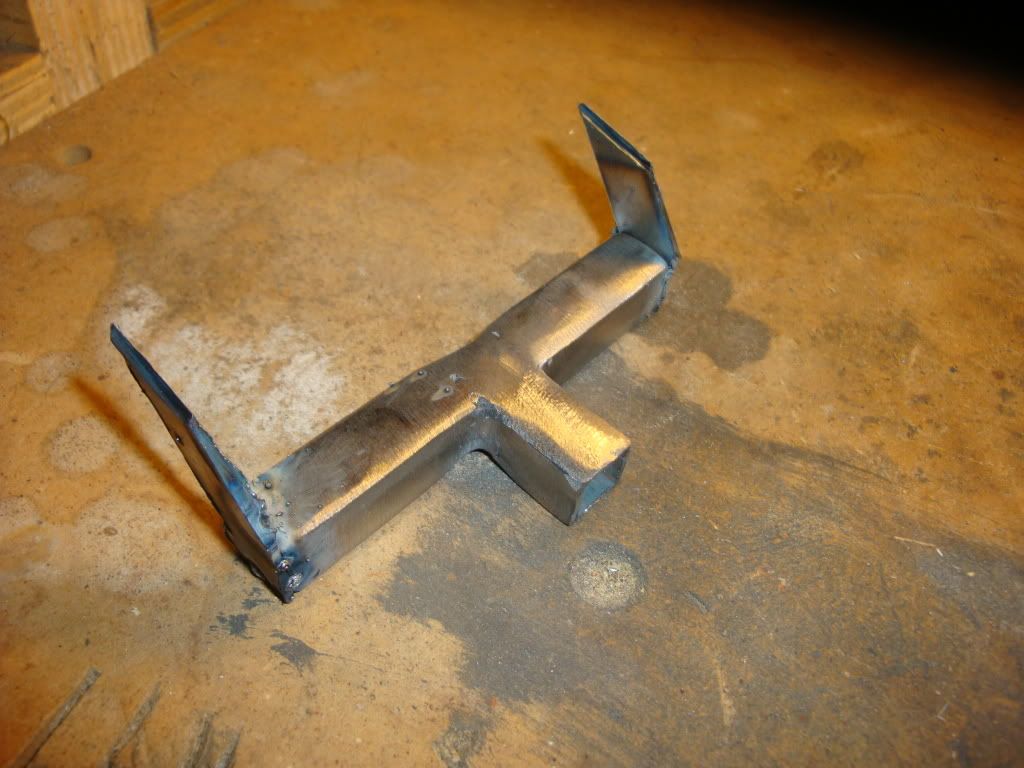 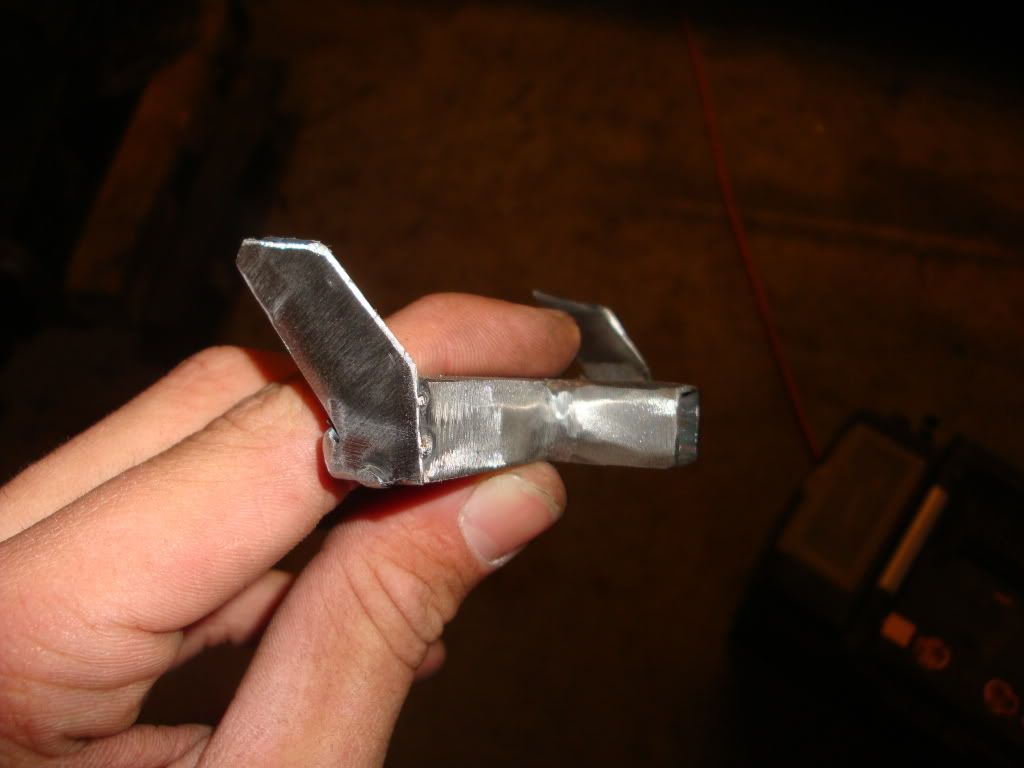 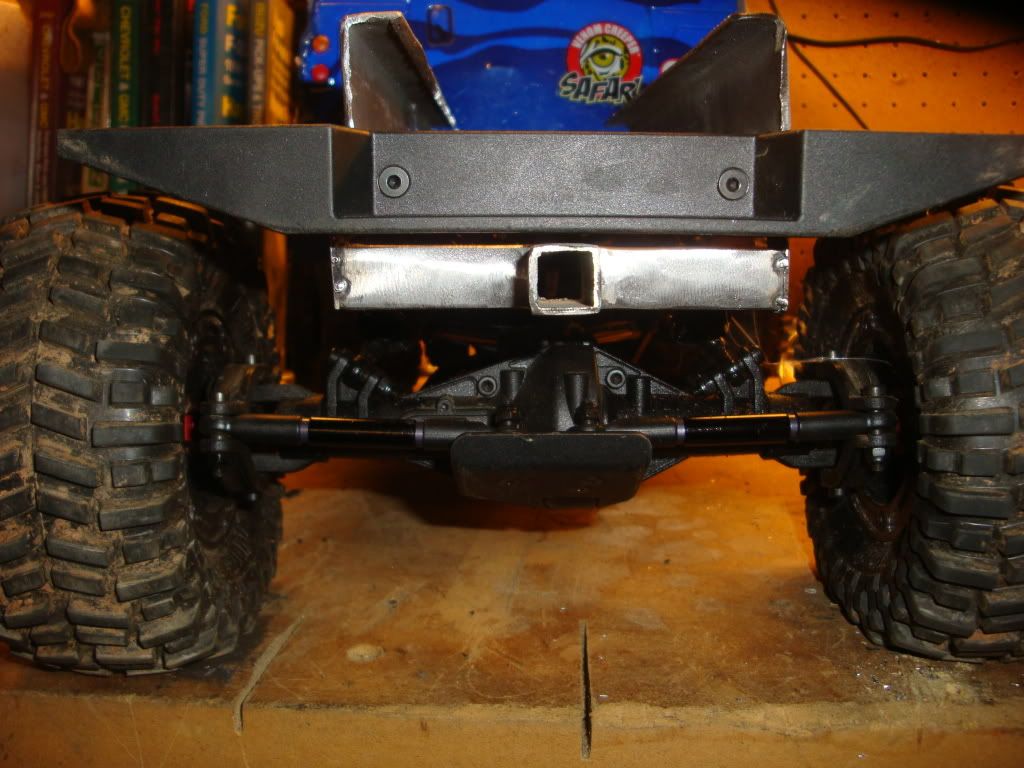 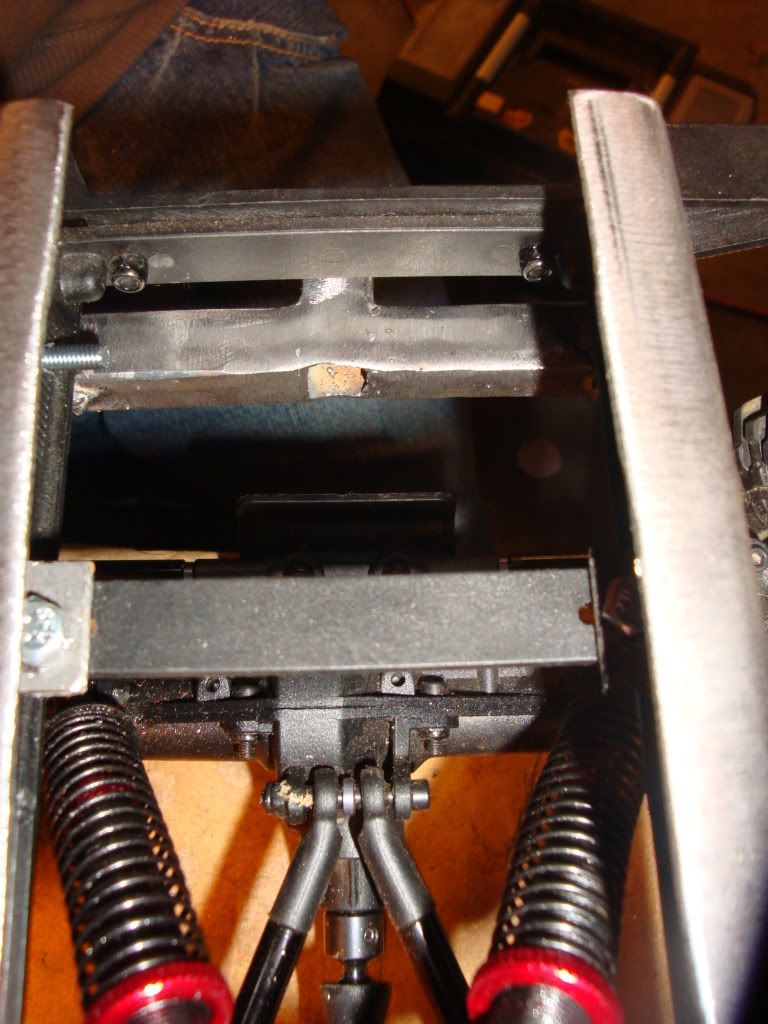 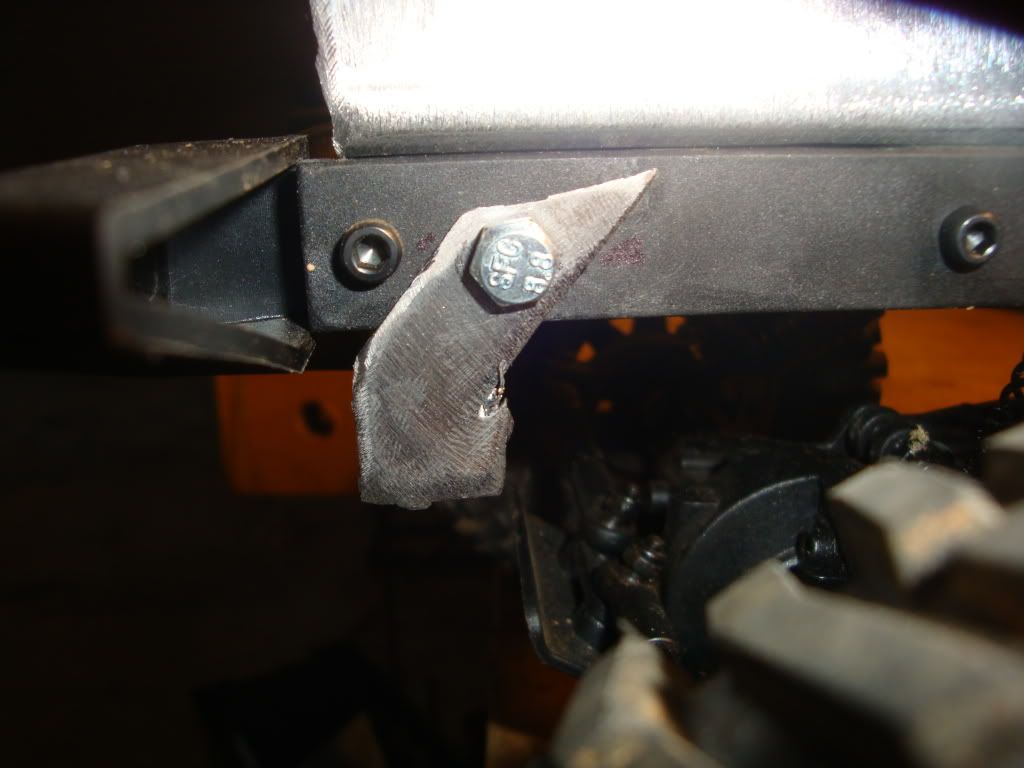 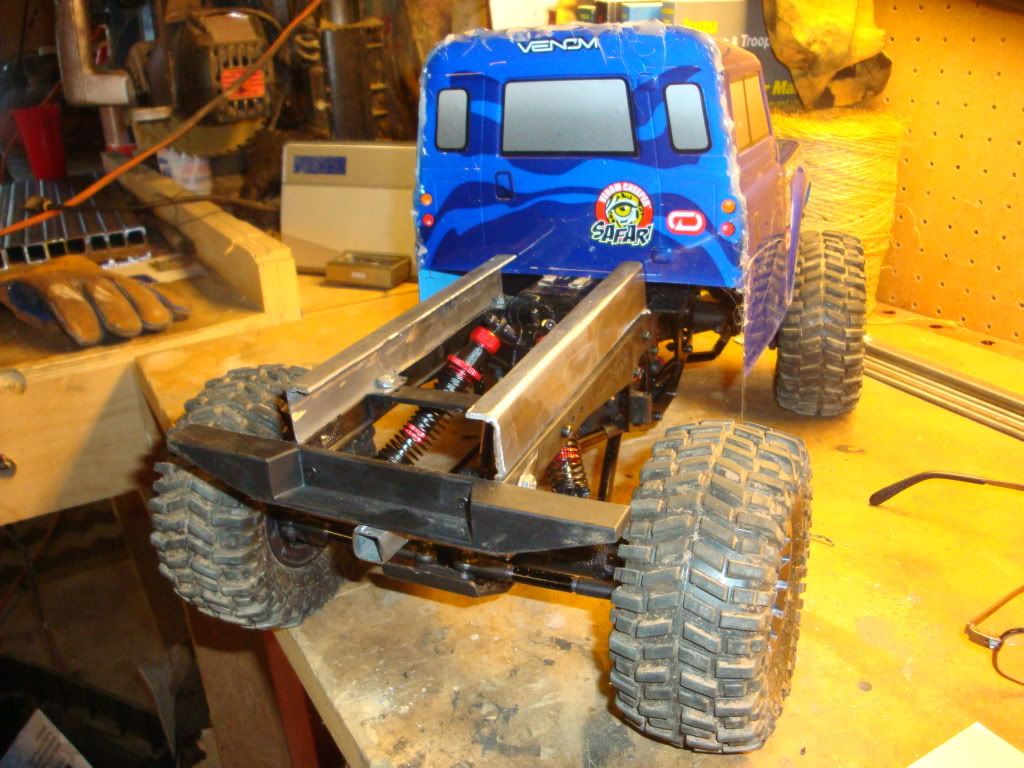 So everything was going along great, It was all fun and games until,,,,,, I slit my finger on a burr of the sheet metal 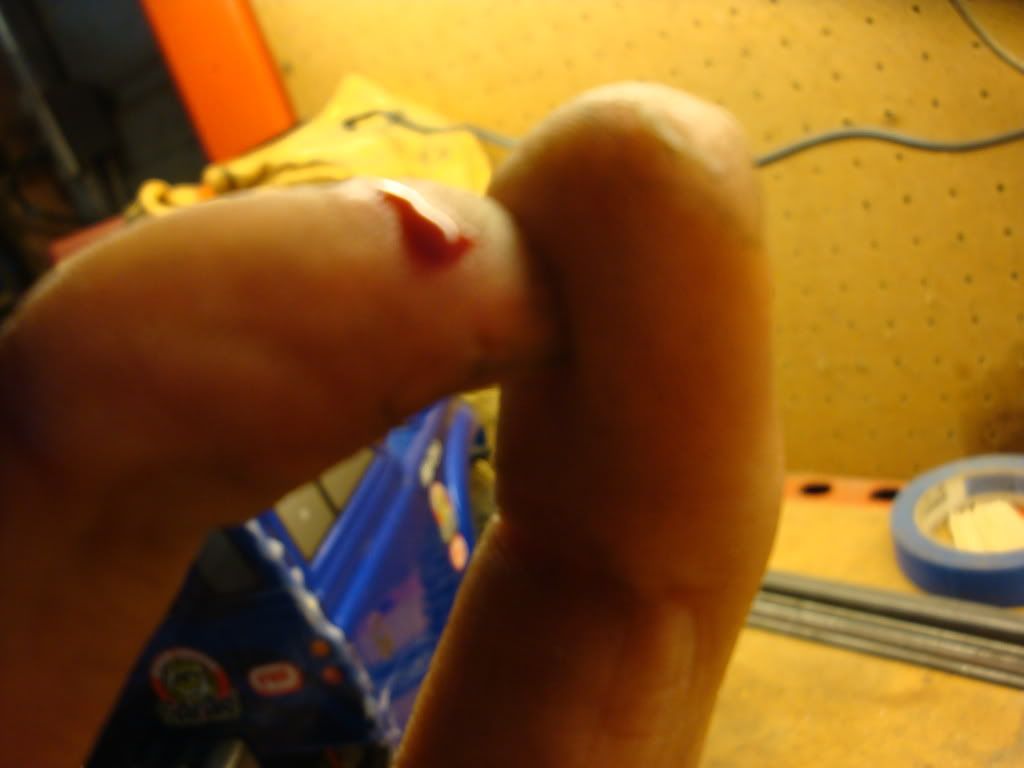 Then I cut out the plate for the bed.. and gave it a perty finish.. 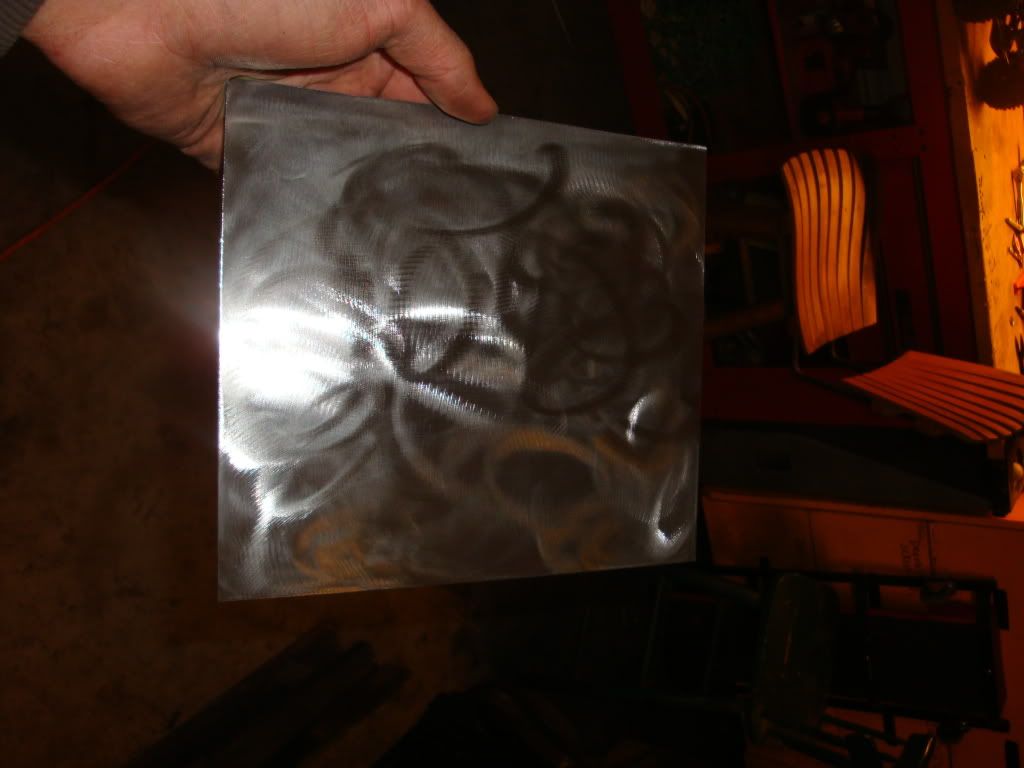 Here it is, Tack welded to the rails.. 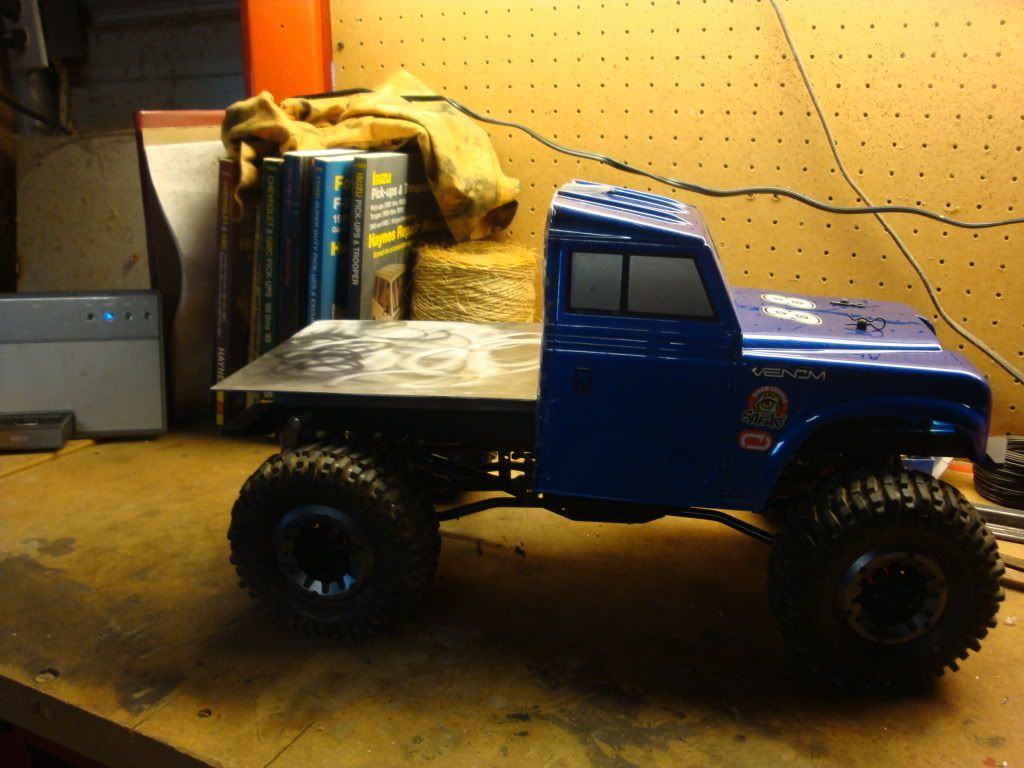 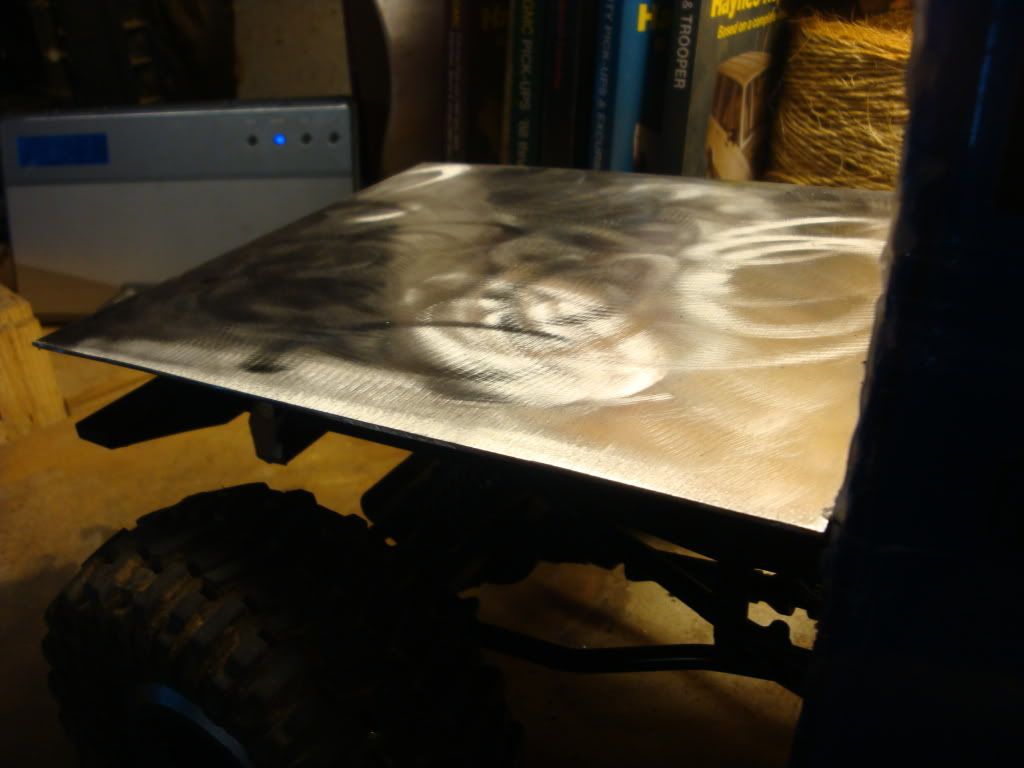 Then, The last thing I did tonight was mock up the shape I want for the roof rack.. 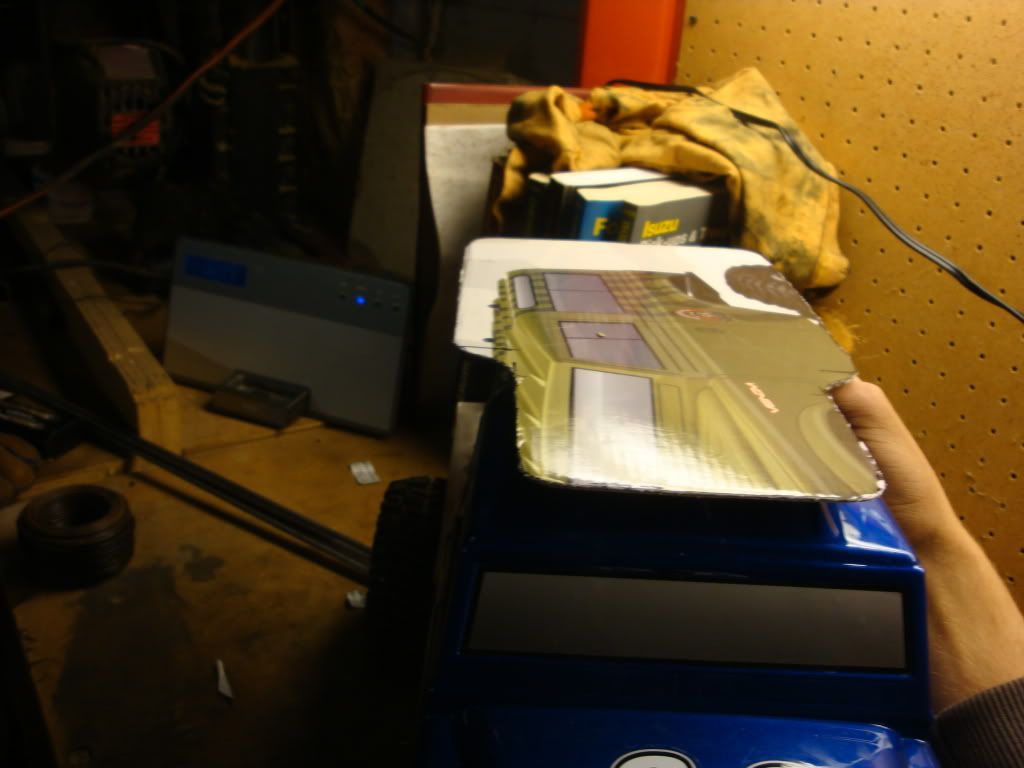 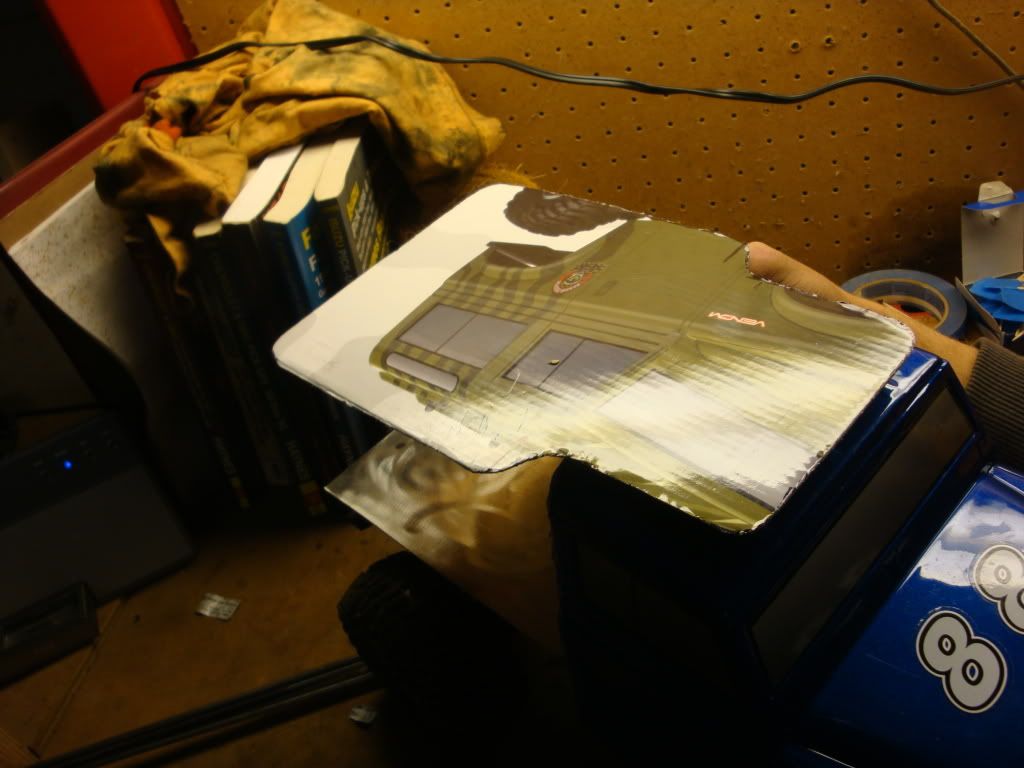 Fixed them for ya..... Last edited by rmdesignworks; 01-06-2012 at 09:34 PM. |
|
| |
|
01-06-2012, 09:35 PM
| #4 |
| I wanna be Dave Join Date: Jan 2006 Location: ...the burning end of the rope.
Posts: 5,013
|
Now this thread is pic heavy.............. Nice work bro... |
|
| |
|
01-06-2012, 10:29 PM
| #5 |
| RCC Addict Join Date: Sep 2010 Location: Malta, NY
Posts: 1,340
|
im liking it, looking forward to seeing more pics on this biuld  |
|
| |
|
01-06-2012, 11:18 PM
| #6 |
| Rock Stacker Join Date: Sep 2011 Location: Australia
Posts: 55
|
wow nice job, it looks so much better then stock!
|
|
| |
|
01-07-2012, 05:01 AM
| #7 |
| Pebble Pounder Join Date: Jan 2010 Location: brooklyn
Posts: 161
|
I like it!!! |
|
| |
|
01-07-2012, 09:33 AM
| #8 |
| Rock Stacker Join Date: Mar 2011 Location: Blah Blah22
Posts: 54
|
Ok guys, So since I spent all day in the garage yesterday, and I kinda want to get outta there. I decided to go finish the track I made and take lots of pictures and video of the venom performing on it! So thats what ill be doing today.. Ill have an update tonight!!!
|
|
| |
|
01-07-2012, 10:57 AM
| #9 |
| Pebble Pounder Join Date: Sep 2008 Location: philly
Posts: 129
|
wow, this is looking great, can't wait to see the finished product!
|
|
| |
|
01-07-2012, 05:06 PM
| #10 |
| Rock Stacker Join Date: Mar 2011 Location: Blah Blah22
Posts: 54
|
FIRST OFF!!! Thanks or all the posotive feedback! Its really encouraging me to push on in this build!! Next, here is the movie I made today on my track.. It is kinda hard to see how cool it is through my crappy camera, but it will do. I also did not get many "posing" shots because it started raining. 2012-01-06.mp4 video by whosyodaddy1 - Photobucket Another thing to keep in mind is that It did start performing quite badly towards the middle (while the camera was mounted on top). And that was beacause of a DEAD battery. So I hope you guys enjoy and Tell me watch think!! |
|
| |
|
01-07-2012, 05:19 PM
| #11 |
| I wanna be Dave Join Date: Jan 2006 Location: ...the burning end of the rope.
Posts: 5,013
|
RIg looks good VC...you might think about boat siding the flat bed unless youre planning wheel wells etc..Nice track too.
|
|
| |
|
01-07-2012, 05:56 PM
| #12 |
| Rock Stacker Join Date: Mar 2011 Location: Blah Blah22
Posts: 54
|
What is boat siding?? I was planning on doing some kind of "cage" or Tube rails about the height of a bed..
|
|
| |
|
01-07-2012, 07:59 PM
| #13 |
| I wanna be Dave Join Date: Jan 2006 Location: ...the burning end of the rope.
Posts: 5,013
|
it means to kick the side up at a slight angle..like a boat side
|
|
| |
|
01-08-2012, 03:30 AM
| #14 |
| Newbie  Join Date: Dec 2011 Location: Greenville
Posts: 26
|
The build looks nice, good idea! Looking forward to the finished product, just got a safari myself. Think I'll start fabbing up some parts!
|
|
| |
|
01-08-2012, 08:34 AM
| #15 |
| RCC Addict Join Date: Dec 2008 Location: pullin somebody else out of a mud hole
Posts: 1,759
|
build looks good venom |
|
| |
|
01-08-2012, 11:18 AM
| #16 |
| Rock Stacker Join Date: Mar 2011 Location: Blah Blah22
Posts: 54
|
Thanks Guys! I think im gonna start on the roof rack today.. Should be interesting. I gotta find out a way to bend the rod im using. Should be easy enough. I really like the wheel well idea sooo, perhaps there will be wheel wells in the future Also! If any of You guys have 1.9 wheels and tires thst you would like to sell, that are slightly used. I would be willing to cough up about 50 bucks.. If not, im going to get some rc4wd steelies and rock crusher tires. That will be about $70.. Soooo, Yeah. Ill post pics tonight of what i got on the roof rack. -Matthew Last edited by VenomCreeper987; 01-08-2012 at 11:20 AM. |
|
| |
|
01-08-2012, 12:24 PM
| #17 |
| RCC Addict Join Date: Apr 2010 Location: Ringwood
Posts: 1,233
|
it looks really good man
|
|
| |
|
01-18-2012, 02:22 PM
| #18 |
| Newbie Join Date: May 2010 Location: TORONTO
Posts: 24
|
I really like this home made stuff, I can't wait to see it on the rocks.
|
|
| |
|
 Re-Do (PICTURE HEAVY!!!!) - Similar Threads
 | ||||
| Thread | Thread Starter | Forum | Replies | Last Post |
| Spiike's SCX10 Jeep 4 Door (Caution Picture Heavy) | Spiike | Axial SCX-10 | 185 | 06-09-2013 12:51 AM |
| FSTR/Fun Run*picture heavy | smm_cbf | Florida | 6 | 07-23-2009 12:08 PM |
| 1.9 flat irons test (warning, very picture heavy) | Gr00v3 | Tires and Wheels | 1 | 01-22-2009 11:22 PM |
| Picture heavy!! New semi-comp rig | sowhatim14 | Axial AX-10 Scorpion | 0 | 01-18-2009 06:01 PM |
| |


 Linear Mode


