• Welcome to RCCrawler Forums.

    It looks like you're enjoying RCCrawler's Forums but haven't created an account yet. Why not take a minute to register for your own free account now? As a member you get free access to all of our forums and posts plus the ability to post your own messages, communicate directly with other members, and much more. Register now!

    Already a member? Login at the top of this page to stop seeing this message.

Dad's 1.9 Wraith

DadCanyoufix?

Rock Crawler
Joined
Mar 7, 2014
Messages
621
Location
Union City, CA
Hello,
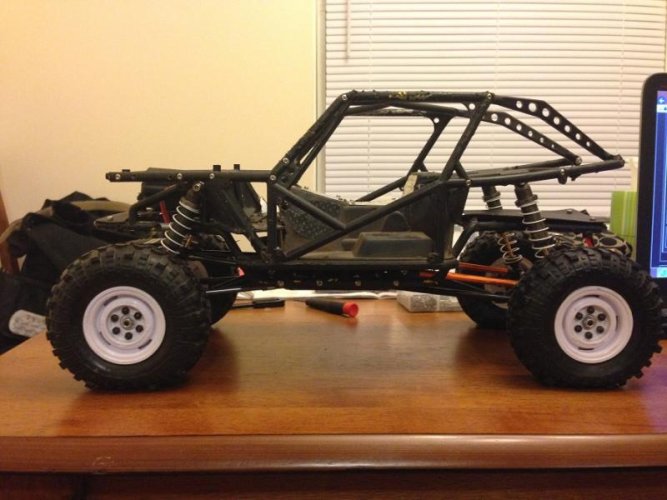
I have started a new build to give my scx10 a hiking buddy that will be driven by my wife until my son is old enough to drive it.


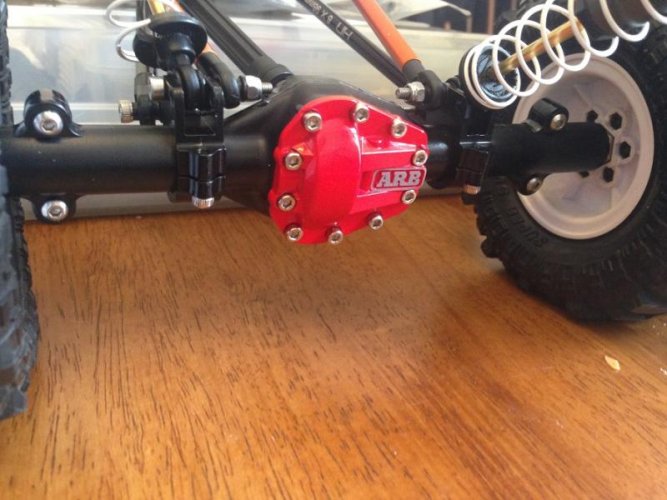
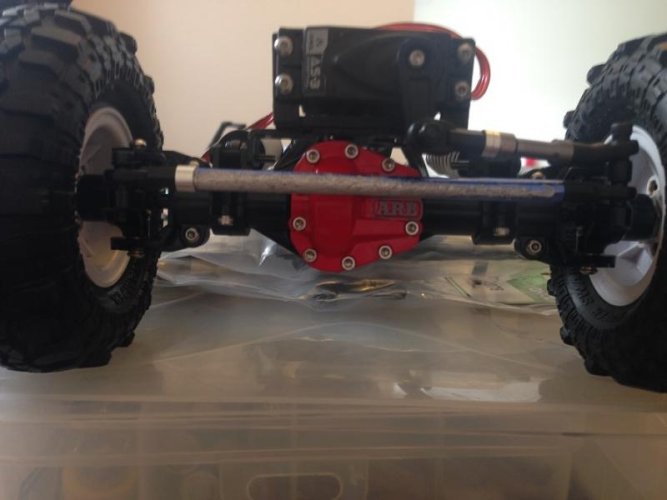
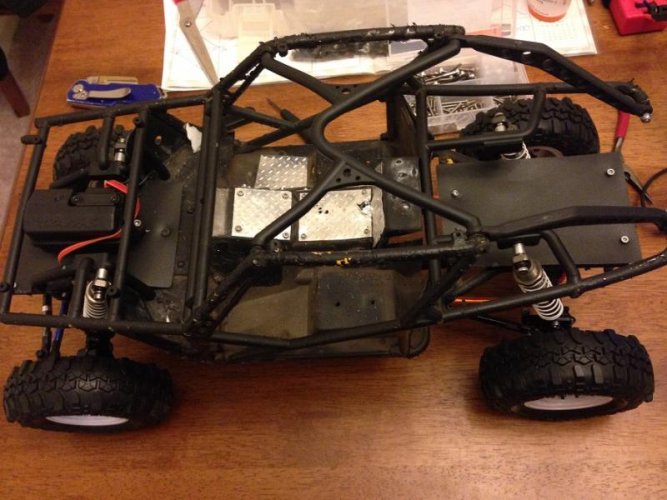
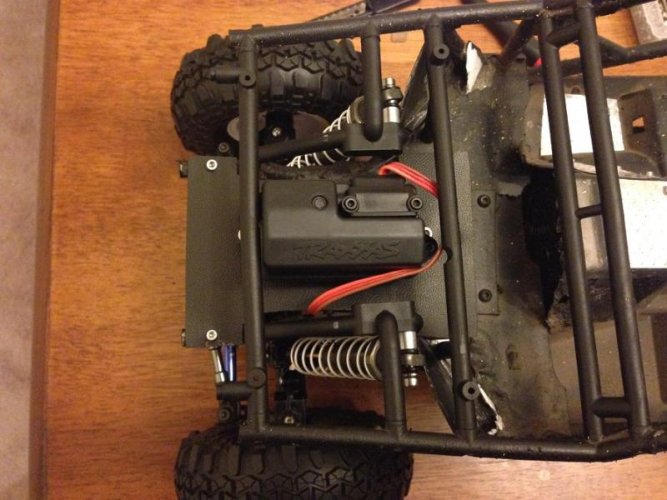
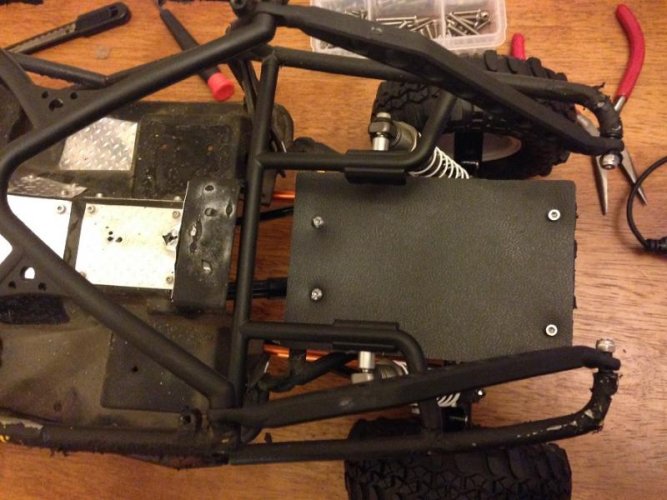
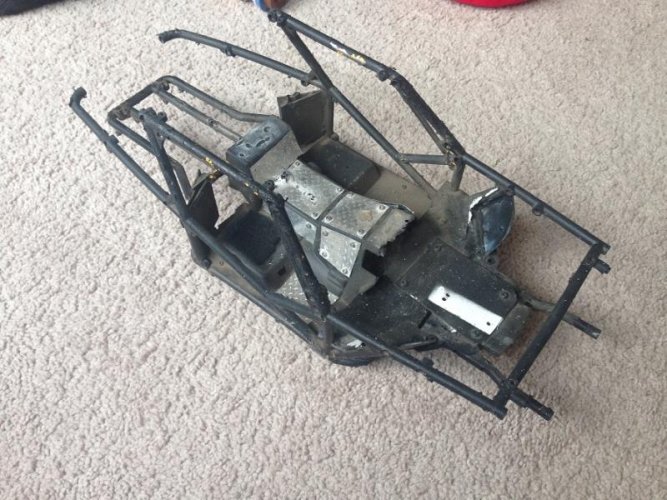
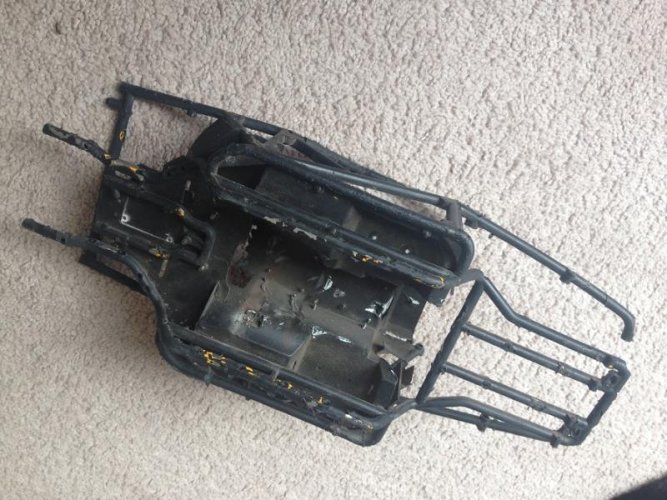
I used my credit card reward points to buy a set of T-Rex 60 axles ARB edition, and a savox wp servo for my scx10. While searching for axle mounts for the servo, I met "Nvghostrider". He sold me the mount he had laying around and we got to talking a little bit. After finding out he had a bruised and barren wraith chassis, he offered to pay it forward and send me the chassis for some of the shipping cost only.
1.jpg
2.jpg
3.jpg
4.jpg

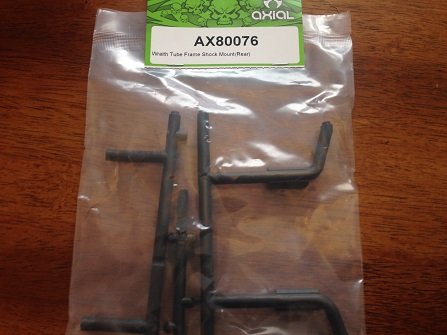
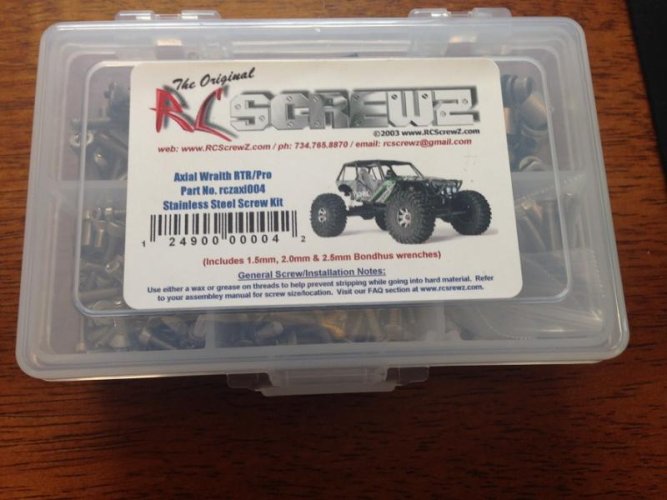
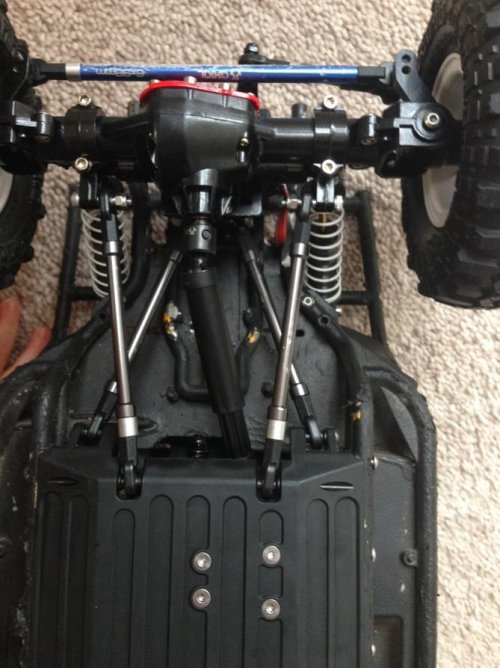
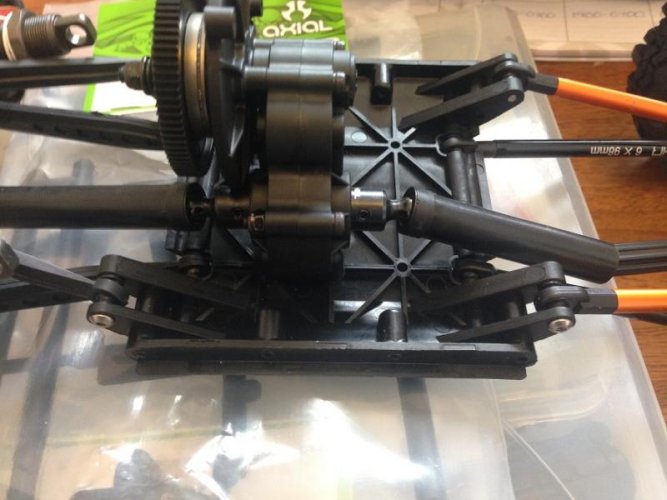
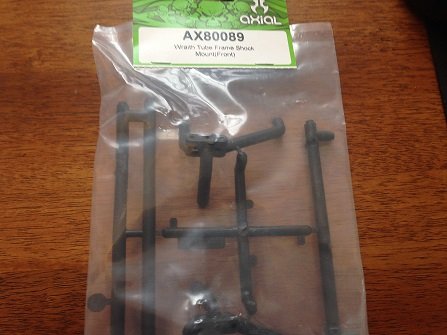
After that I used the rest of my credit card points and even sold some of the extra things I had laying around to fund the project and get it to a rolling status. I had an extra set of 4" losi comp crawler shocks laying around and the set of wheels and tires I used to run on my honcho. Ordered a few parts including shock mounts, skidplate, and transmission to get started on rolling status. Also orders a wraith set of hardware from rc screws. While waiting for parts I did some poking around through the forums and found some pictures to look at and some common problems with 1.9 wraith conversions. Links and servo clearance seemed to be the big 2 on the list.
5.jpg
6.JPG7.JPG
8.jpg

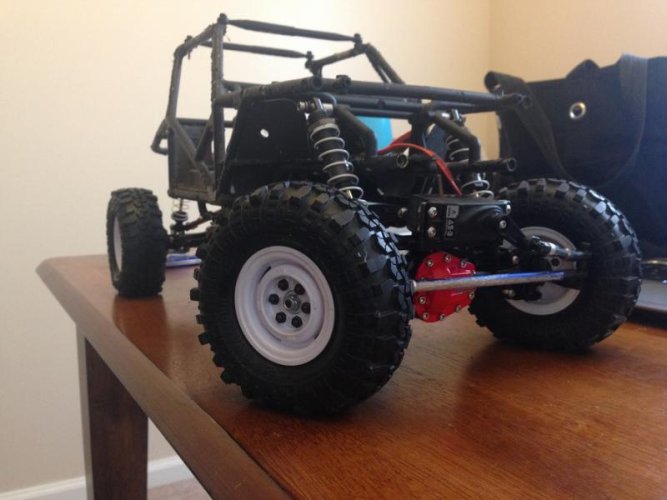
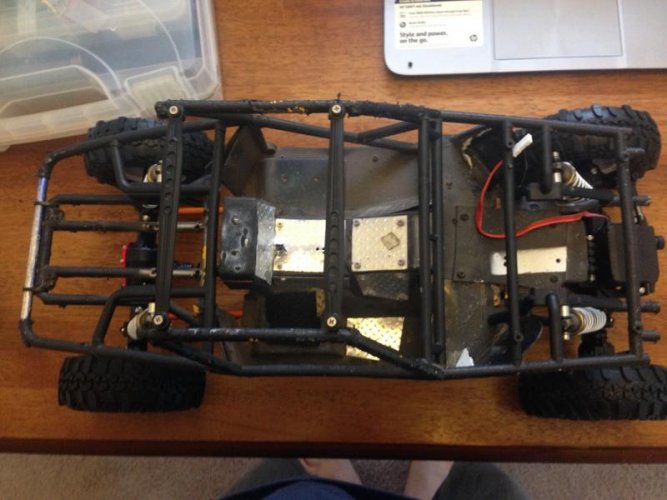
After receiving the parts I started assembling them while I waited for the chassis. Once the chassis arrived I had a few link issues to adjust but for the most part things went smoothly. The only thing I am waiting on now is a Dig output shaft to move the rear driveshaft's current mounting position back a little bit. This rig has a ton of room for upgrades and finishing touches, but Im happy with the way things are going. I will be running stock scx10 electronics in it as that is what my scx10 runs on and I don't want either to out pace or out crawl the other by a significant amount.
9.jpg
10.jpg

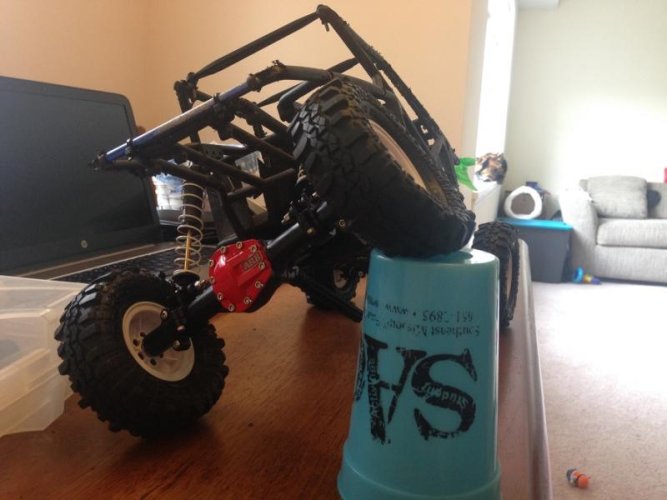
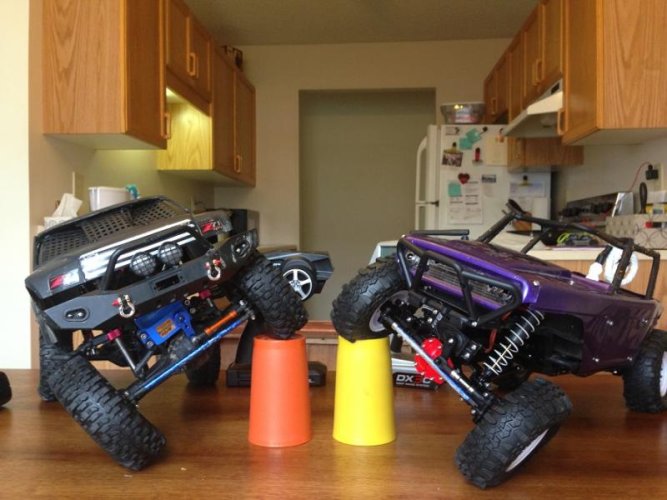
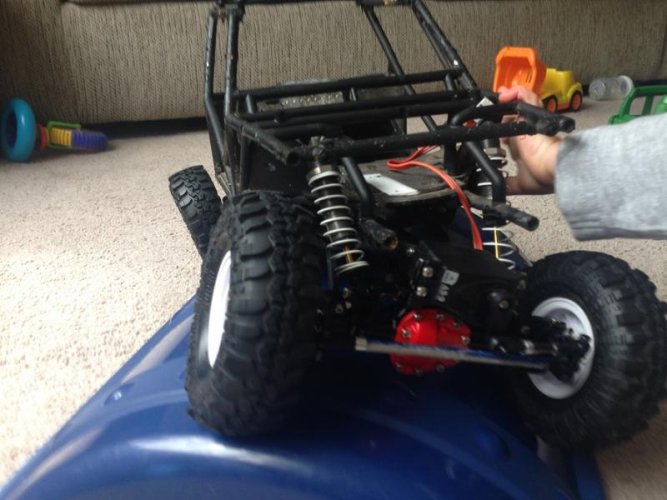
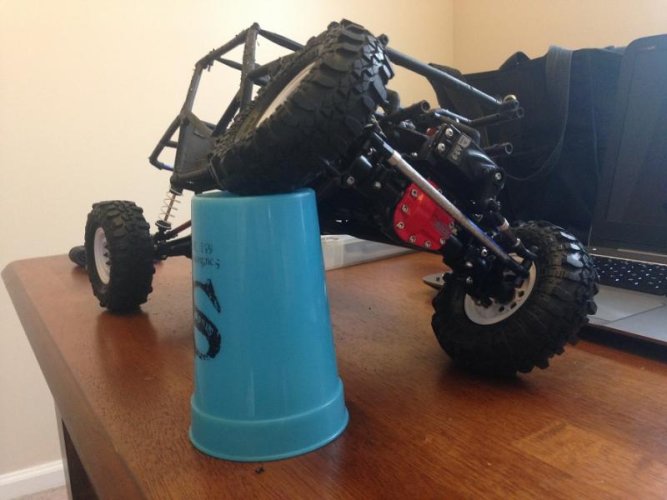
Here is a few flex shots, No Battery and motor so these will change a little.
Notice the little helping hand.
11.jpg
12.jpg
13.jpg

Parts List:

-Stock AS-3 servo Waterproofed with marine grease and a o-ring
-T-Rex 60 Arb axles Waterproofed with marine grease
-Set of four 4" losi com crawler shocks(white springs)
-G-Made plastic beadlocks(white)
-Proline Interco Tsl Sx tires
-Wraith chassis(TY Nvghostrider)
-Shock mounts front and rear
-Skid Plate and links
-Spektrum 3 channel rx and dc3x tx
-Traxxas waterproof rx box(yet to be installed)
-RC screws set for wraith
-Stock sxc10 Transmission with wraith dig lockout for rear output shaft

Wish List:

-Stock AE-2 ESC
-Stock 27T motor
-Maybe a wraith skin or some material to cut out my own.

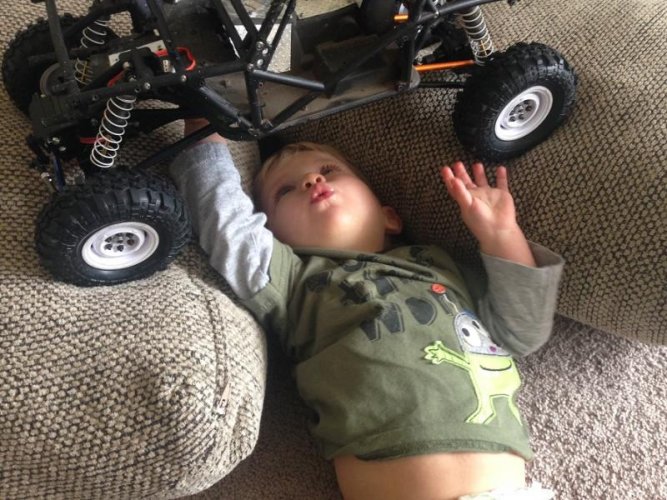
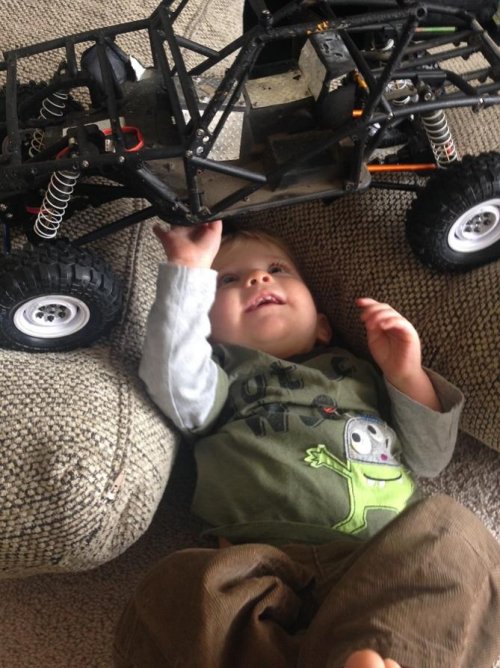
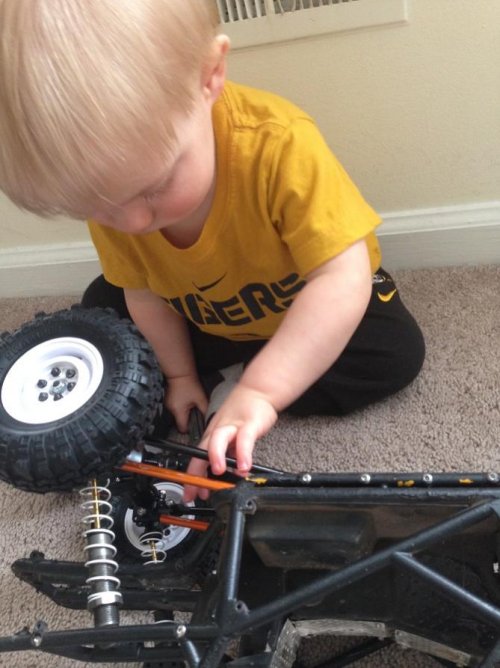
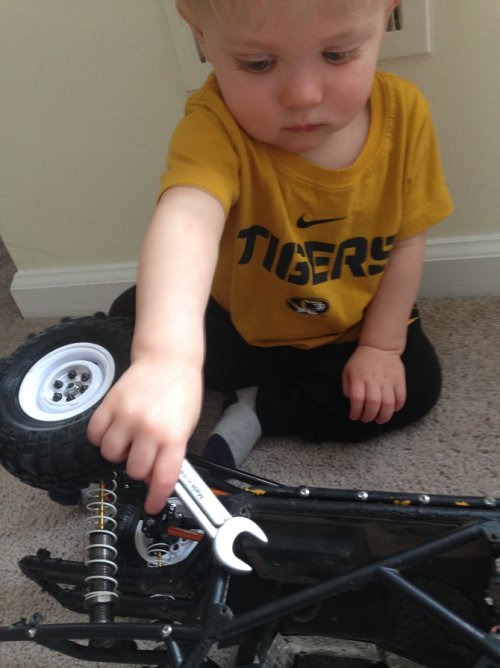
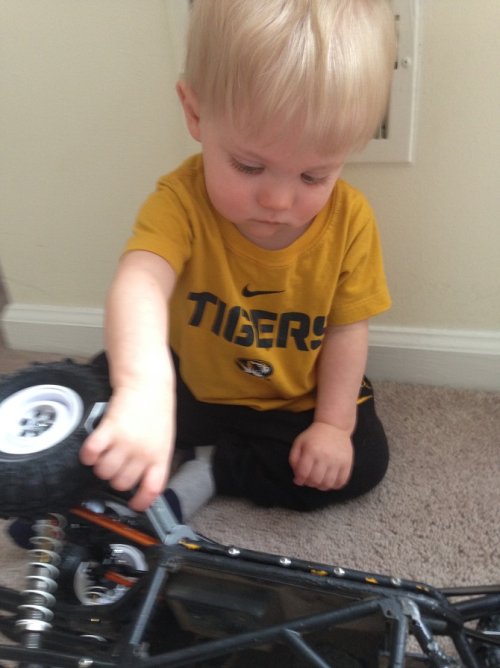
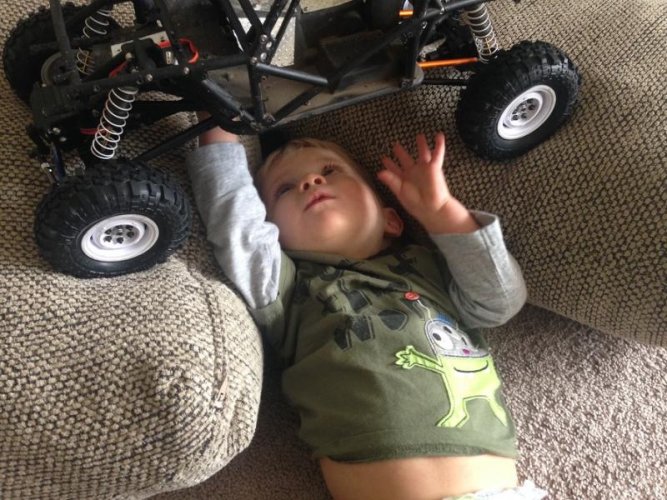
Here are some pics of my son getting acquainted with his future rig.
14.jpg
15.jpg
16.jpg

Thank you for looking, will post up more pics when output shaft is installed.
The motor and ESC might take a little while as my Credit card rewards points and spare parts box are now too low to buy anything soon.
Happy Crawling!
 
Last edited:
You sure know how to start them young, eh? "thumbsup"

Looking good! The more of these 1.9 Wraiths I see the more I'm getting worked up to build one.
 
You sure know how to start them young, eh? "thumbsup"

Looking good! The more of these 1.9 Wraiths I see the more I'm getting worked up to build one.

Yup, he was watching me put it all together today and was just dancing in excitement. Had to let him have his time with it.

I like the diamond plate in the cab section. Is it real diamond plate or a sticker?

It is real, extremely thin, but real. I am not sure where it came from but I will look and ask around.

Great start. What's the wheelbase and width outside of the tires?

Wheel base is 14", I plan on shortening it eventually. Width from outside to outside is right around 9".

Btw, Dig Lock out shaft was in the mail today, I forgot to get it with my excitement when receiving the chassis. Just got done installing it, works like a charm, Both rear and front drive shafts have plenty of room and do not bind. Ready for a body and power plant.
 
Last edited:
Lookin good so far man!"thumbsup" in case you havent thought of a body yet too i have some bronco wraith panels thatve been sitting around for awhile if interested"thumbsup"


- Richard
 
Shortened the Wheelbase by 1 inch in the front today, my son decided he will get to shortening the back. 14" was just way too long for this rig. Jackson will probably have the rear shortened up in a while. Posting a pic of the links up that I used to do this.

20.jpg

Links are 60 mm with long revo ends. Lower links have a 5 mm spacer added to them. The drive shaft was shortened by using the short set of stock shafts in the honchos spare kit. Rear are still 98 mm's, will probably go down to 87.5s or possibly make a combo of some links to create something around a 80-85 mm range in the rear. I want to try a set of 87.5s for the rear first though, so I'll be cruising the classifieds looking for some cheap.

24.jpg

My son grunts and dada's me the entire time I am working on my scx10 and this as well, so I have started letting him have some time with it when I get it to a non-choking hazard status. Hopefully you all enjoy the pics of him helping me out as I build his future rig.

21.jpg
22.JPG
23.JPG

I used the center piece of the top of my old honchos cage as a top and the stock plastic links for the rear. I see the links used like this a lot but I think with the honcho top on it, looks a little different than other builds. Waiting on a stock axial bumper kit, should be here before the week is out.

25.jpg

I had some plastic/nylon slats that came with my sons all-terrain hiking stroller that struck me as usable when they fell out of the box, glad I saved them. I have used one in the front to finish the "engine bay" and one in the rear that I suspect will come in handy later when decking it out with accessories and such, Imo it looks better this way as well. In the "Engine Bay" I have mounted my Traxxas waterproof receiver box and installed my spectrum rx and hooked up the servo, Just need a motor and esc for some test hits!

26.jpg
27.jpg

I have two slats left I think I will use them as fender wells when I get a body on it. I will post pics with anything new I find to do with this build. Or thoughts I have about its direction. I love other people's opinions so I may ask a question or two!

Happy Crawling!
 
Next thing you know he'll be taking things apart around the house to see how they'll work. :mrgreen:

Looking at the way you have the rear setup you could make a functional tail gate. And the roof looks good like that
 
Next thing you know he'll be taking things apart around the house to see how they'll work. :mrgreen:

Looking at the way you have the rear setup you could make a functional tail gate. And the roof looks good like that

He has a little workshop set up with some toy trucks and such and he gets in his little corner and gets busy some times. It's pretty amazing watching him grow up and start acting like a Tiny Human.

On the roof, I thought it looked more open top but not as strict roll cage. I like it too! Not sure if I want a functioning tail gate. Jackson may rip it off. One day maybe ill let him make it functional.

Looked around for my quick link options as I don't have a dremel yet to fashion my own. I think I will go with the axial 85mm links. Probably going to wait until I get a body on it though.

Happy Crawling,
 
Hello again,

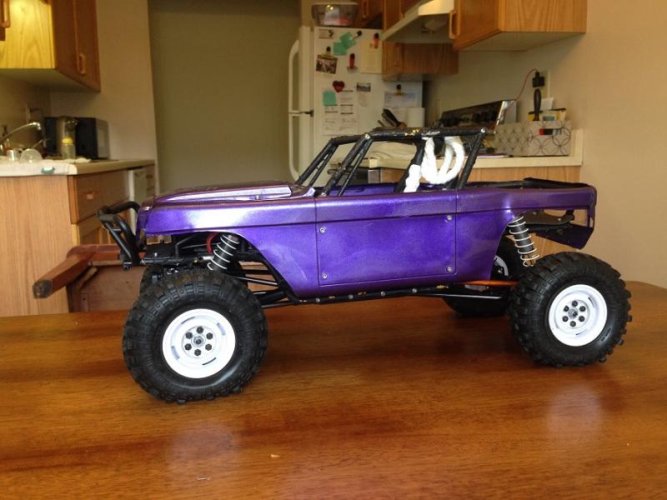
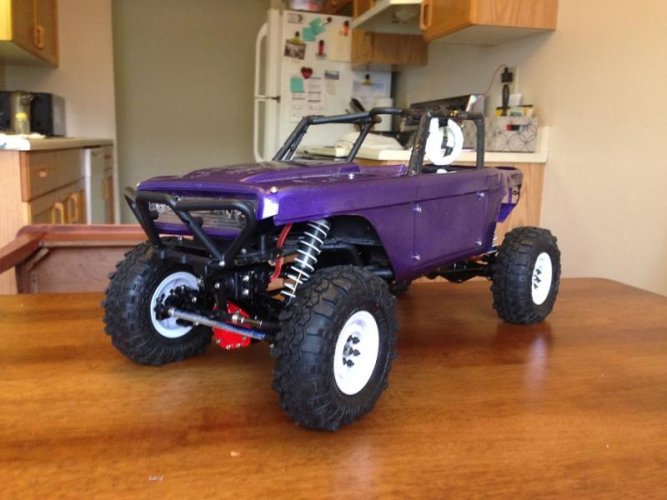
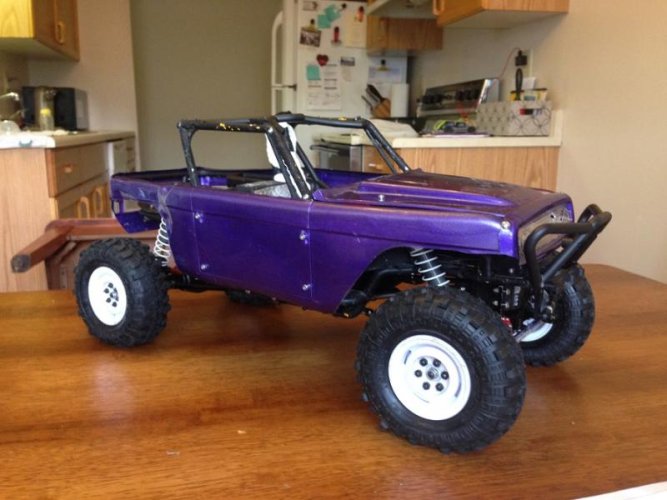
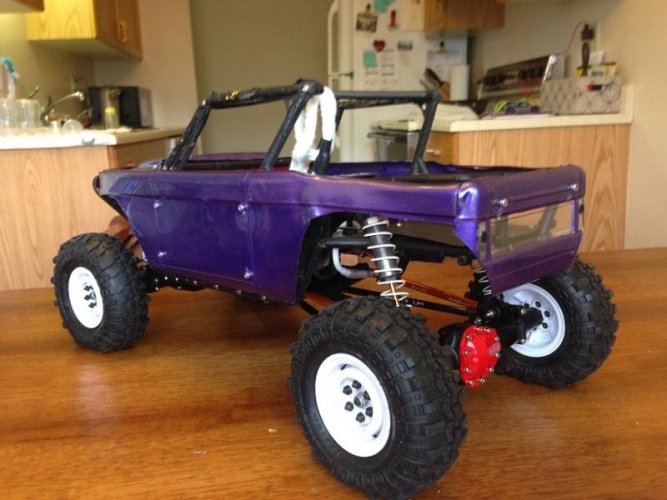
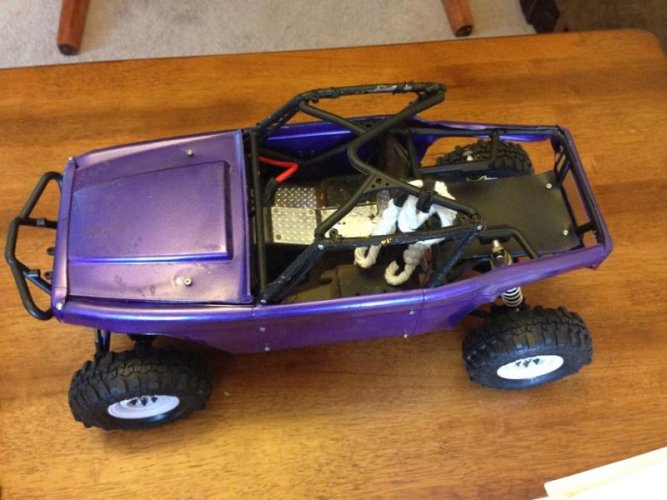
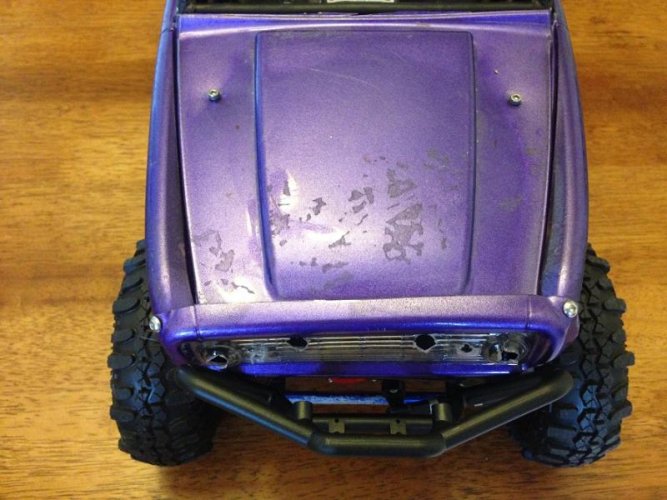
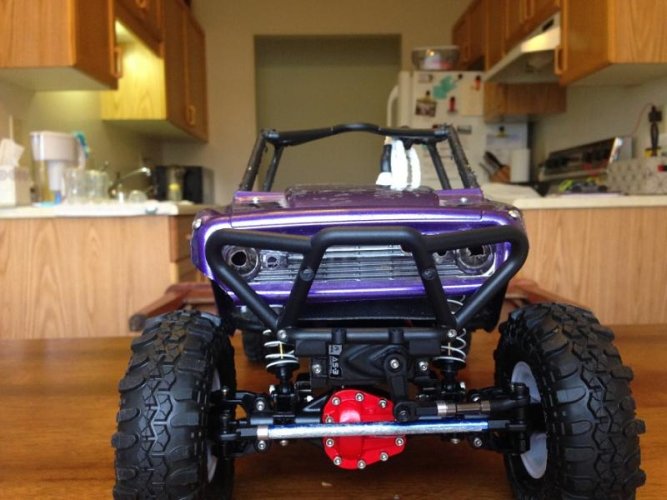
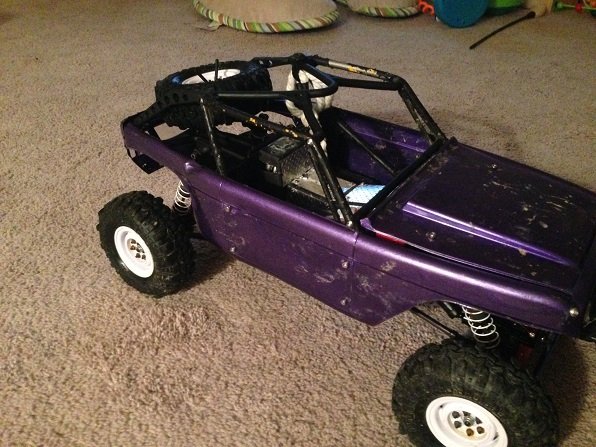
So I got mail today! A pay it forward body from creepinchevy69 for only the cost of shipping. Also got a AE-2 Esc and axial 27t motor(I know, high budget stuff) to power the stock scx trans. Everything went smooth until I got to the front of the truck. The body panels didn't want to line up at all for me, not a big surprise with a used plastic chassis from one source and a used lexan panel body from another. But with a few screws to pull it together I think its ready for some trail testing.

28.jpg
29.jpg
30.jpg
32.jpg
33.jpg
34.jpg
35.jpg

Need to pull motor away from spur a tiny bit, gear mesh seems to be a little loud(tight).

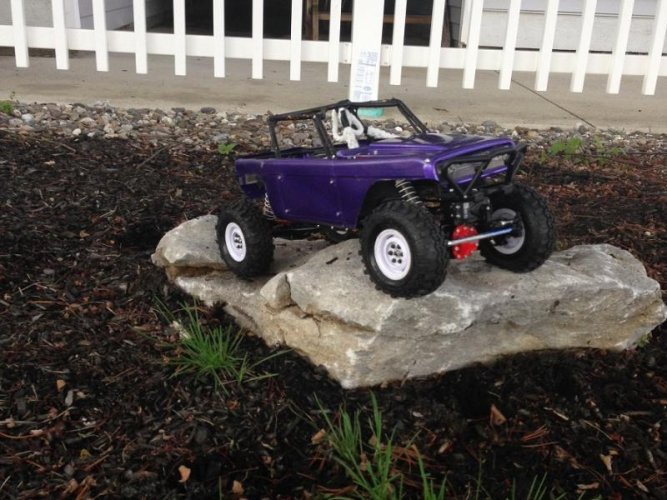
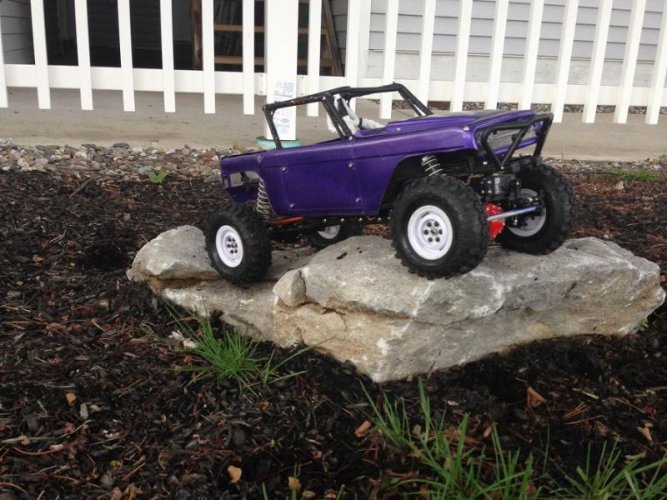
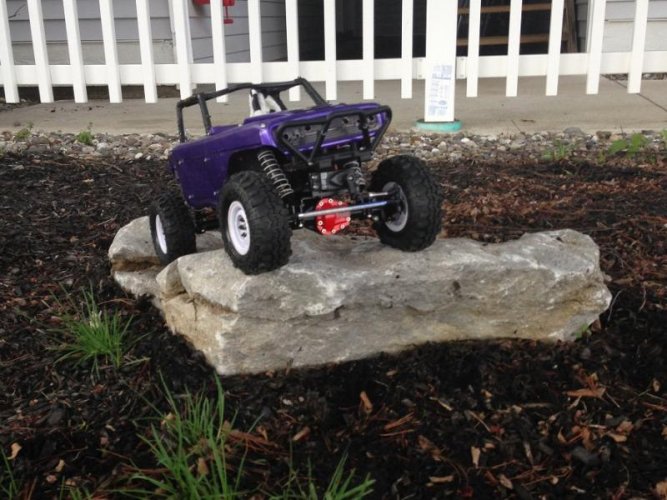
Took it out to the little yard in front of the apartment complex we are living in atm and played around with this little rock.

36.jpg
37.jpg
38.jpg

Let me know what you think! the next upgrade will probably be a new servo and servo horn. couple mud bogs and creek swims might have made the old stock AS-3 a little week. Will also be saving for a dynamic concepts blazer body or something similar.

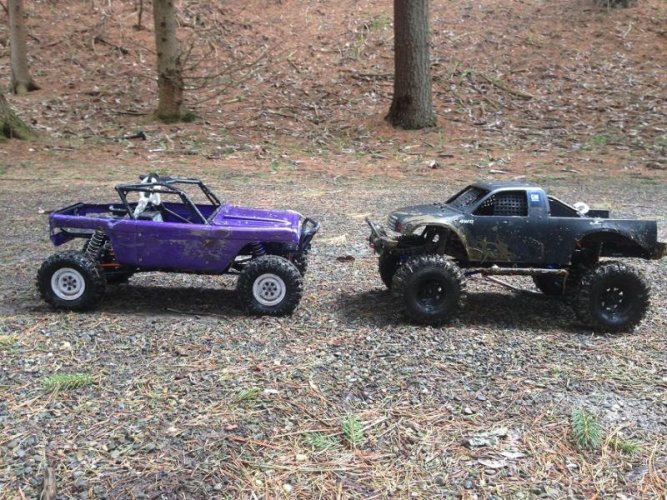
I have not water proofed the esc yet as I want to test it out and make sure on a hour run in the dry it doesn't have any defects, after I am comfortable it is as reliable as the on in my scx10, I will plastidip it as well. Just waterproof my servos with marine grease and headlight bulb grease. The motor on the other hand has gotten a dry run, then a small application of lucas injector cleaner fuel additive. It has keep my old 27t in the scx rust free and well lubed without attracting much grit.Heres a pic of the scx10 with its new hiking buddy!
39.jpg
 
Nice man glad to see it got there as expected"thumbsup" rigs looking damn good also but i think its definitely calling out for that dynamic concepts blazer body haha:D either way tho you got it looking great man! Happy trailing


- Richard
 
Thanks for the help guys. Plan on taking it out today and getting some trail shots.

I definitely want the blazer body but I'm pretty satisfied that it can even hit the trails this early in the build. My wife is working a lot this week before the move so she won't be able to enjoy it until after we get wherever we are going. I will work the kinks out with my son so it's ready for her( tiny bit worried that stock AS-3 has almost had it).Gonna tear into it if any problems arise on the trail. Probably gonna get a slightly longer servo horn to improve steering as they are only a couple bucks.

Does anyone know of a servo horn that has a bend or flare to it that moves the link away from the pumpkin? Afraid it'll hit the steering link without moving a little forward of it.
 
Test run at the park today! Posting here as well as my scx thread on todays success!

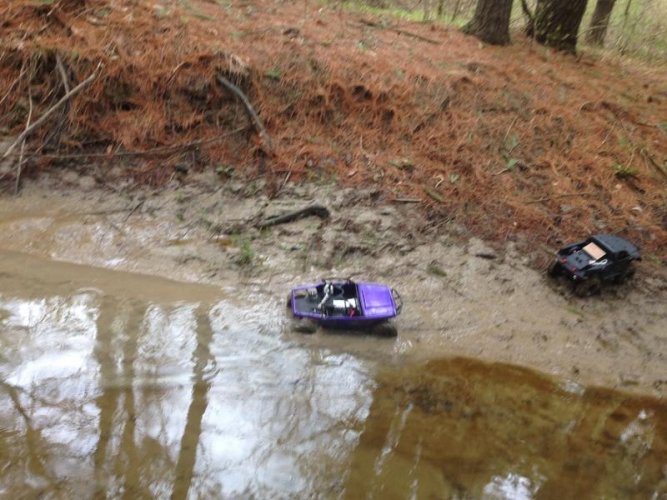
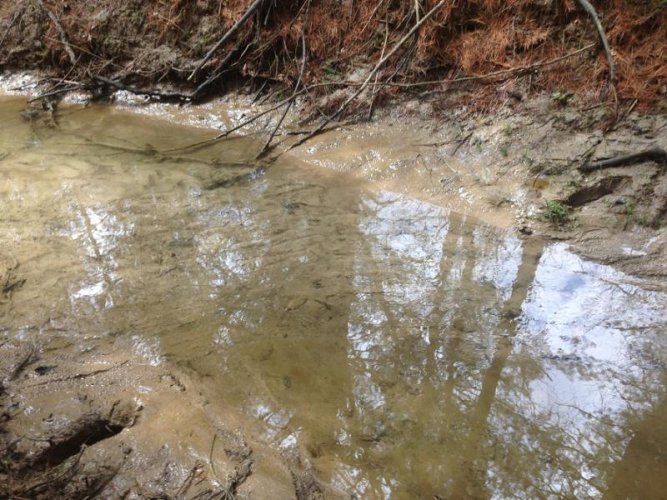
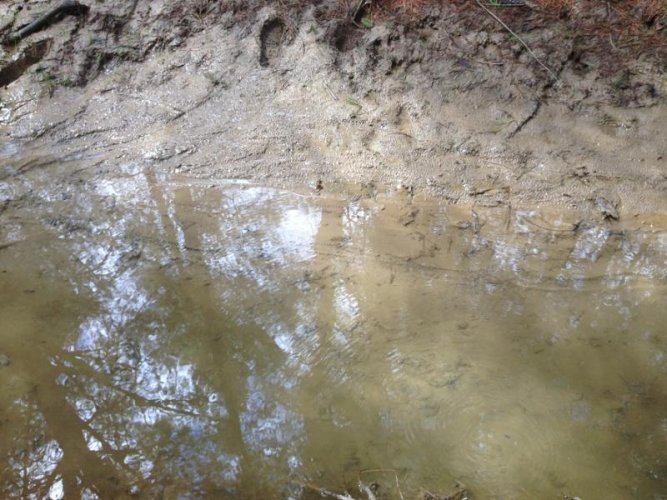
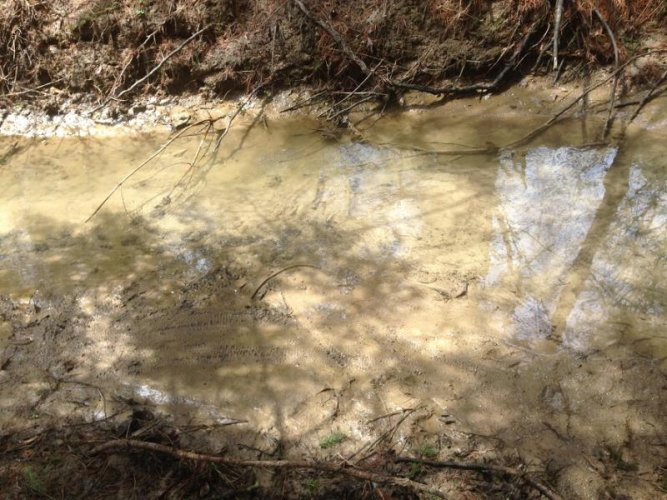
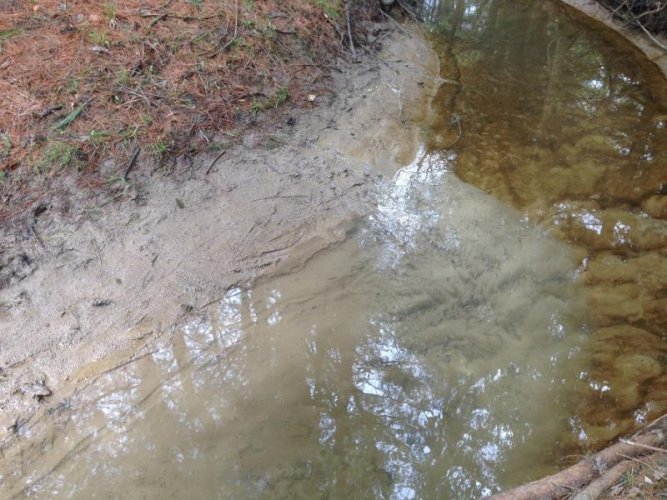
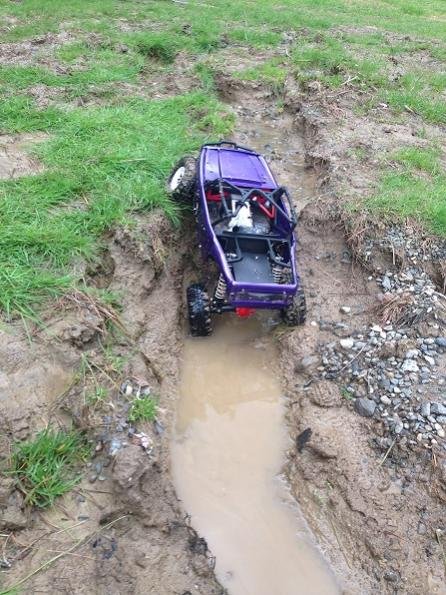
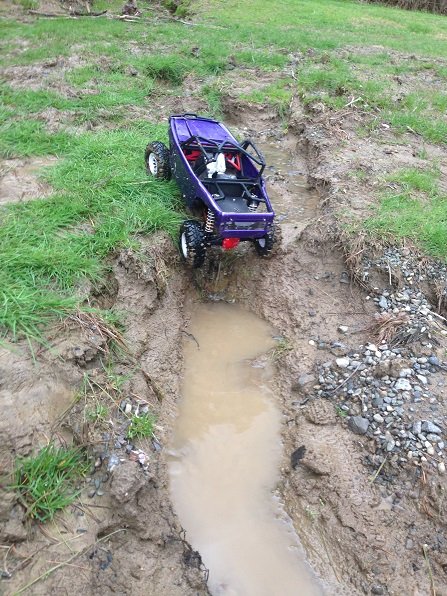
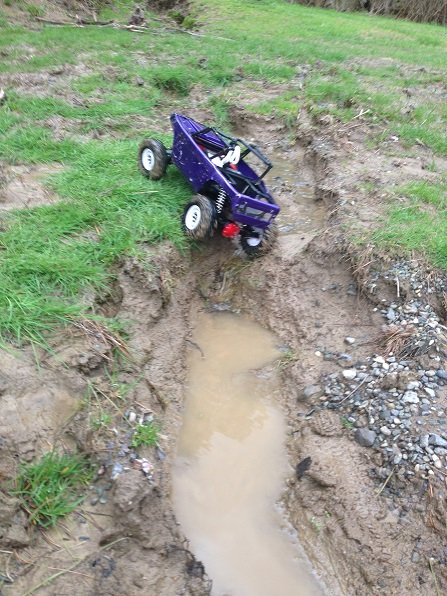
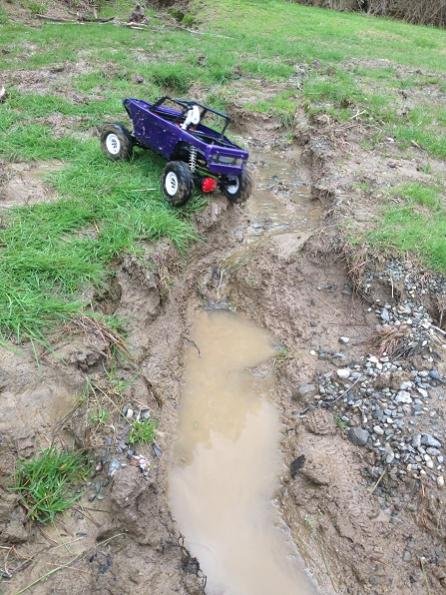
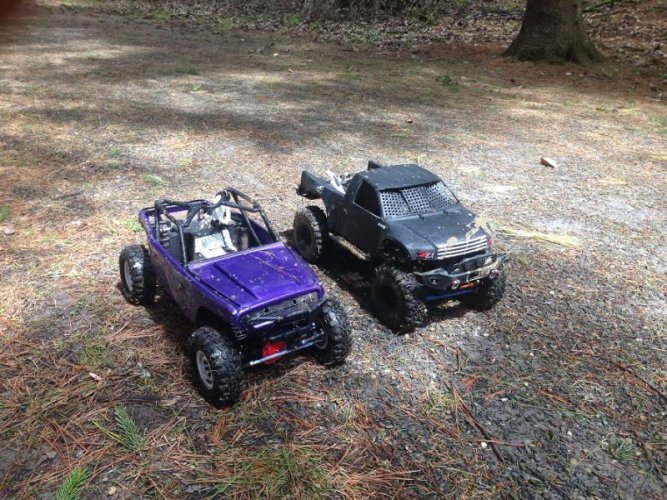
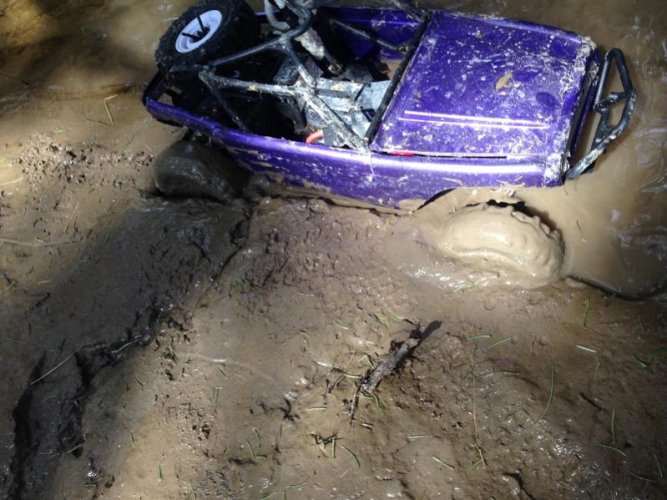
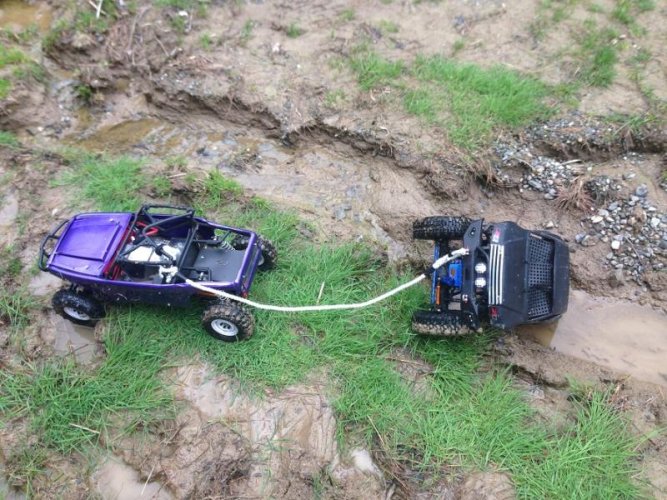
The Wronco did wonderful! Even pulled my scx out of a poor line choice with a tow line! I did get both of them stuck in a creek with a soft bed, but since I was trekking to get them, I left the iphone with the stroller as I weigh a lot more than these rigs do. Sorry the wronco creek shots are a little blurry, it happens.

Here is several shots of the wronco in the creek and the creek bed itself.

108.jpg
109.jpg
110.jpg
112.jpg
113.jpg
111.jpg

Next is a active wash out on a hiking trail, has some rock base but is pretty muddy after it rains.

123.jpg
124.jpg
125.jpg
126.jpg
127.jpg
128.JPG
129.JPG
130.jpg


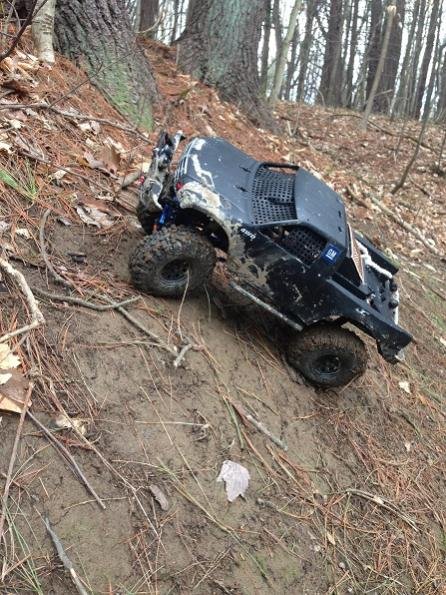
Side hilling to test cog of wronco and bogger cut on the scx!

121.jpg122.jpg
120.jpg

These two could not have made me happier today. I cant wait to finish water proofing the wroncos esc so it can dive right into those sticky situations with the scx. I did use a couple pieces of plastic to make a splash guard for the esc but I want to be able to run water passed the doors!

132.jpg
134.jpg
 
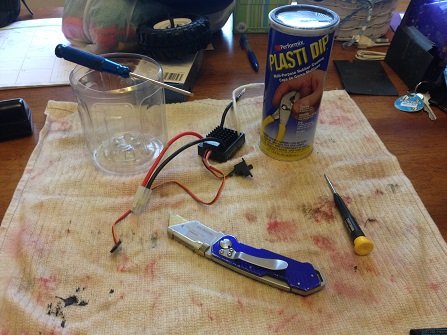
Had some fun last night! Plastidipped the esc of the wronco so it can join the scx in whatever deep **** it gets into. I have seen people ask how to plastidip and djmedics youtube video is how I learned. I don't plastidip my servos though, just an o-ring behind the case on the spline and in front of the case on the spline with a lot of marine grease applied to the Spline, case seams, screws on back, and the exit of the wires that run to the rx(Servo has been mud bogged and submerged in flowing water on every trail run almost and is still fine). If people would like to see that, I would be more than happy to pull my servo apart and try to take some good pictures of what to do. Here are a few pics of the esc plastidip process I use,

First off, Plastidip, found it at a home depot or a lowes, cant remember which.
40.JPG

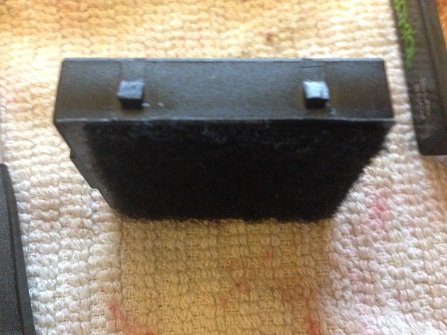
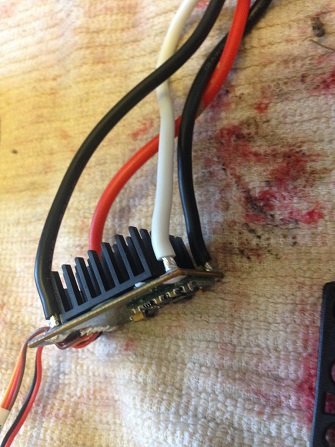
To separate the esc from its box, YOU VOID THE WARRANTY by cutting or removing the decal that prevents you from separating the case into two pieces. Then with a very fine flat head screw driver(from a tech set or something) GENTLY apply some pressure to pop the outer shell from the inner shells tabs.
41.JPG

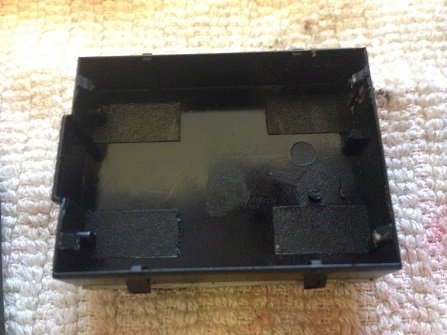
Then pull the outer shell away and look inside at the esc board in the inner shell of the casing. Once again, With GENTLE pressure pop the board loose from the inner shells tabs.
42.JPG

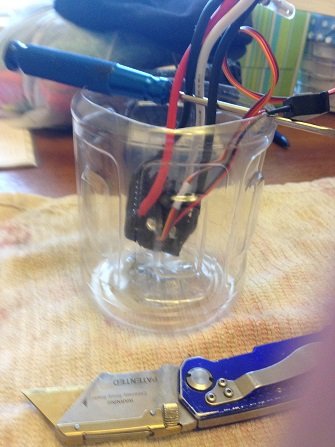
With the esc free of the casing, you can dip it while holding the wires into the plastidip, Do NOT submerge the whole thing, just up to the side of the base of the heat sink, you should not be covering an fins with platidip, doing so may hurt the cooling of you esc and cause a lot of thermal shut downs or even just fry it. I let it sit for about 2-3 hours before re-dipping it after pulling the wires in different directions to get the plastidip to fill the voids( you can also use a plastidip tipped flathead to dribble small amounts to places that were not cover by initial dipping.
43.JPG44.JPG

I normally do this in the afternoon and let it sit over night and put it back together the next morning. Hopefully all that might either help someone or interest them into maybe watching a few videos and reading some threads about how to plastidip their esc.

https://www.youtube.com/watch?feature=player_detailpage&v=SzmK_tvbejE

You could just buy a waterproof one also or drench the thing in headlight bulb grease and re-grease every time your rig sees water. To each his own, I like the plastidip method.

So today we are going to a spot I've previously run with the scx to evaluate the gain of cutting my boggers. Should prove a good test for this rig as well. Eventually I think we are gonna invest in some tsl xl's for this rig but the sx's will do for now. Will update with pics after our run!

Edit: Wanted to add a picture of the splash guard I fabbed from two pieces of nylon/plastic that were shipping spacers in my son's A/T stroller.
45.JPG
 
Last edited:
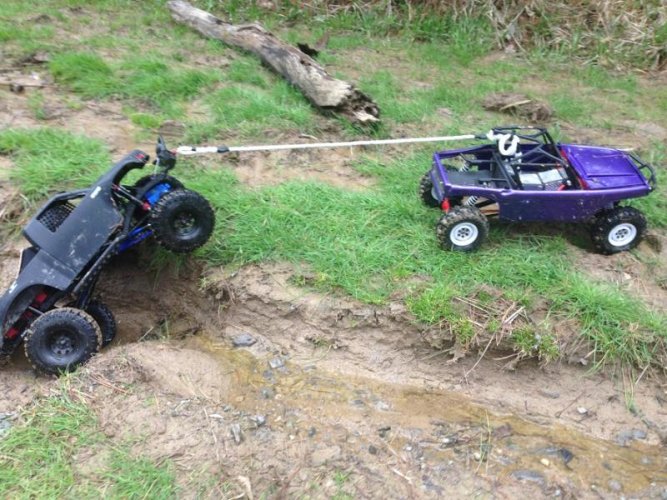
Houston, we have a problem. Lost a grub screw on the pinion inside the front axle. No rock shots:( at least I got to test the boggers on the scx out).

Did some more digging in the axle after I got home and my son to bed, the smaller bevel gear does not have a grub or set screw in it, the gear just simply came off the shaft. Now I don't think this is right and after care inspection I found that I had indeed correctly assembled them when marine greasing the entire axle set. So to rectify, some gorilla super glue and now I can't pull the bevel gear free from the shaft by hand(much better than sliding it on and off by hand before). Will see how this does and if the rear acts up on me as well.

I have used gorilla super glue before on a SC18 diff and that proved its strength to me when the diffs aluminum outdrives shattered before the diff came apart. Was running a 2s 30c to a toro micro in one and a hobbywing something or another(Hong Kong Crap) in the other. That toro system was actually quite impressive for its size and temp reading were always cool to warm. Little buggers do 35 mph(pretty sketchy for a 1/18 sc truck). Hobbywing was always on the borger of thermal SD until I attached a PC cooling fan the shock tower to pull in some more air flow.

I hope I am not boring you all with off topic crap, just know someone is gonna read this and think, "super glue, Really dude?" lol.

Will update tomorrow, Good Luck Nvghostrider with your comp/trail ride tomorrow! (when you go with friends, its always a comp, even if nobody says so)
 
Last edited:
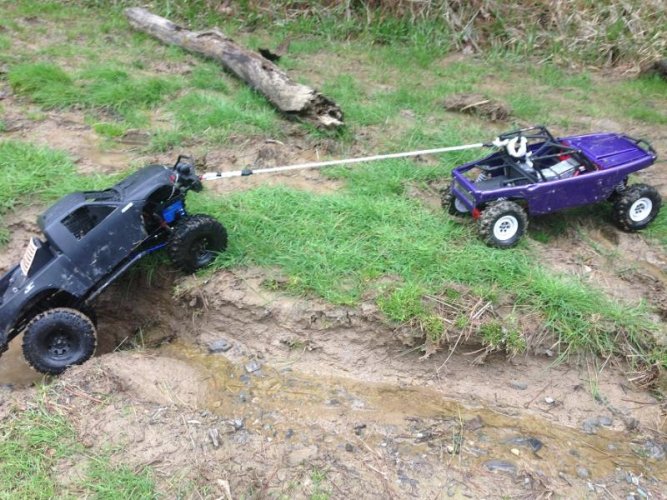
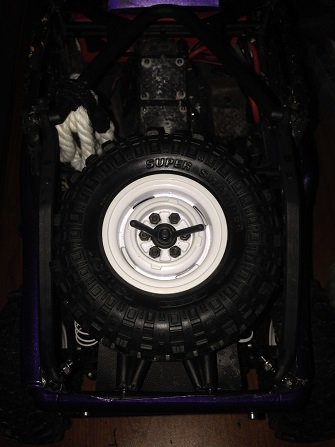
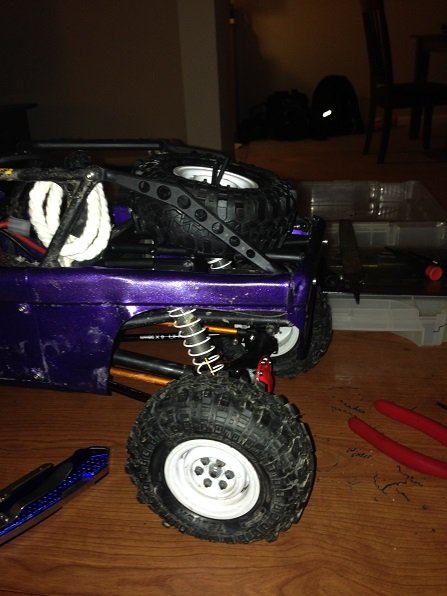
Put a spare tire mount in last night while my son was sleeping. Also used old wraith links to make a small roll bar on each side of the spare.

This mount is from a scx honcho. It is the bottom truss that runs under the bed shortened to fit the rear of the wraith.

46.JPG

Tire mounted in the back.

47.JPG

Took a pic to show the profile view a little bit, I have some thin WP foam that I can use to create a bed, Should remain flexible and provide better Bed feeling back there. Will post pics of that when I get there, hoping it will warm up today so I can take my son out and re-test on the rocks.

48.JPG
49.JPG

Also re-did the links in the rear, fashioning a 4 link upper truss from a scx10 kit onto the T-rex 60 rear axle. No more axle twist.
 
Last edited:
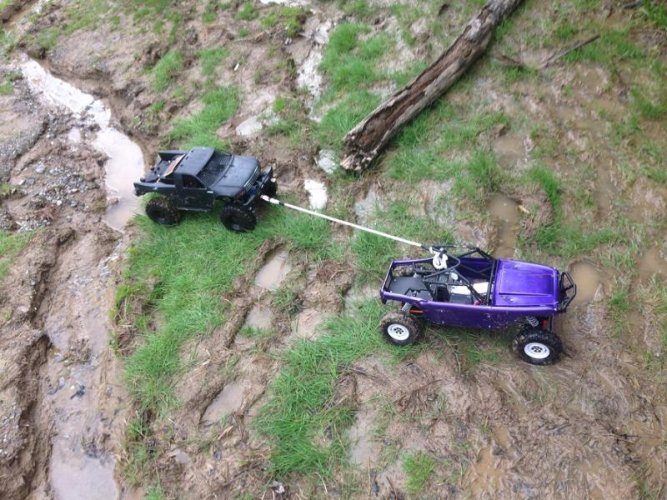
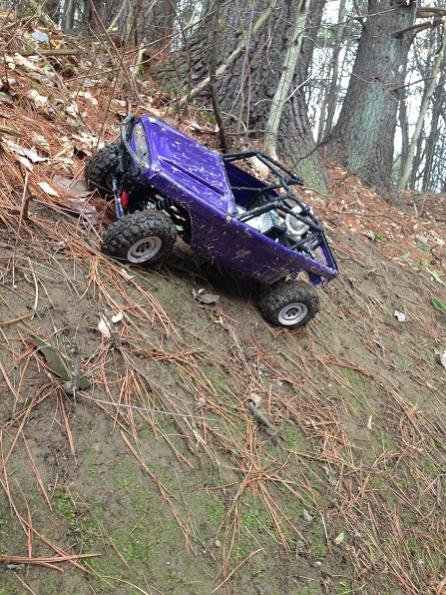
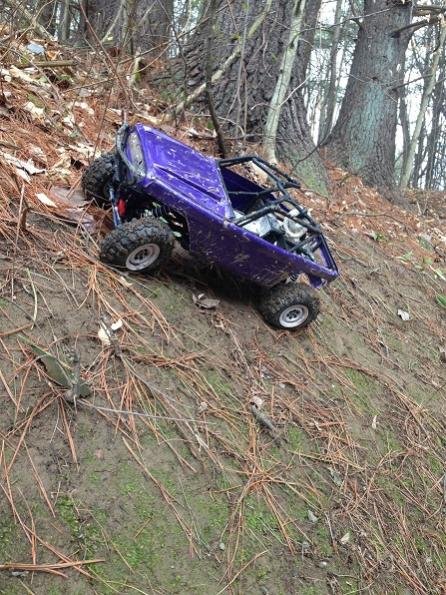
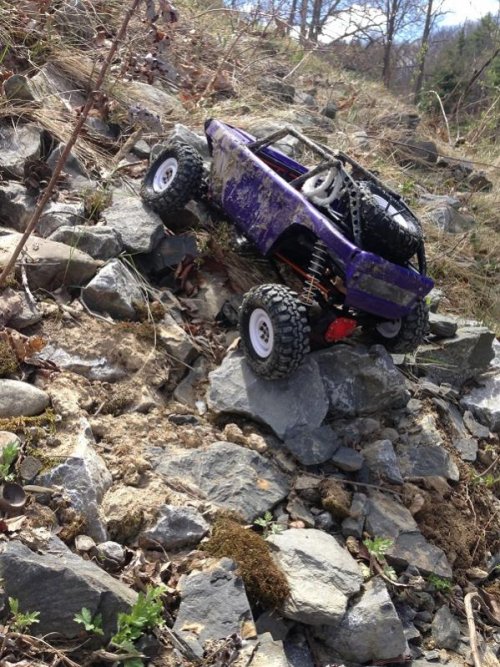
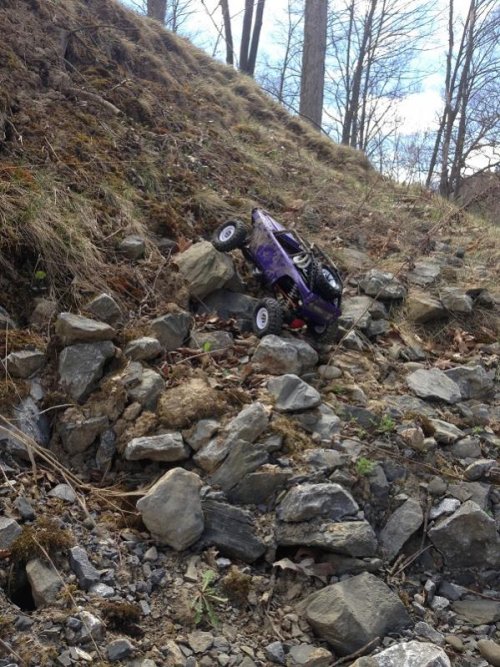
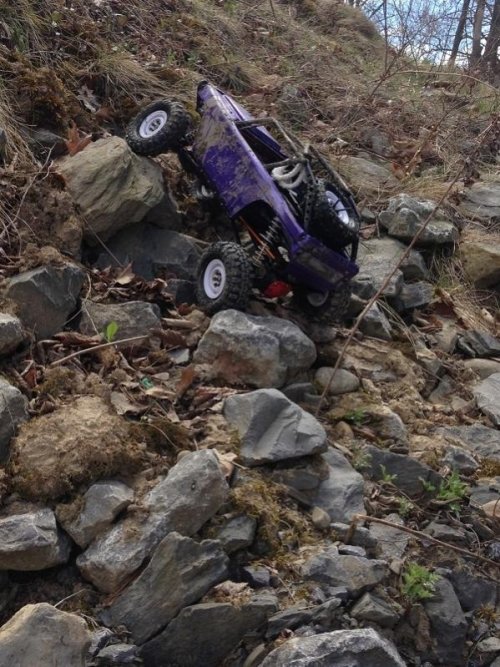
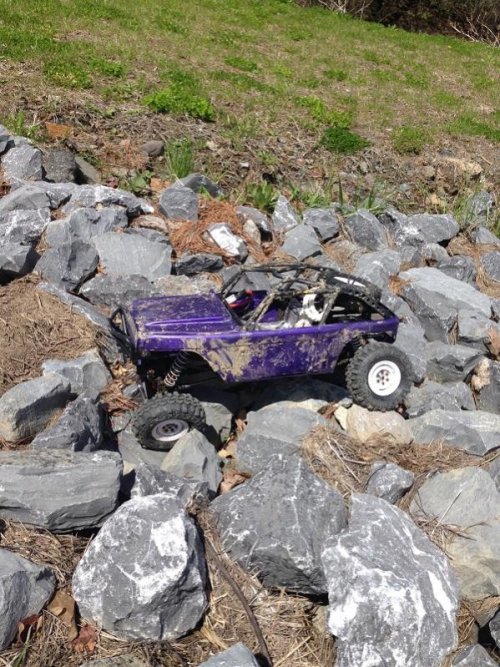
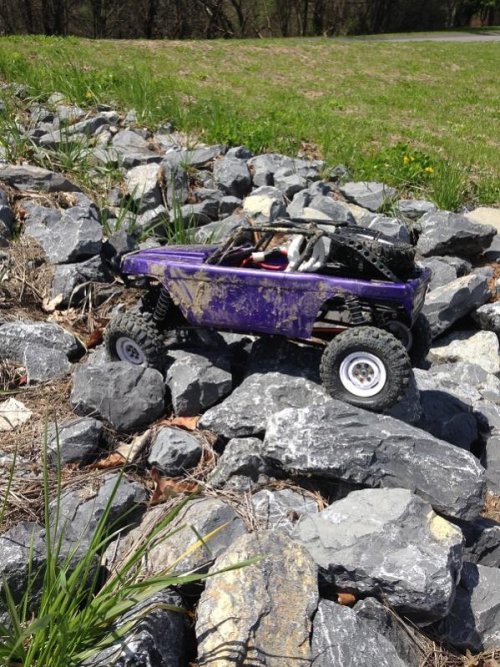
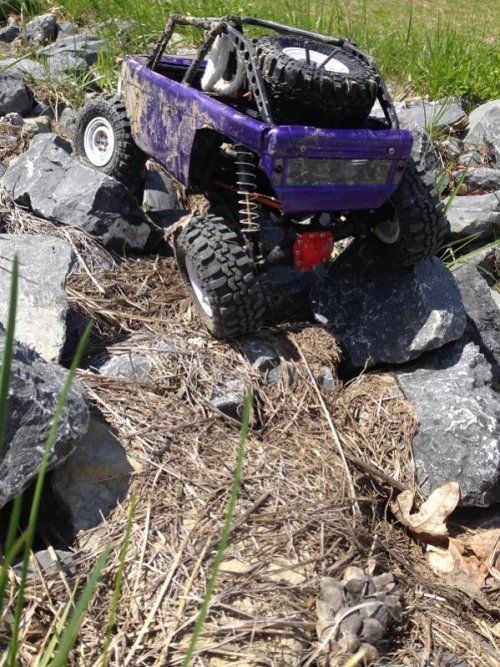
Hit the rocks today! The cog is pretty good, just need a little more clearance, with tsl xls I should get what I am looking for. Here are some pics.

First is a few shots at a new park I haven't been to before, was pretty fun trying to see how far up the hill I could make it.

137.jpg
138.jpg
139.jpg

Next was back at the park around the corner from the house, Had a blast with my son, he likes watching them from his stroller.

140.jpg
141.jpg
142.jpg

At the same park we re-visited the first mud hole this rig ever touched, Even tried to cross where my scx on boggers got stuck, End result was still the same, Dad got nasty muddy feet recovering the bronco.

143.jpg

So today I finally hit the low voltage cut off on my 5000MaH 2s 20c venom. took about 3 1/2 hours of approx. run time(I am thinking longer) stretched over a few days. So, first pack ran through, and its doing well. Wife likes the look of the K5 blazer body. Will update when it or tsl xls hit the front door.

Thanks for the comments and likes! Keep them coming"thumbsup".
 
Back
Top