-
Welcome to RCCrawler Forums.
It looks like you're enjoying RCCrawler's Forums but haven't created an account yet. Why not take a minute to register for your own free account now? As a member you get free access to all of our forums and posts plus the ability to post your own messages, communicate directly with other members, and much more. Register now!
Already a member? Login at the top of this page to stop seeing this message. -

You are using an out of date browser. It may not display this or other websites correctly.
You should upgrade or use an alternative browser.
You should upgrade or use an alternative browser.
Got a sand scorcher for xmas :)
- Thread starter cguit
- Start date


dasbeermeister
Pebble Pounder
Getting the ball diff kit #84113 will help greatly with the turning radius. And running a brushless can quickly kill the spur gear if your not careful. Google sand scorcher slipper clutch mod for a fairly simple fix. I've gathered all the slipper parts for mine but haven't done it yet.
fordsuperduty
Rock Crawler
I've got a sand scorcher running a castle sidewinder brushless setup the only thing I can say is set the punch way down if u go brushless or u won't be able to control off the hit
Pics of mine are in my album on my screen page I'm at work or I'd post the here
Sent from my iPhone in the shop
Pics of mine are in my album on my screen page I'm at work or I'd post the here
Sent from my iPhone in the shop


poomwah
Quarry Creeper
best christmas present ever
vipxj
RCC Addict
Should be an interesting ride with brushless,:ror:
I love my sand scorcher, it's probably my favorite RC to whip around. Especially on the beach. I didn't go crazy with a power plant, just a tamiya black motor upgrade. I did put rc4wd shocks on mine. I have another scorcher and I wanna try the RC Channel rear kit on it. I just gave the body to my buddy to paint today and got some aluminum wheels from RPP for it.
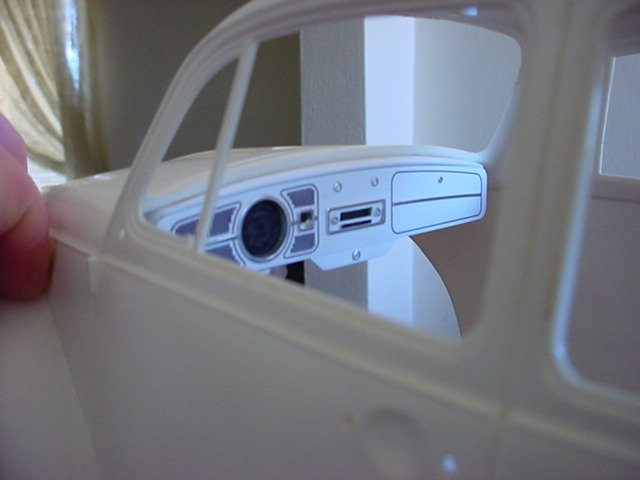
So finally had time to work on this and Im on the step to assemble the servo saver thing. Well apparently its not just a saver, its the one thing that lets u steer and It broke when I assembled it like the instructions said!!

dasbeermeister
Pebble Pounder
So finally had time to work on this and Im on the step to assemble the servo saver thing. Well apparently its not just a saver, its the one thing that lets u steer and It broke when I assembled it like the instructions said!!
Must have been a flaw in the moulding process. I've built a few of these and never snapped one. You might be able to contact Tamiya USA and get new parts for free. I had to do it a couple times in the 80's. if that doesn't work, look for that parts tree on ebay. Or pin vice a couple holes on each side and slide in piano wire and epoxy the part back together.
fordsuperduty
Rock Crawler
I didn't run any of the factory steering setup mine setup like a pan car servo sitting on the chassis with rods running to each wheel end if that helps. I ended up with better steering feel bc I went that route.
Sent from my iPhone in the shop
Sent from my iPhone in the shop


shwng1973
RCC Addict
I loved my SRB. Might get another just to drive around the house.The Tamiya sport tuned motor on 3s is a blast...


Got the servo mounted in the body and the head turns, got the driver all painted. First time I have ever painted anything like this. Glued a servo horn piece to the drivers head and used the screw to keep the head on the servo.


Last edited:
drywallguy
Quarry Creeper

Similar threads
- Replies
- 4
- Views
- 298
- Replies
- 51
- Views
- 2K