• Welcome to RCCrawler Forums.

    It looks like you're enjoying RCCrawler's Forums but haven't created an account yet. Why not take a minute to register for your own free account now? As a member you get free access to all of our forums and posts plus the ability to post your own messages, communicate directly with other members, and much more. Register now!

    Already a member? Login at the top of this page to stop seeing this message.

Overhaulin' the OG SCX10

new2rocks

I wanna be Dave
Joined
Apr 2, 2014
Messages
2,254
Location
North Carolina
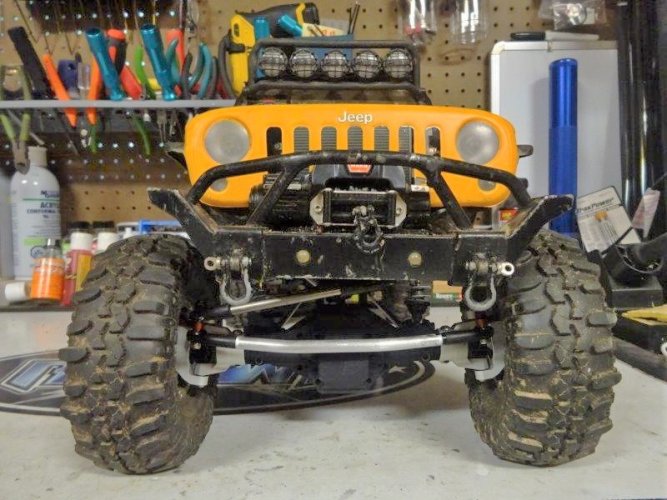
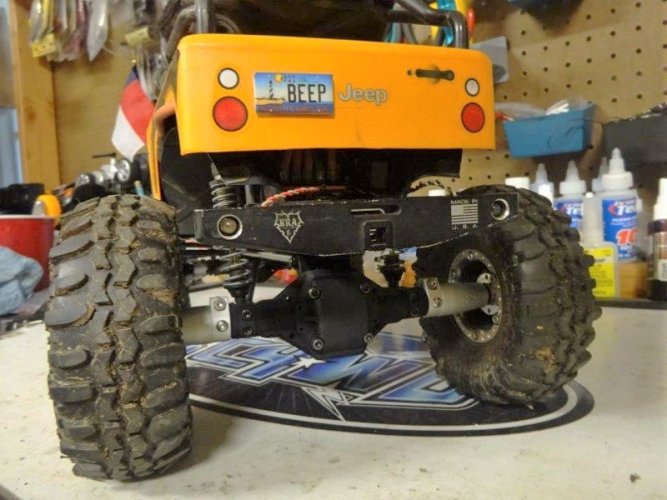
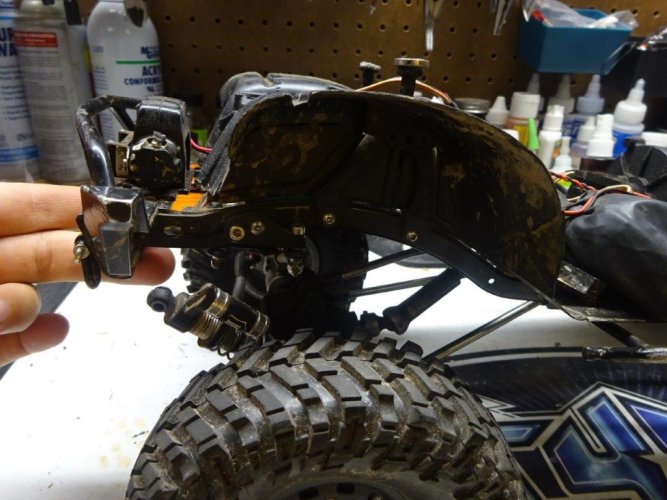
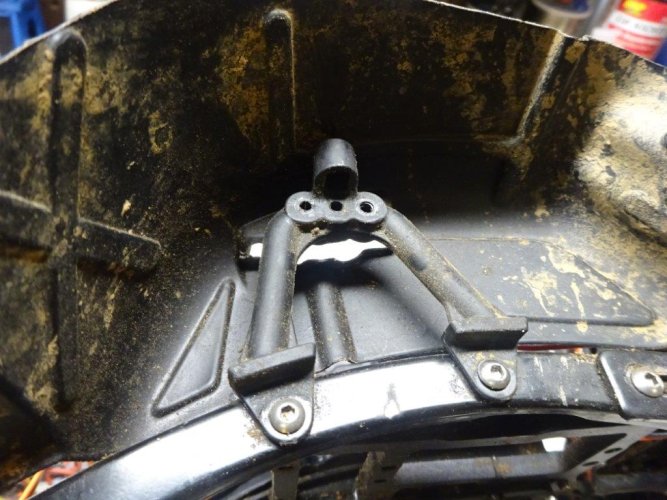
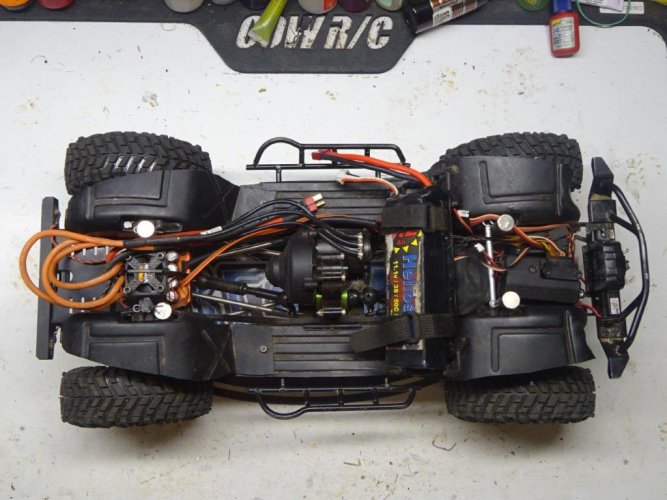
With the SCX10 II up and running and the NC60s just being released, I figured it was high time to give the SCX10 an overhaul. Apart from a few small changes (new body shell, swapped motors, the occasional set of new shoes), it's been in its current configuration for 2 years or so:
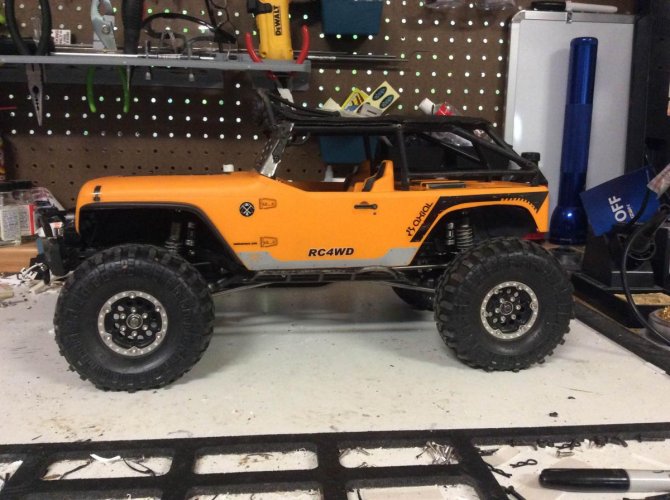

IMG_0162.jpg


DSC00688.jpg


Basic specs before the mods were:

-- G6 kit

-- VP titanium links

-- Axial aluminum chubs, RC4WD knuckles, VP lockouts

-- HH Puller Pro 3300 Stubby

-- Viper VTX8 ESC on 3S

-- Savox 1210 steering servo

-- HD stock ratio with Hot Racing lockers in front

-- UD gear with Hot Racing lockers in rear

-- MIP drive shafts front and rear

-- Homebrew battery tray behind front wheel wells

-- Electronics mounted between front wheel wells


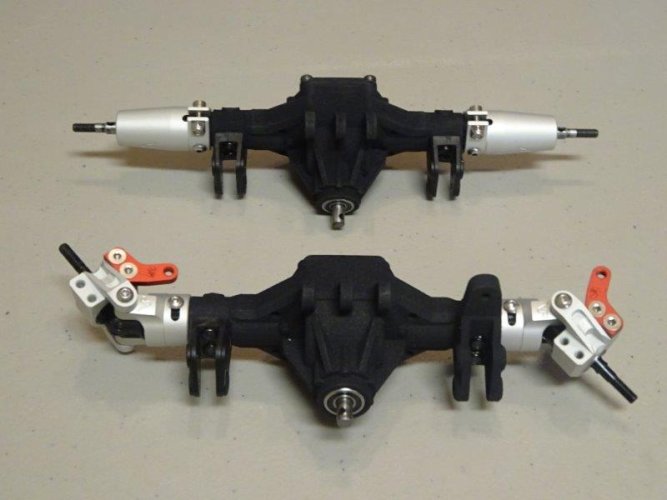
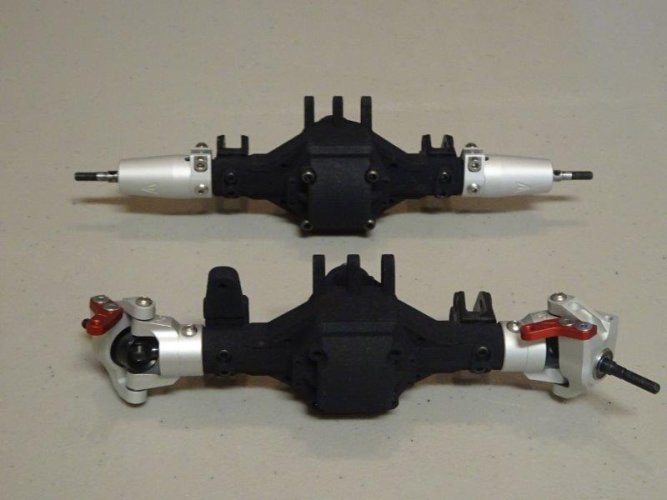
Next to the II and a couple of modded Ascenders, that setup was feeling a bit long in the tooth. A little backyard testing showed that the II in essentially stock configuration flat out kicked this G6's tail. Time to fix that. So what's the plan? Naturally, we'll start with NC60s front and rear to improve the steering:
DSC00654.jpg


DSC00652.jpg


DSC00660.jpg


DSC00661.jpg


Much better!


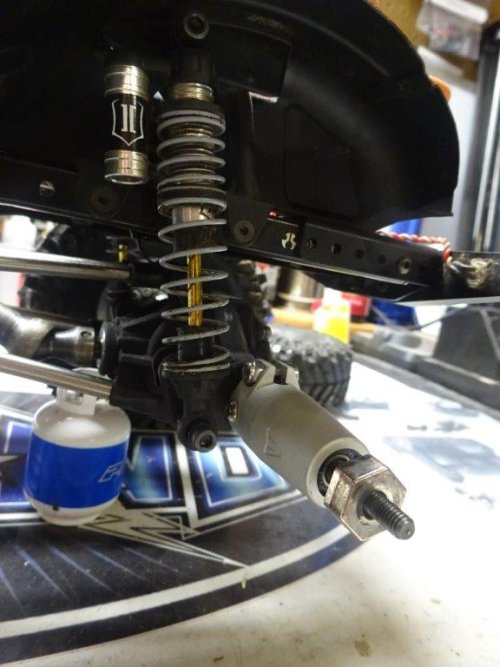
Next up is the suspension. Since the original build, I've become increasingly fond of low-slung rigs and much thicker shock oil to slow down suspension travel. This one was riding pretty high, so it was time to drop her a bit. The NC60s allow for mounting the shocks in one of two positions on the axles, so I chose the lower position:
DSC00690.jpg


I also moved the upper shock mounts to the center-most position on the shock hoops, which softens the effective spring rate. Lowered the body a couple of notches, and added in some 70w shock oil in front, 100W in the rear, in place of the stock 30W oil, and we came to this:
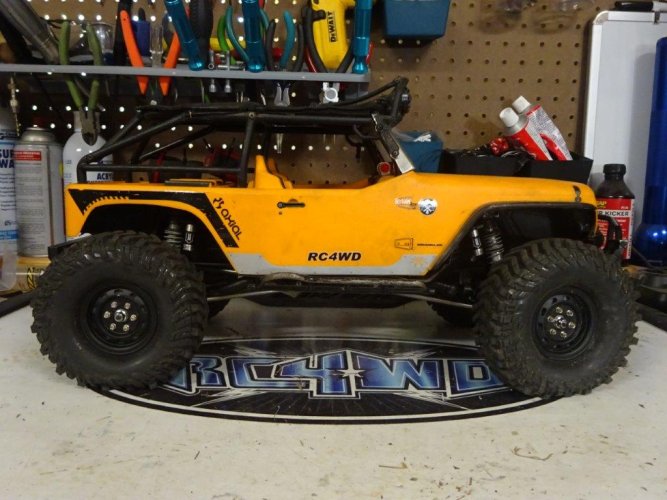
DSC00686.jpg


Looking better already. But I think it needs more. Like maybe this:
DSC00689.jpg


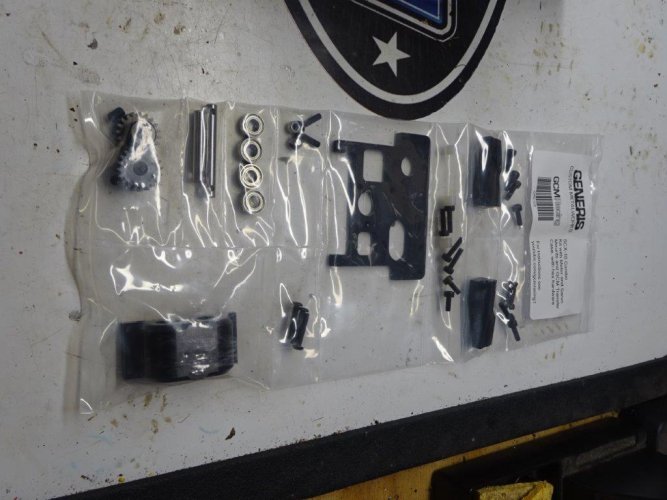
Yes...let's put the motor and tranny up front where they belong. I stepped away for just a minute, and look what I found when I came back:
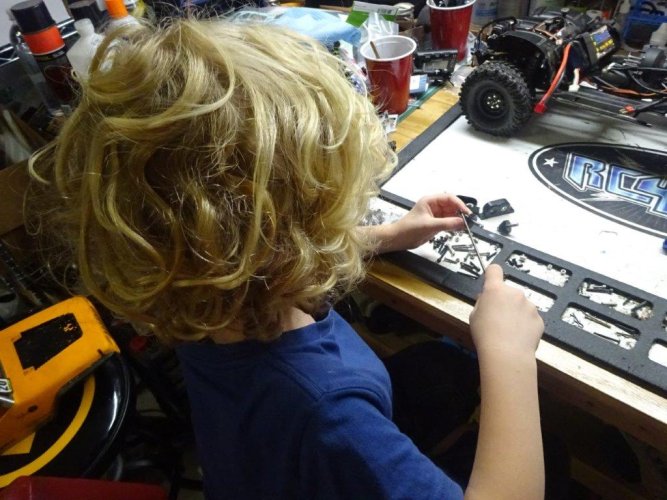
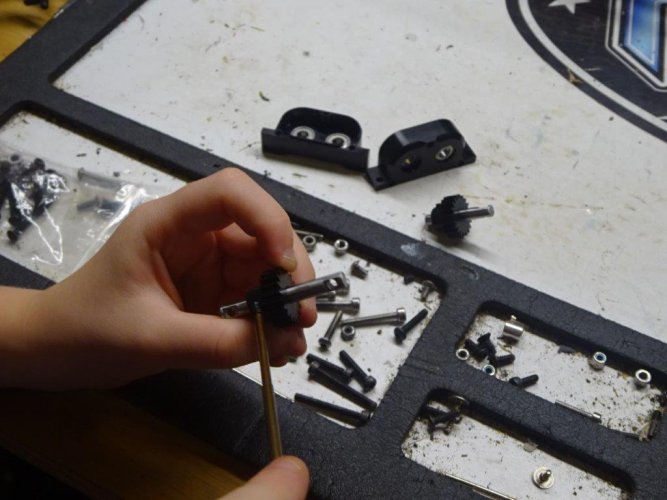
DSC00696.jpg


DSC00697.jpg


Roo doesn't waste any time, does he? It didn't take him too long to finish the t-case:
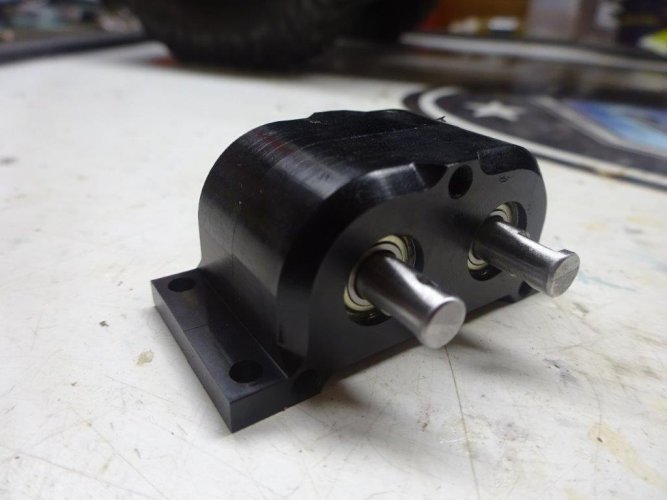
DSC00698.jpg


There's still much to do. Need to finish the forward motor conversion and relocate the electronics. I also want to shorten the wheelbase (esp. in the back) and find a new set of shoes, but time for a little family outing on Father's Day. More updates to come. "thumbsup"
 
Last edited:
Nice upgrade with the new axle housings. Can't wait to get mine in to refresh my "OG" scx10.

This look great. I think I will have to get some of those.

Thanks! I think you'll be pleased with yours when you get them.

You need to get some body mounts that keep the body attached :P

Imagine how confused you'd be on our next outing if whatever truck I brought stayed in one piece the entire time... :ror:

I started a little video series on my YouTube channel to follow this overhaul. I've just posted an intro and review of the round 1 changes, with some footage comparing old vs new:
https://www.youtube.com/playlist?list=PLNal6a84-MAC1ysojIaRRzPnhV5vVbRn8
 
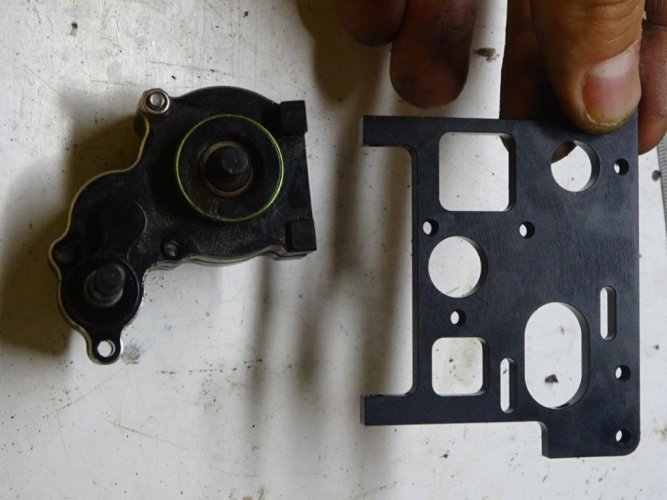
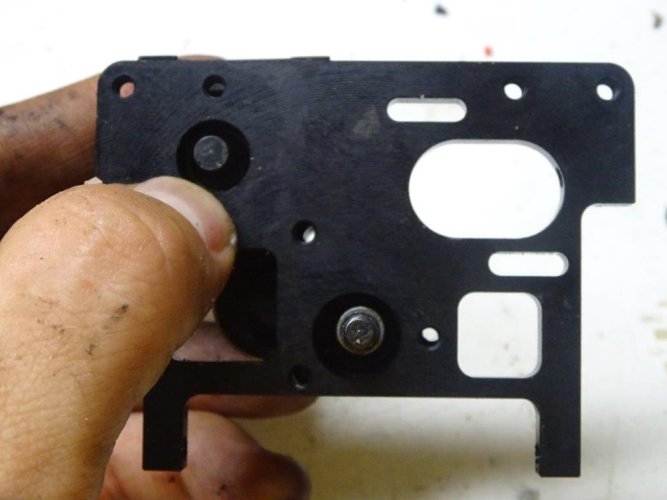
I was able to finish the forward motor conversion. The GCM kit is very easy to install. Here's how it went:

1. Assemble t-case (as you saw, Roo took care of that for me). The GCM instructions put this last on the list, but I always do this one first so that the thread lock on the grub screws has plenty of time to set before greasing the gears and closing it up. Then set it aside.

2. Disconnect the shocks from the shock towers (you can leave them connected at the axle):
DSC00702.jpg

3. Swap the shock towers from left to right keeping the angled leg facing forward.

Before:
DSC00704.jpg

After:
DSC00706.jpg

A couple of notes here. First, the swap will push the towers further apart to make room for the tranny/motor plate. Note that this will result in the body posts being spaced further apart, which may require adjusting your body mounts. Since I'm using magnets, I just added a couple of new magnets under the hood with the proper spacing for the new post location. Second, I had previously installed the Blue Monkey CMS plate, which needed to come out to make room for the GCM motor plate:
DSC00709.jpg

DSC00711.jpg

I was a bit sad to say farewell to the Blue Monkey plate, as it was one of my favorite mods from the initial build. It added some much needed rigidity to the front chassis vs. the stock setup. Fortunately, the GCM motor plate also helps in that department and adds a secure attachment point between the upper shock towers, as you'll see in a minute.

To attach the lower rear shock hoops, you have a few choices. You can use the stock plastic bracket that usually sits between the hoops or a couple of lock nuts. I chose to reuse the threaded aluminum tube that I had previously used to add support between the upper shock towers. You'll see that in a later pic.

I also noticed at this point that the shock tower swap was going to require trimming the inner fenders, but I decided to hold off on that until test fitting the motor plate/tranny assembly so that I could be sure what I needed to trim.

Back to the conversion...

4. Reattach the shocks to the shock towers using the rear-most mounting hole on the towers.

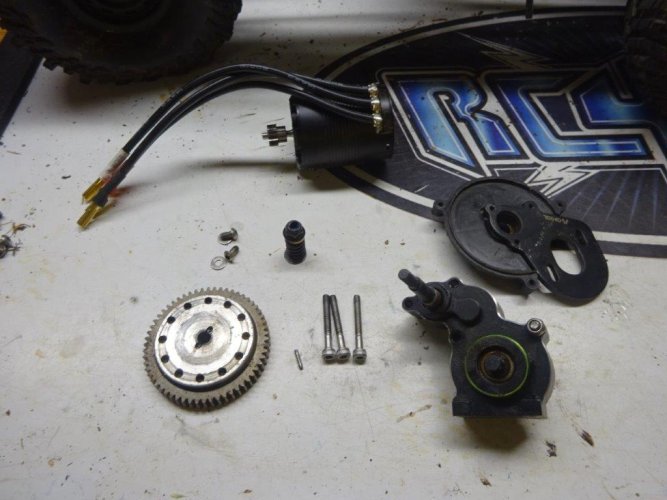
5. Remove the tranny from the skid, the spur cover, the spur/slipper gear assembly, and the motor plate:
DSC00717.jpg

DSC00721.jpg

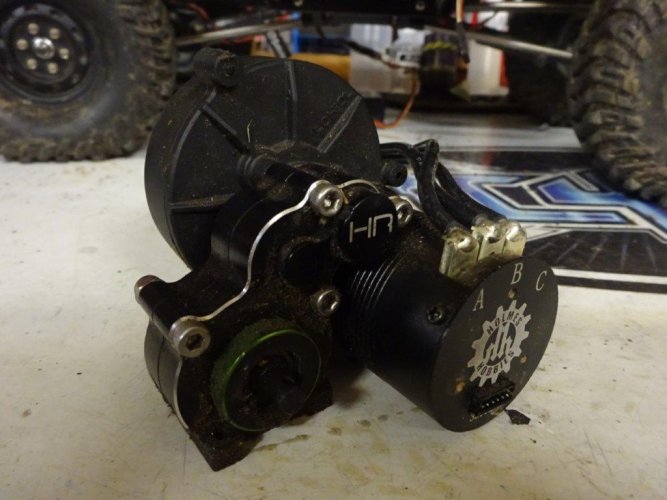
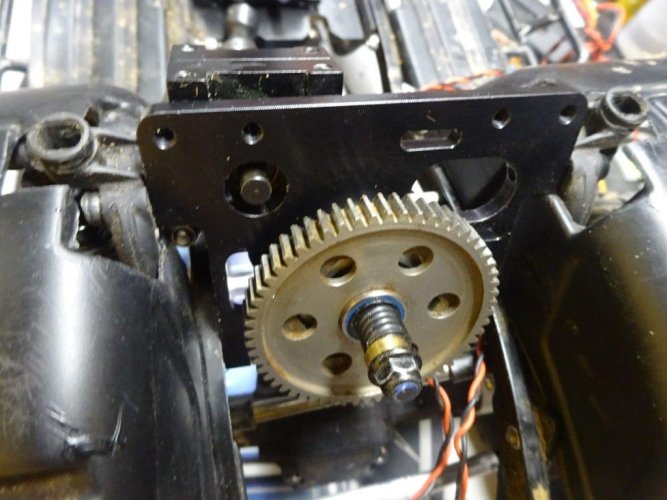
6. Attach the tranny to the new motor plate, and then install the spur/slipper assembly:
DSC00722.jpg

DSC00723.jpg

DSC00729.jpg

DSC00726.jpg

Note: I used my own 22mm cap heads with the spacers included in the GCM kit to mount the tranny to the motor plate.

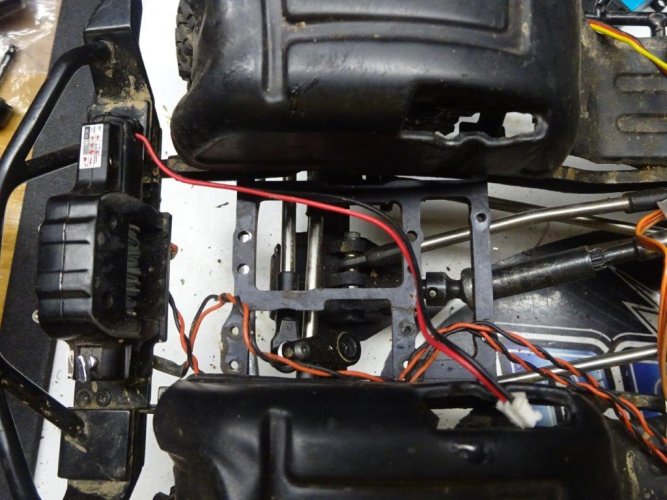
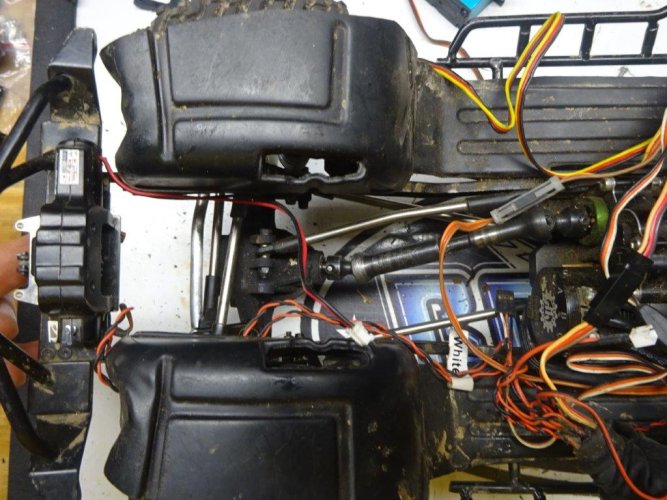
7. Time to install the motor plate/tranny assembly. First, I trimmed the inner fenders to make room for the new body post placement:
DSC00734.jpg

DSC00735.jpg

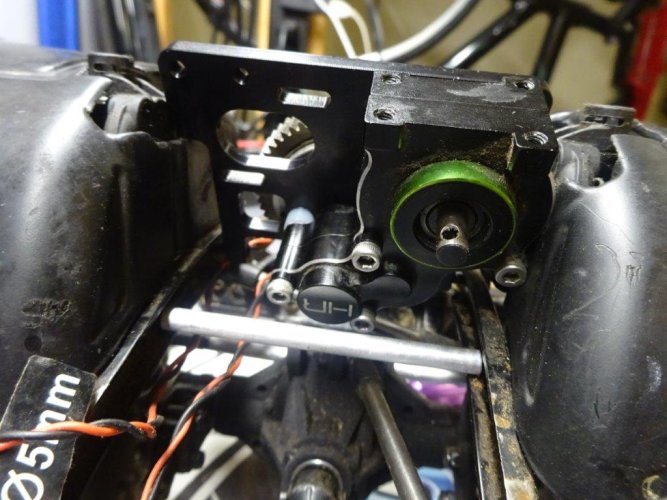
Slide the assembly into place and attach first at the front lower shock tower, then attach at the forward-most front upper shock mounting point in the shock tower to get this:
DSC00737.jpg

DSC00738.jpg

If attaching the front shocks to the rear-most mounting point in the shock tower bothers you, you can install them in the forward-most location using a screw long enough to secure the motor plate. But I want to keep them at an angle to soften things up, so they'll stay right where they are.

8. Install the motor:
View attachment 344822

Here also, the Axial inner fender set required a tiny bit of trimming to make room for the motor. No worries, though.

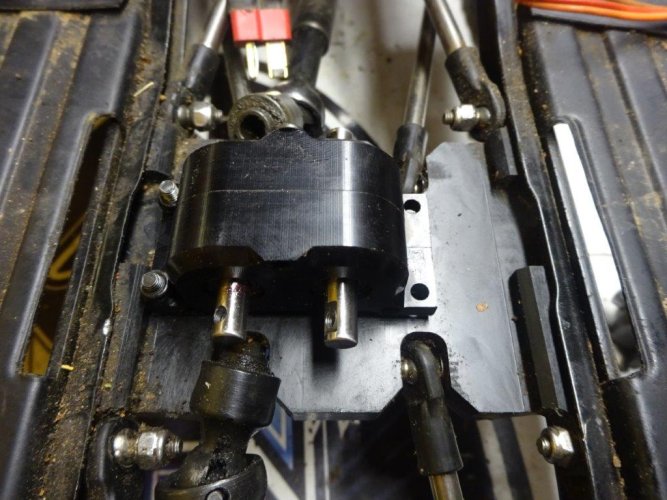
9. Install the transfer case in the center skid. Use the two transmission mounting holes closest to the rails (on the right side of the truck):
DSC00740.jpg

If you're wondering whether two screws are enough to hold the t-case firmly in place, they are. This stays really tight, so no worries.

Then reattach the driveshafts to the t-case:
DSC00741.jpg

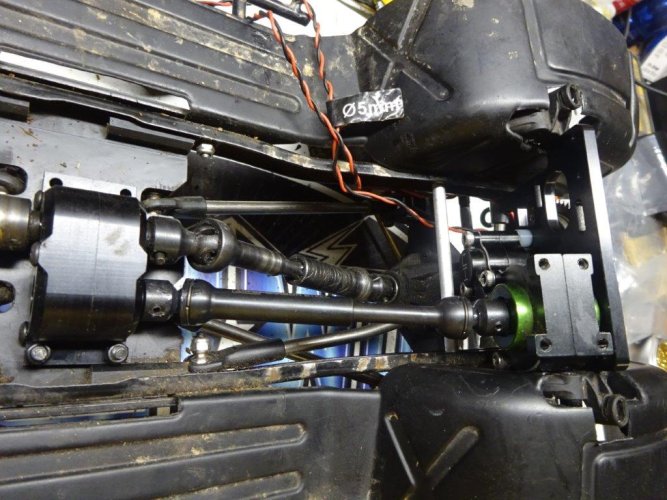
10. Add a tranny to t-case shaft. Since the max length needed was 105mm, I chose a Junfac 82-117mm shaft:
DSC00742.jpg

Perfect fit!

11. Time to install the servo. Start with the dual servo mounts, one on each side, followed by the servo:
DSC00743.jpg

DSC00749.jpg

DSC00747.jpg

DSC00748.jpg

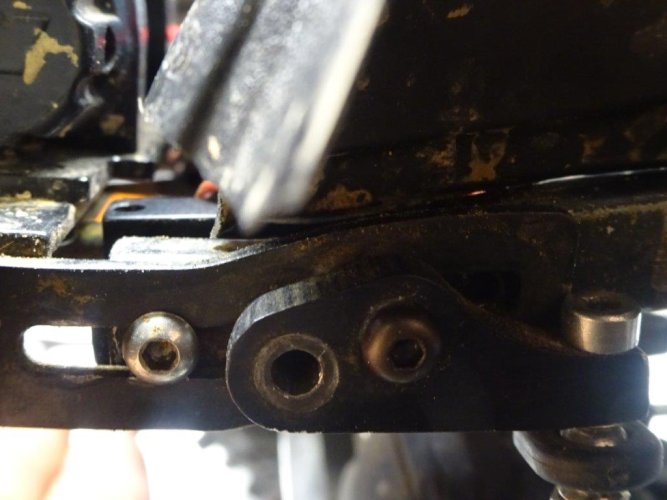
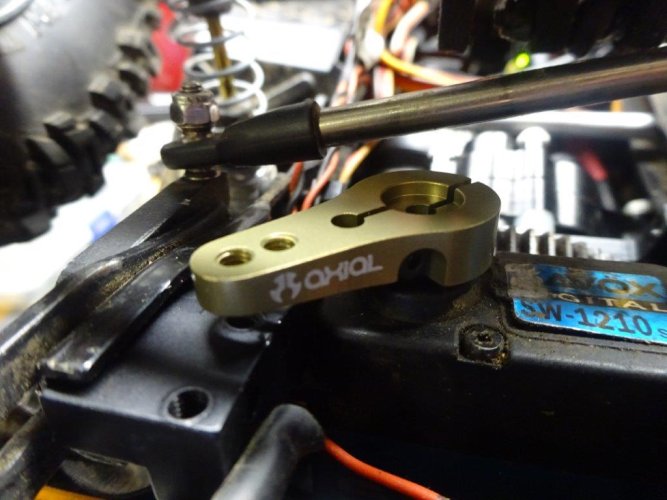
When I installed the servo, I saw that the low profile RC4WD servo horn I was using didn't have enough clearance with this new setup:
DSC00756.jpg

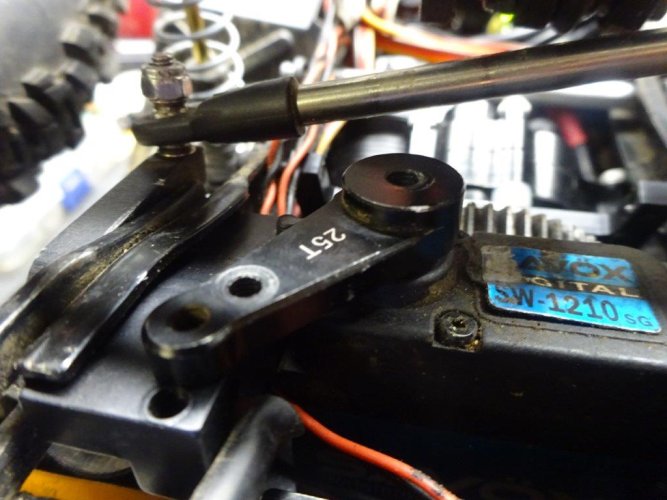
A spare Axial clamping servo quickly solved that:
DSC00757.jpg

With that done, it was time to move on to the electronics...
 
Last edited:
After mulling over a few options on where to put things, I've decided to go with this for now:
DSC00753.jpg

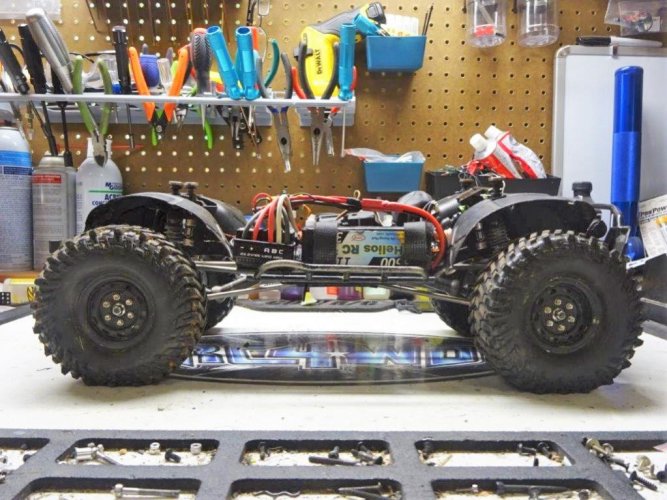
Side view without battery:
DSC00760.jpg

With battery:
DSC00761.jpg

As you can see, receiver box, winch and light controllers go on top of the running board over the sliders on the left side, battery and ESC go on the opposite side. I've chosen that layout because it provides nice balance (L/R is almost 50/50 with a 3500 mAh 3S pack), there's some front weight bias without going overboard (centerline is right at the front of the skid), and all the weight is nice and low. Once I settle on final placement, I'll tidy up the wiring a bit.

You'll also notice that I swapped out the Viper VTX8 for a Holmes Hobbies Trailmaster Pro BLE ESC. The VTX8 has been very durable, and we still run 2 of them in the Wraith and Roo's Yeti. But it was time for a lighter, more compact package. I have the BLE in several rigs, and it works very well. I'm sure it will do the same here.

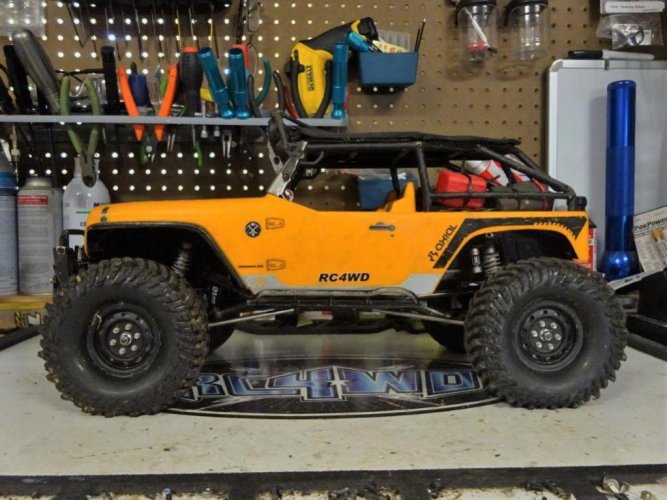
So with lid on, here's how she sits now:
DSC00763.jpg

Roo and I were able to get it out for some quick testing in Rockland, and I'm very pleased. Overall balance and stability seems improved over the previous setup. Next up will be wheels and tires. I'm expecting some packages this week. :mrgreen: After that, I think it will be time for another comparison test before the next round of changes. Stay tuned... "thumbsup"
 
Last edited:
There's much to fill in. I decided to run this at the RC4WD East Coast Scale Challenge this past weekend. With time running short to get it ready, I made just a couple other changes before heading up to PA.

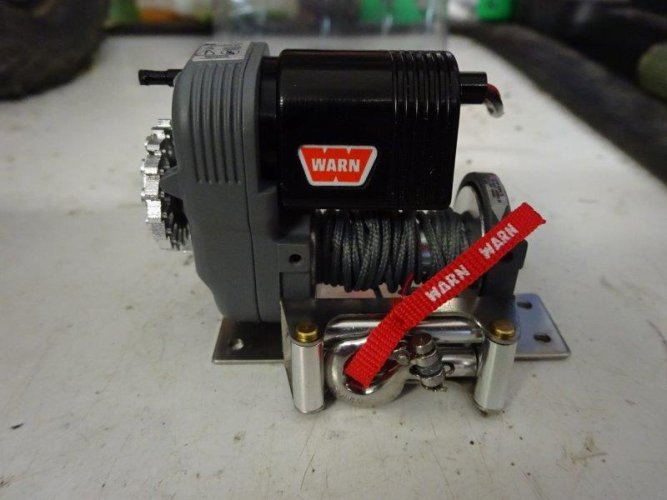
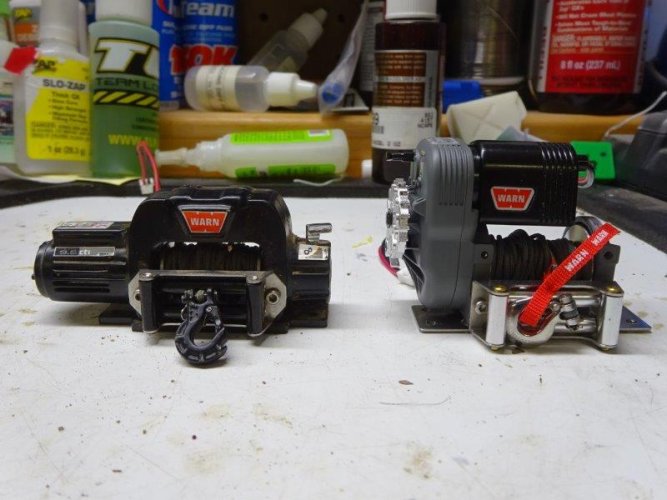
First up was adding the new RC4WD 1/10 8274 Warn Winch. In case you've been in a cave for the past couple of months, here's what it looks like in the package:
DSC06830.jpg

And on the bench:
DSC06832.jpg

Next to the ubiquitous 1/10 Warn Winch:
DSC06834.jpg

And mounted:
DSC06837.jpg

But it doesn't just look great. It's a beast:
https://www.facebook.com/BowHouseRC/videos/1734503036824950/

I swapped out the VP knuckles and c-hiubs up front for STRC knuckles and c's to get better clearance for different wheels, and I put the Swamper XLs back on. After adding a few scale bits (42 points), I was ready to roll.

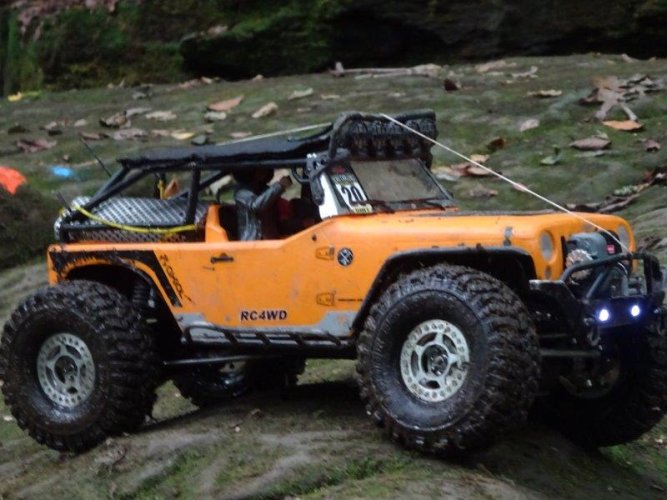
Overall, I was thrilled with how the G6 ran. I finished in the top 20 on some very tough courses with some top-notch (and much more experienced) competition. The NC60s allowed it to spin on dime, and the combination of lowered stance and thicker shock oil really helped improve stability on side hills and uneven terrain. The 8274's free-spool feature came in very handy several times while out on course, making it a breeze to set the pull pall and winch line.

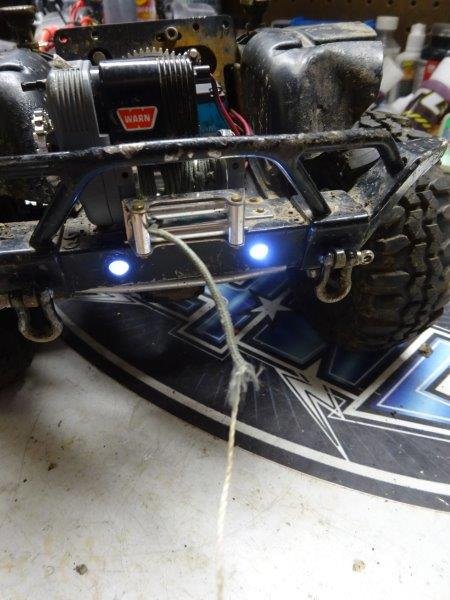
The only casualties of the weekend were a frayed winch line:
DSC07043.jpg

And a stripped pinion (more on that in a minute):
DSC07042.jpg

While out at Rose Point, Dez Mooney was nice enough to let me test out a set of the new Pit Bull Rock Beast 1.9 XLs:
DSC06999.jpg

I'll be posting up a video review and some footage shortly, but I don't mind sharing the headline in the meantime. These tires are the real deal. Performance on stock foams was very impressive. Had I been able to run them on the G6 during the comp, I have no doubt that I would have finished the third course instead of timing out trying to get up a slippery rock to the final gate. So if you haven't already placed your order, you need to. :mrgreen:

As for that stripped pinion, I have only Dez (or myself for listening to Dez) to blame. :roll: My slipper was slipping a bit during the testing, so I let him convince me to tighten it all the way down. The slipper didn't slip anymore, but after about 30 minutes of torture testing, the pinion gave out. But no worries. The pinion has been swapped and slipper loosened up a tad.

By the end of the weekend, I was fully back in love with this rig and no longer feeling as though it needed to take a back seat to its younger sibling. This truck is a treat to drive and puts big smiles on my face.

Next up will be a permanent set of Rock Beast XLs on a new set of Super Shafty wheels, and we'll see where we go from there. "thumbsup"
 
Last edited:
Back
Top