| |
 10-23-2009, 03:32 AM
| #161 |
| Pebble Pounder Join Date: Jan 2008 Location: nowhere near the HAMMERS!!
Posts: 165
|       |

|  |
| Sponsored Links | |
| | |
|
10-23-2009, 05:39 AM
| #162 |
| Rock Crawler Join Date: Aug 2007 Location: usa
Posts: 593
|
looks great, job well done!
|
|
| |
|
10-23-2009, 06:19 PM
| #163 |
| RCC Addict   Join Date: Aug 2005 Location: Oceano, CA
Posts: 1,154
|
wow <-- blown away |
|
| |
|
10-23-2009, 08:12 PM
| #164 |
| Pebble Pounder Join Date: Jan 2008 Location: nowhere near the HAMMERS!!
Posts: 165
|
here is a short build slide show. http://www.youtube.com/watch?v=TmFc1i4HkZE |
|
| |
|
10-24-2009, 06:17 AM
| #165 |
| RCC Addict Join Date: Nov 2007 Location: Massachusetts
Posts: 1,184
|
I've been following along with this build for a while now but haven't chimed in until now, WOW -  Even the correct scale size and exact placement of the stickers and dents is dead on, Bravo my friend on a fantastic job, you've got 2 SWEET Yotas..!! Even the correct scale size and exact placement of the stickers and dents is dead on, Bravo my friend on a fantastic job, you've got 2 SWEET Yotas..!! |
|
| |
|
10-26-2009, 01:06 AM
| #166 |
| Pebble Pounder Join Date: Jan 2008 Location: nowhere near the HAMMERS!!
Posts: 165
|
thanks "51" i hope i can post vids and more pics here to. couple of vids from today a friend had a new camera. Part 1- http://www.youtube.com/watch?v=sBx7Ws9DcXA Part 2- http://www.youtube.com/watch?v=_I0w2uPCx3g nice flex at 6:01 in part 2 haha |
|
| |
|
10-27-2009, 10:07 AM
| #167 |
| Quarry Creeper Join Date: Jul 2008 Location: Kaufman
Posts: 451
|
Man two white lights on teh back and I think it will be done. As always Awsome work man
|
|
| |
|
03-25-2010, 12:03 PM
| #168 |
| Rock Crawler Join Date: Jul 2009 Location: Colorado Springs
Posts: 512
|
Saw this in my Rc Magazine! Terrific job! One question though, can you make a tutorial on denting hard bodies?
|
|
| |
|
03-25-2010, 03:12 PM
| #169 |
| Pebble Pounder Join Date: Dec 2009 Location: salina,ks
Posts: 151
|
awsome build man
|
|
| |
|
10-31-2010, 11:29 PM
| #170 |
| Pebble Pounder Join Date: Jan 2008 Location: nowhere near the HAMMERS!!
Posts: 165
|
time to let the RIM/TIRE games begin. i originally built a tire for my scaler to be as close to my 1:1 as possible. nothing at the time on the market was even close. then came ,finially the 1.9 tsl sx swamper. but the rim 1.9 looked bad, for the scale look. so here is the 1.9 original i made  here is the 1.9 sx swamper on my 1.9 rim. way to mutch rim not enough sidewall. i have 15 inch beadlocks on my 1:1 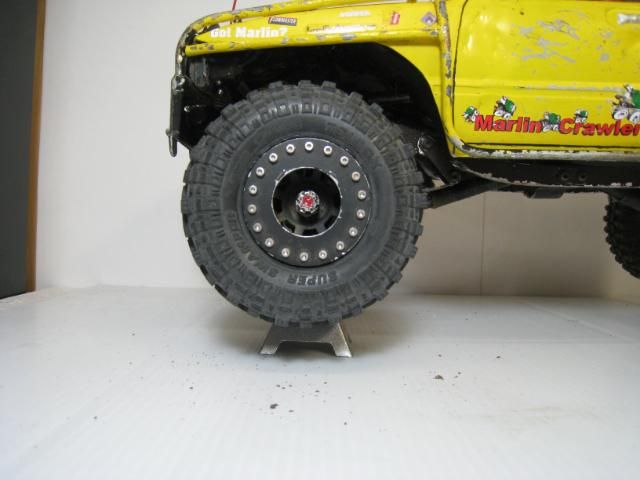 then i ordered a set of 2.2 sx swampers. no way!! 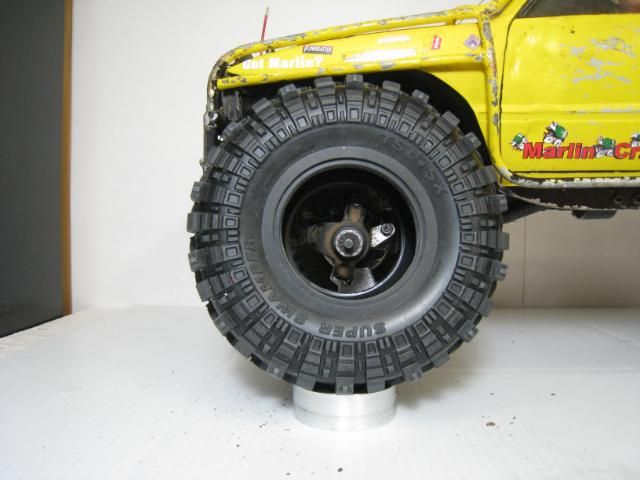 so i reduced them to a 1.9 rim. i think im almost back to my first tires i made. argg. to big to wide and still to much rim.  so this it what i have now started with. so this it what i have now started with. "BIG PILE "O" TIRES/RIMS" 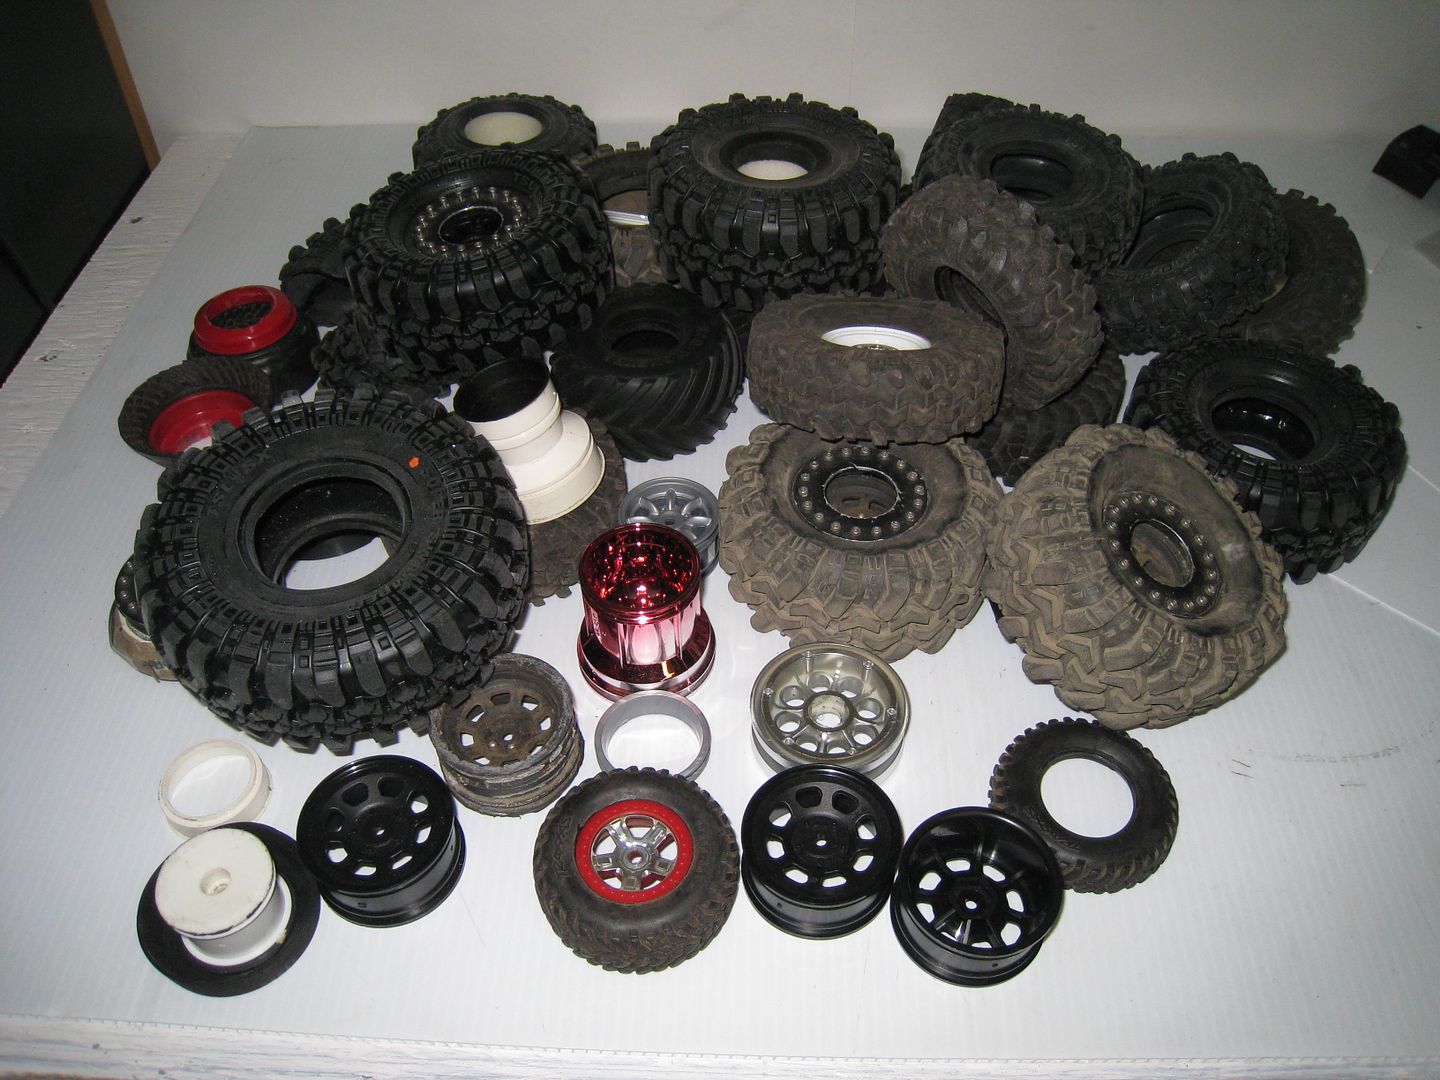 Last edited by BIGBIRD; 11-01-2010 at 12:04 AM. |
|
| |
|
11-01-2010, 01:28 PM
| #171 |
| I wanna be Dave Join Date: Aug 2008 Location: cape crud... will you be my friend
Posts: 2,102
|
looking awesome no matter what. one of my fav's most def. two things. 1. we need more footage of said 1:1. 2. take this tire... and reduce it to a 1.55 wheel ? |
|
| |
|
11-02-2010, 11:10 AM
| #172 |
| Pebble Pounder Join Date: Jan 2008 Location: nowhere near the HAMMERS!!
Posts: 165
|
this is what i starting with: inspiration from "MADHATTER" on the TLT rims 4 tamiya TLT rims , 4 mini slash rims and tires and 4, 1.9 super swamper sx tsl tires or any 1.9 set of tires of choice. tools for this will be : sharp exacto (hobby) knife scissors blue ink pen 1.9 touring rim (for measuring) regular and tire ca glue side cutters dremil and some bits some kind of measuring device, i used a cheap vernier caliper. tape measure will do the trick as well. hack saw or another way to cut the plastic rim. 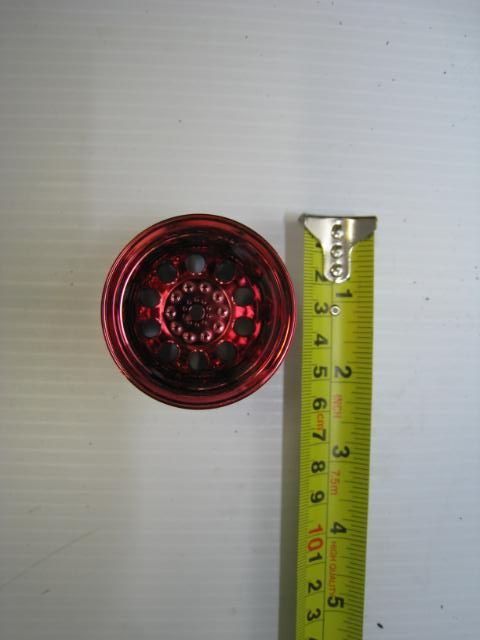 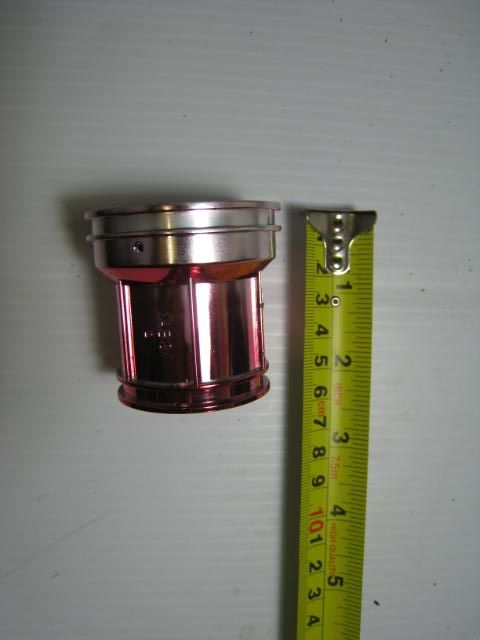 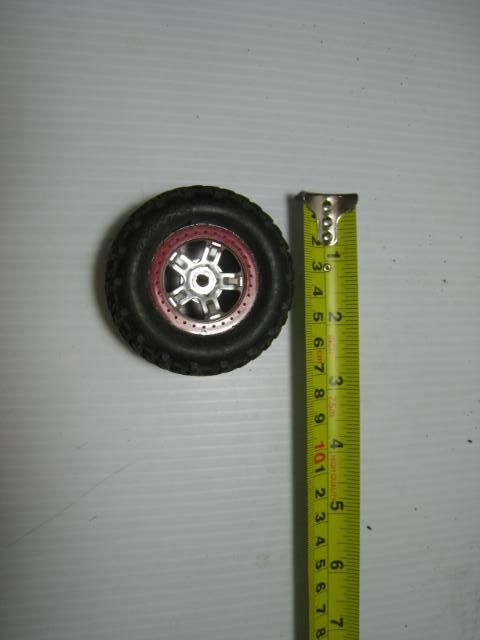 first off cut off the outer 2 rings. 1 cut only .approx 7.5mm 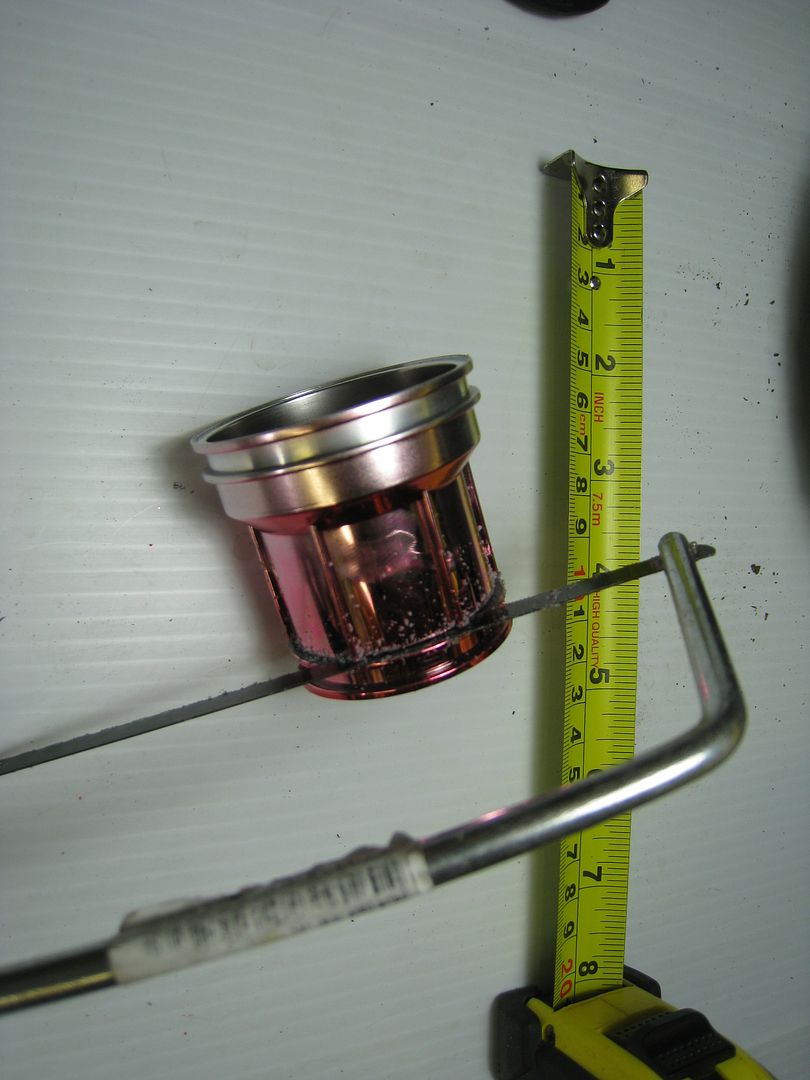 this will leave you with the outer 2 rings together, this will also be your outer bead to glue your tire into. 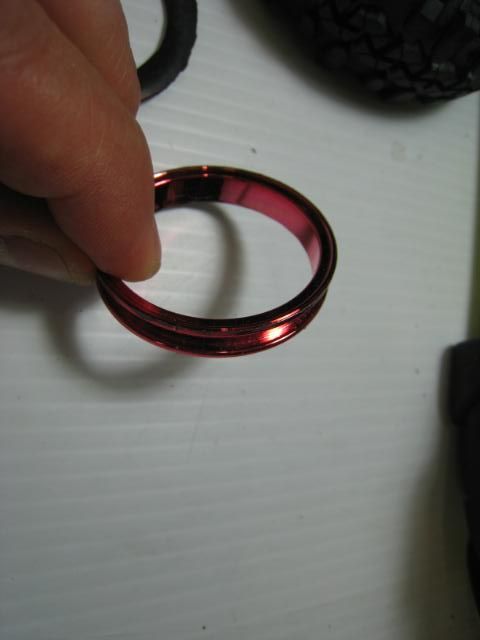 then measure 15mm from the outside of the rim. scribe it or use a felt to draw it. then cut it with the hack saw. the caliper is easy to use. lock it in place and scribe it all the way arround. be sure to roll the rim while cutting the line, just to be sure it is even all the way arround. do not wreck the piece you just cut off. you need it later.  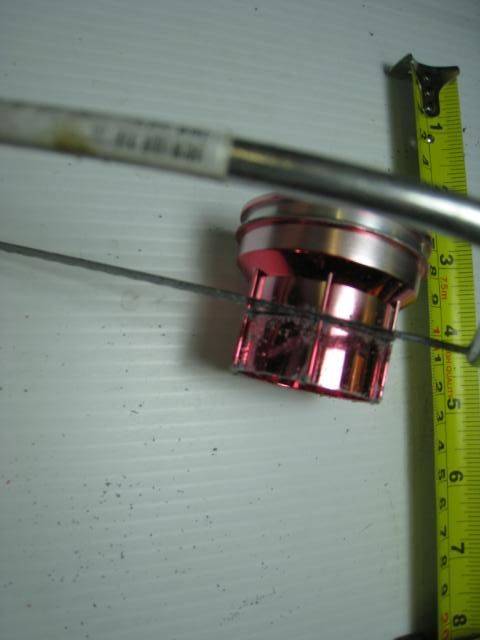 lightly sand up the edges to true them up. i put a piece of sandpaper on my flat bench and rub the rim pieces on it till there all flat. next i grab the traxxas rim and cut the tire right down the middle. 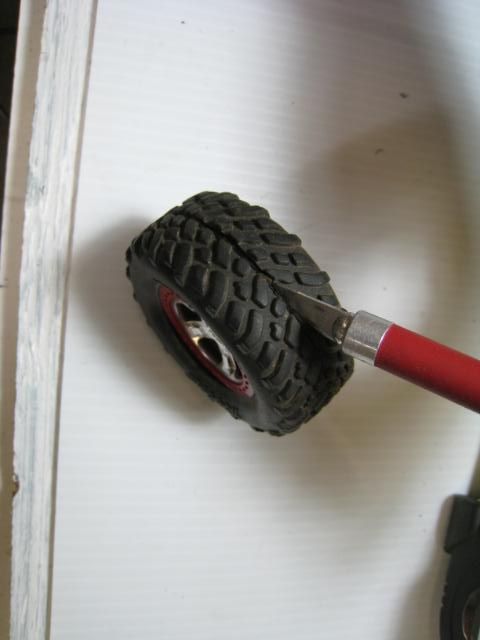 then get your knife and cut the tire off the rim, but be careful, you need all of these pieces. 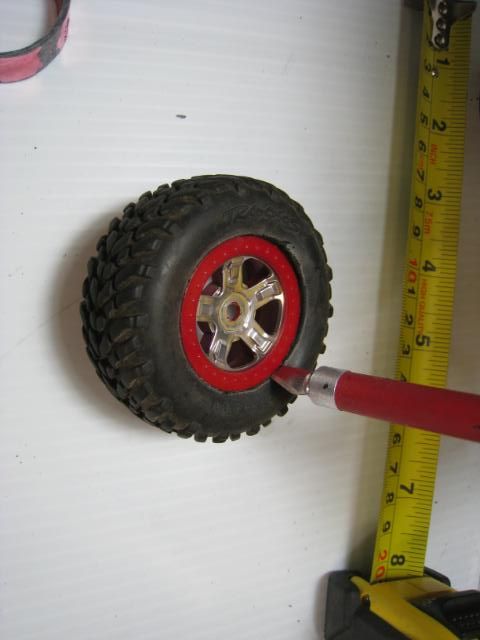 |
|
| |
|
11-02-2010, 12:52 PM
| #173 |
| Pebble Pounder Join Date: Jan 2008 Location: nowhere near the HAMMERS!!
Posts: 165
|
this is what you should be left with. 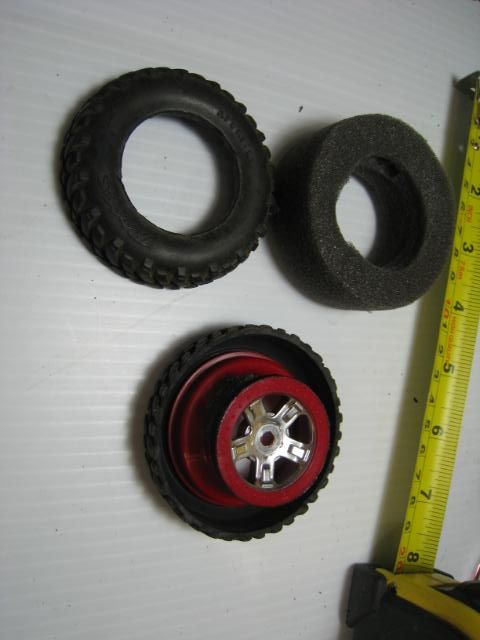 then get out your side cutters and cut out the center of the rim. 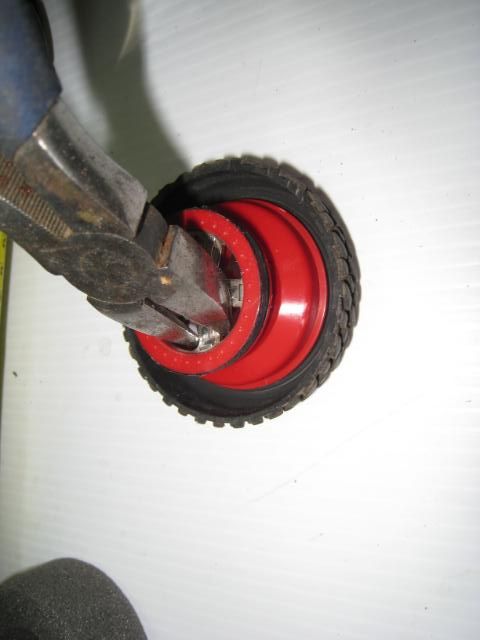 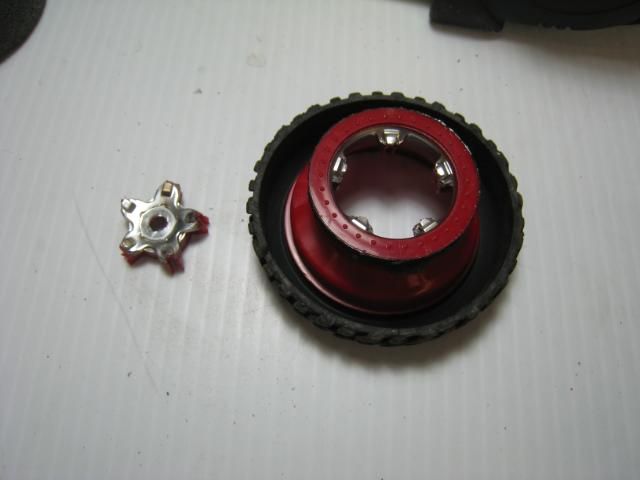 use a dremmel to clean it up. 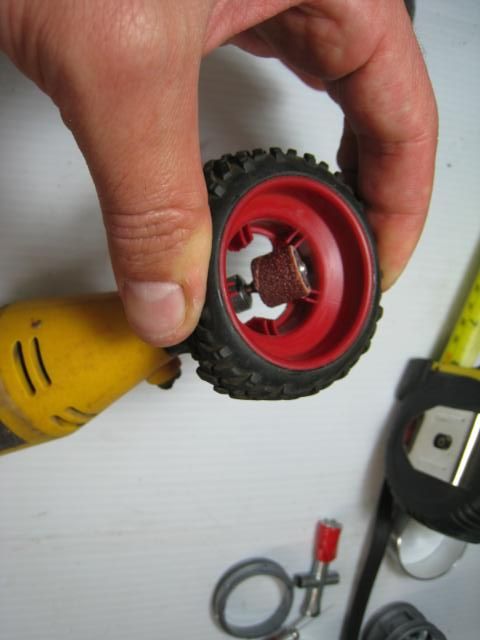 next is to cut off the outer 2 rings like i did the TLT rim. approx 5.5 mm do not worry about cleaning out the bead on this ring. it is hidden. 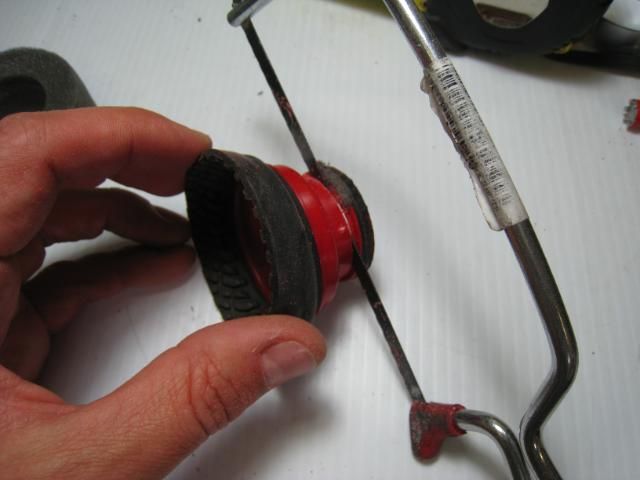 this is what i ended up with. 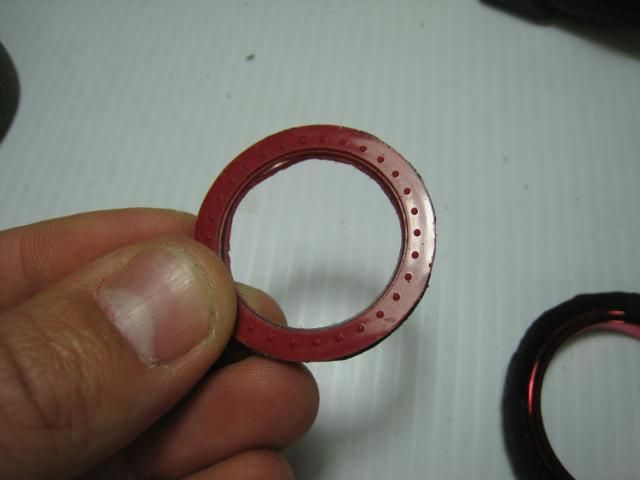 these are the pieces i used for the next step. 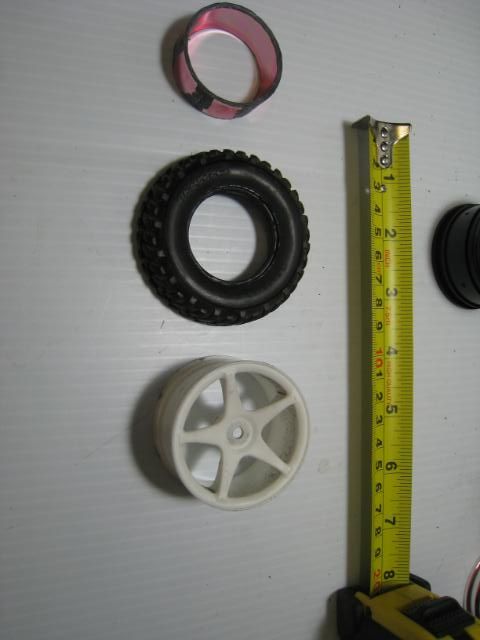 i grab the traxxas outer tire 1/2 and lay the 1.9 touring tire on top, centre as best as possible. 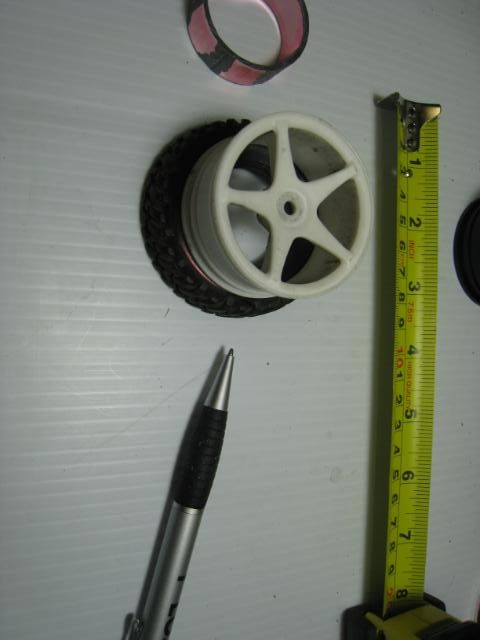 |
|
| |
|
11-02-2010, 12:54 PM
| #174 |
| Pebble Pounder Join Date: Jan 2008 Location: nowhere near the HAMMERS!!
Posts: 165
|
get out your blue ink pen and trace the touring rim onto the tire. 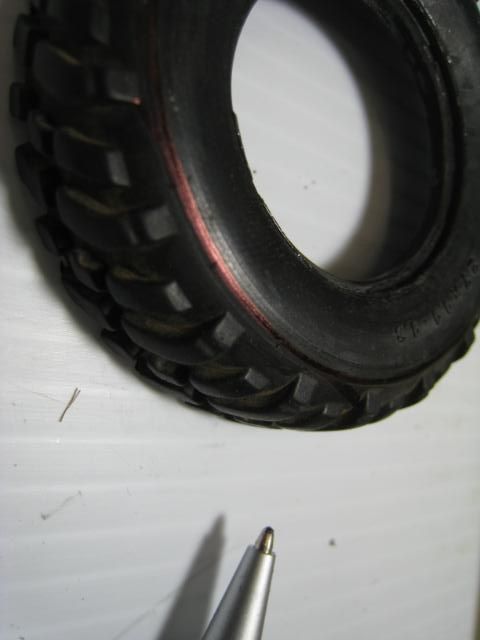 grab the knife or scissors to cut it out carefully. 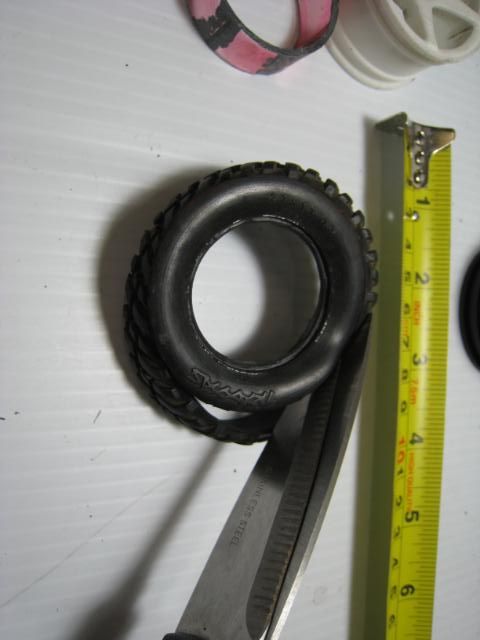 this is what i ended up with. 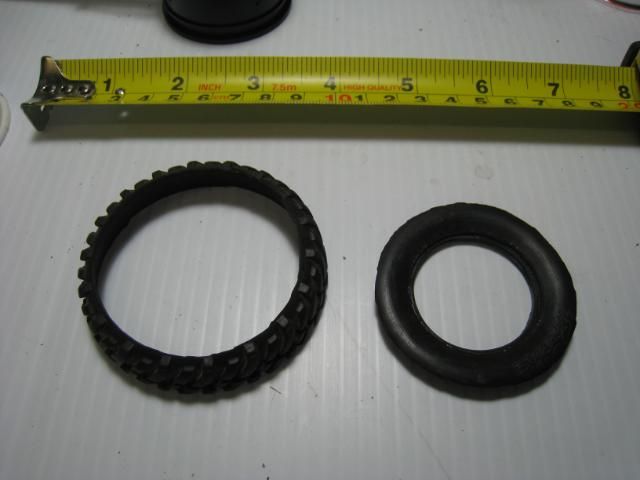 you can see the touring rim placed over the inner ring i cut out is the same size. 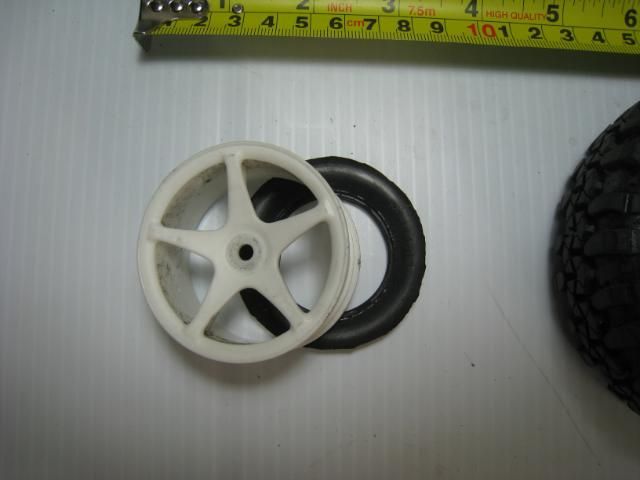 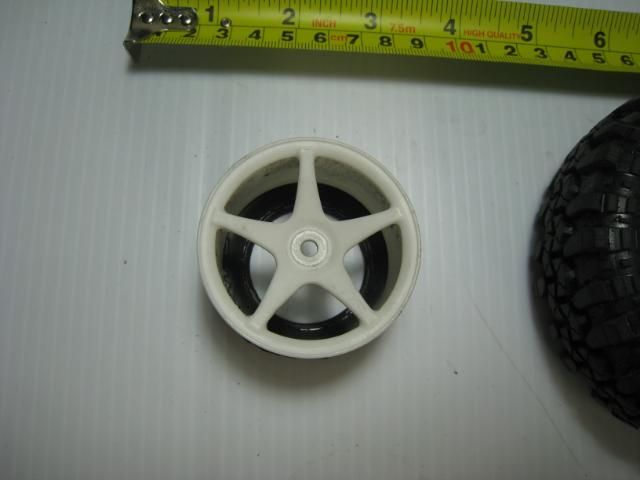 and you can also see the touring 1.9 rim will fit n the outer groove of a 1.9 tire. this will all make sence at the end if it hasnt already done so.  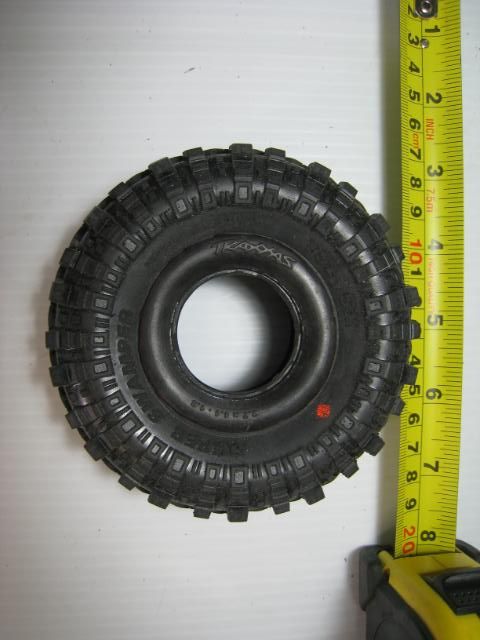 next use the 15mm mid section of the TLT rim that was cut out. sand off the burrs and use it to trace the inner ring. 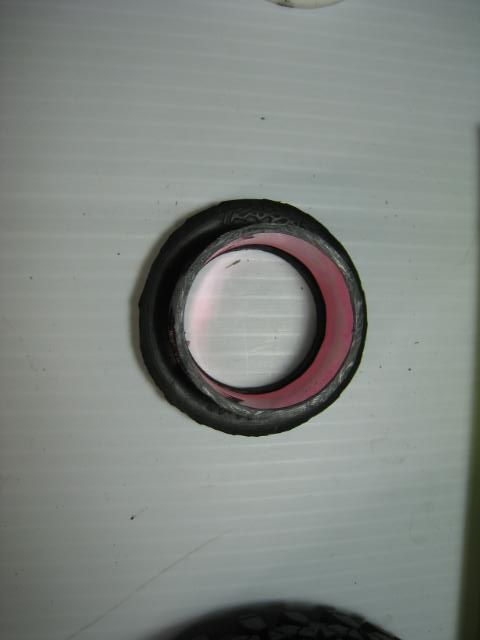 |
|
| |
|
11-02-2010, 12:56 PM
| #175 |
| Pebble Pounder Join Date: Jan 2008 Location: nowhere near the HAMMERS!!
Posts: 165
|    cut this ring out as well. 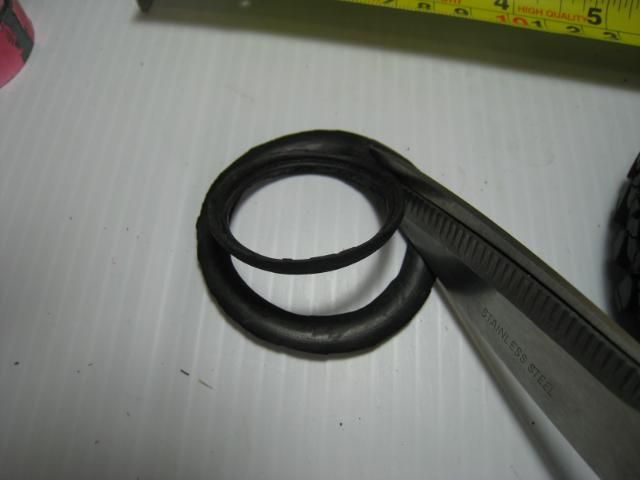 the rubber ring should now fit over the red 15mm ring. 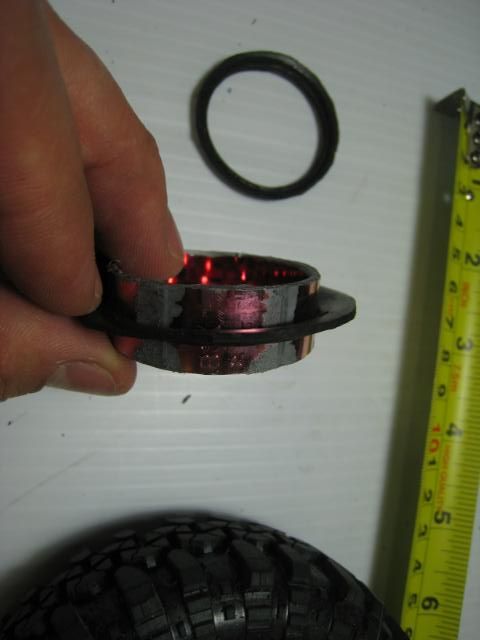 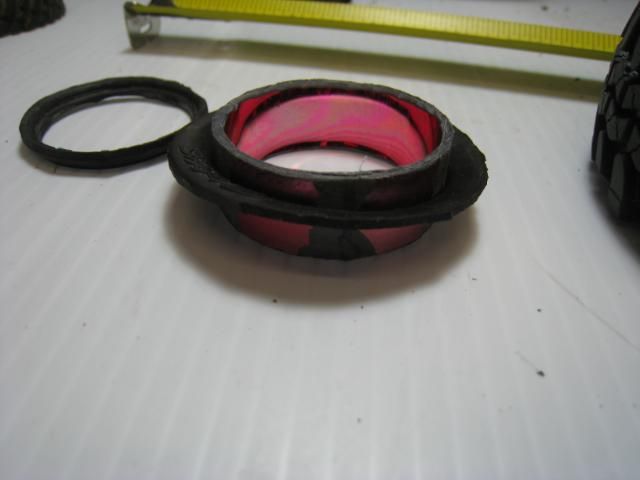 |
|
| |
|
11-02-2010, 12:58 PM
| #176 |
| Pebble Pounder Join Date: Jan 2008 Location: nowhere near the HAMMERS!!
Posts: 165
|
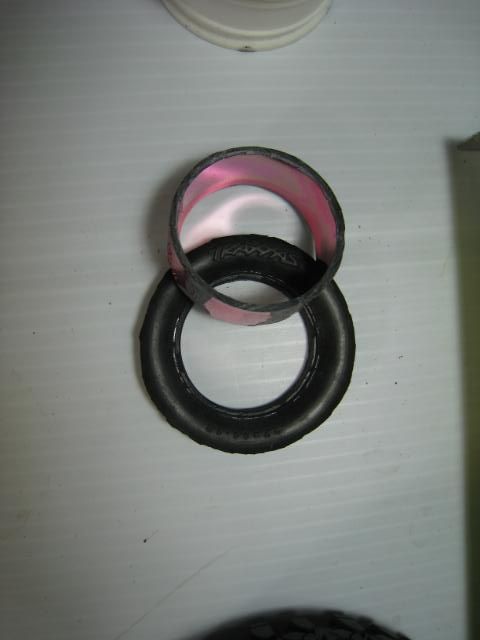
to check fit, take the rubber ring 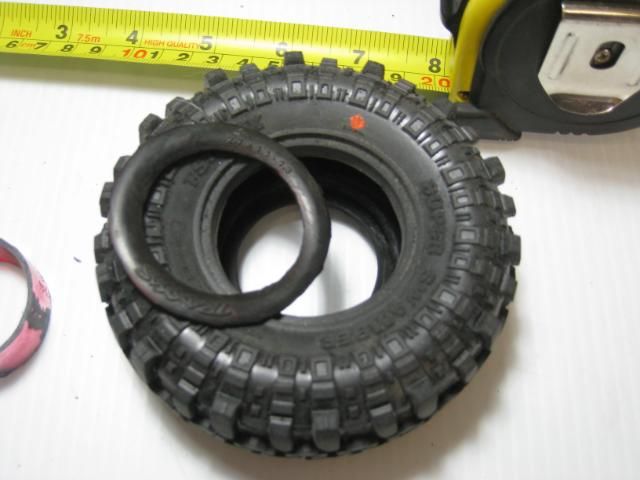 the outer TLT double ring put them together 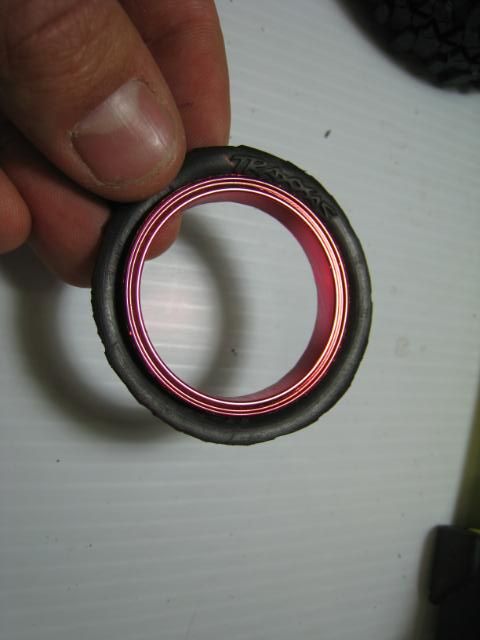 and drop them into the 1.9 tire. it should look like this. some minor trimming might be needed. 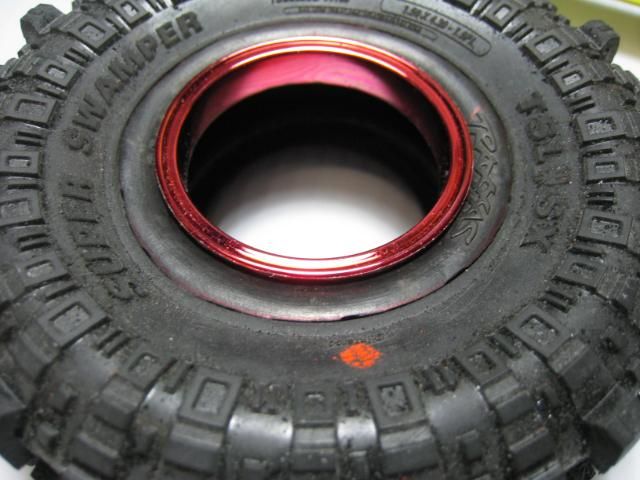 then gran the traxxas double ring you cut off and place it inside the TLT ring. sand to fit if nec. 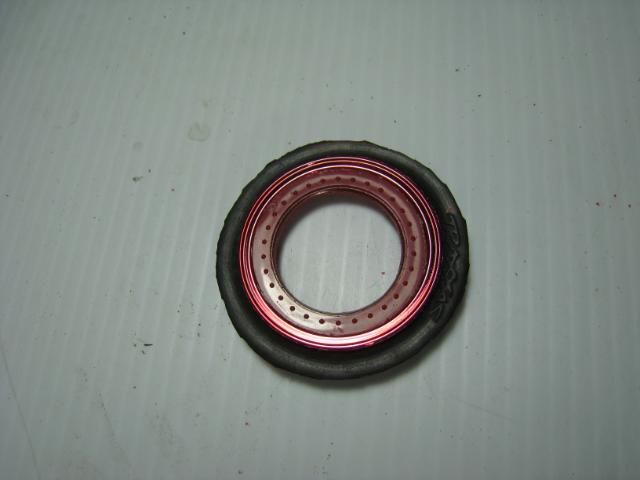  now pull the pieces apart, we are ready to glue. |
|
| |
|
11-02-2010, 12:59 PM
| #177 |
| Pebble Pounder Join Date: Jan 2008 Location: nowhere near the HAMMERS!!
Posts: 165
|
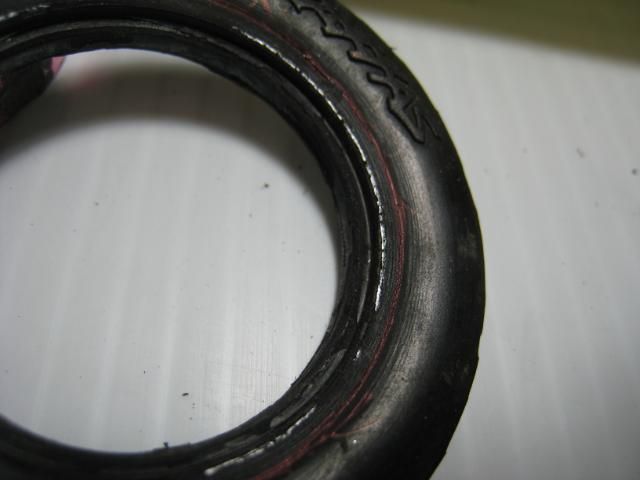
so now you can use the black tire ca glue and glue in the rubber ring into the groove of the 1.9 tire. you need to use the dremil to sand off the traxxas letters and to smoothen out the edges where you glued it. 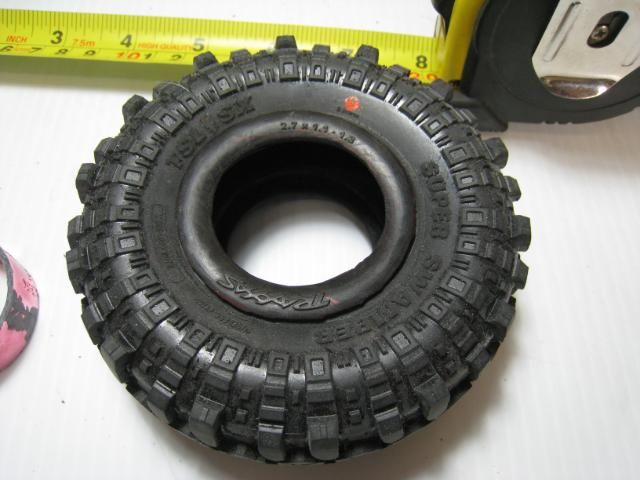 this is what my rim looks like. you do not need the piece in the middle for this project. any more . it was just a tool to trace. 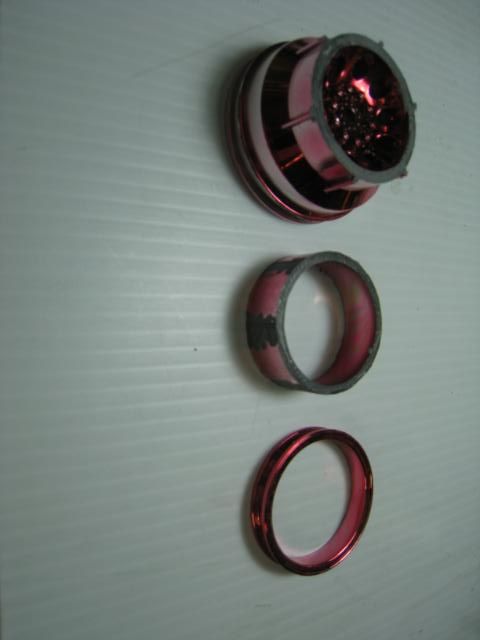 then use the regular plastic cs glue to glue the outer TLT ring and the rest of the rim together. 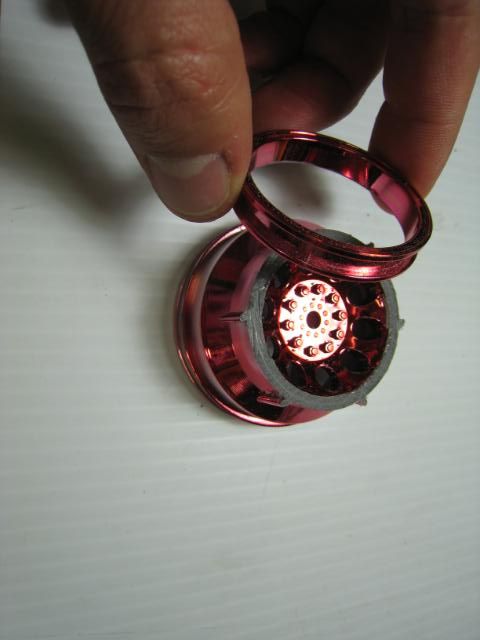 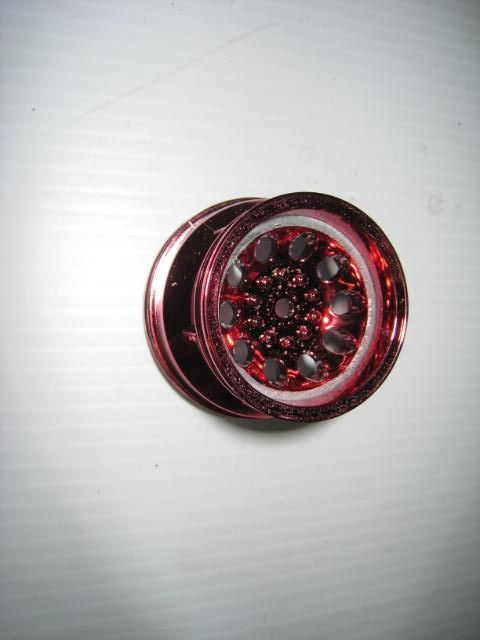 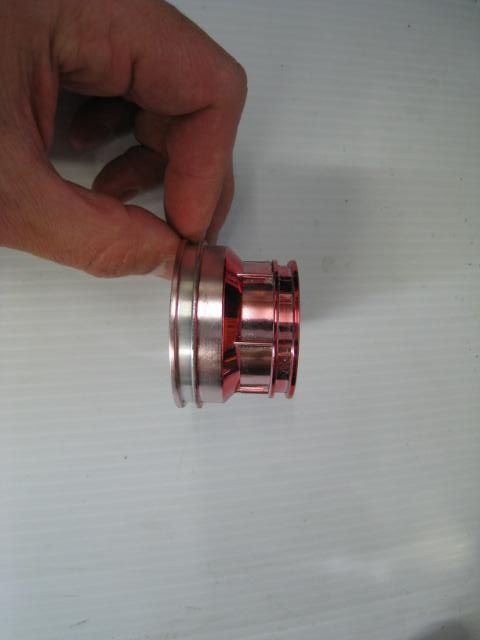 get the traxxas ring and glut it inside the outer TLT ring now. 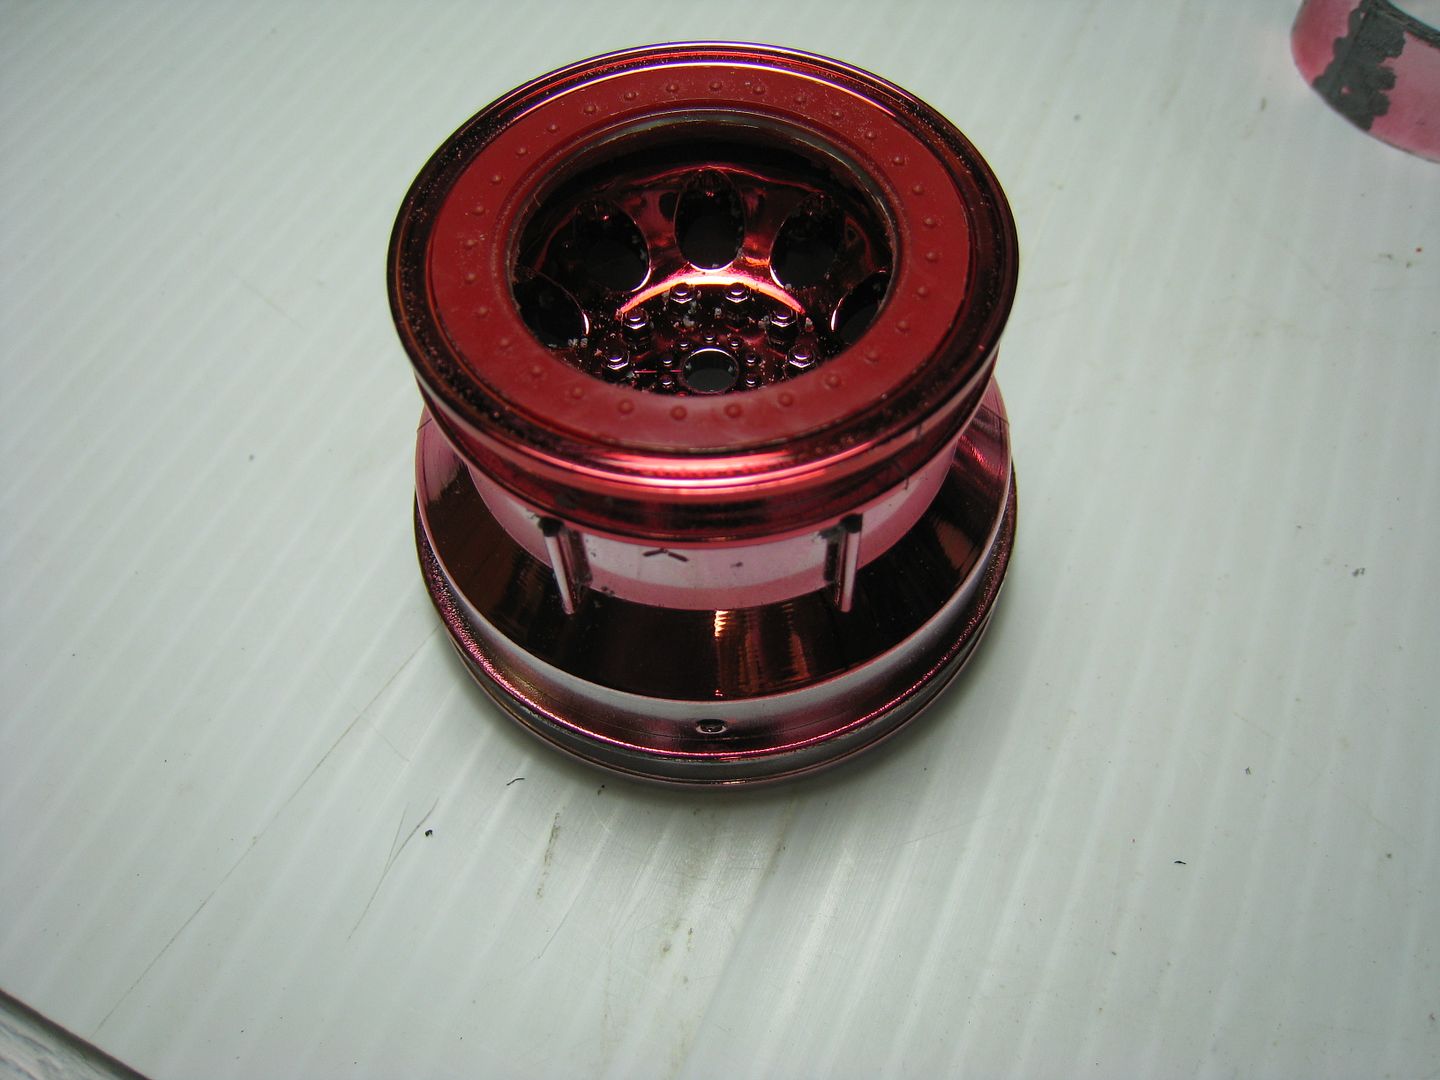 let it dry. paint it. i used flat black. 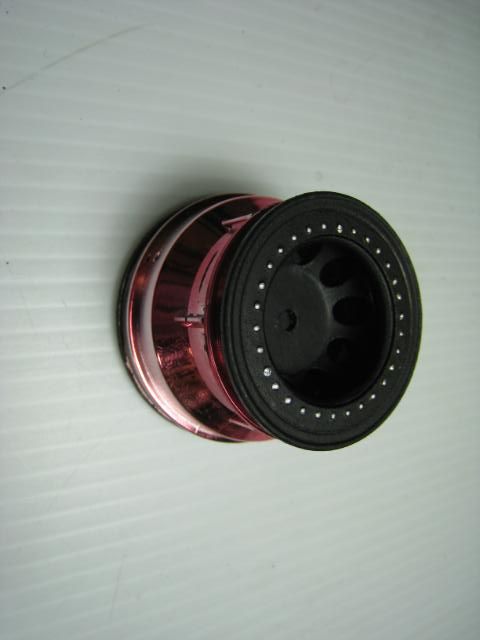 and glue your custom tire in its place. this is what i ended up with. and by far i think it looks the best. 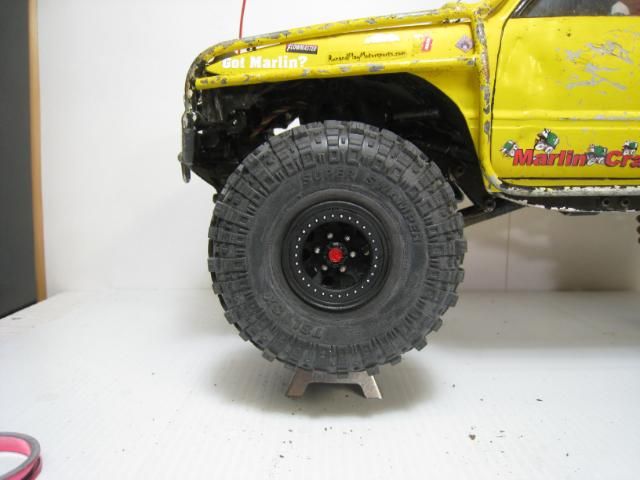 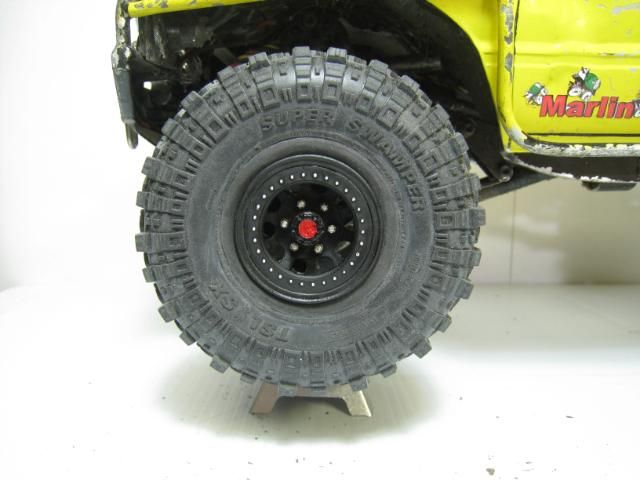 ill post full pics of the truck when i get the last rim finished. |
|
| |
|
11-02-2010, 02:57 PM
| #178 |
| RCC Addict Join Date: Feb 2006 Location: Bellflower, CA
Posts: 1,028
| |
|
| |
|
11-02-2010, 03:07 PM
| #179 |
| I wanna be Dave Join Date: Aug 2008 Location: cape crud... will you be my friend
Posts: 2,102
|
damn dude... just go the hard way around. hahahaa you have far more patience than i have, well that and skill. nice looking wheel. |
|
| |
|
11-02-2010, 05:17 PM
| #180 |
| RCC Addict Join Date: Nov 2009 Location: Tulsa
Posts: 1,667
|
That looks awsome I think I will do that Edit: Are tlt rims there own size not like a 1.5 rim. Or are there other rims u can use Last edited by adamargue; 11-02-2010 at 05:24 PM. |
|
| |
 |
| |


 Linear Mode


