| |
 06-22-2009, 10:37 AM
| #1 |
| Rock Stacker Join Date: Mar 2009 Location: Abq
Posts: 68
|
Hey all, I started this project a little over a week ago and i have worked on it almost every night since. i got the idea that it would be cool and possible to make my own tuber, so i designed and built one. The end result is more than I could have hoped for, mainly because, before this i had never brazed before. The Pictures are in order so you can see the progress Hope you enjoy! Some Specs Custom Tuber Chassis Stock 55turn motor Castle Creations Sidewinder ESC Castle Creations BEC Stock servo (soon to be replaced0 Custom Made OTA Steering Custom Made front and rear 4-link plates Custom Made upper links w/ revo ends TQ3 with matching reciever Stock Beadlocks Proline Hammers Wheel weights etc First Design Plans 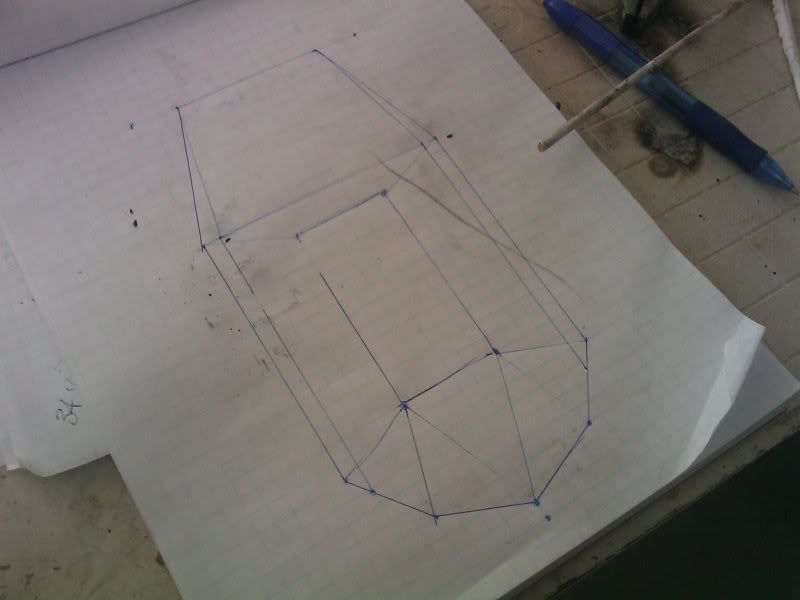 This is the crawler i will be using for this tuber 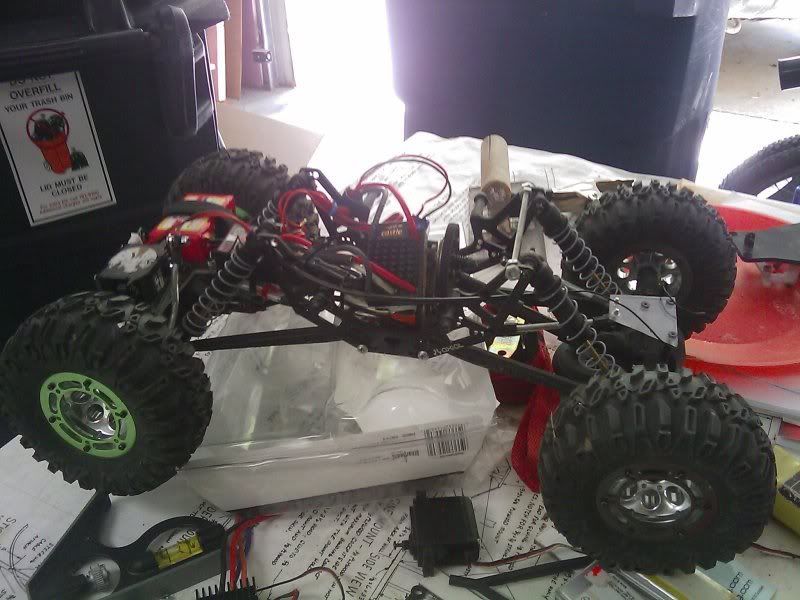 First Couple braze joints ever! 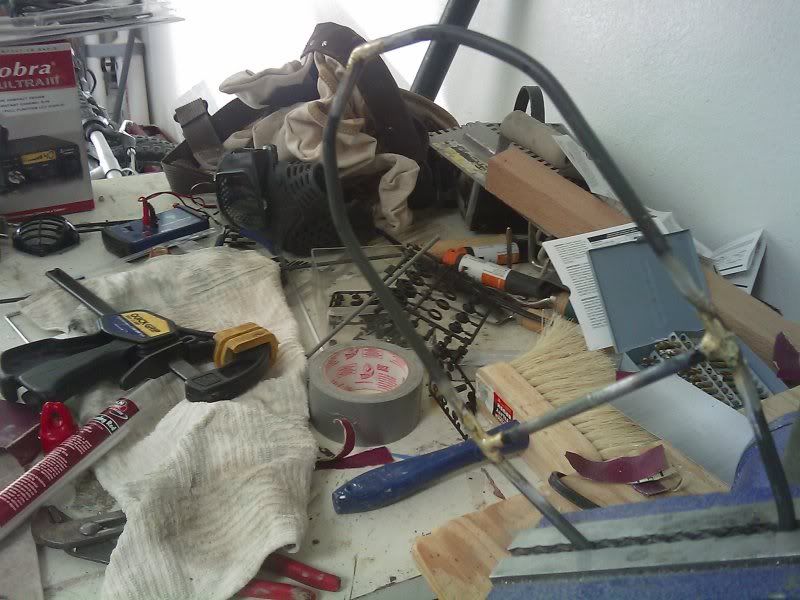 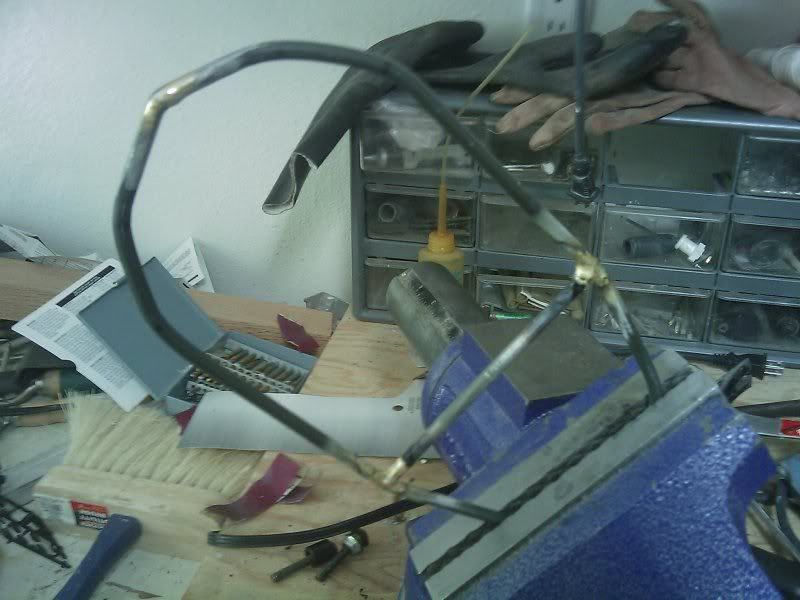 My first test on the right and the real one on the left 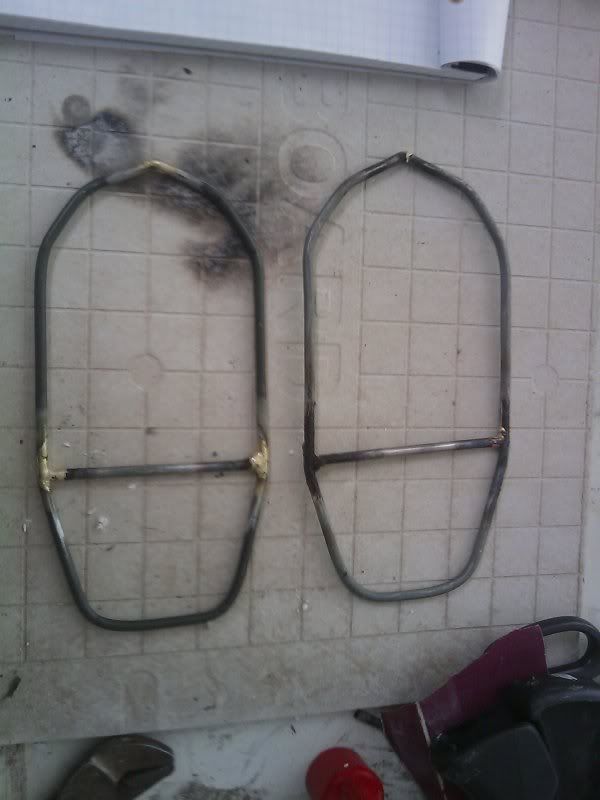 Top Half Done 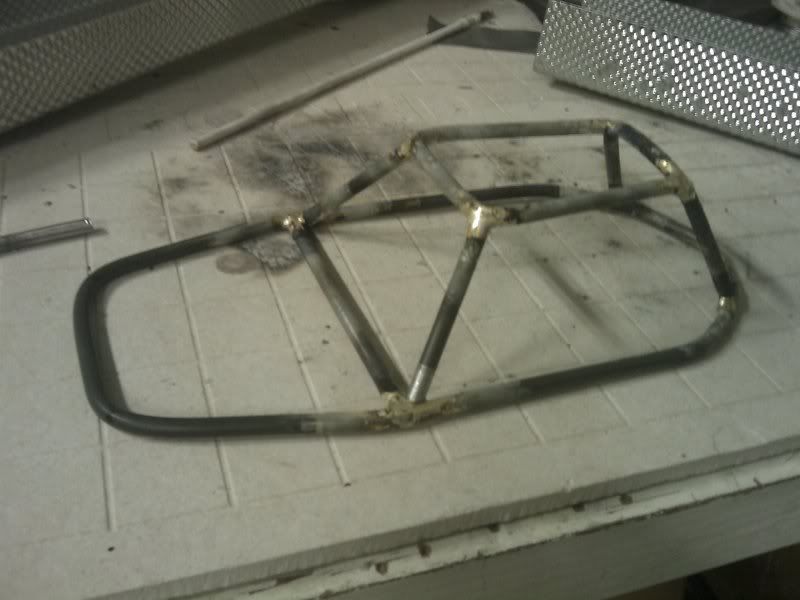 One base 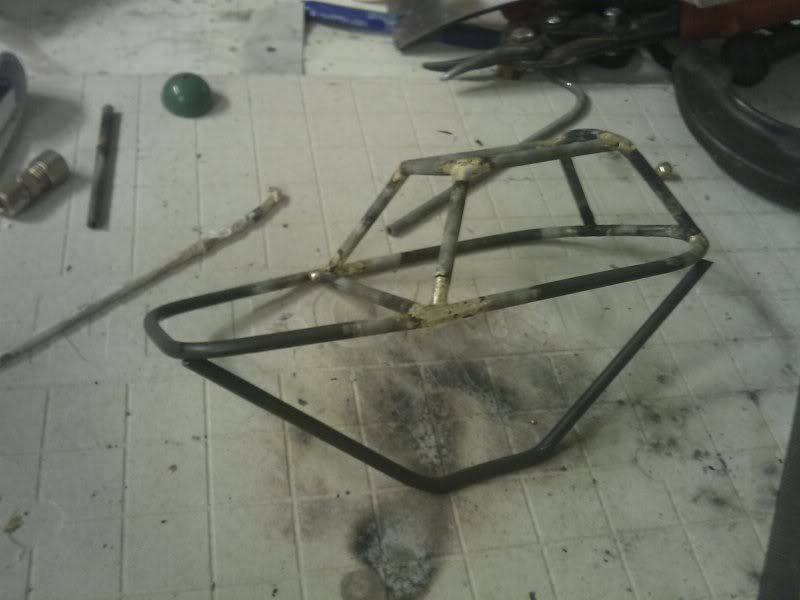 Second base and she stands! 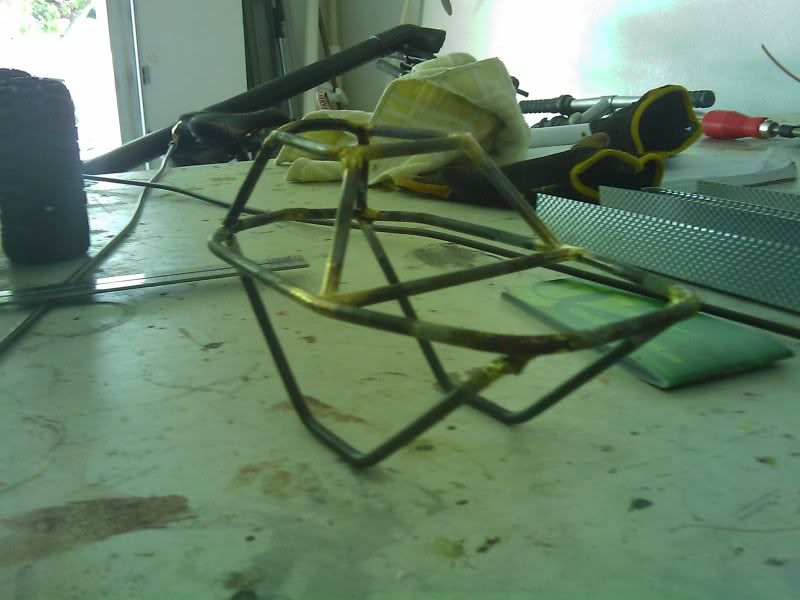 Mock-up of what she might look like 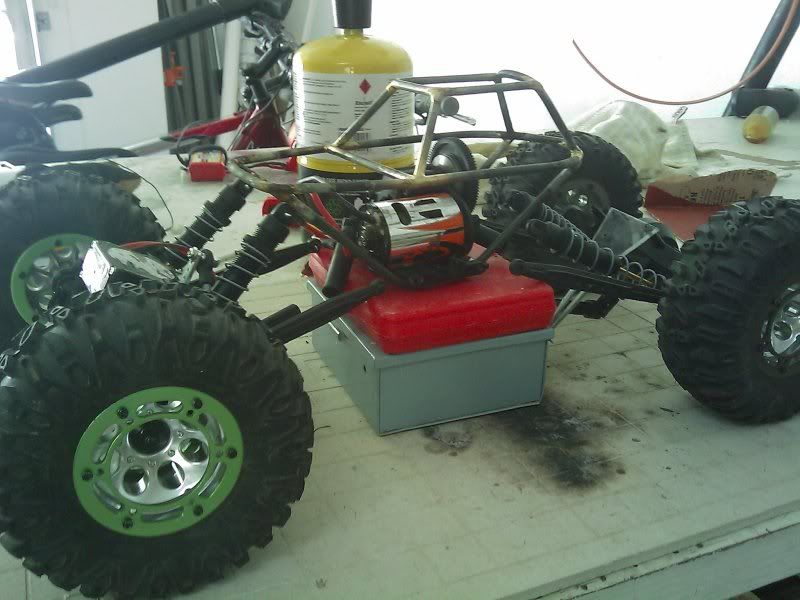 Shocks on 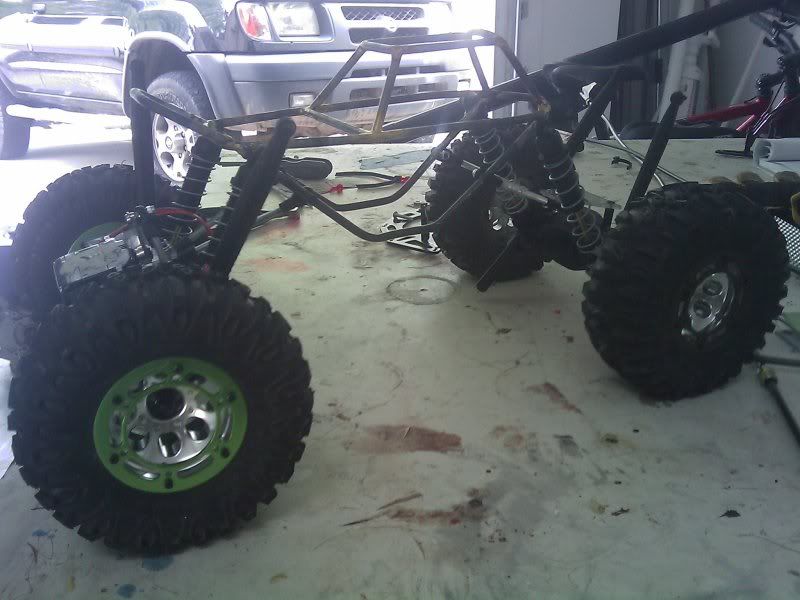 Together w/ paint or sanding  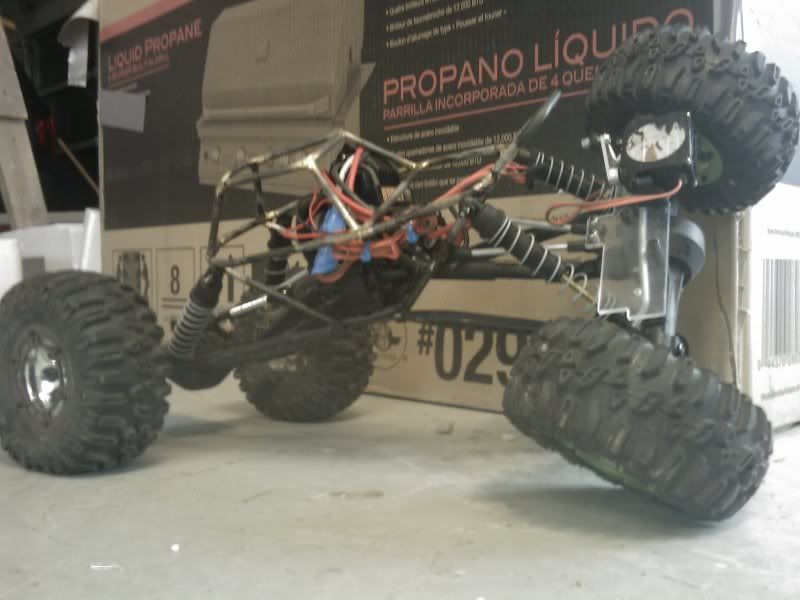 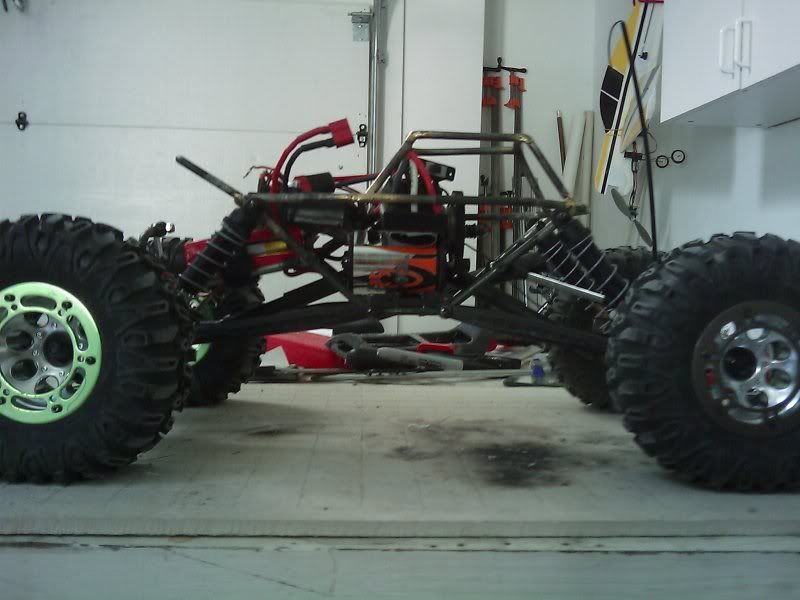 Done with paint, panels, and cleaned up electronics 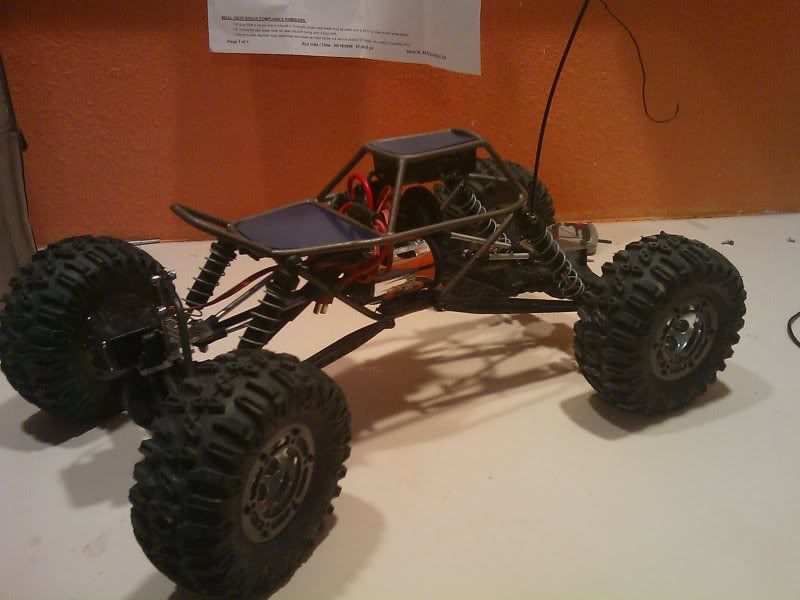 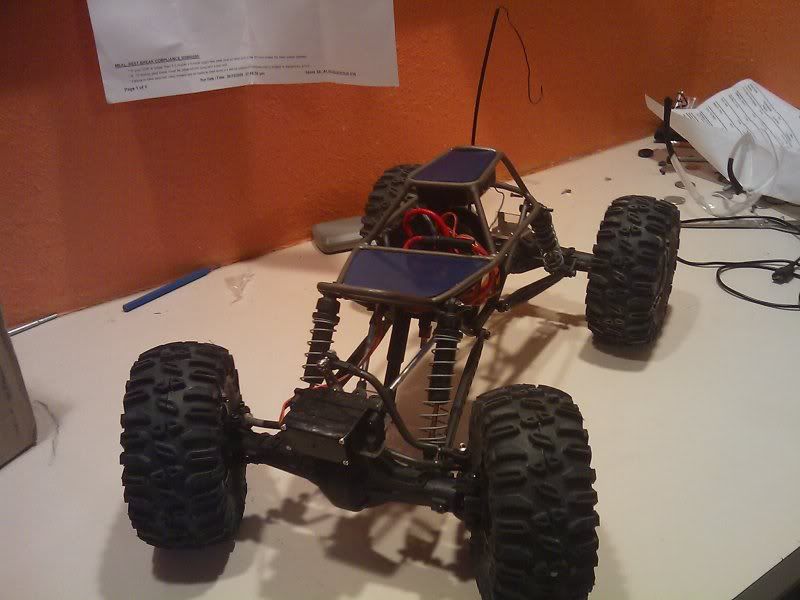 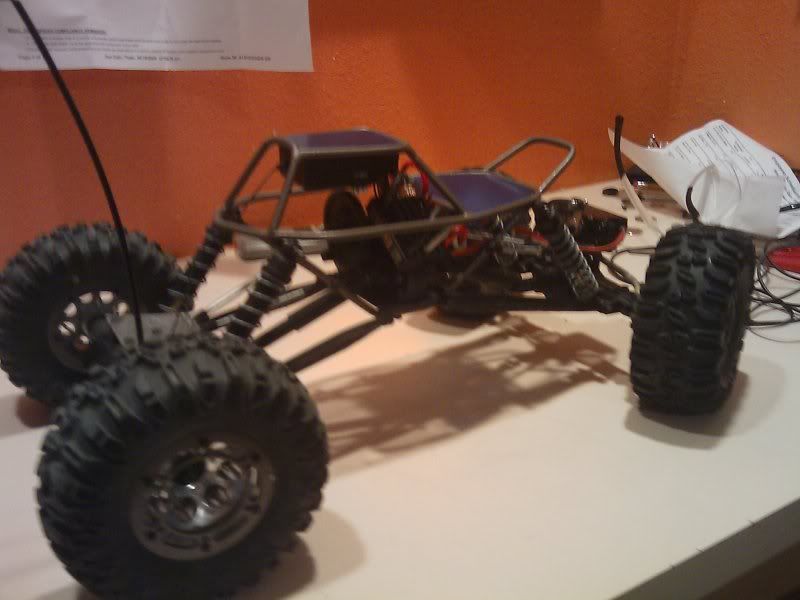 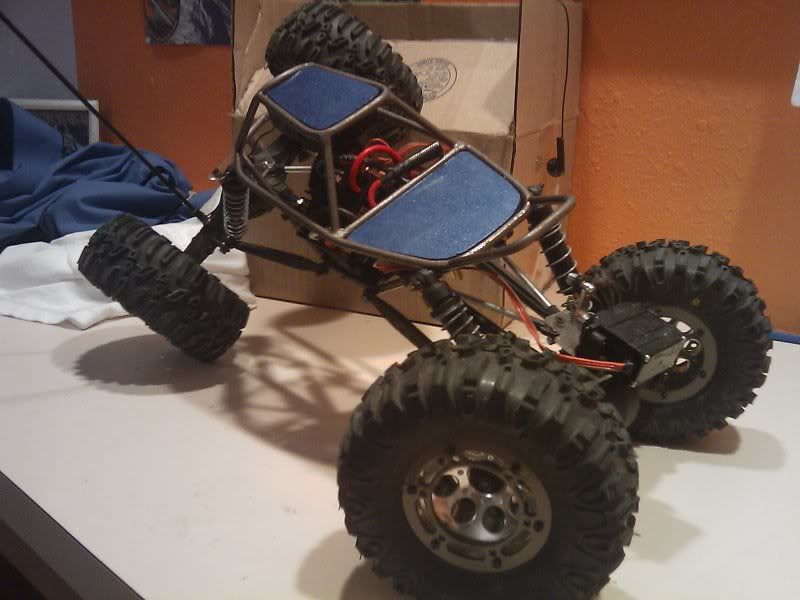 Complete with custom BTA steering(more like OTA steering though) 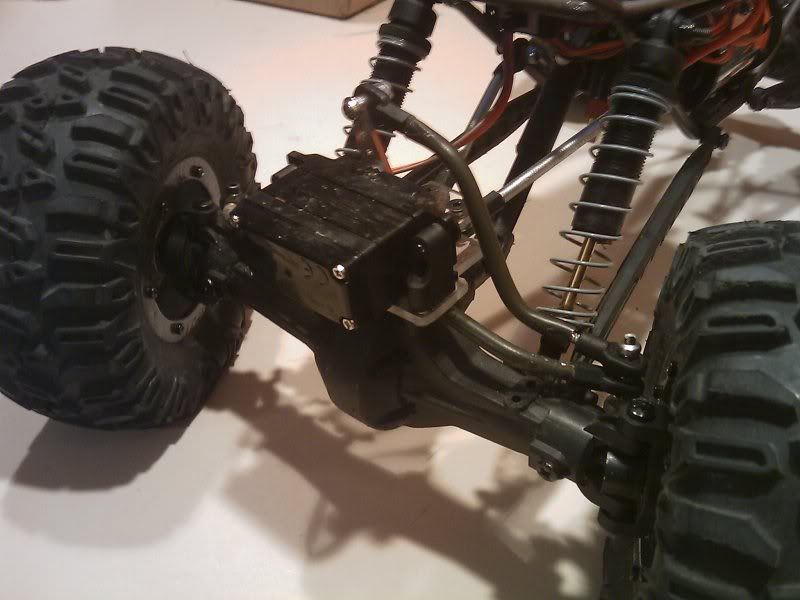 Last edited by Brplatz; 06-22-2009 at 10:39 PM. |

|  |
| Sponsored Links | |
| | |
|
06-22-2009, 06:19 PM
| #2 |
| Rock Stacker Join Date: Mar 2009 Location: Abq
Posts: 68
|
Thanks!, I really hoped it would come out nicely. I haven't seen my design of BTA before but I'm sure someone has done it. it really removes the problems i see and hear about hitting shocks and links. BRPlatz |
|
| |
|
06-22-2009, 10:03 PM
| #3 |
| RCC Addict Join Date: Apr 2009 Location: Behind the wheel
Posts: 1,107
|
I like.  Looks like a good place to start. How does it do compared to the stock chassis? Looks like a good place to start. How does it do compared to the stock chassis?
|
|
| |
|
06-22-2009, 10:42 PM
| #4 |
| Rock Stacker Join Date: Mar 2009 Location: Abq
Posts: 68
|
Thanks man! Actually it does fairly good compared, much more robust though since the old one flexed to much. I do plan on makeing another custom tuber but the next one will be much more planned out and many optional mounting holes, which is one thing i regret not doing in this one |
|
| |
|
06-23-2009, 03:29 AM
| #5 |
| Newbie Join Date: May 2009 Location: Cincy
Posts: 10
|
Yery nice. who makes the steering? |
|
| |
|
06-23-2009, 02:00 PM
| #6 |
| RCC Addict Join Date: Apr 2009 Location: Behind the wheel
Posts: 1,107
|
Looks like he did. Its amazing what you can do when you put your mind to it. I would like to see some better pics of that steering tho....
|
|
| |
|
06-23-2009, 05:09 PM
| #7 |
| Rock Stacker Join Date: Mar 2009 Location: Abq
Posts: 68
|
At the request of a few Basically the gap between the 4-link plate and the axle housing standoffs is the space being used. Full lock Left and Right 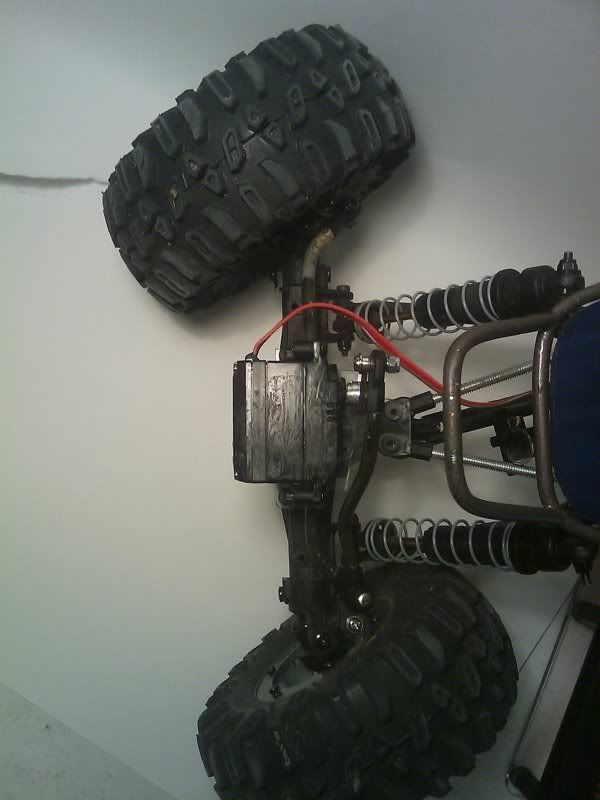 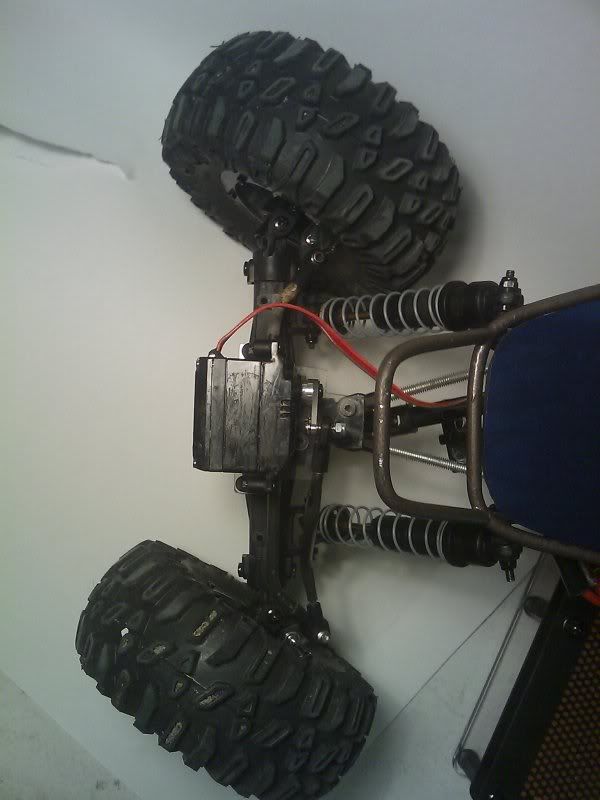 Tie rod thing 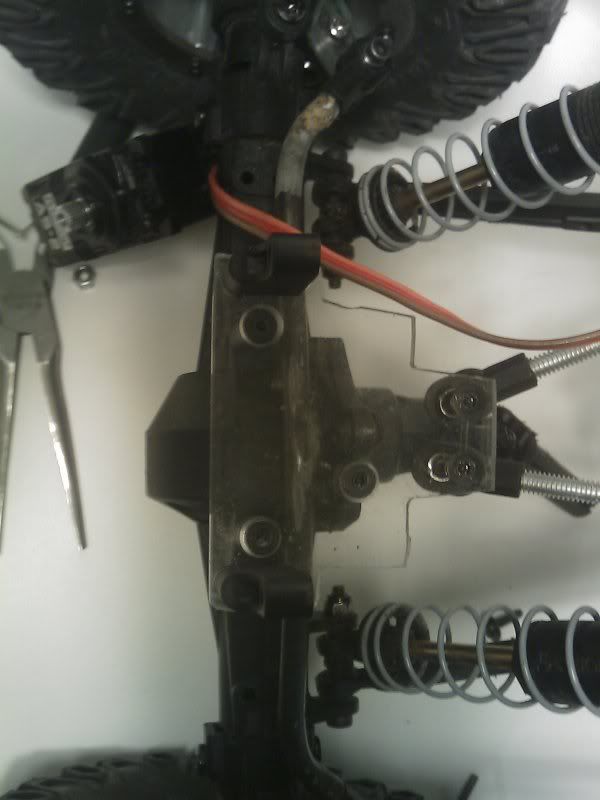 Plexi spacers on the shortend knuckle. 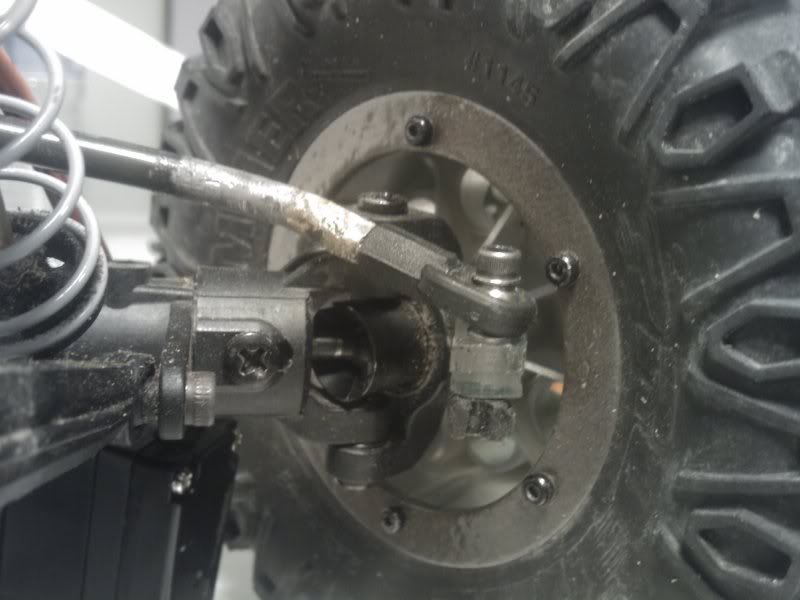 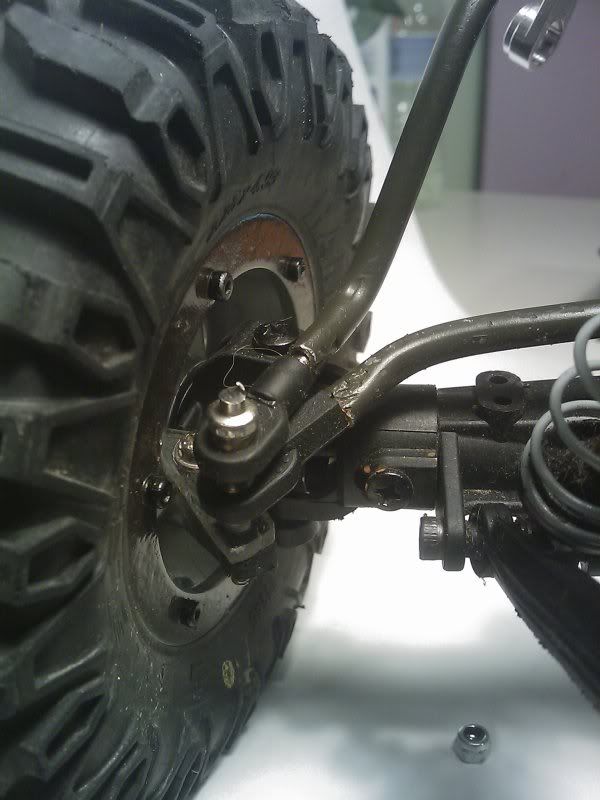 Another view of the tie rod thing 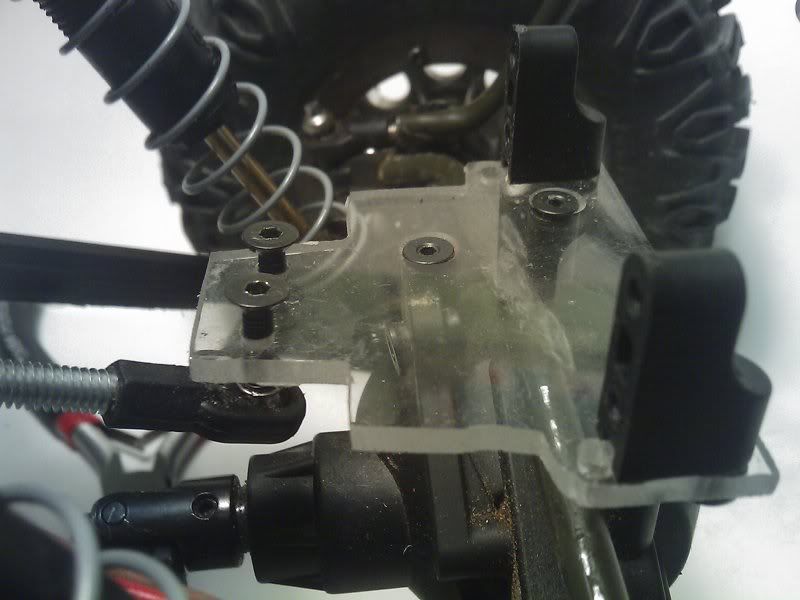 |
|
| |
|
06-24-2009, 01:47 PM
| #8 |
| RCC Addict Join Date: Apr 2009 Location: Behind the wheel
Posts: 1,107
|
Looks good man. Why did you need to shorten the knuckles?
|
|
| |
|
06-24-2009, 05:22 PM
| #9 |
| Rock Stacker Join Date: Mar 2009 Location: Abq
Posts: 68
|
I had to shorten the knuckles because I couldn't get full left or right throws without hitting the link/shock bracket on the axle housing, suprisingly everything is very sturdy and rigid. Only thing holding me back now is a new higher torque servo. Brplatz |
|
| |
 |
| |


 Linear Mode


