| |
| |||||||
 |
| | LinkBack | Thread Tools | Display Modes |
 05-18-2009, 10:00 PM
| #1 |
| Quarry Creeper  Join Date: Feb 2009 Location: Gold Bar
Posts: 263
|
The RF-One chassis is in need of retirement. After many packs of service its time to find a new chassis to punish. I really liked the looks of the chassis but it finaly gave up the ghost on me. After running 4 tough courses twice on Saturday and 4 packs of bashing afterwords its time for a new build. Here is what we were running. RF-One chassis Losi exceleron ESC Novak 21.5T Nomadio React Eflite 1250 Mah both 2S and 3S Jr 9100 up front Hitec 7955 for dig (still hangs though):-( Custom roof and hood panels Rear lockouts....ok lockout still need to finish the other side Epic beadlocks (rear offset) Sill alive no cracks!! Knock on wood!!! Proline chisels  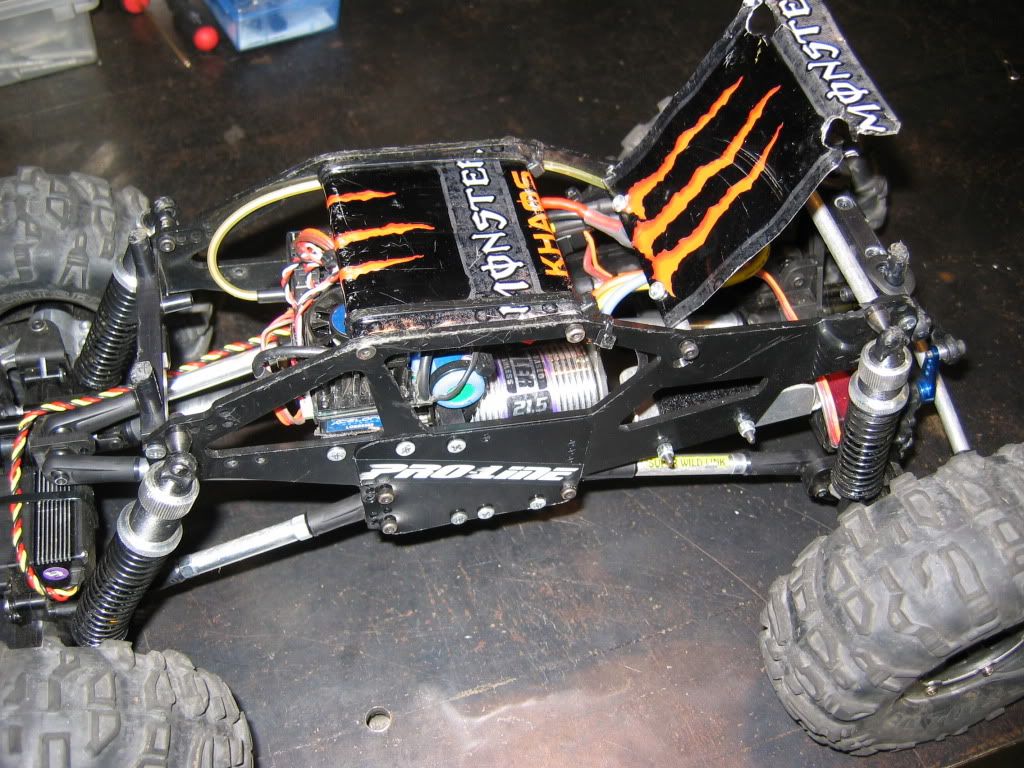 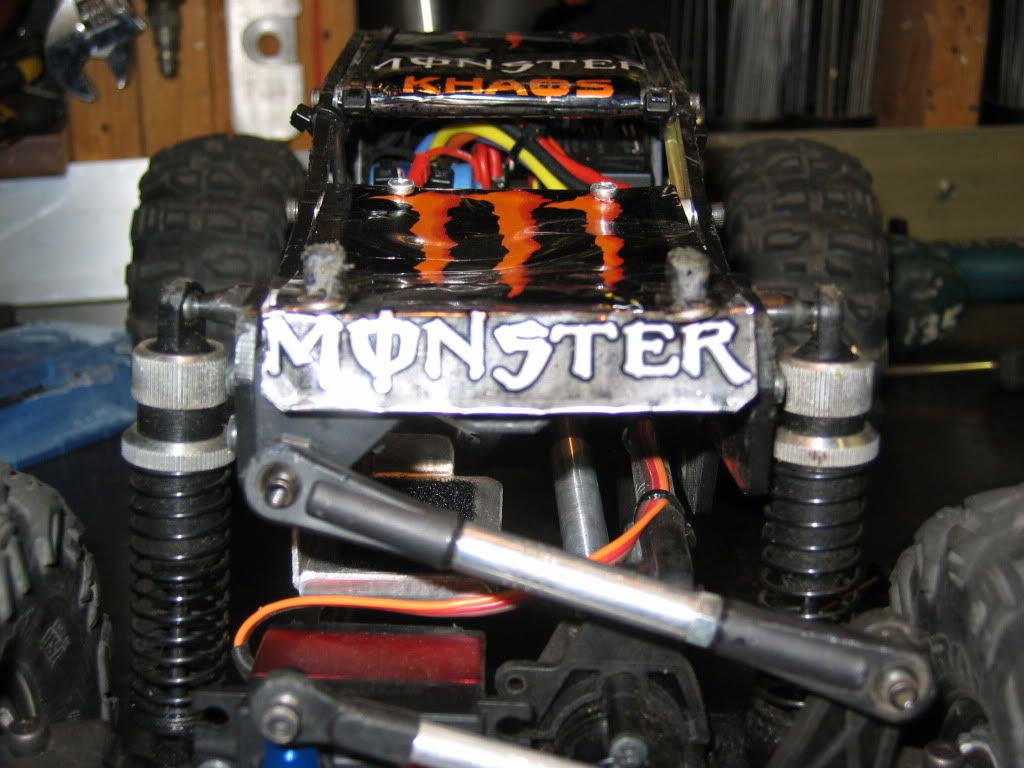 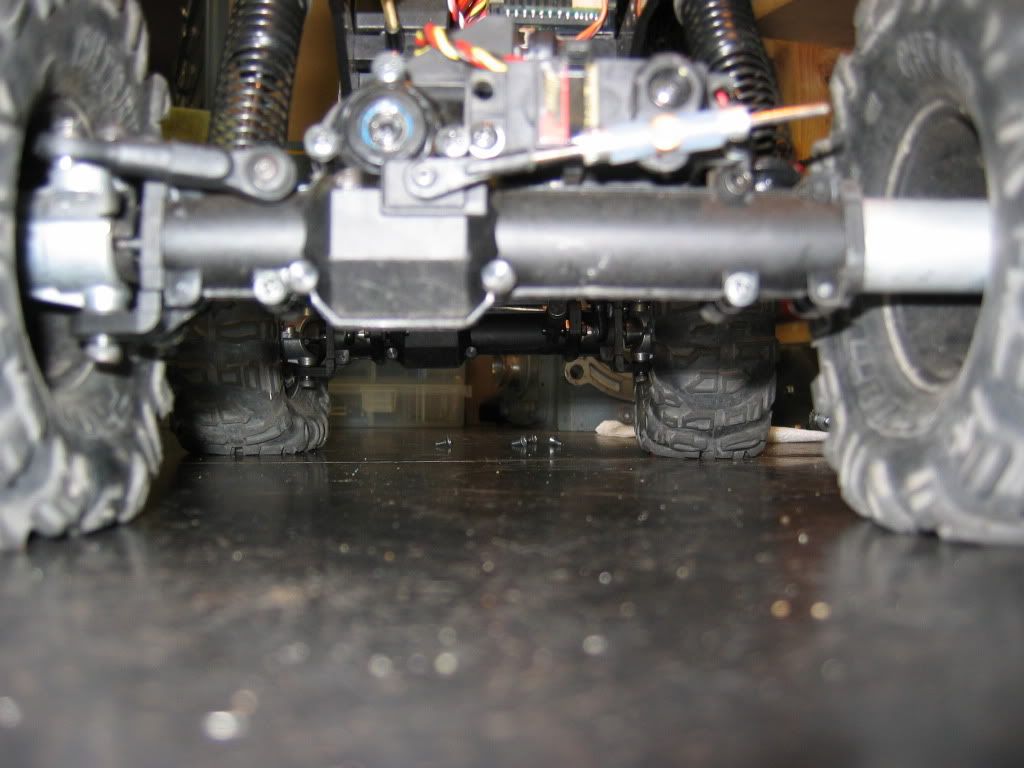 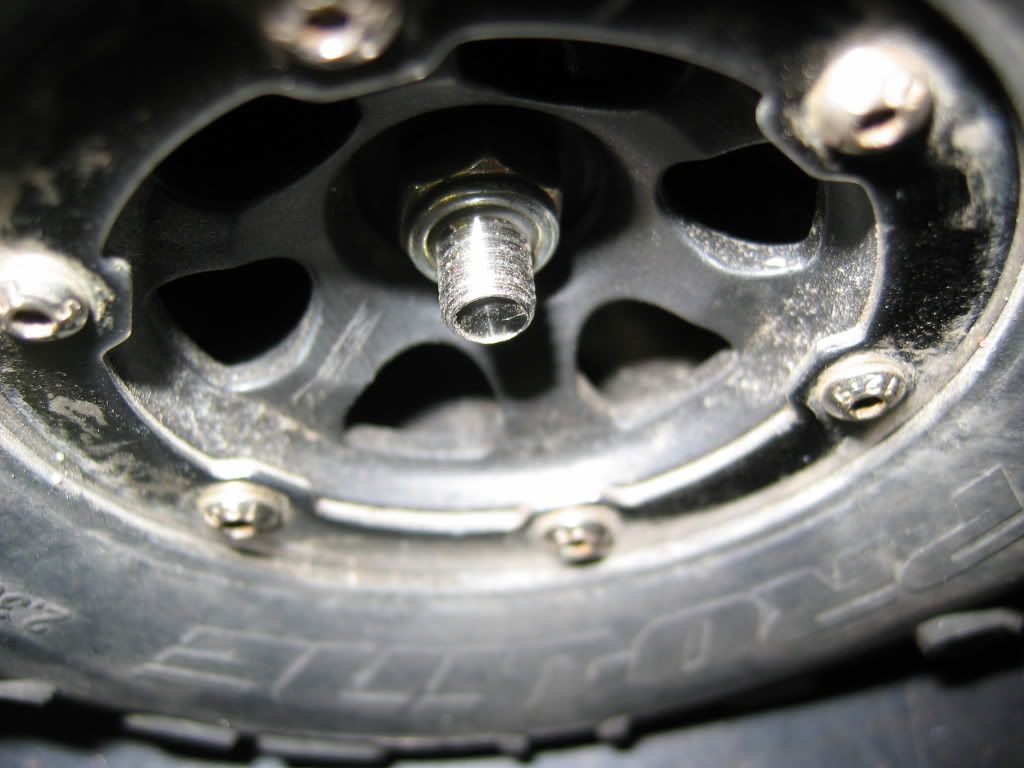 OPPS!!! 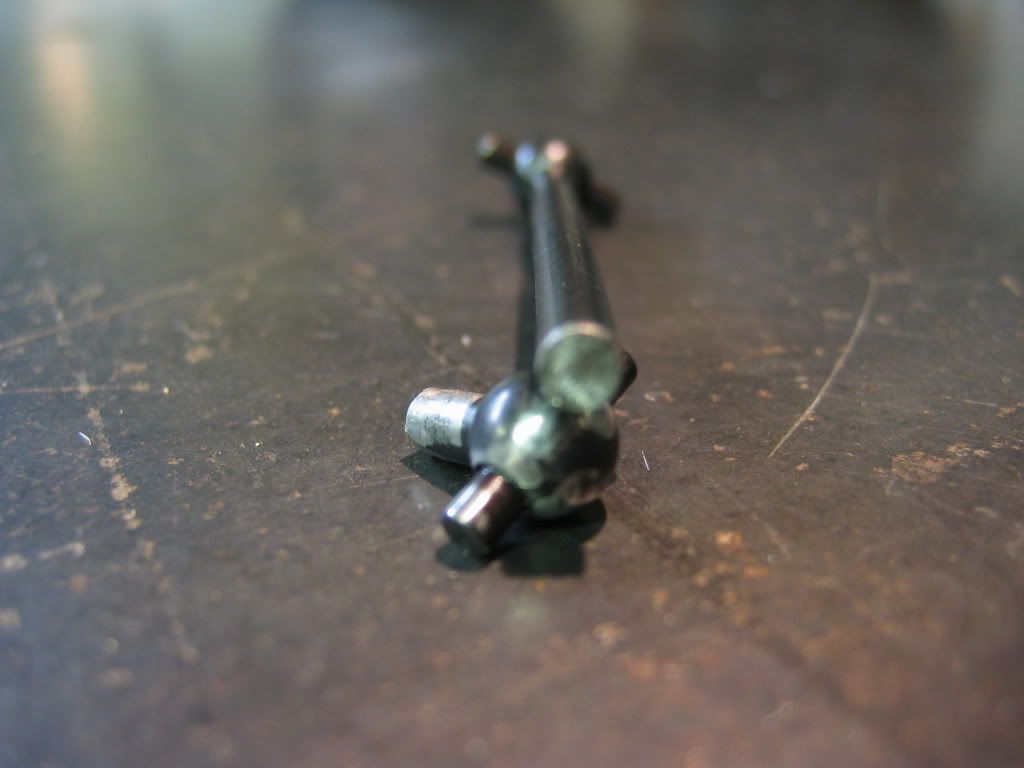 OPPS AGAIN!! 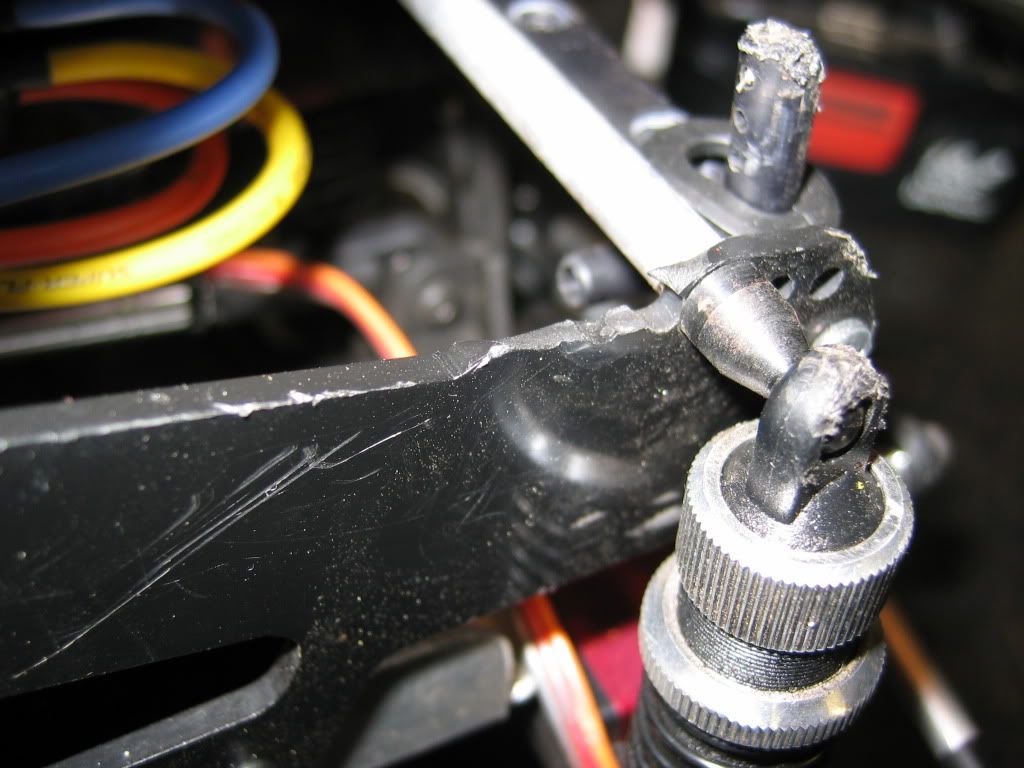 One more!:-P 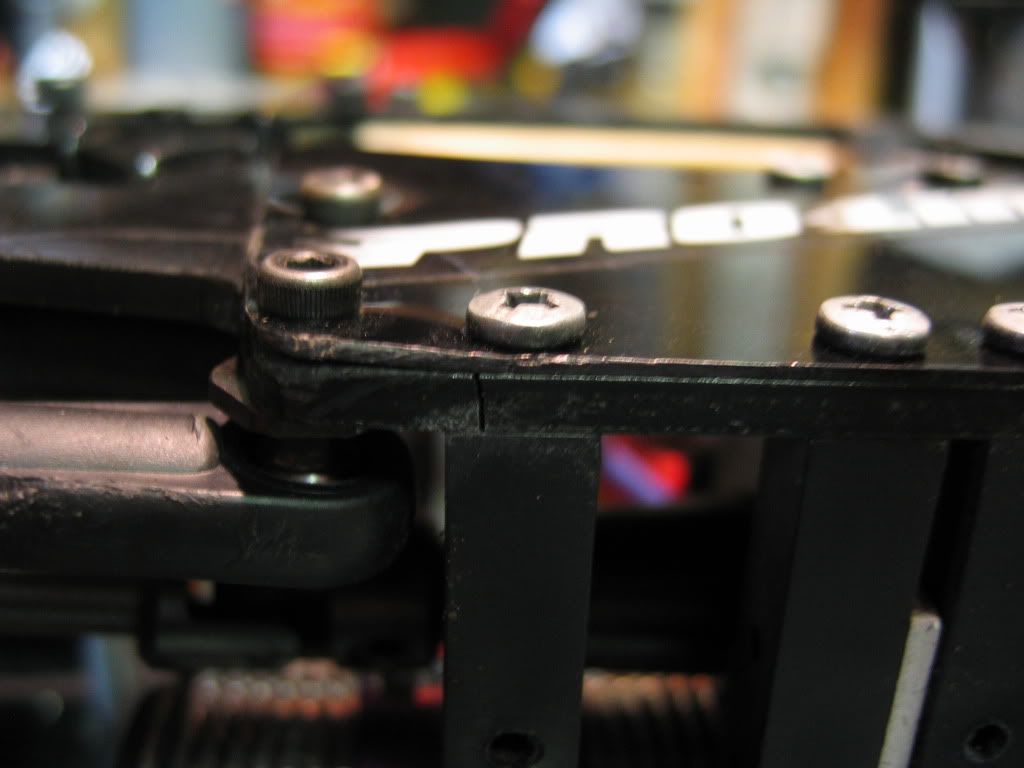 Now the hard part. Which one should I use? 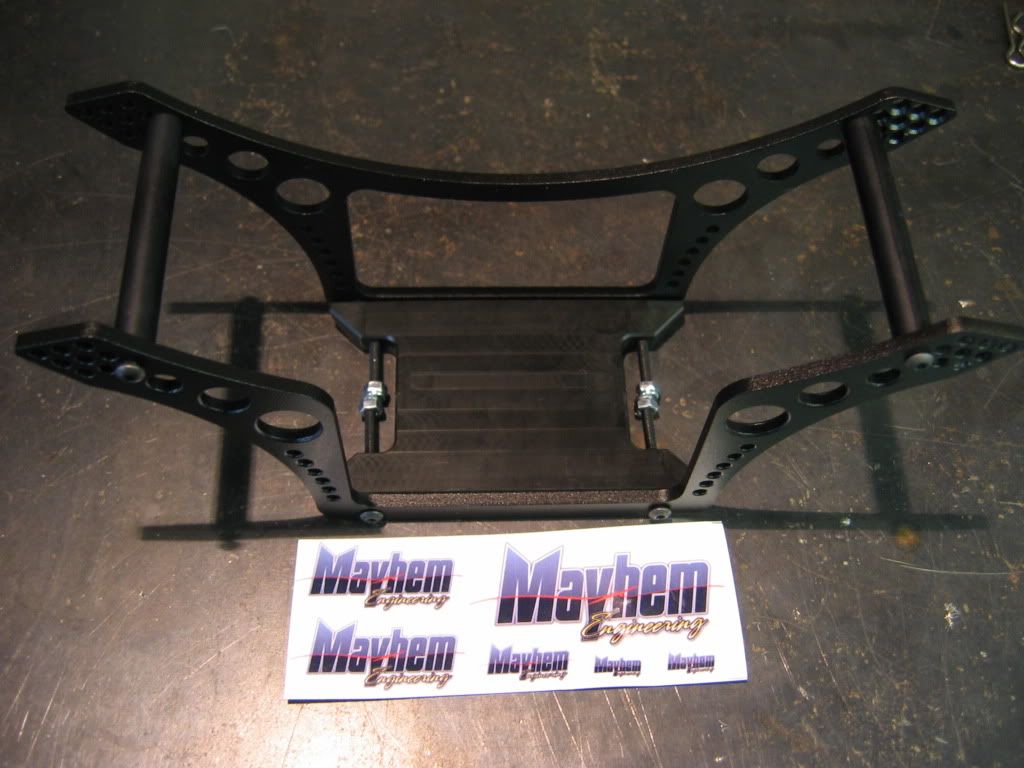 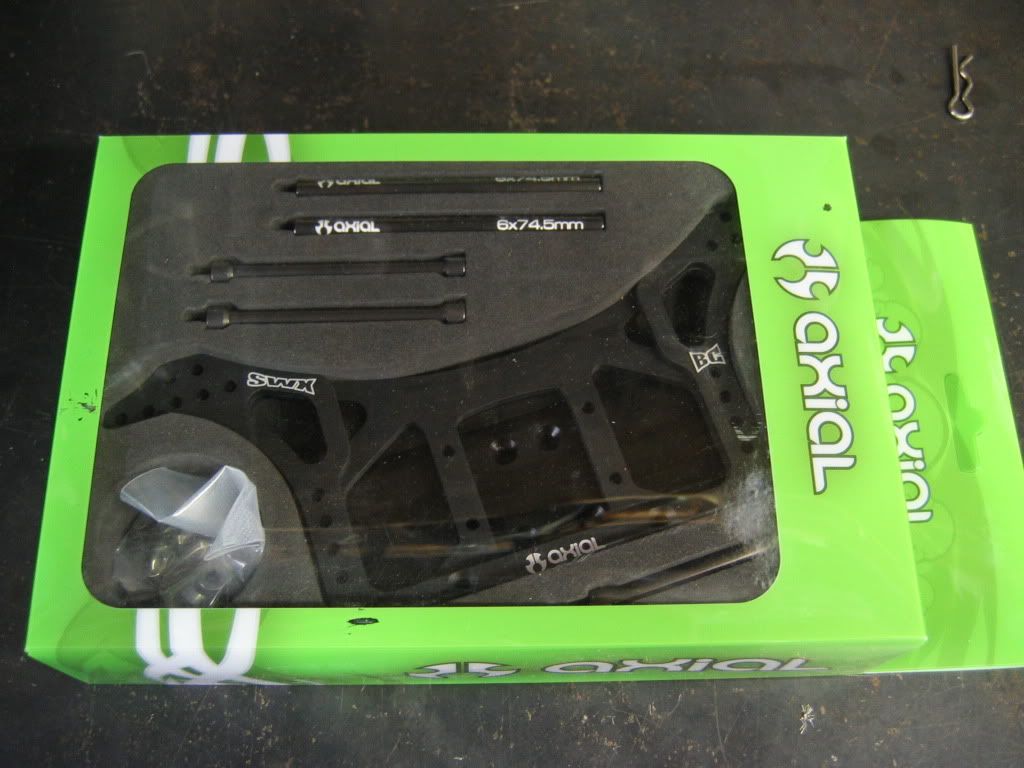 There are things I like about both of these chassis so it is going to be tough picking one or the other. |

|  |
| Sponsored Links | |
| | |
|
05-18-2009, 11:02 PM
| #2 |
| 20K Club   Join Date: Jul 2004 Location: Sending illegals home one Hayabusa at a time.
Posts: 22,981
|
Go with the LS2  Looks like you haven't been easy on it at all |
|
| |
|
05-19-2009, 01:04 AM
| #3 |
| Quarry Creeper Join Date: Mar 2008 Location: Hilo
Posts: 458
|
See my build thread I actually used both chassis. Although I only mocked up the SWX. I liked the fit and finish of both chassis. You cant go wrong with either. I am currently running the LS2.0 and like it |
|
| |
|
05-19-2009, 10:18 AM
| #4 |
| RCC Addict Join Date: Nov 2008 Location: never been
Posts: 1,317
|
interesting how the prototester chassis breaks like that, 2nd ive seen on here.
|
|
| |
|
05-19-2009, 10:40 AM
| #5 |
| Quarry Creeper Join Date: Feb 2009 Location: Gold Bar
Posts: 263
|
It is a shame yes. The front shock mount break was from a fall of about four feet flat on its lid on concrete. I didn't have the cross bar between the two front shocks at that time. Without it the mount does flex a bit. I think with the crossbar in there it would have survived. As for the lower link mounts if you could get a crossbar to tie those together as well that would help too. Honestly for what I had put it through I think it has held up well. |
|
| |
|
05-19-2009, 12:45 PM
| #6 |
| RCC Addict Join Date: Nov 2008 Location: never been
Posts: 1,317
|
looking like you had loads of fun with that delrin chassis- its all good
|
|
| |
|
05-19-2009, 09:36 PM
| #7 | |
| Pebble Pounder Join Date: Nov 2006 Location: bronx
Posts: 109
| Quote:
| |
|
| |
|
05-20-2009, 04:16 AM
| #8 |
| Rock Crawler Join Date: Sep 2008 Location: Delta B.C.
Posts: 554
|
i had the same thing happen..been running mine for about a month, quite a few tumbles but this was a real good tumble..busted the shock mount out and stress fractured the chassis 3/4 way through, i patched it with a scrap piece of aluminum and its holding up fine..i came to the same conclusion..pretty much right after it broke..lol, that it needed a brace right there, easy to do and will Last edited by vonclod; 05-20-2009 at 04:20 AM. |
|
| |
|
05-20-2009, 09:35 AM
| #9 | |
| RCC Addict Join Date: Nov 2008 Location: never been
Posts: 1,317
| Quote:
| |
|
| |
|
05-20-2009, 10:18 AM
| #10 |
| Quarry Creeper Join Date: Feb 2009 Location: Gold Bar
Posts: 263
|
You can find it at McMASTER-CARR as well but unless you have one close shipping kills you. Or if your work orders from them alot you can slip it in on an order.....Did I say that out loud? |
|
| |
|
05-20-2009, 10:18 PM
| #11 |
| Pebble Pounder Join Date: Nov 2006 Location: bronx
Posts: 109
|
i ll sneak them in on the next order thanks |
|
| |
|
06-23-2009, 10:09 PM
| #12 |
| Quarry Creeper Join Date: Feb 2009 Location: Gold Bar
Posts: 263
|
Ok progress has been made! The wifes little medical emergency kinda got in the way of my build up. Ok maybe not so little...Brain surgery! Mayhem LS 2.0 chassis 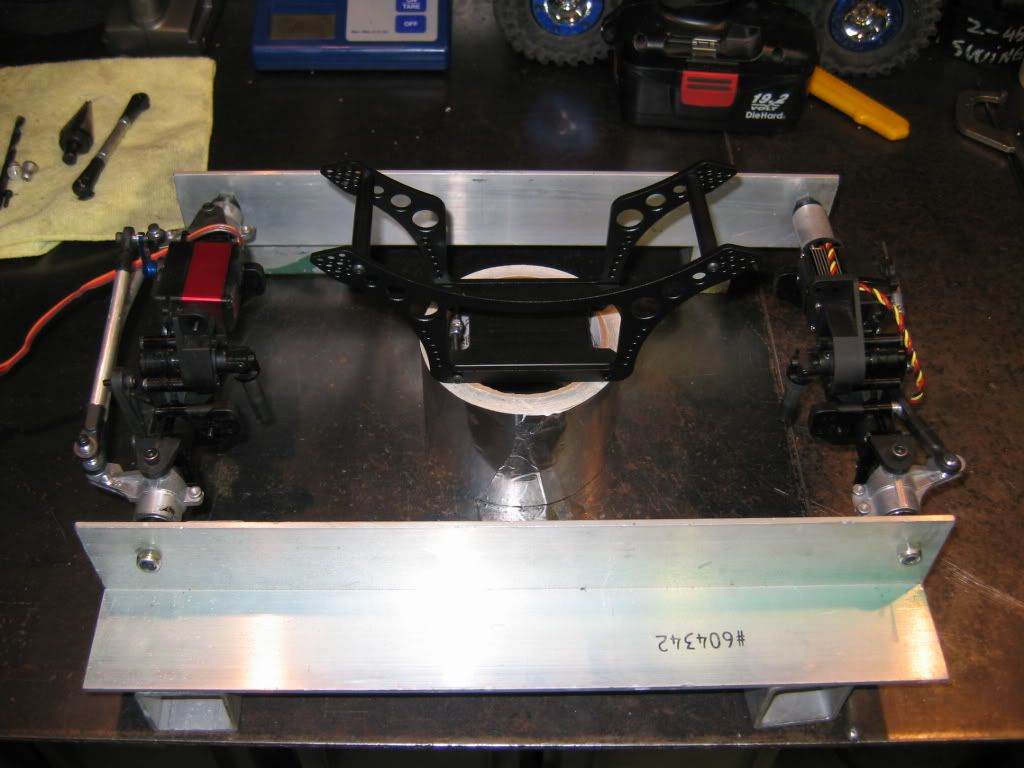 Losi shocks 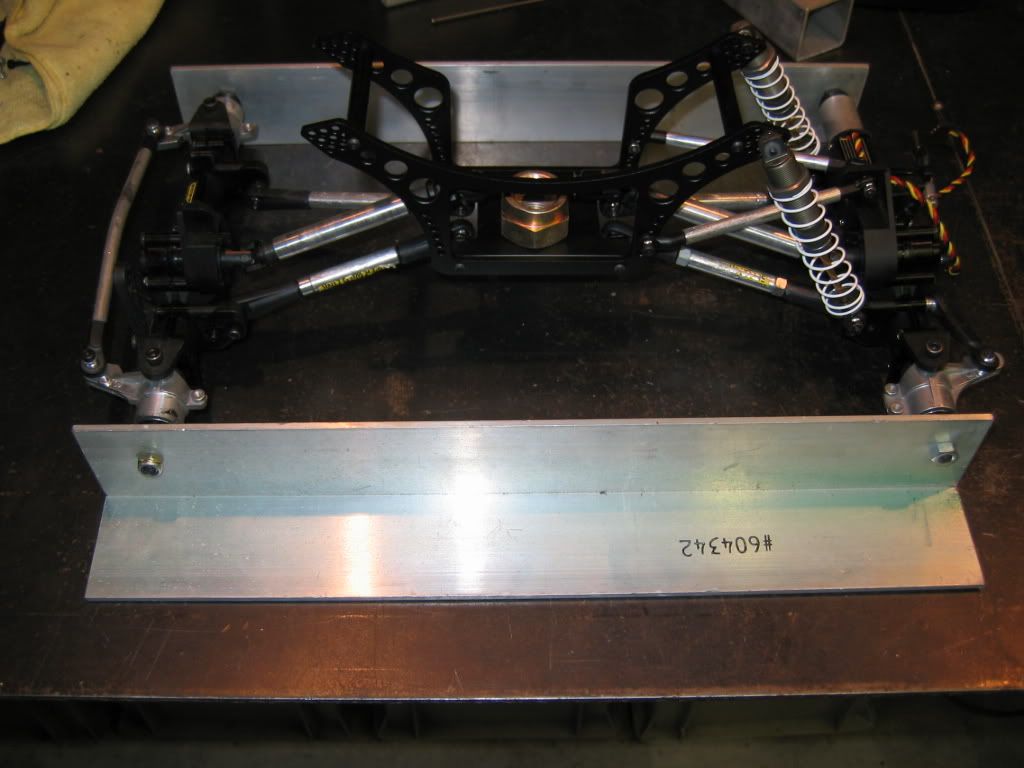 Front 4 link/servo mount. Need to redo to catch the upper servo tab and was hoping to wrap around the whole servo. Did the old cut twice measure once mistake! It works for now will make another as I want to mount the dig servo the same way. 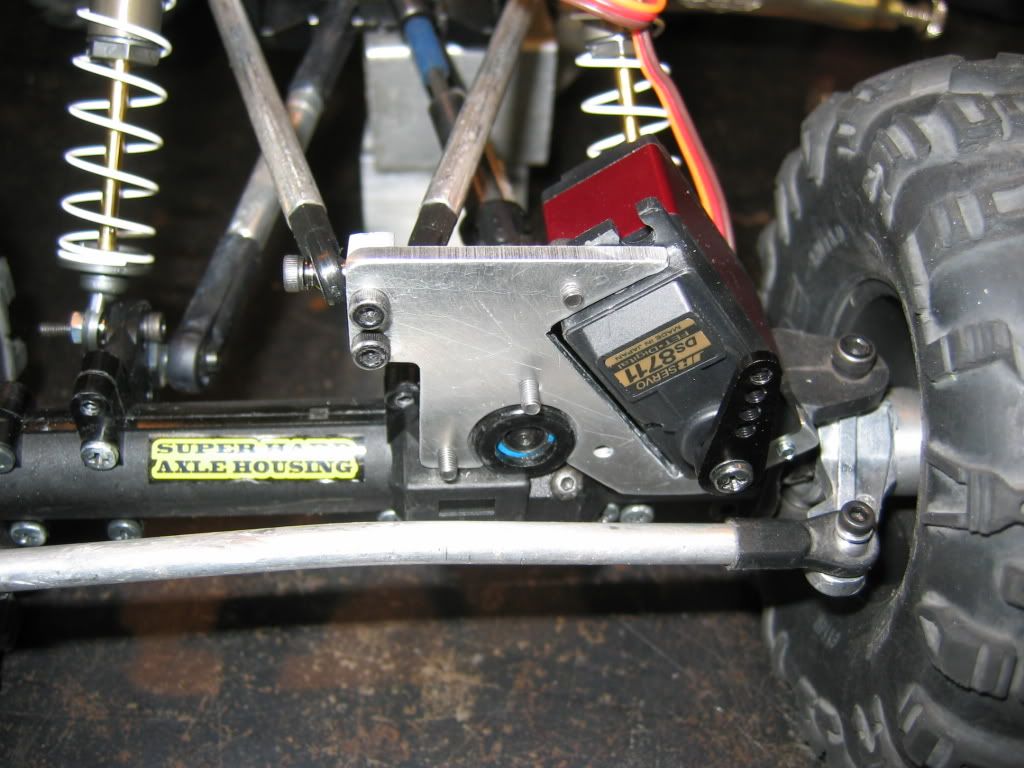 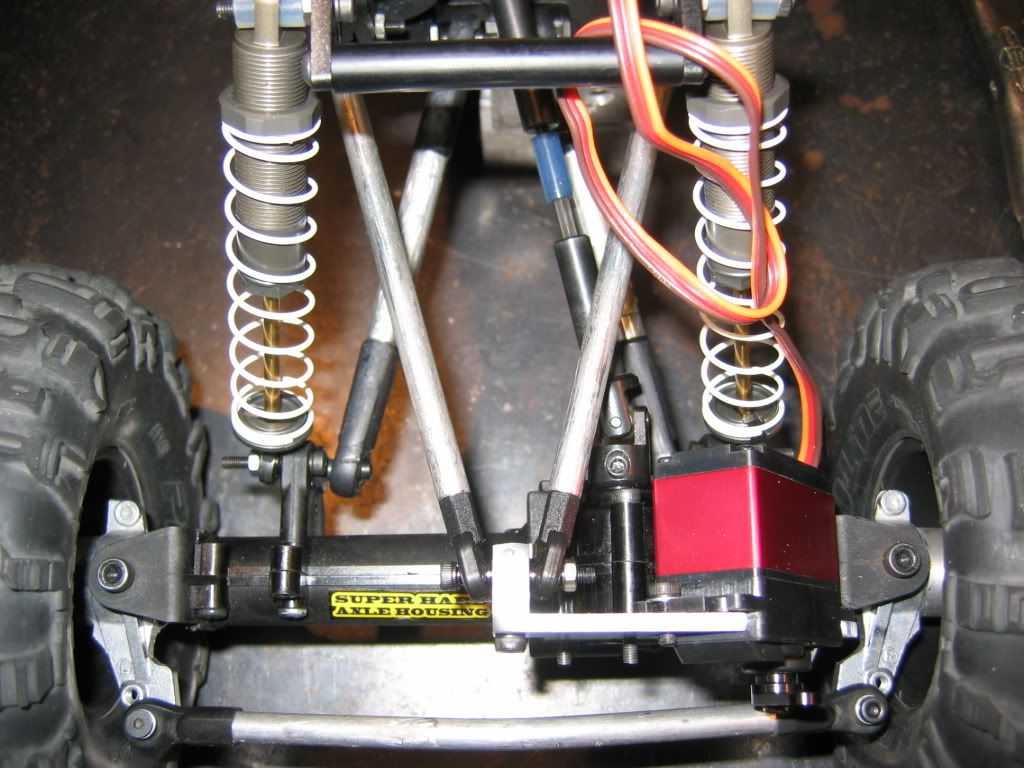 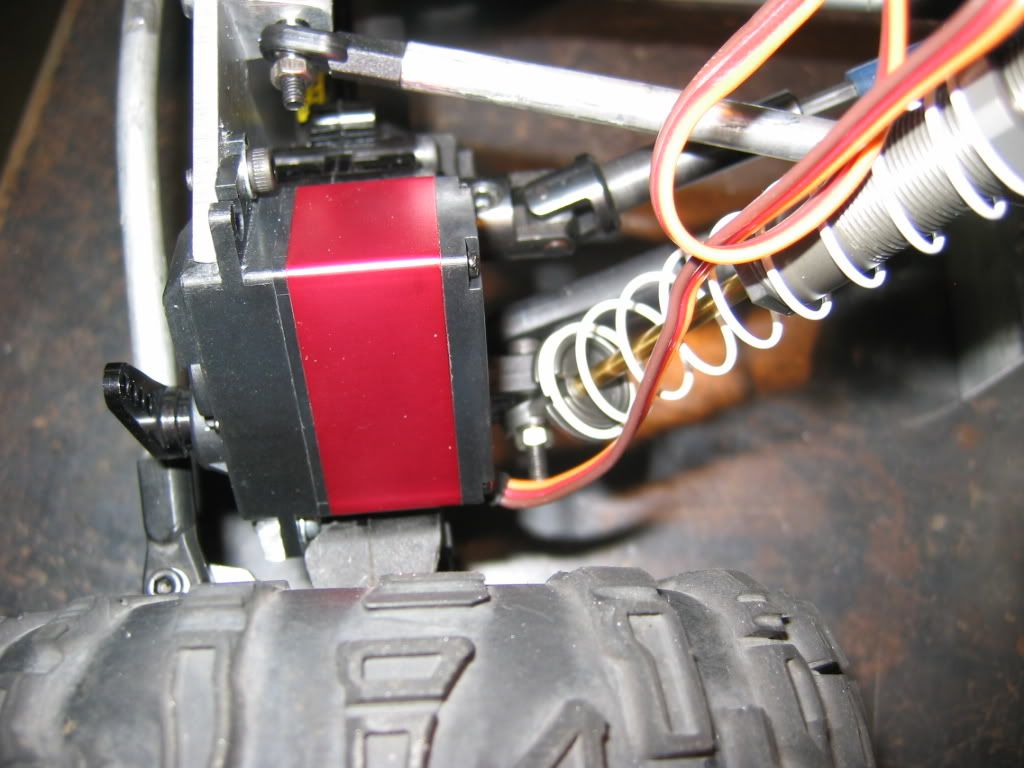 Still need to finish the other lockout before I can mount the dig servo on that side. Have taken some good spills and it has held up so no more excuses just need to finish the other lockout. :-P 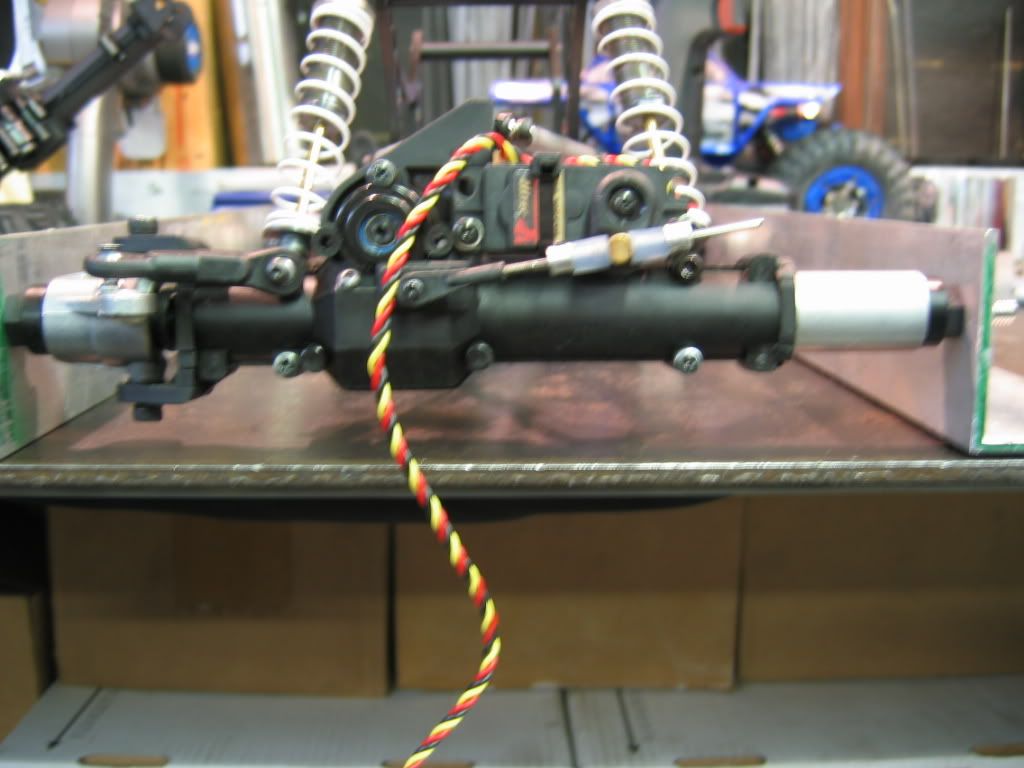 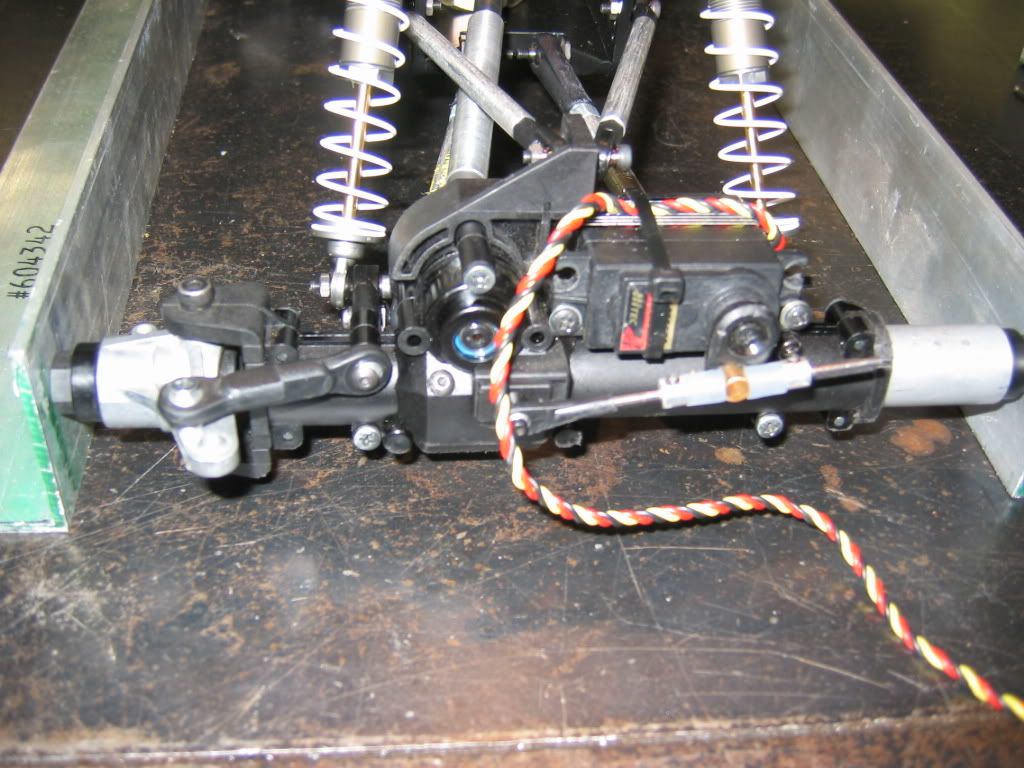 No pics but got the motor mount made and a battery tray to run a 1250 3s lipo on the front axle where the steer servo used to be. Still need to do alot more but it is a runner. Ran it in the local comp the past weekend but did poorly. No BEC so when the steering bound up the electronics would shut down. I would have to take a touch to pick it up to unbind it then it was fine till it got bound again. That is my excuse and I am sticking to it!!! CC BEC is sitting on the bench waiting to get installed!:-P That and the RC4WD XVDs Ugh no time!!!! Oh and I need some paint!!! 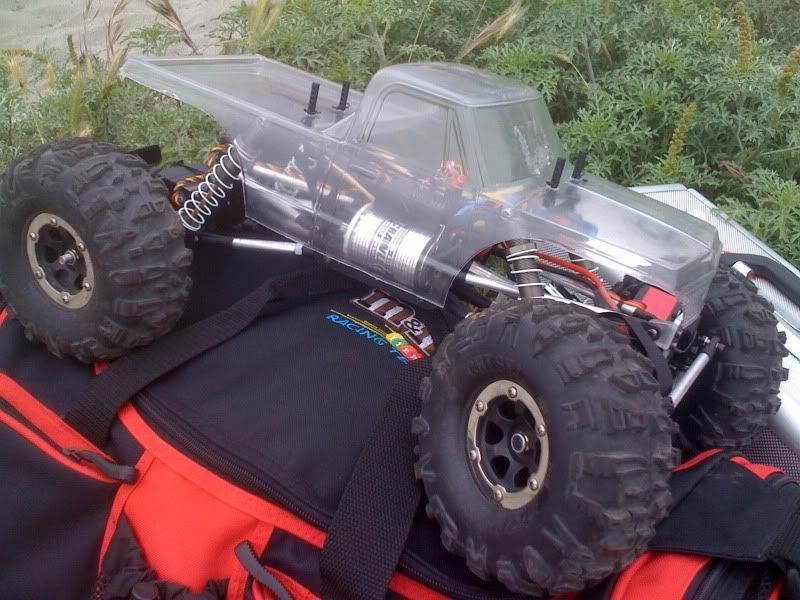 Hopefully time will allow and I will get some more pictures. |
|
| |
|
06-24-2009, 10:44 AM
| #13 |
| RCC Addict Join Date: May 2007 Location: pasadena, tx
Posts: 1,108
|
im working on a very similar servo mnt for mine. i like the rear lockouts wanna make me some? lookin good keep it up |
|
| |
|
06-25-2009, 05:08 AM
| #14 |
| Quarry Creeper Join Date: Feb 2009 Location: Gold Bar
Posts: 263
|
Thanks! Originally was going to mount the servo verticle like others have done. I like it on an angle better plus it doubles as the four link mount. The lockout seams do be doing fine I had some concerns at first but all seams well. Its a lockout and new axle shaft. With more threads on the end. Stay tuned. |
|
| |
|
06-25-2009, 08:29 AM
| #15 |
| Newbie Join Date: May 2009 Location: Gainesville
Posts: 4
|
with the front shocks laying back as far as they are, do the tires contact them at full lock? will u be able to take advantage of the xvd's greater angles?
|
|
| |
|
06-25-2009, 09:01 AM
| #16 |
| Quarry Creeper Join Date: Feb 2009 Location: Gold Bar
Posts: 263
|
Still working on that right now with the knuckles clearenced to get the max out of the dog bones the tires will rub. To get the most of the XVD i can move the lower shock mount to the inside of the mount. That works well it puts the shock pretty much strait up and down and clears the tire. Problem though is on the one side now the shock will contact the driveshaft universal joint when you flex it out... Ugh. When time allows I was going to split the difference and mount the lower shock end directly above the mount. Stand them up a bit more as well. The internal spring shocks from HR might help things also. Buddy is trying them on his bully will wait to see how he likes them. |
|
| |
|
07-02-2009, 11:01 PM
| #17 |
| Quarry Creeper Join Date: Feb 2009 Location: Gold Bar
Posts: 263
|
Here are some pictures of the motor mount. It started out as a 1.5 x 1.5 x .125 6061 angle aluminum. I milled and drilled so I could get the motor as low as possible in the chassis. Running 16/78 on the gears which just clears the spur shaft housing. With some gringing of course I also kinda ran into an issue by lowering everything I was forced to machine out a pocket in the skid for the spur gear. Well only after I made a spacer to move the spur shaft housing forward so the gear would not hit the lower rod ends. Thought about running the motor completly inside the chassis and more forward but then the motor would hit the hardware for the upper link. Plus it seamed like the driveshaft would hit the upper links unless I moved them really high on the chassis. I wanted to get as close as I could to my old link placment so the drive line ended up in the center. Plus it gave me a spot to mount my ESC nice and low. Made a plate to stick it to that bolts to the skid as well. Not a good pic but a pic of my battery tray on the front axle. 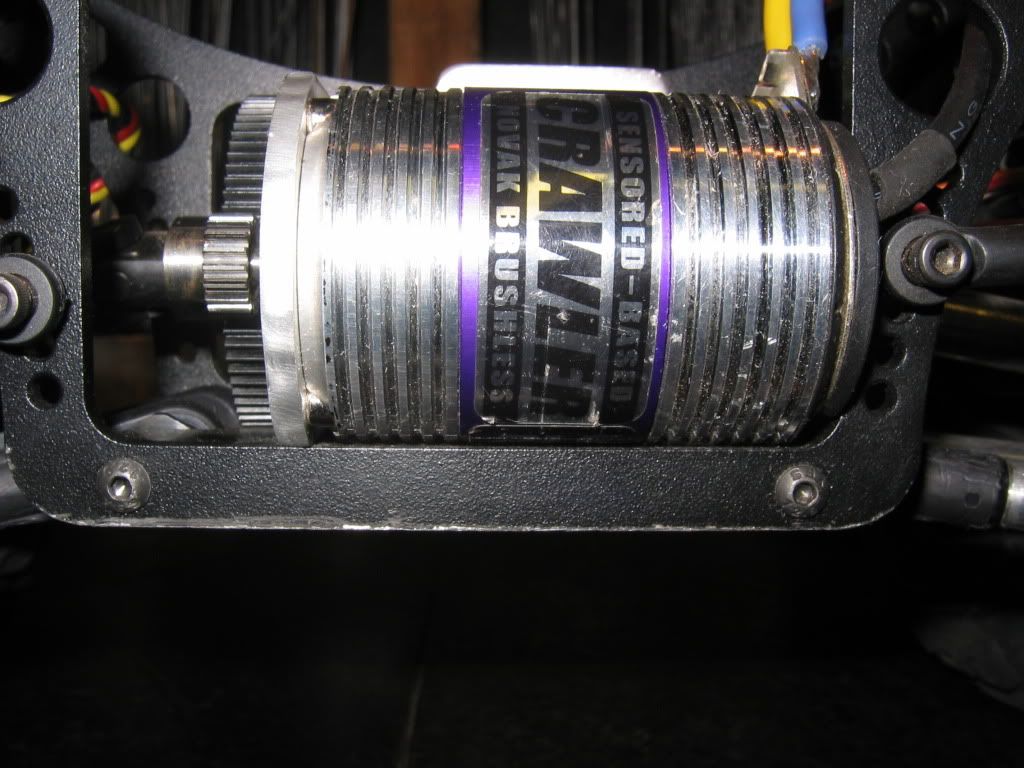 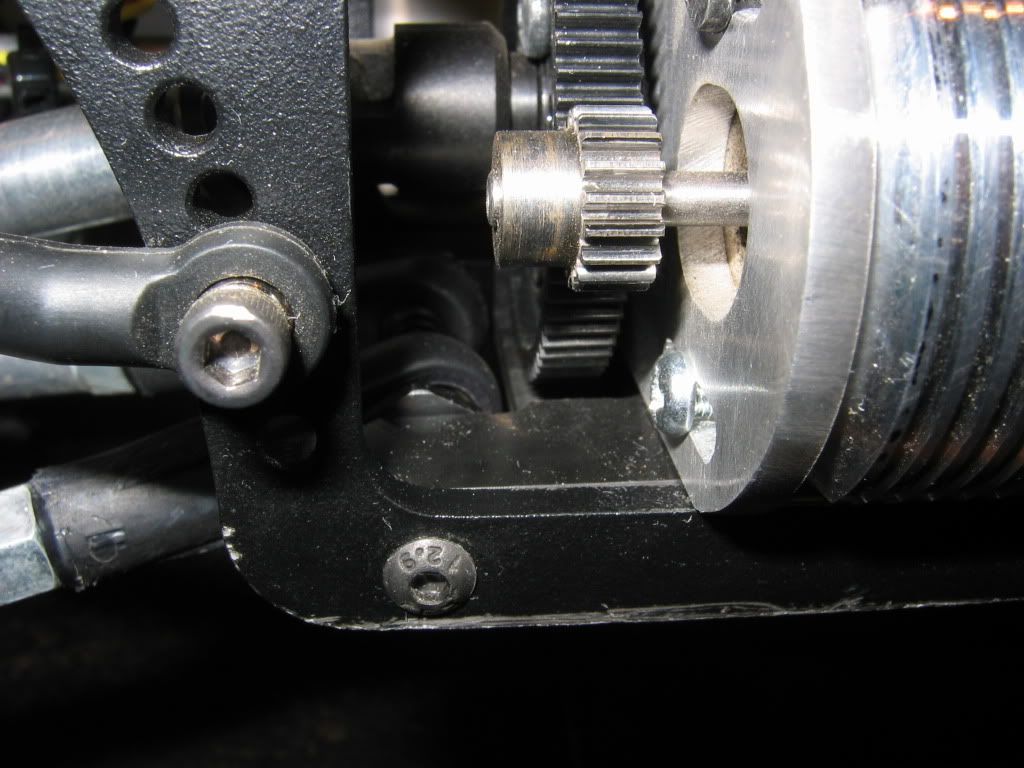 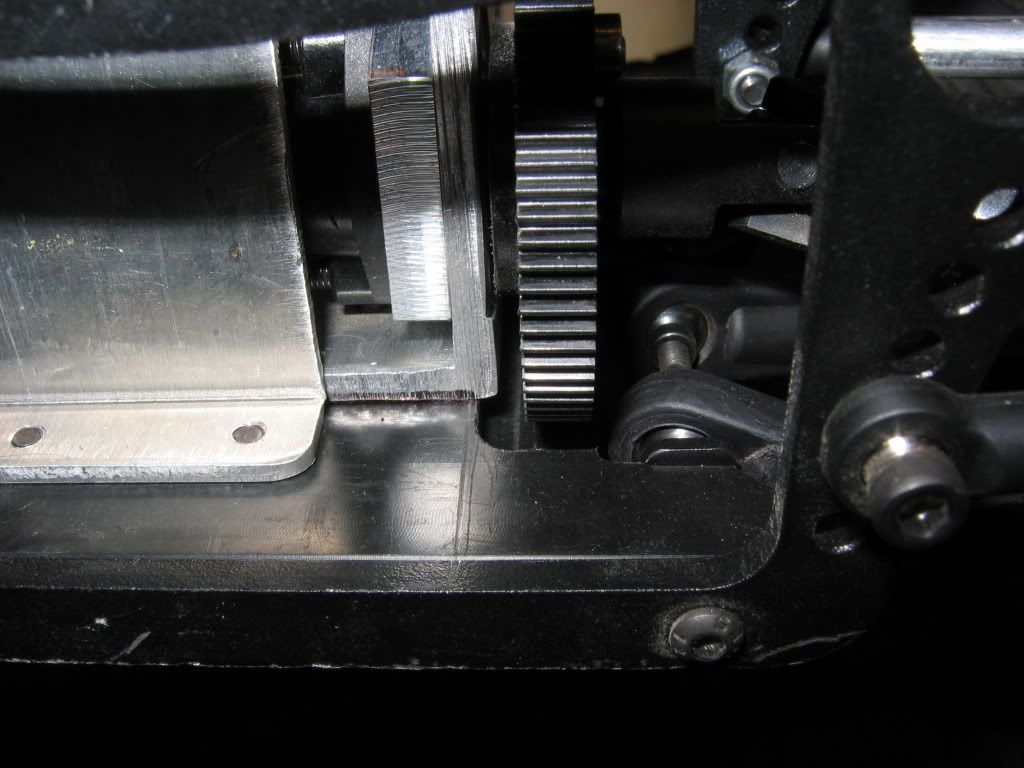 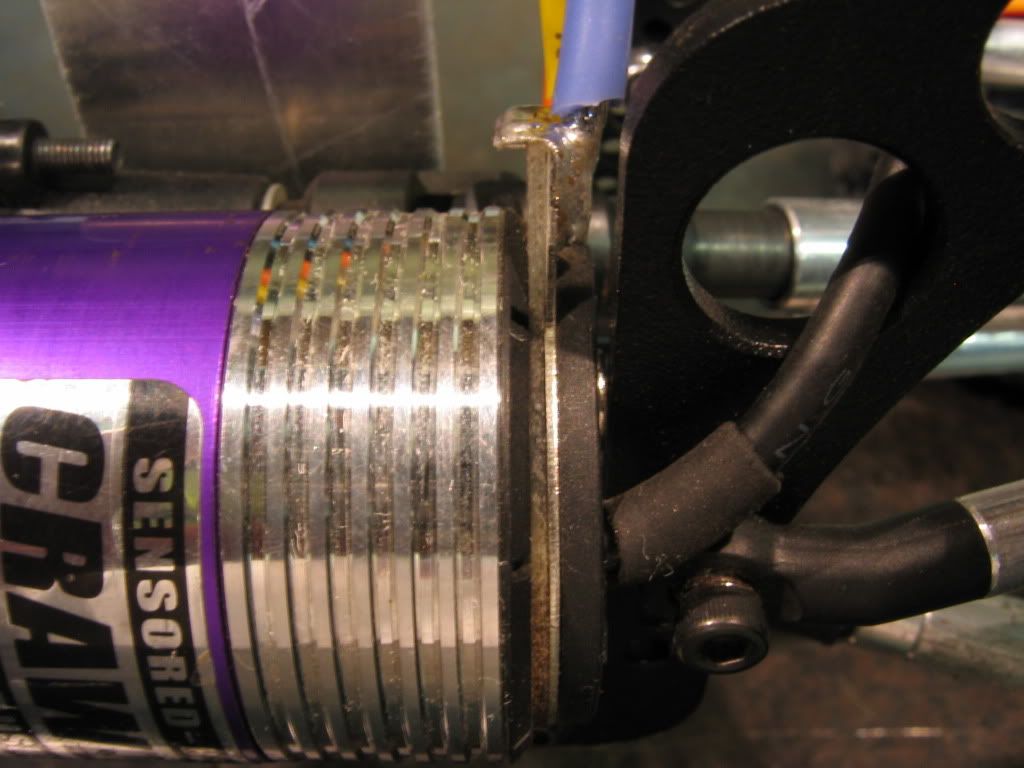 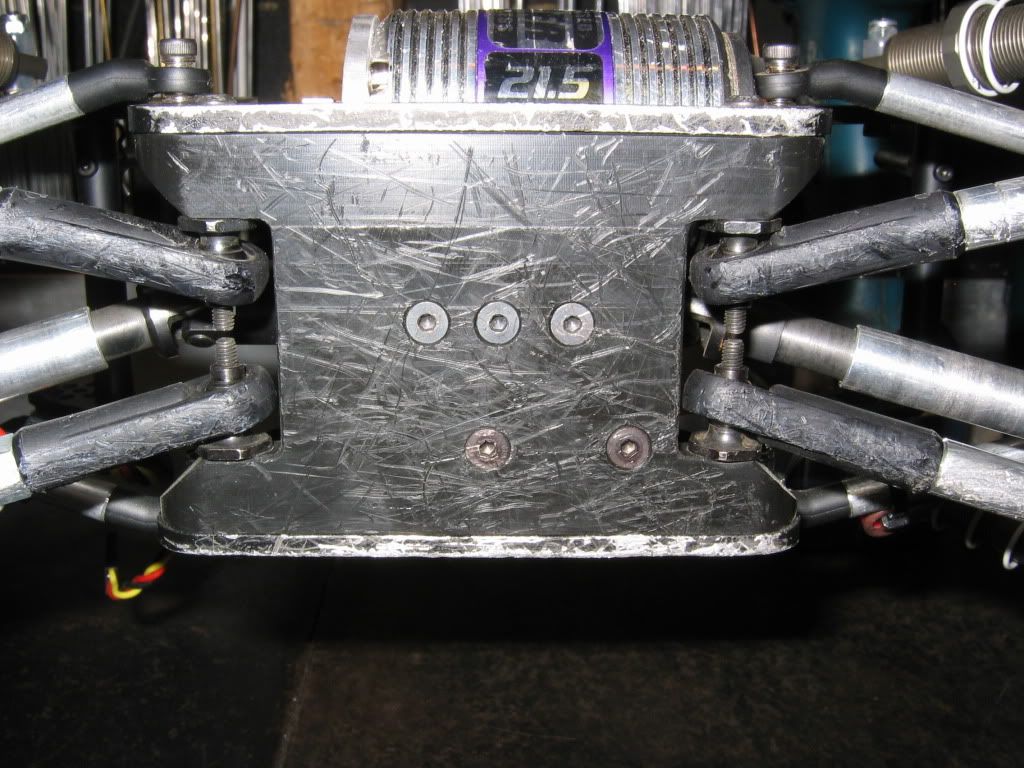 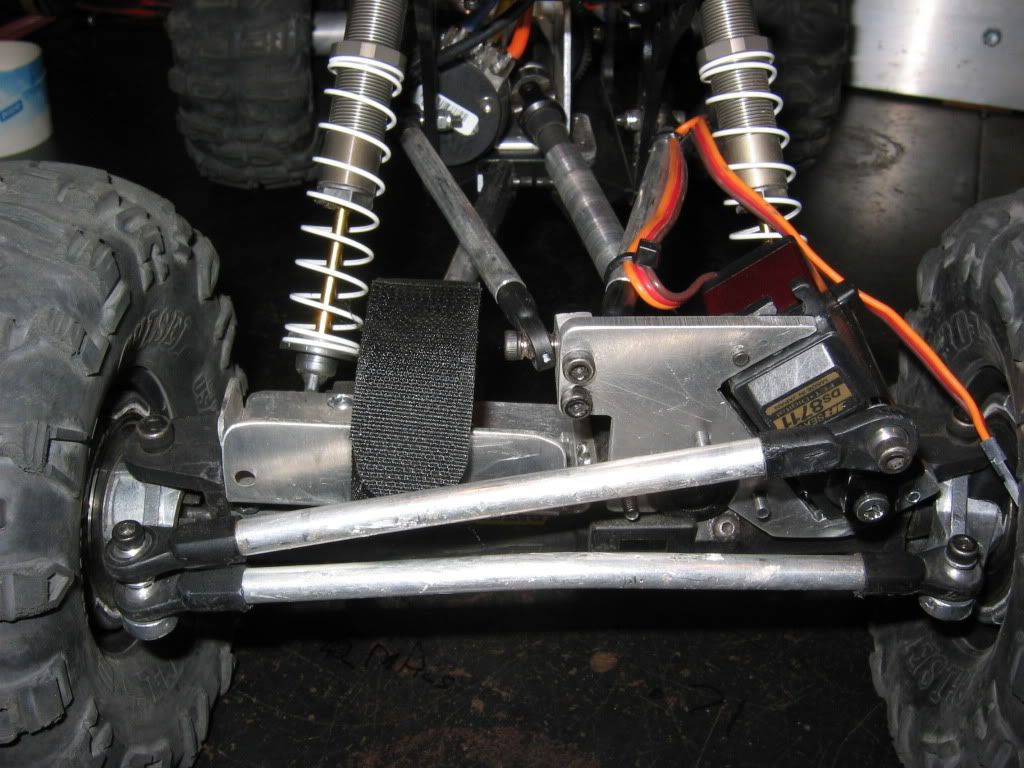 More to come with time. Oh and I think my Chisels are getting brokn in:-P 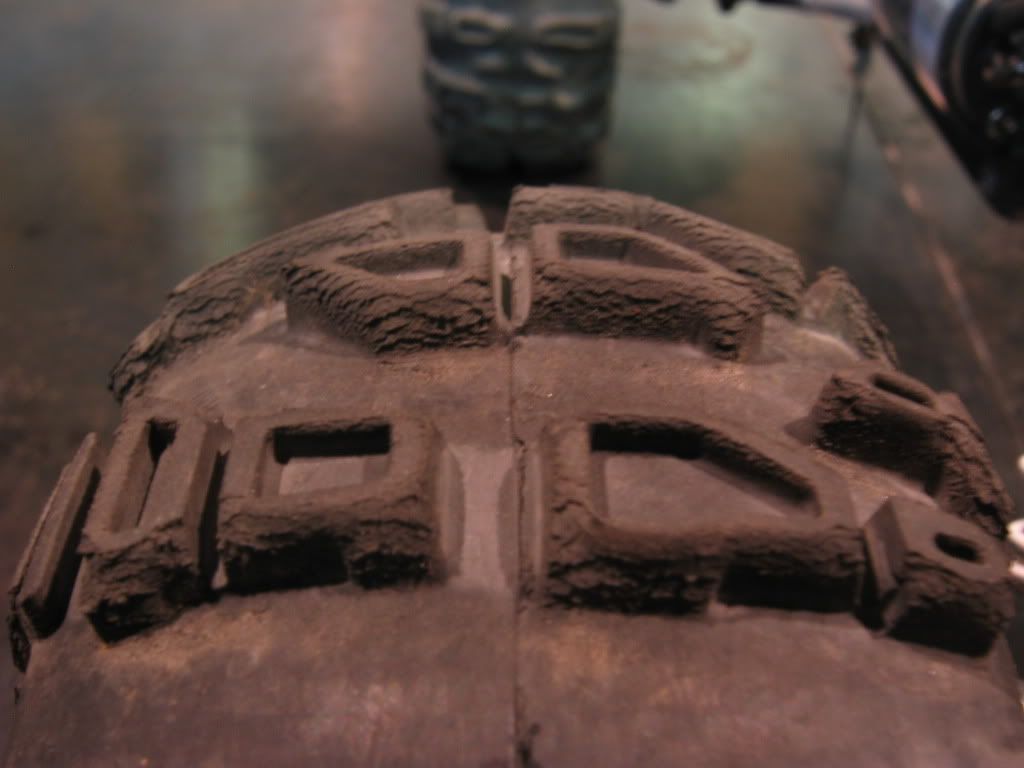 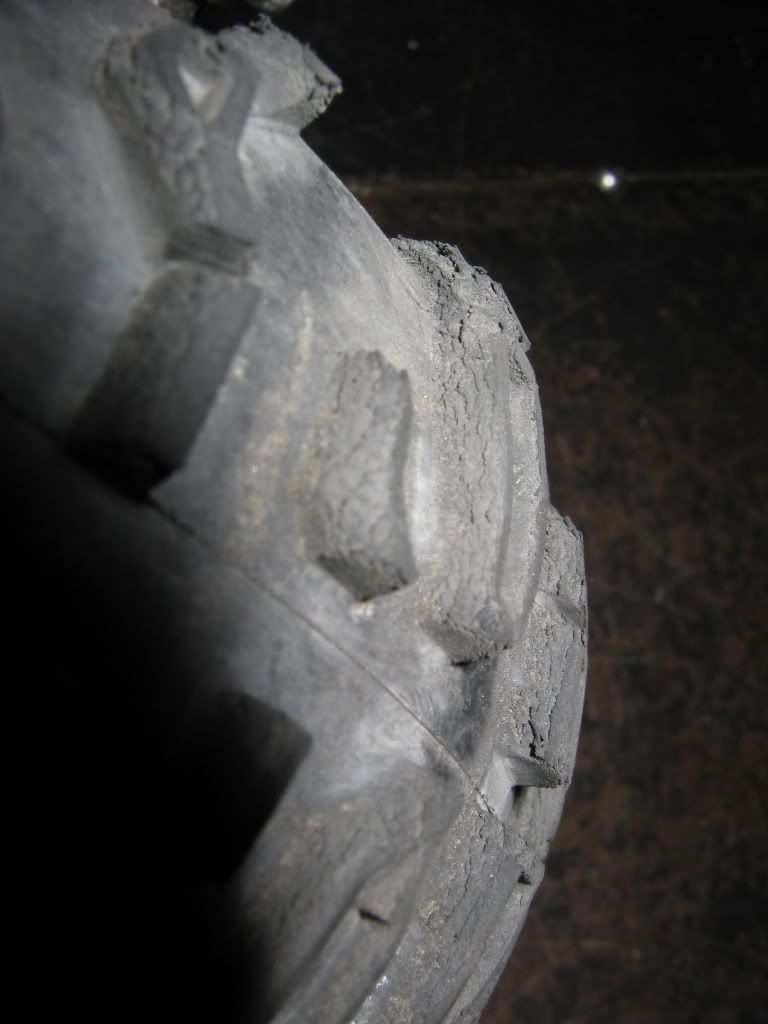 |
|
| |
|
07-03-2009, 05:29 AM
| #18 |
| Newbie Join Date: Feb 2008 Location: Forest Lake, MN
Posts: 29
|
Wow, very nice! Question though how did you bend the ends on your upper links that are connected to the outsite of your chassis? Also where did you get the beefy steering rods? Sorry for taking this a little off topic.
|
|
| |
|
07-03-2009, 07:39 AM
| #19 |
| I wanna be Dave   Join Date: Jul 2007 Location: Within The Machine,,,
Posts: 2,031
|
very nice,,,i like the servo mount abunch,,,have you used this rig set up the way it is yet,,if so,,how does it go??
|
|
| |
|
07-03-2009, 11:40 AM
| #20 | ||
| Quarry Creeper Join Date: Feb 2009 Location: Gold Bar
Posts: 263
| Quote:
The rod ends are Axial bent links. They are ok they do have a bunch of slop in them after a while. It may be as I used traxxass metal balls in them. The axial balls where plastic. I am going to try the plastic balls thinking if you tighten them they might swell a little and take up the slop. The steering rods are just 1/4 aluminum rod cut to lenght drilled and tapped. Going to switch to revo rod ends for the lower links as the stock ones seem to bind on me. Also might make it easier to make bent links as well. Quote:
I ran it like this at a comp a few weeks back but sucked balls. It was the first run with that JR servo and apparently it draws a bit more current. Everytime I would get the steering bound up my voltage dropped so low the reciever would shut down. Once you picked it up all way fine but there went 10 pts. BEC fixed that problem! Had it out again at a GTG last week and it did real well. Dig still sucks but overall I was pleased! Did some lines my buddys Bully struggled with. All though there where lines I made before that no one could do. I think some rocks got moved We are doing another GTG sunday so we will see how that goes. It is a real tight technical area where dig is going to be used alot. Going to beef up my linkage like you did and see if that helps. | ||
|
| |
|
| |


 Linear Mode


