| |
| |||||||
 |
| | LinkBack | Thread Tools | Display Modes |
 04-16-2011, 12:46 AM
| #1 |
| Pebble Pounder Join Date: Mar 2011 Location: Tucson
Posts: 148
|
This is pretty much the final product. Listed below these pics is the intial build pics. Maybe will add the Miclow (Miniqlo) tires that just arrived yesterday. The only real 2 issues I really had, was when I was test fitting the body to the chassis. I had to lower the body a little more cause I sat to high. I really had to do some serious hacking to the under carriage to get things to fit. The stance now is about as low as I can get the body without having to chop up the interior. The interior is something I wanted to keep together. The other issue I had was, like an idiot (I was tired, late at night, not thinking) I got some paint on the back window and tried to remove it with paint remover and ruined the back window. I'm very pleased with the results.         I installed the battery in the rear cargo area and placed the speaker box in front to hide it. The battery fits prefectly in the rear. I may move it to the from over the axel and off the chassis to relieve the added weight on the suspension.   Miniqlo (Miclow) tires may go on later. 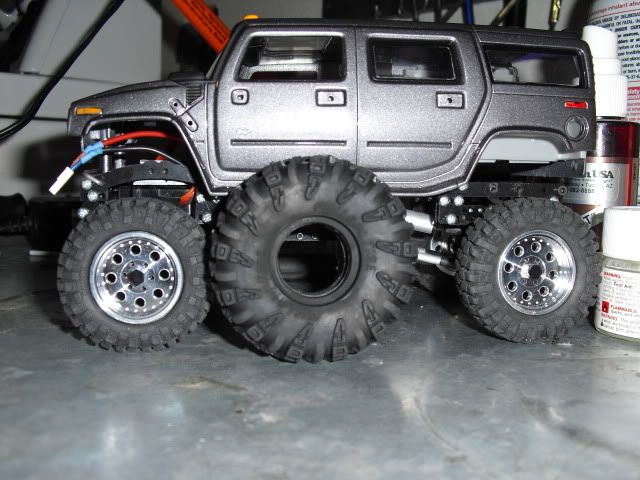 I was in a craft store today and came across a 1:25 H2 Hummer model kit. I thought, why not! I'll take a crack at pimping out a Hummer! As opened the box and saw all the endless possibilties, I started to get more excited about do this project. Check out the last pic, those are the wheels that came with the kit. They are just about the same diameter as the stock Losi wheels (not that I will use them for this project). Supposedly they are 26" wheels according to scale. I WILL KEPT THIS POST UPDATED IN THE VERY NEAR FUTURE. SO HERE GOES!!!! KIT  Mock up, with the chassis stretched to 4.9" wheel base.      Last edited by Savage00; 04-23-2011 at 07:34 PM. |

|  |
| Sponsored Links | |
| | |
|
04-16-2011, 12:27 PM
| #2 |
| Pebble Pounder Join Date: Jan 2010 Location: Sacramento
Posts: 99
|
Your use of the model looks much better than the lowered street thing on the box. Major improvement. What color are you going to paint it? Do you have plans for roof racks? If you are handy with a knife you could open up the back end The roof panel would make a fair truck bed. You would have to make the back panel.
|
|
| |
|
04-16-2011, 02:42 PM
| #3 | |
| Pebble Pounder Join Date: Mar 2011 Location: Tucson
Posts: 148
| Quote:
Yes, roof rack is in the plans. Contemplating if to possibly keep the white or light gun metal gray. Trying to do something to this effect (below) 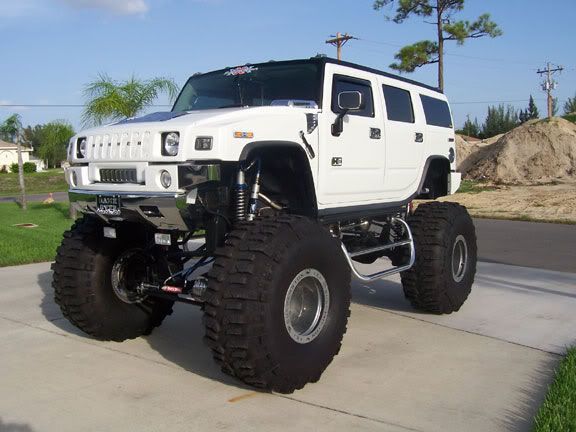 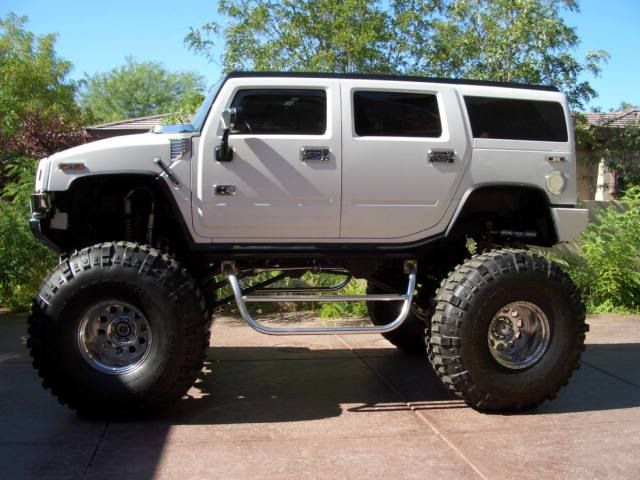 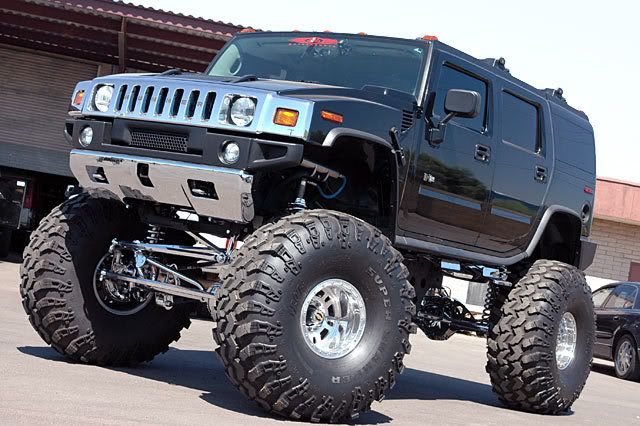 | |
|
| |
|
04-17-2011, 01:06 AM
| #4 |
| Pebble Pounder Join Date: Mar 2011 Location: Tucson
Posts: 148
|
Did a little work tonight. Cut and trim floor pan to accomadate the gearbox and bring the floor pan / body down further. Also started some of the interior. I forgot how much detail goes into model building. This may take awhile. I'm gonna work on it as best as I can. Who knows, I may get impatient and just slap it all together! More updates to come! Check back in a couple days. 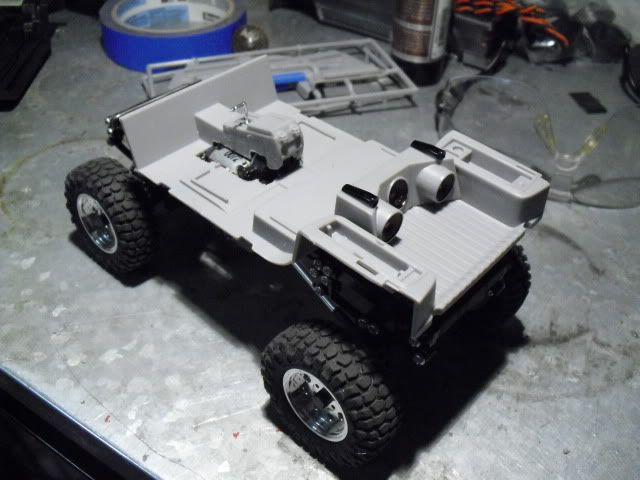 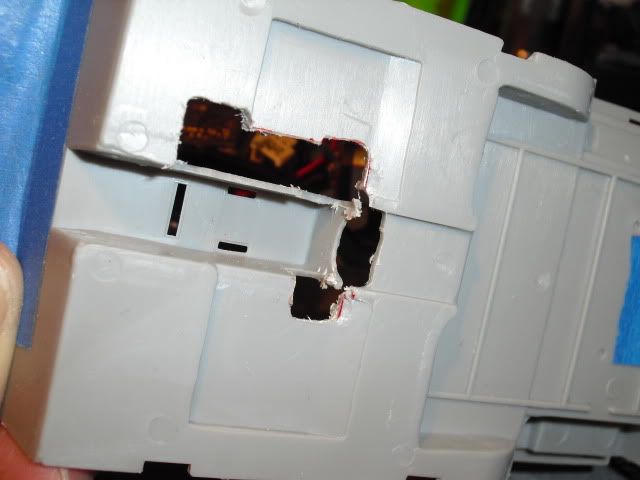 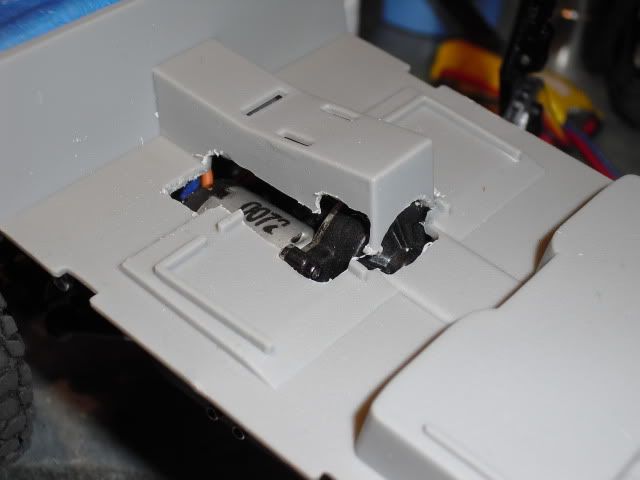  Thought I would add the sound system. S**t, why not!! If I had a H2 that's gonna be this bad a**, I sure as hell would have a decent sound system!! 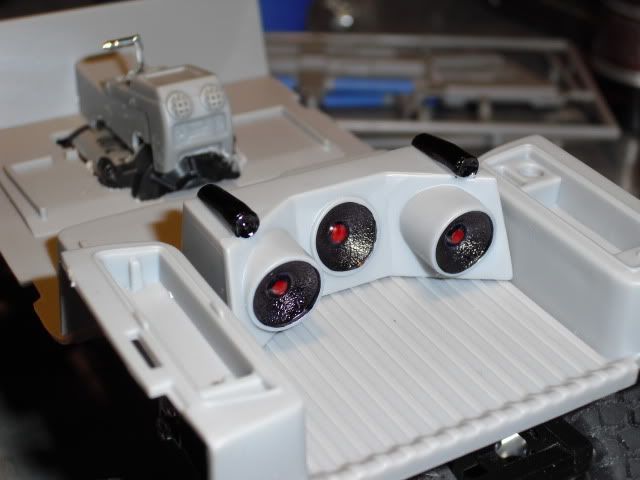 |
|
| |
|
04-17-2011, 02:19 AM
| #5 |
| Quarry Creeper Join Date: Mar 2011 Location: norcal
Posts: 266
|
looks good
|
|
| |
|
04-17-2011, 01:51 PM
| #6 |
| Quarry Creeper   Join Date: Jun 2004 Location: Utah
Posts: 458
|
Great job looking awesome Blade |
|
| |
|
04-19-2011, 11:34 AM
| #7 |
| Pebble Pounder Join Date: Mar 2011 Location: Tucson
Posts: 148
|
I finished the interior last night. My hand painting skills SUCK! But I think I did pretty well for not build / painting models for the last 25 years. Next is the body painting. May possibly have that done tonight. I'll keep everyone posted. 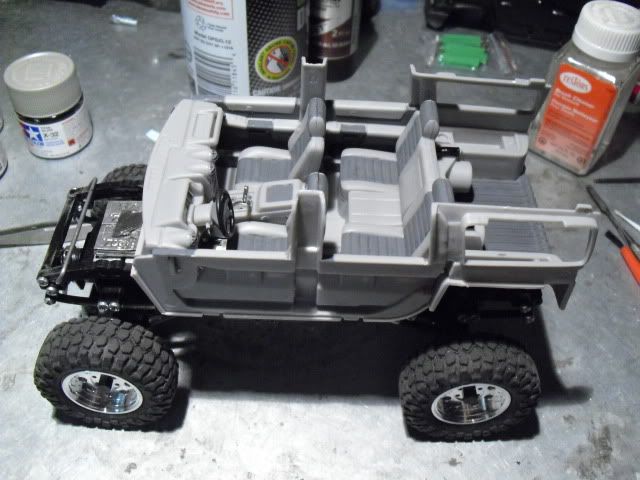 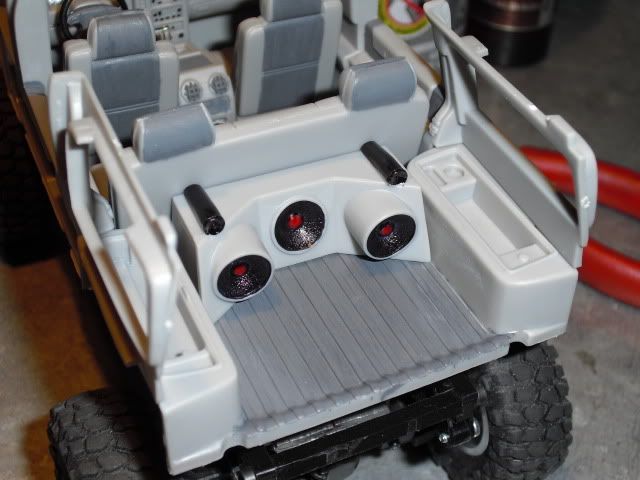  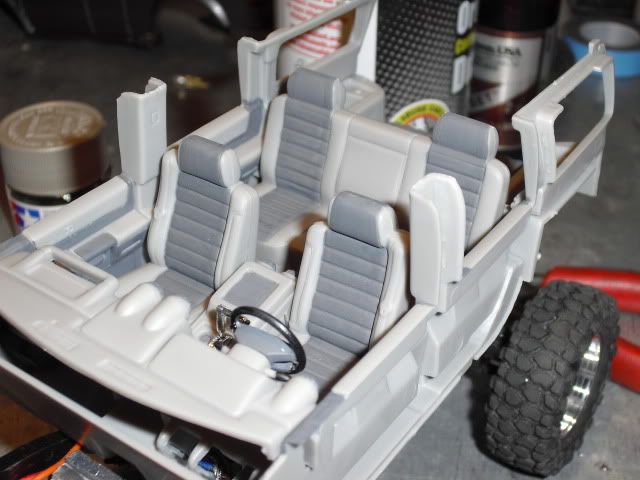  Body primered and ready for main color. 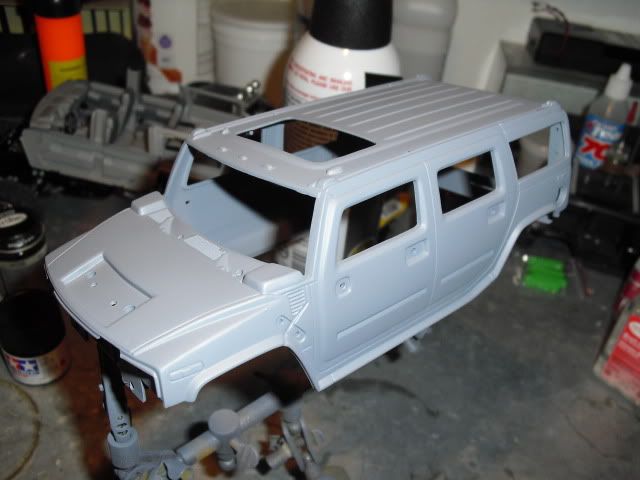 |
|
| |
|
04-19-2011, 12:26 PM
| #8 |
| Quarry Creeper Join Date: Mar 2011 Location: norcal
Posts: 266
|
the interior looks fine to me
|
|
| |
|
04-19-2011, 08:06 PM
| #9 |
| Pebble Pounder Join Date: Mar 2011 Location: Tucson
Posts: 148
|
Alright...got body painted, added some decals. Next I need to install the windows, black trim pieces and bumper. 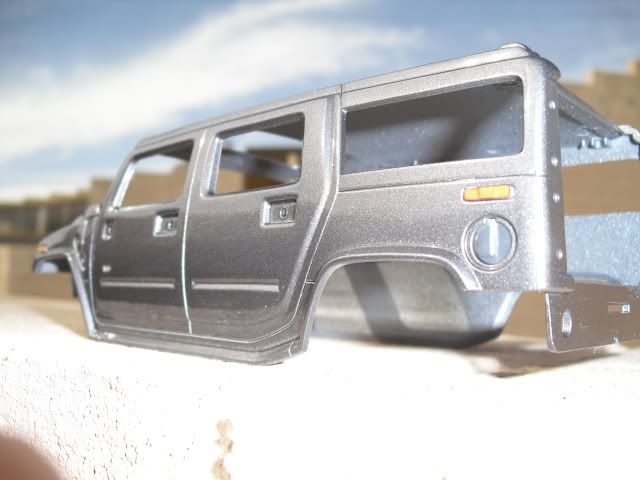  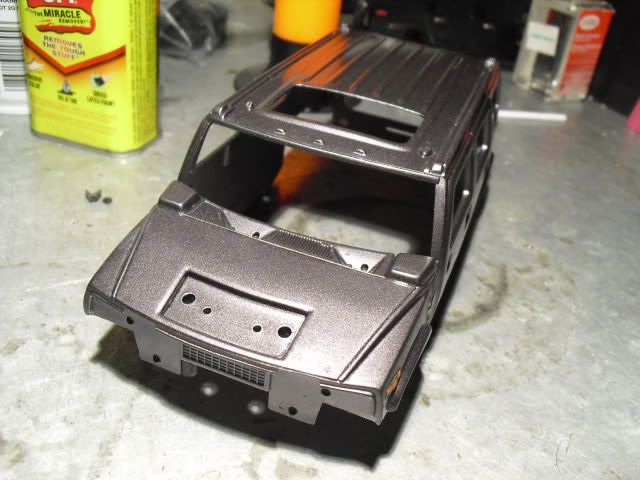 |
|
| |
|
04-19-2011, 08:39 PM
| #10 |
| Pebble Pounder Join Date: Dec 2007 Location: Tucson, AZ
Posts: 142
|
thats comin along nicely, good work so far!
|
|
| |
|
04-23-2011, 07:36 PM
| #11 |
| Pebble Pounder Join Date: Mar 2011 Location: Tucson
Posts: 148
|
This is pretty much the final product. Listed below these pics is the intial build pics. Maybe will add the Miclow (Miniqlo) tires that just arrived yesterday. The only real 2 issues I really had, was when I was test fitting the body to the chassis. I had to lower the body a little more cause I sat to high. I really had to do some serious hacking to the under carriage to get things to fit. The stance now is about as low as I can get the body without having to chop up the interior. The interior is something I wanted to keep together. The other issue I had was, like an idiot (I was tired, late at night, not thinking) I got some paint on the back window and tried to remove it with paint remover and ruined the back window. I'm very pleased with the results. I installed the battery in the rear cargo area and placed the speaker box in front to hide it. The battery fits prefectly in the rear. I may move it to the from over the axel and off the chassis to relieve the added weight on the suspension. Miniqlo (Miclow) tires may go on later. |
|
| |
|
04-23-2011, 08:18 PM
| #12 |
| Quarry Creeper Join Date: Jun 2004 Location: Utah
Posts: 458
|
Awesome truck great job! Blade |
|
| |
|
04-24-2011, 06:20 PM
| #13 |
| Pebble Pounder Join Date: Mar 2011 Location: Tucson
Posts: 148
|
I added the side steps / nerf bars that came with the kit. Not sure if I like them. I can still remove them later. Will test out to see if they get in the way (tire rubbing, caught on rocks or obstacles). You guys tell me what you think. 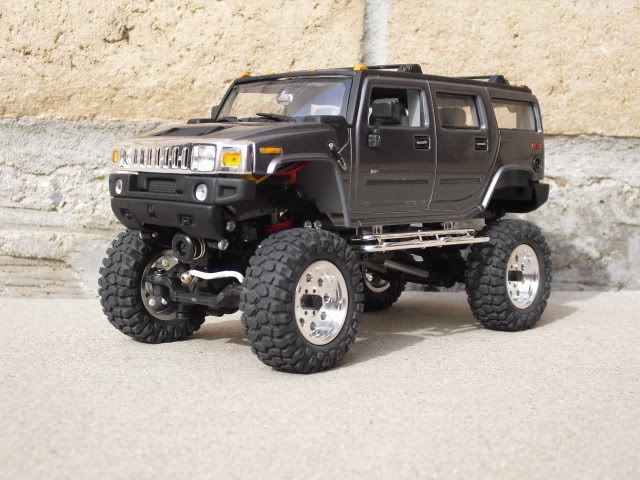 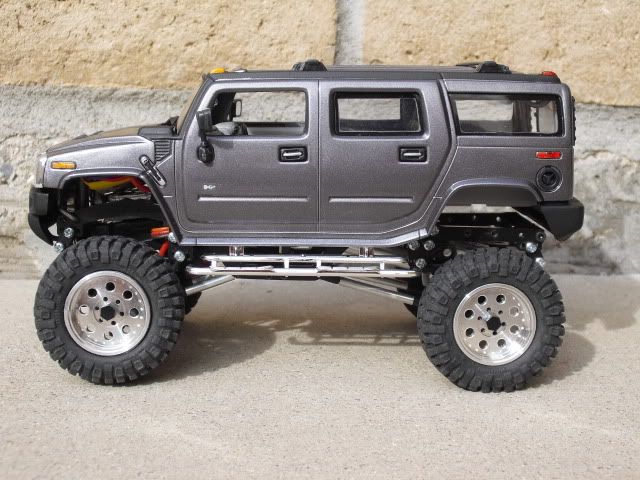 The piece of wood is 1.25" tall. So I am actually satified with the articulation that the SMC+4.5 EX chassis gives. Thought I would include a pic of a real lifted H2 (which actually inspired the build)  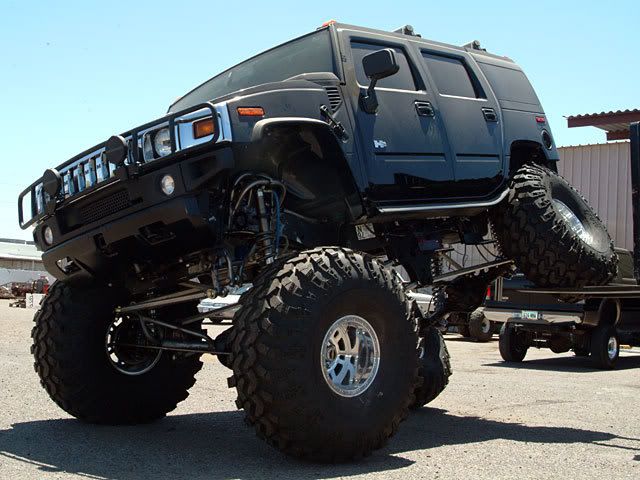 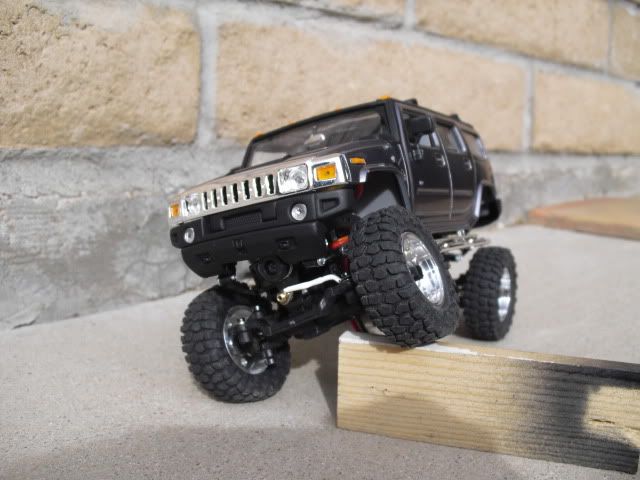 |
|
| |
|
04-24-2011, 09:48 PM
| #14 |
| Quarry Creeper Join Date: Mar 2011 Location: norcal
Posts: 266
|
i think they look good
|
|
| |
|
04-28-2011, 02:59 PM
| #15 |
| Rock Stacker Join Date: Jun 2007 Location: Abbotsford BC
Posts: 82
|
that thing is a beauty, nice work  |
|
| |
|
05-02-2011, 04:05 PM
| #16 |
| Quarry Creeper Join Date: Mar 2011 Location: norcal
Posts: 266
|
post up some pics with the qlos mounted up
|
|
| |
|
05-02-2011, 04:26 PM
| #17 | |
| Pebble Pounder Join Date: Mar 2011 Location: Tucson
Posts: 148
| Quote:
Here is some pics of the shocks that I installed. 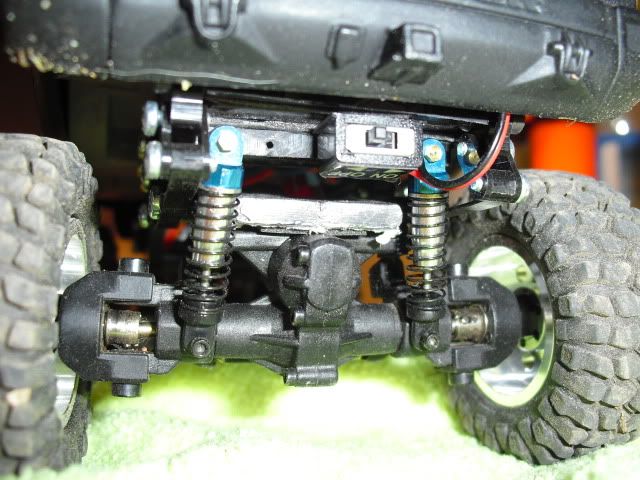 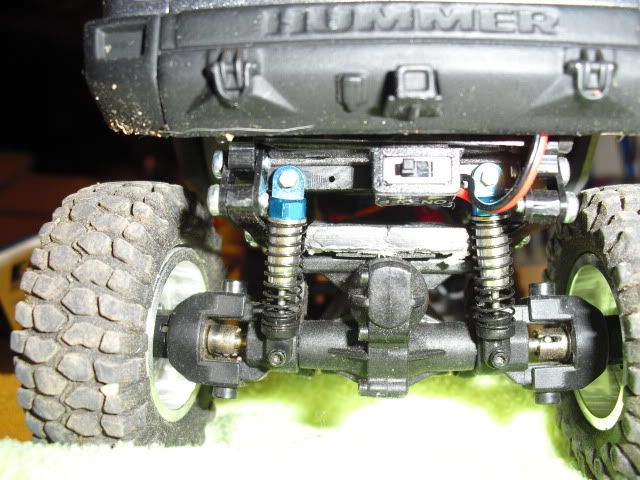 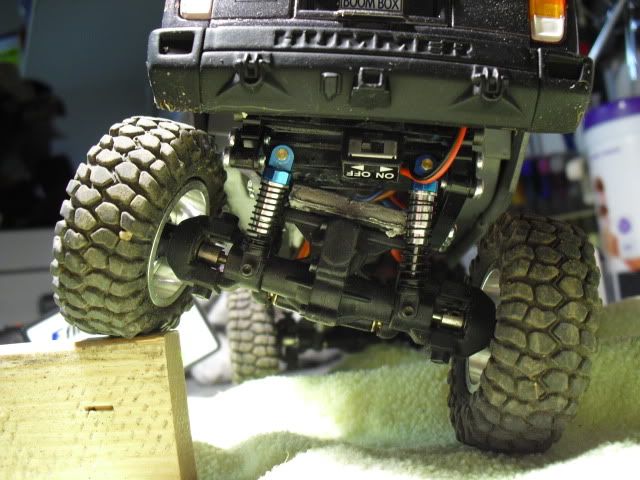 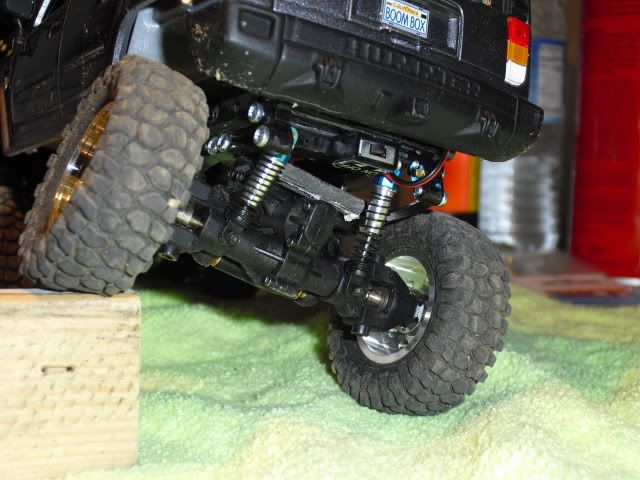 | |
|
| |
|
05-03-2011, 11:43 AM
| #18 |
| Pebble Pounder Join Date: Mar 2011 Location: Tucson
Posts: 148
|
Miclow's mounted. As you can see, the body sits low. I widened the wheel base and which fixed the tires rubbing on the leaf springs. Now I just need to raise the body or suspension. Included shots of the interior. 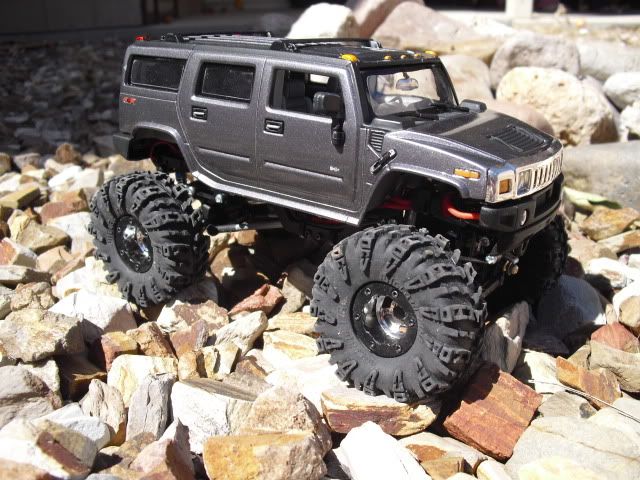 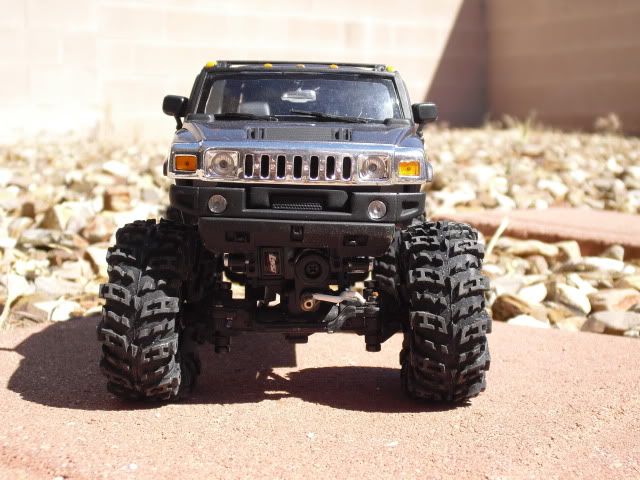 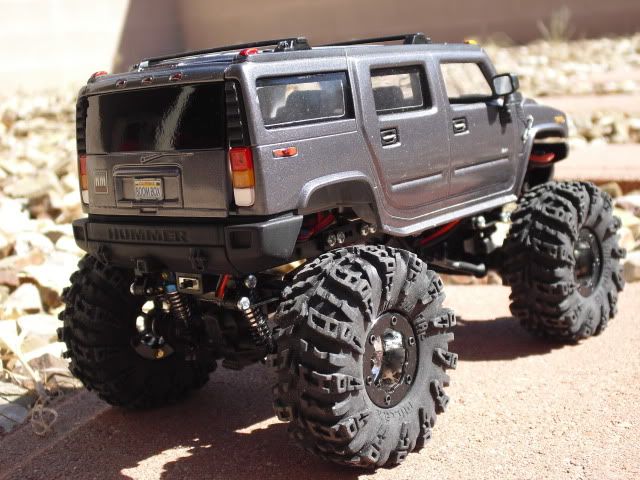 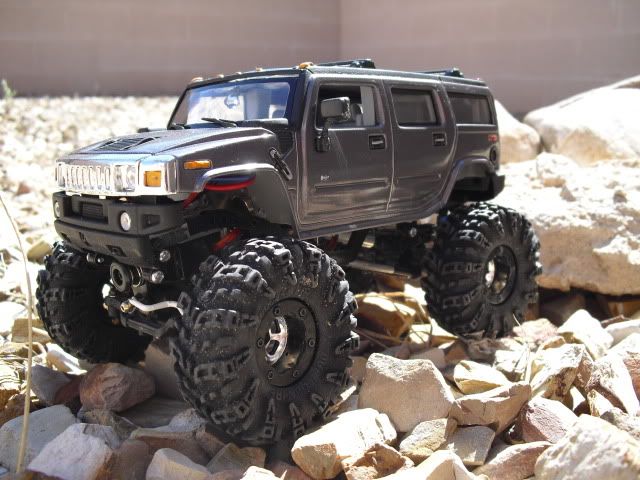 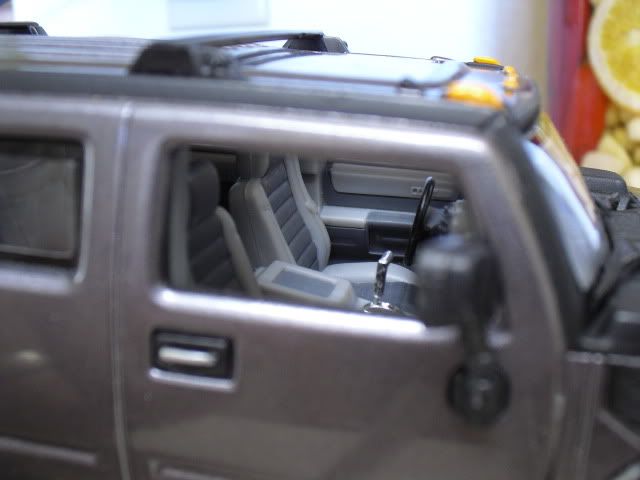 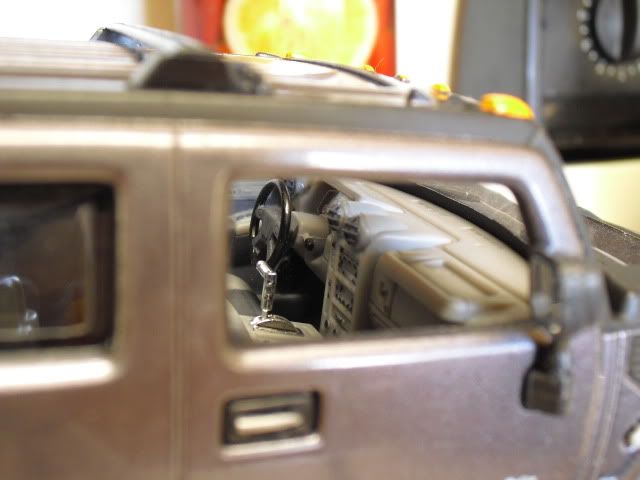 |
|
| |
|
07-08-2012, 07:44 PM
| #19 |
| Newbie Join Date: May 2012 Location: wisconsin
Posts: 5
|
could you post how you widened the rims to fit the MiClow's
|
|
| |
|
07-08-2012, 09:00 PM
| #20 | |
| RCC Addict Join Date: Jun 2007 Location: MESA
Posts: 1,389
| Quote:
http://www.rccrawler.com/forum/losi-...qlo-tires.html Make sure to look on page 6 as it has a revised inner bead ring. Last edited by DANALLY; 07-08-2012 at 09:03 PM. | |
|
| |
|
| |


 Linear Mode


