| |
| |||||||
 |
| | LinkBack | Thread Tools | Display Modes |
 04-11-2016, 07:55 AM
| #1 |
| Quarry Creeper Join Date: Aug 2009 Location: Portugal
Posts: 318
|
For my next project, I needed a set of narrow axles, so I was "on the market" looking for a set that fitted my intents. The Yota ones were a bit wide and then I remembered the MST CMX has the axles that would fit perfectly! This is in now way an indepth review of this kit has I'm only going to use the axles and some other parts, but I thought I would share my build and my thoughts as this kit has some intriguing features. I chose the short wheelbase version without electronics. Lets begin! The box is quite small has it doesn't have a body included.  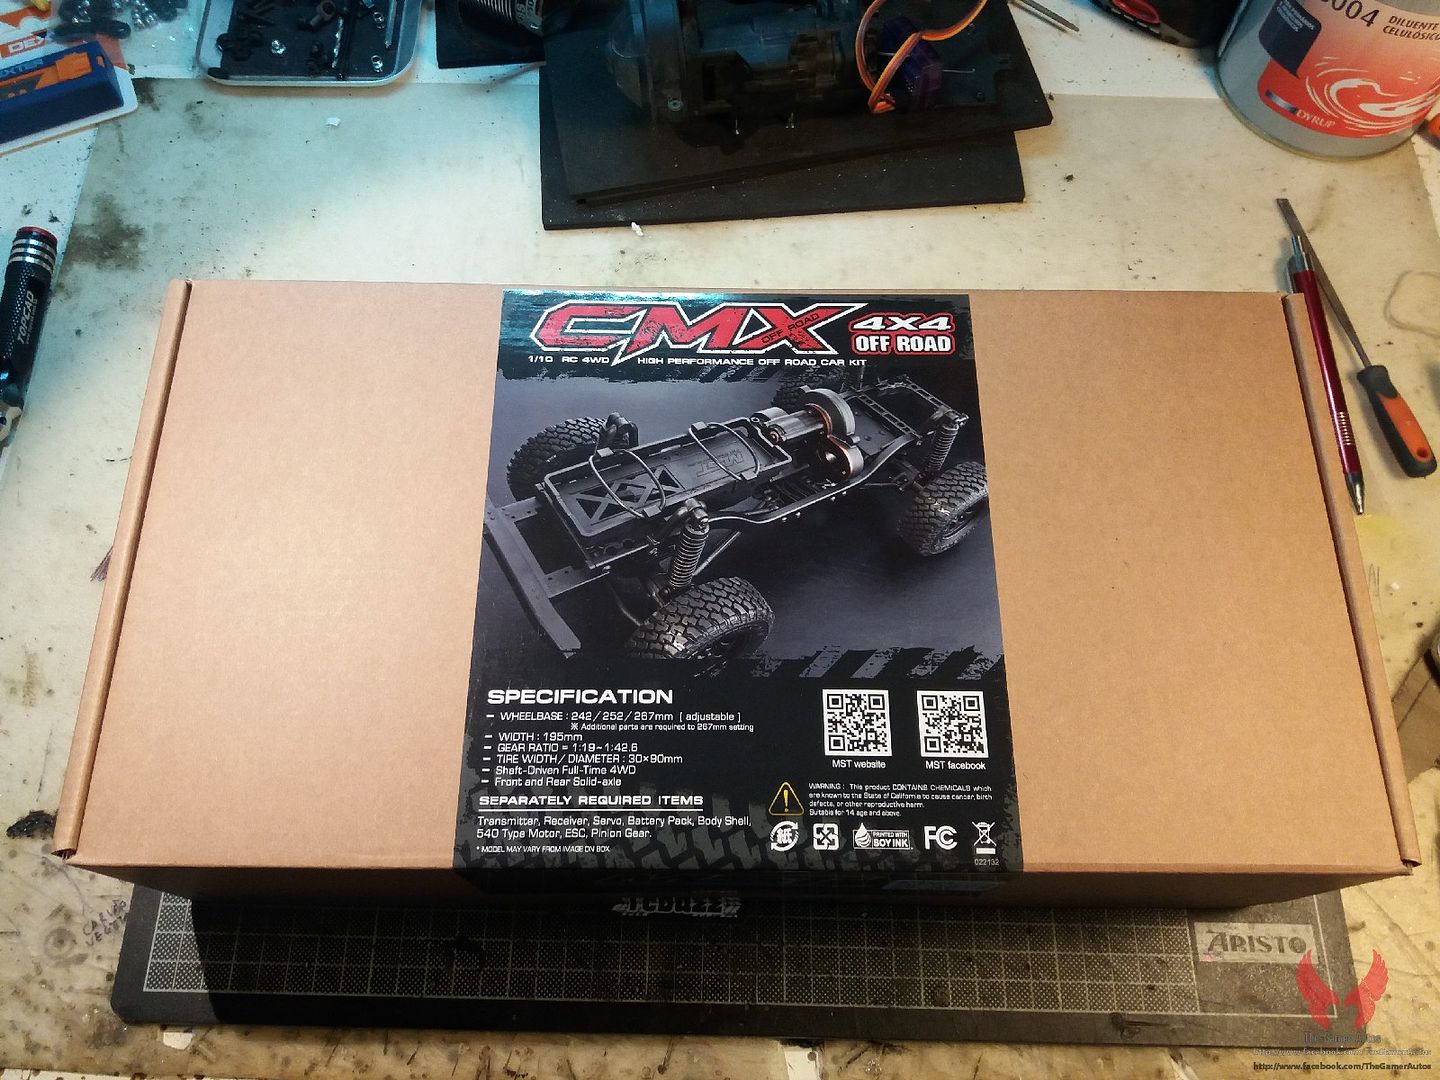 Everything is well packed and organized. 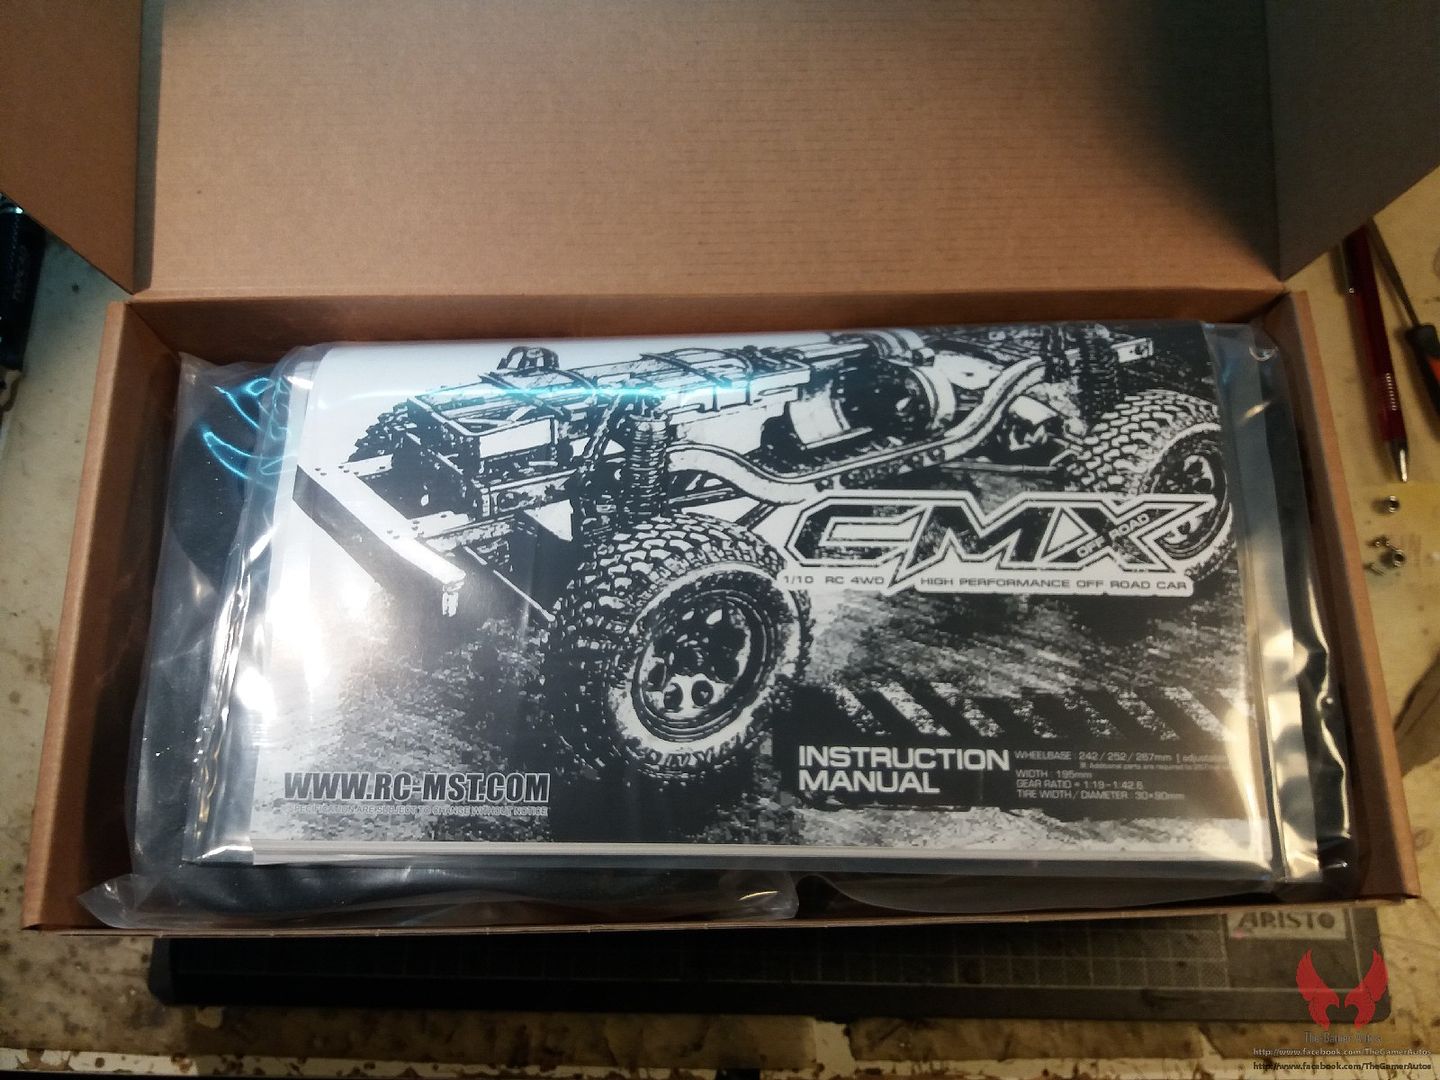 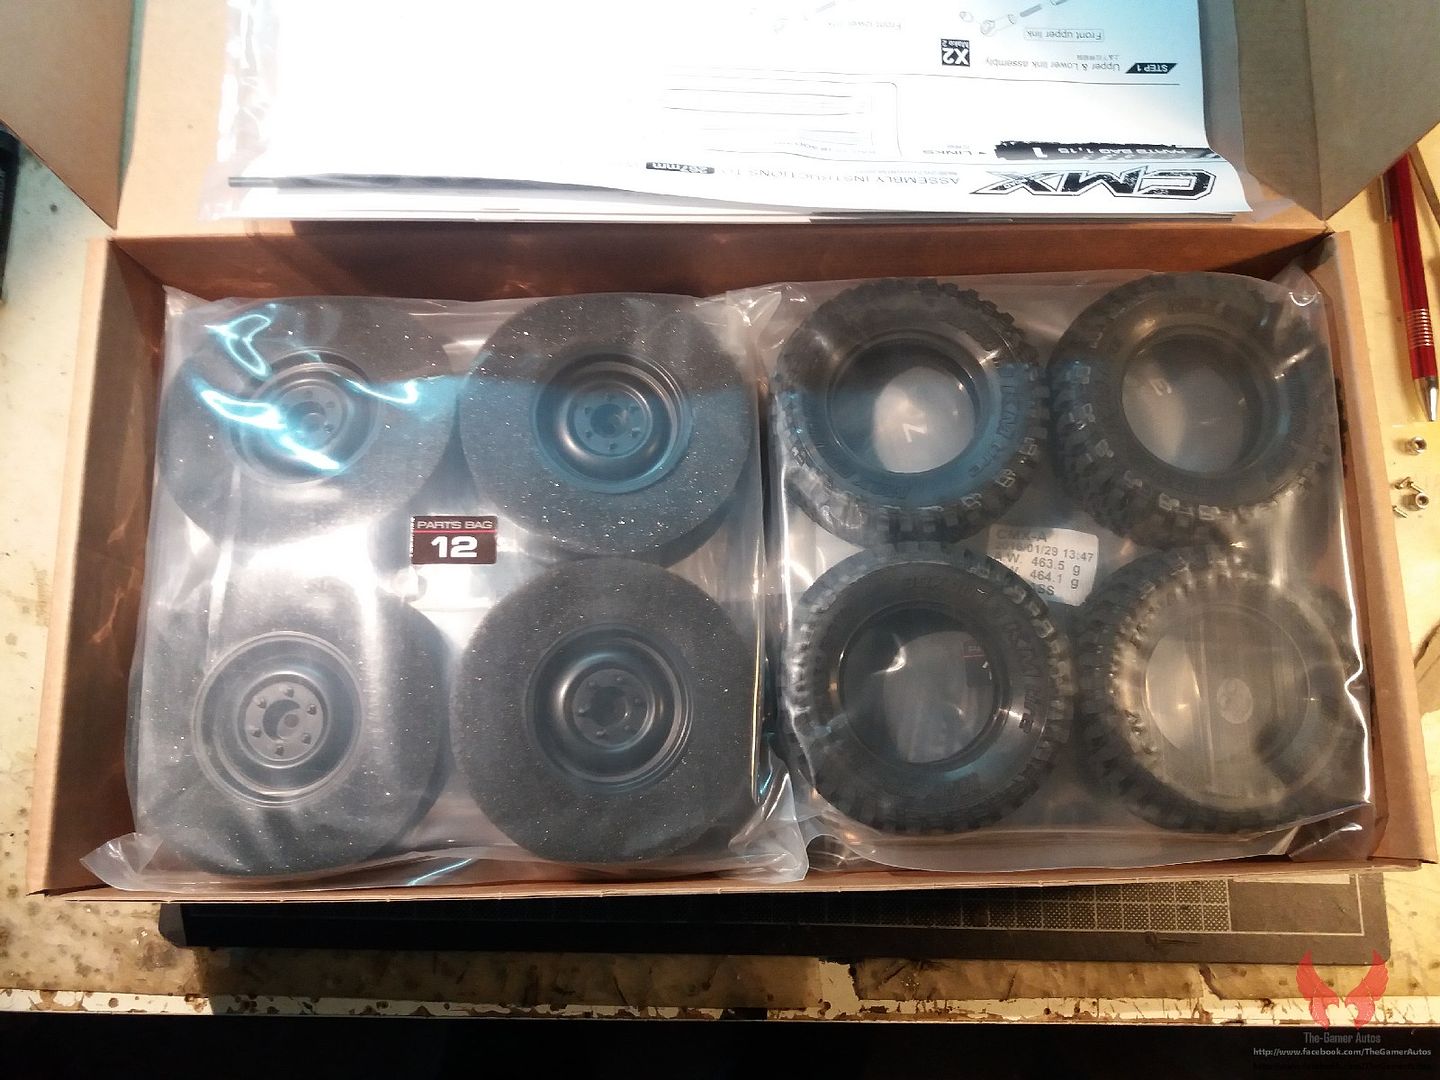 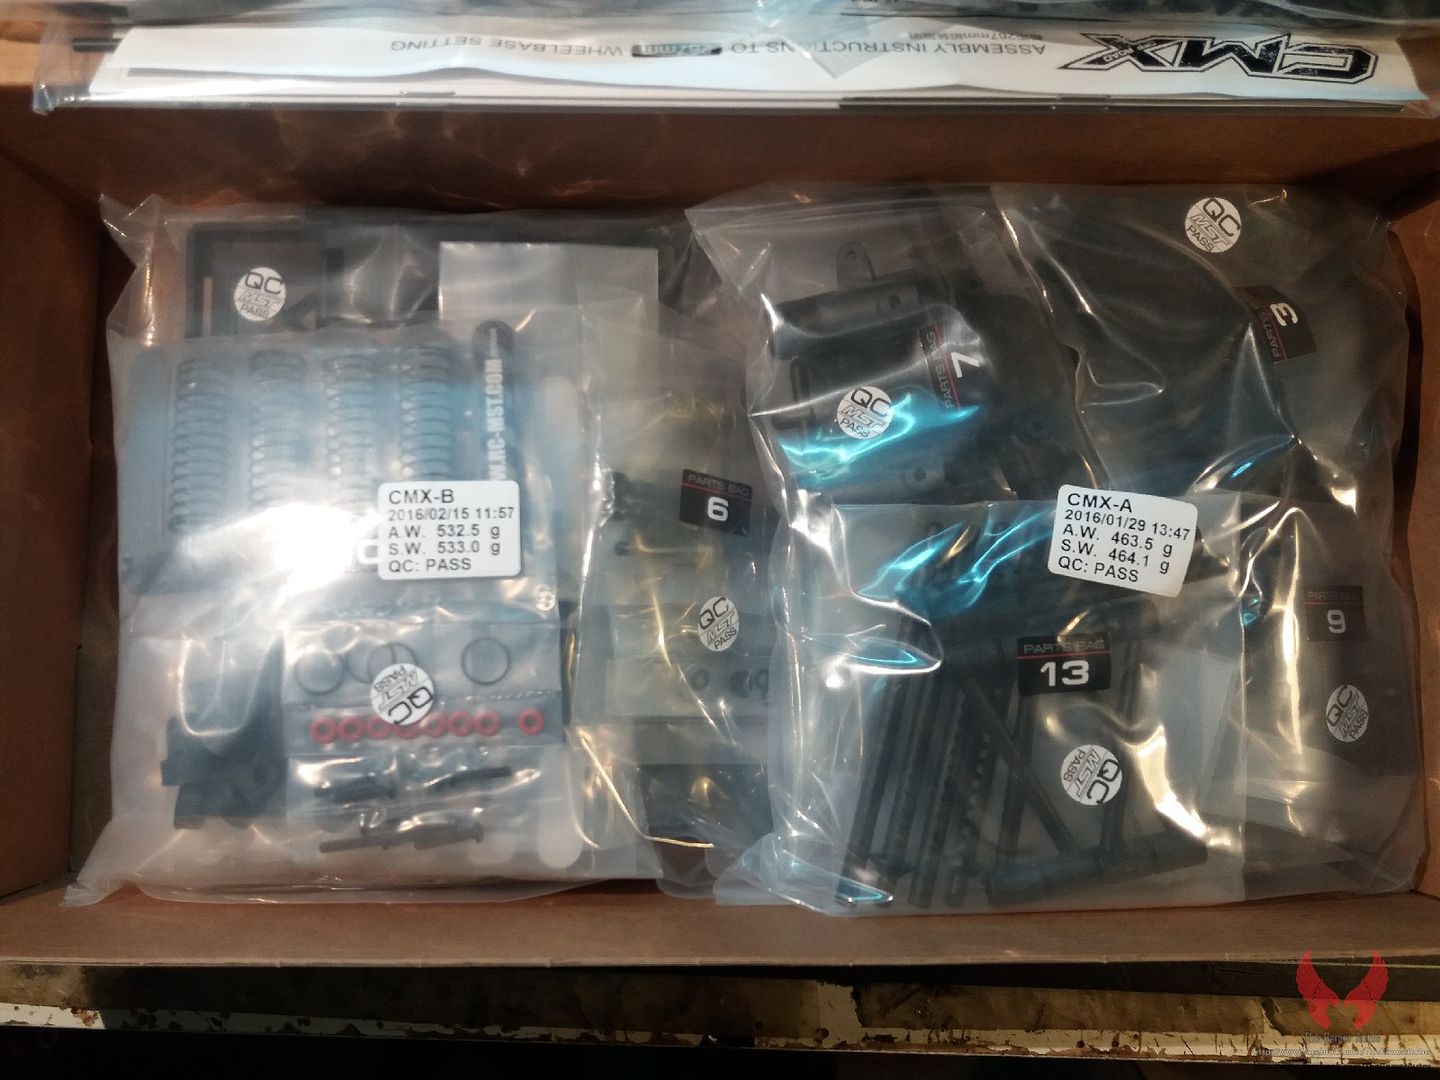 Steel frame rails. 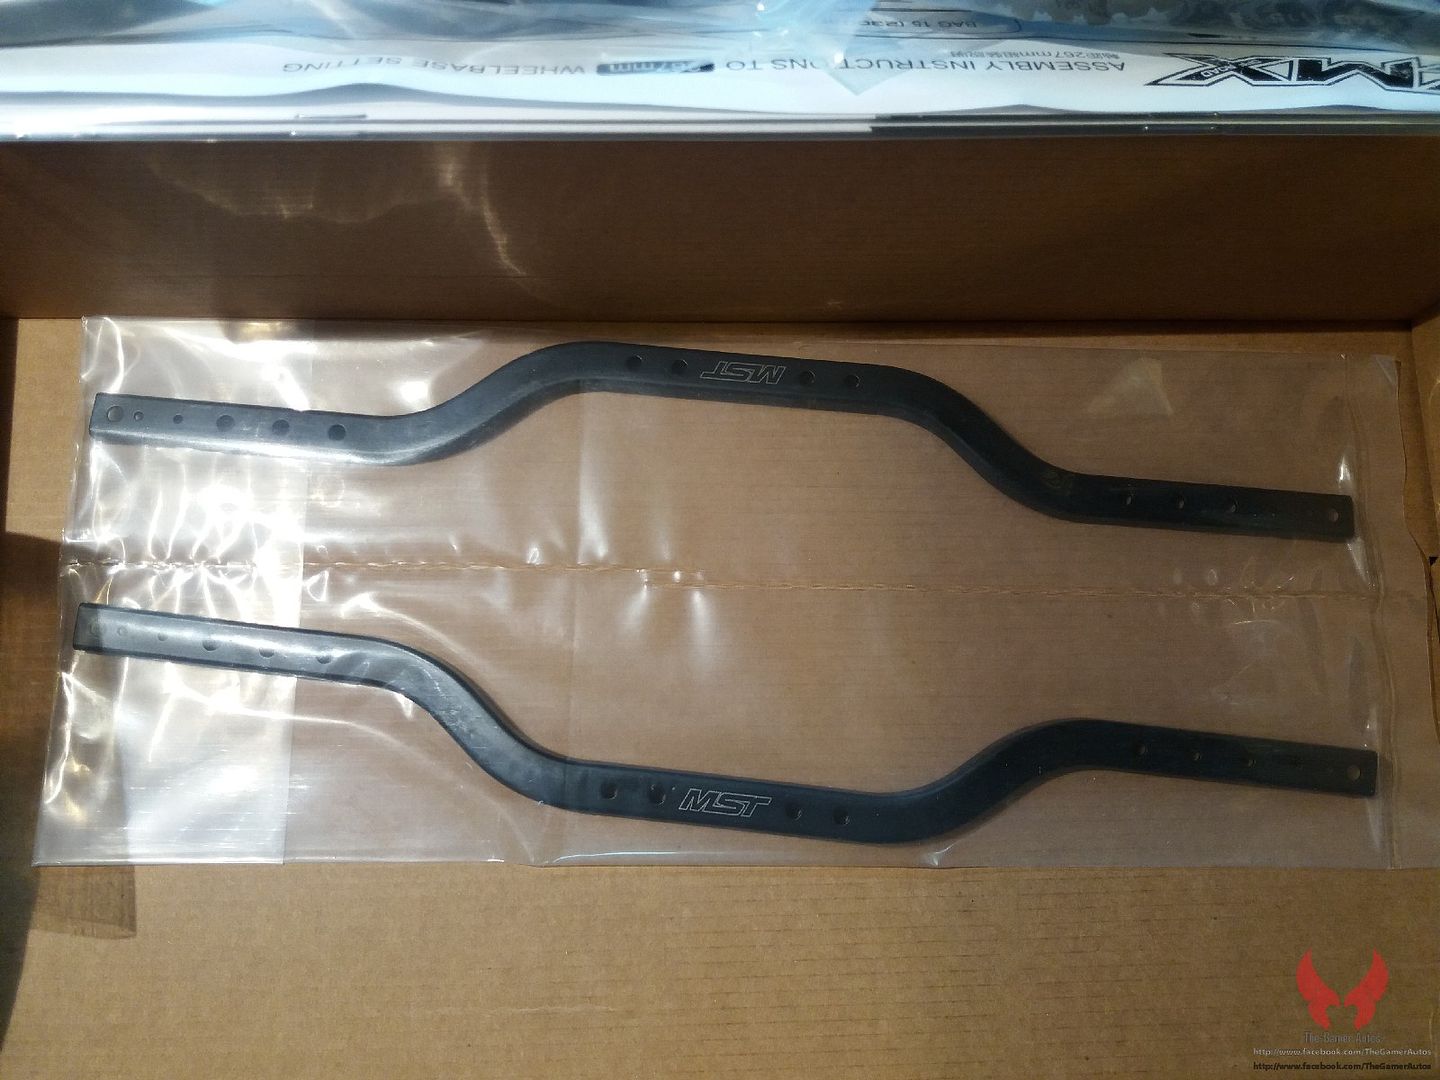 Instructions and exploded views. 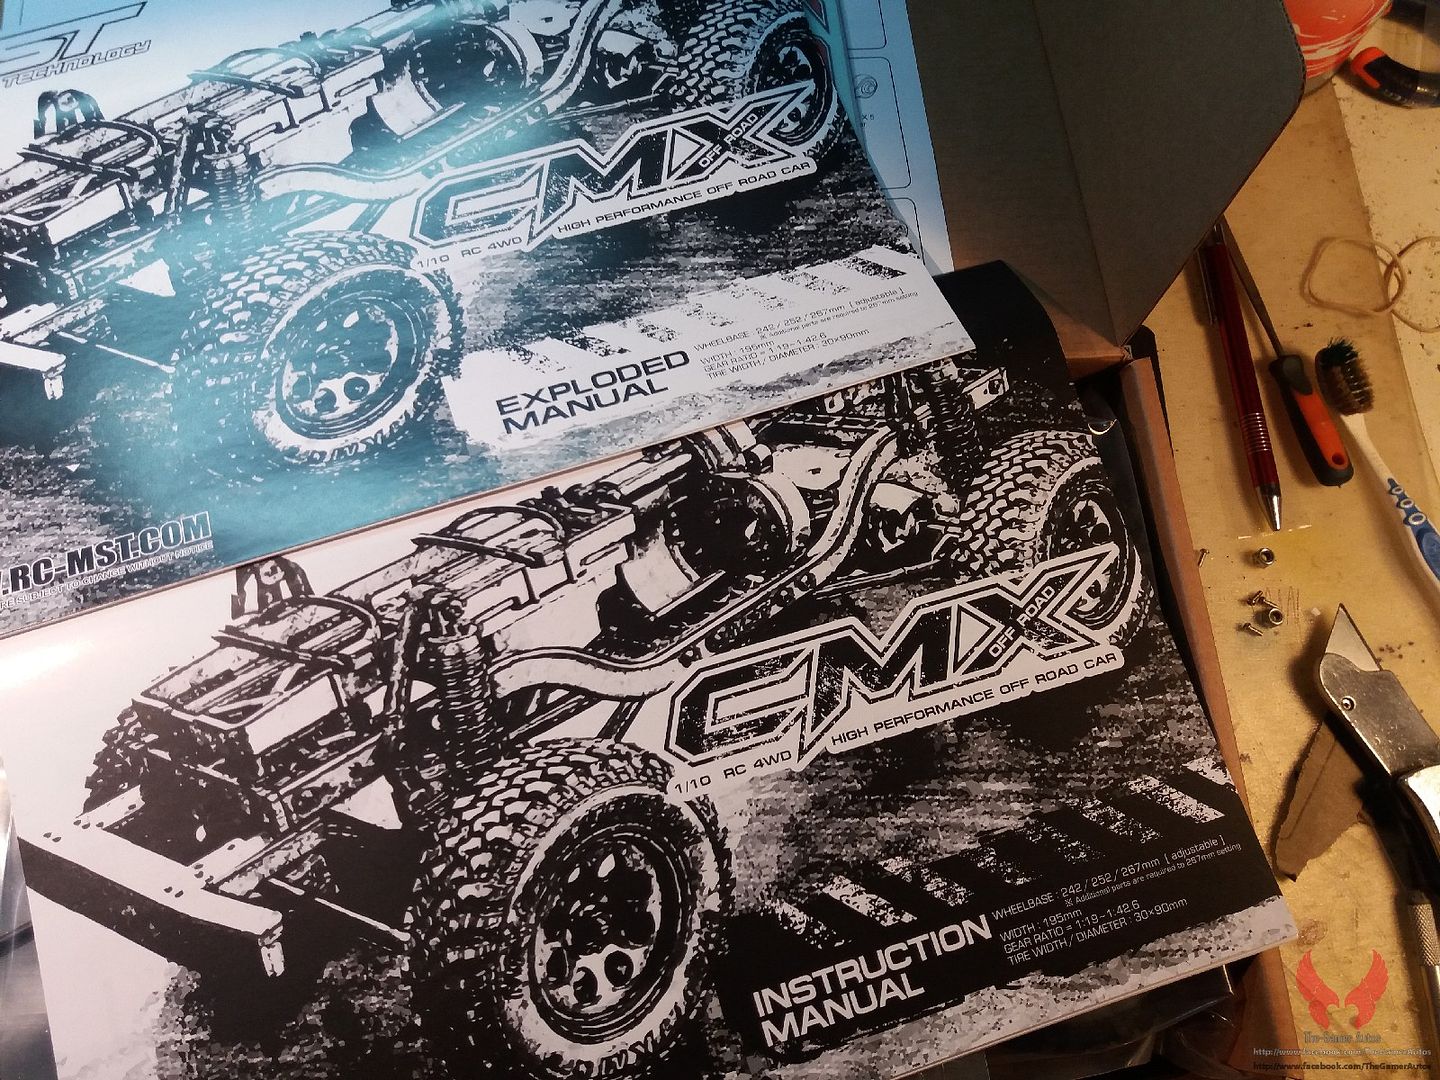 Instructions random page. 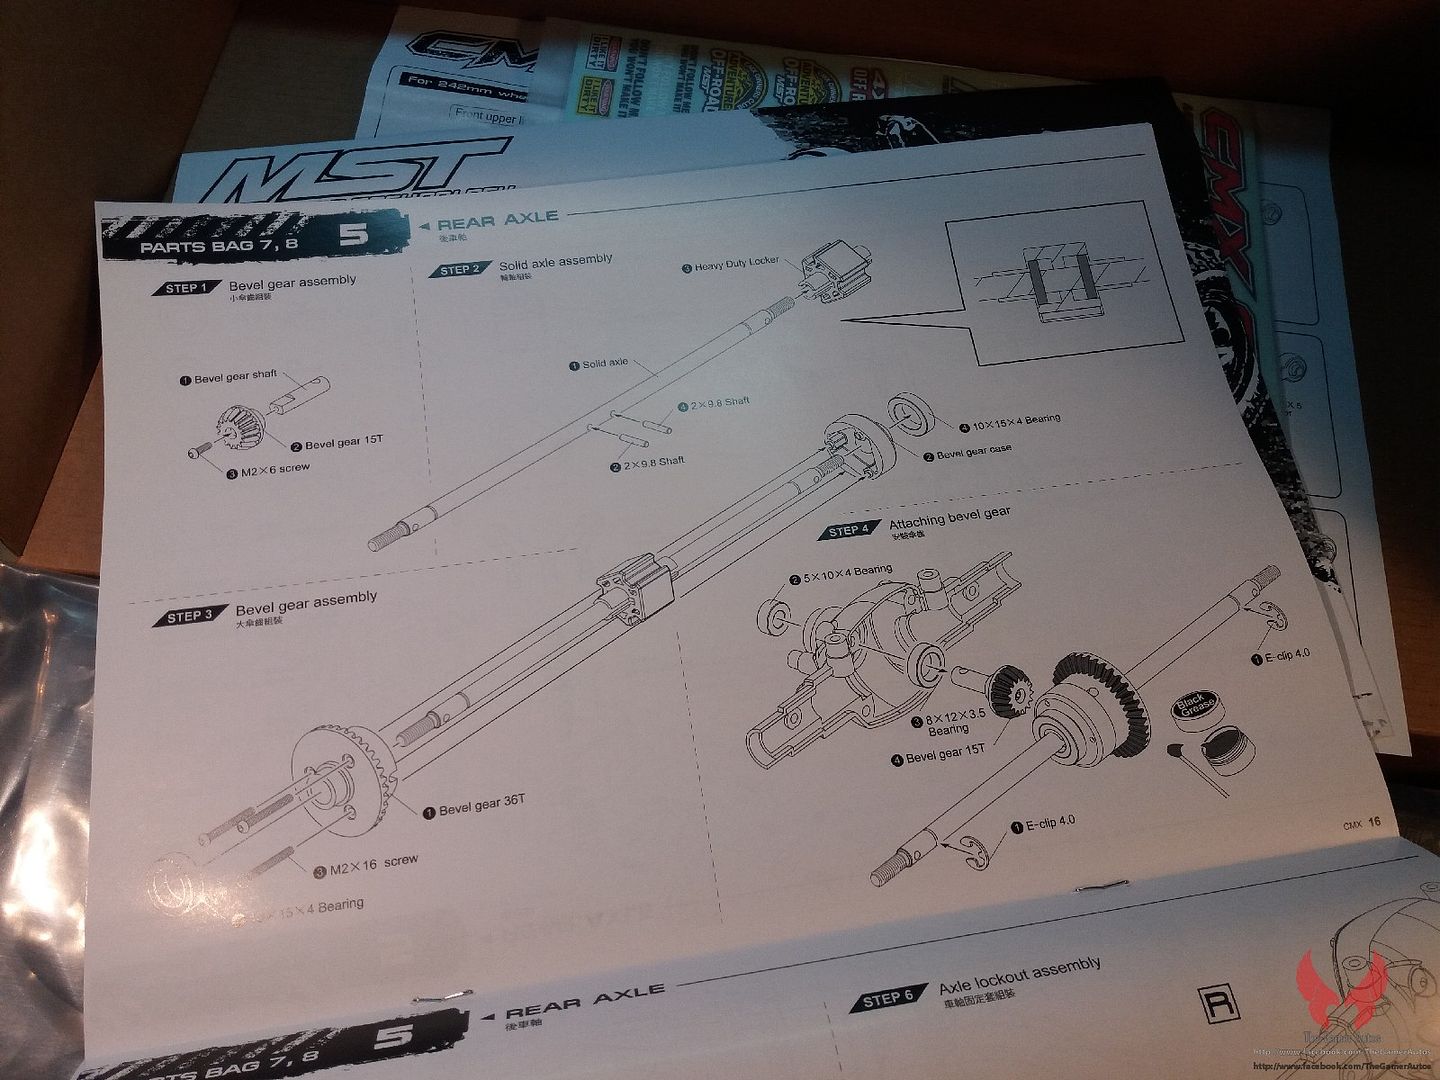 Exploded view. 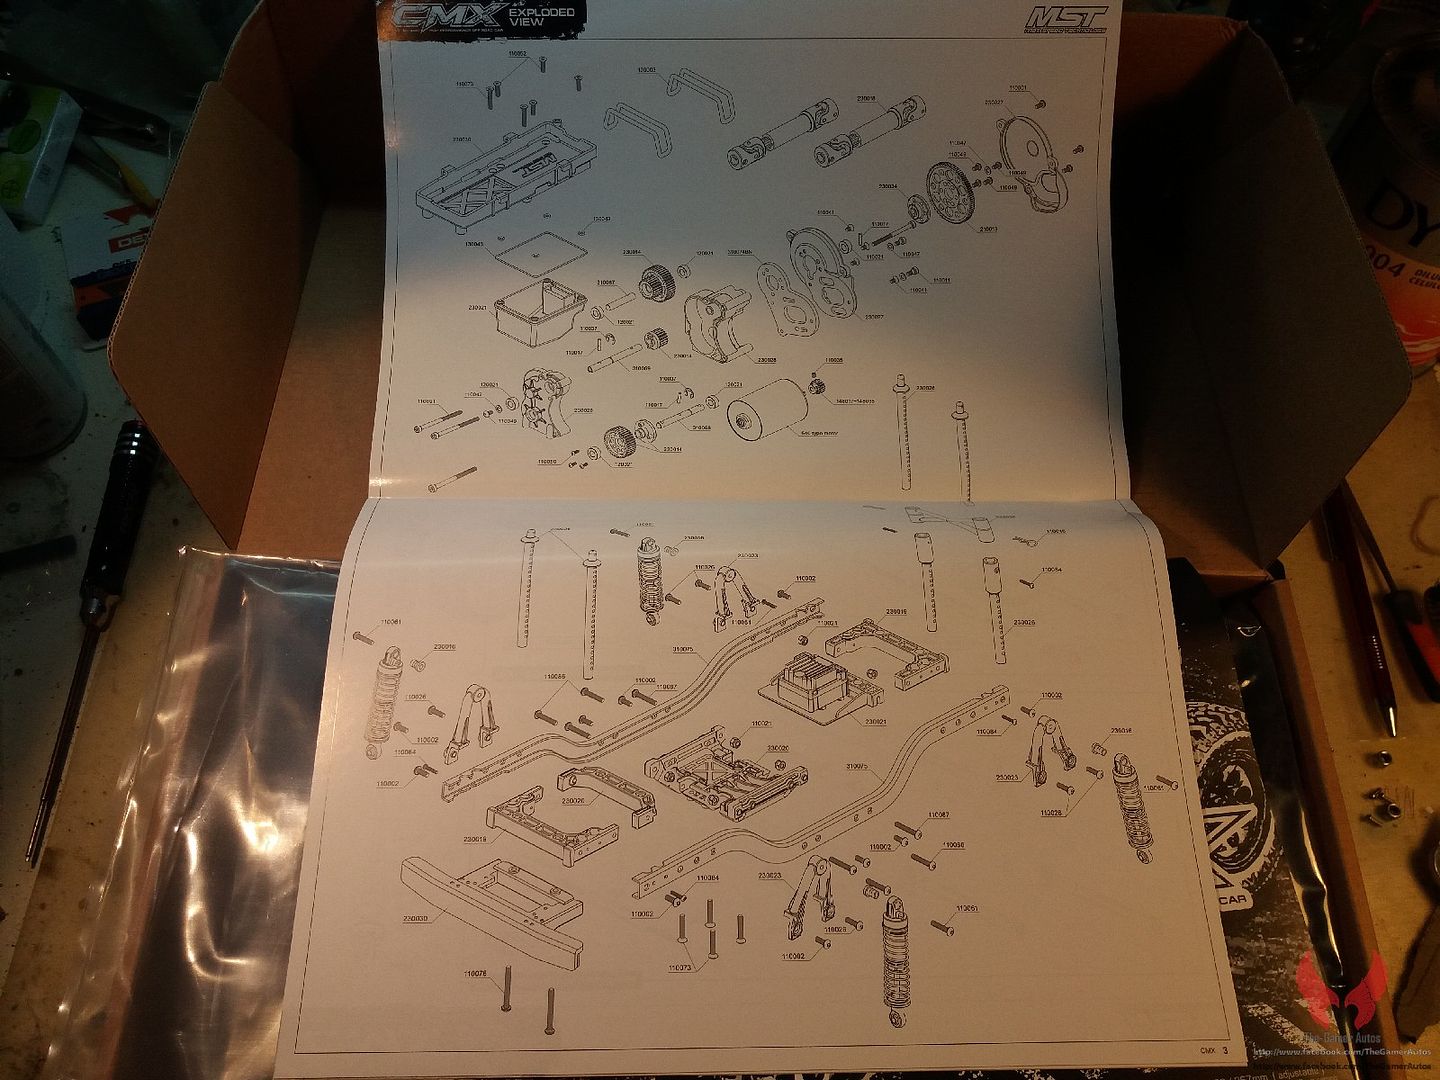 It comes with tools, grease and shock oil. Look at the cross wrench, it's different from the usual! 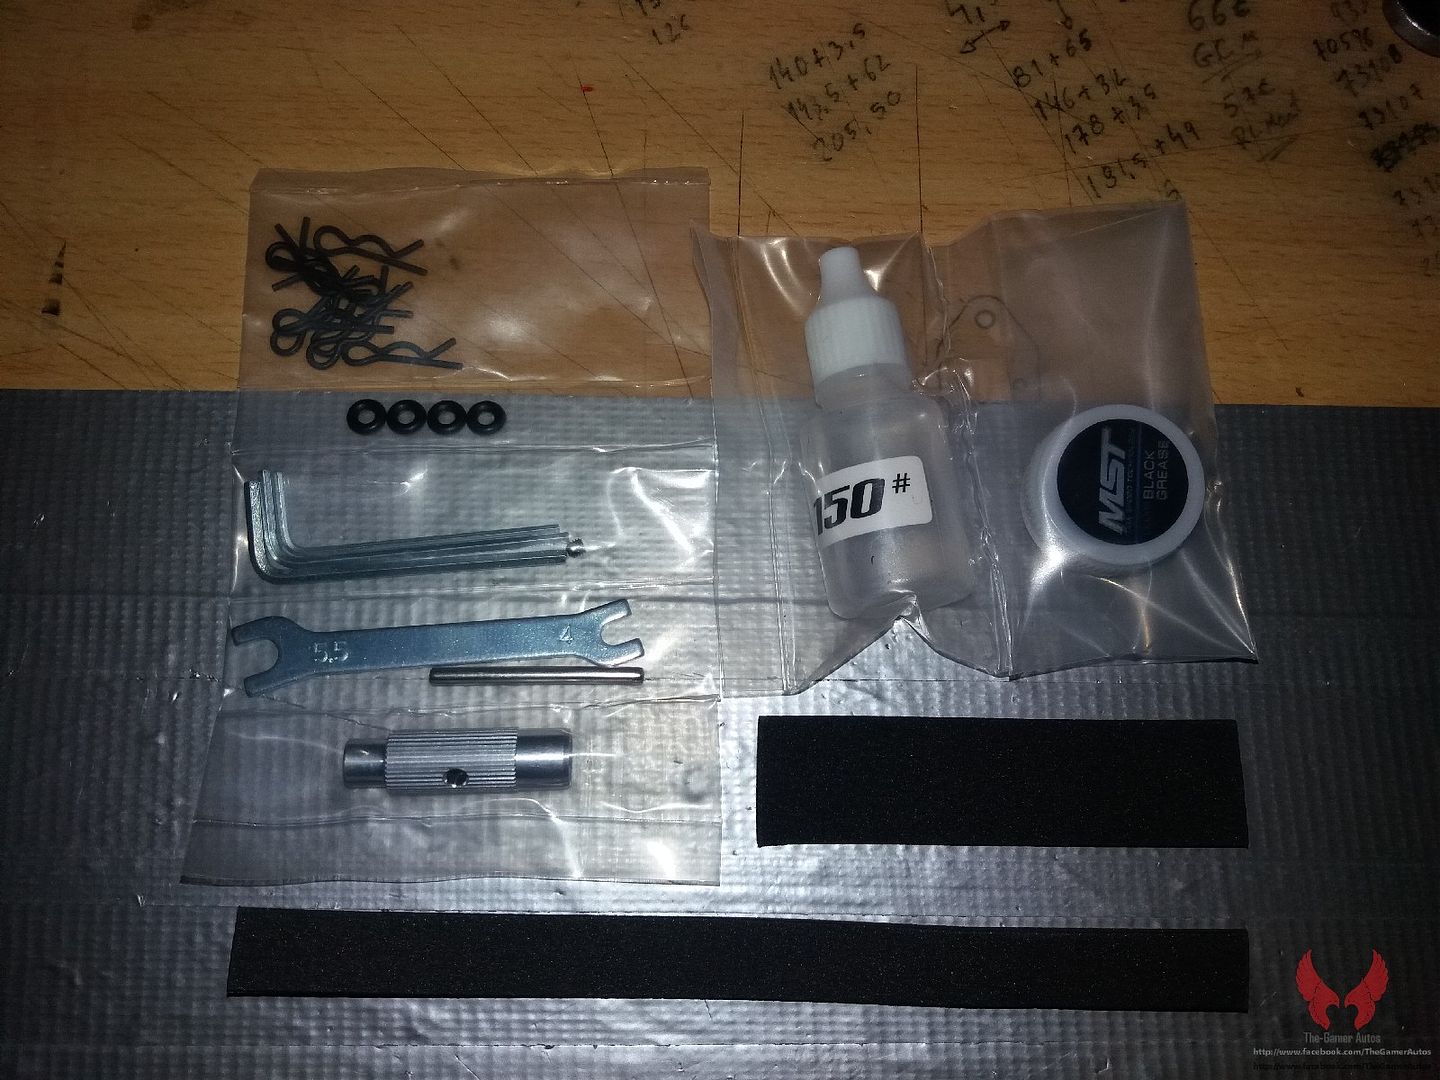 |

|  |
| Sponsored Links | |
| | |
|
04-11-2016, 07:56 AM
| #2 |
| Quarry Creeper Join Date: Aug 2009 Location: Portugal
Posts: 318
|
Steps 1-2-3 At the start of each step, there is a list of all the parts present in the respective bags. Very few parts are used in later steps which is a good thing in my opinion. Each step is divided in other steps that can sometimes be confusing as some times they are arranged in horizontal and other times in vertical! In each (sub) step, the parts are numbered in the order they should be assembled. 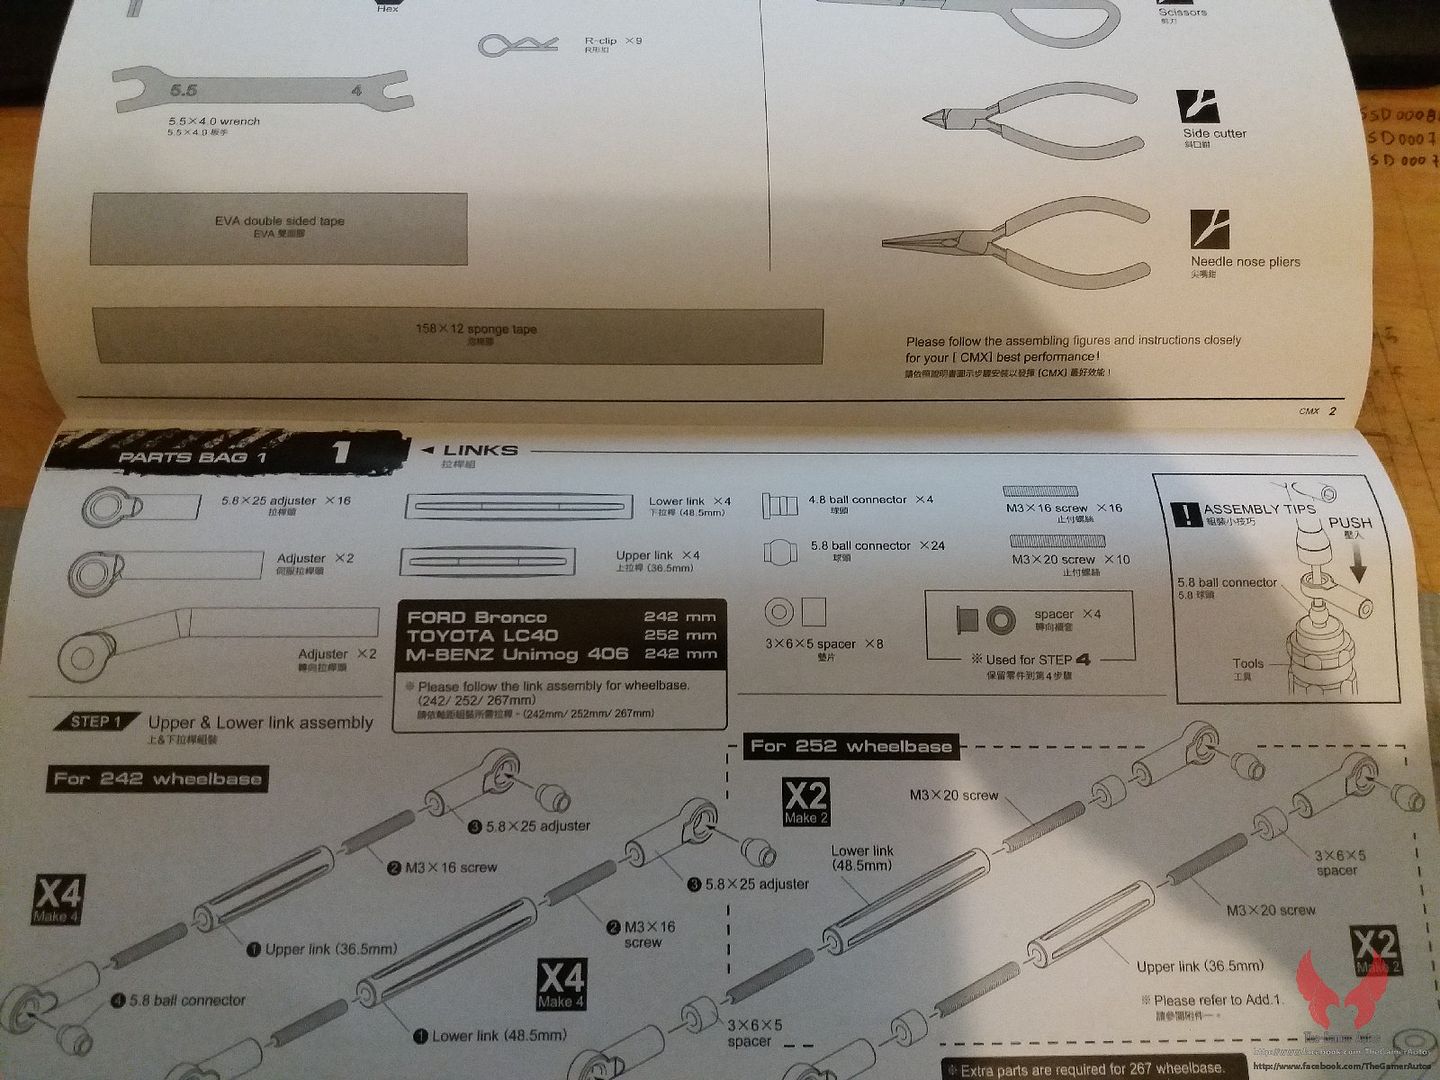 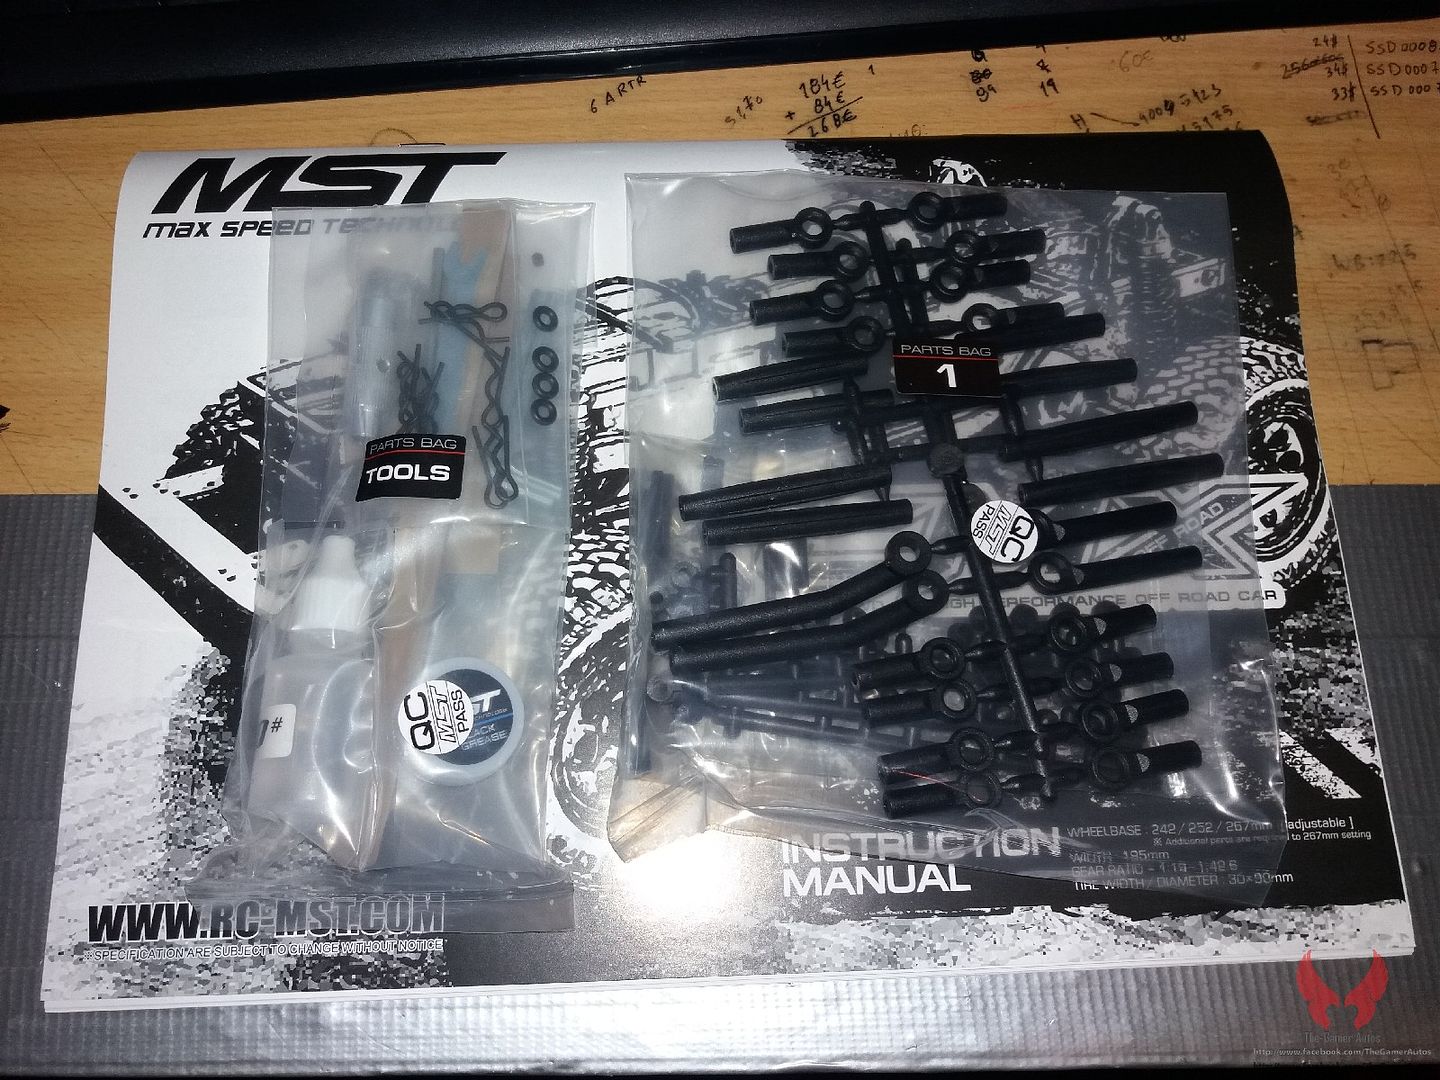 Many parts come packed like this. 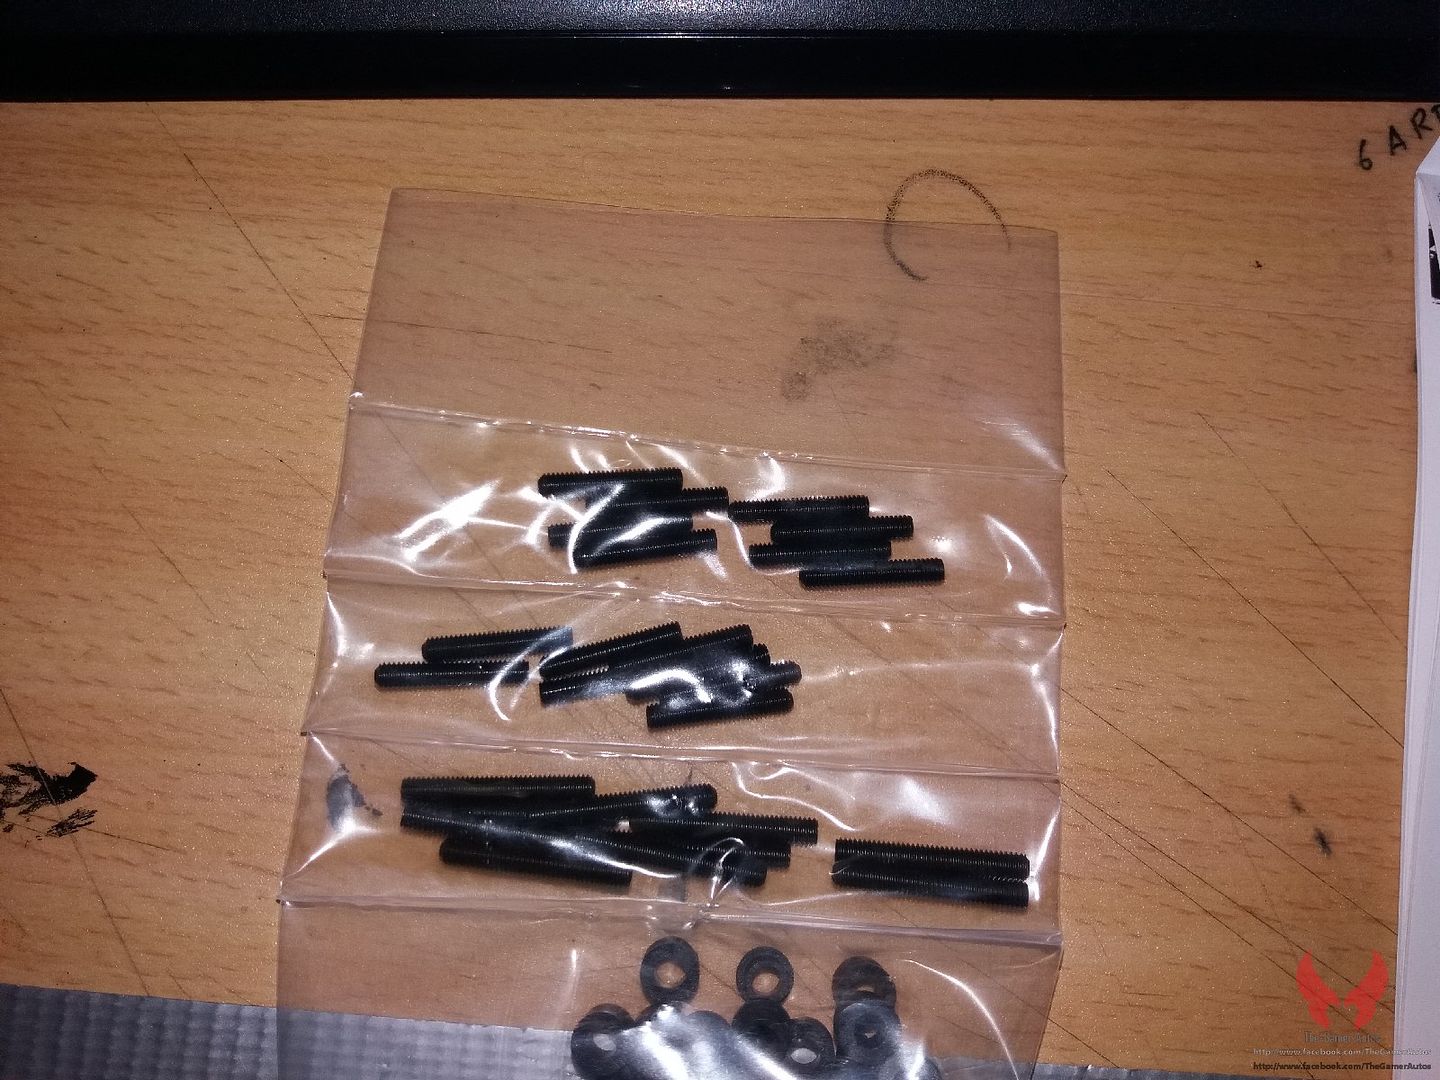 Step 1. In this step, we assemble the links which are all plastic, as are the rod end balls. I had to make a lot of force to make the balls get in the rod ends, but they move freely once in place. 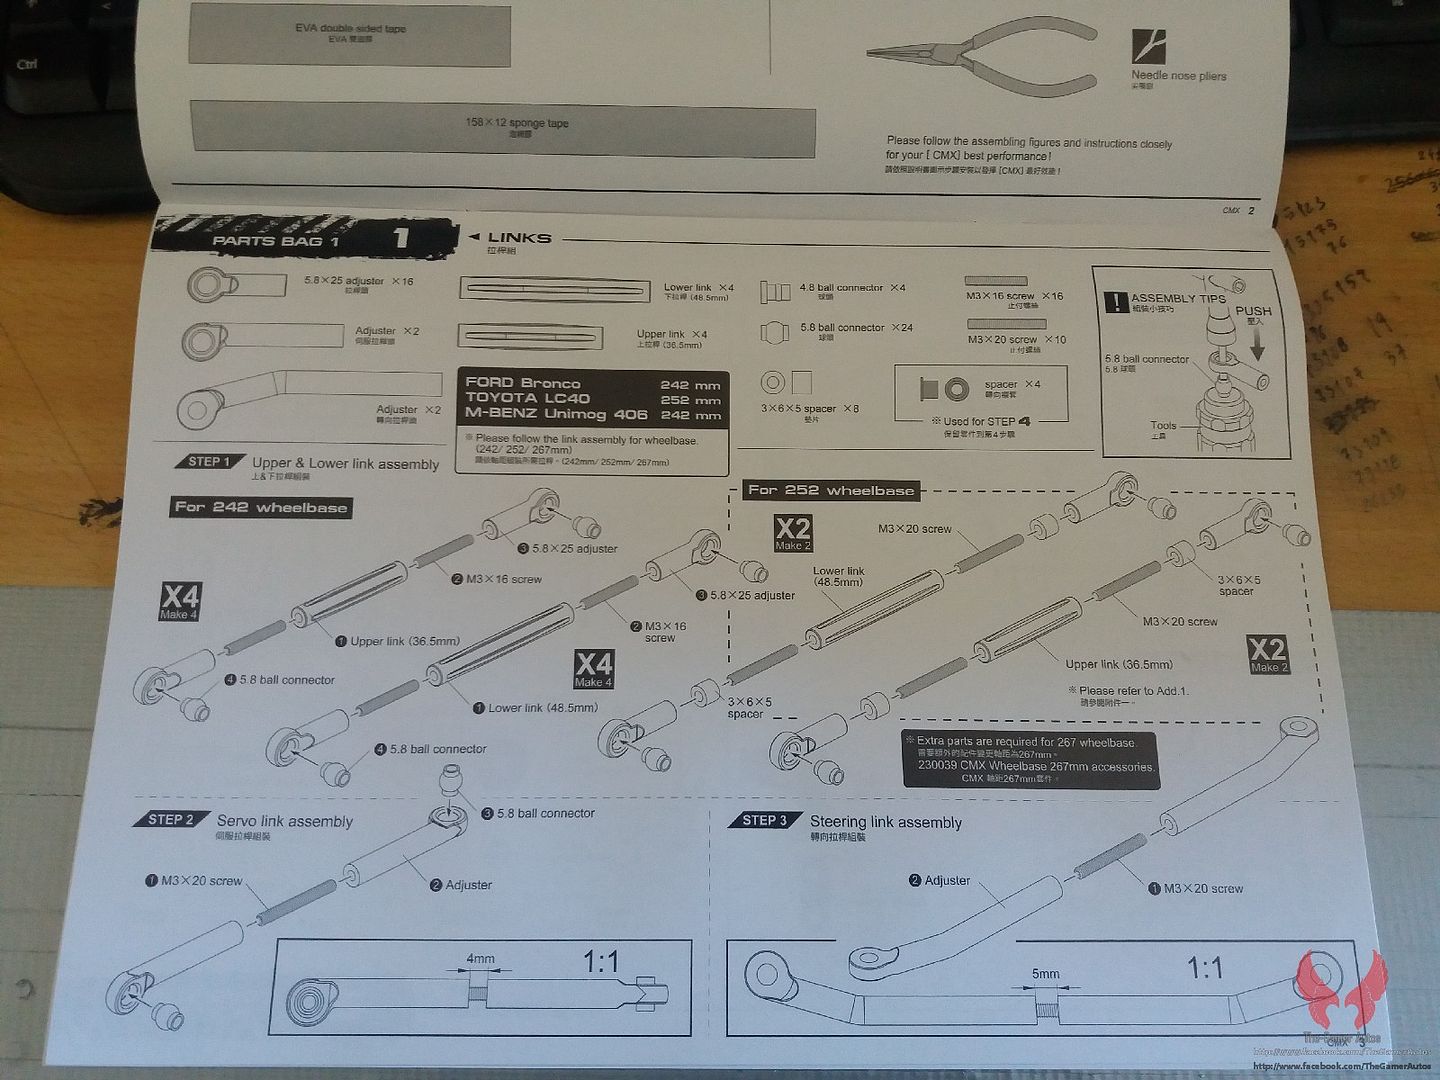 The steering link was going to have a 5mm gap in the middle, so I used a 5mm spacer that it's not going to be used in the 242mm wheelbase. 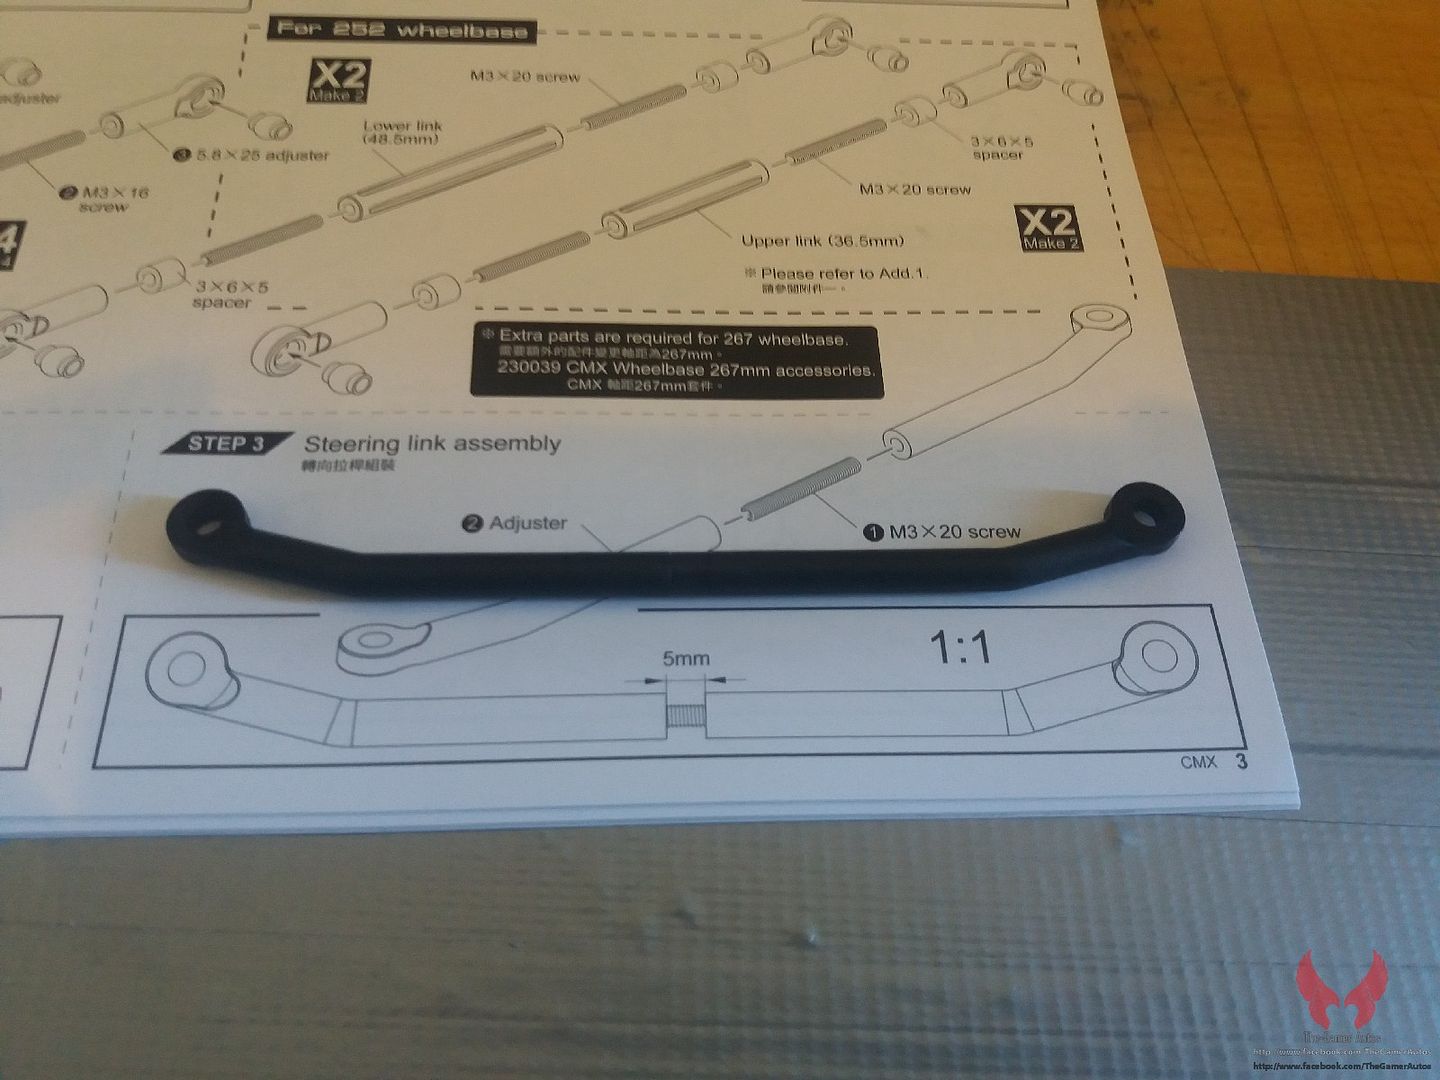 Step 2. 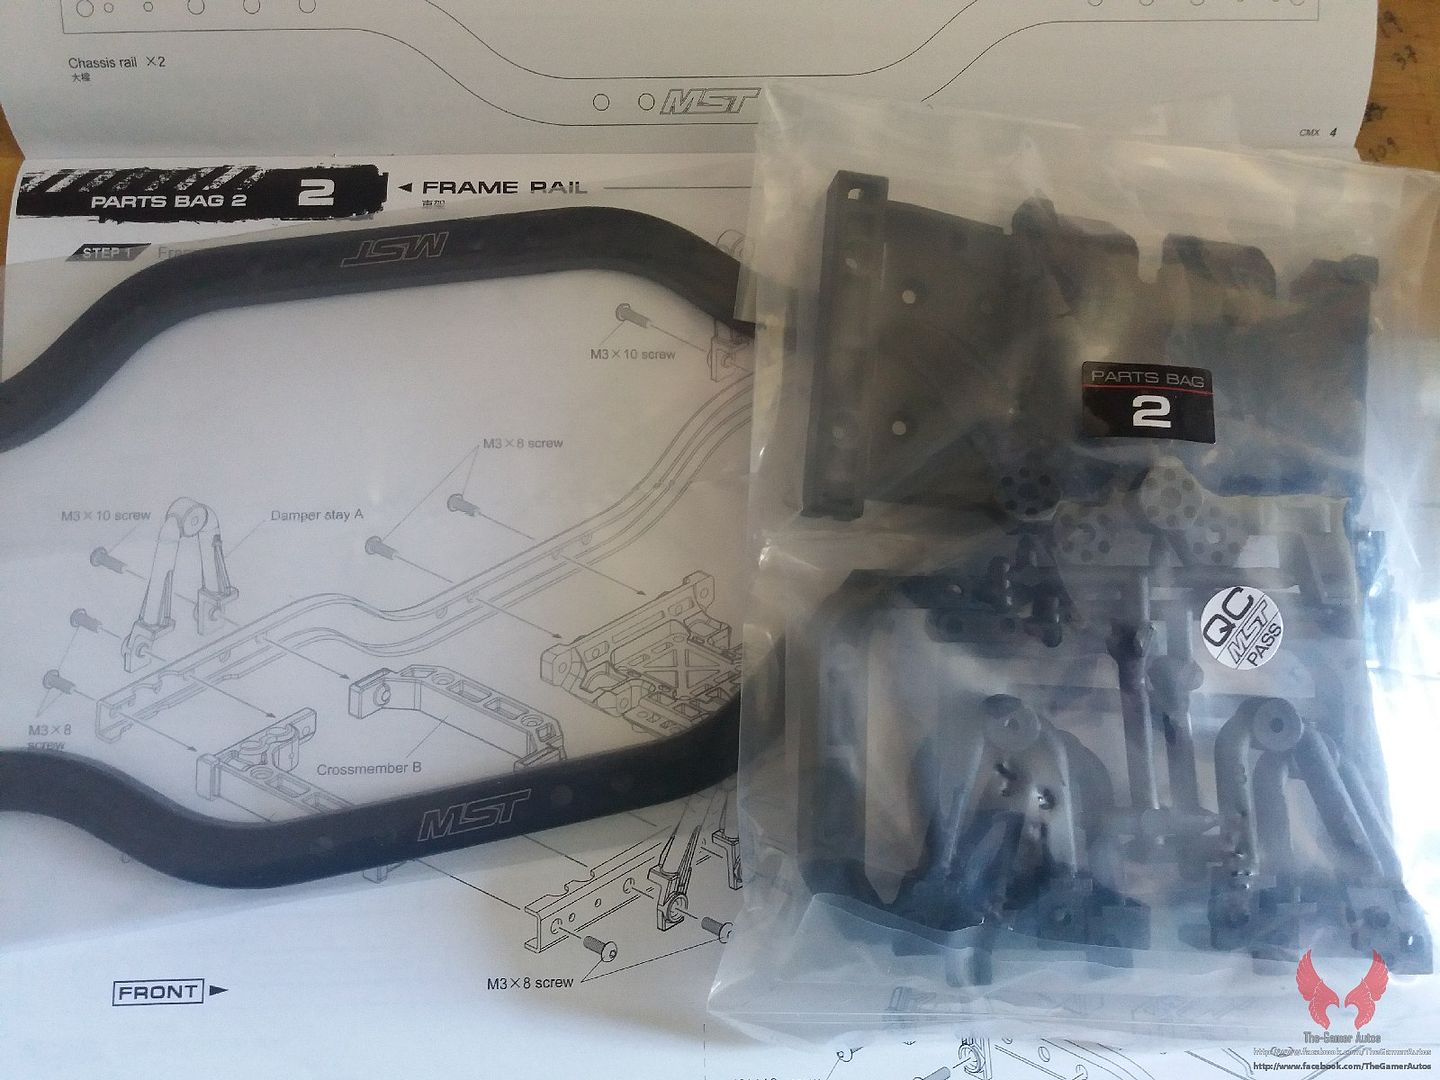 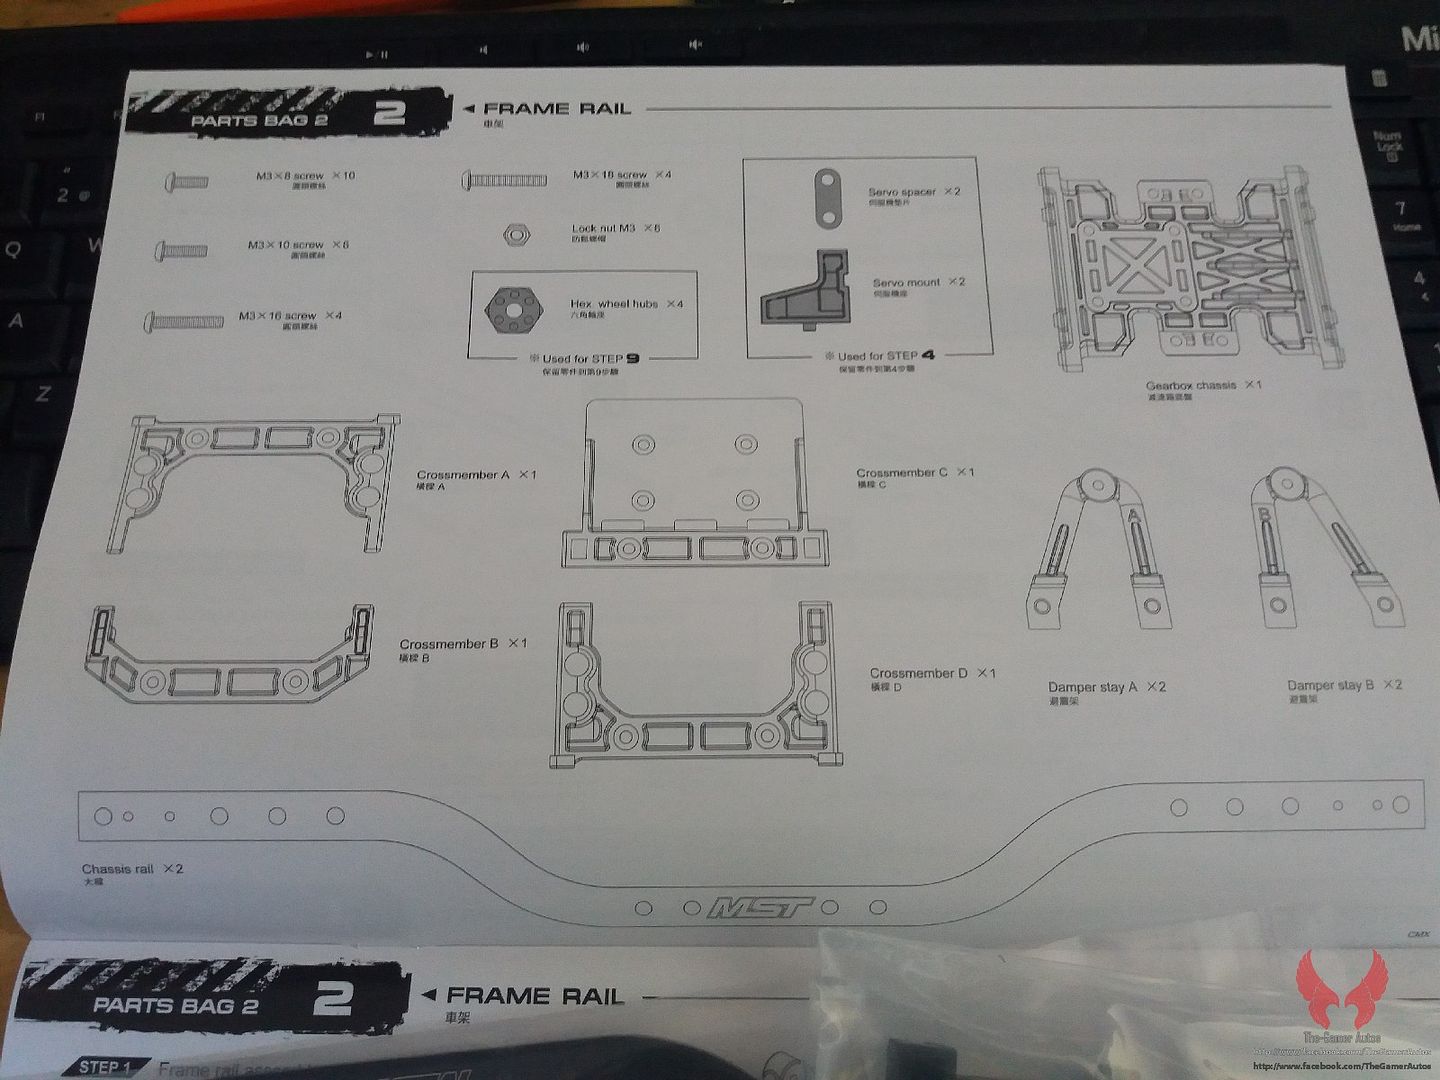 The rails are symmetrical. 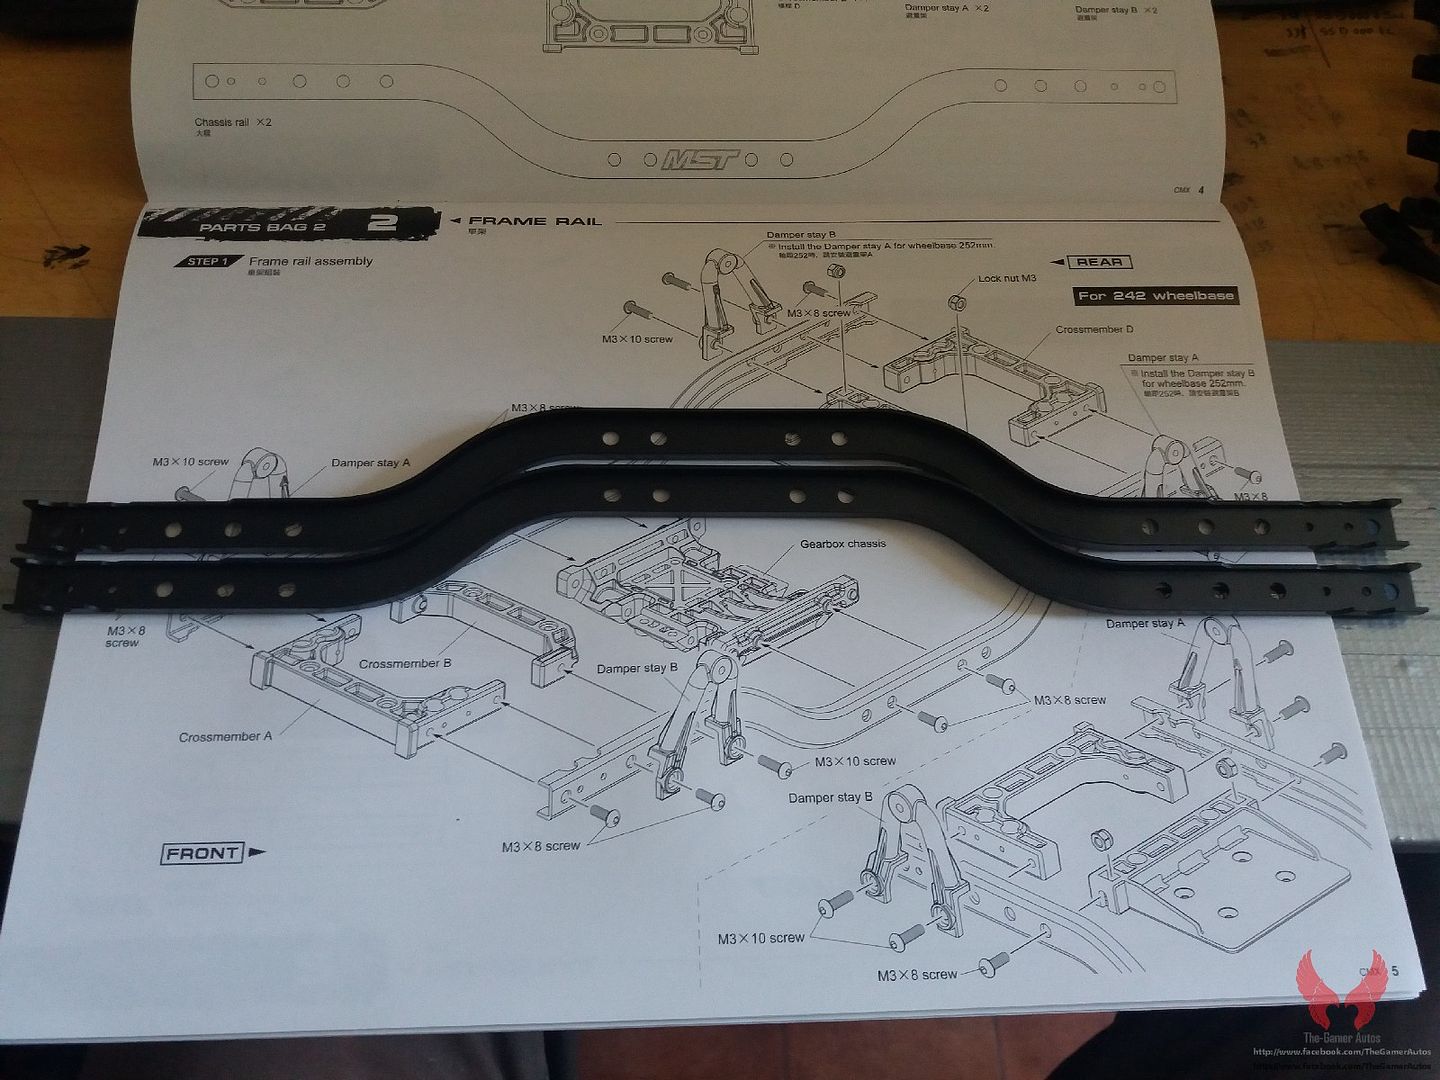 In this kit, the parts trees are not numbered. The shock towers have the letters "A" and "B" printed in them so you can tell them apart. 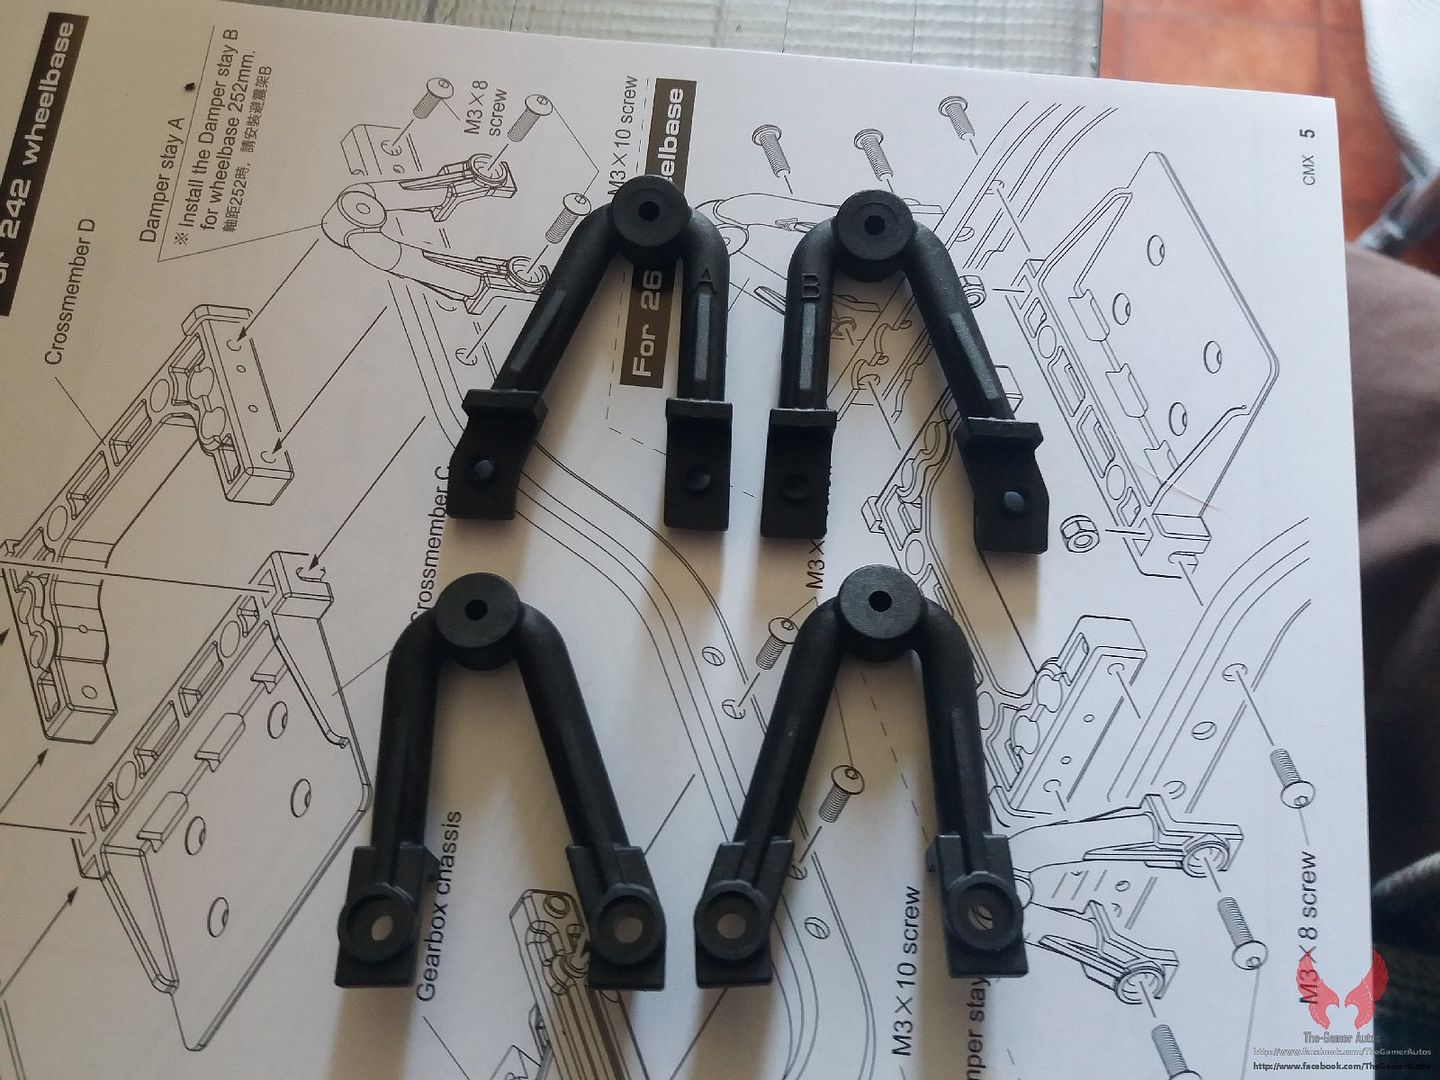 Crossmembers A and D that are used at both ends of the chassis, can be distinguished apart by the depth of the holes for the screws in the middle. 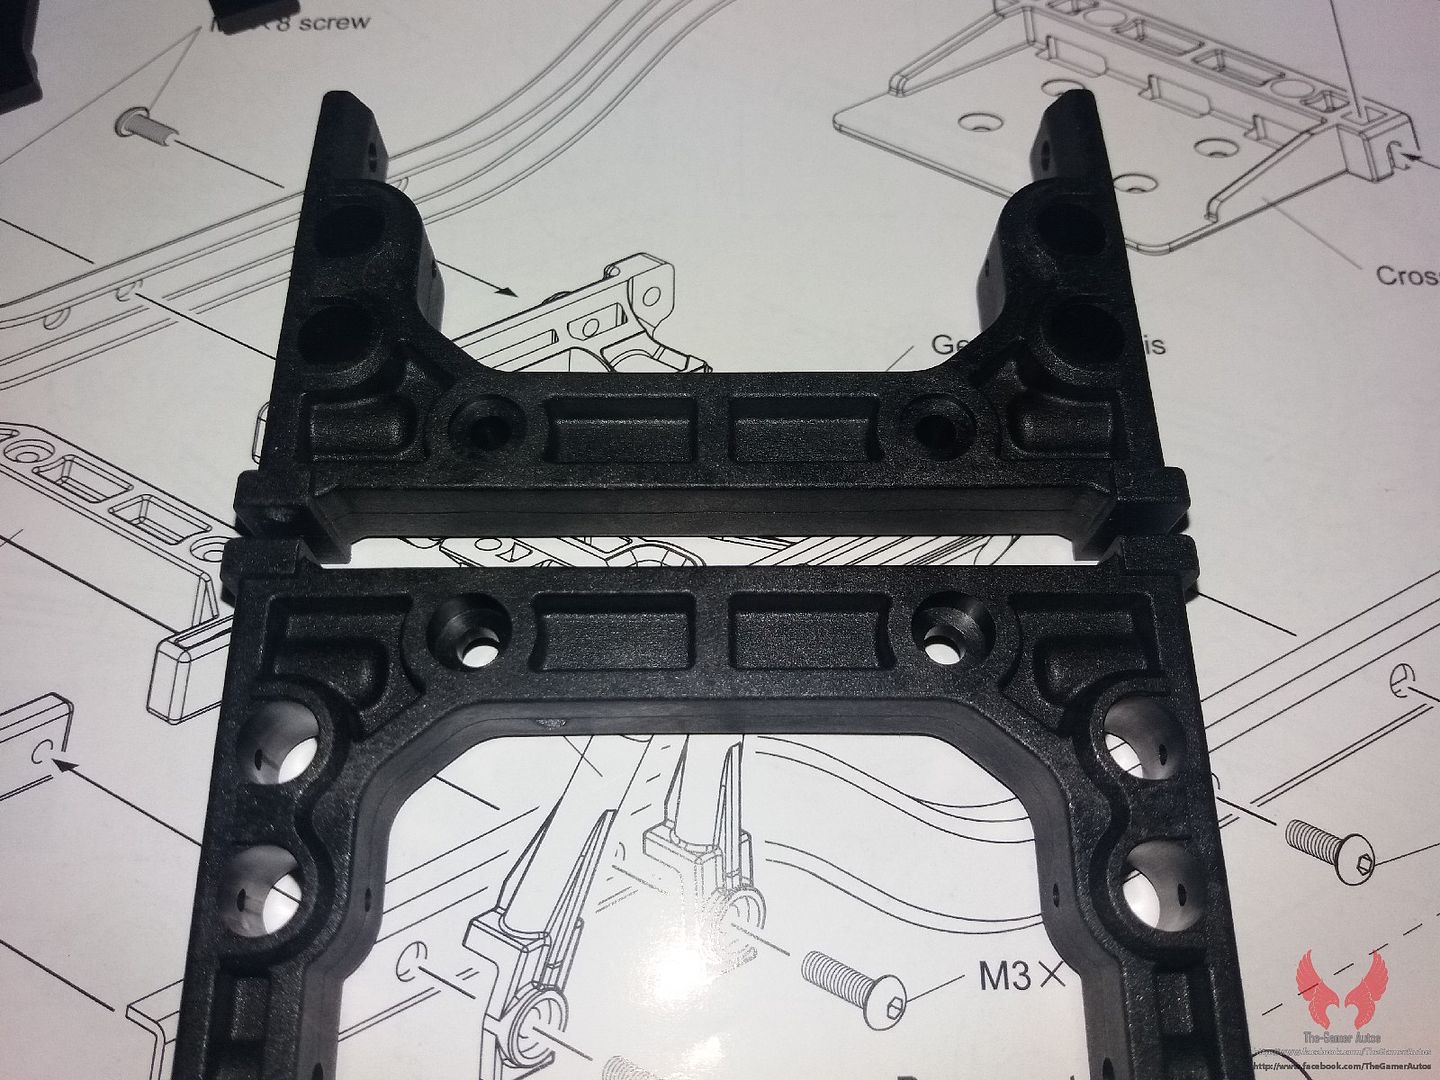 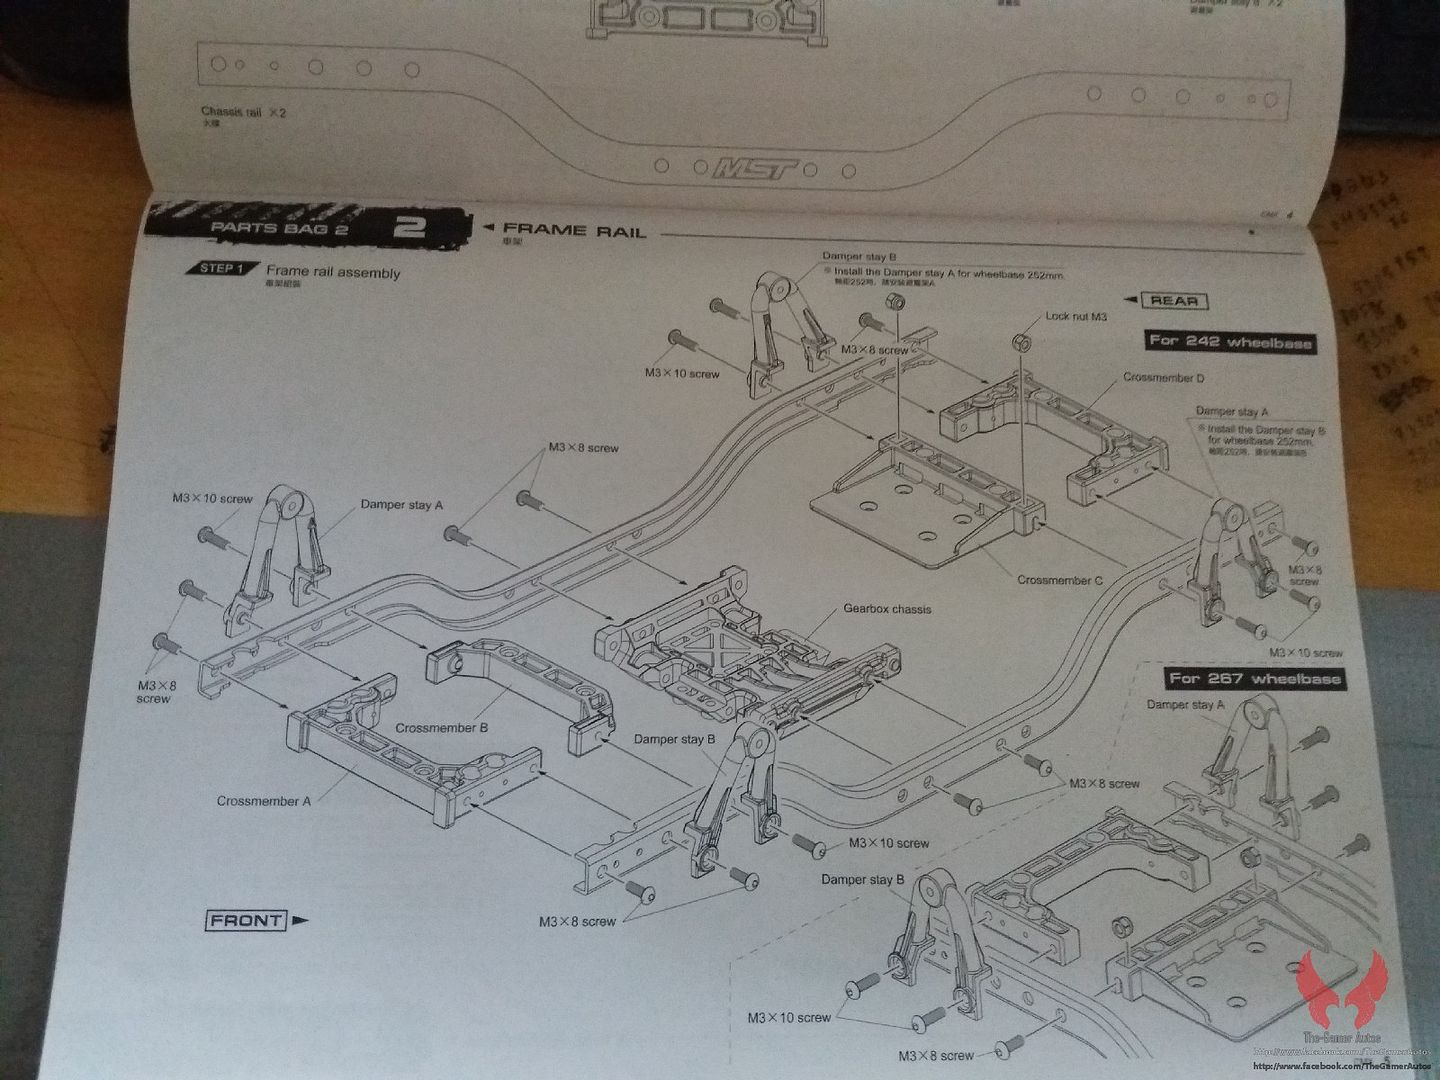 The assembled chassis. Pretty simple. 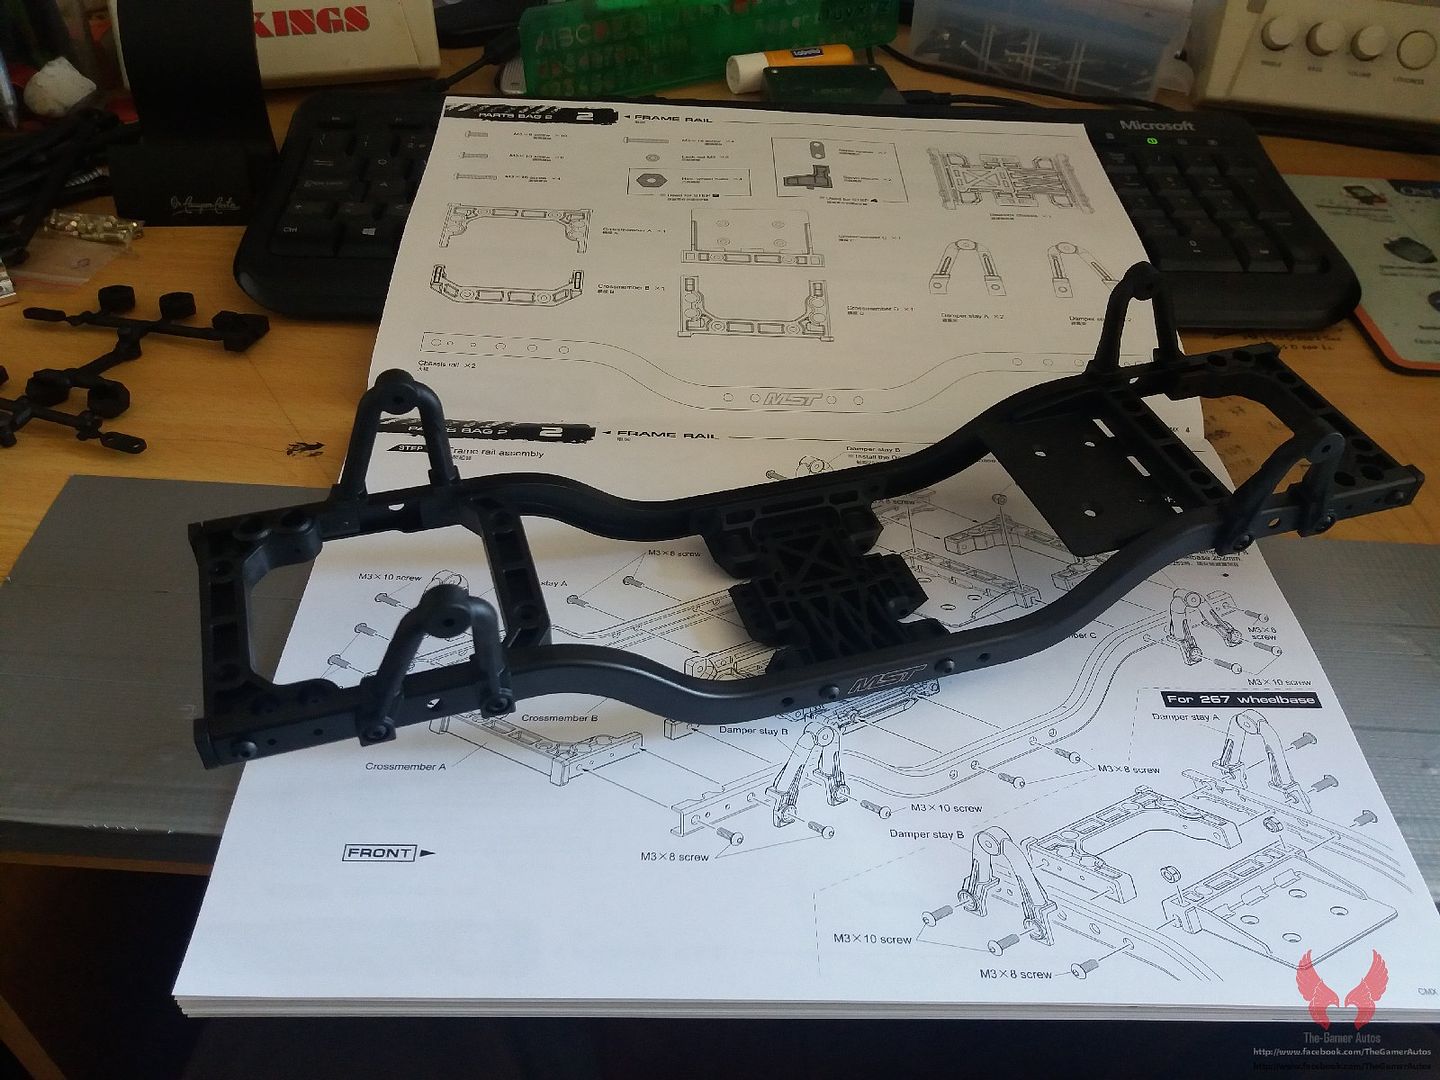 In the next step, we mount the links on the chassis. 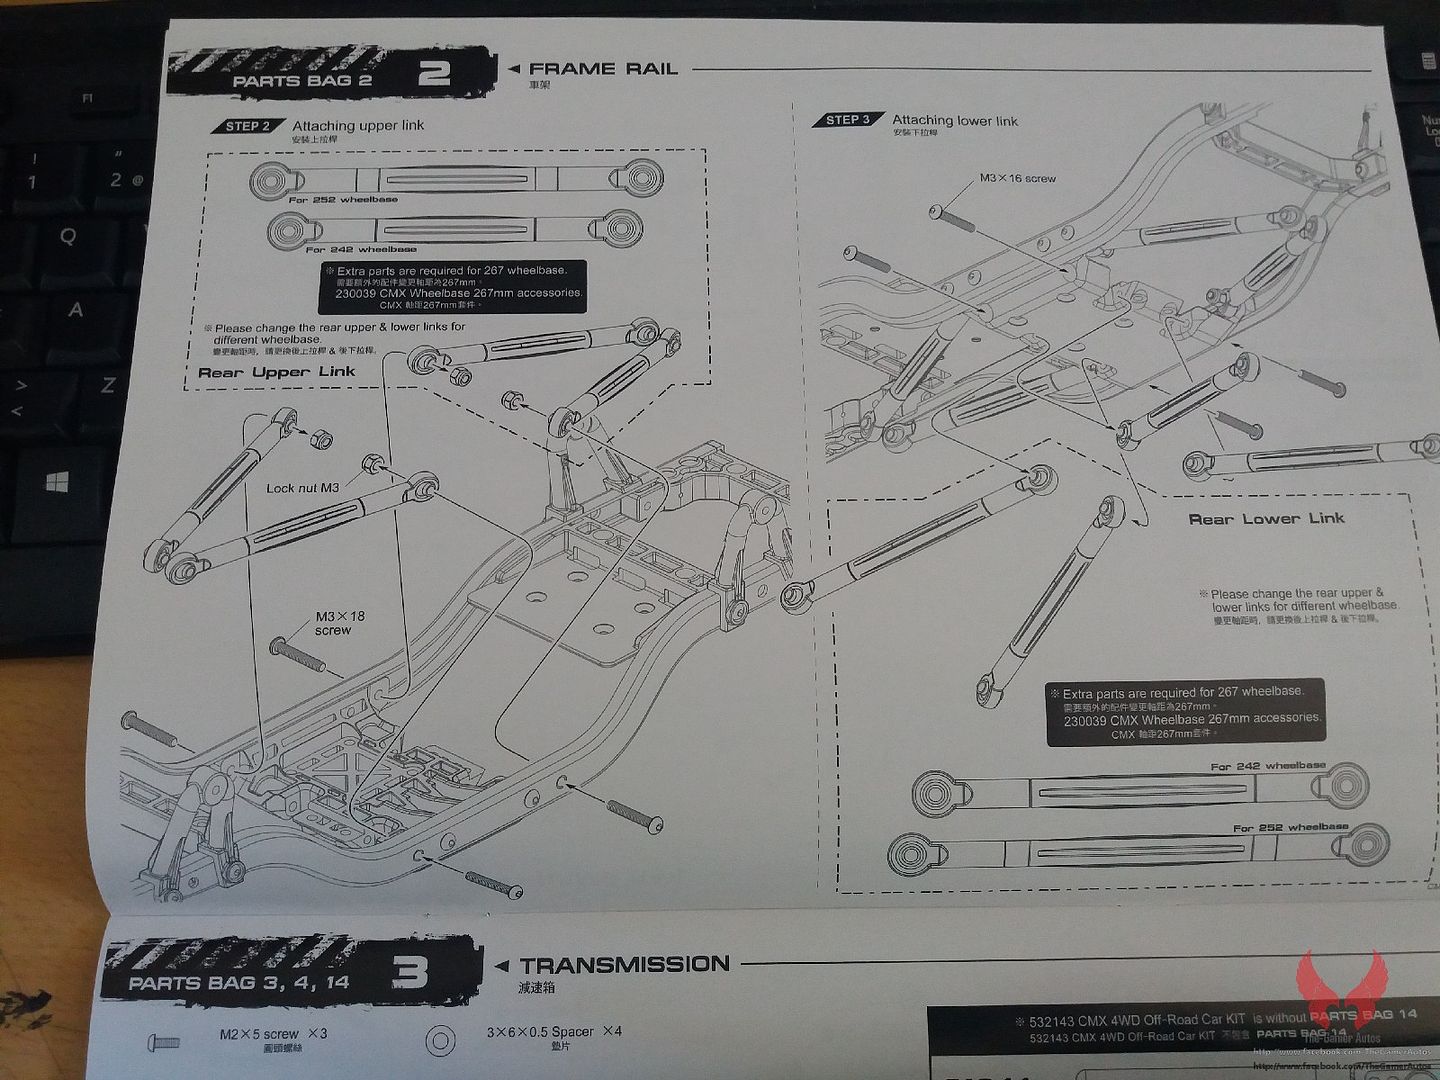 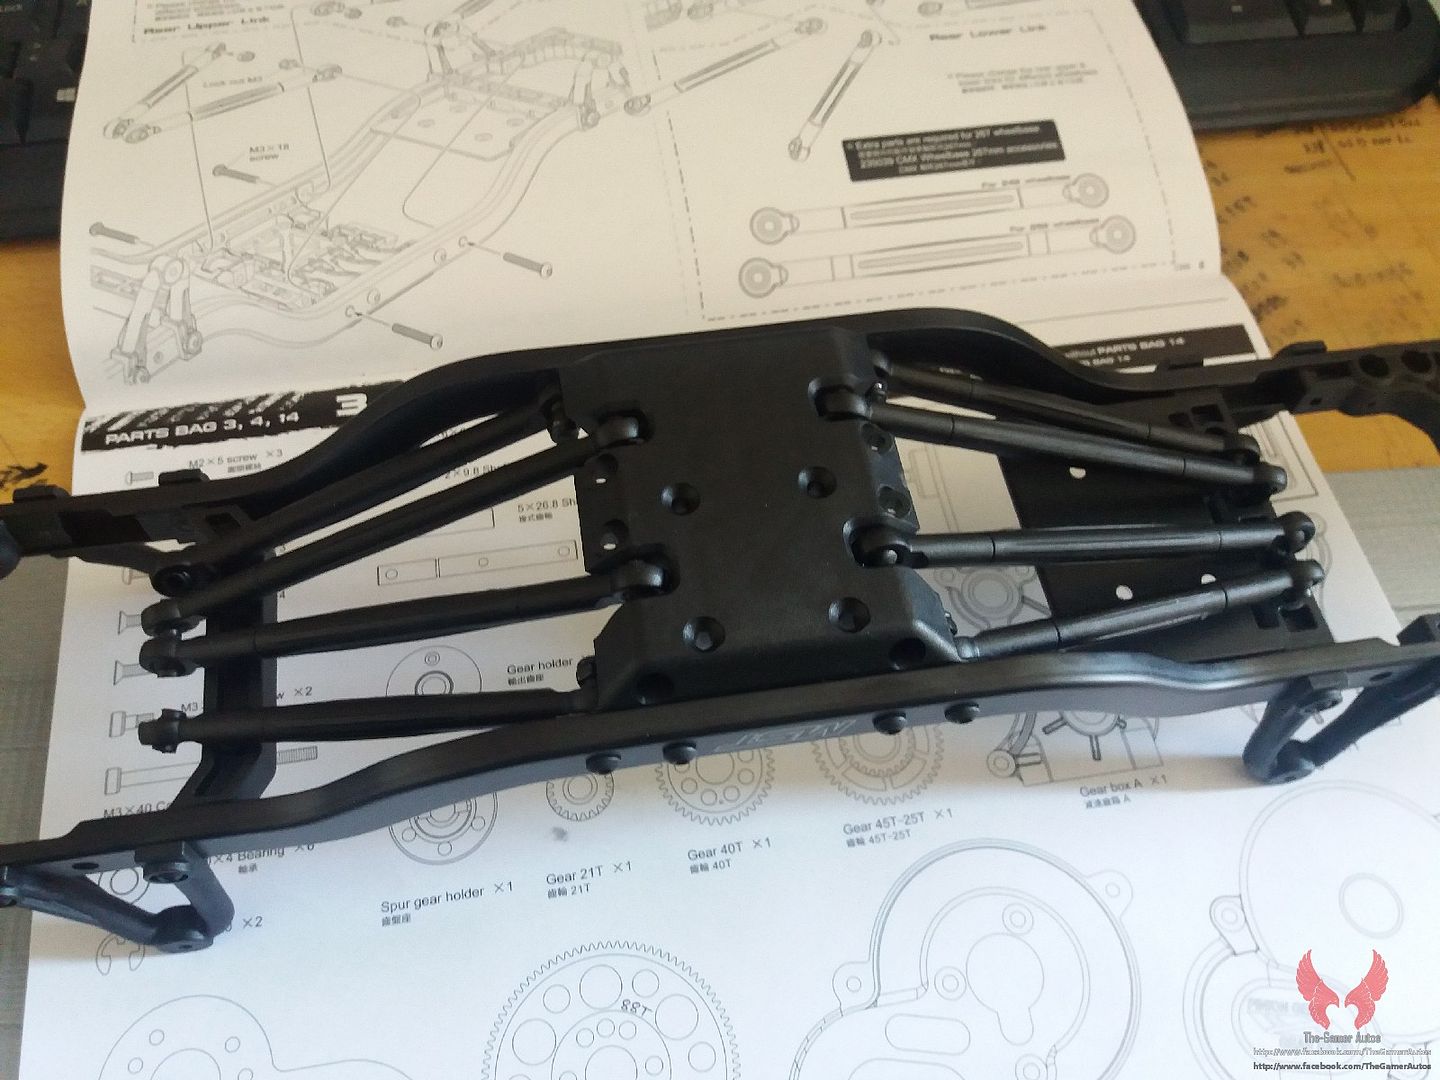 Step 3, transmission assembly. 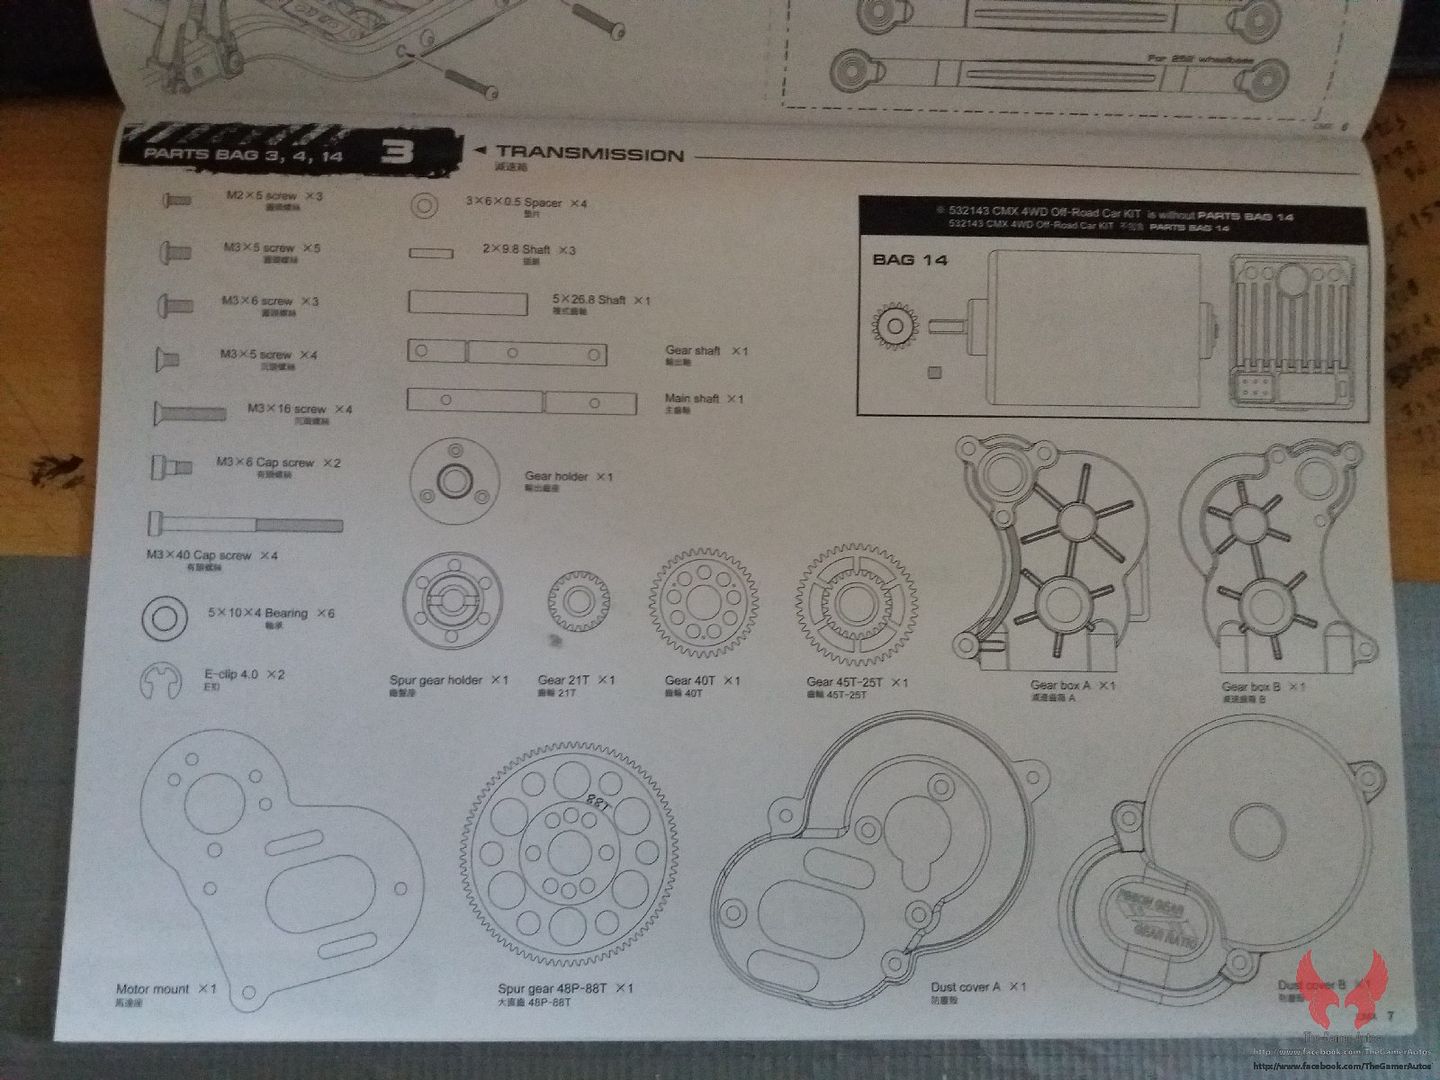 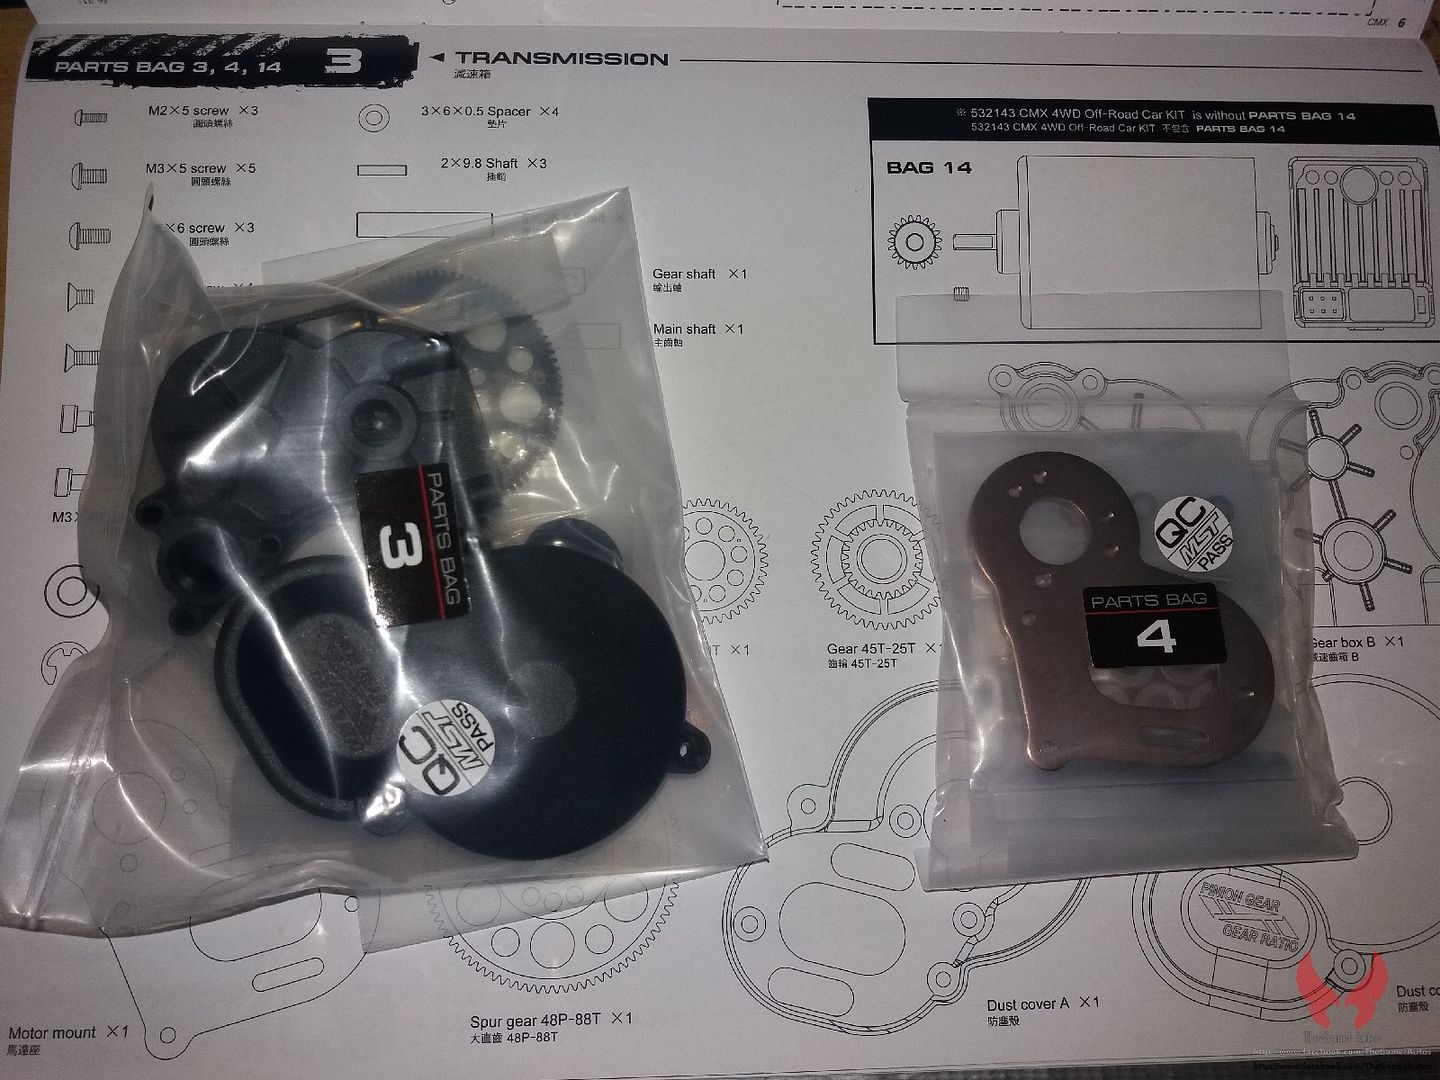 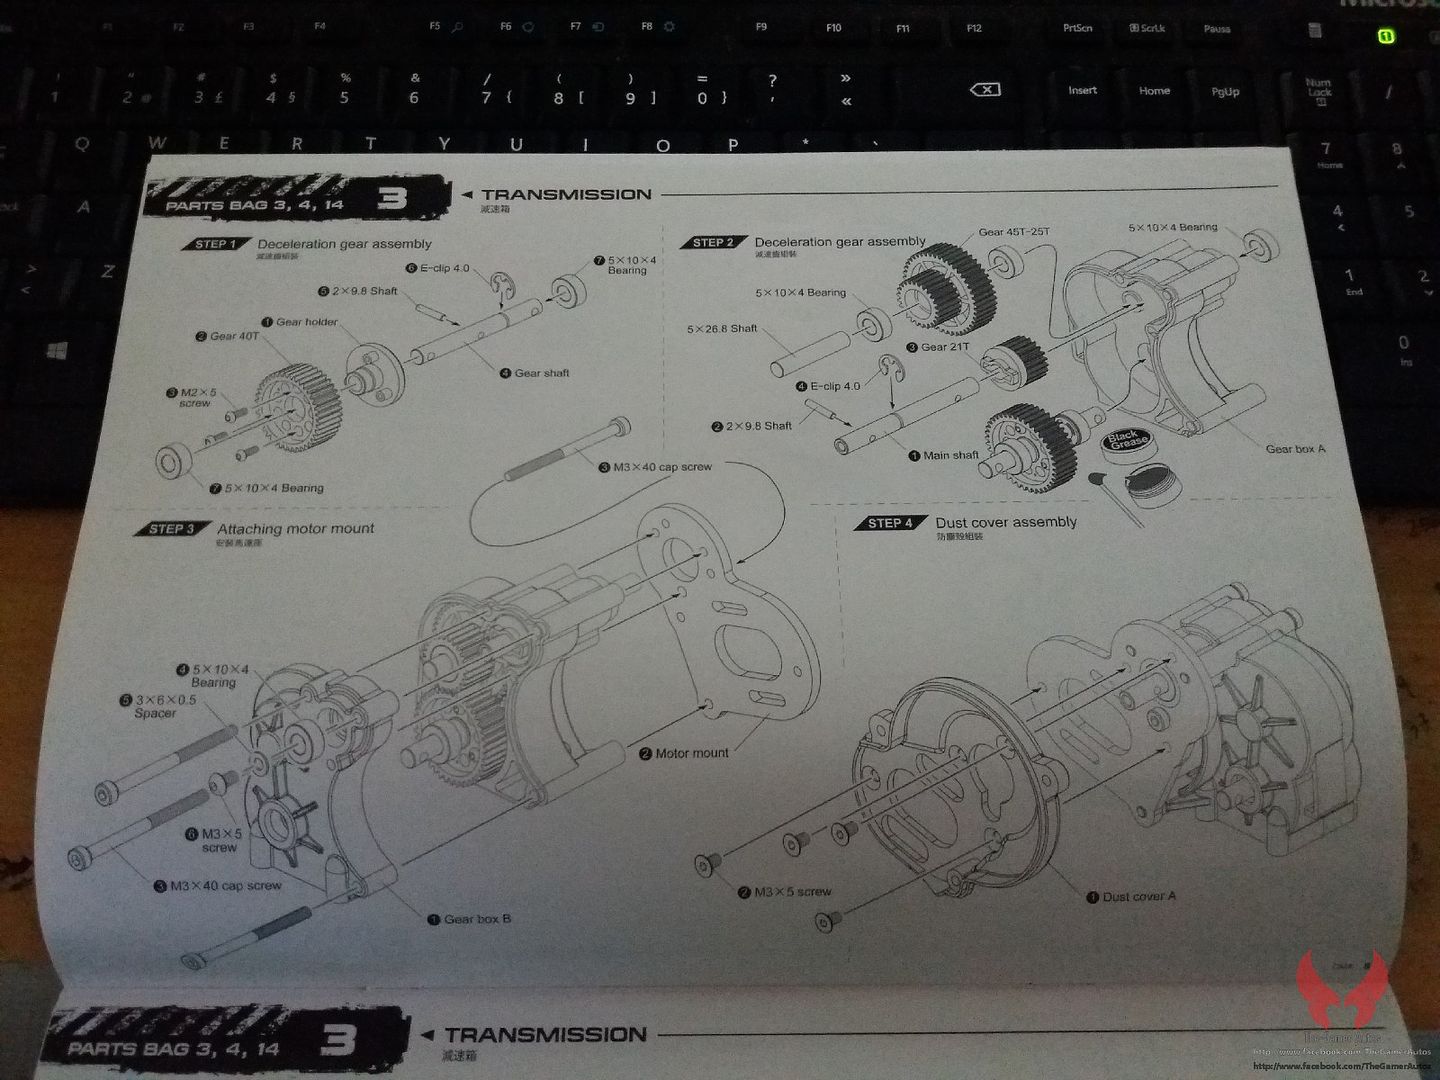 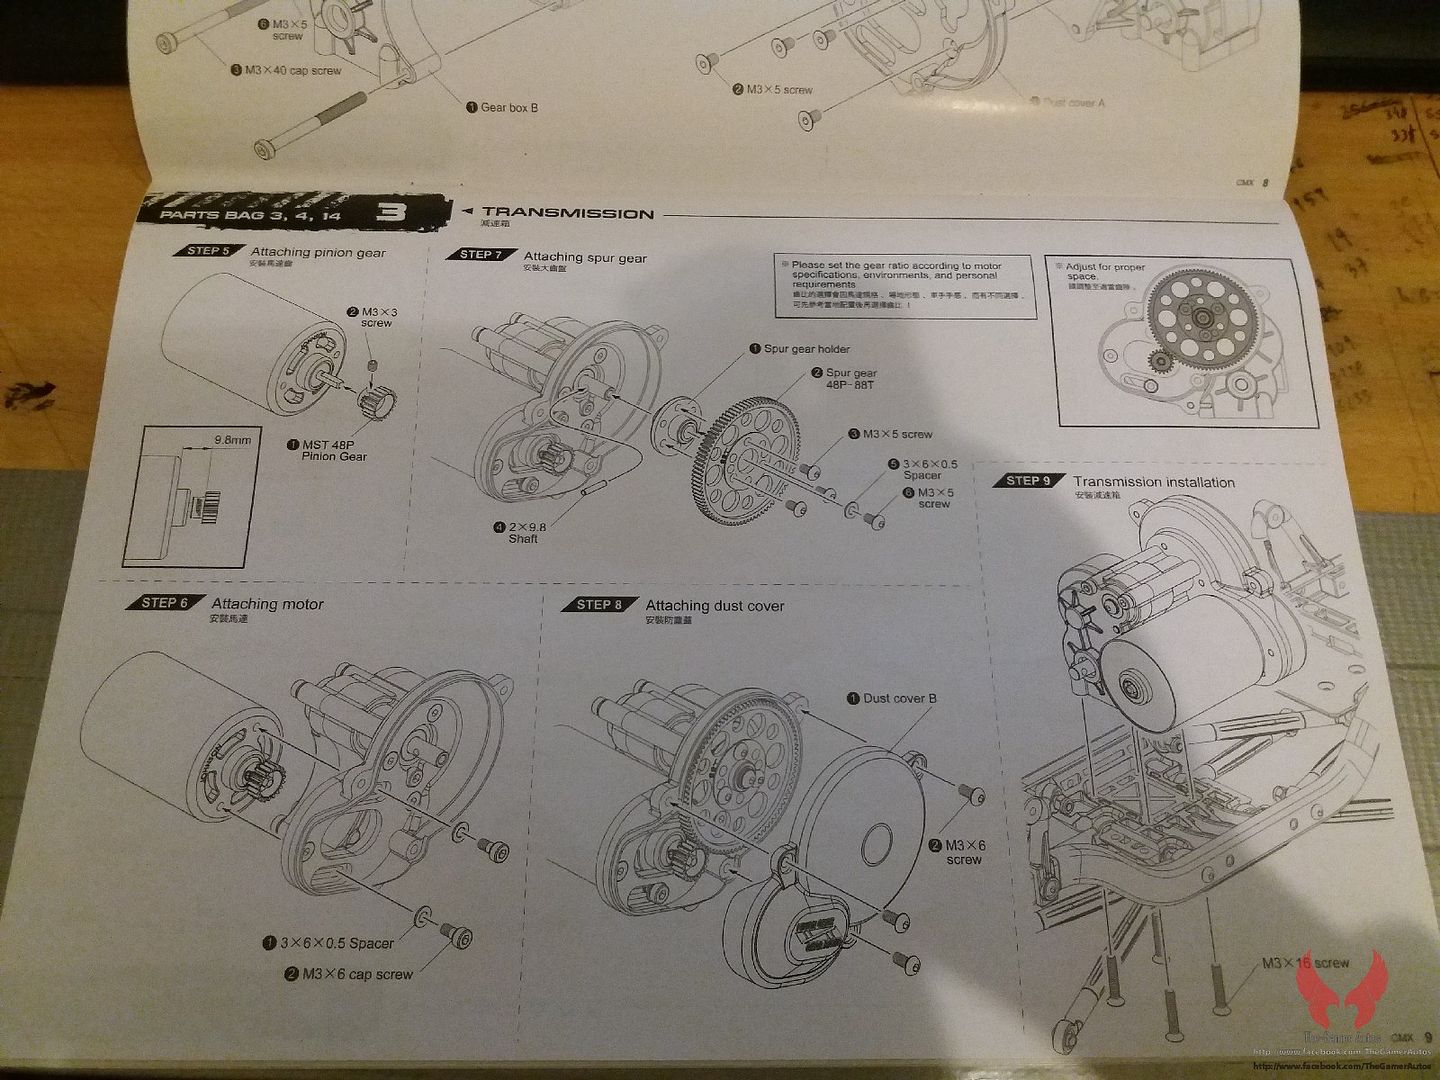 All parts are plastic, except the shafts. 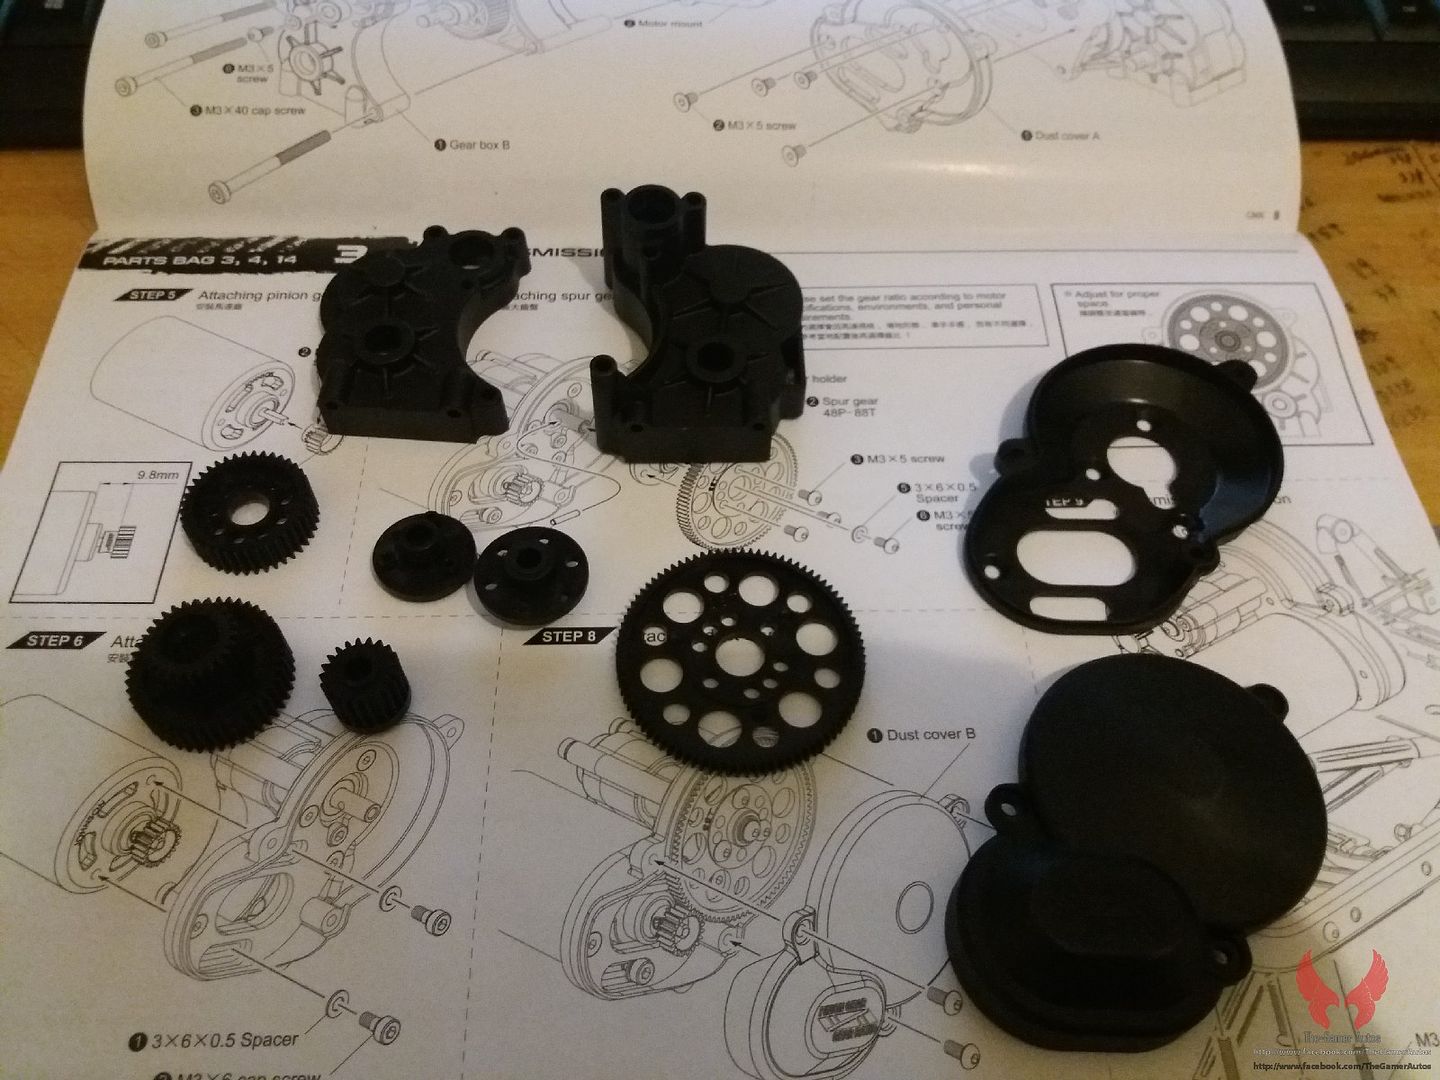 The spur gear is protected by a narrow cover, because there is no clutch in this kit. 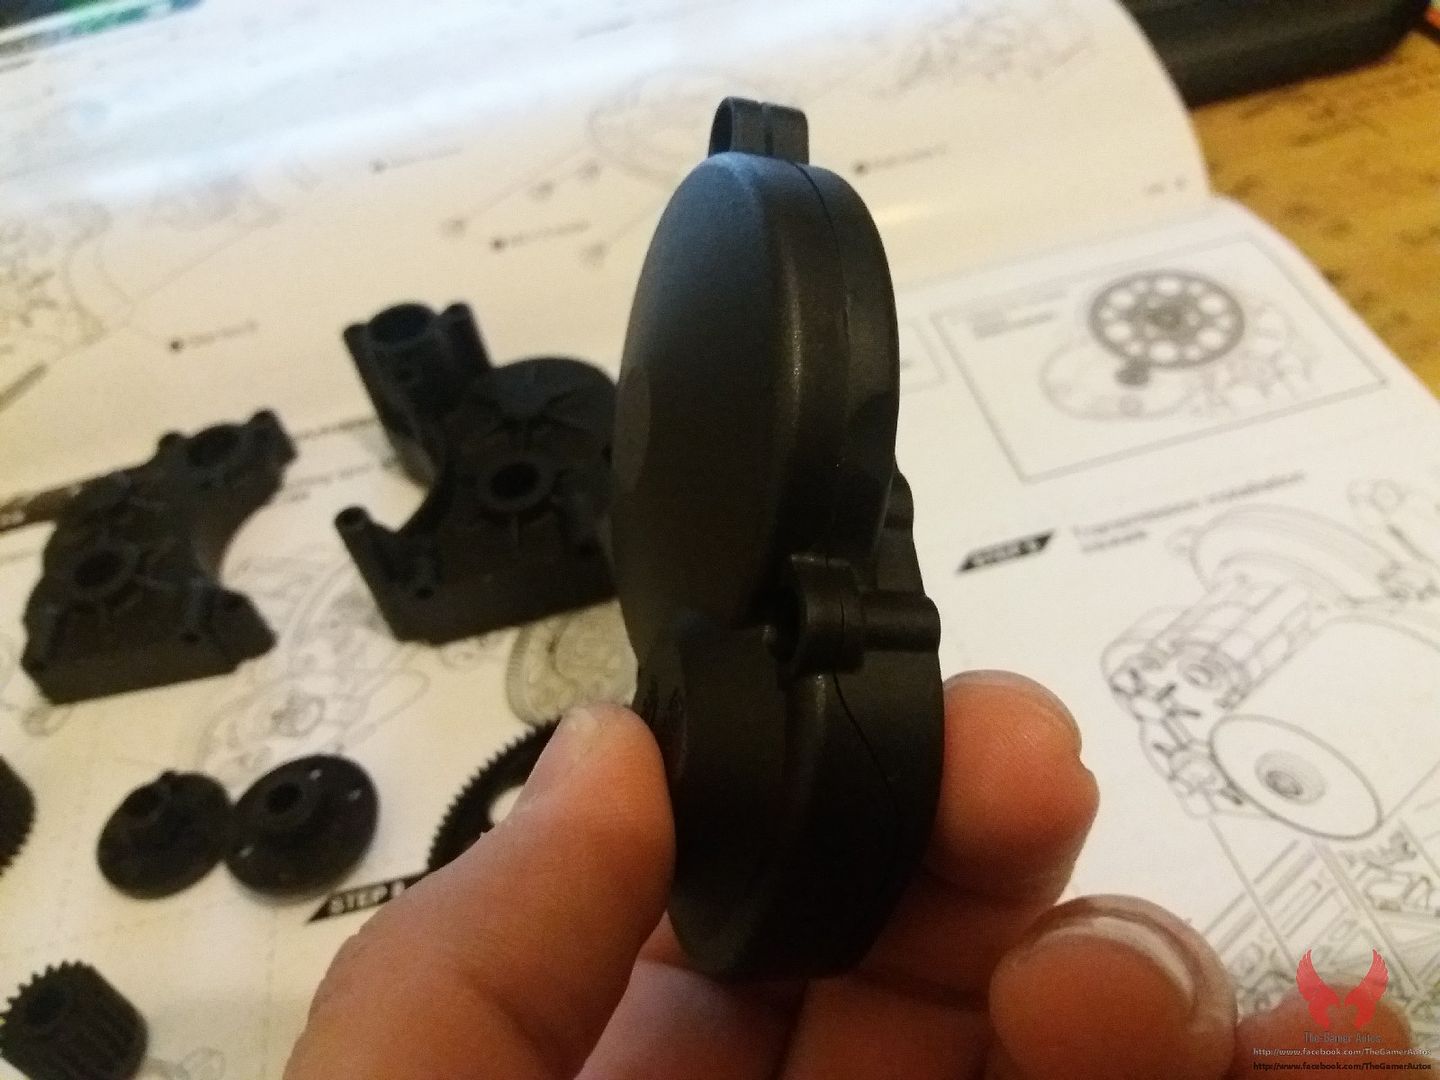 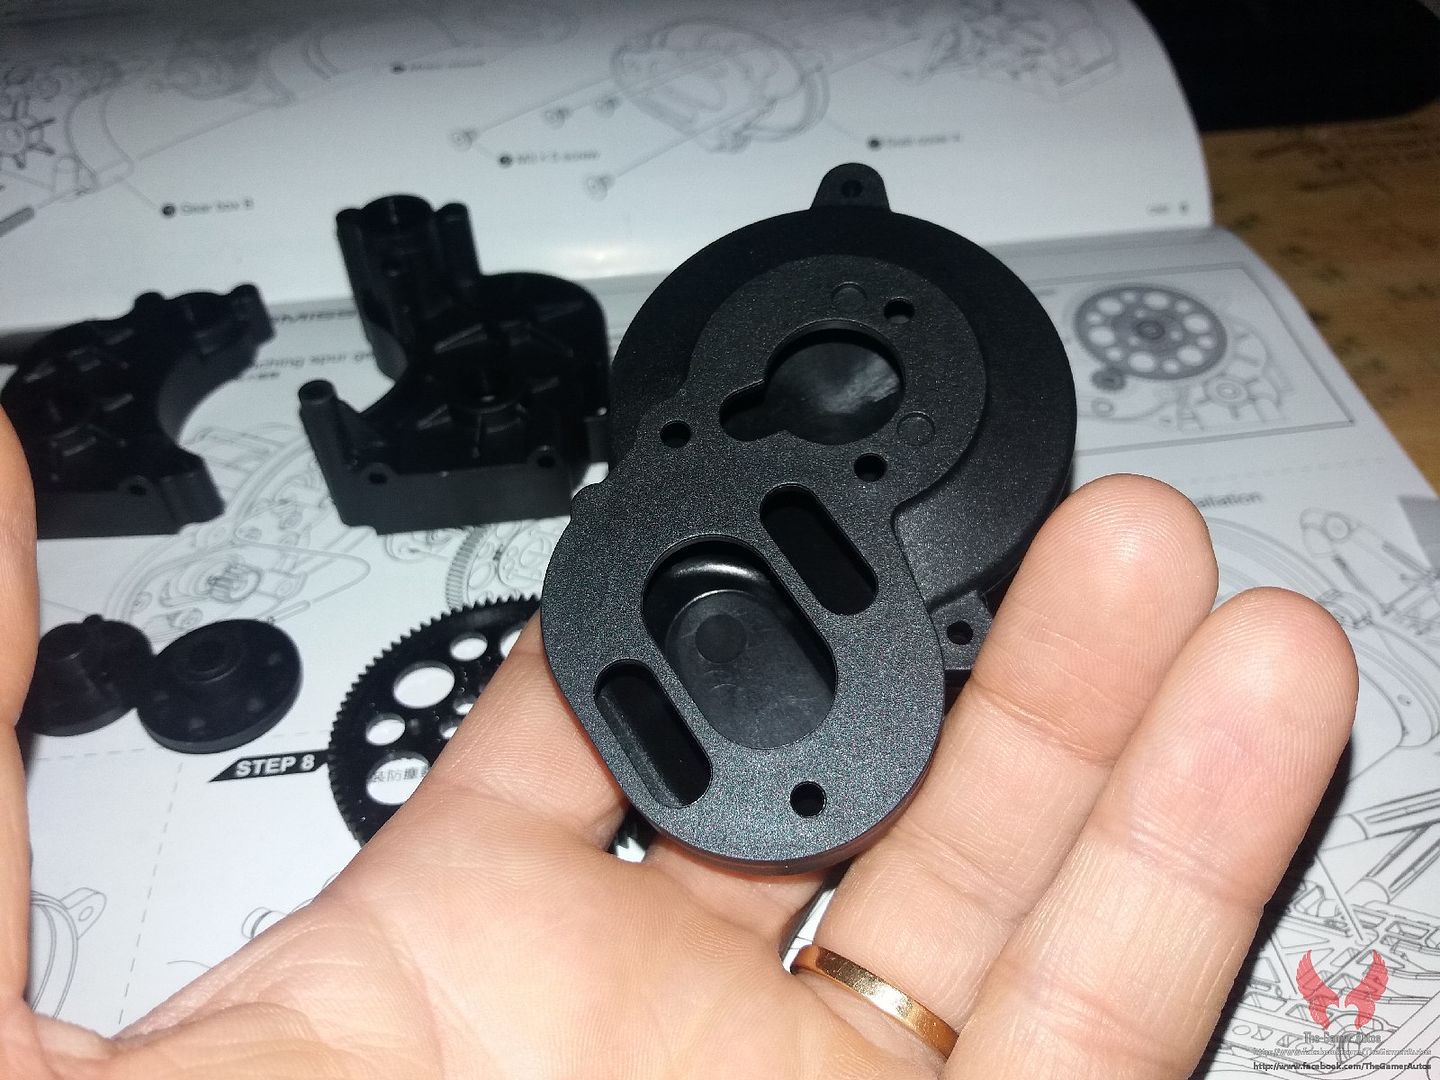 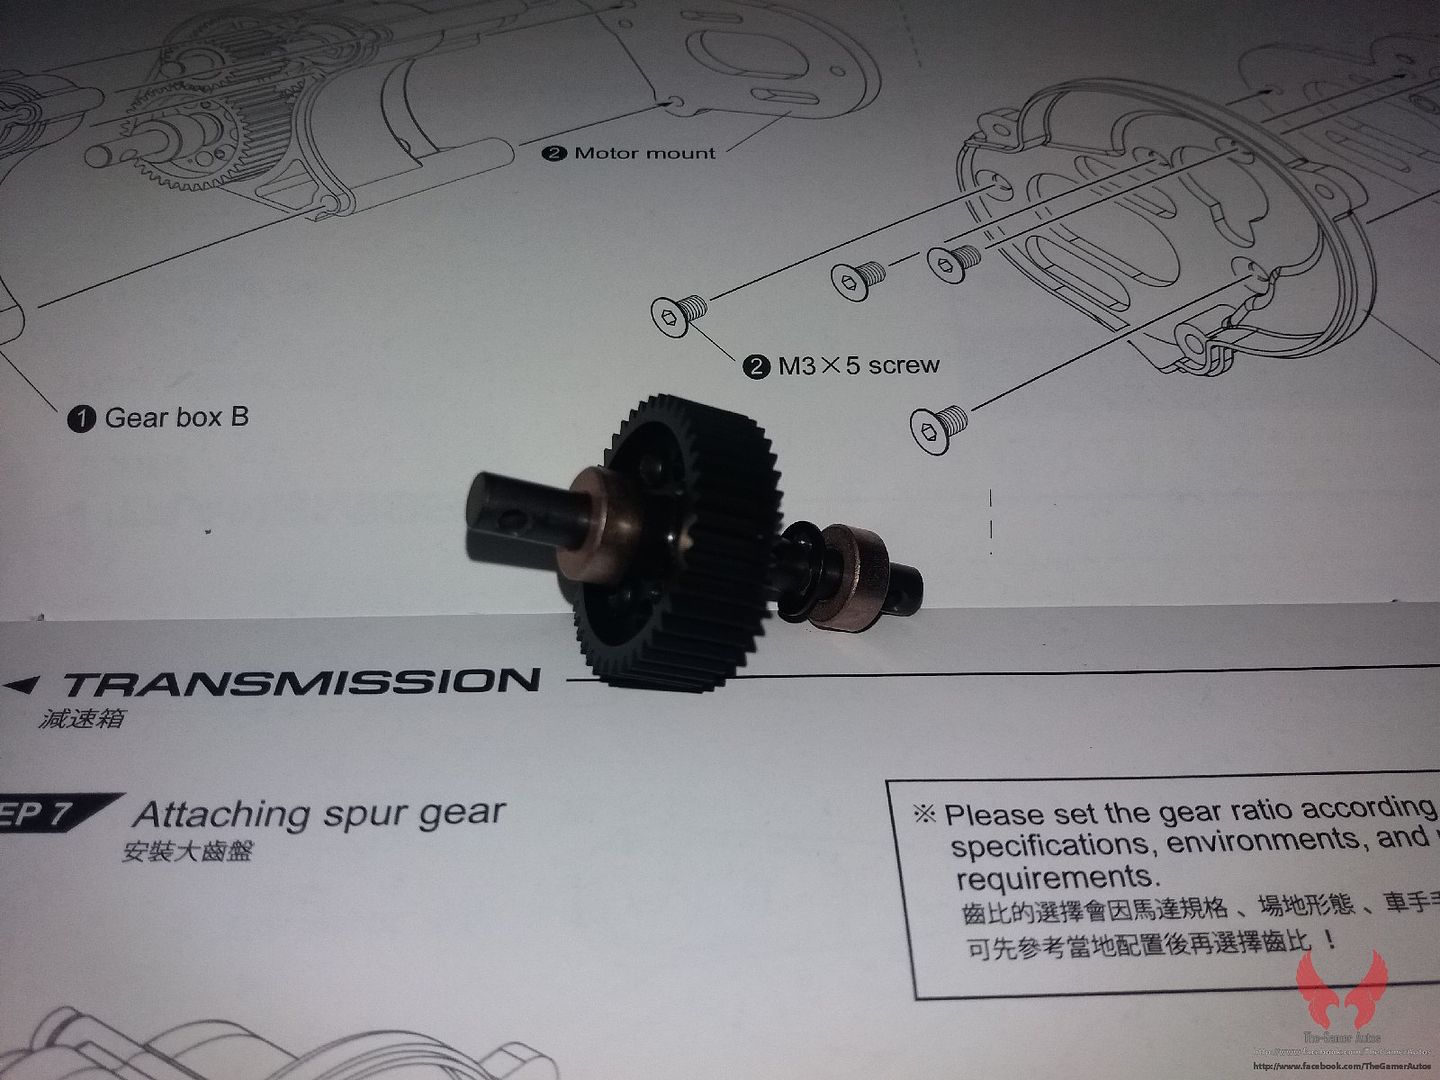 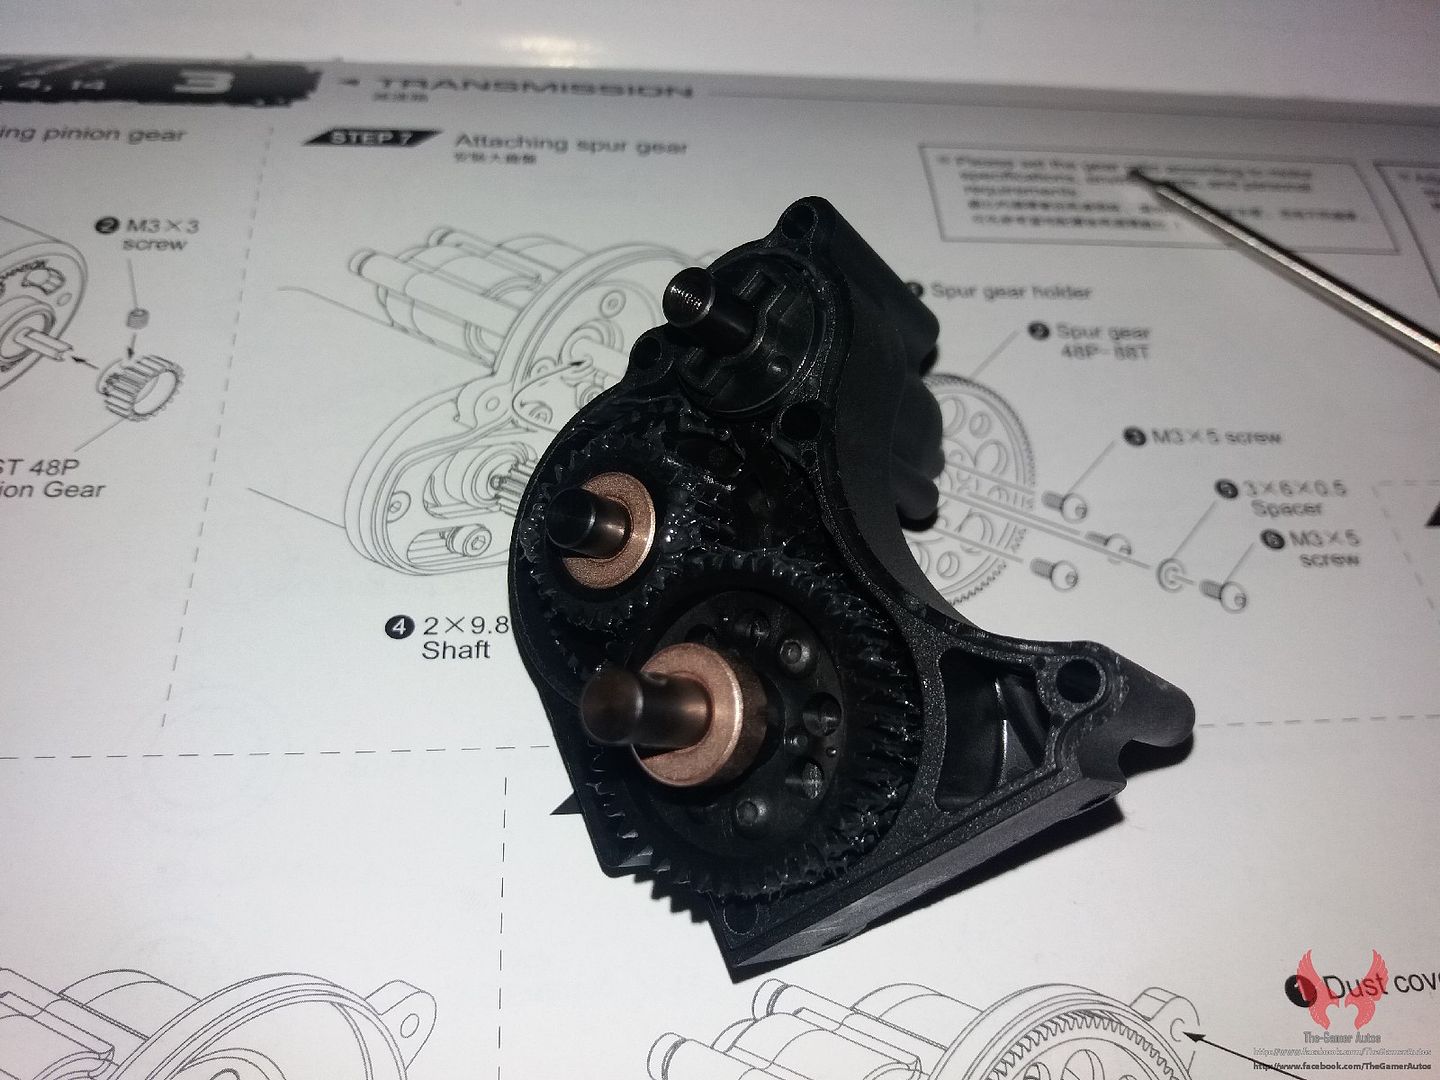 The motor plate is aluminium and has a "bronze" color. 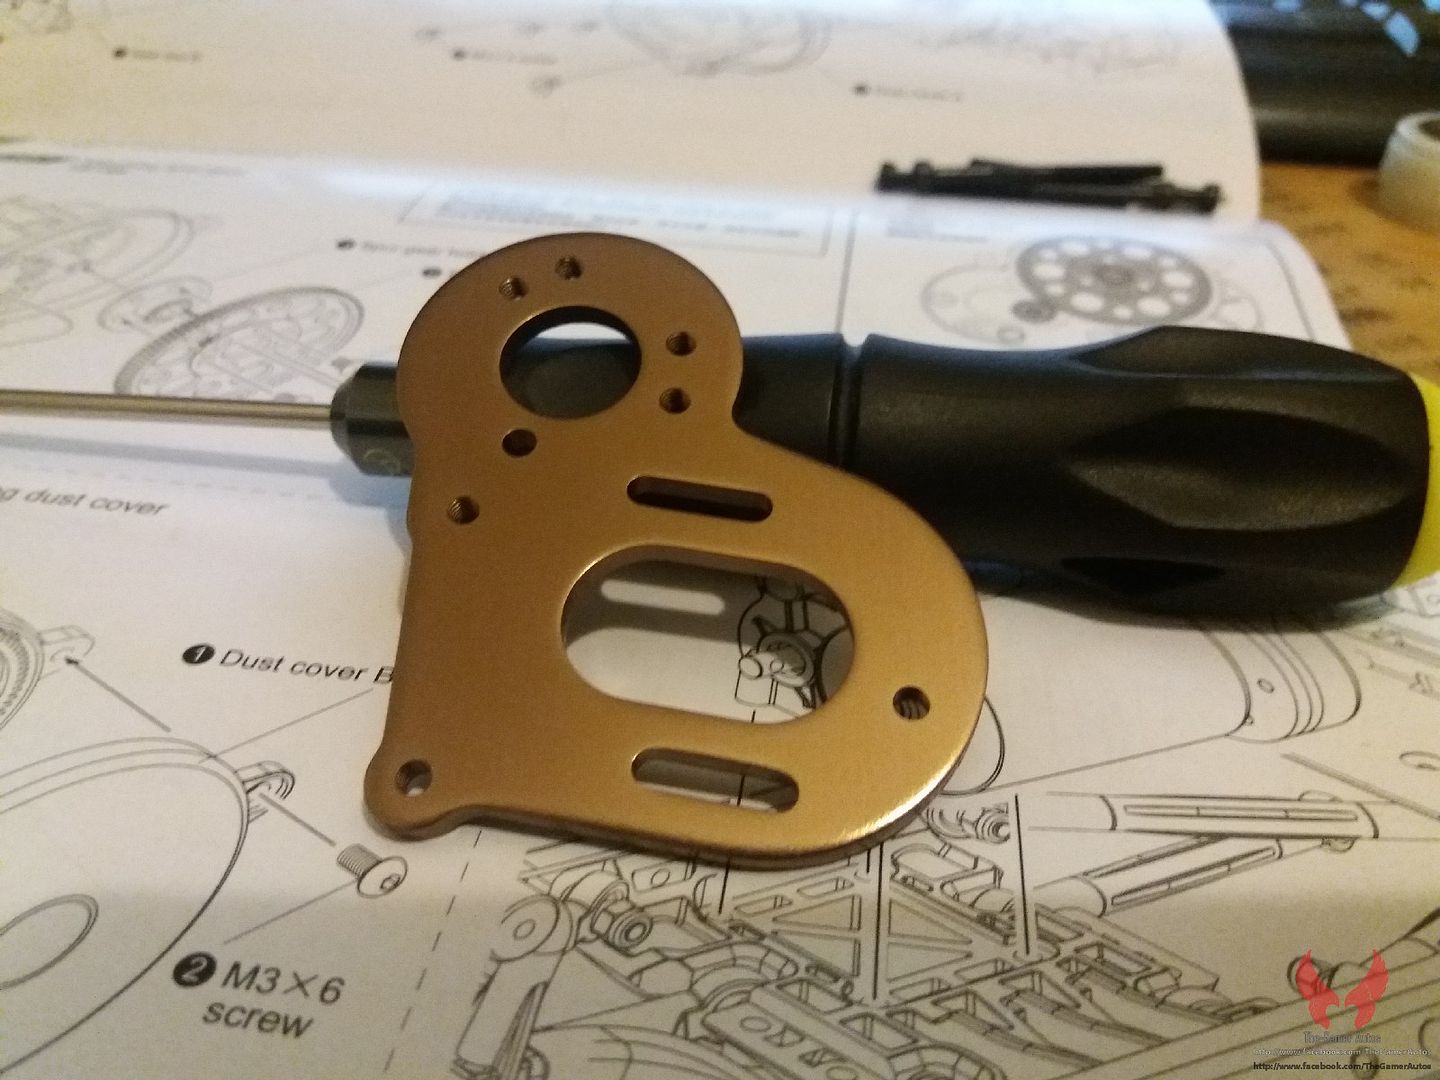  One of the screws goes from the spur side. It's weird but it does not adversely affect the transmission in nothing! 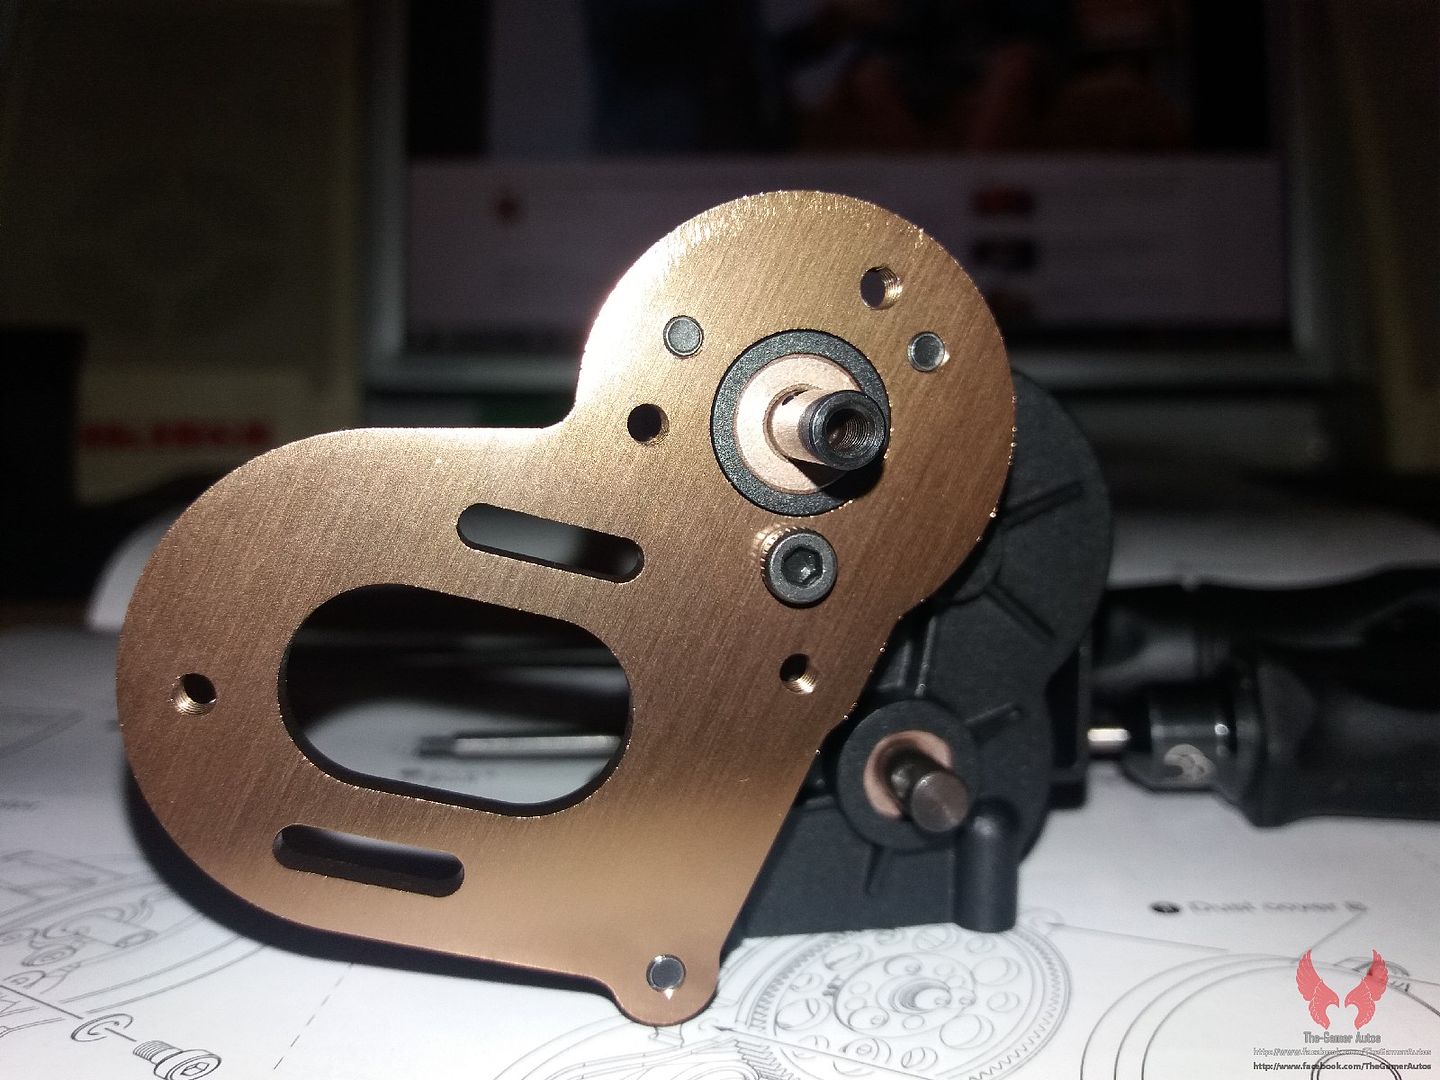 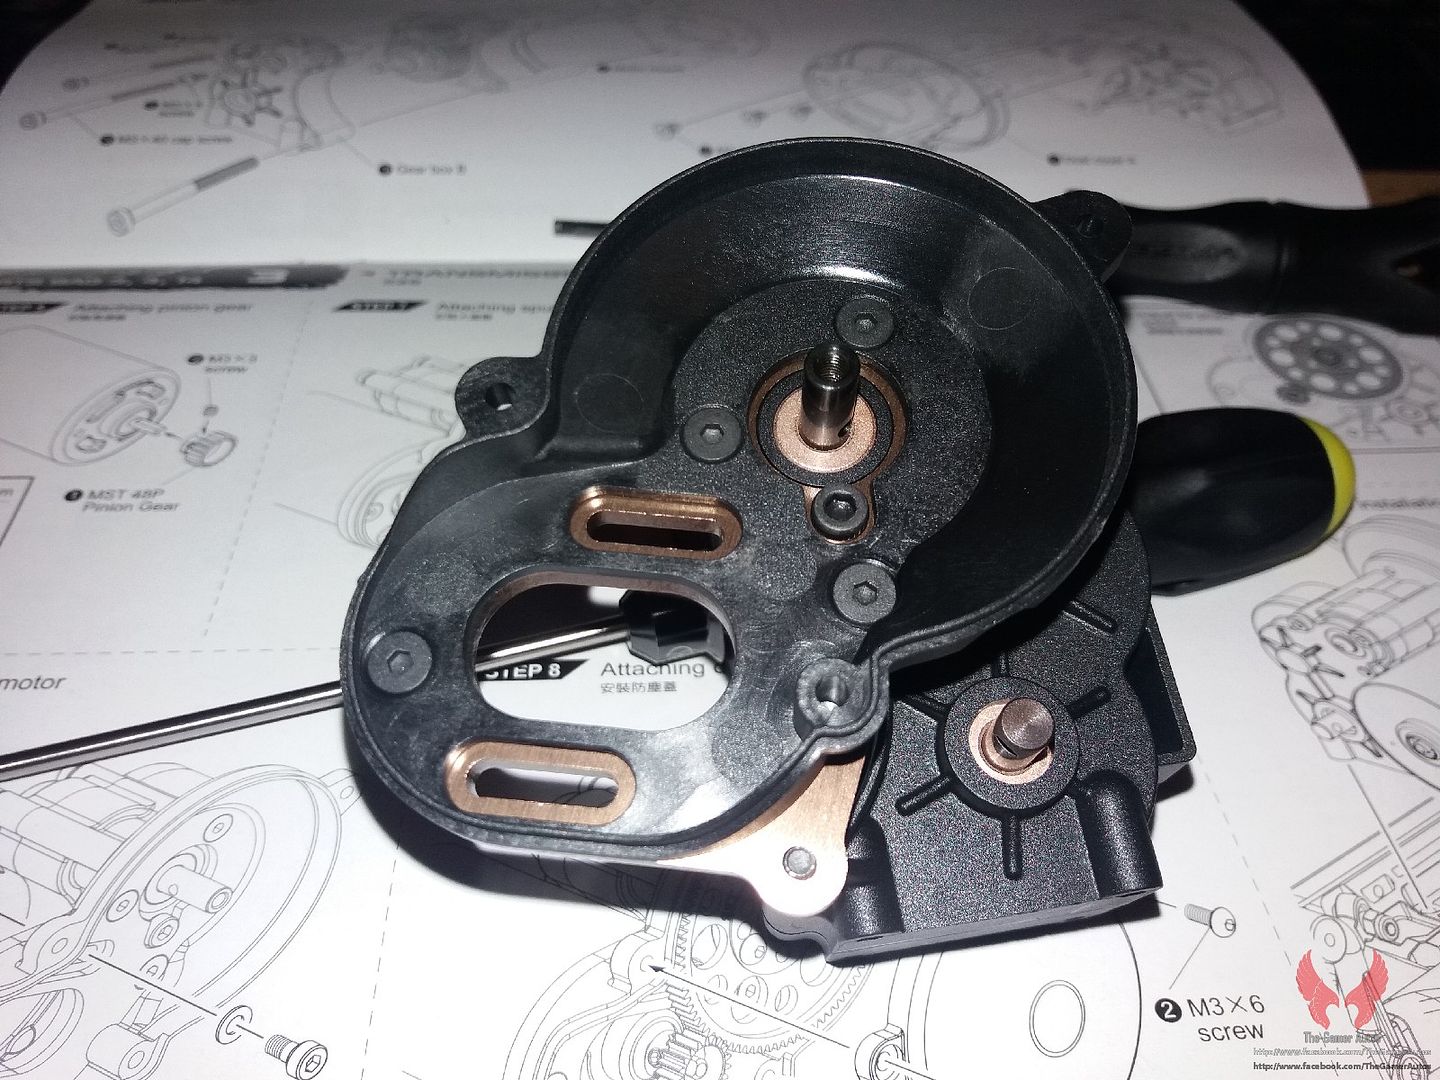 Transmission ready and mounted on the chassis. NOTE: the kit does not include a pinion. The spur is 88T and 48dp. According to the instructions, the smaller pinion you can fit is a 17T. With a 20T pinion you get around the same gear ratio as you get in a SCX10 with a 87T spur and a 20T pinion. 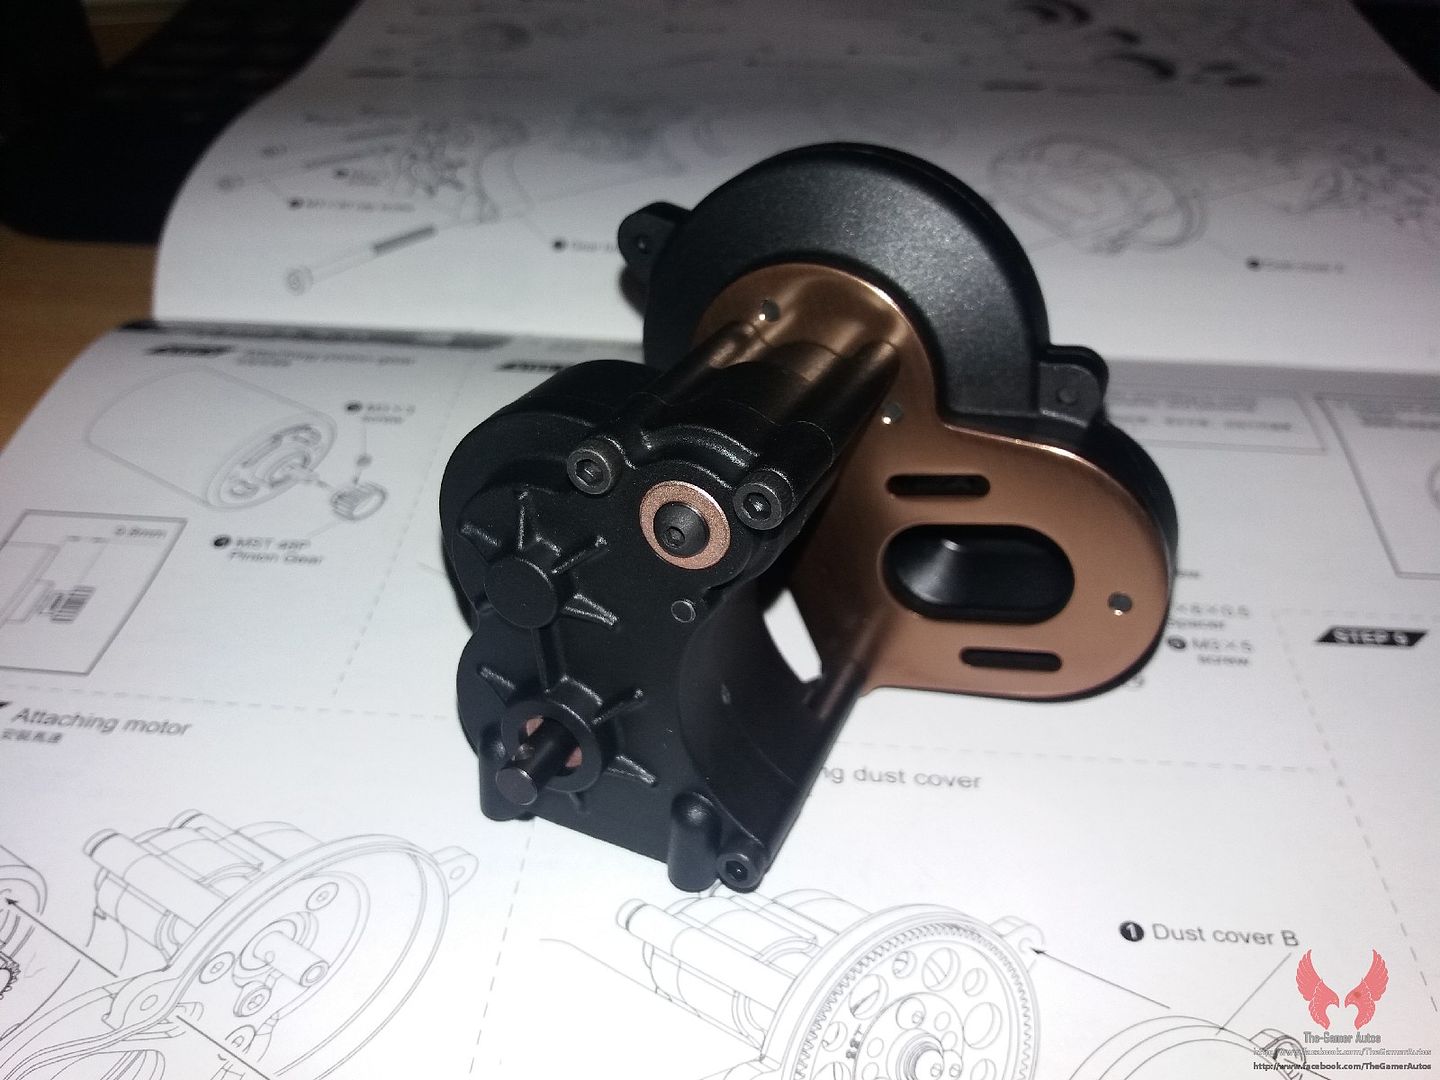 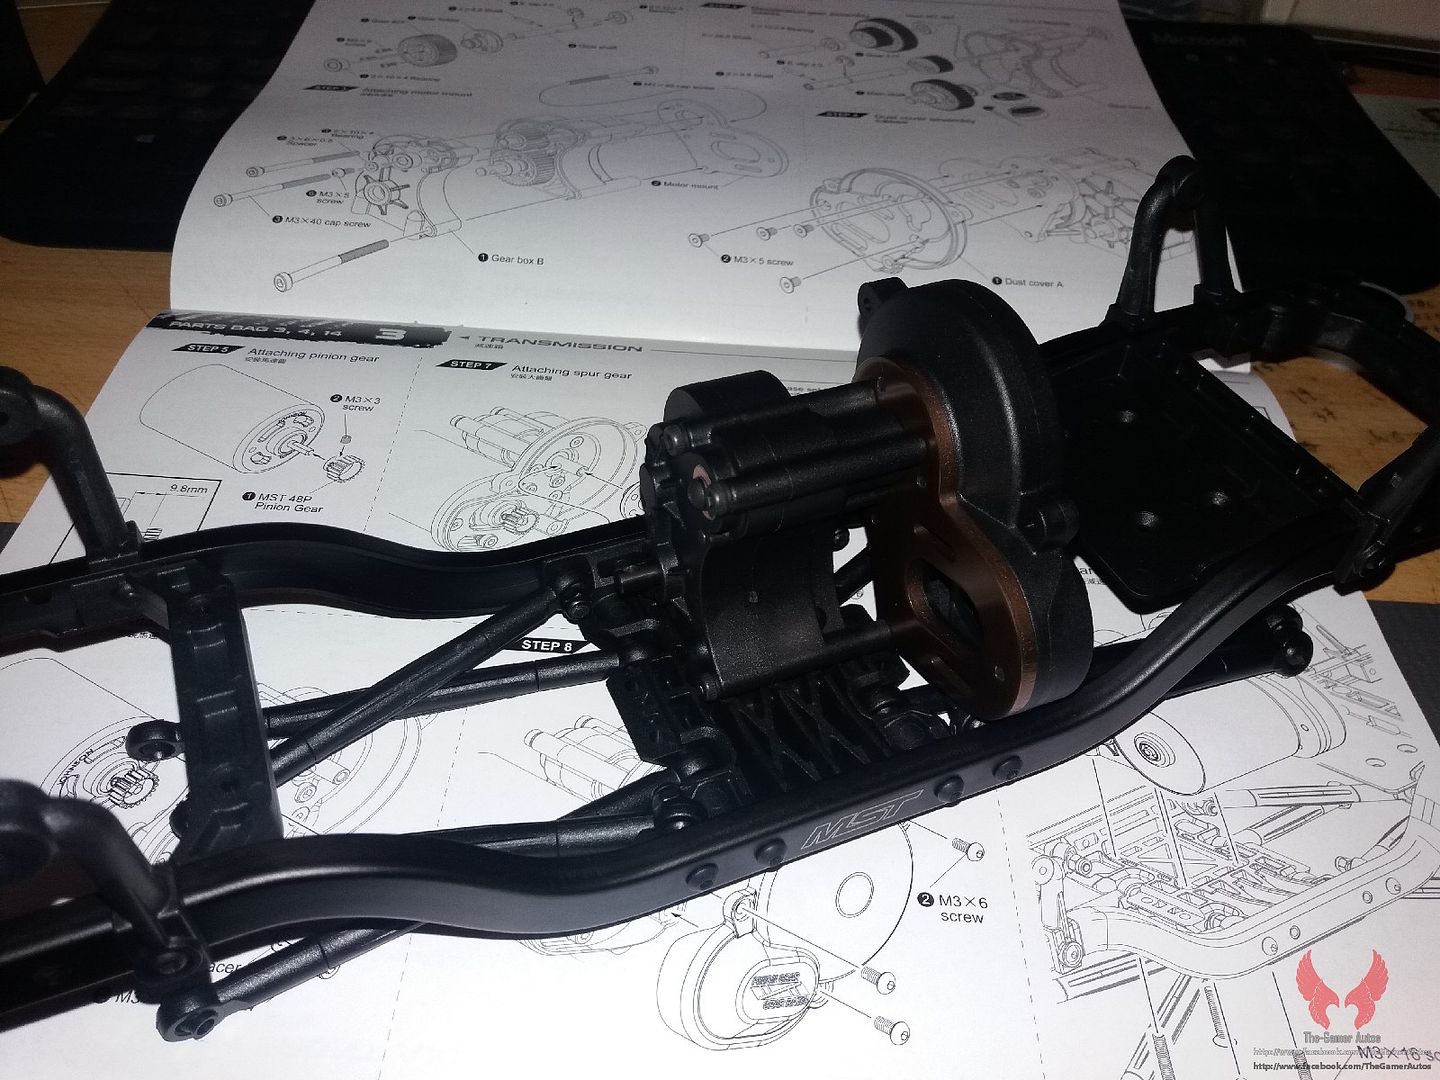 |
|
| |
|
04-11-2016, 07:57 AM
| #3 |
| Quarry Creeper Join Date: Aug 2009 Location: Portugal
Posts: 318
|
Steps 4-5 Step 4 - front axle   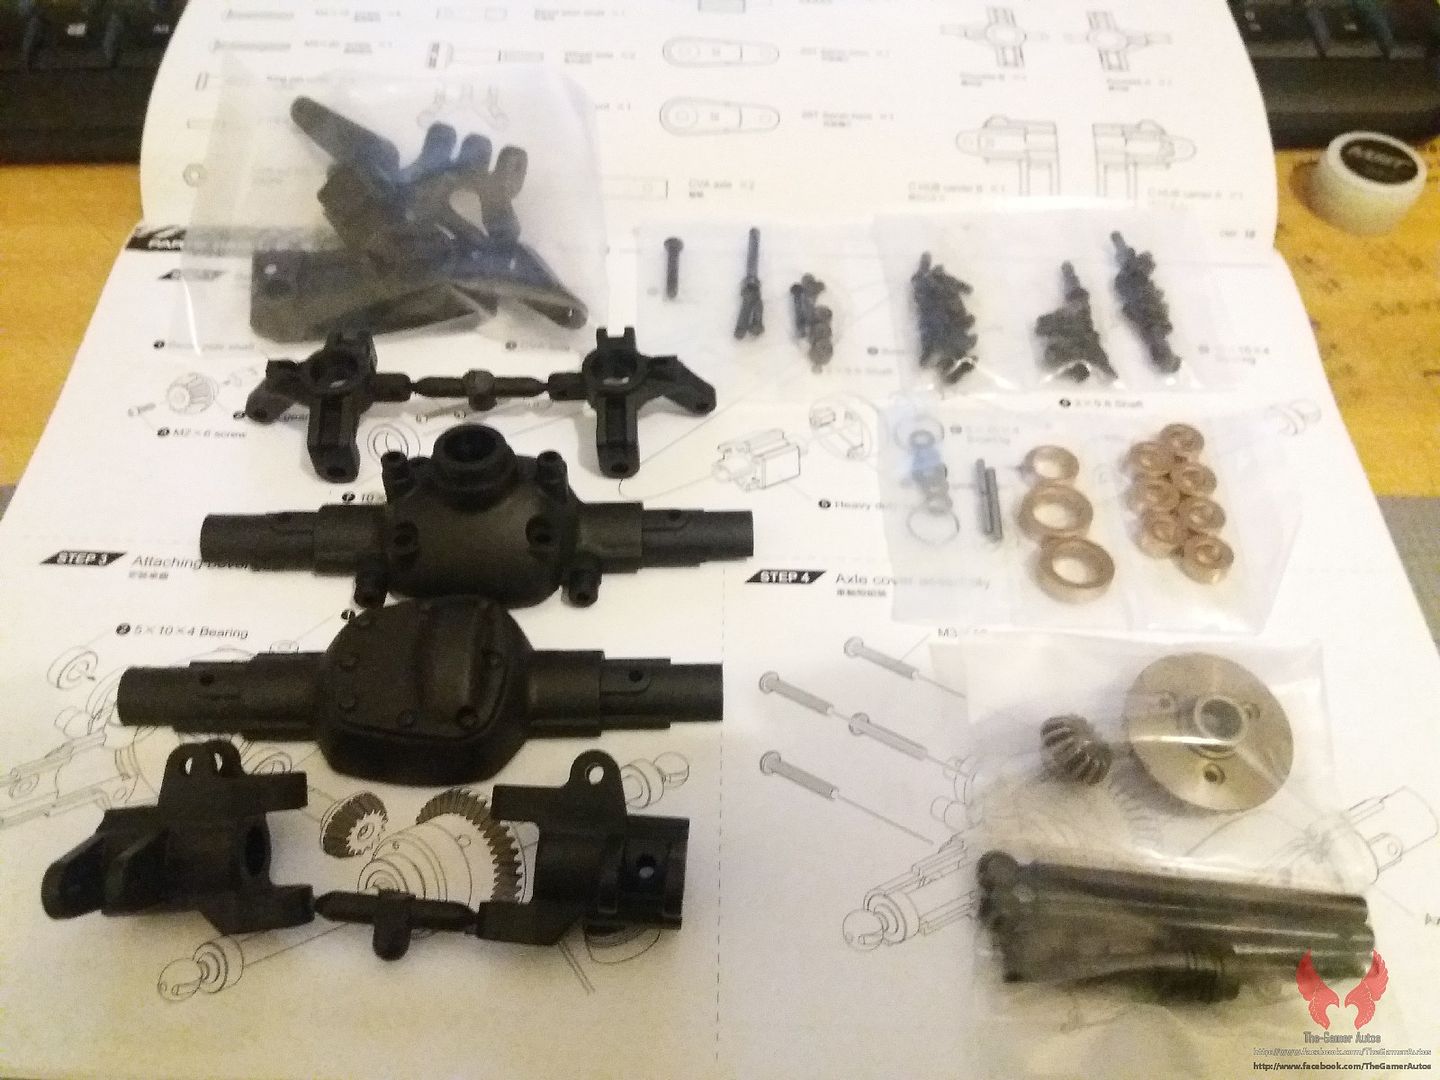  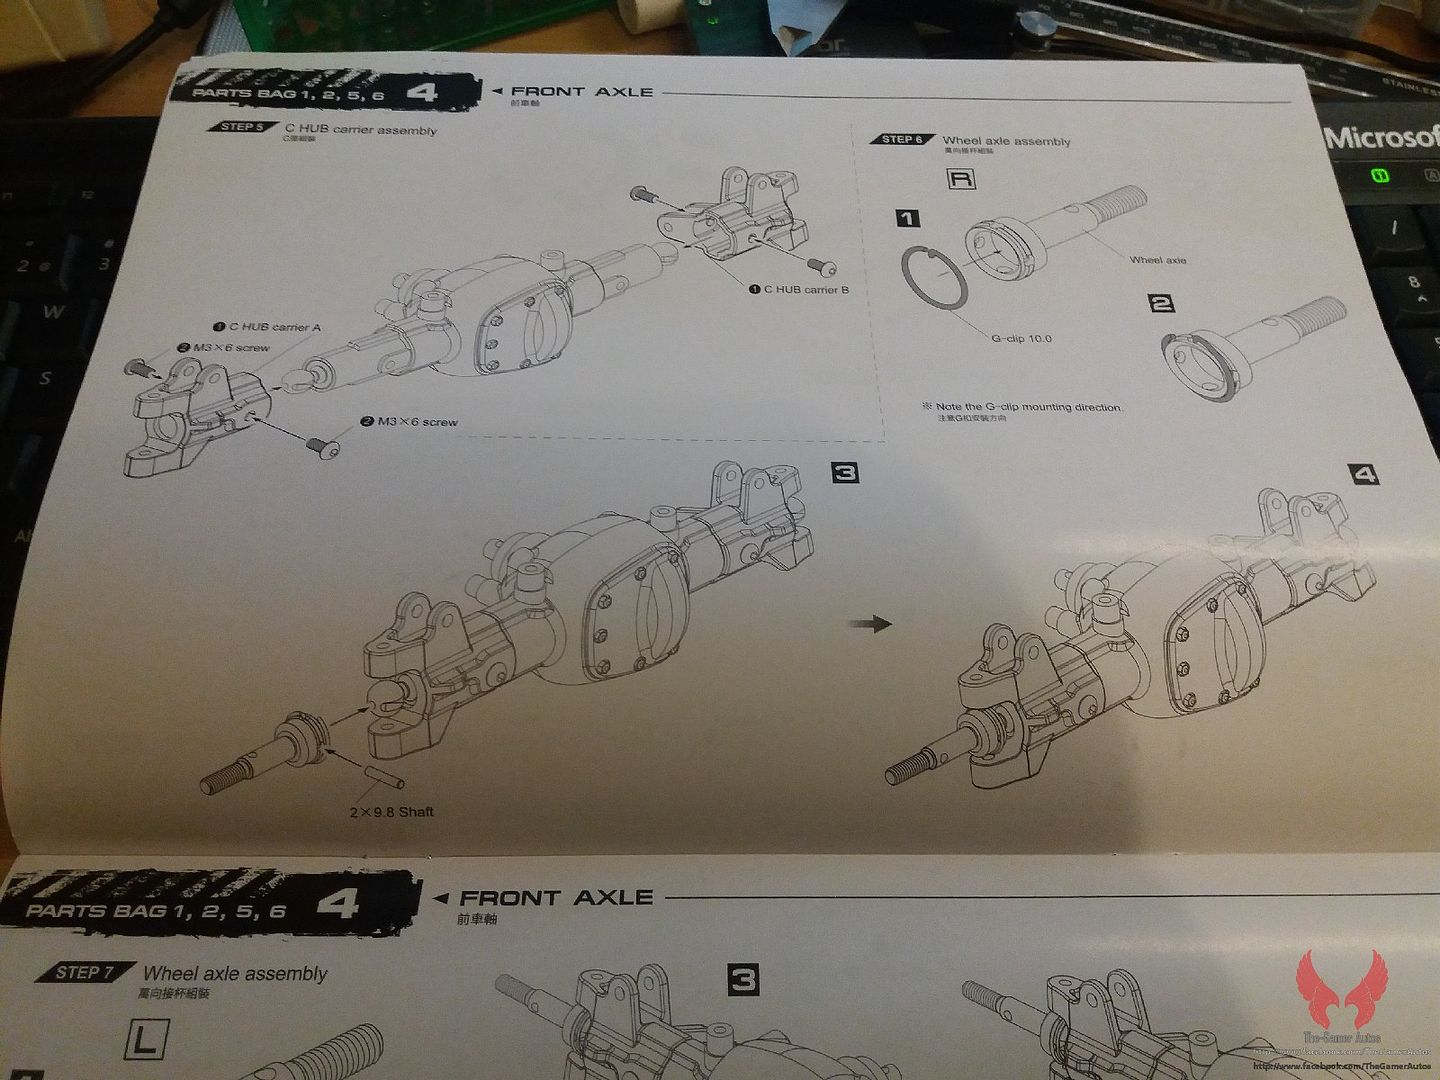  This part is the diff locker. It's in plastic instead of the traditional metal. Only time will tell if it will hold! 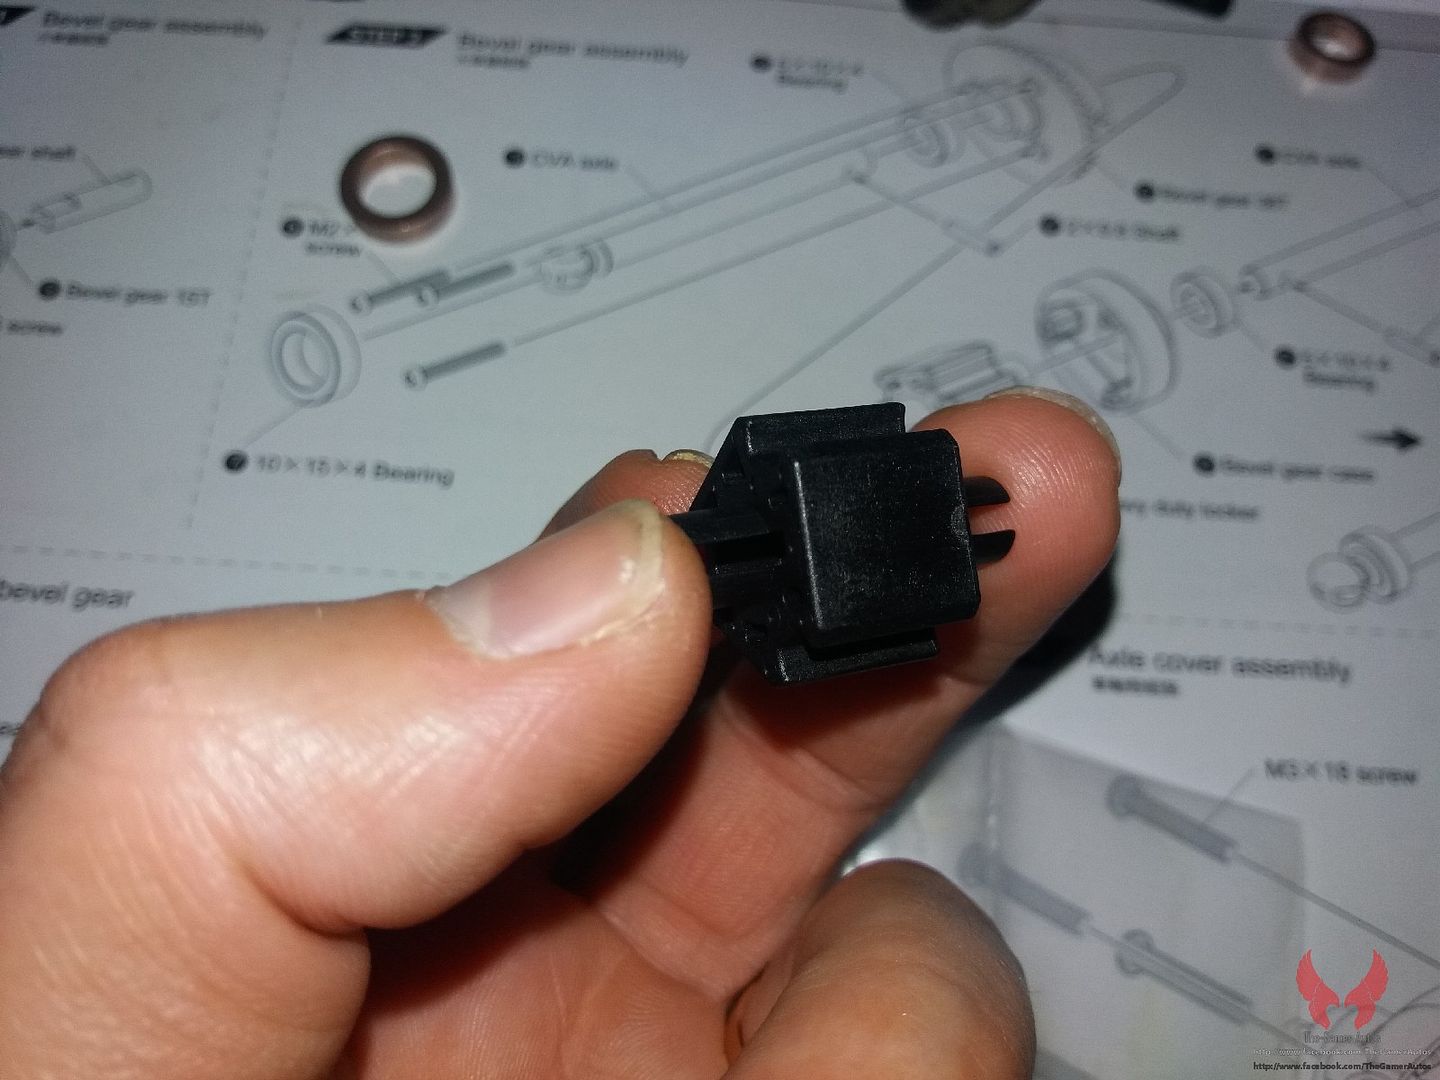 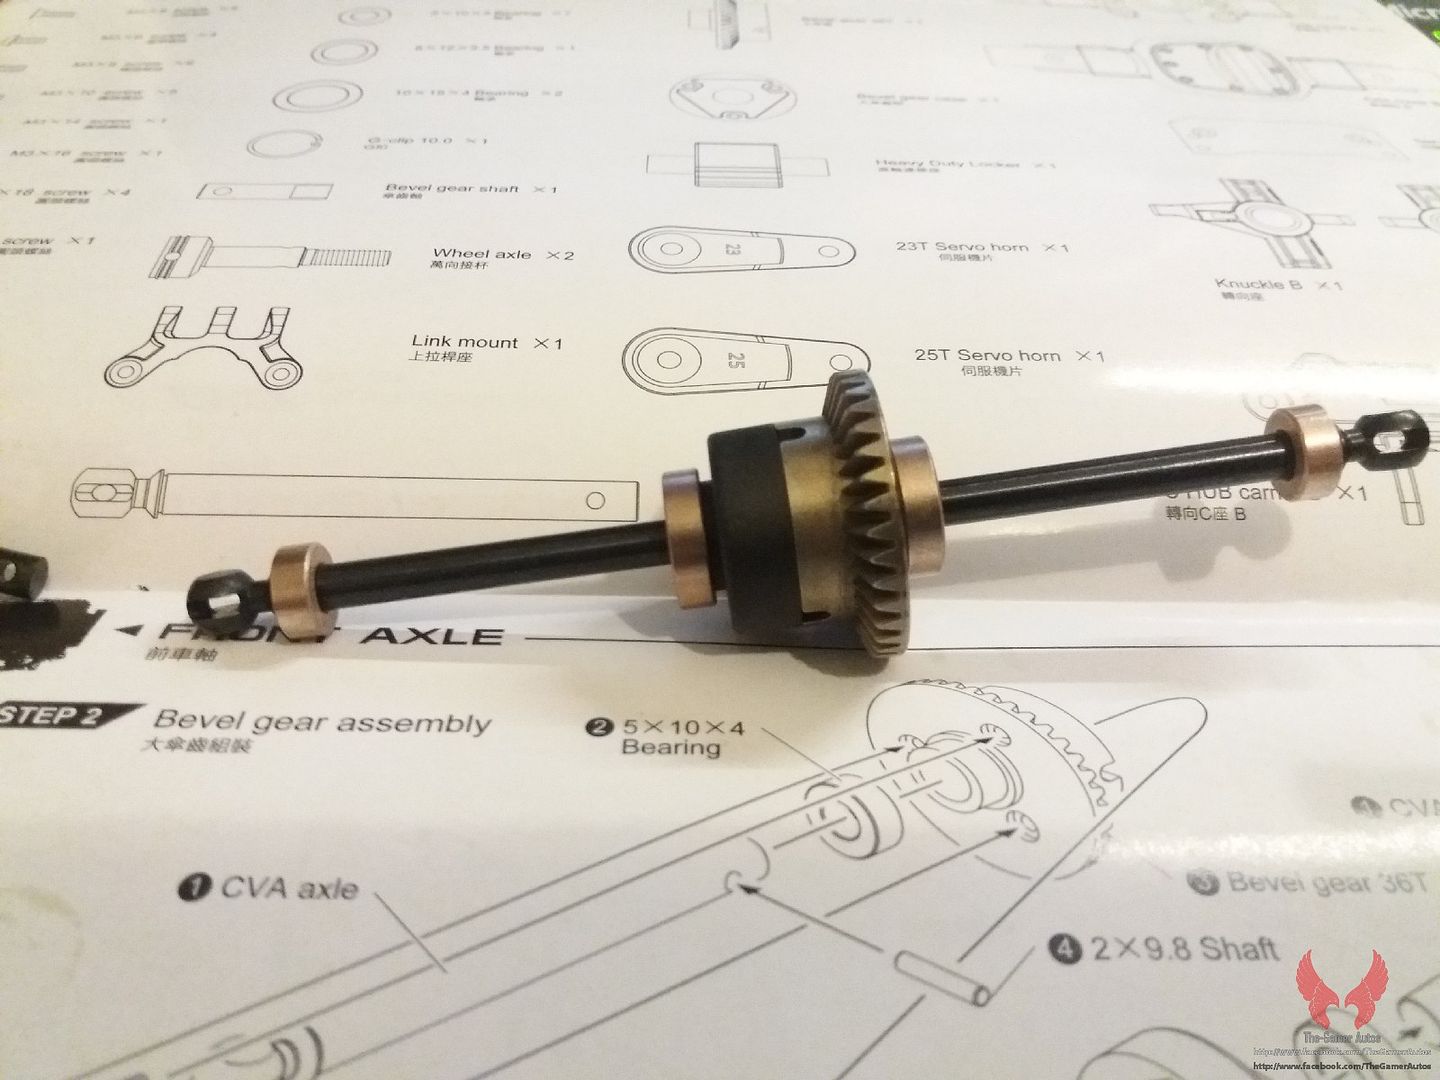 The axle uses two pieces like and SCX10. It would be nice to have a functional diff cover... 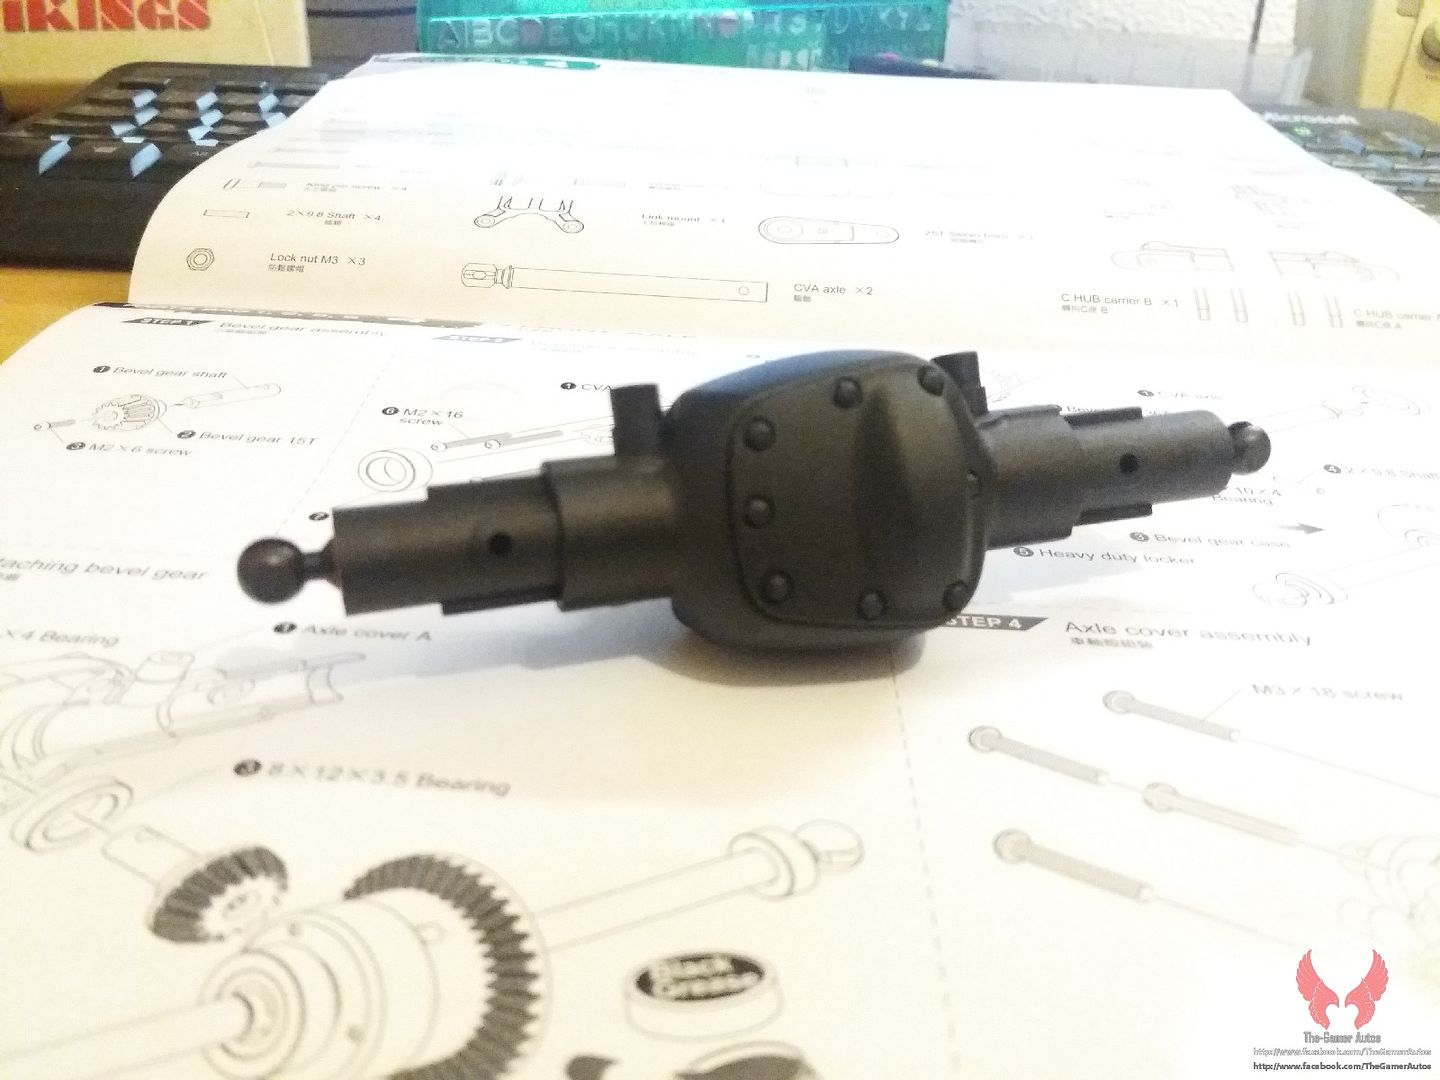 The steering uses CVDs, but, once again, it's an odd design: it doesn't uses the small "cylinders" where the pin goes. Good or bad? Only time will tell, again! 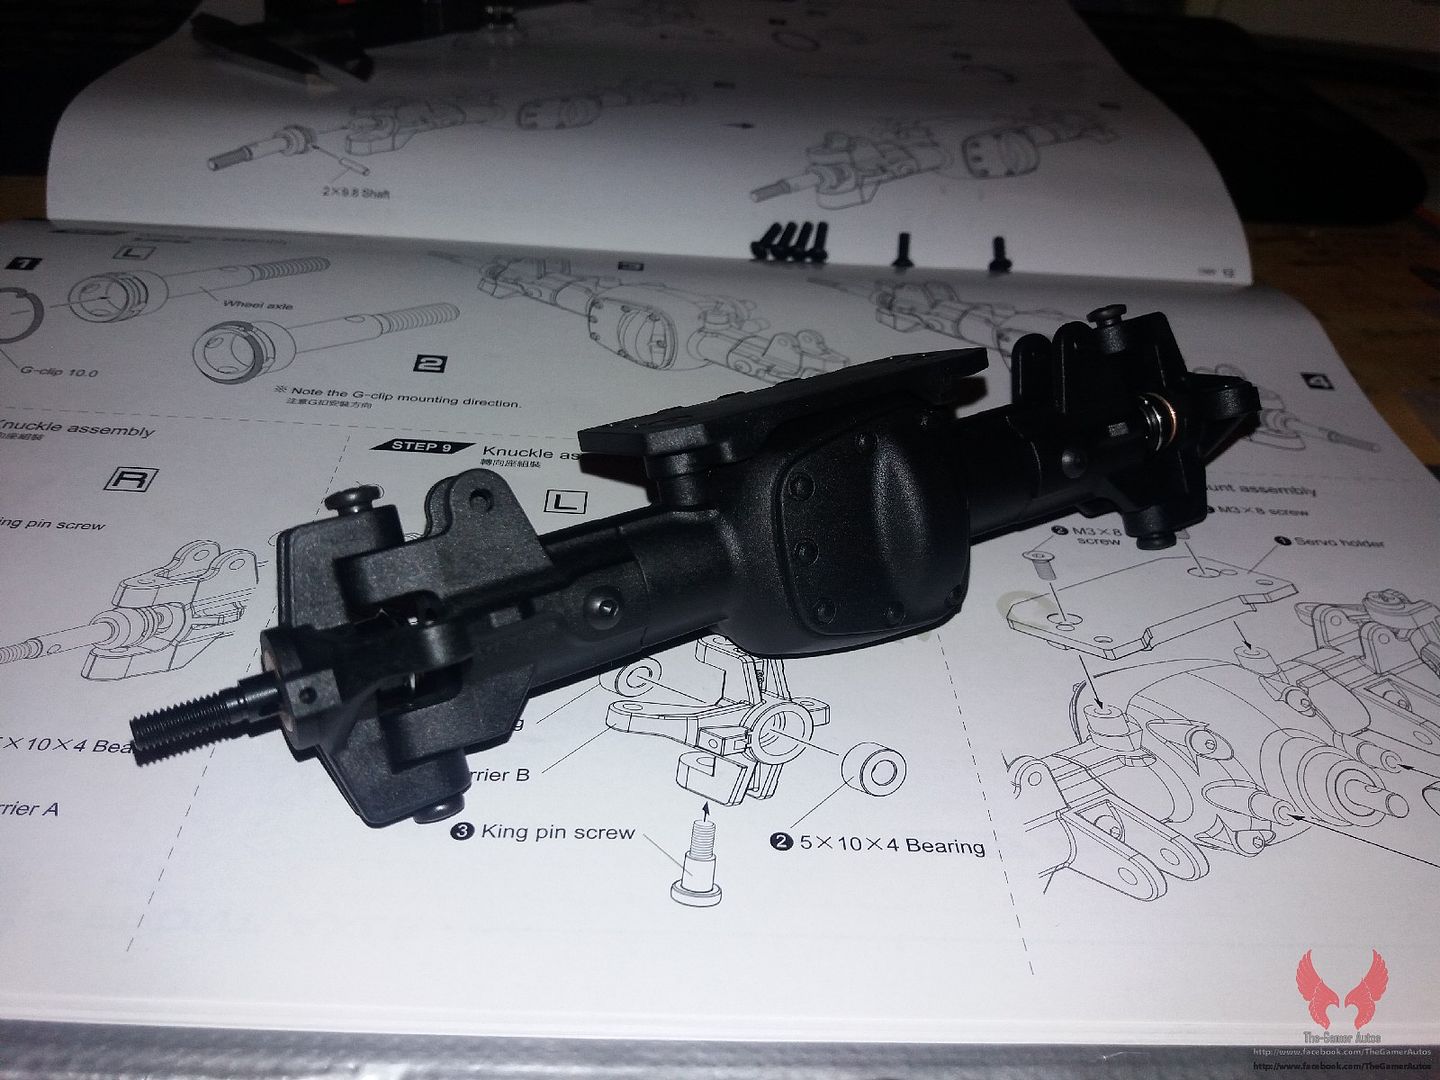 The upper link mounts sits flush with the diff output case. 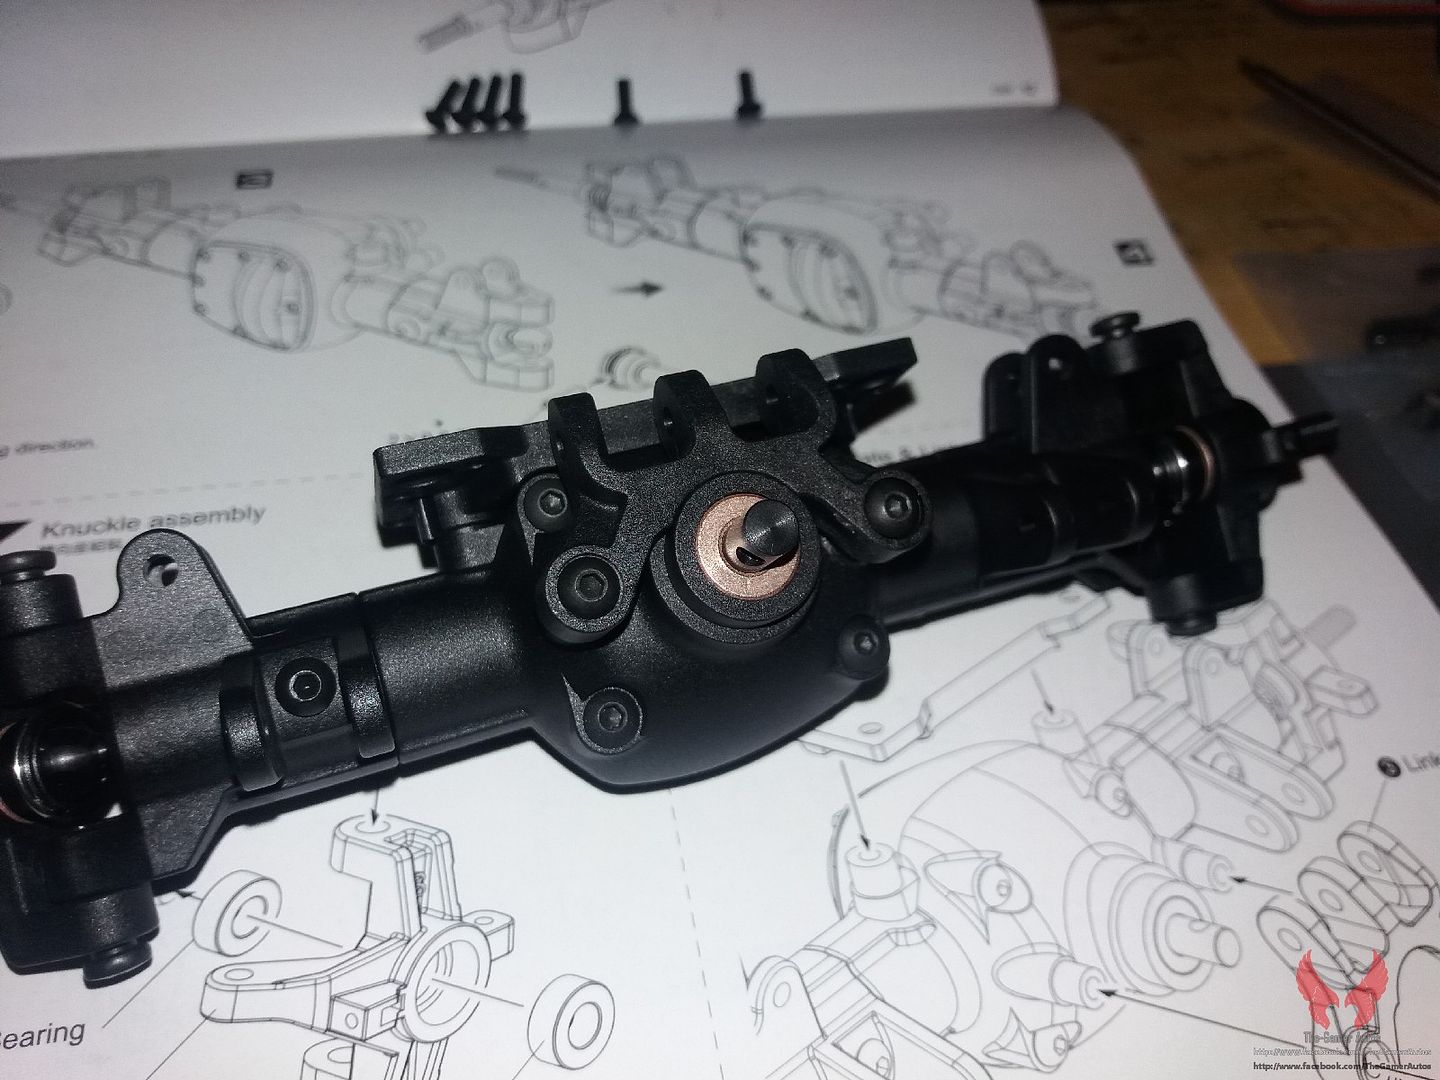 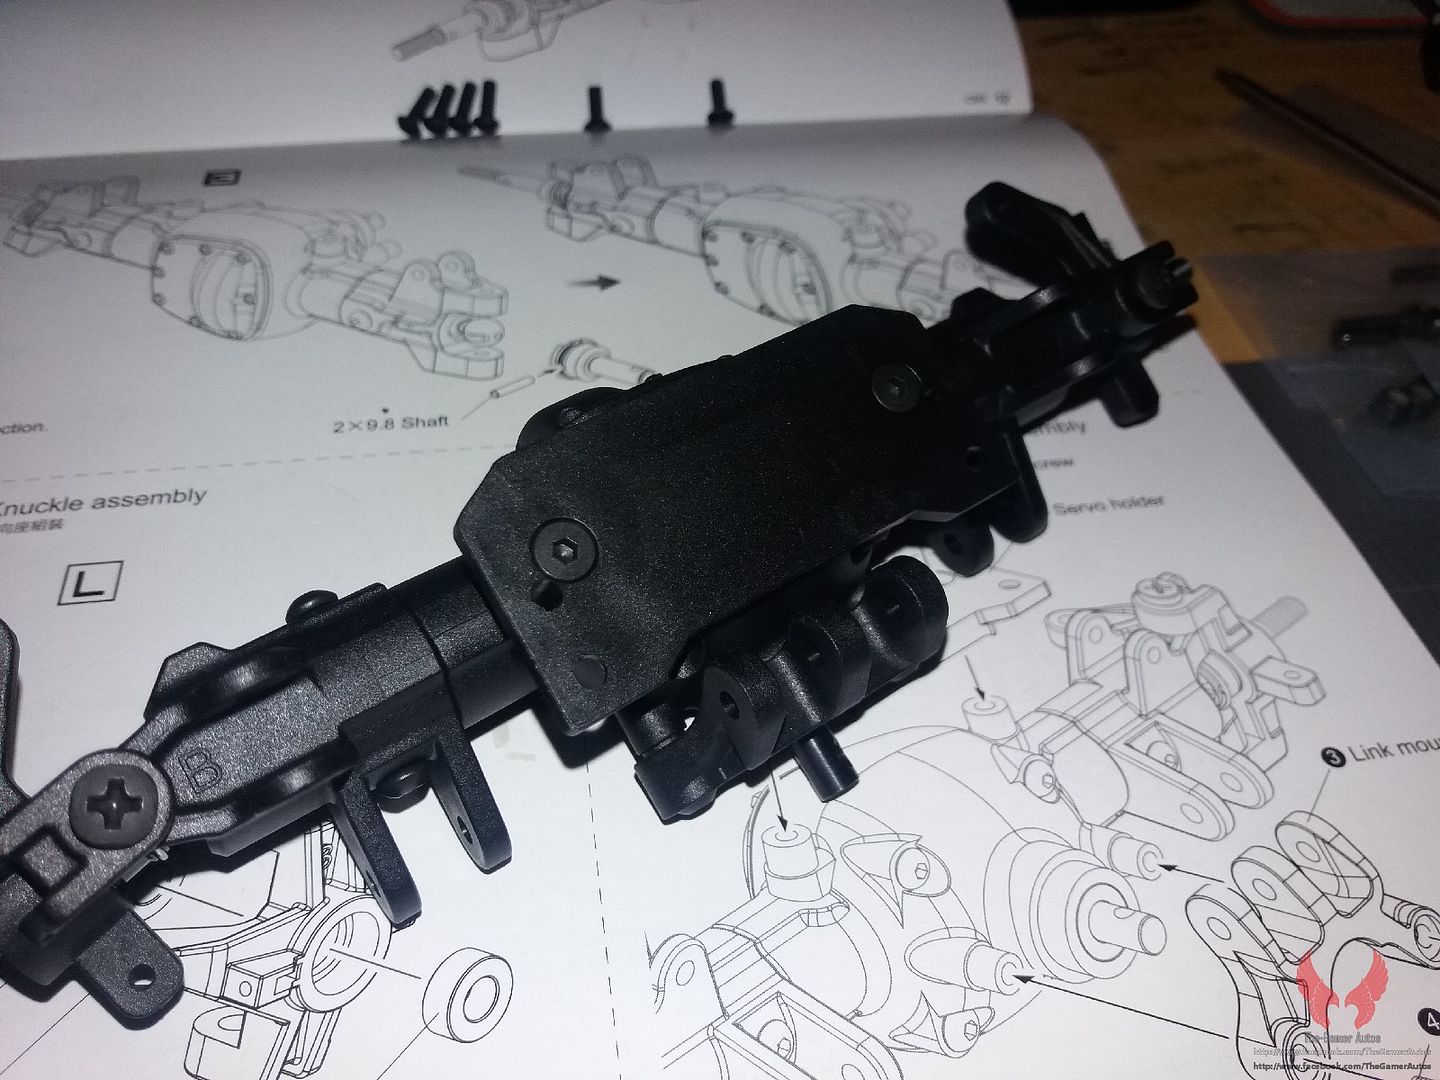 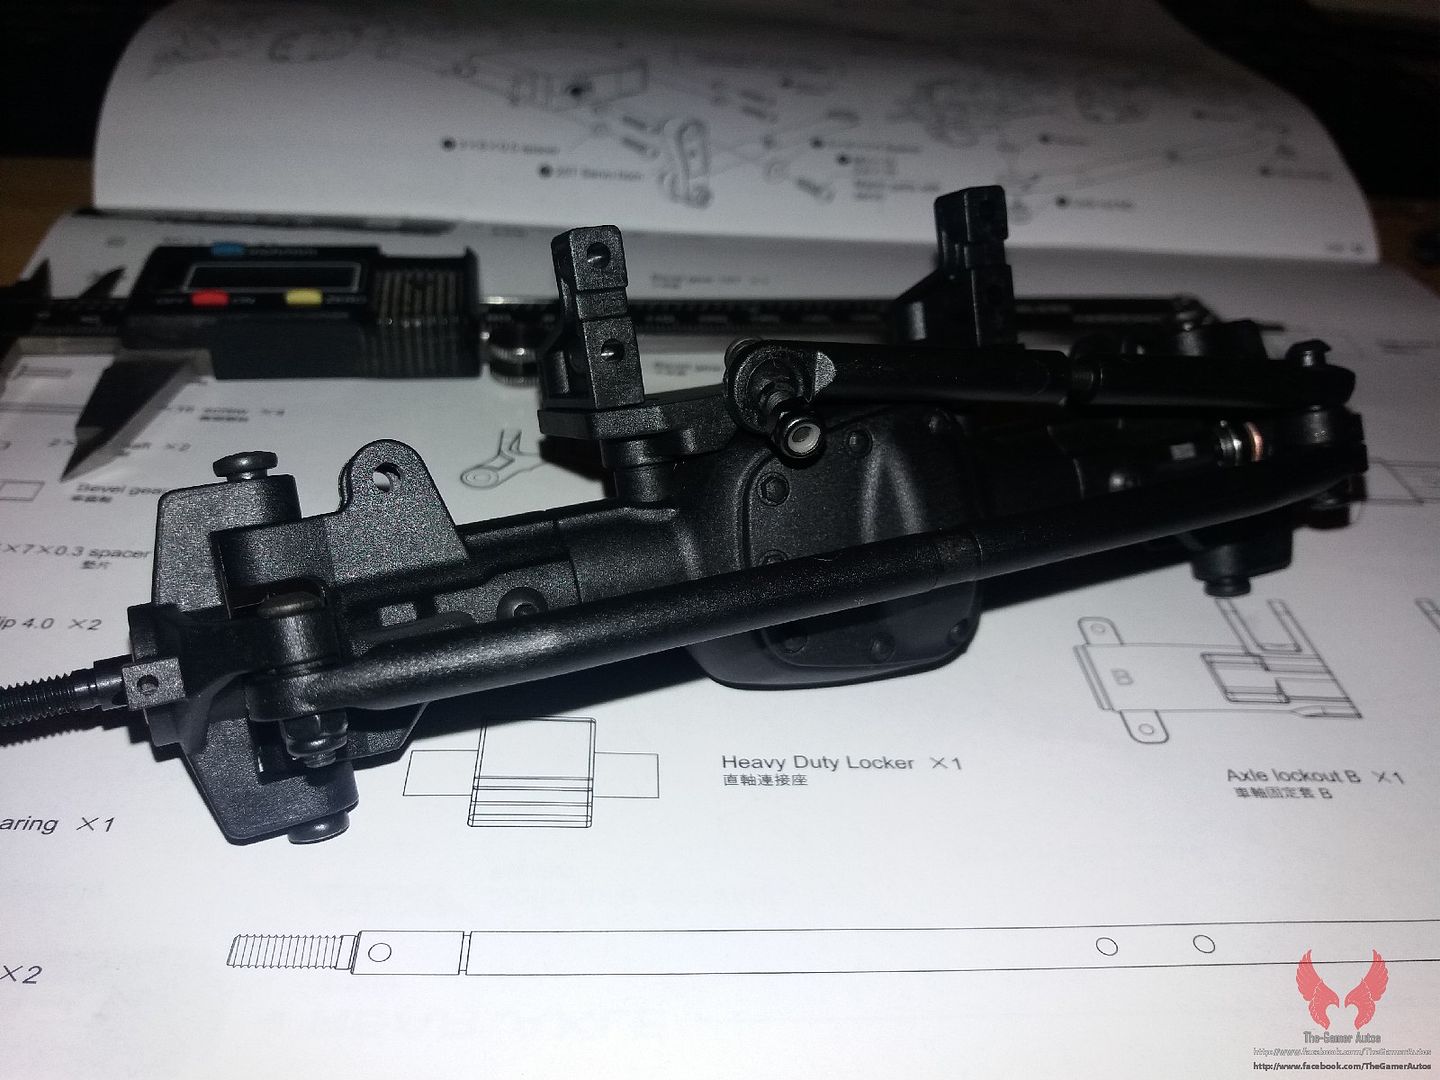 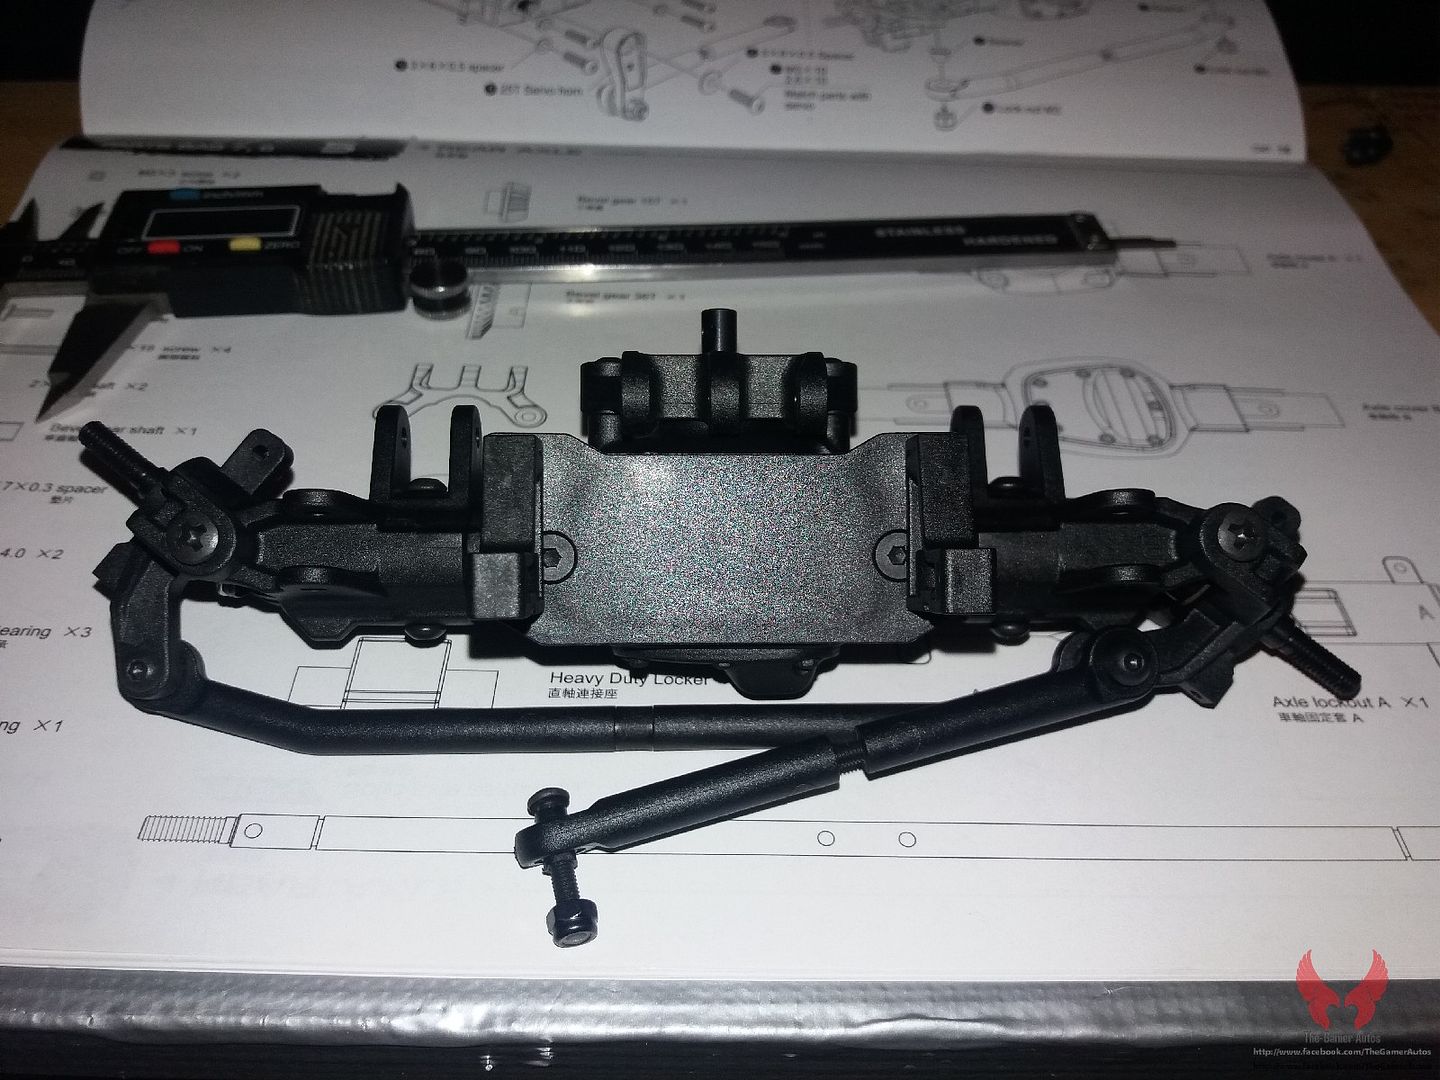 Step 5 - rear axle. 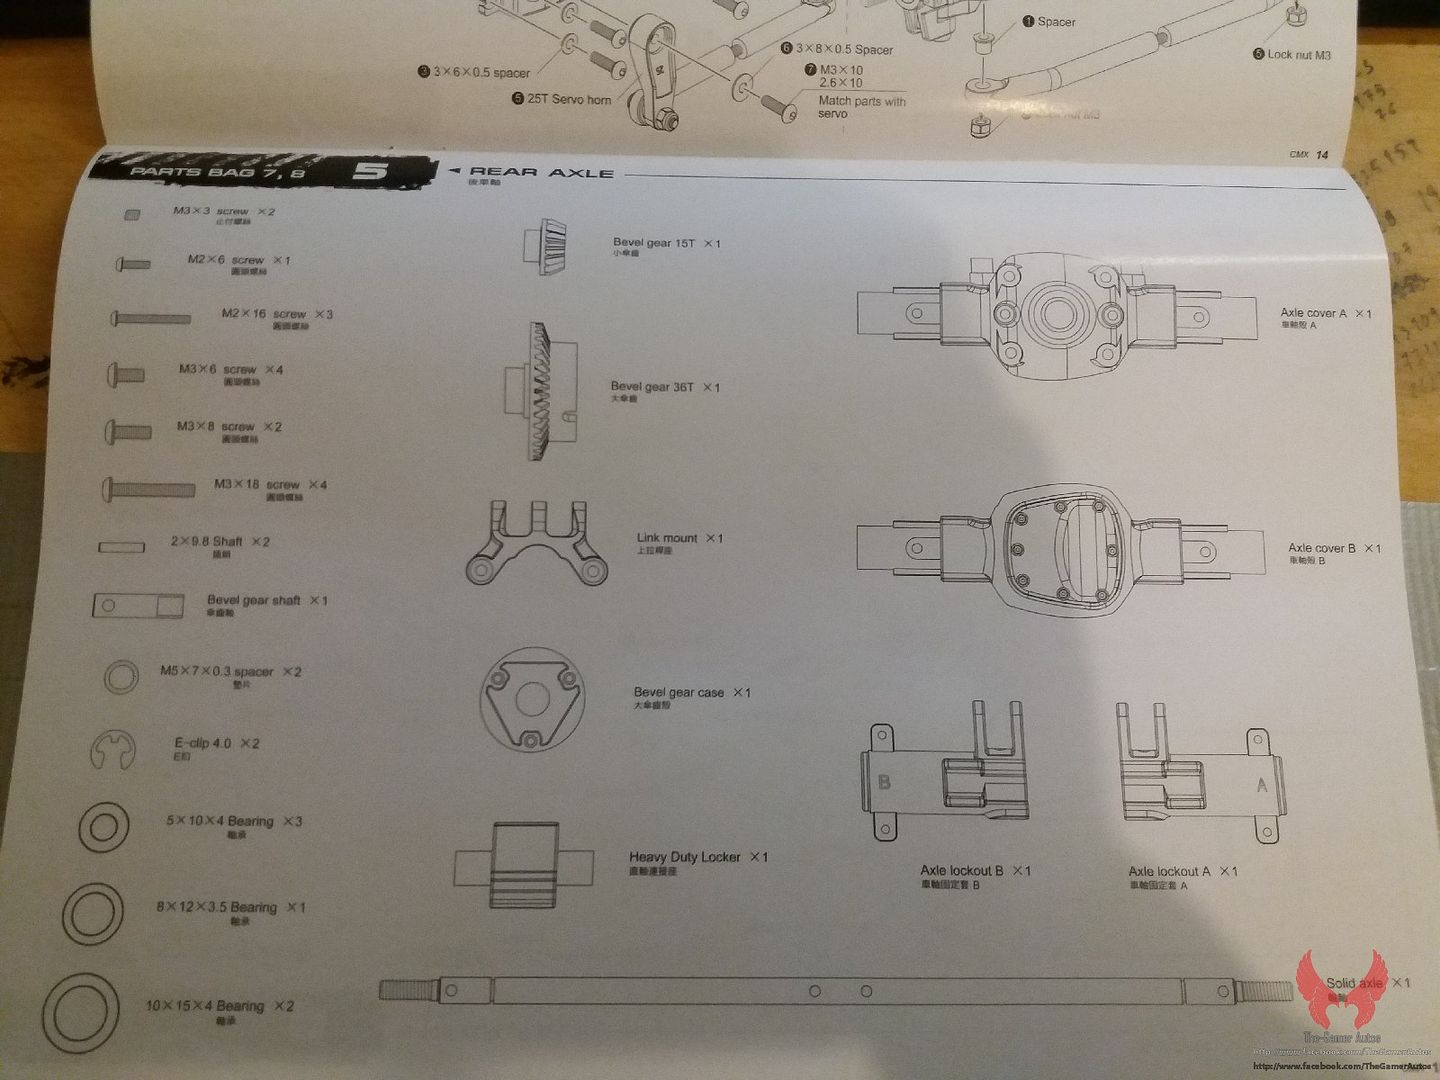 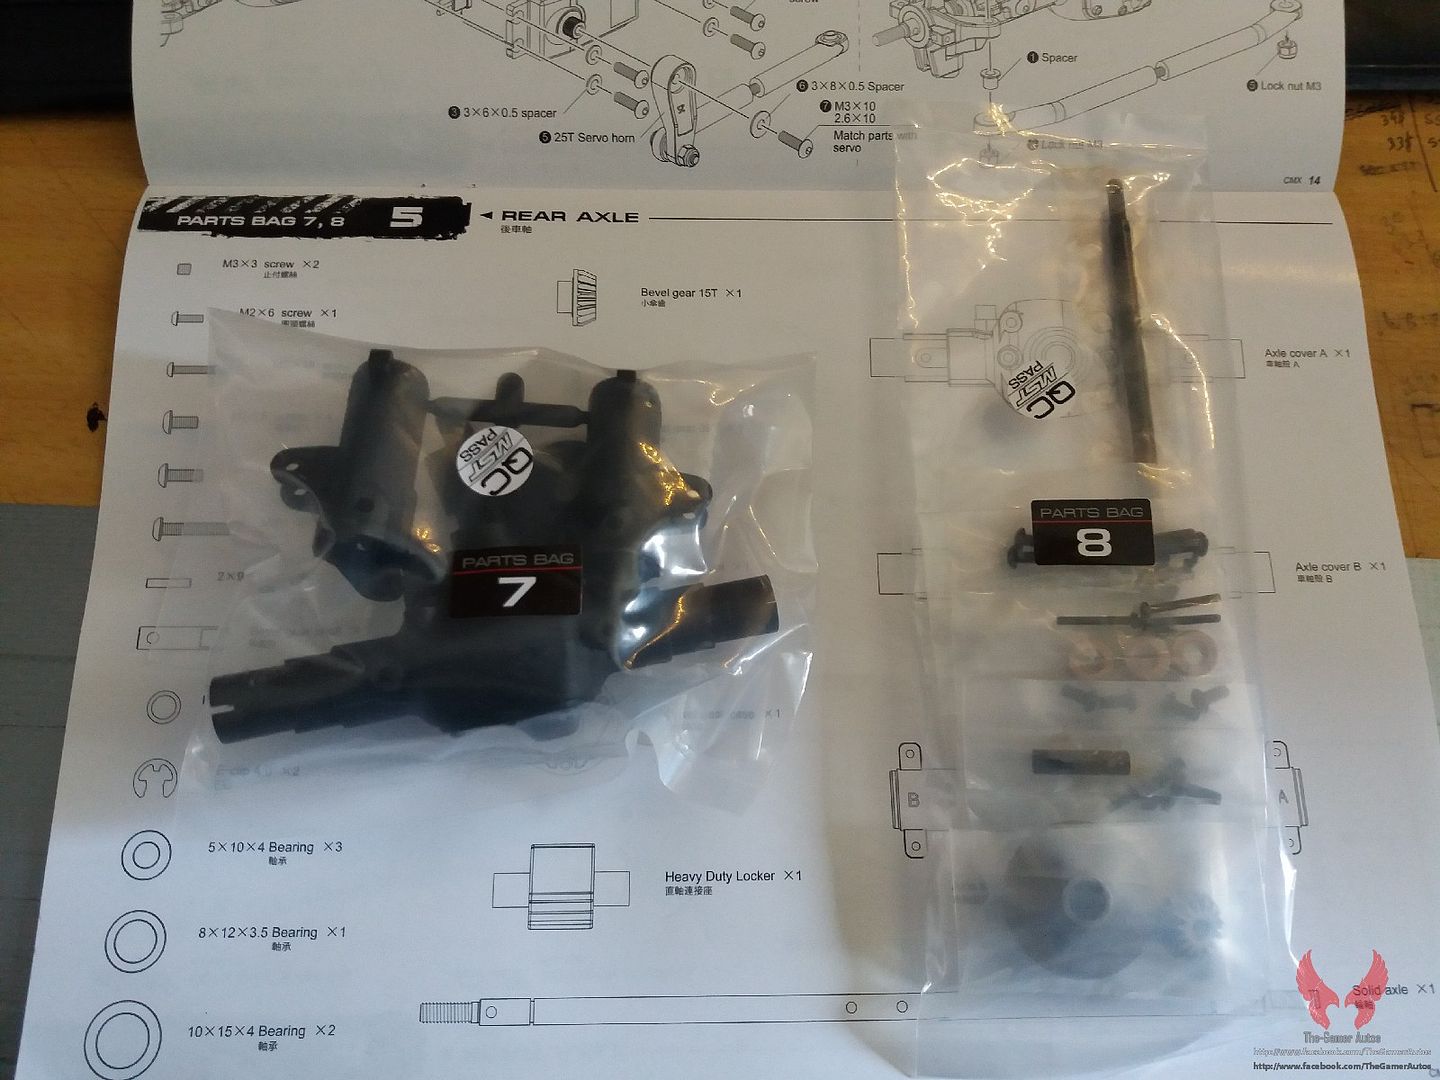 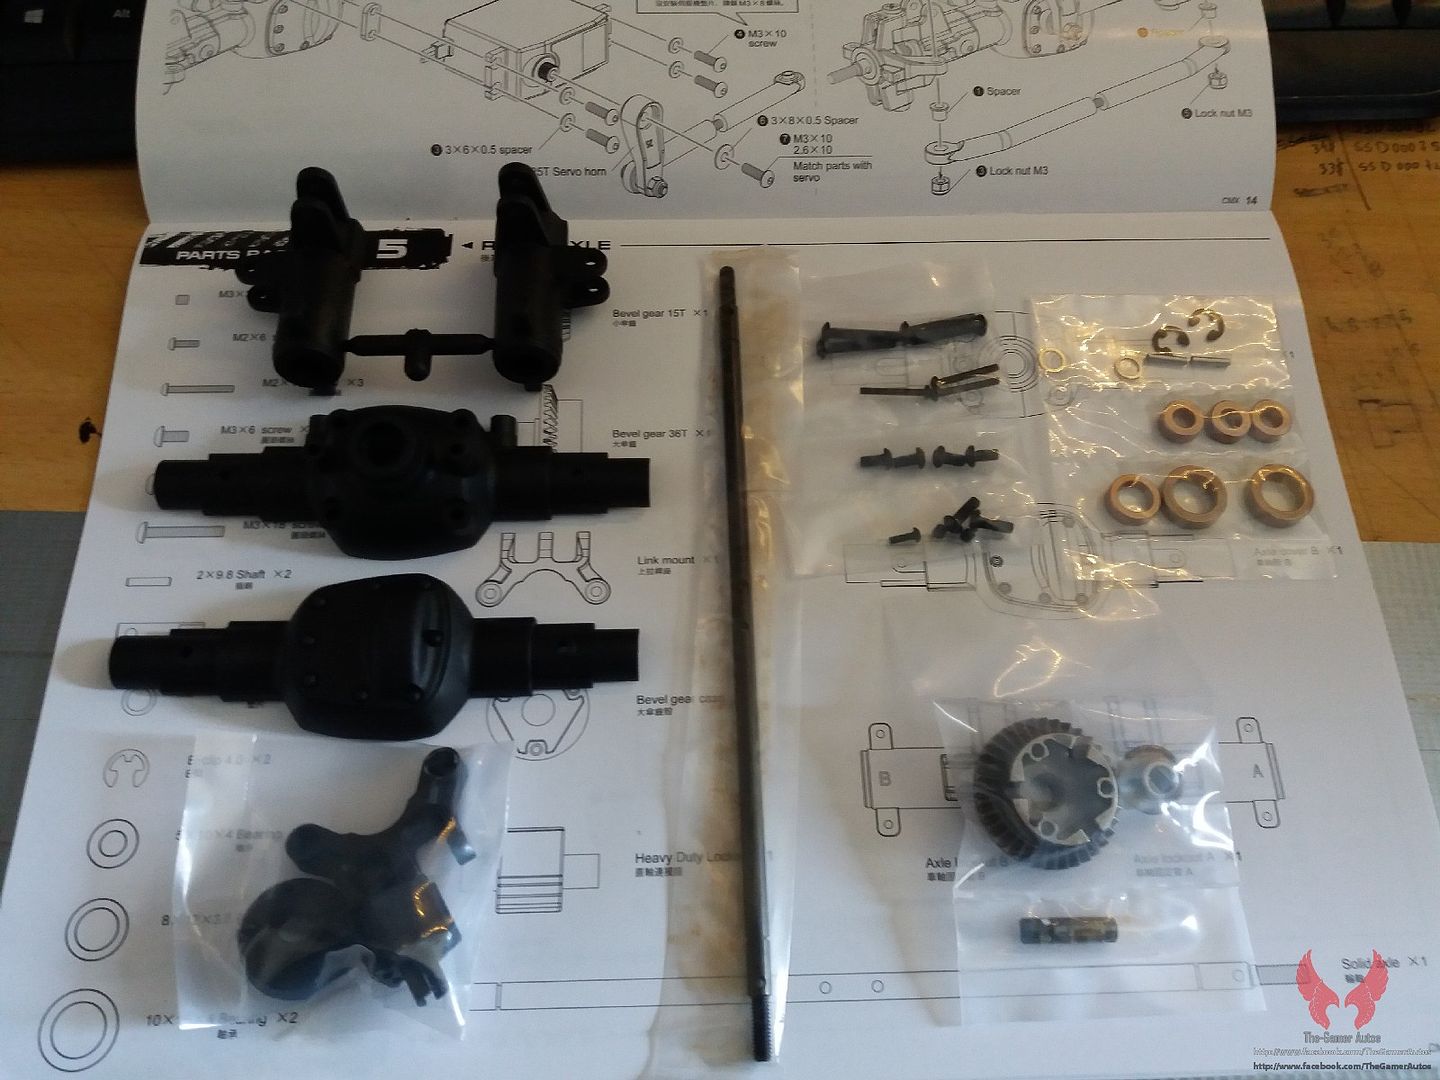 As you can see in this picture, the axle shaft is only one very long piece! This will prevent slop between the rear wheels! Wicked! The diff locker is also plastic. 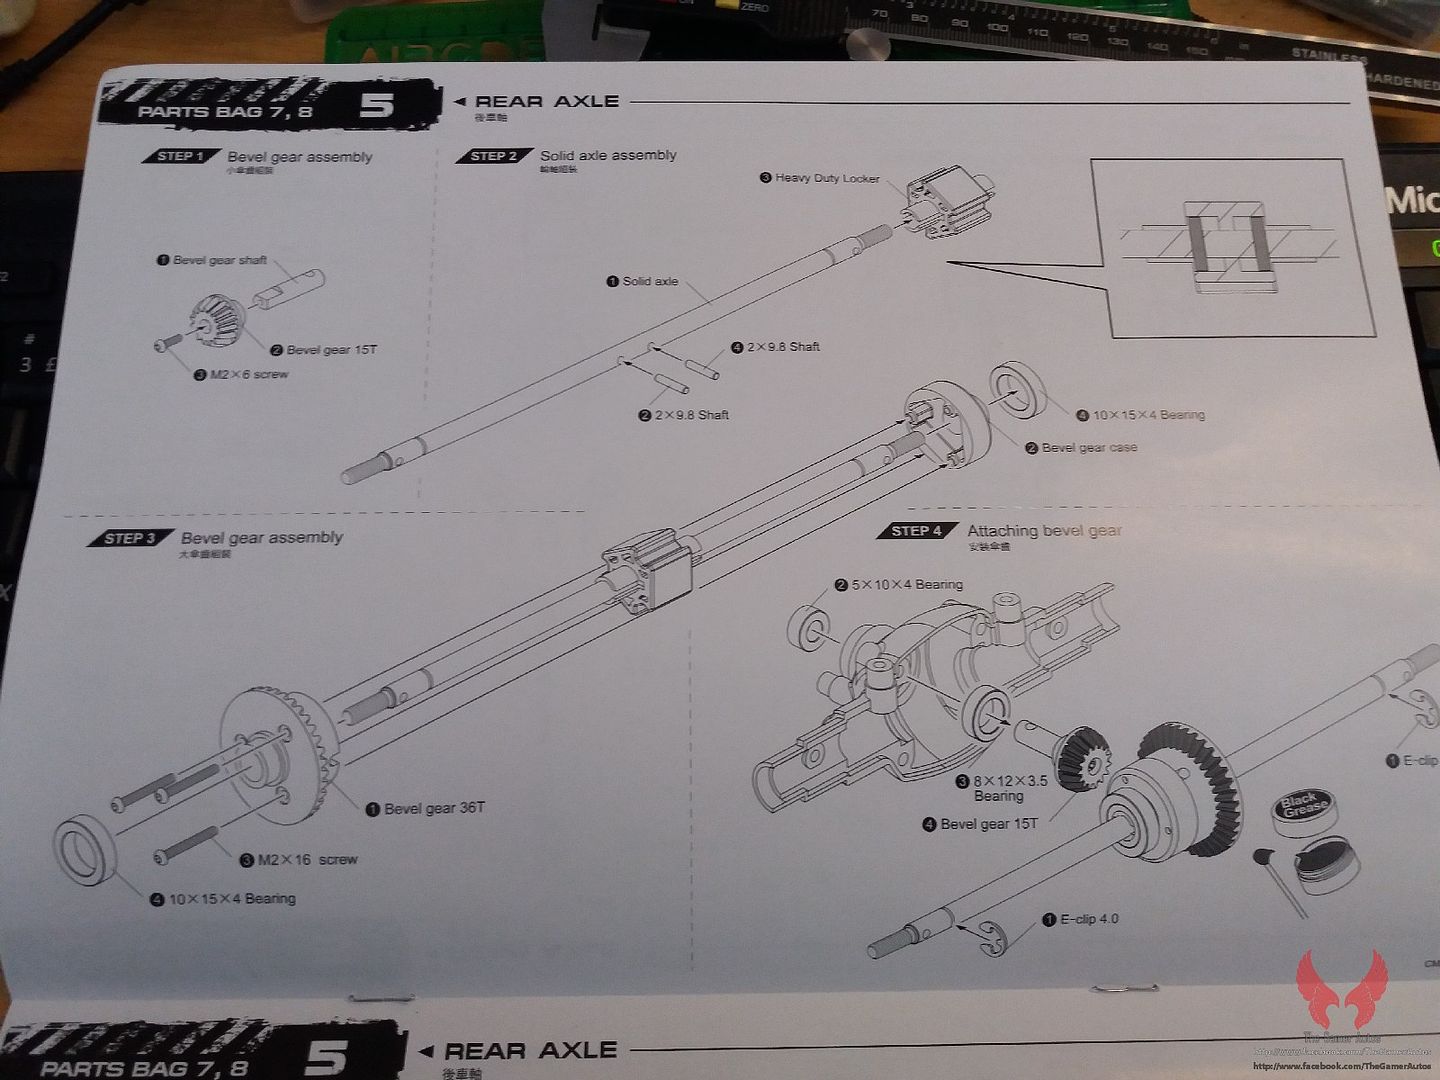 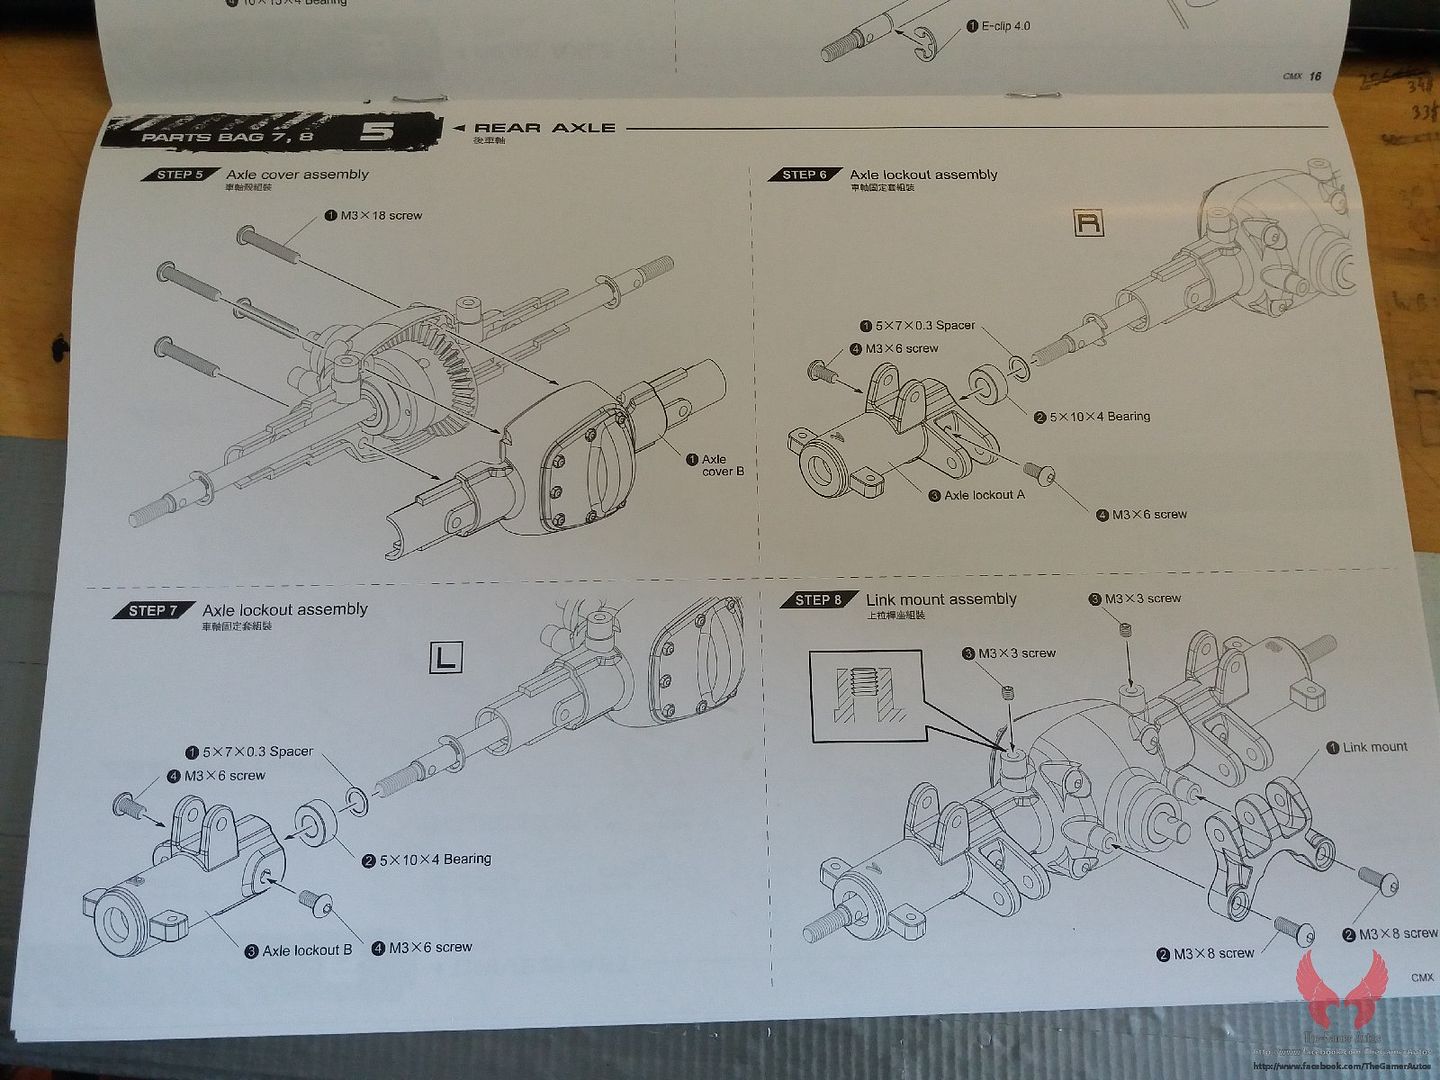 Attention to detail. This screws cover some holes to prevent dirt getting inside the axle. 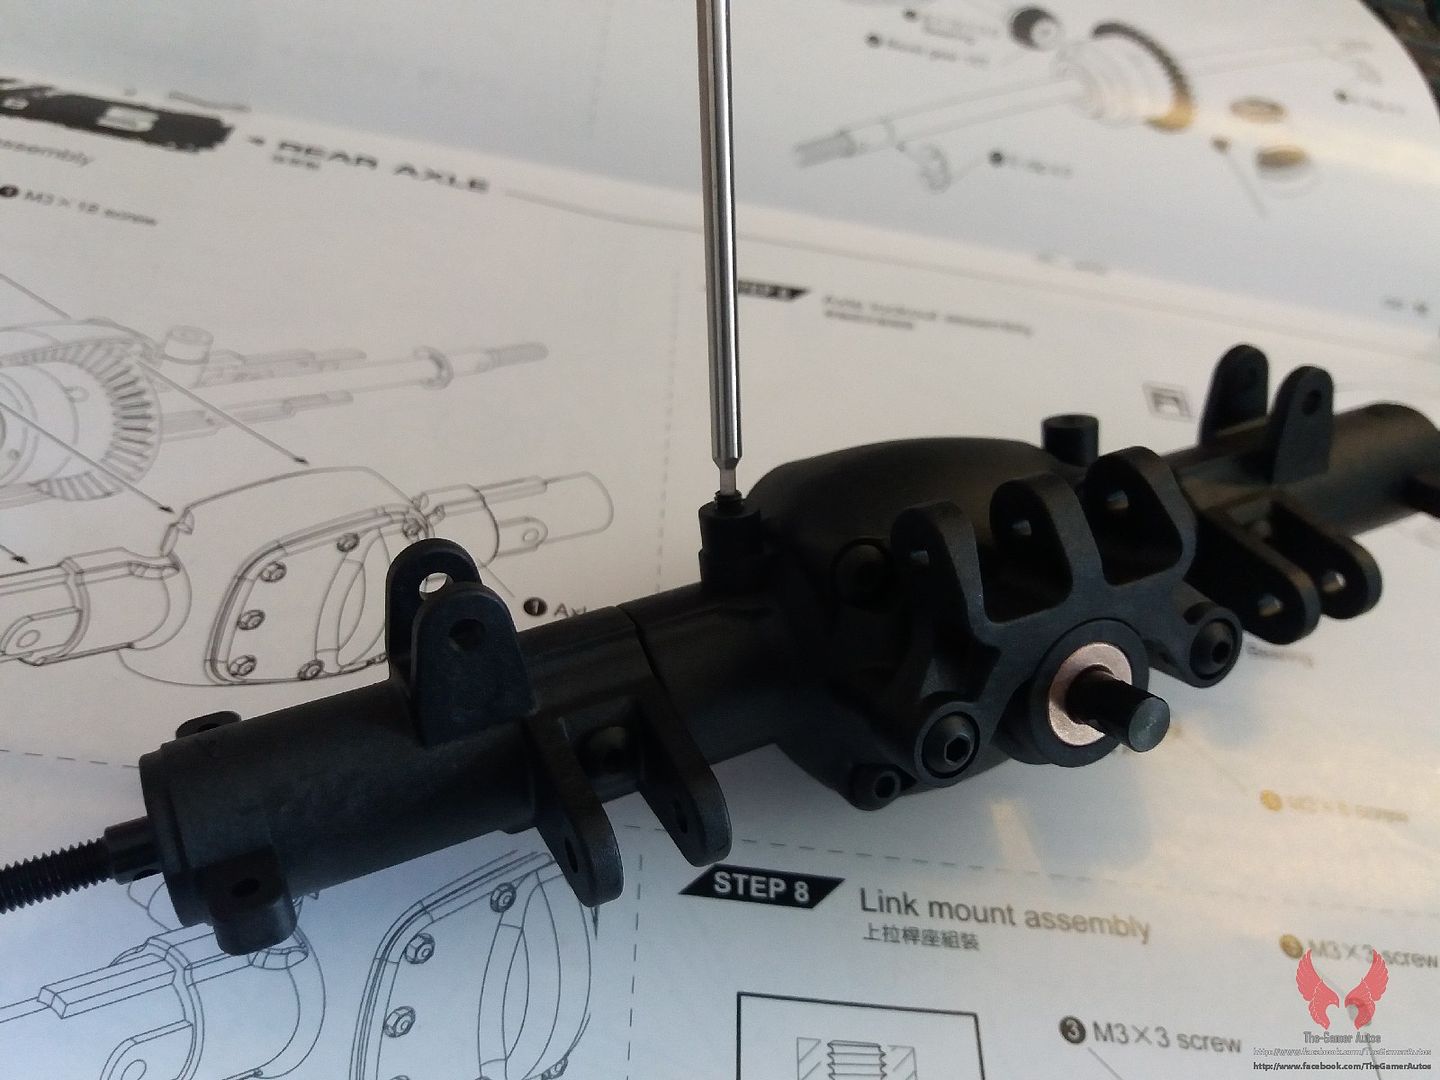 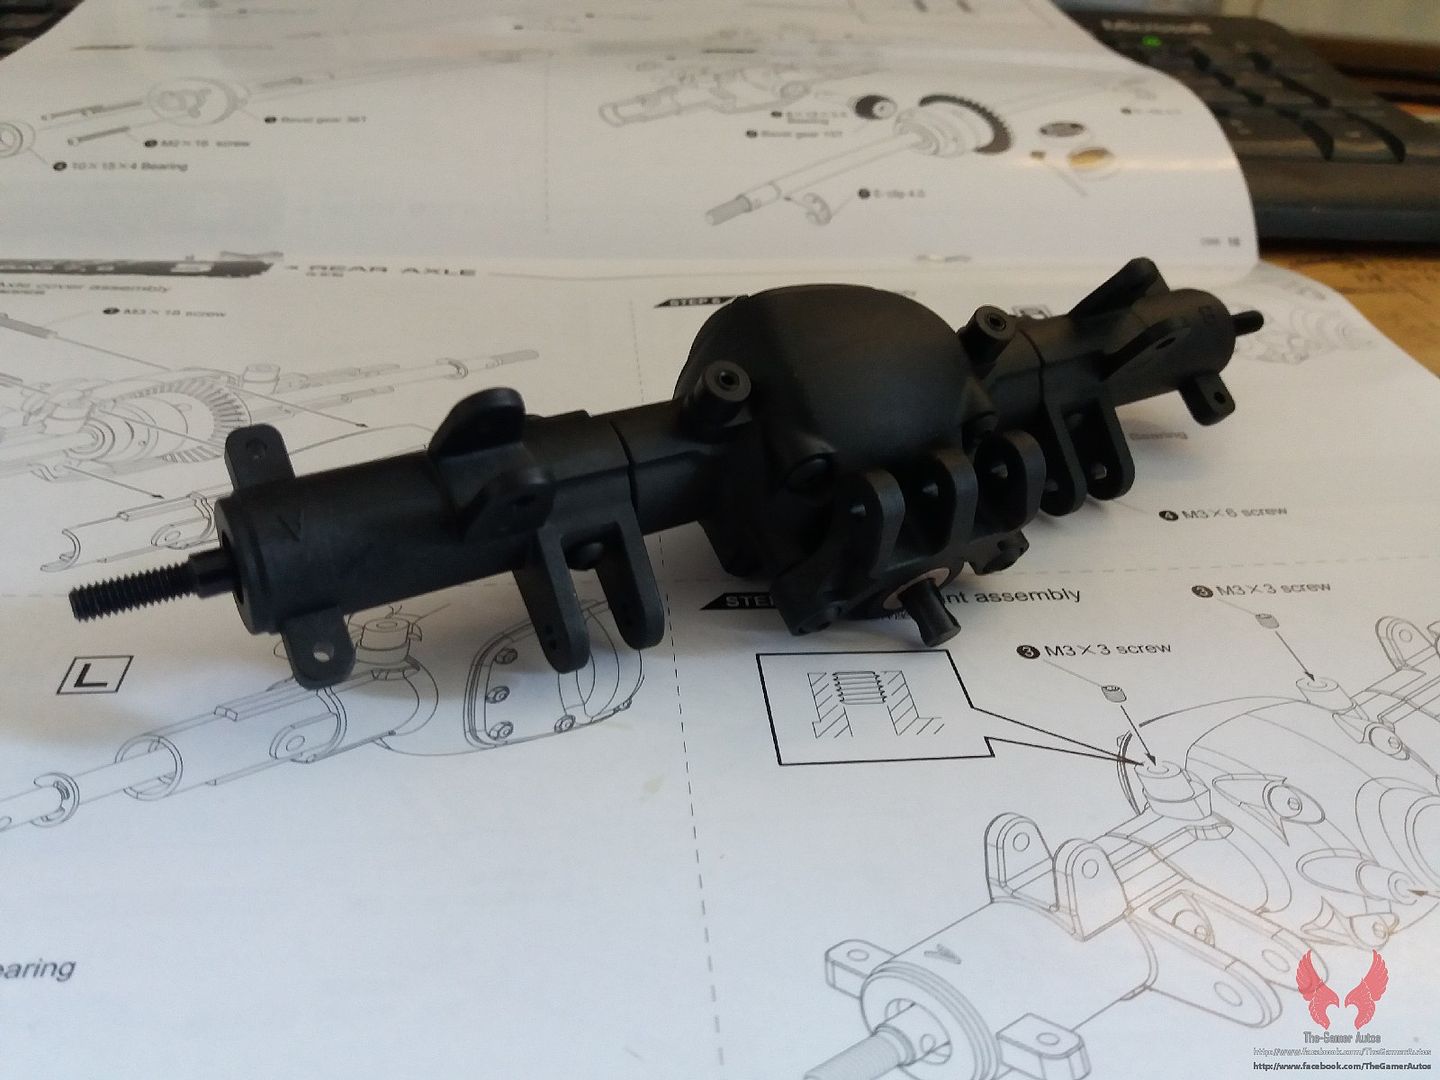 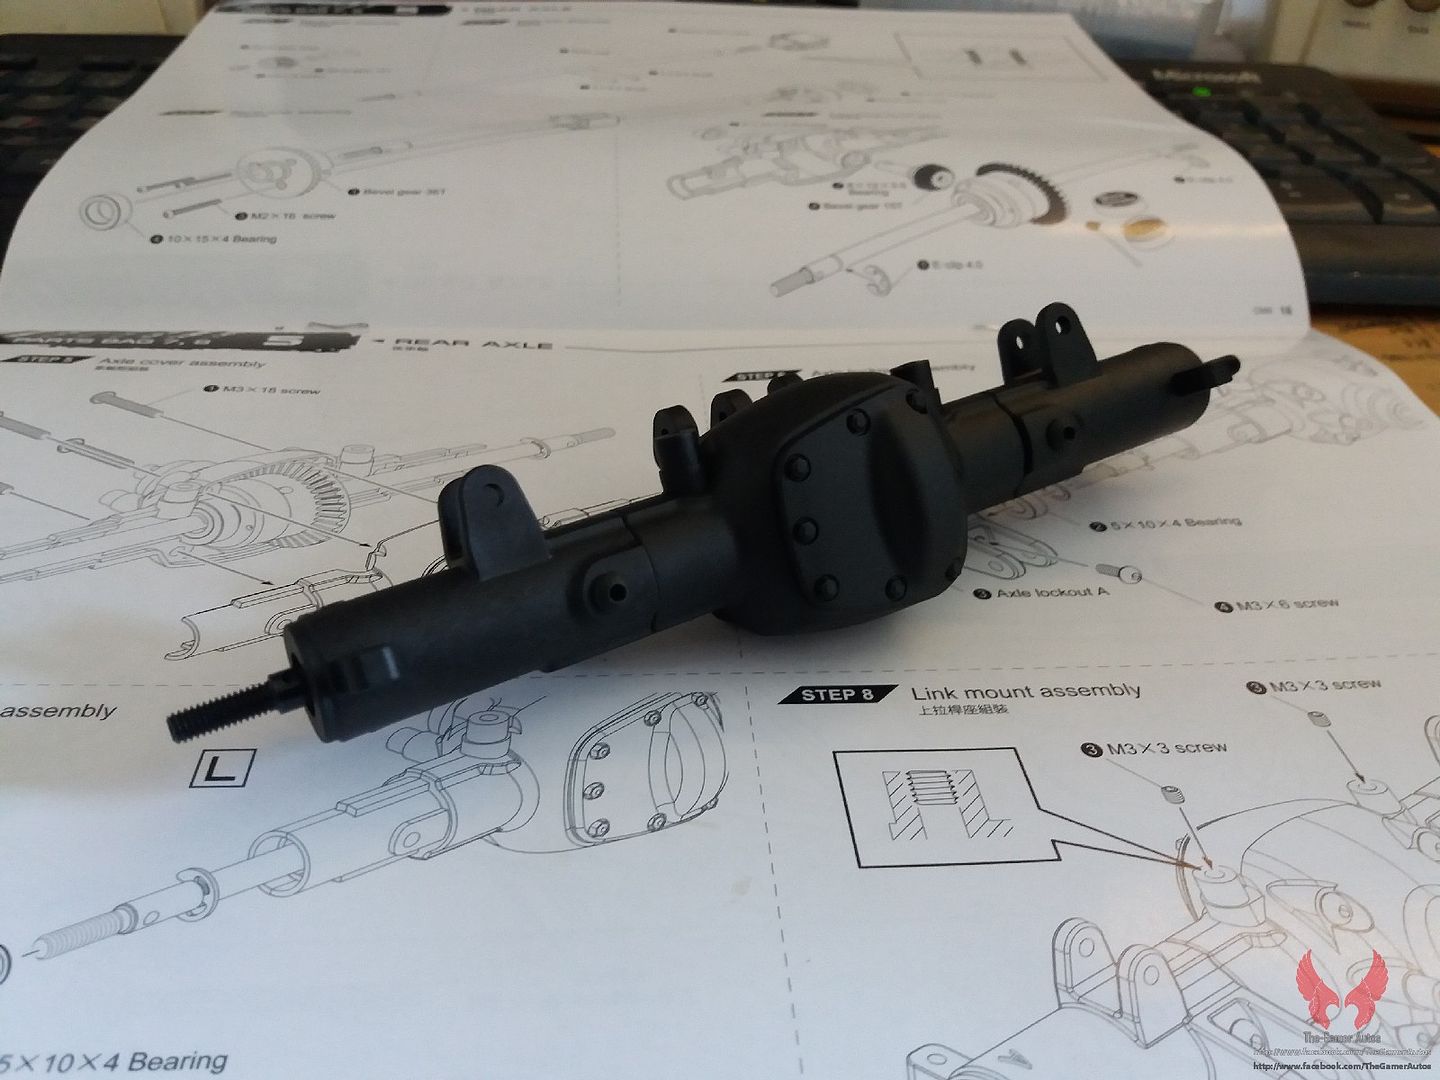 |
|
| |
|
04-11-2016, 07:58 AM
| #4 |
| Quarry Creeper Join Date: Aug 2009 Location: Portugal
Posts: 318
|
Steps 6-7 Step 6 - Assembly the driveshafts. The driveshafts come assembled and are all plastic except for the ball. They use 2mm pin through shaft screws. Vaterra, are you reading this??!  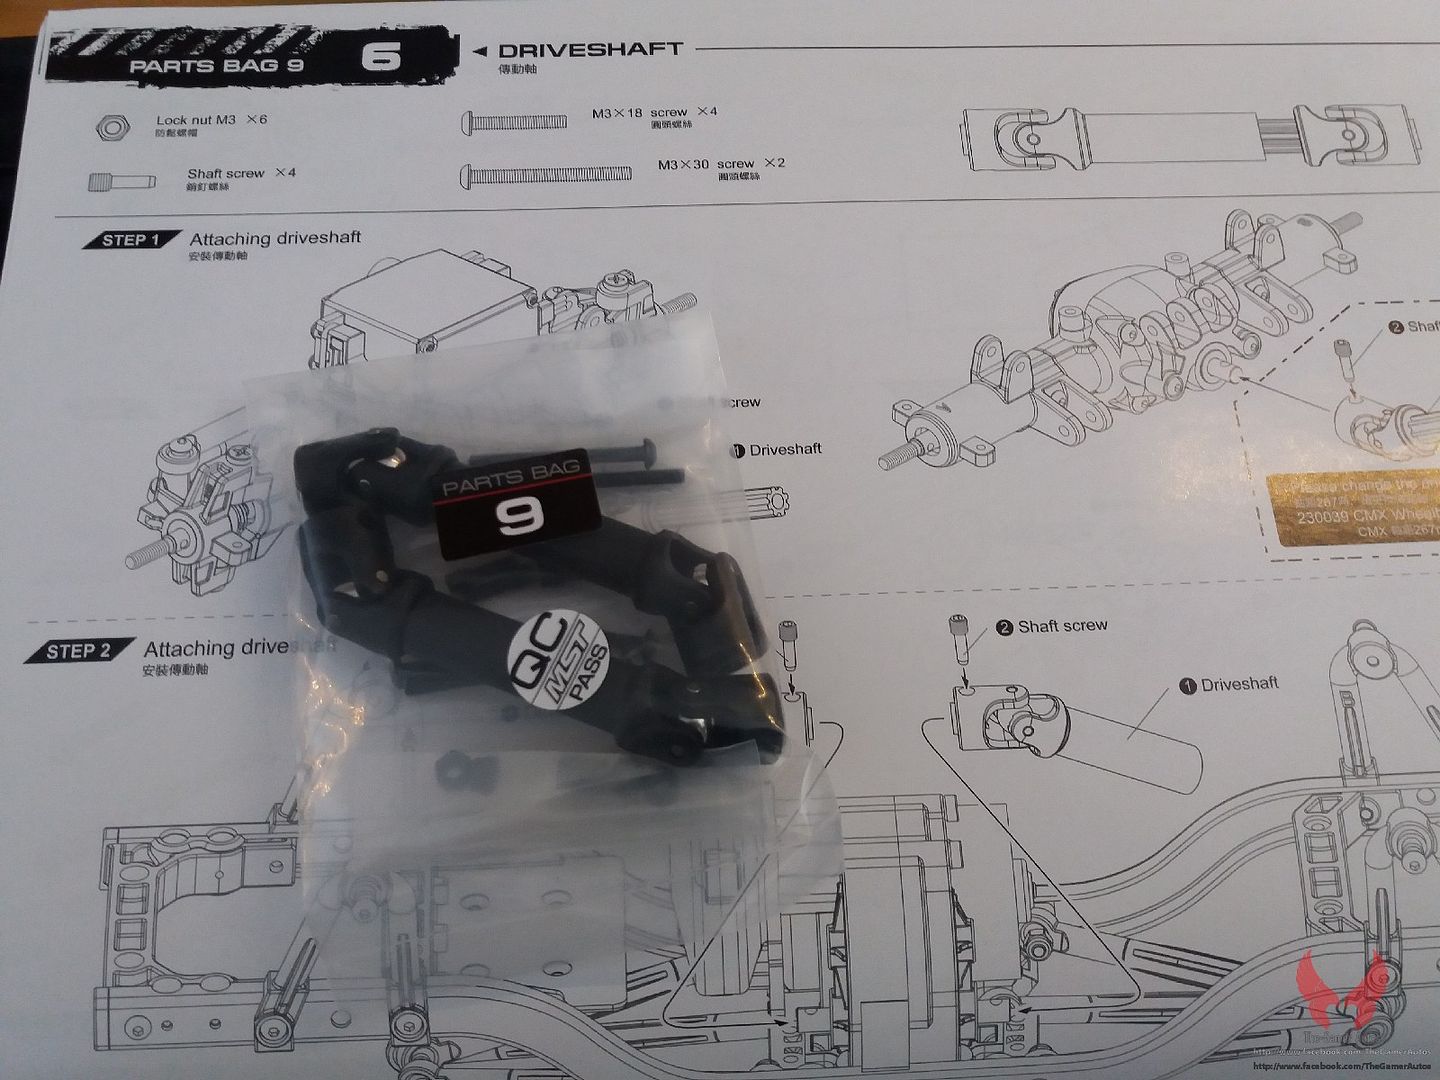 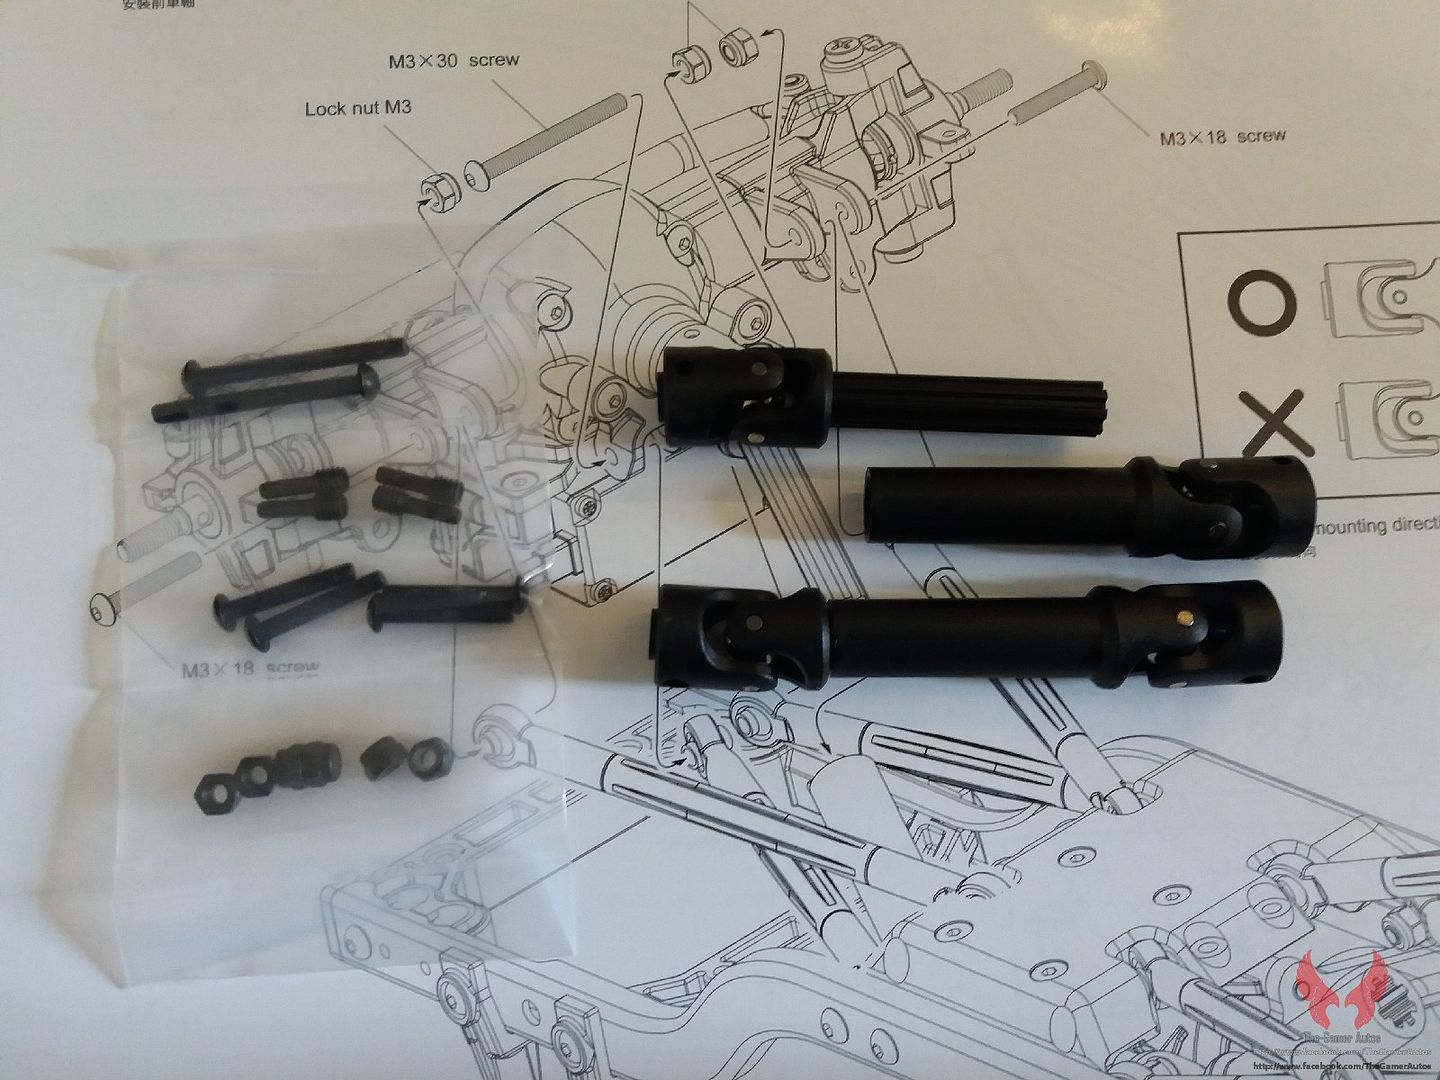 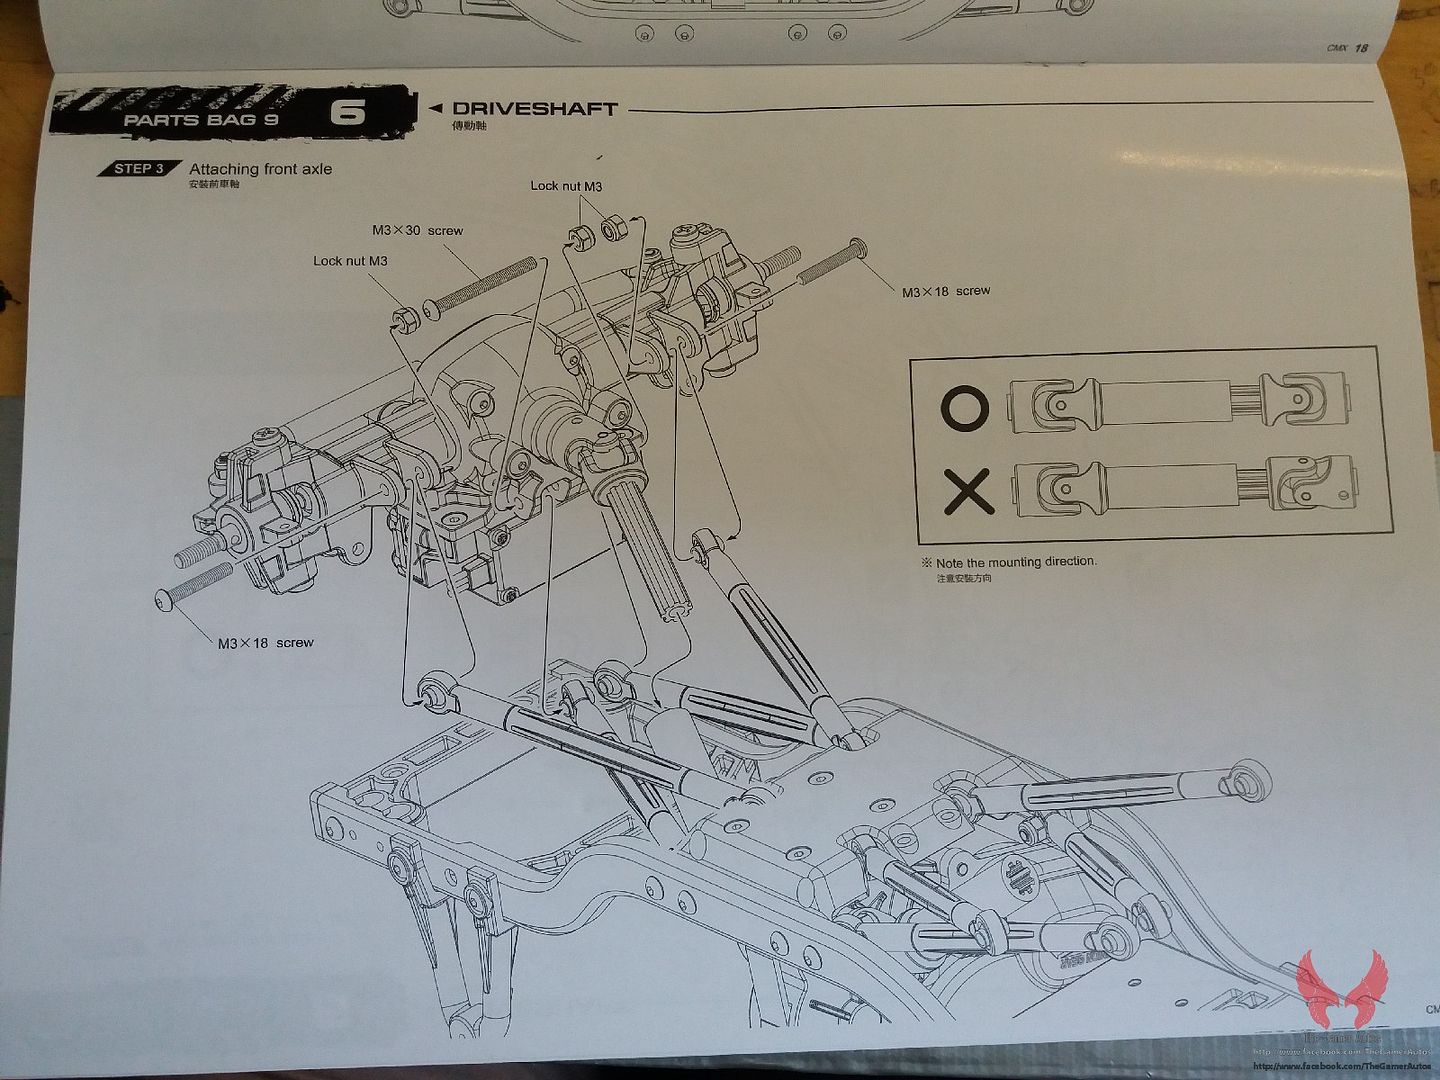 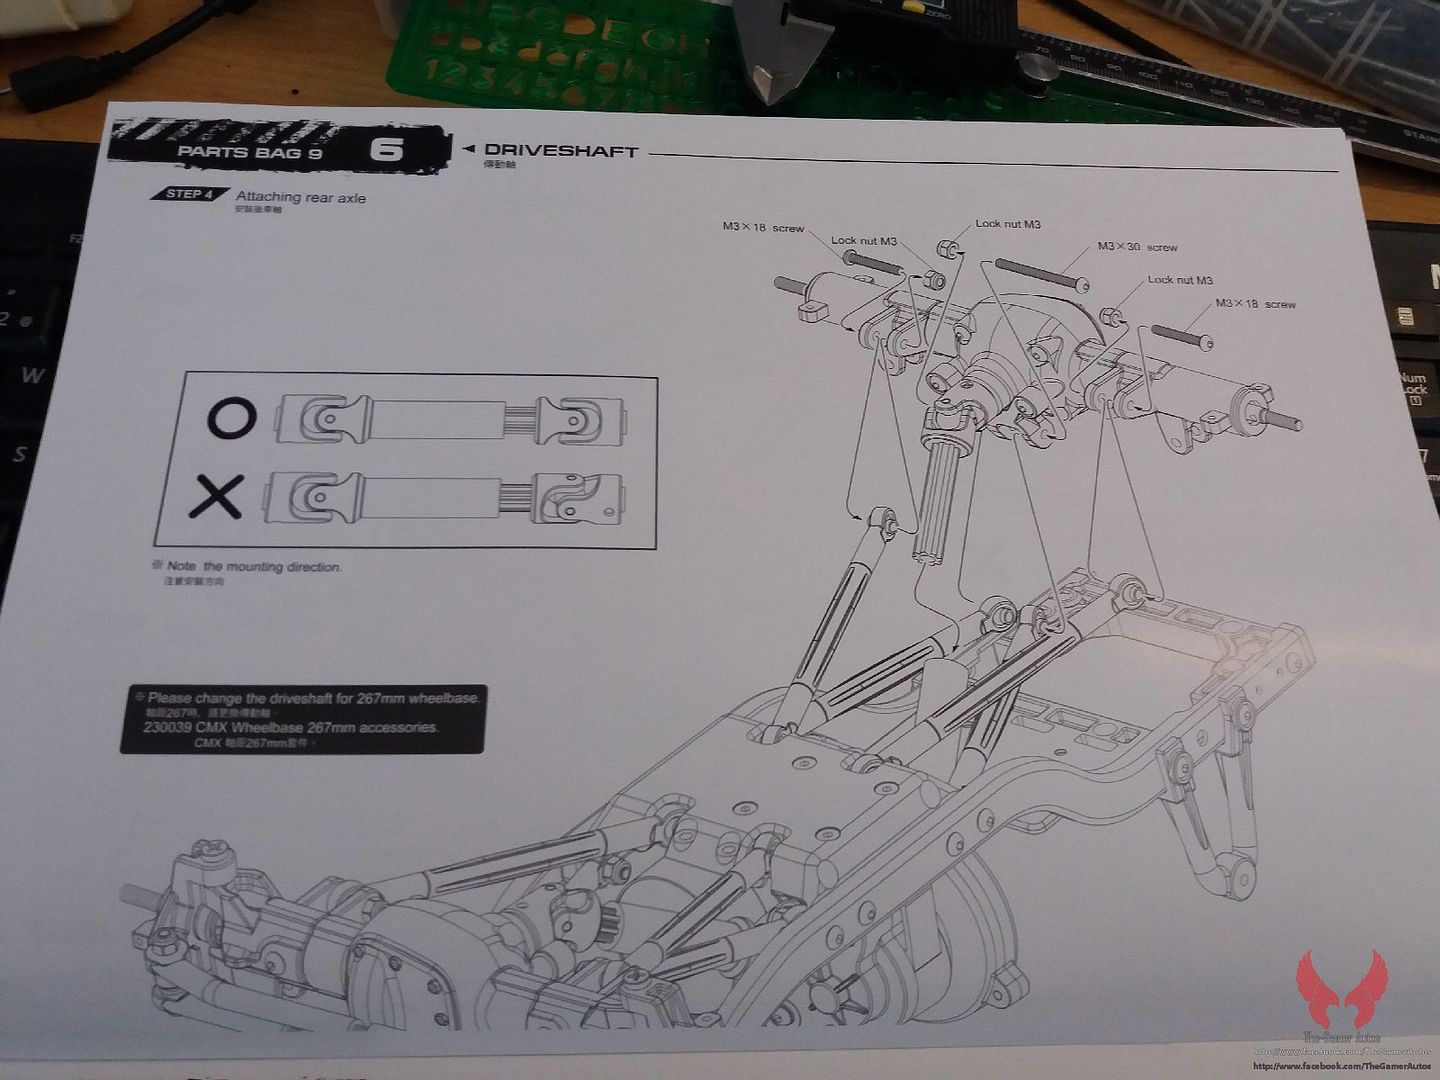 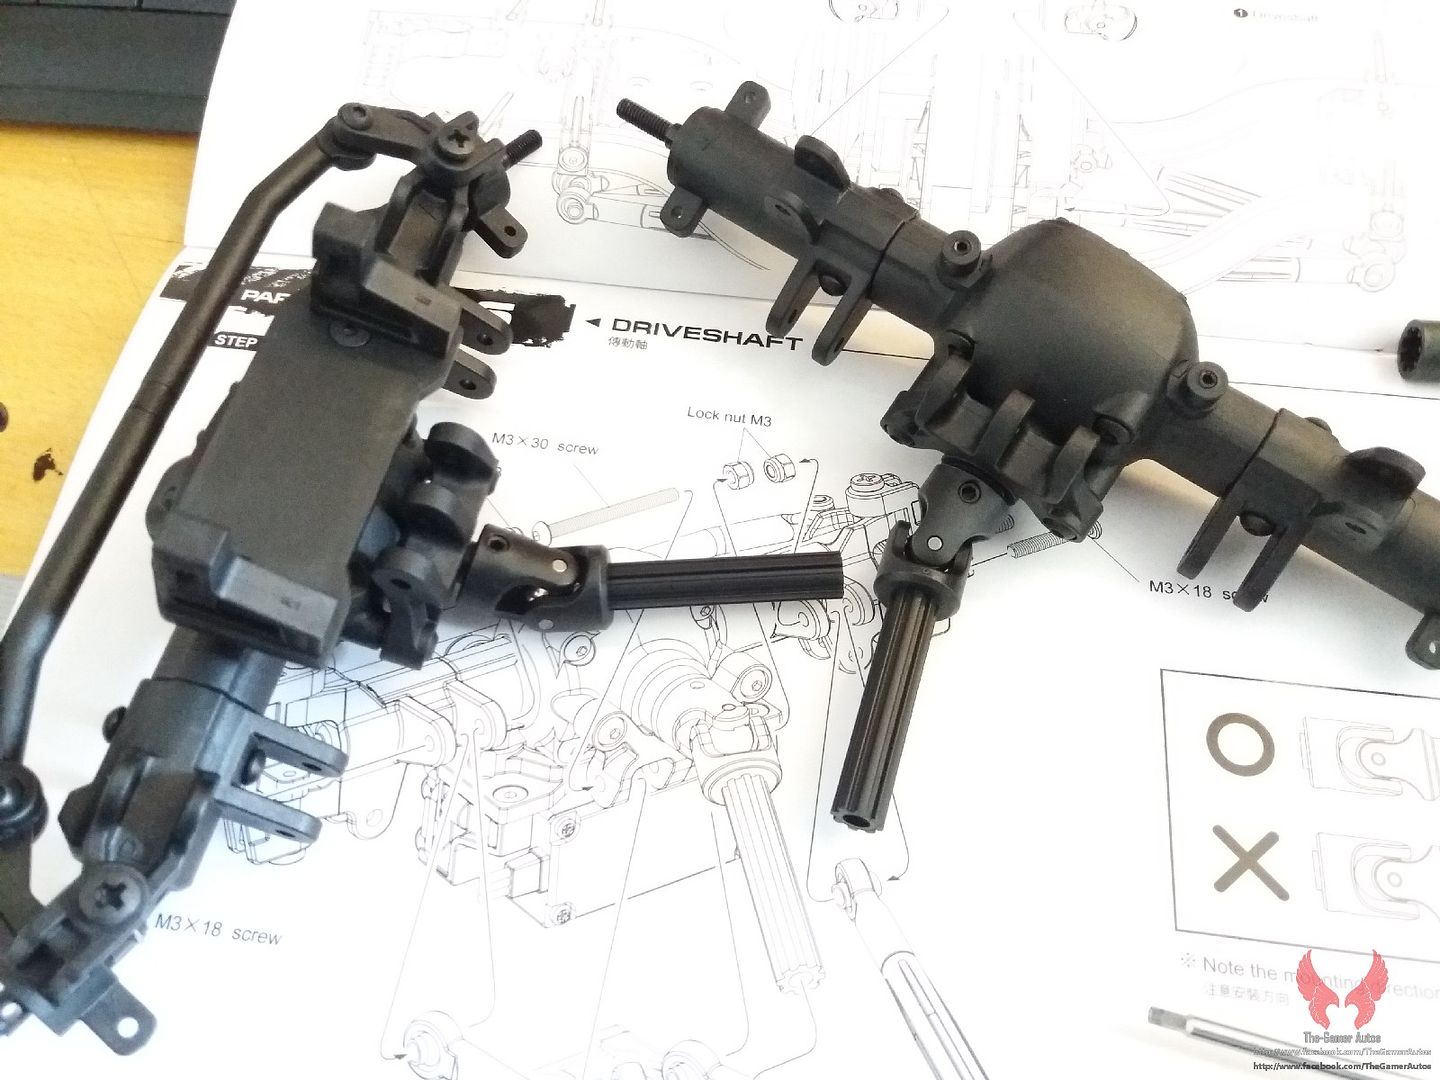 The driveshafts work dangerously close to screws!! 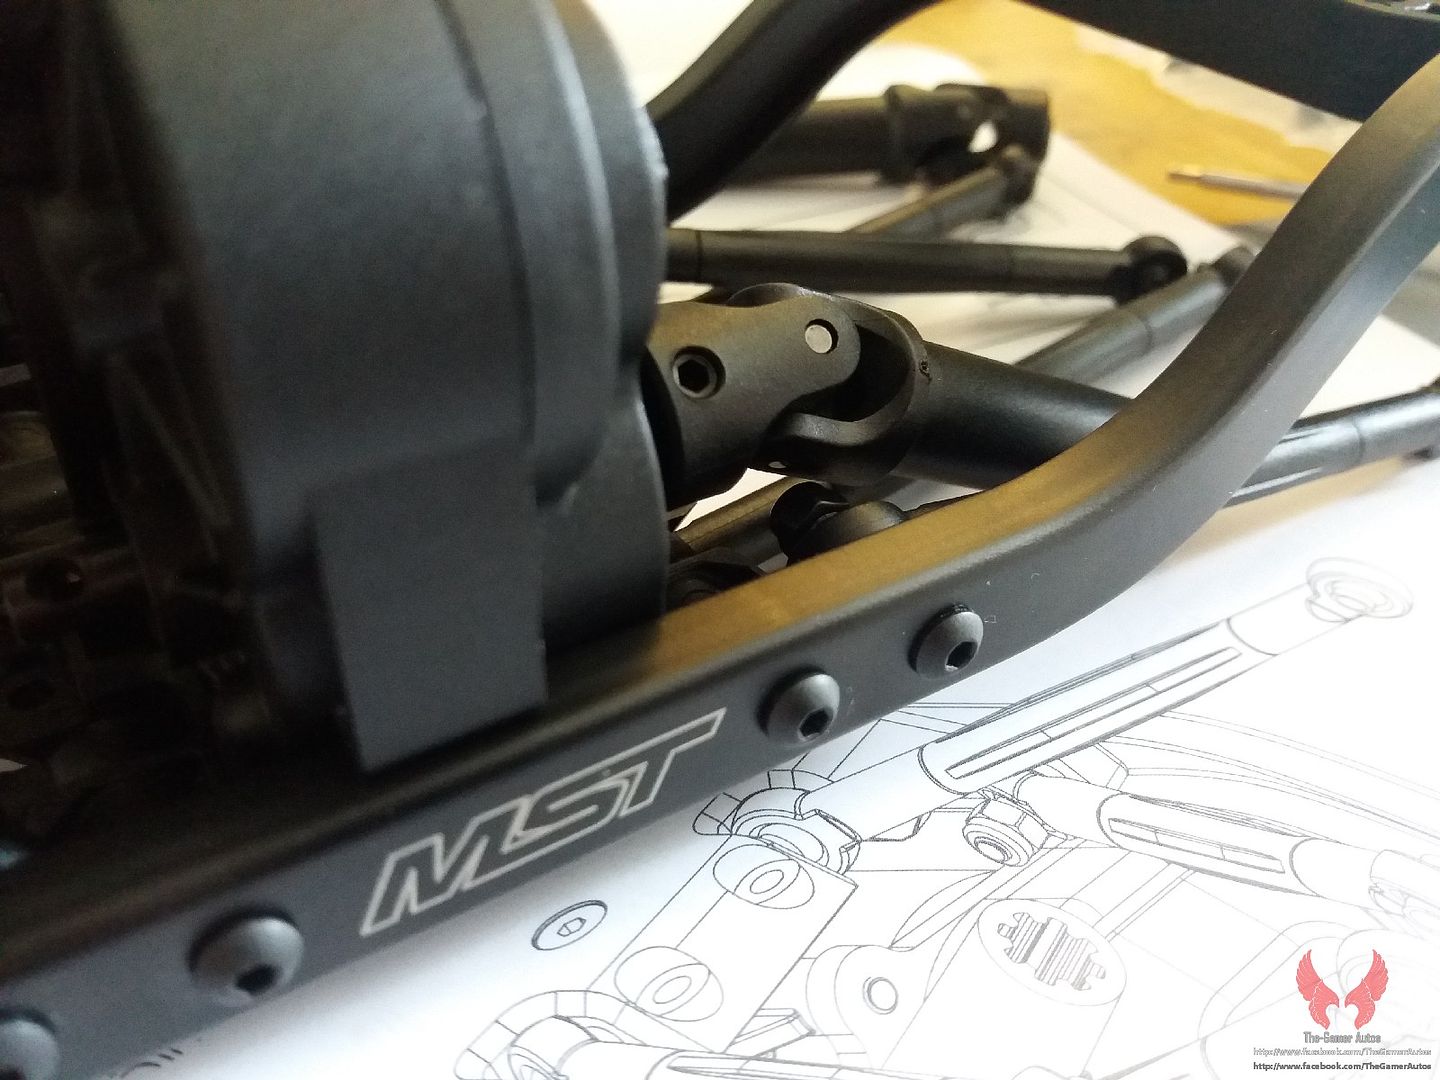 Axles mounted. 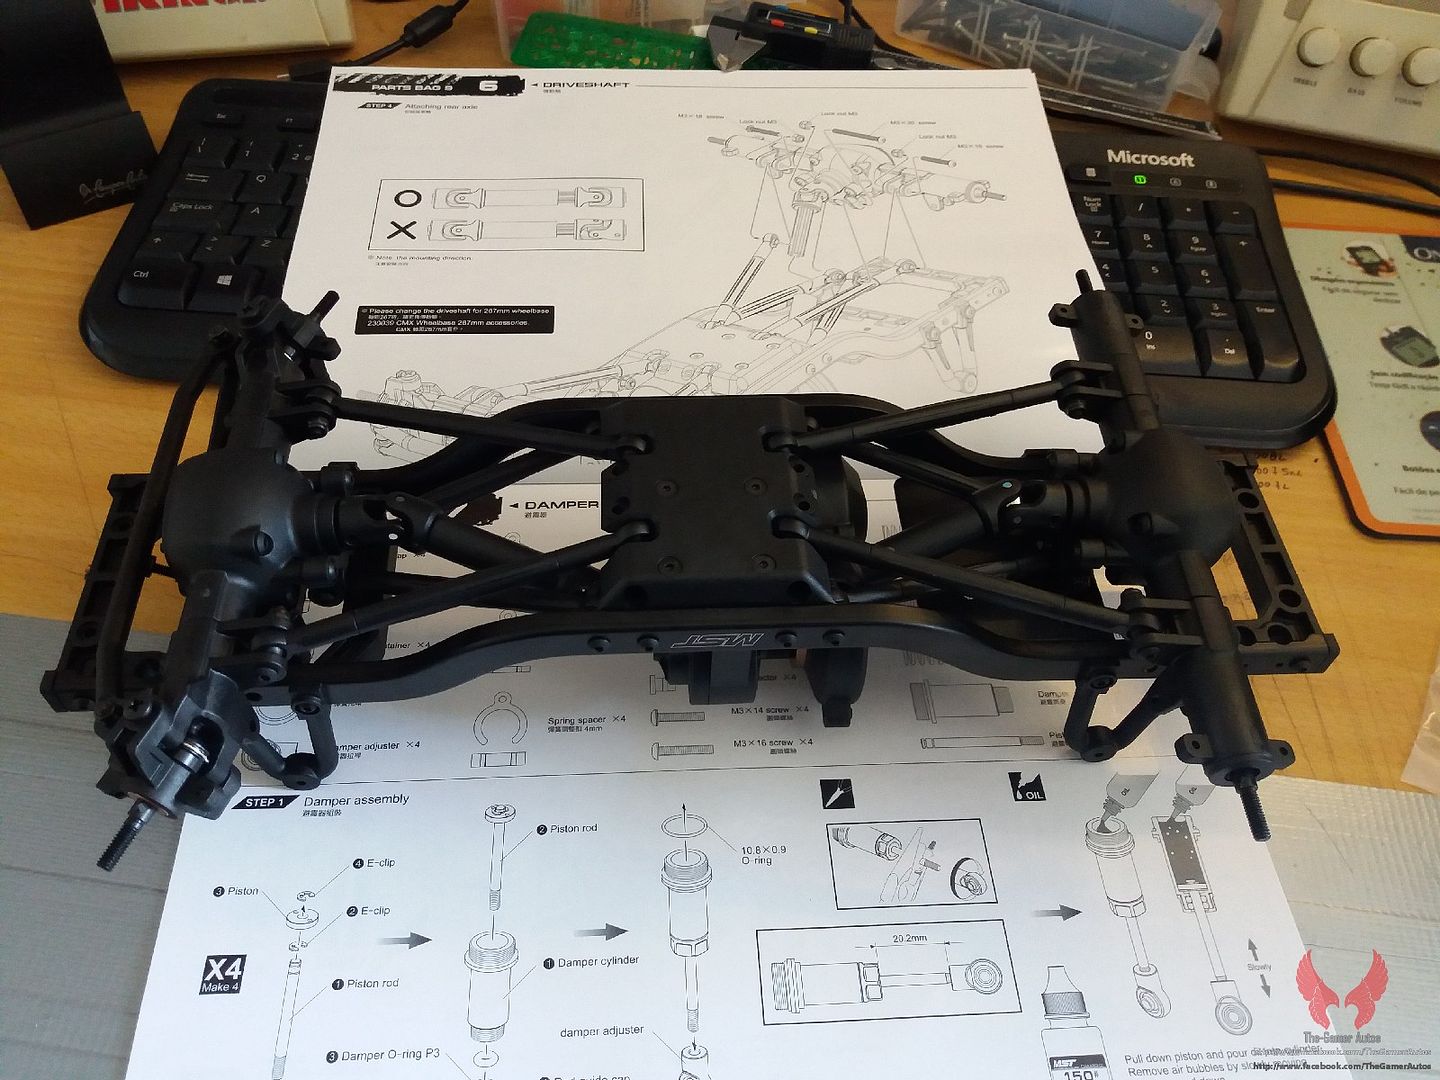 Step 7 - shocks. They are made of plastic and don't have thread on the body. I didn't use oil. 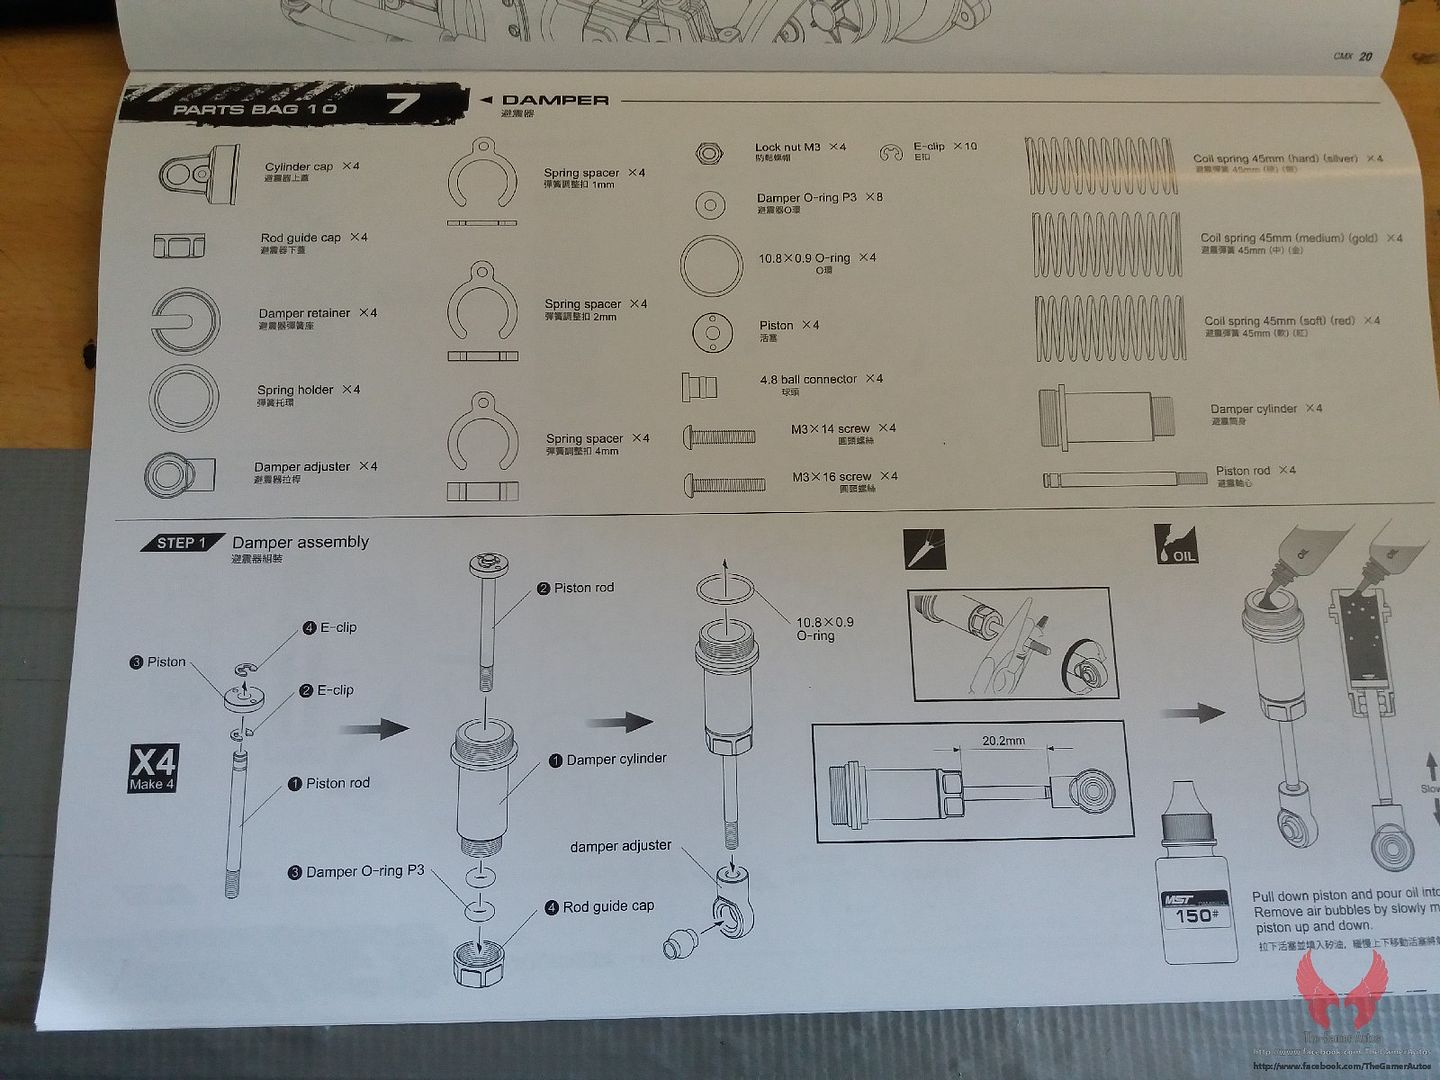 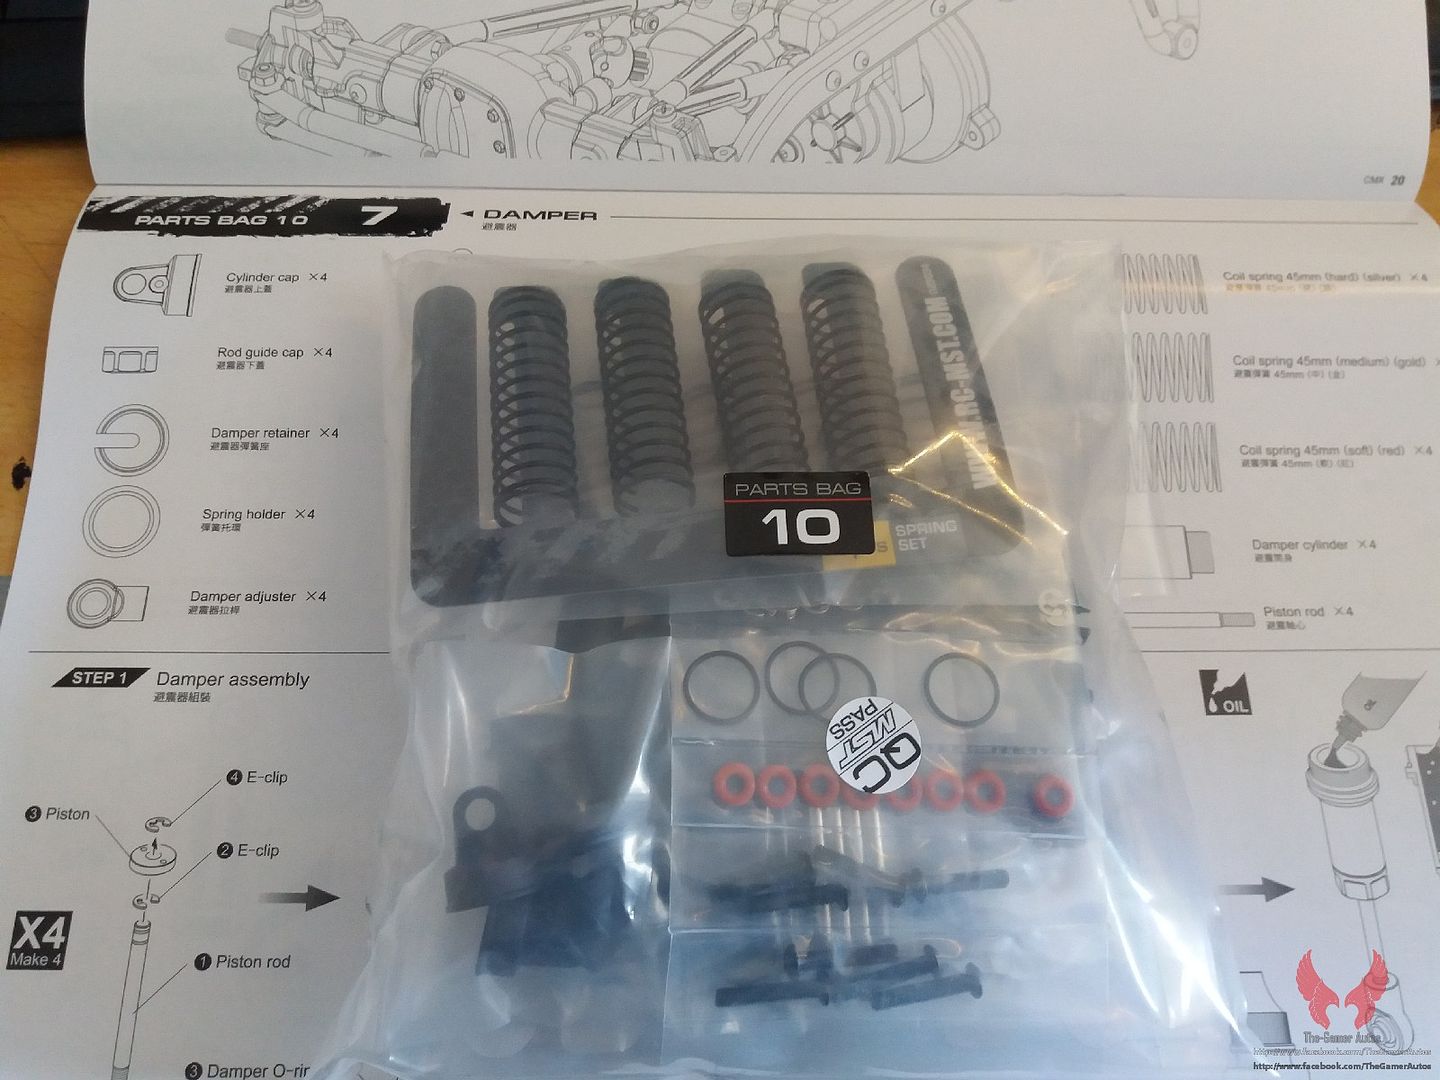 3 sets of springs! Very nice! They came in firm, medium and soft. I chose the soft ones although I don't intend to use springs. 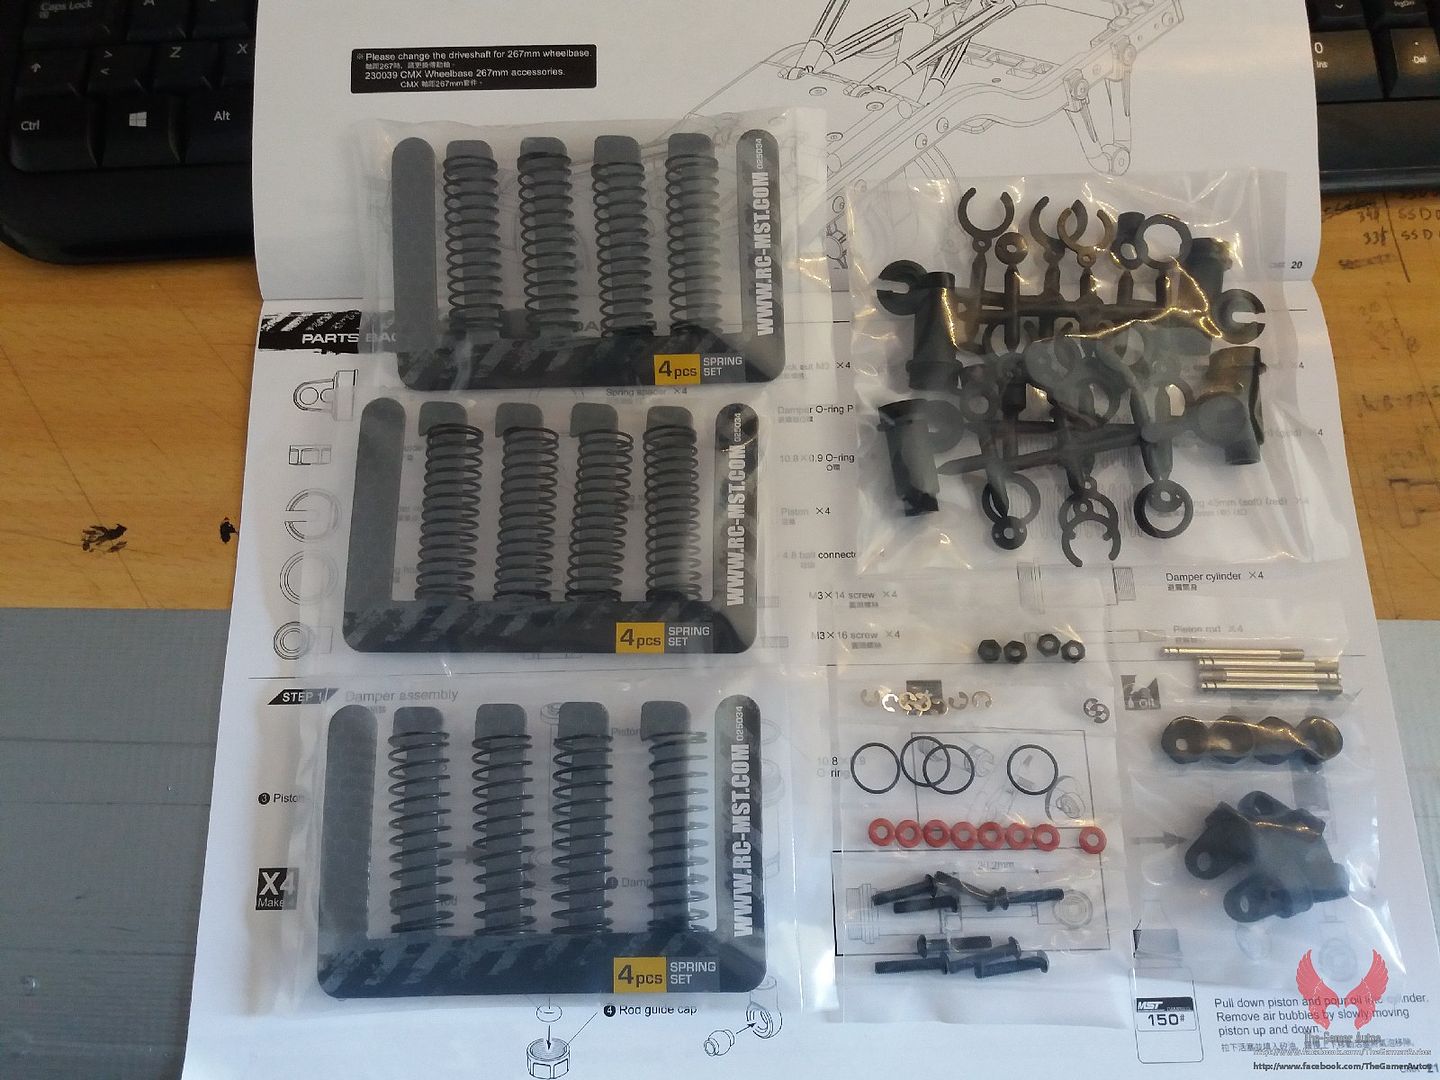 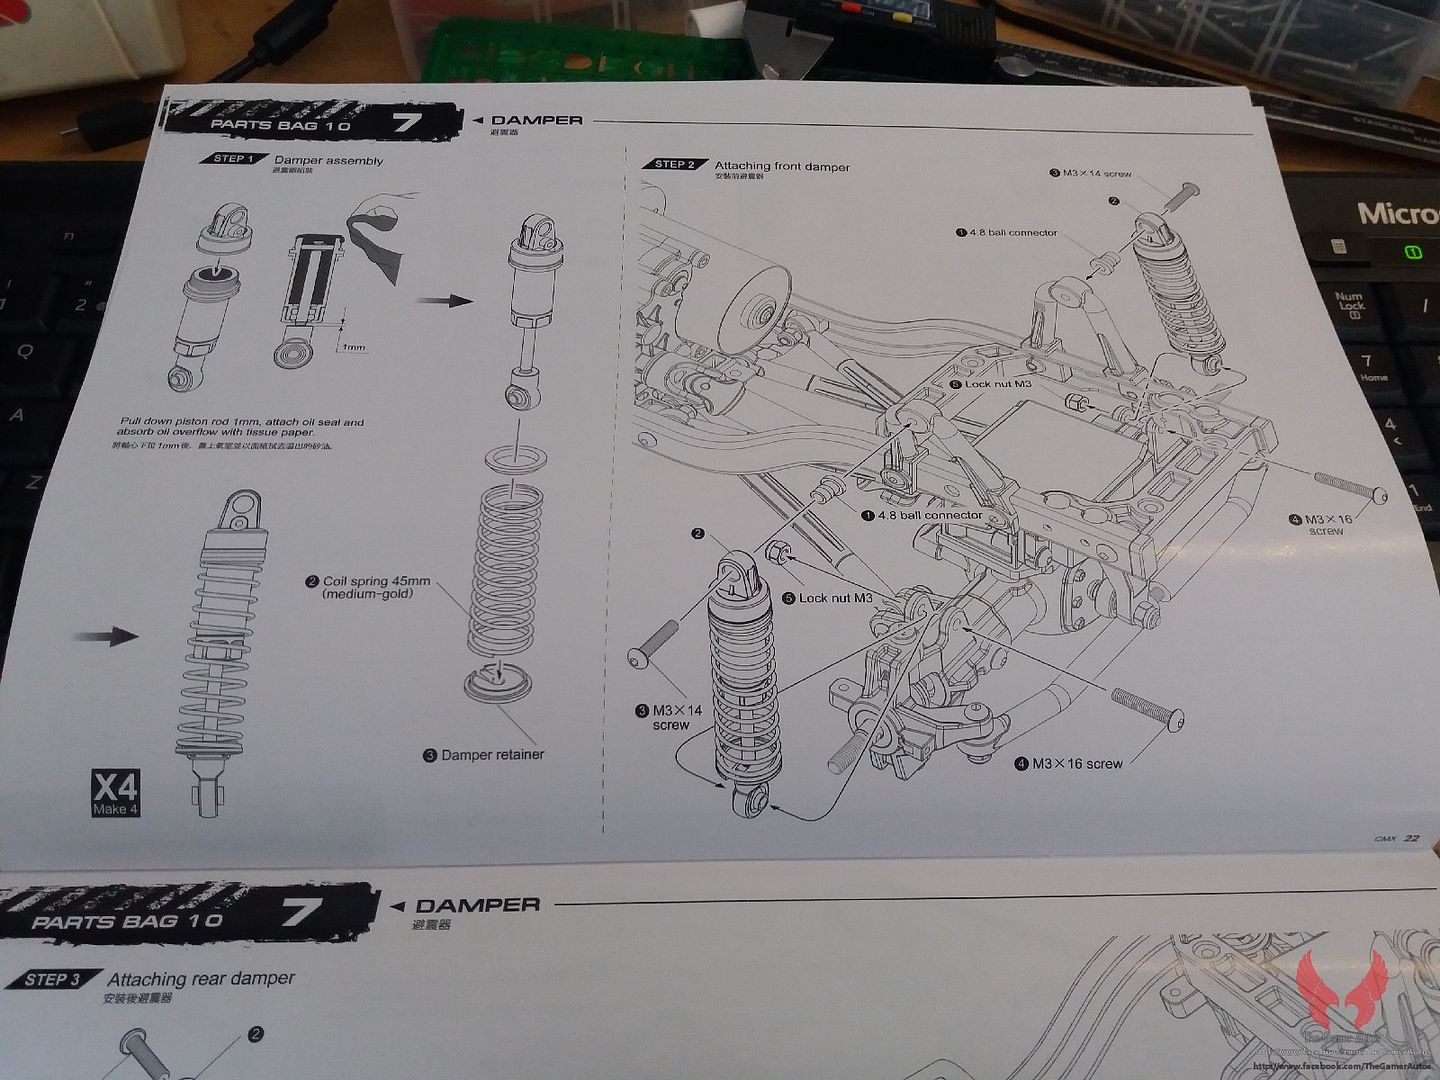 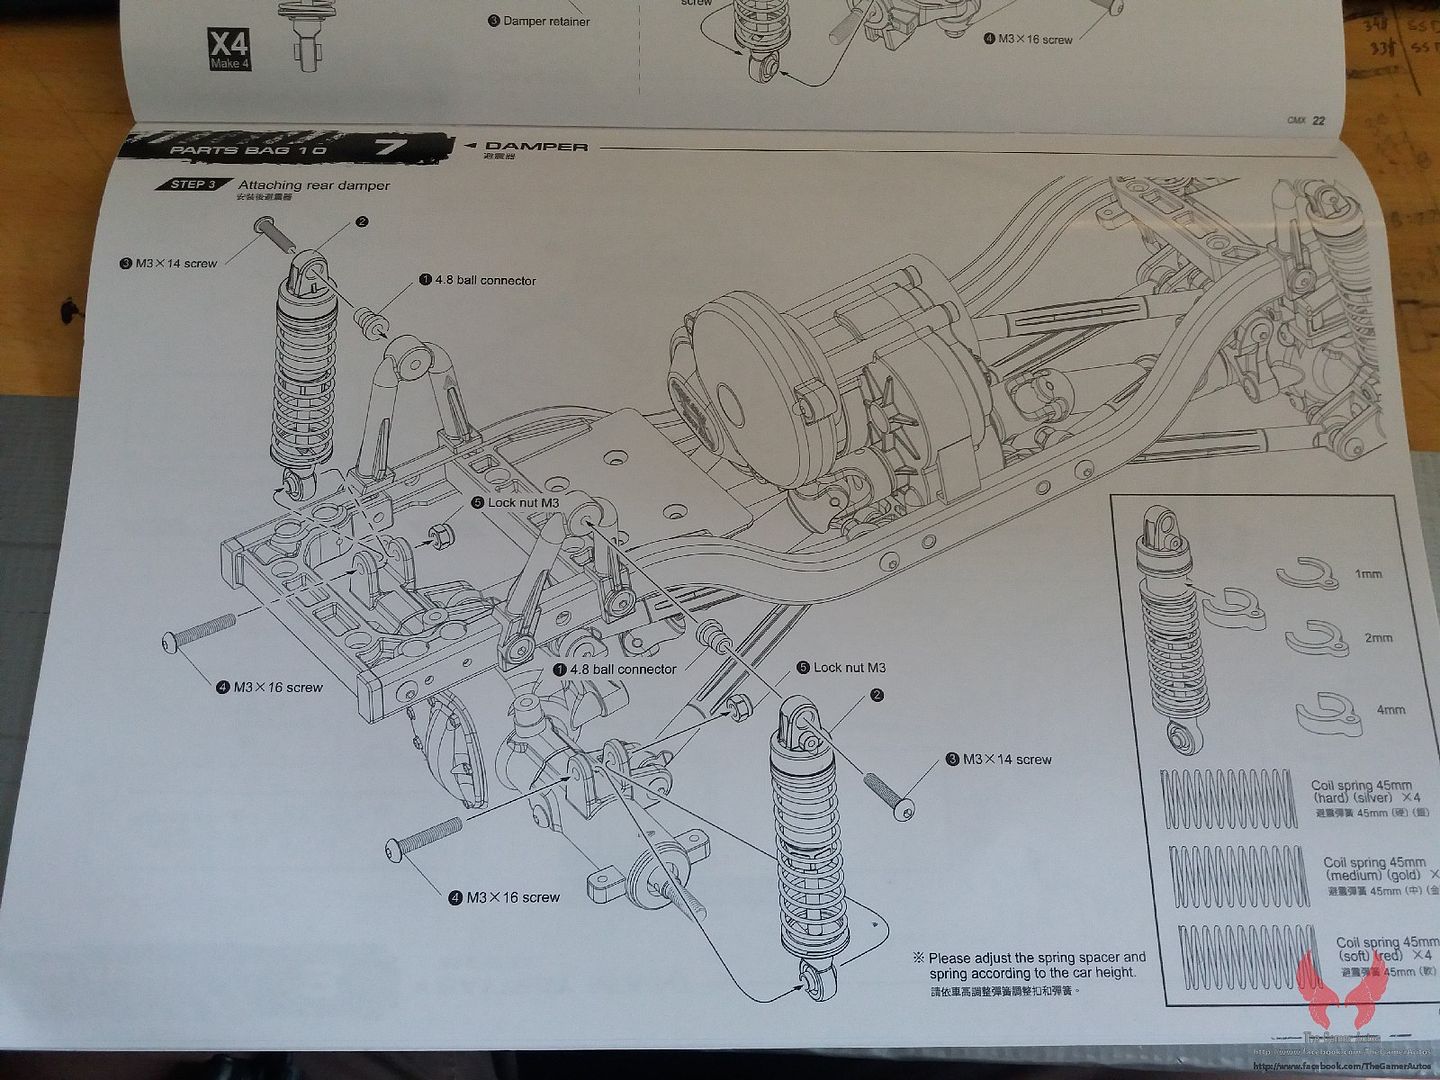 Spacers for the shocks are included. 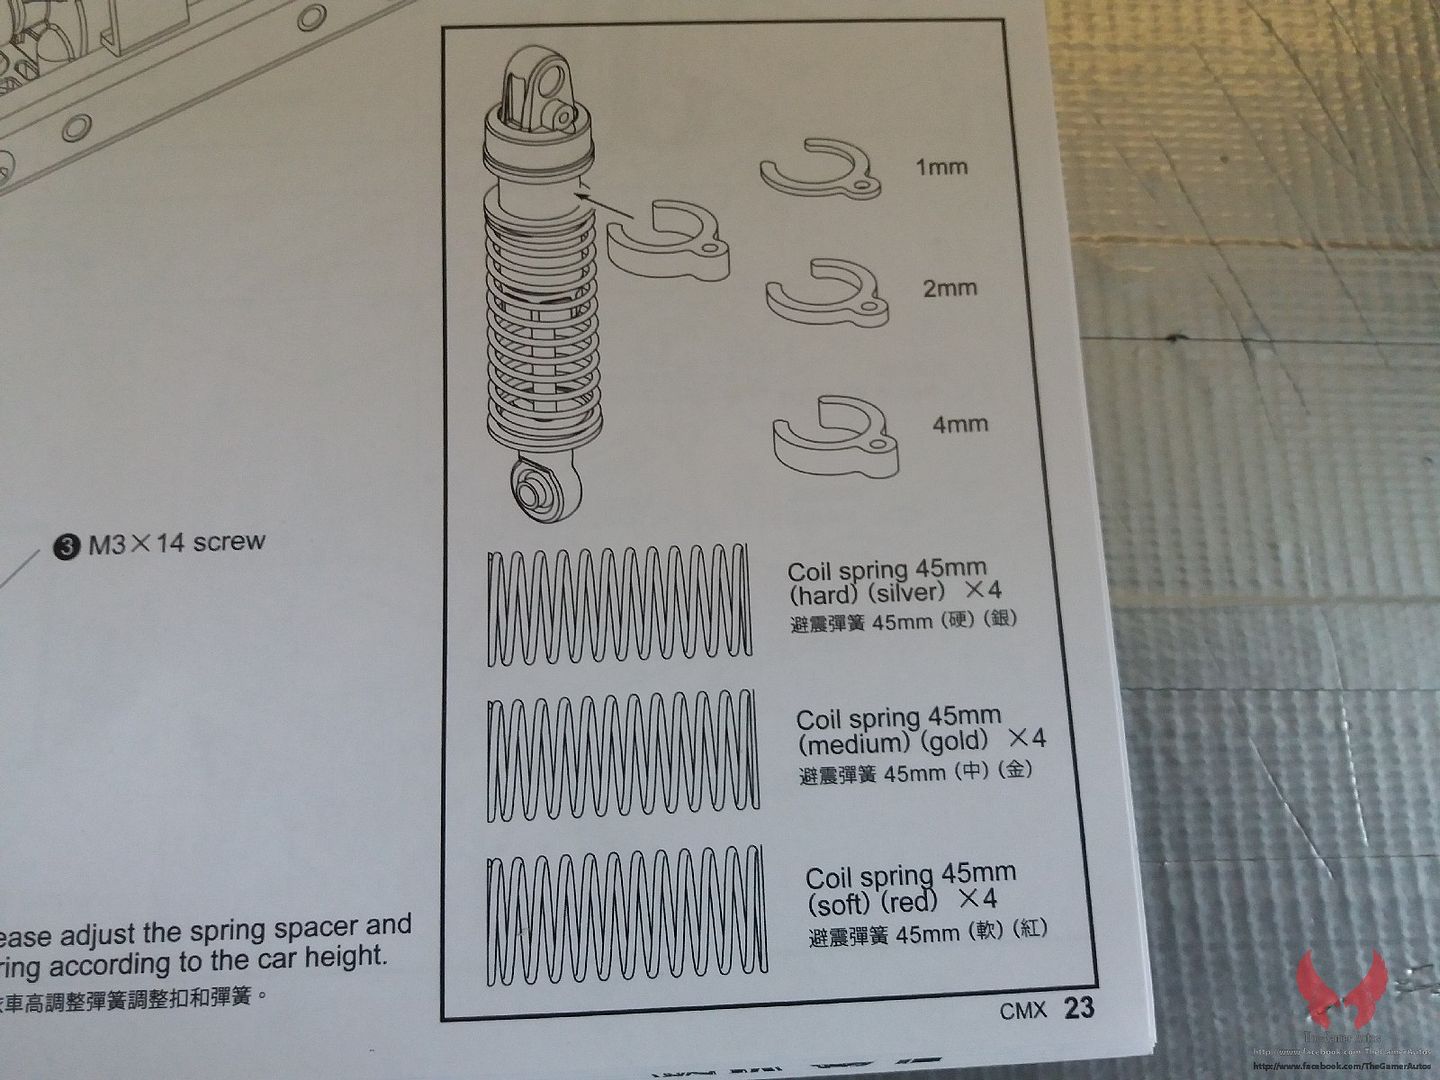 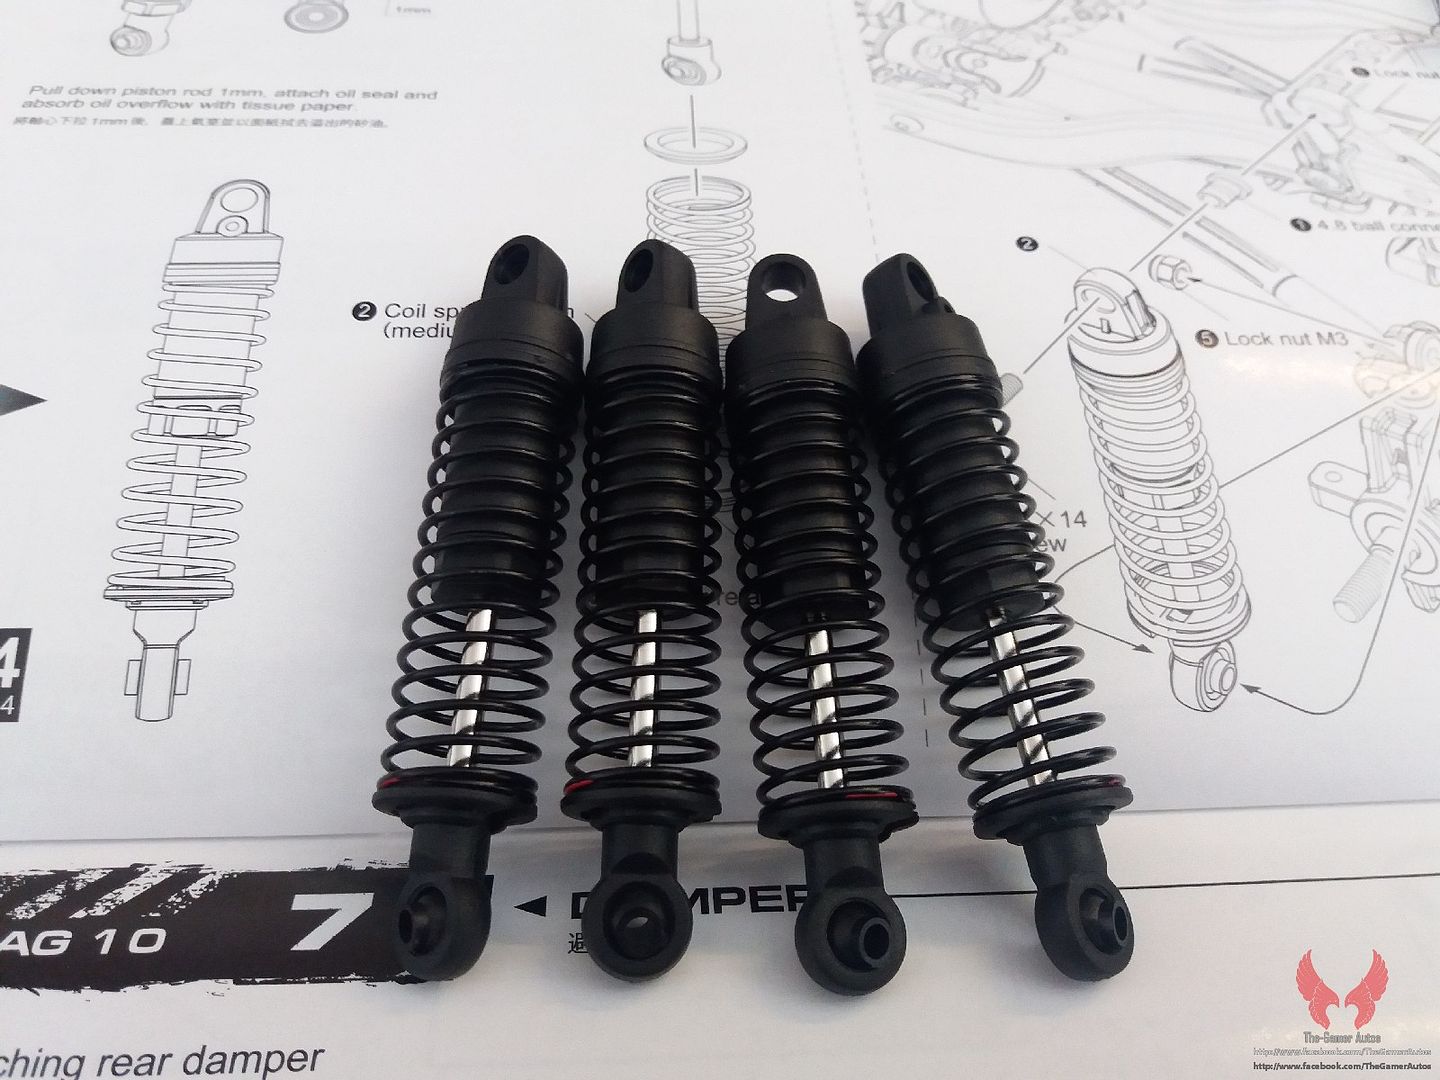 End to end, they have around 78mm. 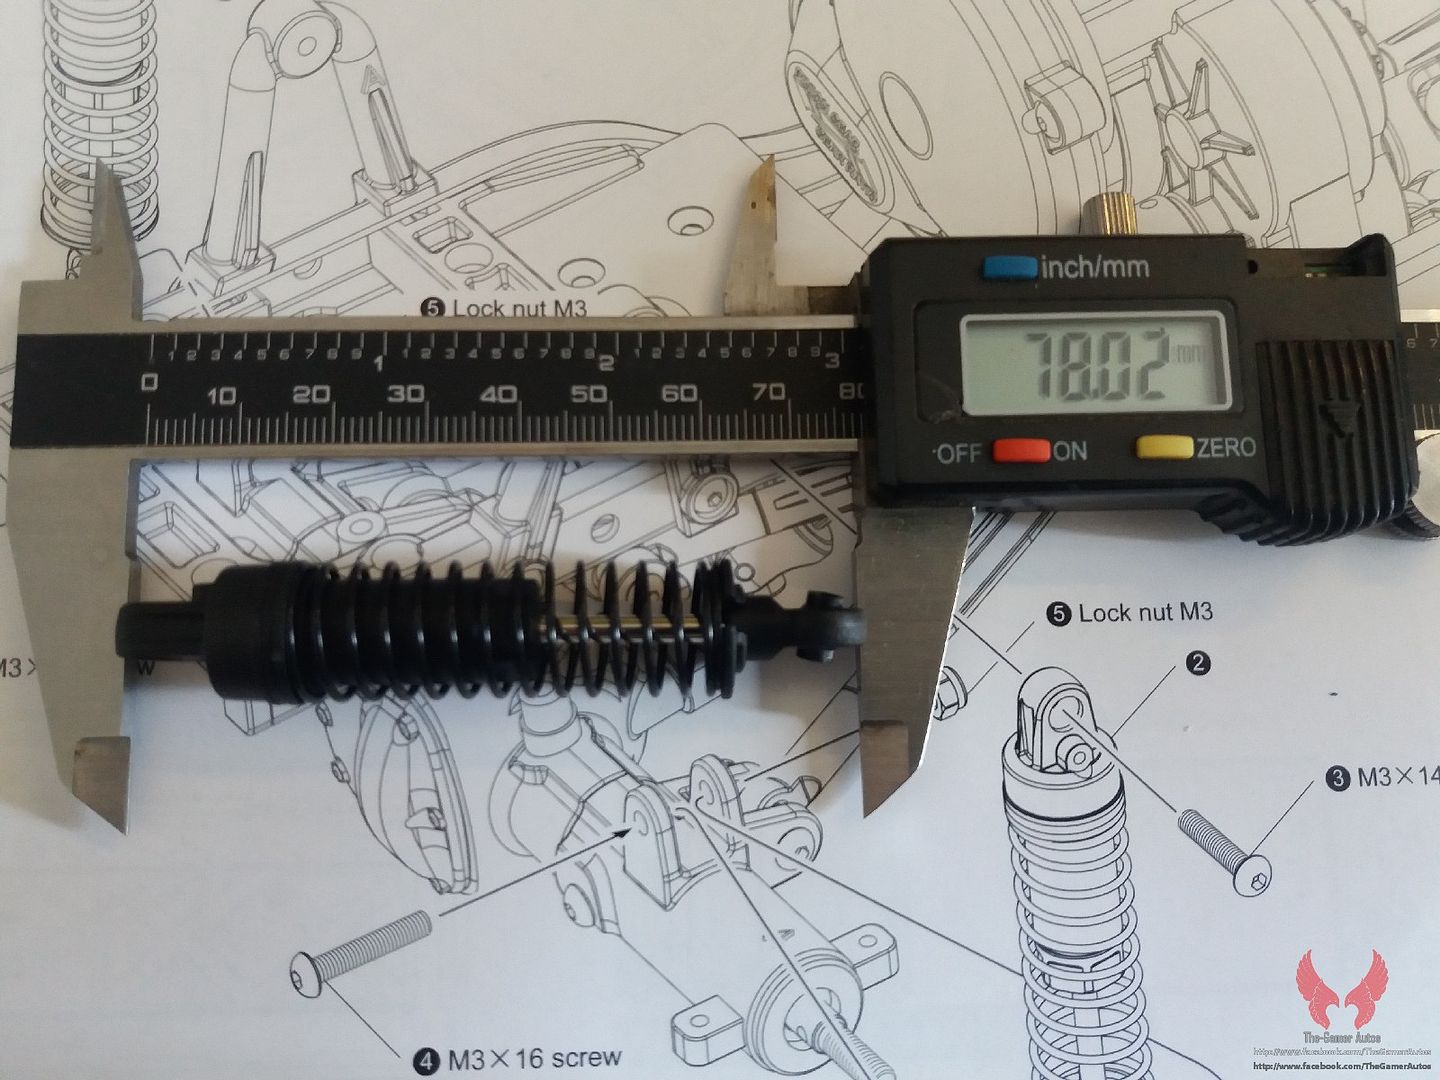 Mount to mount they are 70mmm and compressed they are around 50mm. 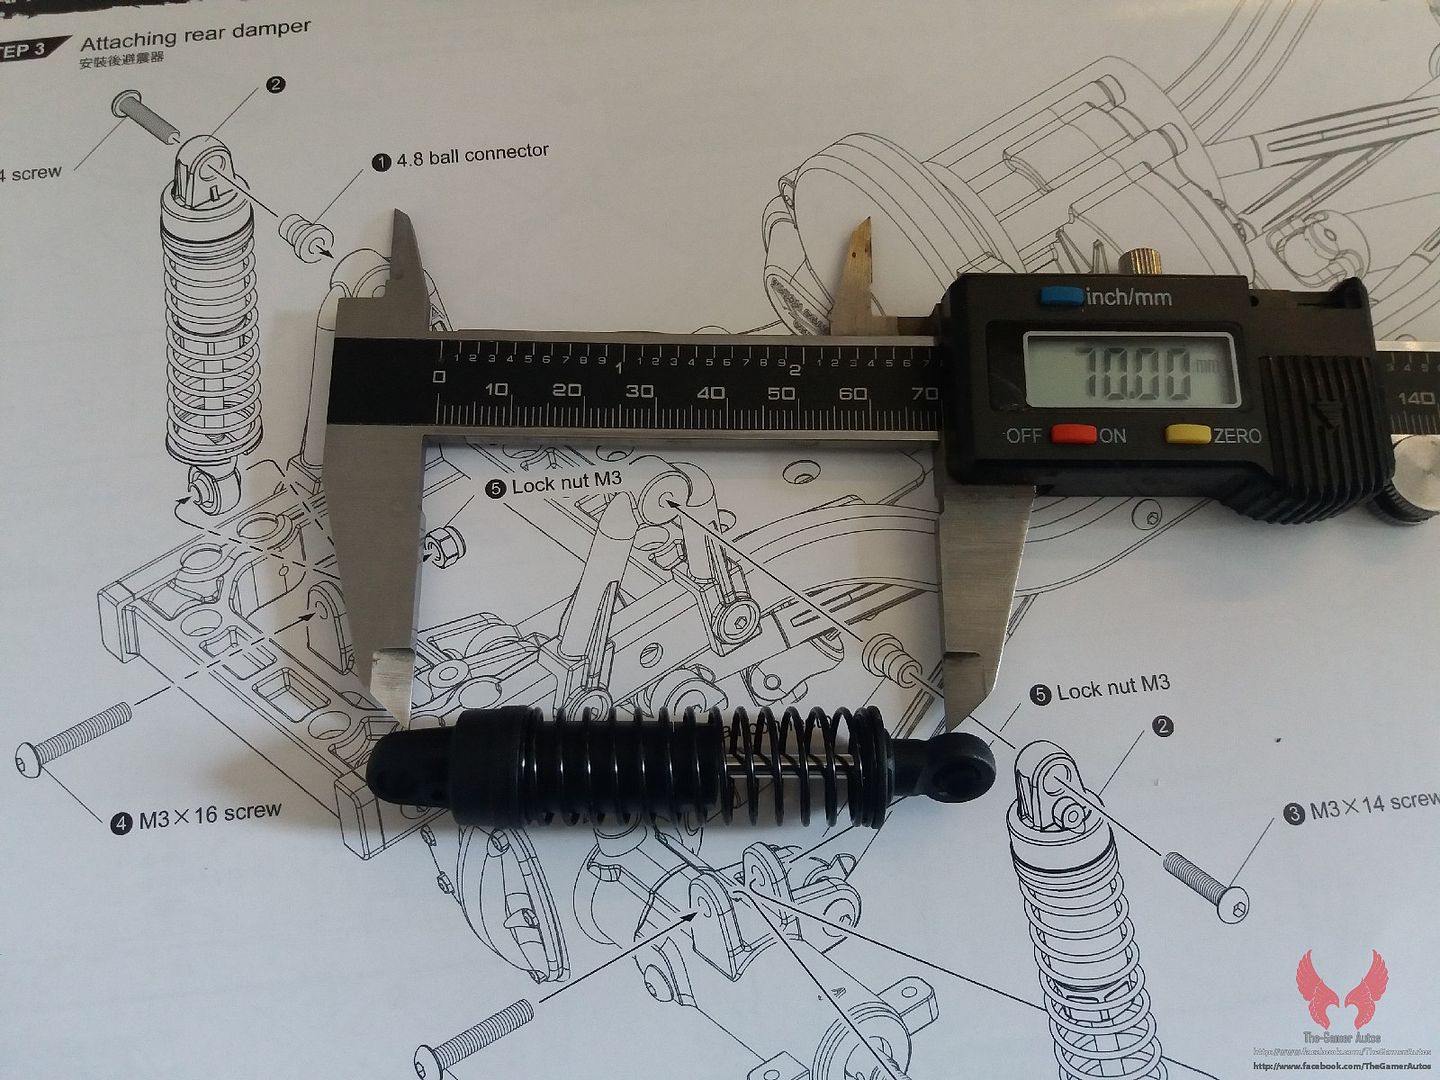 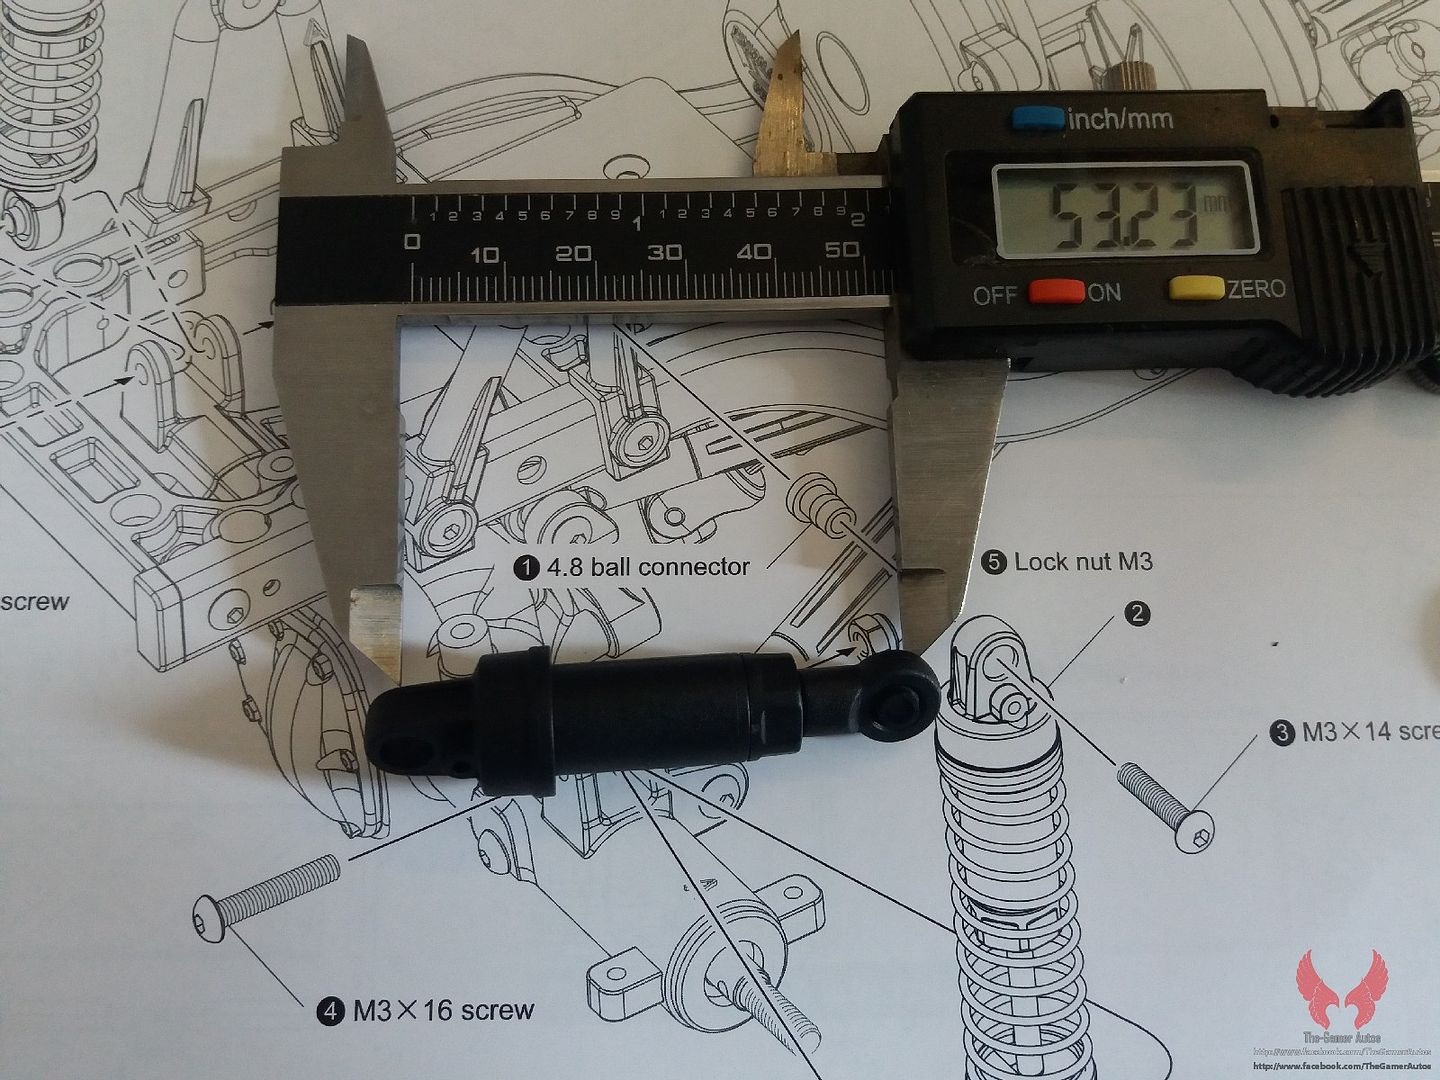 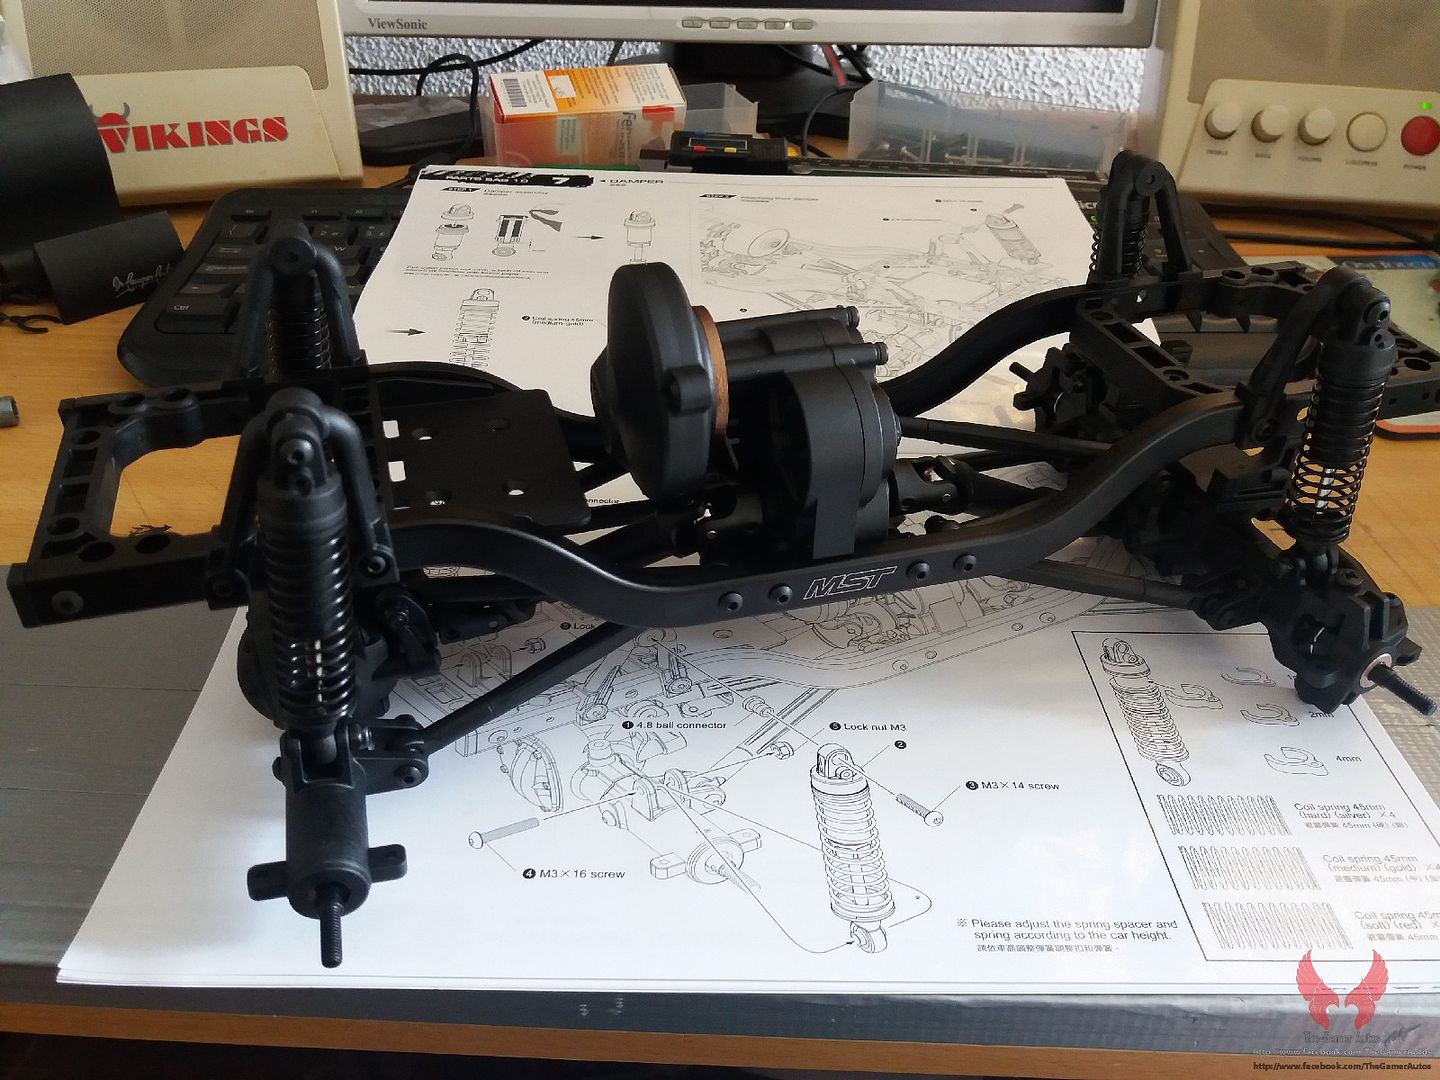 |
|
| |
|
04-11-2016, 08:01 AM
| #5 |
| Quarry Creeper Join Date: Aug 2009 Location: Portugal
Posts: 318
|
Steps 8-9 and final thoughts Step 8 - battery mount. In the front! From factory!! 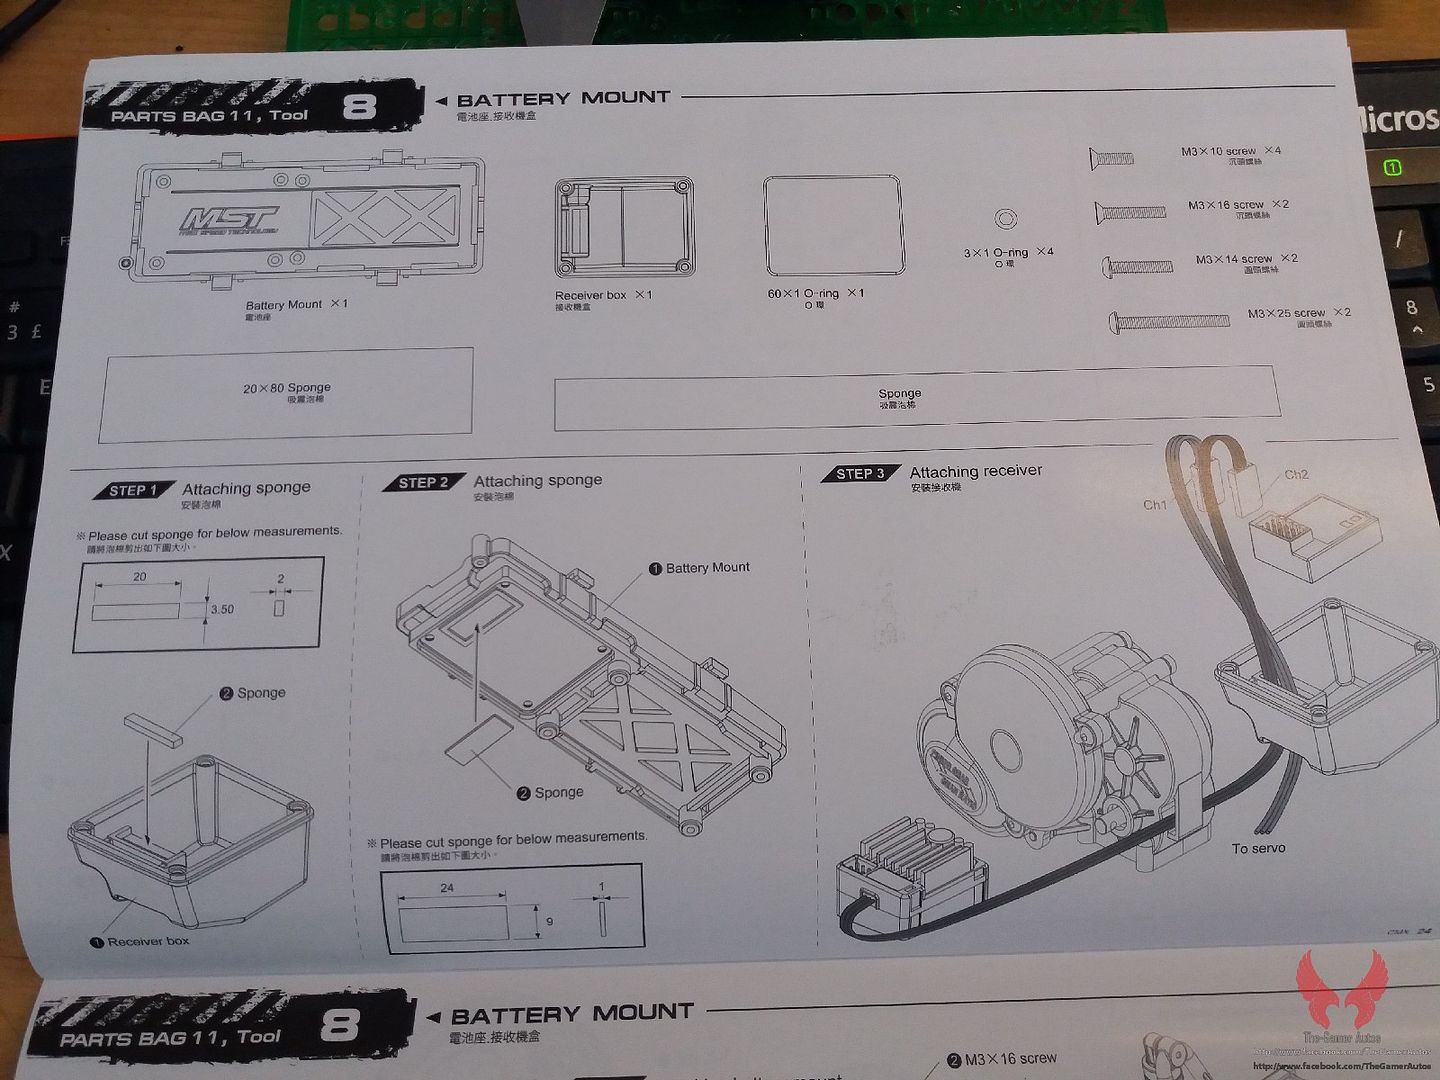 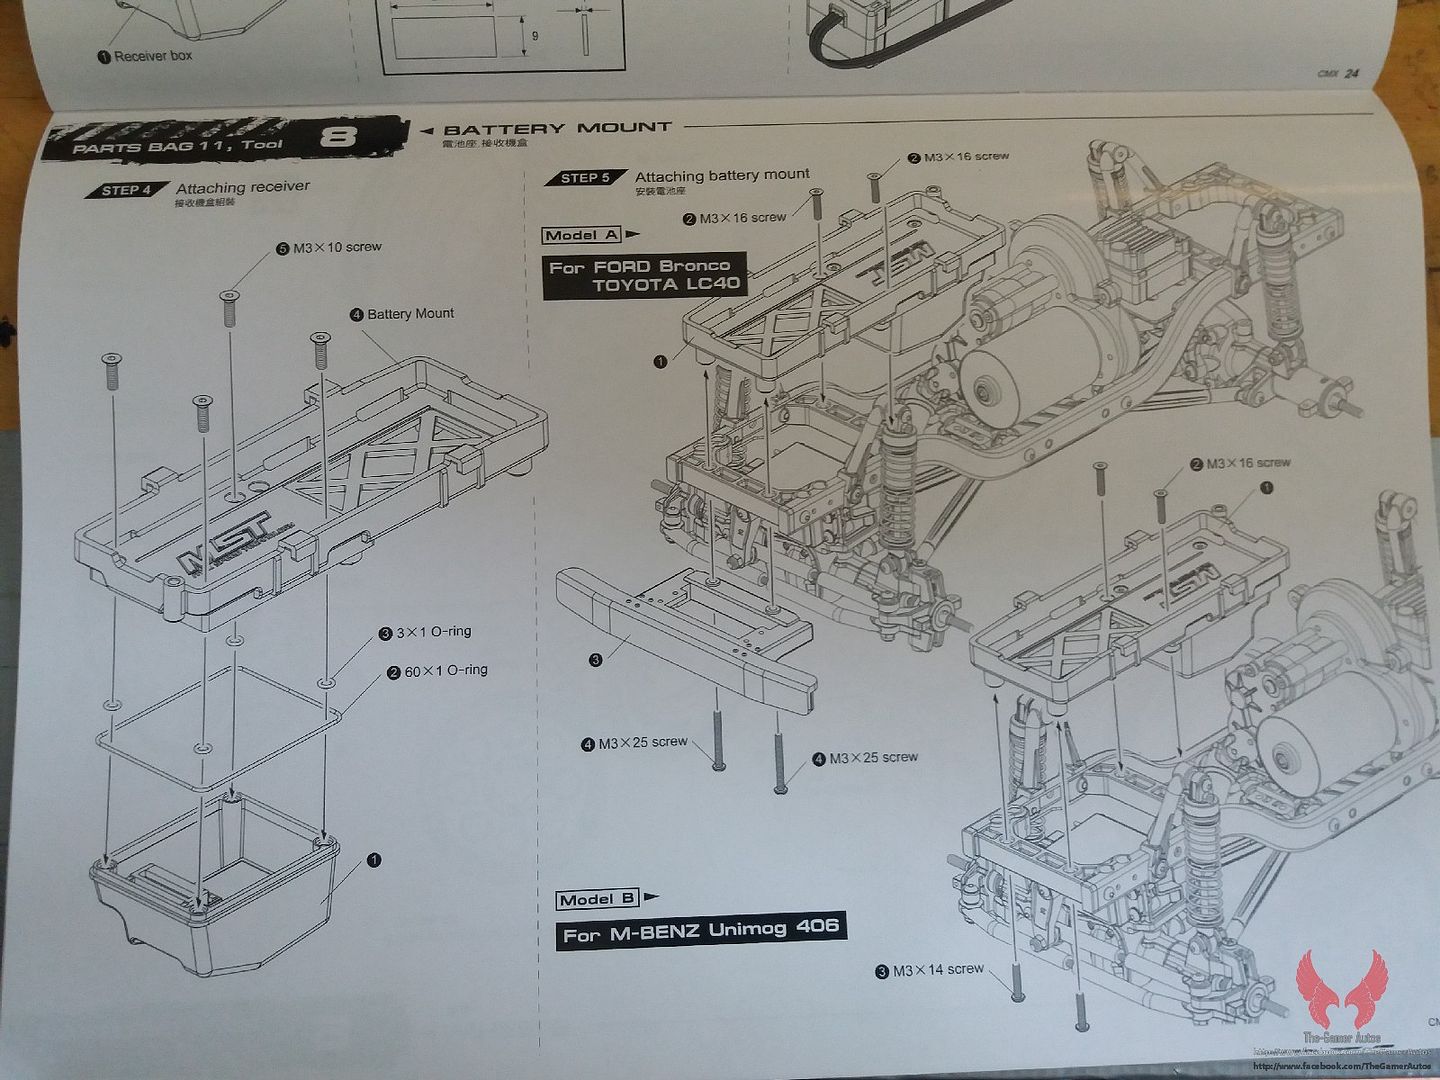 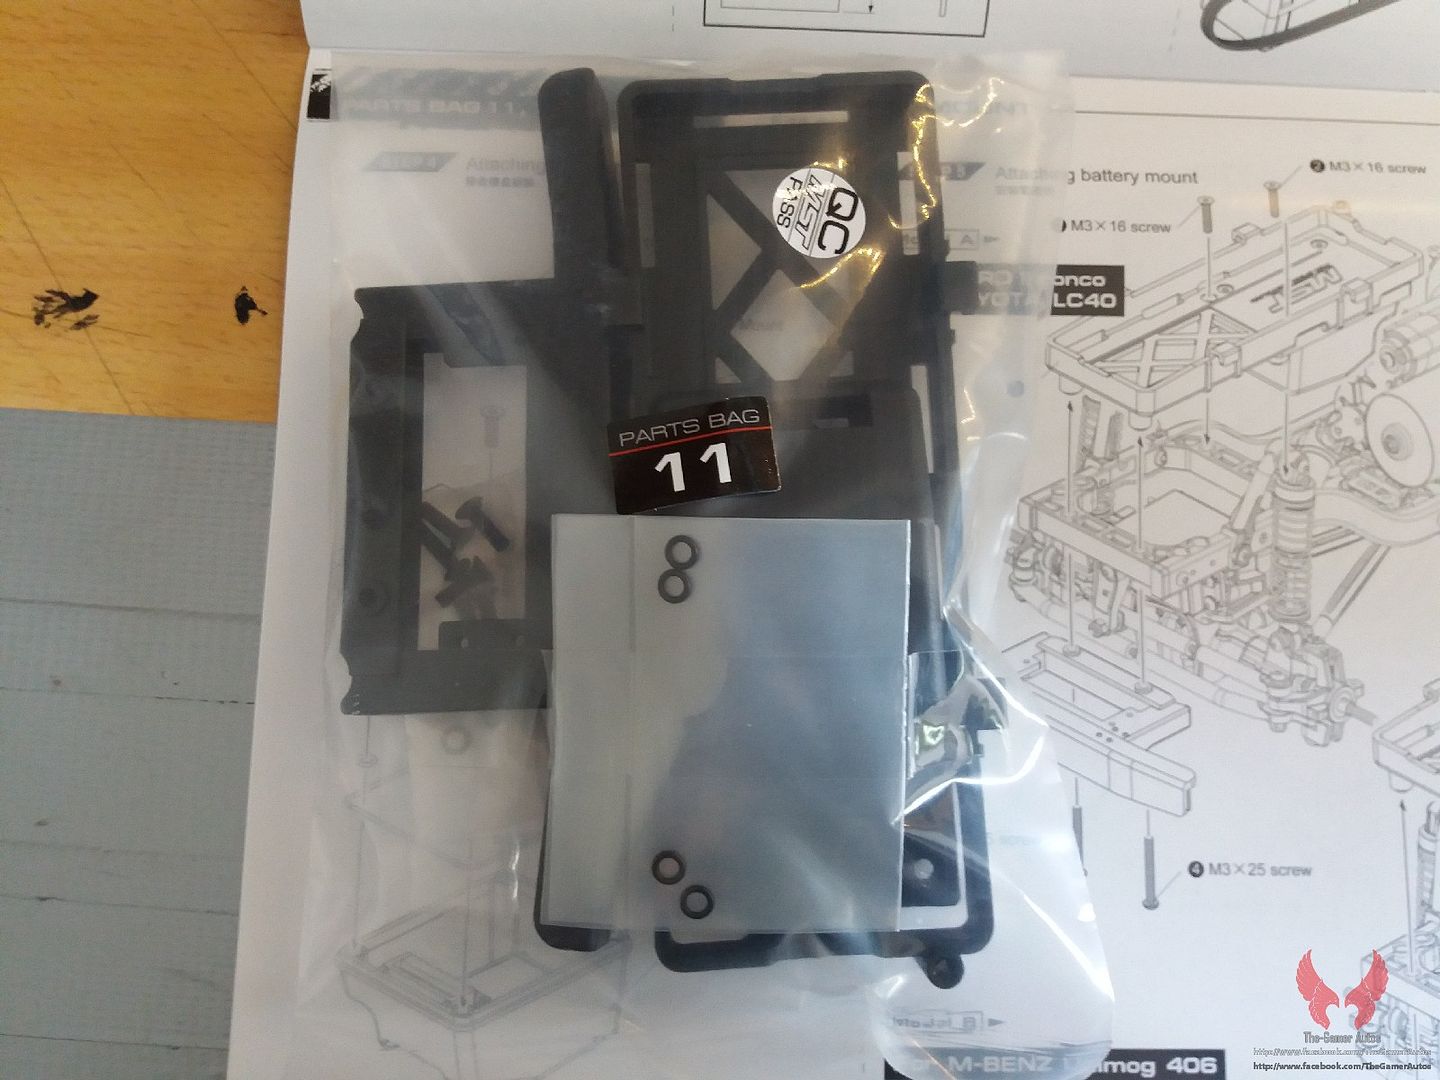 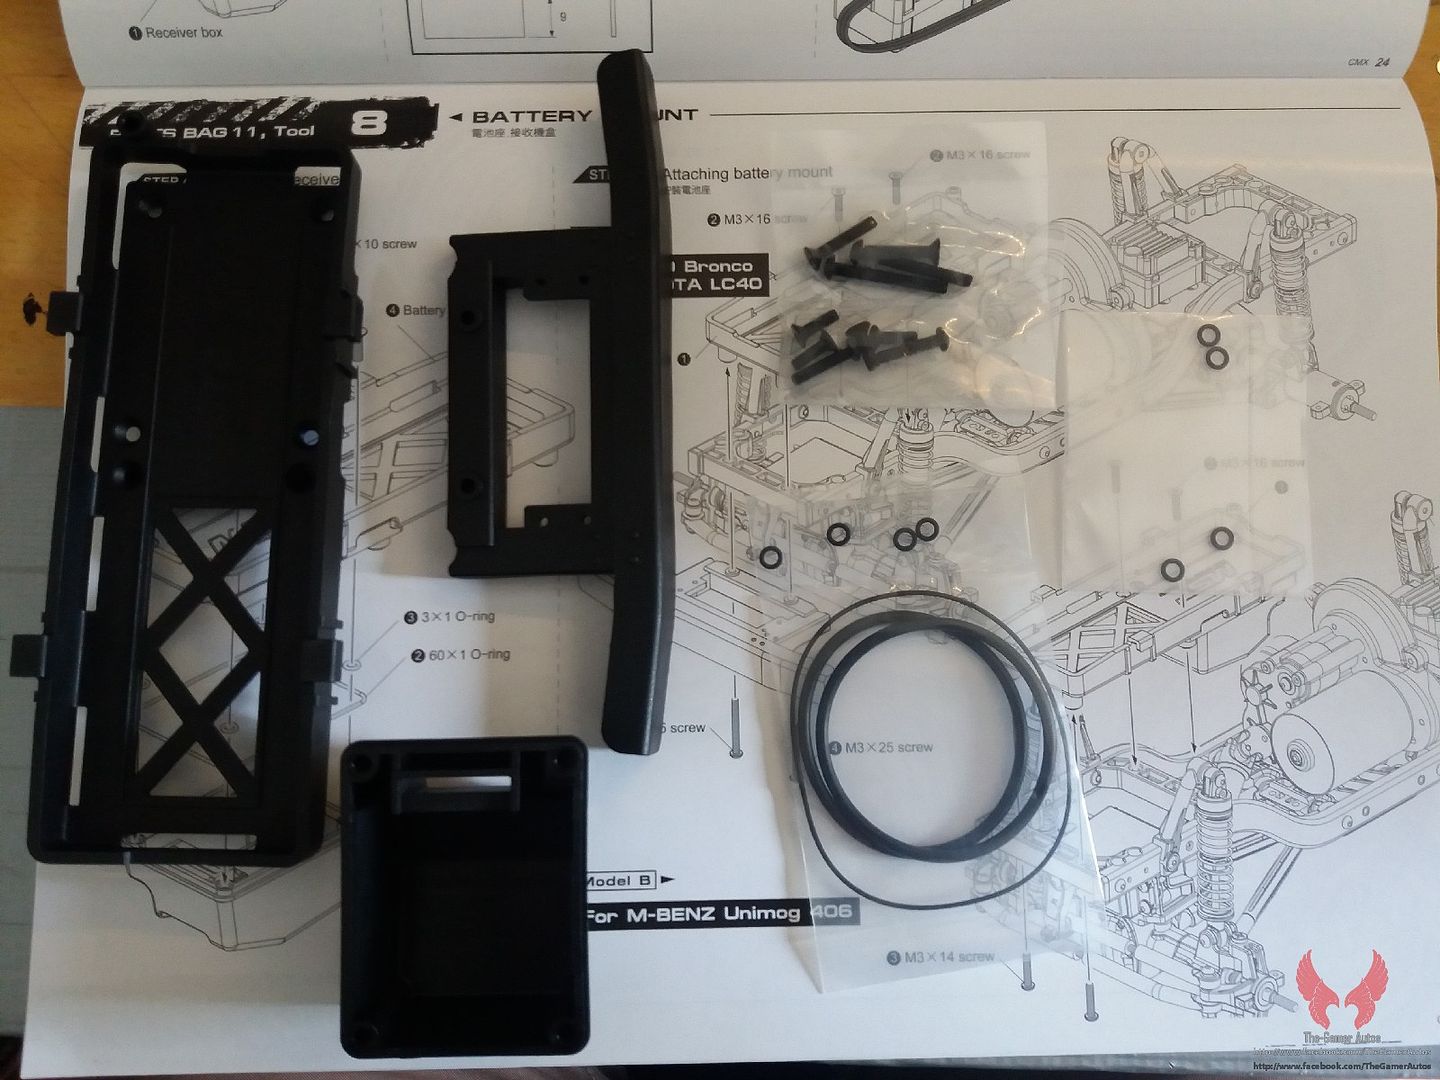 I didn't bother using the o-rings nor the tape, but here it is, mounted on the chassis. 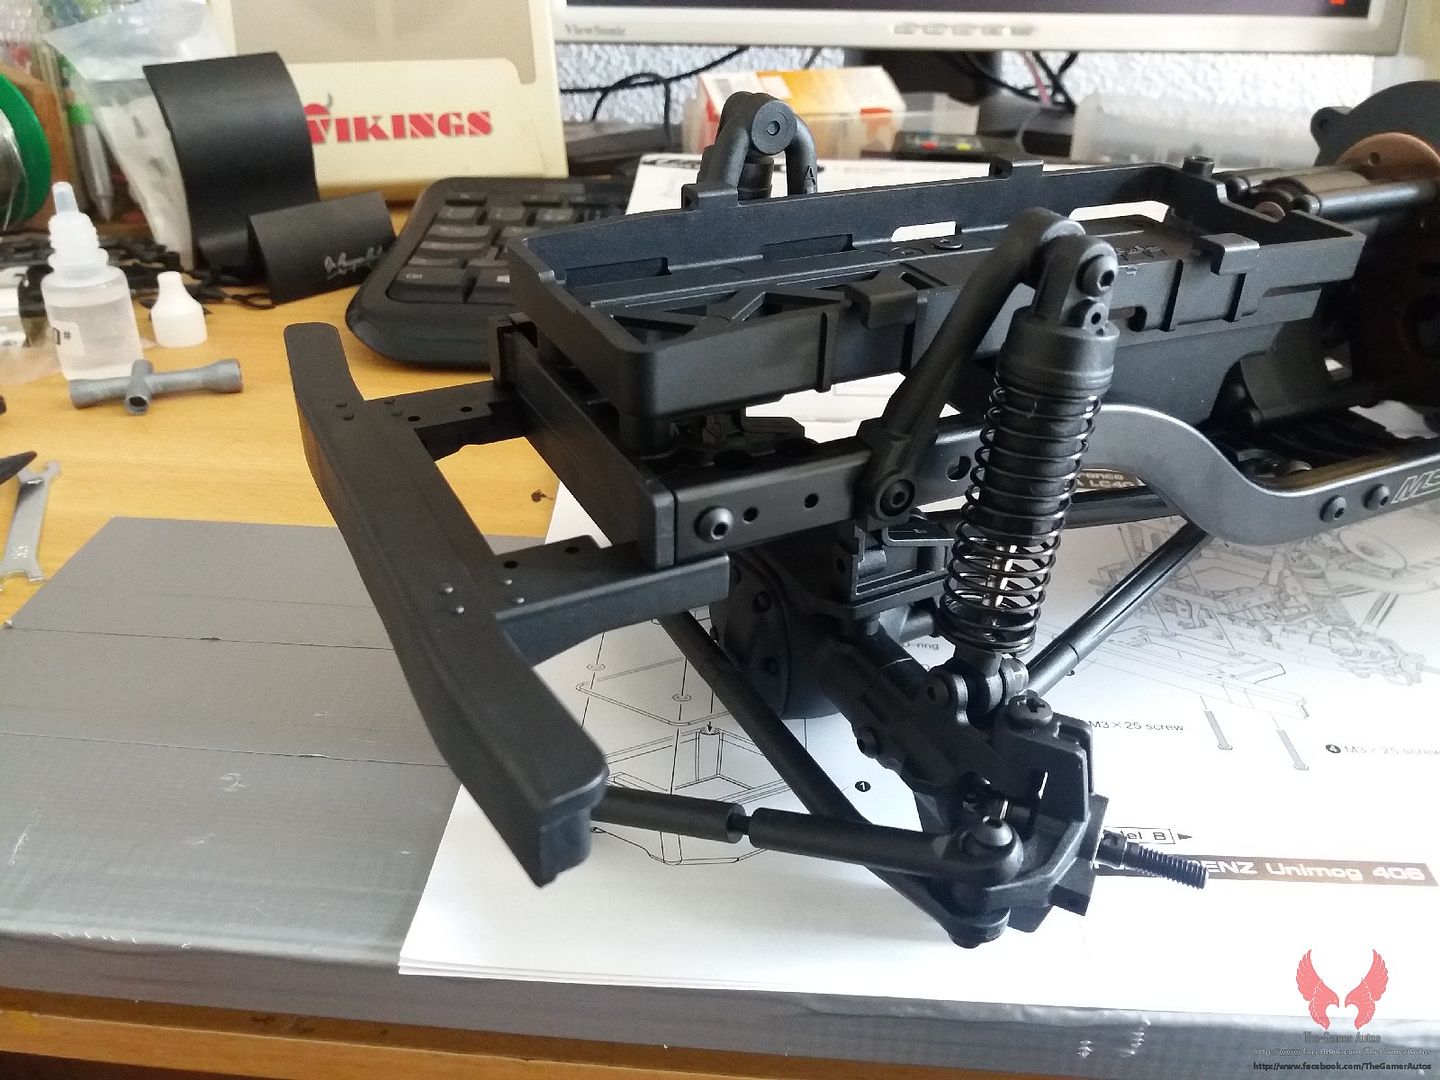 Step 9 - Tires and wheels. My favourite part! I love the tires! They look good and are 90mm tall. The wheel is a glue on and is very generic looking. 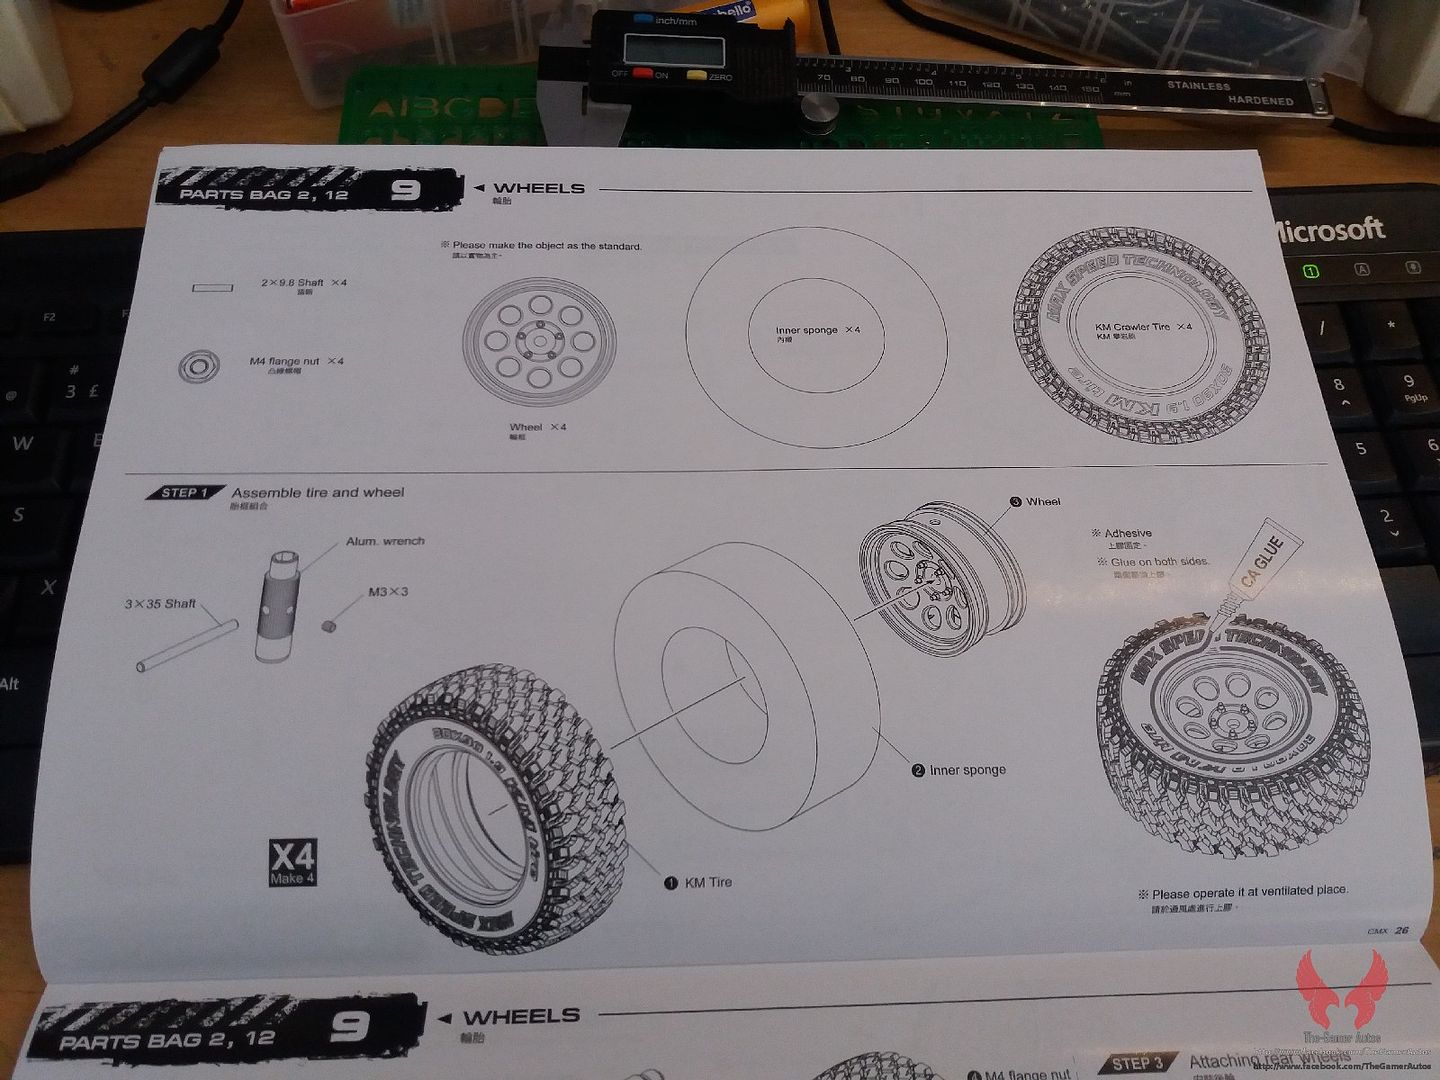 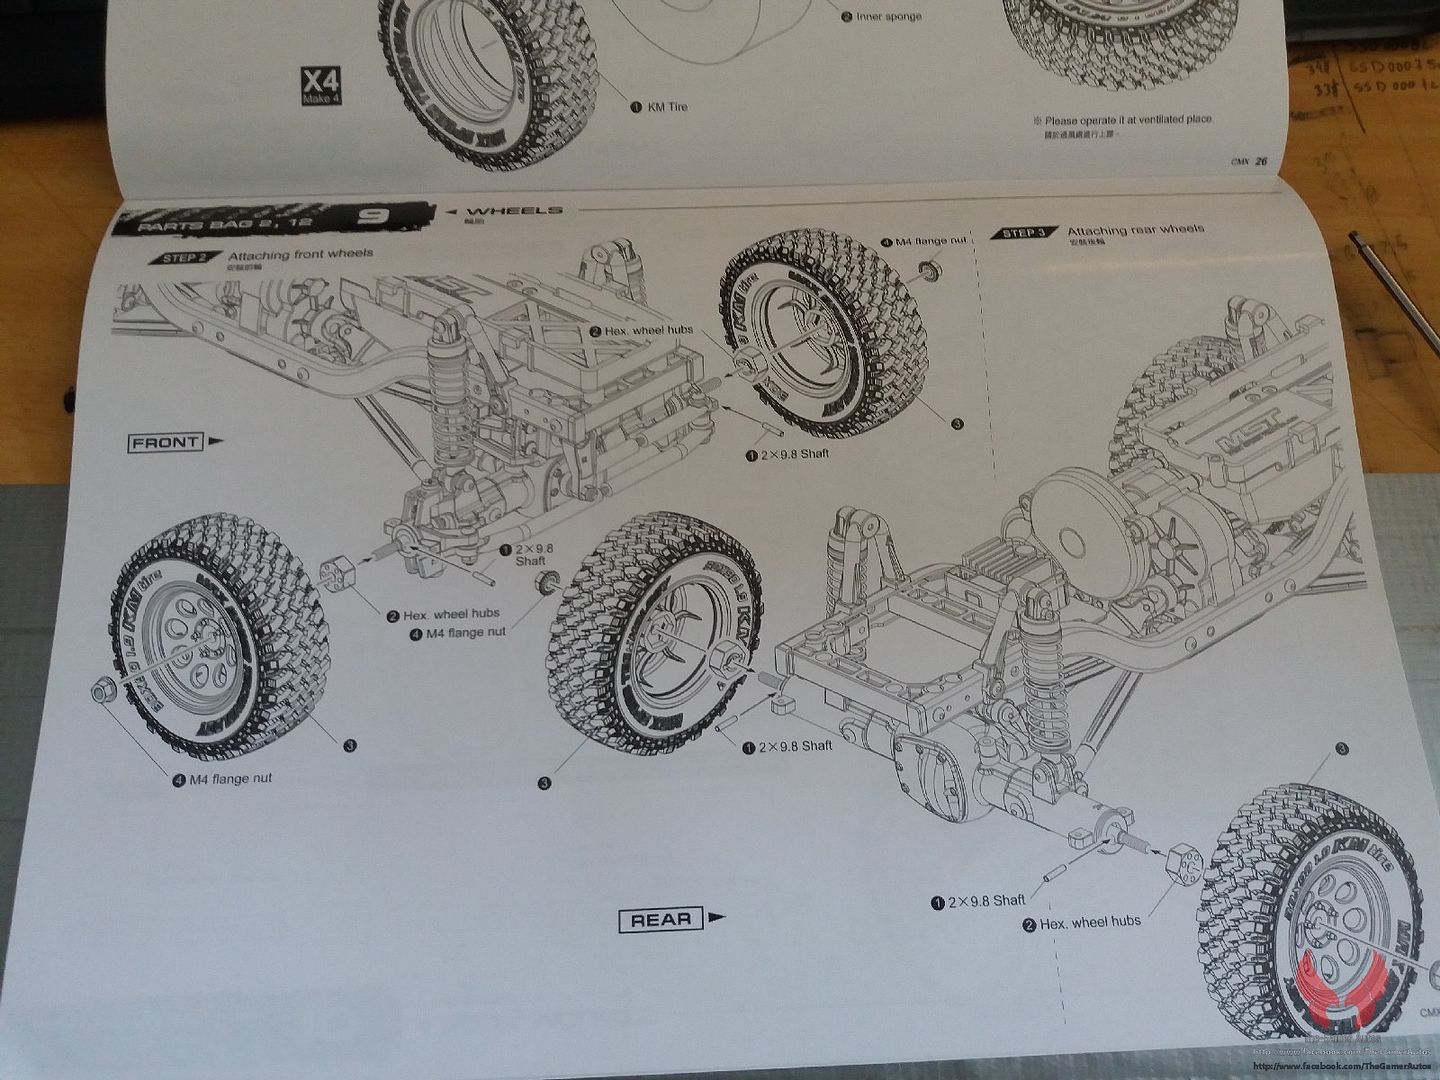 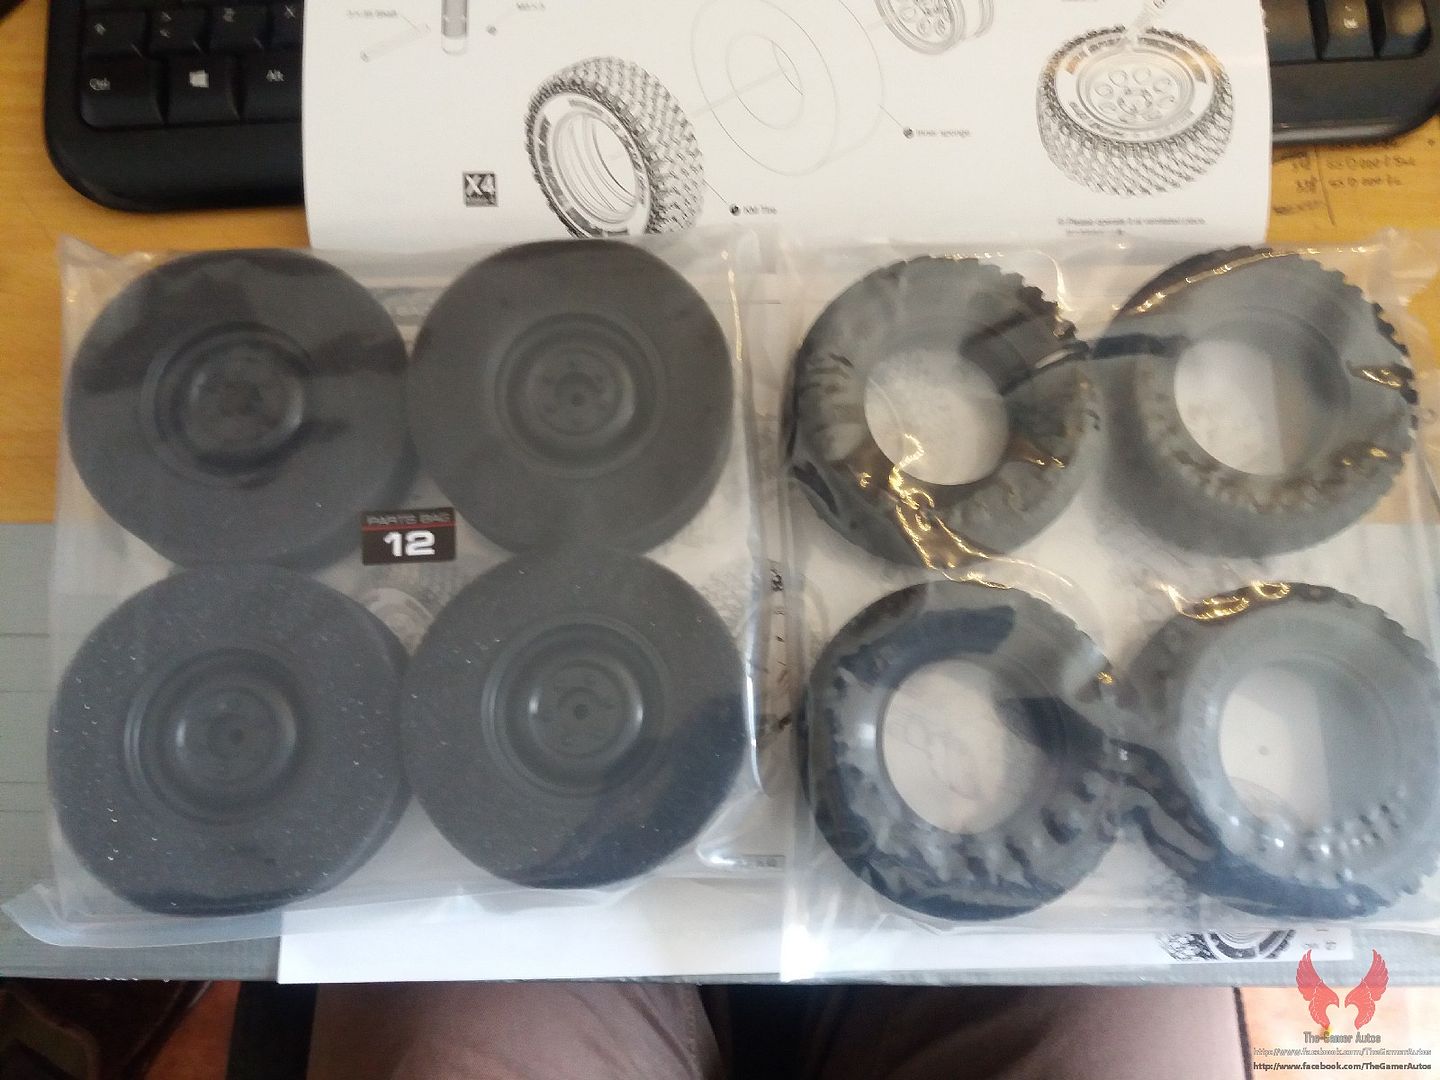 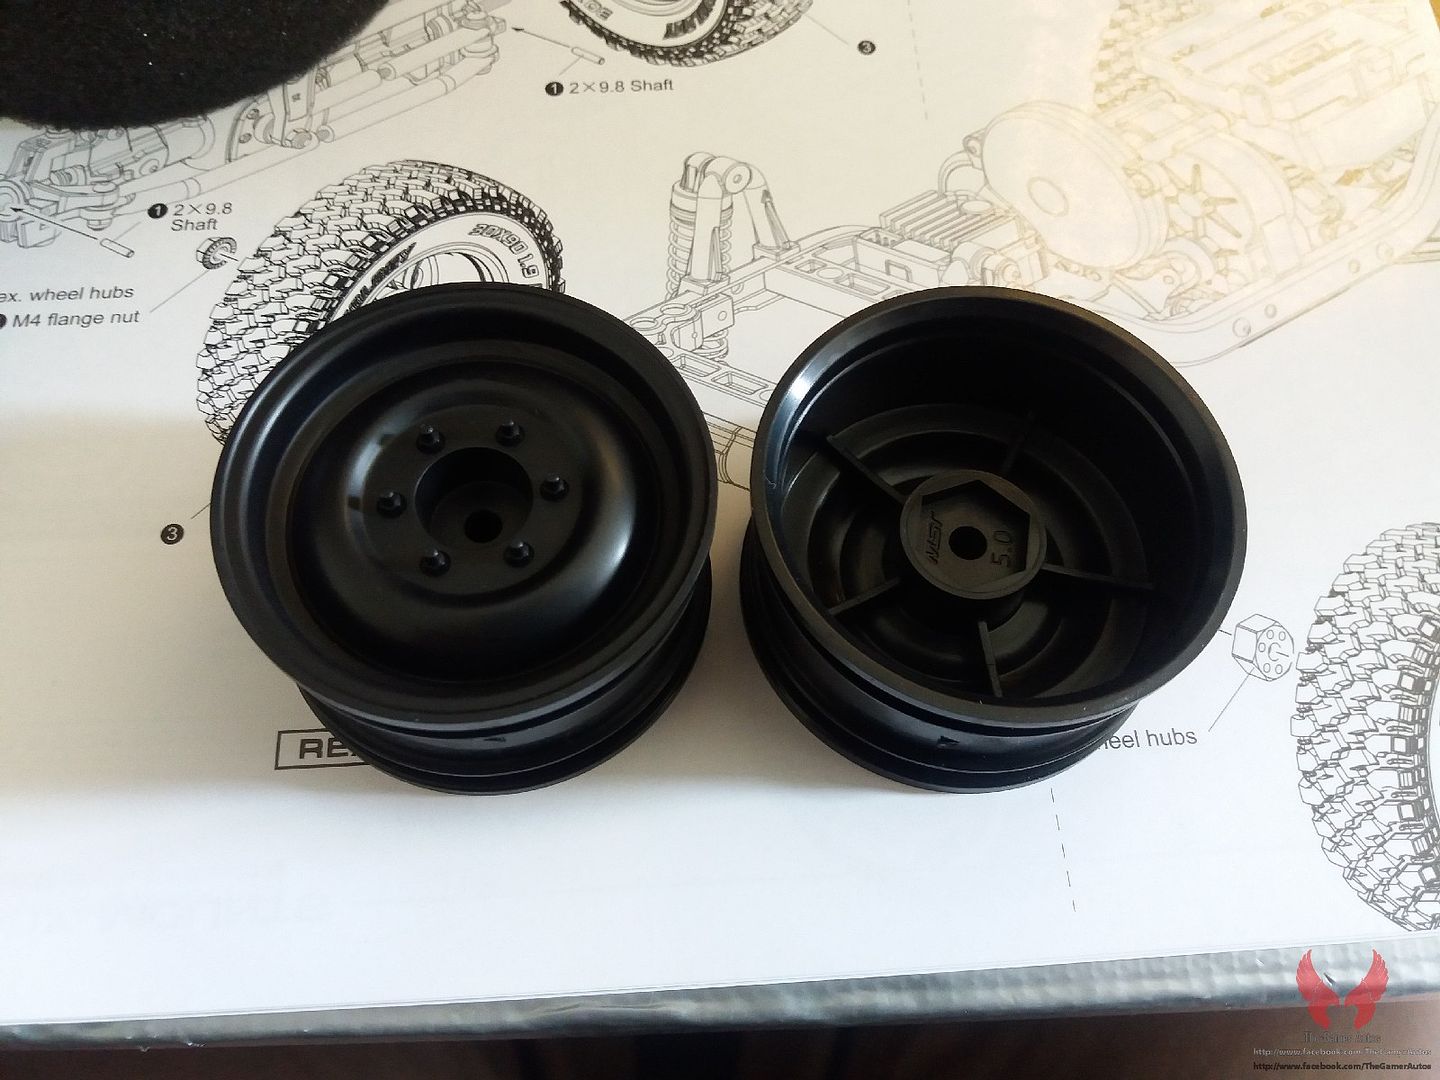 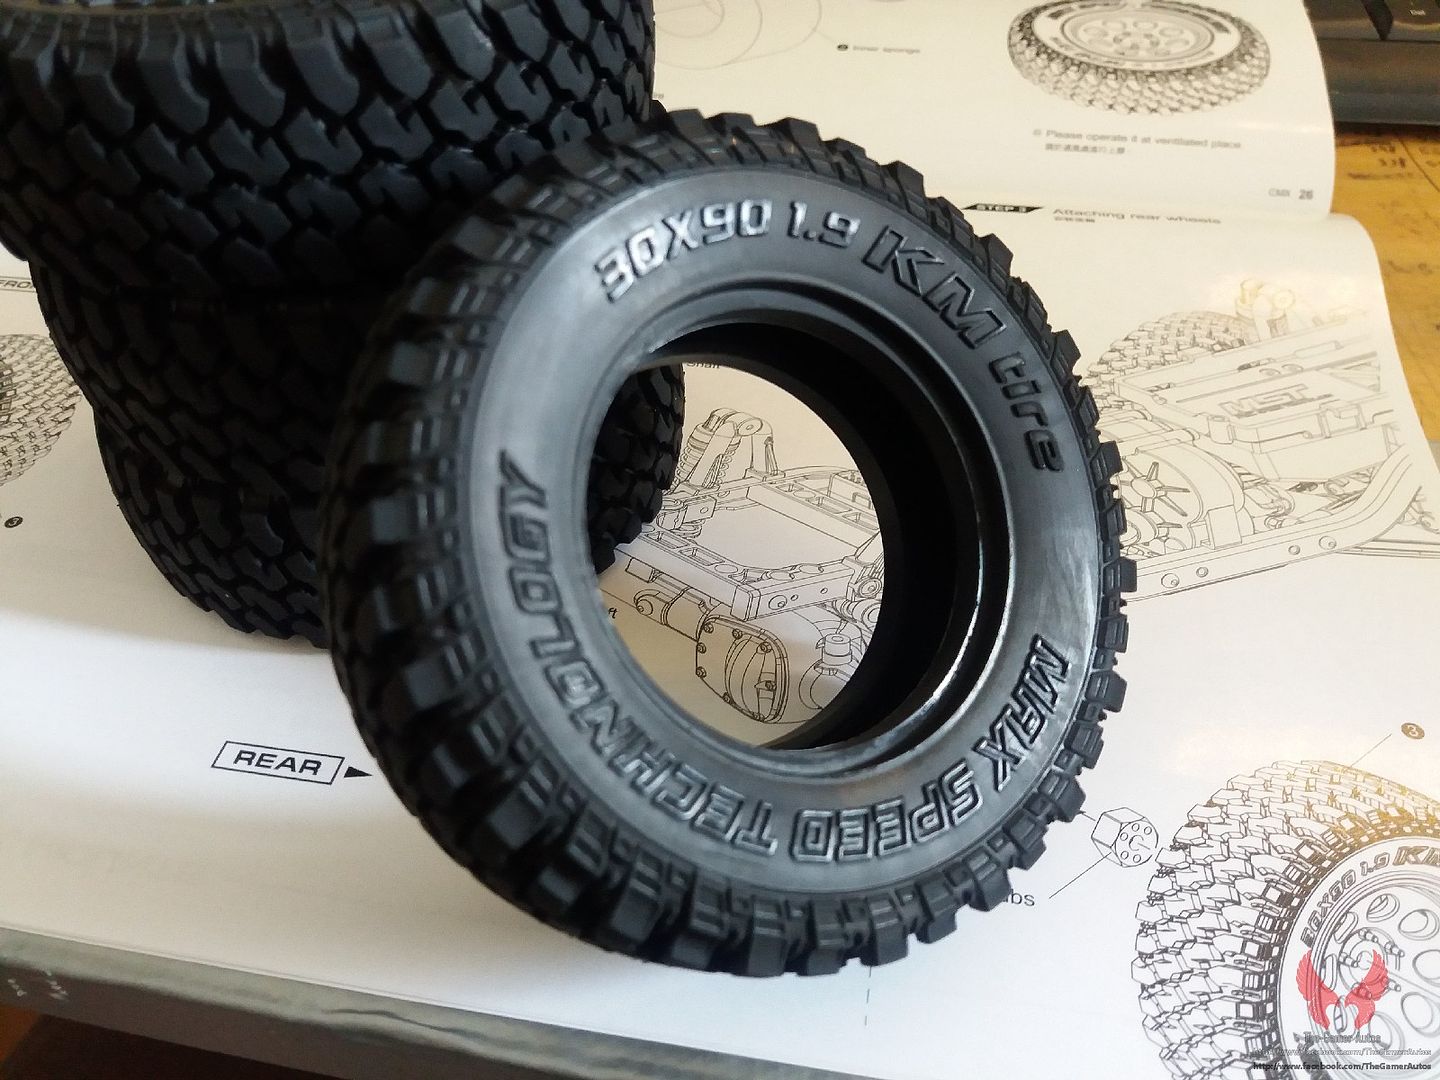  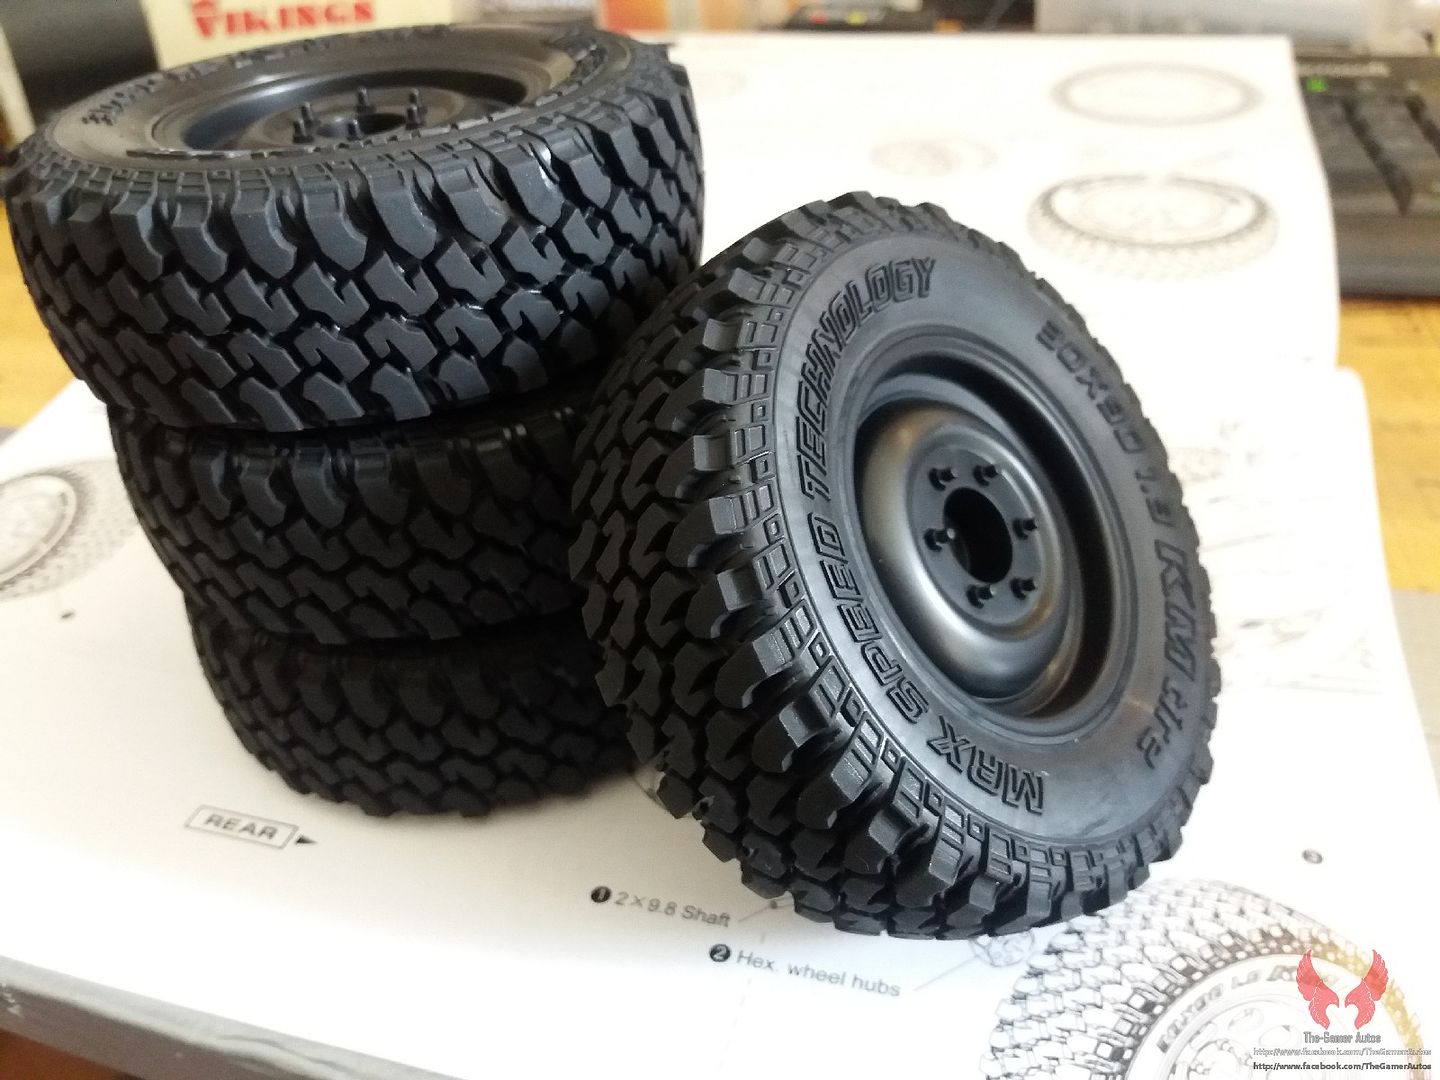 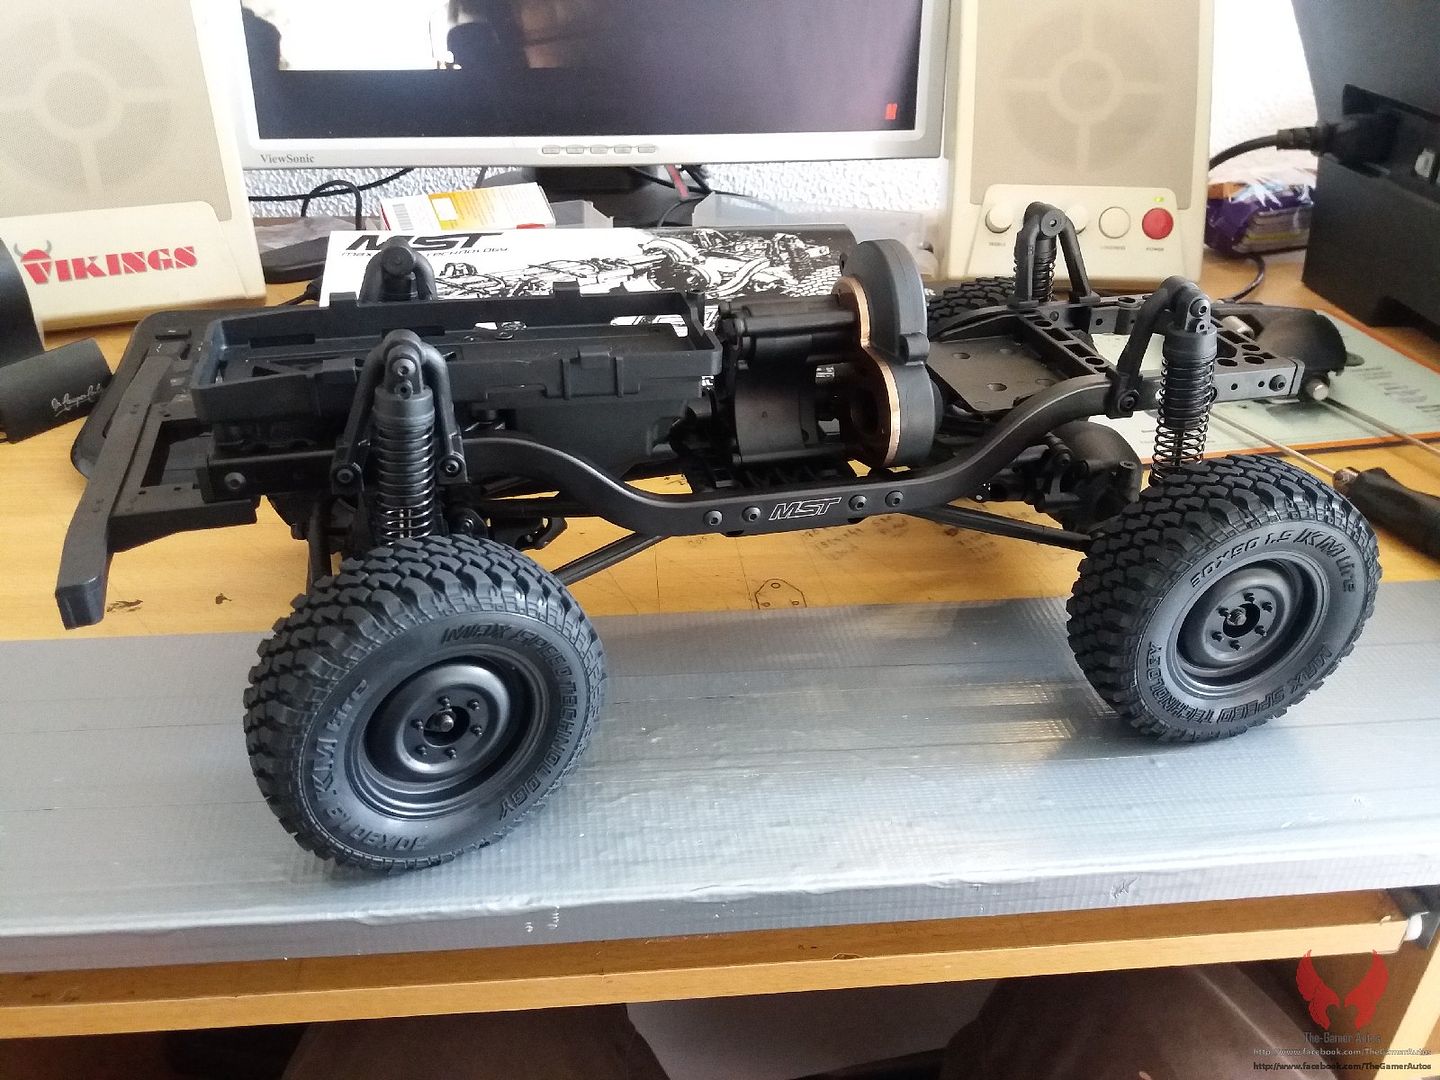 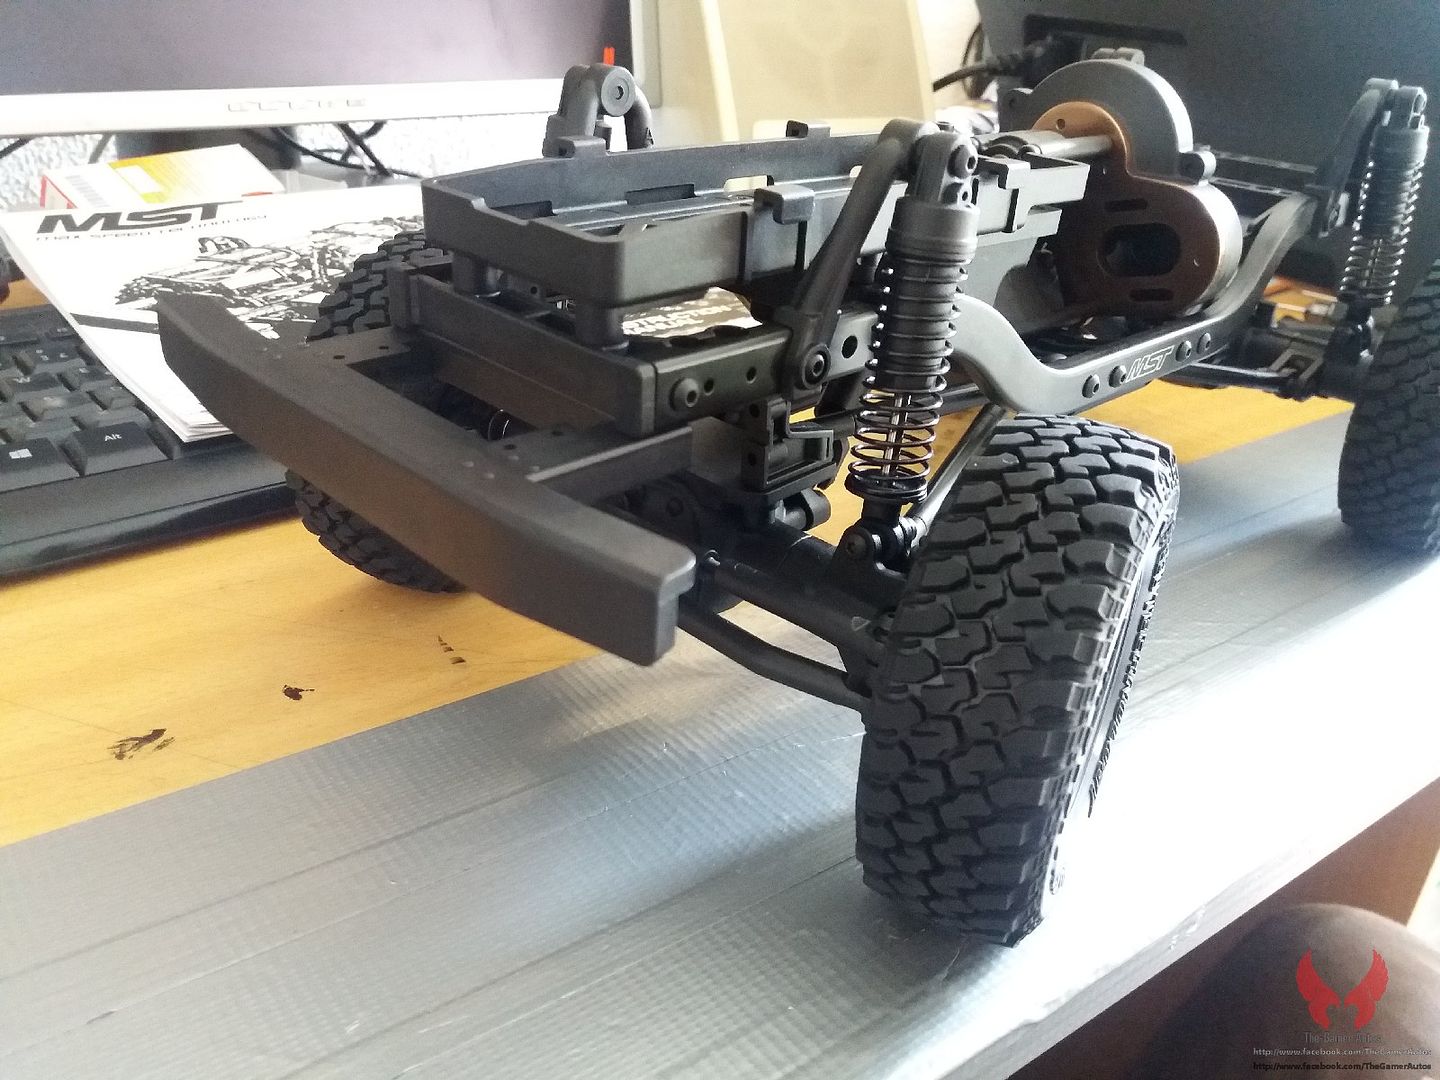 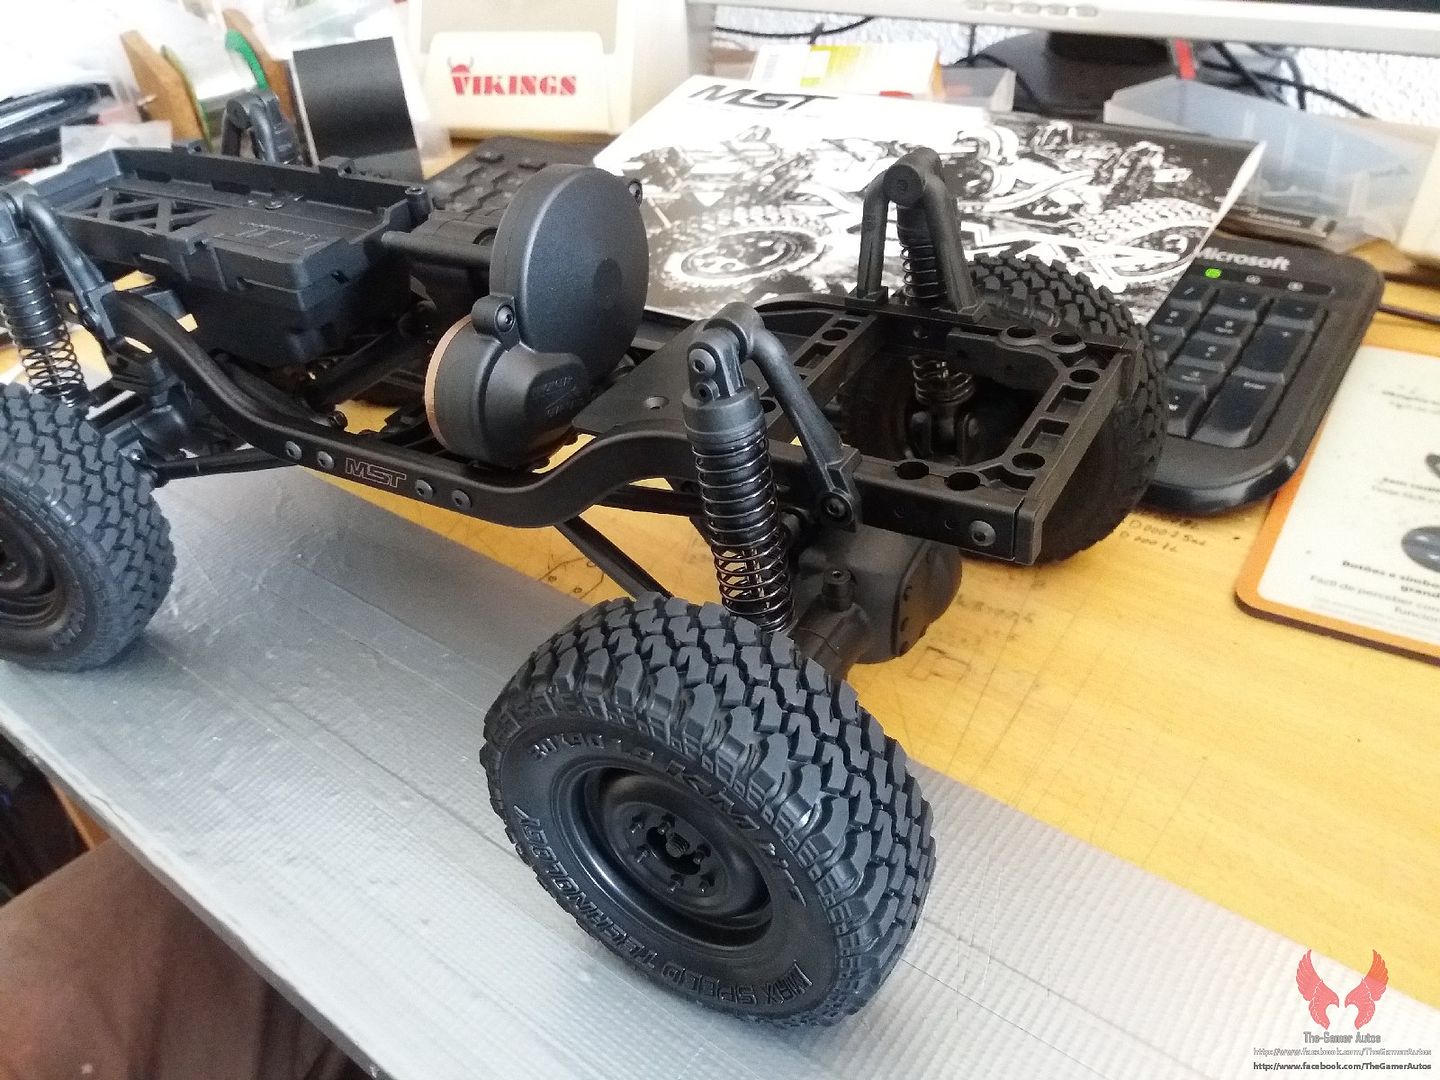 Step 10 is about the body mounts. Didn't do it. Final thoughts: I start by saying that the kit does not include bearings, as the Tamiya ones. A set of bearings would for sure increase the kit price, but it's an upgrade to consider in the future. This is a kit for someone that wants a "simple" scale, uncomplicated and with a realistic look where the wheels tuck under the body. It wont have the performance of an SCX10 nor as an Ascender, moreover I don't think that that is the objective of this kit. I think this is a "I'm here, I don't want to climb walls, I just want to go for a ride on some simple trails and enjoy the view" kind of kit. And in my opinion, that is not a bad thing. We need more of that kind of kits. In terms of building pleasure, having assembled kits from Axial, Vaterra, Tamiya and RC4WD, and putting them on a list of most pleasent to least pleasent, I would arranged them in the following order: Tamiya, Axial, MST, RC4WD and Vaterra. The instructions aren't bad but are sometimes a bit confusing and are nothing like Tamiya or Axial. Although it doesn't have many parts, marking them or numbering them, like the shock towers, would be nice. Things I DIND'T like on this kit: - shock mounts on top of the axles; - driveshafts so close to screws; - transmission gears all in plastic. Things I DID like on this kit: - small and good looking tires - spur gear cover almost hermetic; - narrow axles; - front battery mount; - upper link mount "embebed" on the axle shaft output; - smooth shocks (without oil). Things that made me frown my eye (not necessarily in a bad way!): - plastic diff locker; - "weird" CVDs. |
|
| |
|
04-11-2016, 07:56 PM
| #6 |
| I wanna be Dave Join Date: May 2008 Location: Baltimore
Posts: 4,442
|
Nice write up! Could you post up what the overall width of the axles is, including the tires? |
|
| |
|
04-11-2016, 08:46 PM
| #7 |
| Rock Crawler Join Date: Apr 2012 Location: Chattanooga
Posts: 639
|
Good write up! Felt like I just built one of these with you.
|
|
| |
|
04-12-2016, 01:07 AM
| #8 | ||
| Quarry Creeper Join Date: Aug 2009 Location: Portugal
Posts: 318
| Quote:
Quote:
| ||
|
| |
|
04-12-2016, 07:44 AM
| #9 |
| Quarry Creeper Join Date: Feb 2015 Location: Norway
Posts: 379
|
Look's like a cool little car Do they make a kit for the pajero hardbody? |
|
| |
|
04-12-2016, 09:06 PM
| #10 |
| Pebble Pounder Join Date: Jan 2014 Location: San Jose
Posts: 110
|
Dont know if it was a fluke but front cvd broke within a couple hours. Overall i like it as a cc01 alternative. Its no scx10 but fun little trail truck. Sent from my SM-G900P using Tapatalk |
|
| |
|
04-21-2016, 10:23 AM
| #11 |
| Rock Crawler Join Date: Jan 2014 Location: Granite Falls, WA
Posts: 568
|
Thanks for posting all of that! I'm thinking hard about getting one of these, because I have a few toy RC hard bodies that are each around 10" wheelbase. I have no illusions about the CMX's capabilities, and I think any scale platform, with a shorter than 11" wheelbase, will have slightly less crawling/climbing performance, especially when the tires are less than 4" O.D. I'm mostly just wanting a functional, 4WD, solid axle, linked-suspension platform to mount some scale looking bodies on. I've come up with some ideas about taking advantage of this platform's size and low weight. There is a trail I'm thinking about revisiting, which tracks up a mountainside, ultimately reaching an awesome basin, which houses a small but serene lake. I could pack a CMX-based truck in a day pack, and once I got up to the really fun terrain, with all the awesome scenery, I could unpack it and wheel around, capturing some fantastic scale pics. This way, I could just run some small 1600 mah batteries, reducing the weight I'd have to carry up. The last time I hiked that trail, I wheeled my SCX10 Deadbolt the entire way, which was fun, but it made for a slower hike, and the majority of that trail is in the woods, where you can't see out. Just some thoughts. |
|
| |
|
 MST CMX: assembly and thoughts - Similar Threads
 | ||||
| Thread | Thread Starter | Forum | Replies | Last Post |
| MST-CMX (Finally) 1.55 build | OSRC | Max Speed Technology CMX | 38 | 06-27-2017 02:47 AM |
| Mst cmx | way6317 | Max Speed Technology CMX | 19 | 09-04-2016 06:51 AM |
| Wranger YJ on MST CMX | aircooled | Max Speed Technology CMX | 35 | 03-16-2016 06:16 AM |
| MST CMX Review | shannwah | General Scale Talk | 0 | 03-07-2016 12:38 PM |
| |


 Linear Mode


