| |
 11-21-2014, 06:50 AM
| #1 |
| RCC Addict Join Date: Dec 2007 Location: London
Posts: 1,950
| Before I start. This will be an unbiased build up review, I bought this with real money that I worked for. I'm not associated with Vaterrra or any other RC Company. If something isn't to my liking i'll say so. If you have a Question shout up i'll do my best to answer it. Starting at the begining it all comes in this rather natty box, everything is in bags and is clearly labelled. 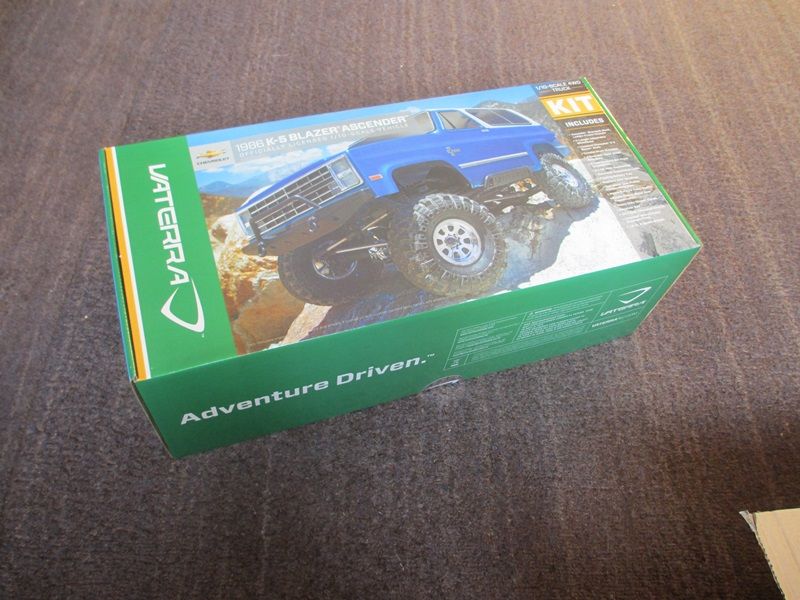 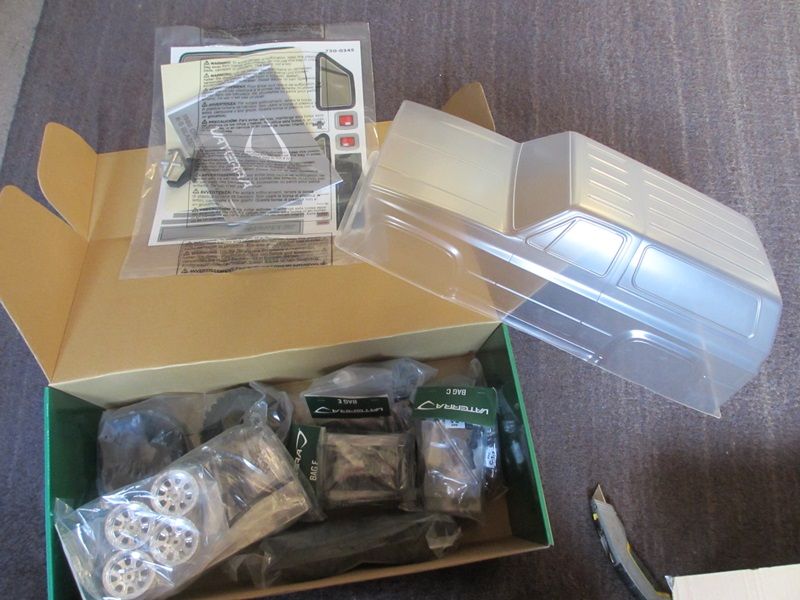 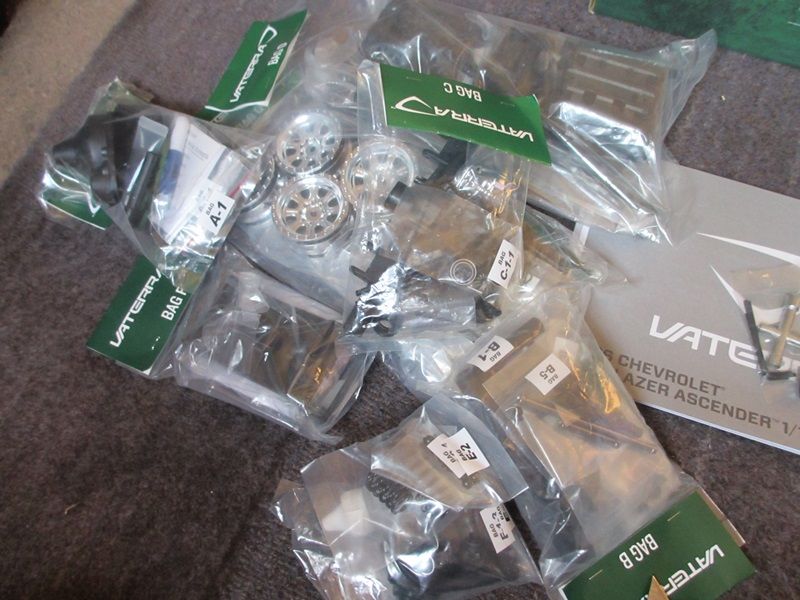 There's a Manual and also Take Note RC4WD some tools!! Little things ;) 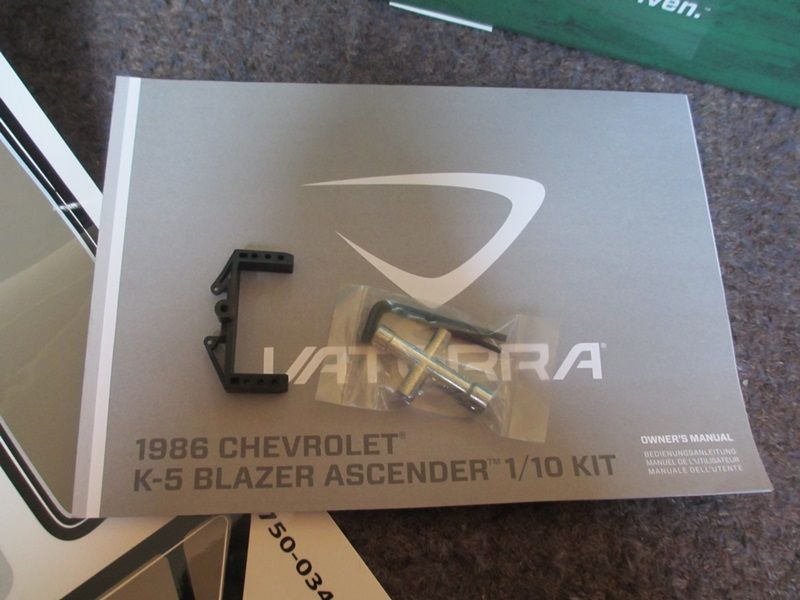 The Trans is first on the list, nice touch is that there are no sprues all the pieces are already individual so no need for a stanley knife. All Metal gears full ball bearings and the choice later to upgrade it to 2 speed. Thread Lock, Grease and Shock Oil also included. 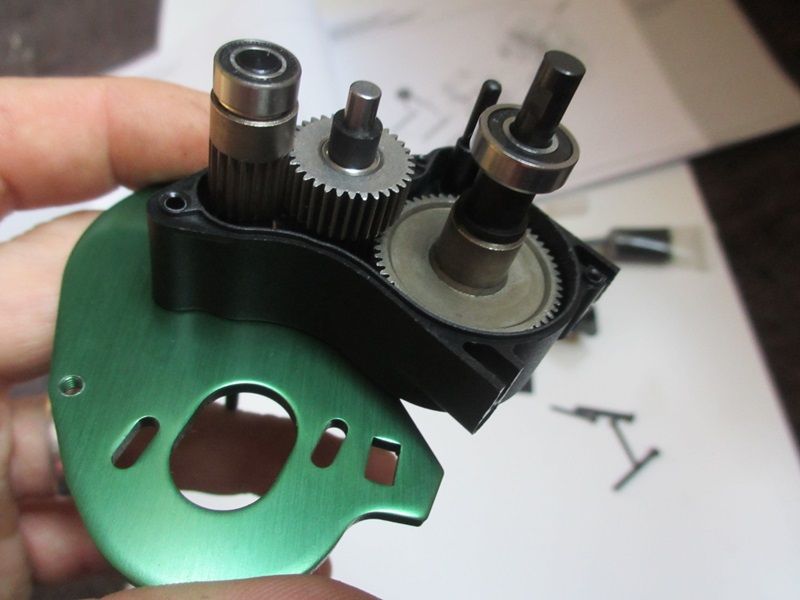 Comes with a slipper 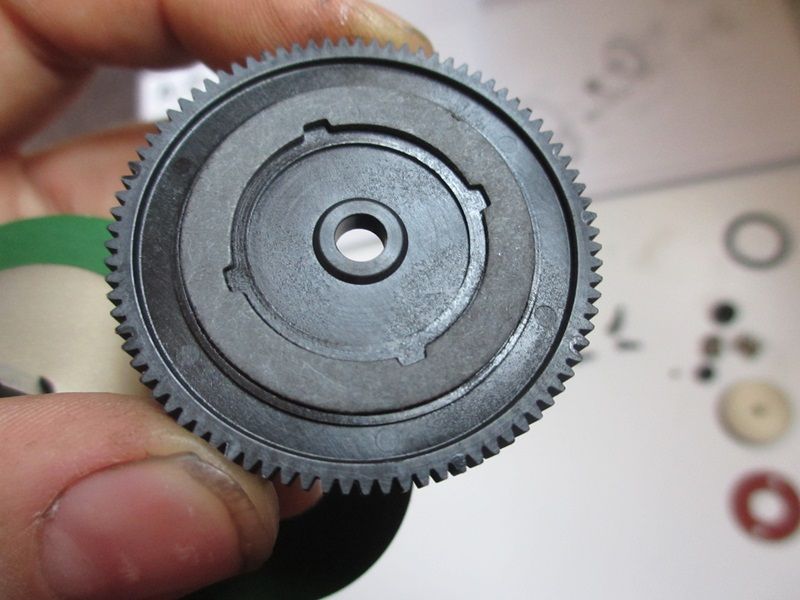 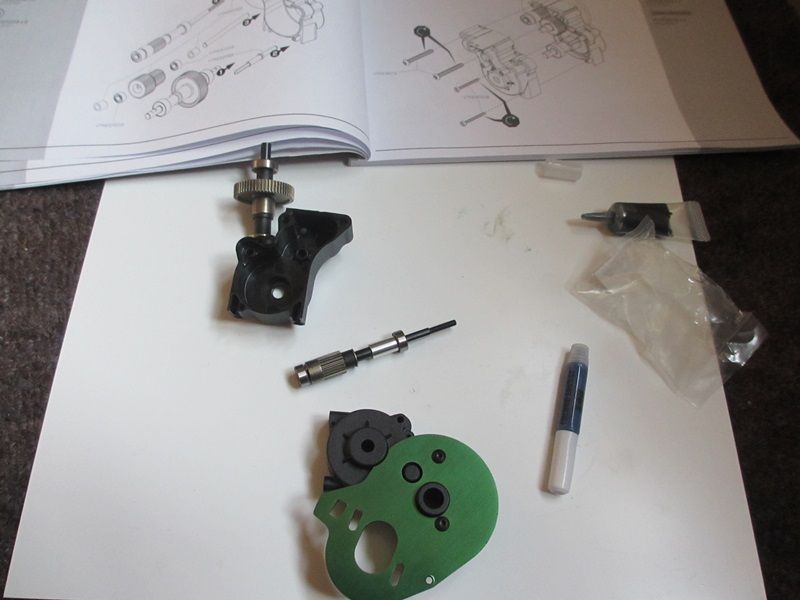 Once the trans is done its driveshafts and axles. Shafts are similar in design to axials, metal ends and plastic shafts 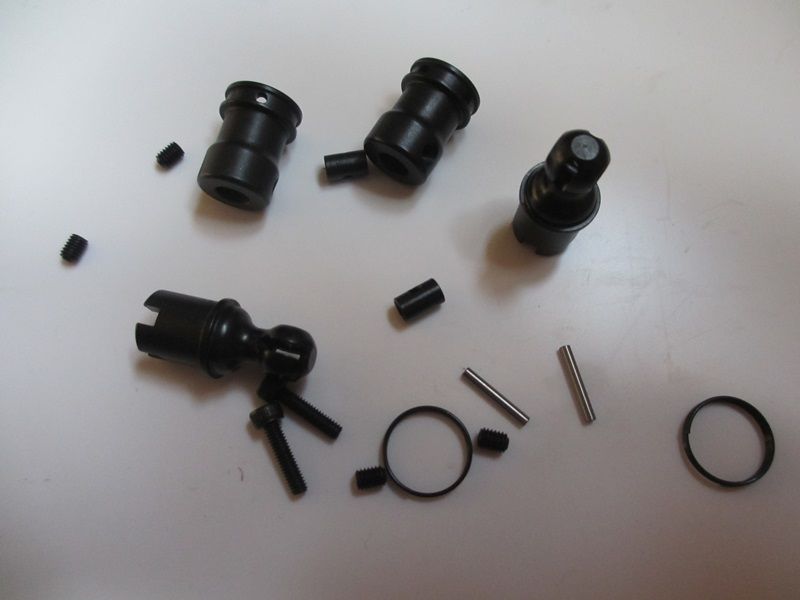 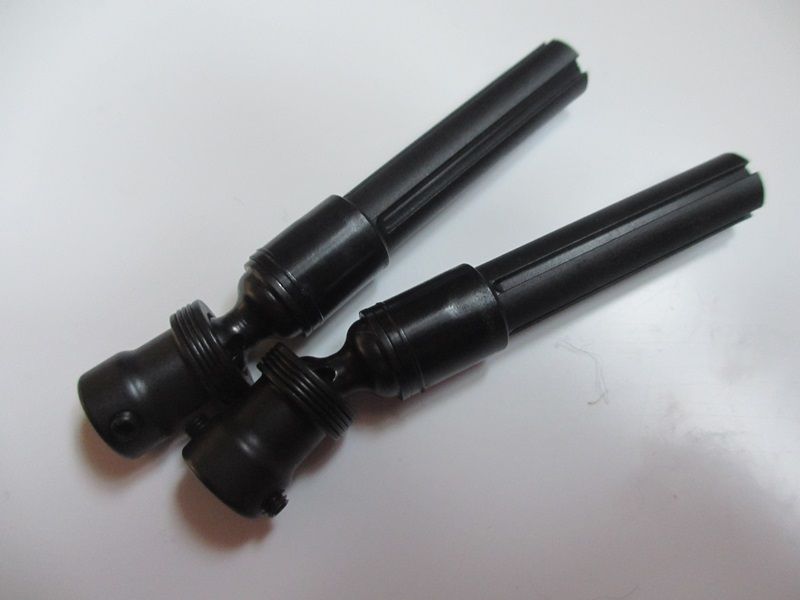 BUT .... These mount standardly to the gearbox shafts with two grub screws the other end for some god awfull reason isn't ::doh:: They get mounted from the inside with a countersunk M3 Bolt. Why who knows not a good idea in my eyes as to swap out a broken shaft you have to dissasemble the axle. 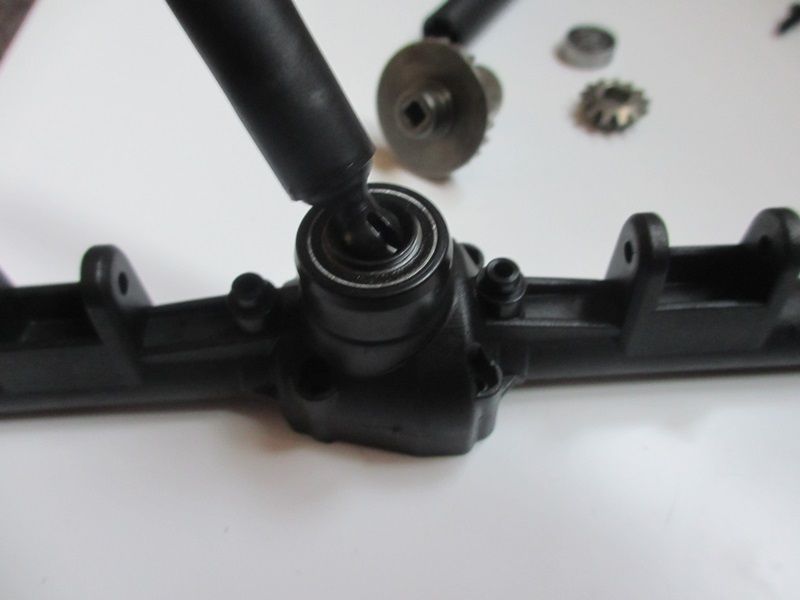 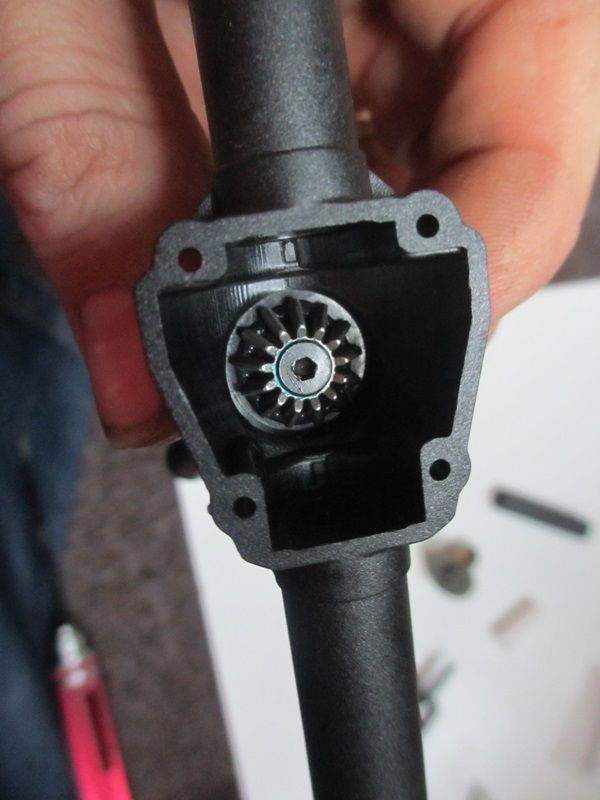 The front axle comes with CVD's as standard and they have more than enough angle on them for some great steering. 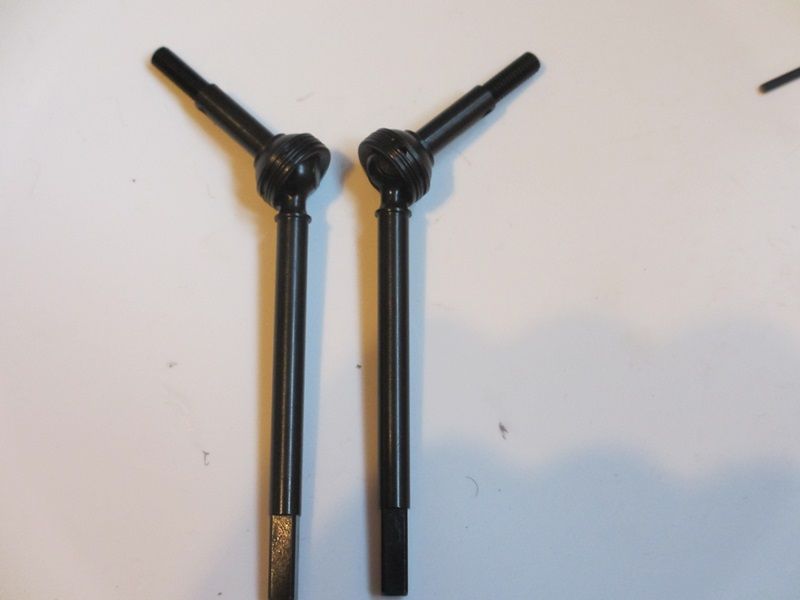 Axle comes with Plastic C's and Knuckles. Ali Hexes are secured with funny pin things.  Aluminium Steering links are also standard. Rod Ends are Plastic but feel quite sturdy. 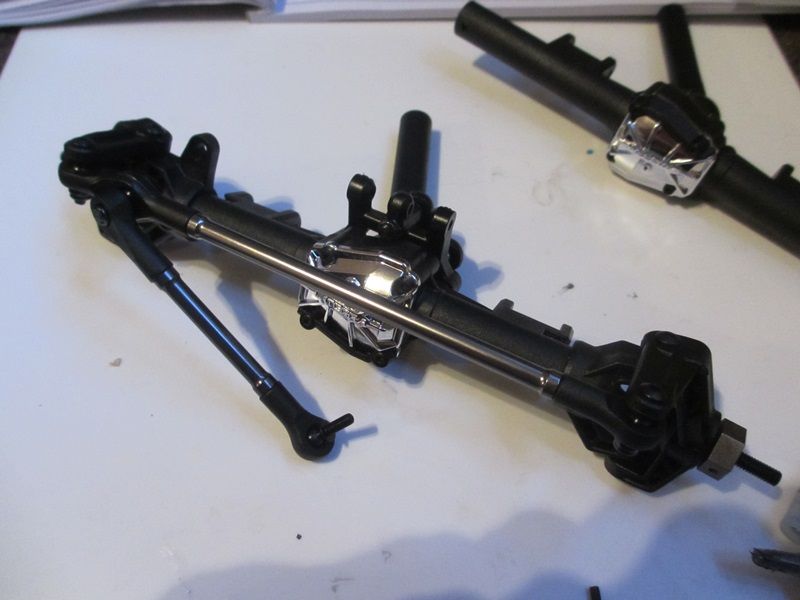 Rear Axle has straight Lock outs. 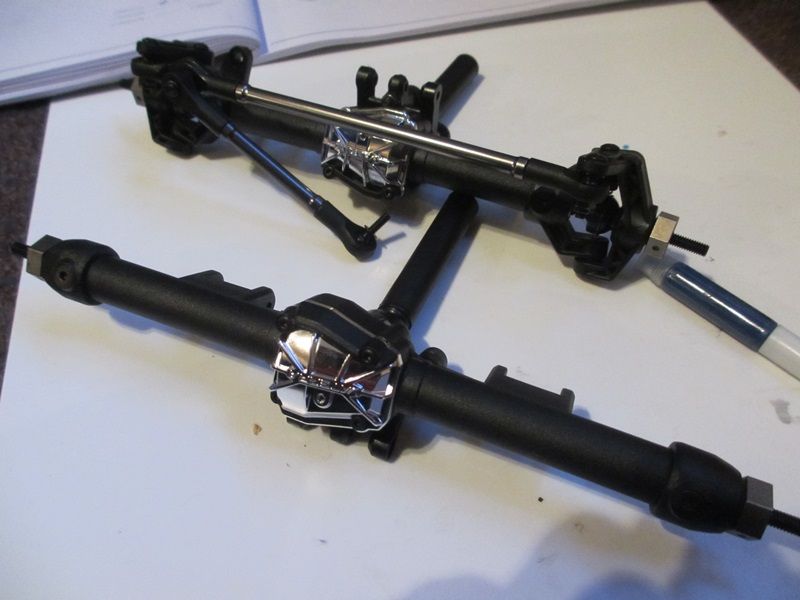 Both axles come standard with a horrid silver diff cover :sick: The Chassis is Nice made of steel and comes in 4 main bits. The Skid, shock hoops and other braces are all chunky plastic. 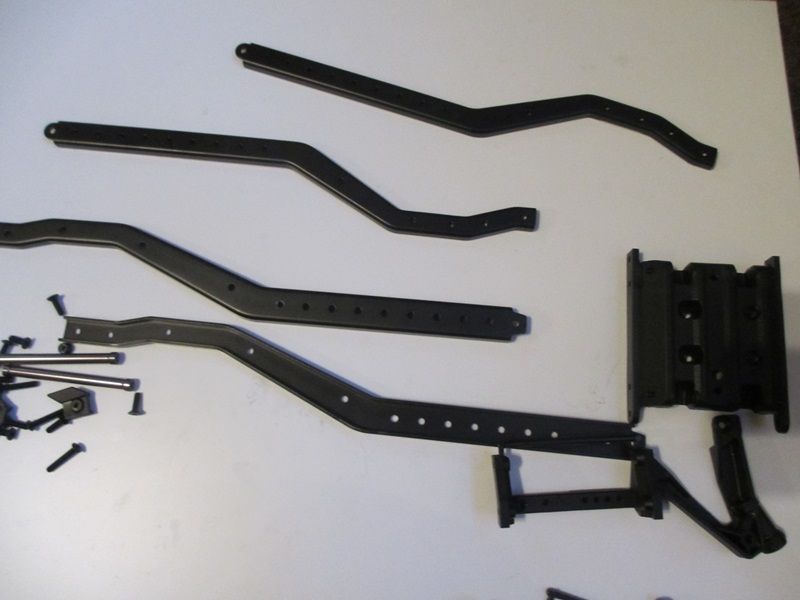 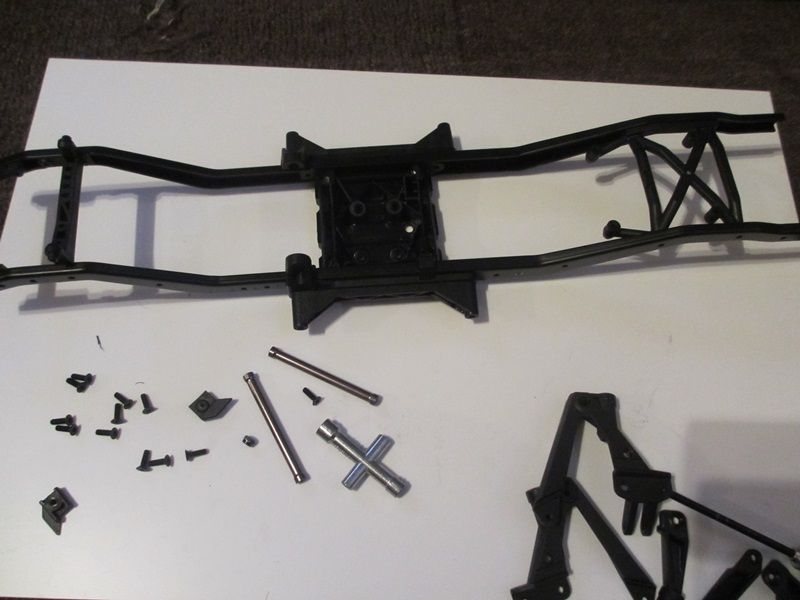 By screwing it together in different holes lengthens or shortens the wheelbase. Nice to see an Aluminium Bar bracing both front and rear shock towers 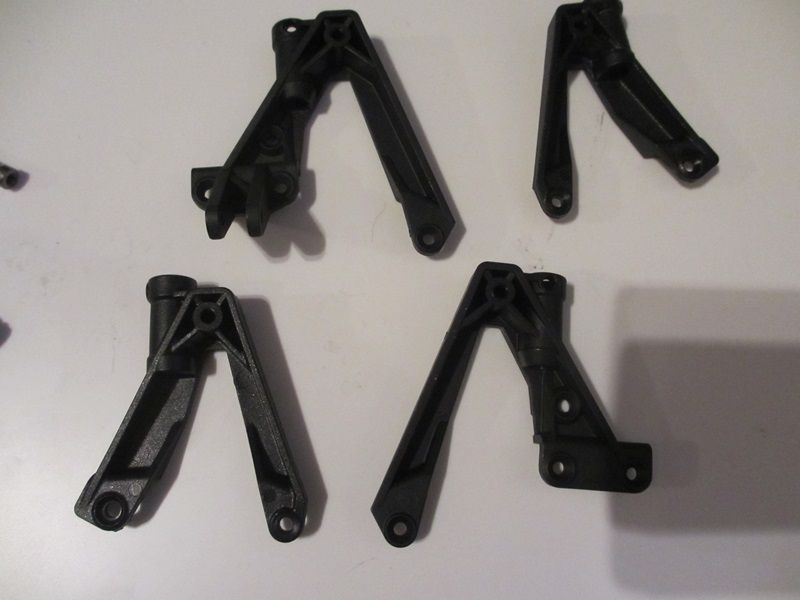 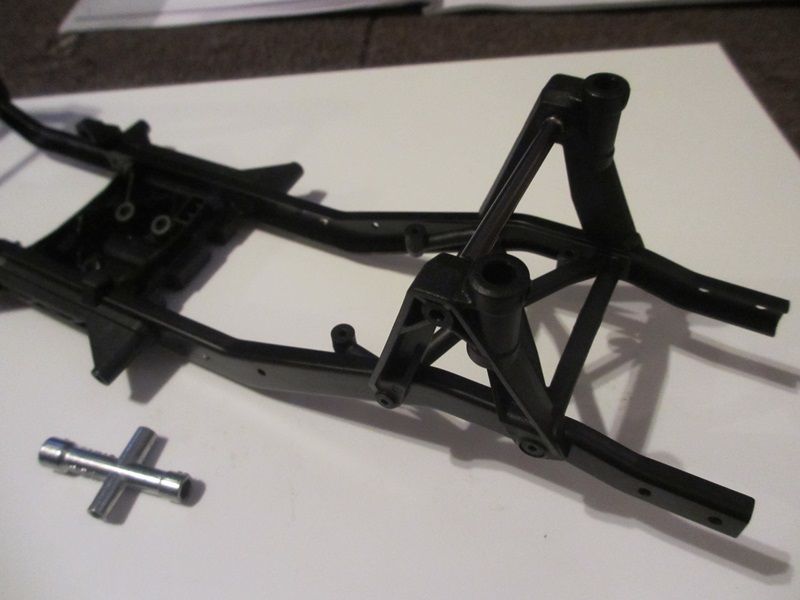  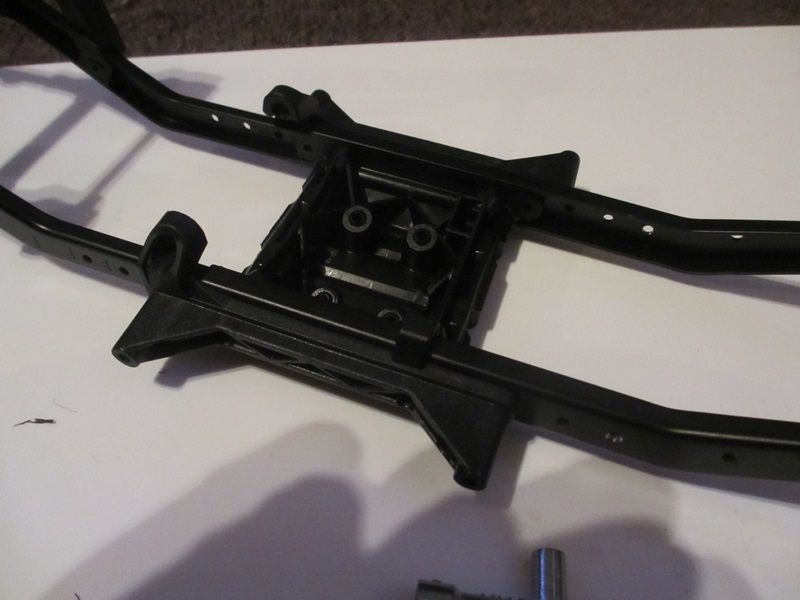 Trans Mounts in the centre as expected. 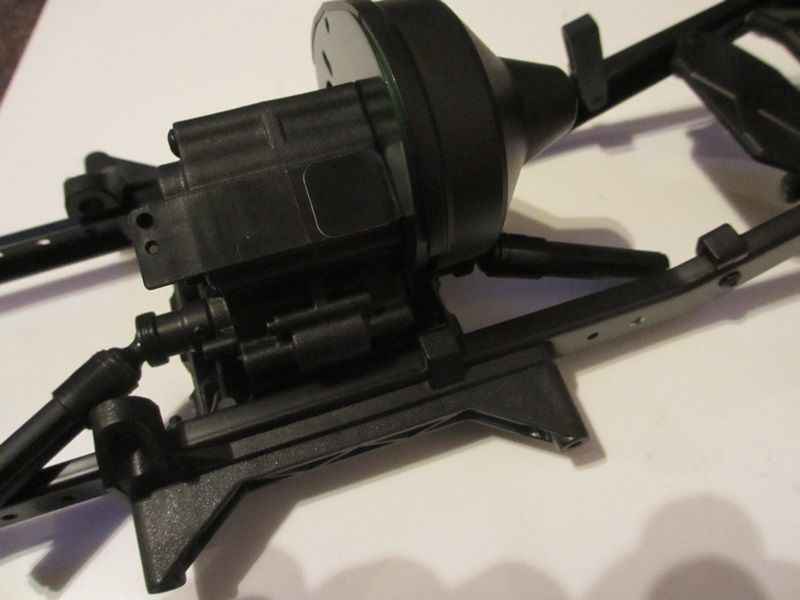 There is an Electronics box of a fair size that mounts at the back 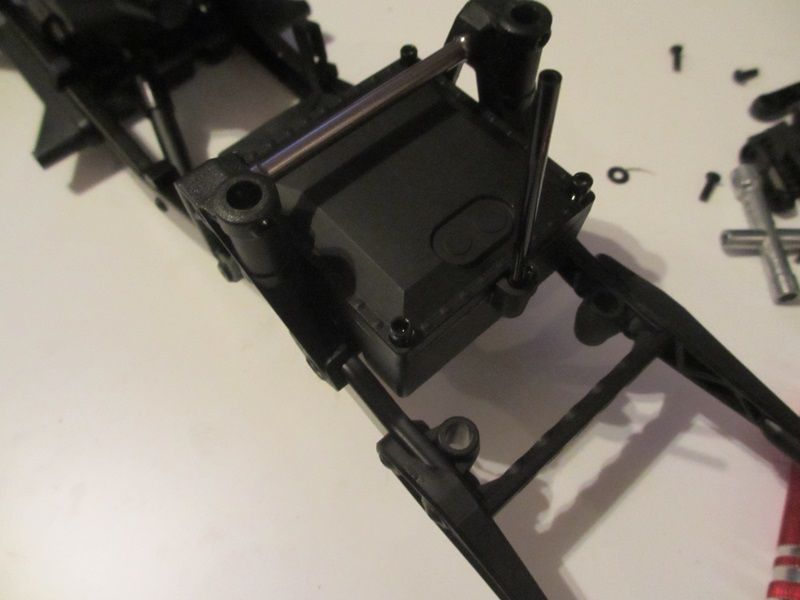 More pictures sort of forgot half way through to keep documenting it probabaly due to the Manual being in Iranian. Its not the easiest to follow so take your time. Shocks are plastic dual spring dodas and a bit cheap looking in my book. 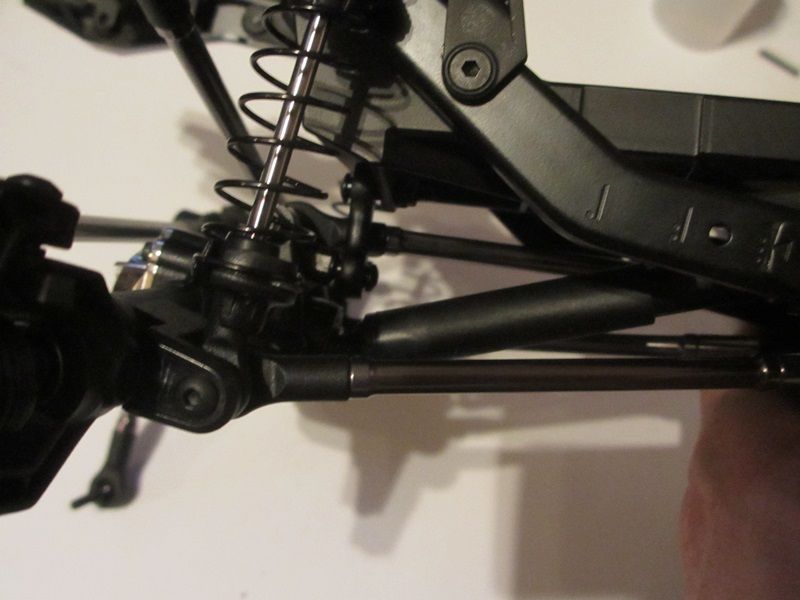 All the Links are metal and by putting in the extra spacers this gives you the different wheelbase. 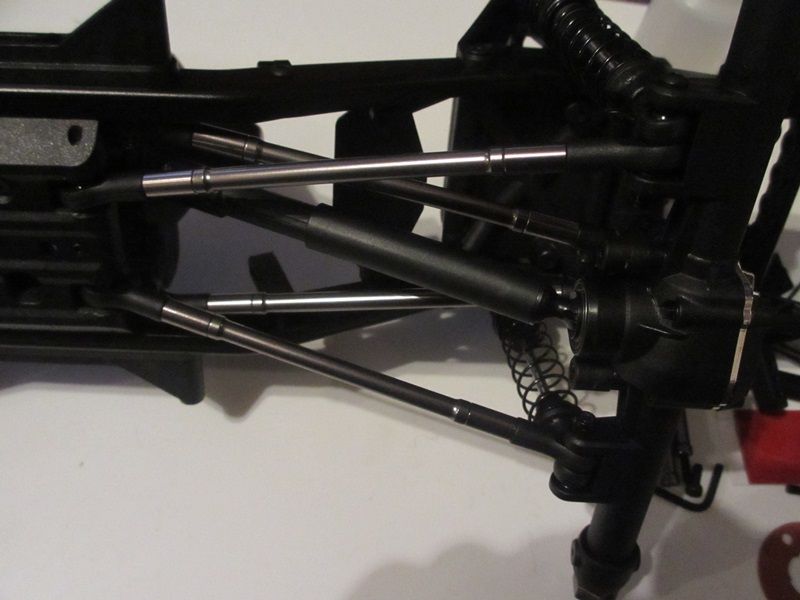 Front is 3 linked with a panhard 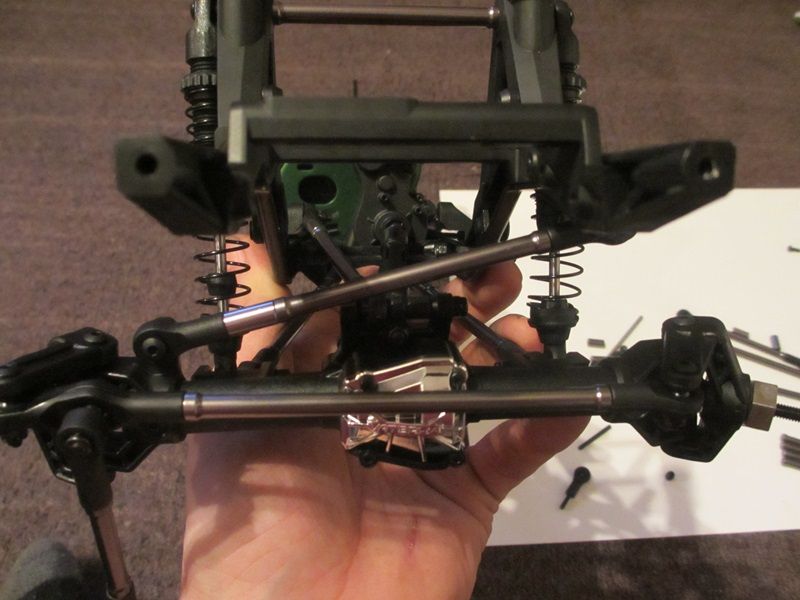 Speaking of the front the battery tray is mounted to the axle  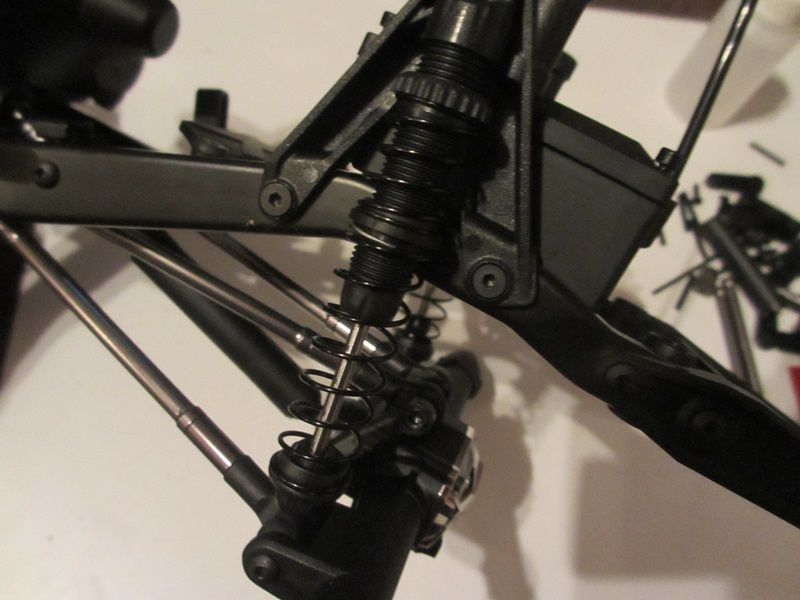 Wheels well they look ok apart from the chrome and there non beadlock So that chrome will need to be removed before gluing. 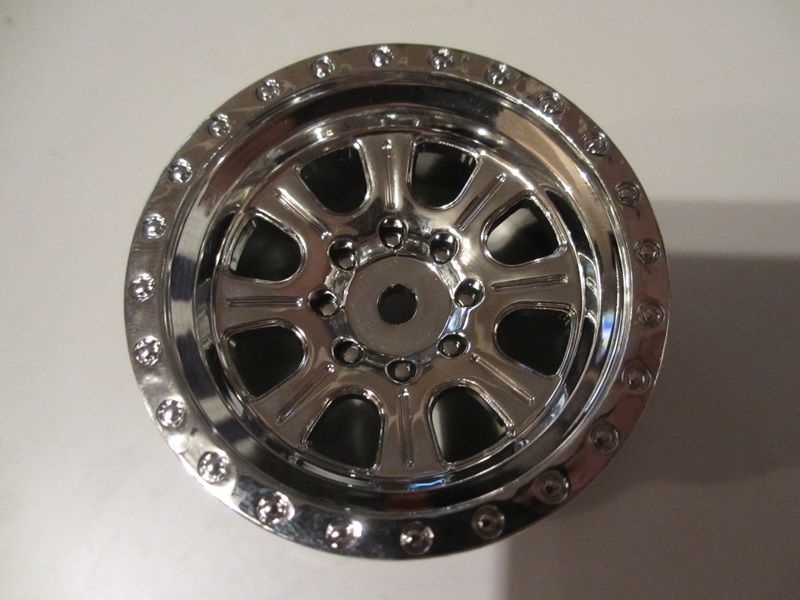 No it wont Vaterra are way ahead of you. 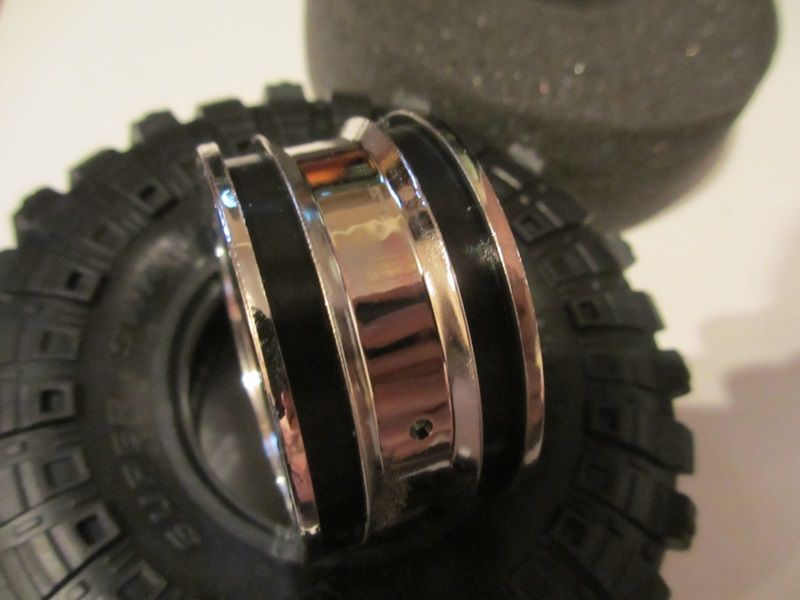 Tyres are nice Swamper Replicas 4.5'' tall and have decent single stage foams. I like them. 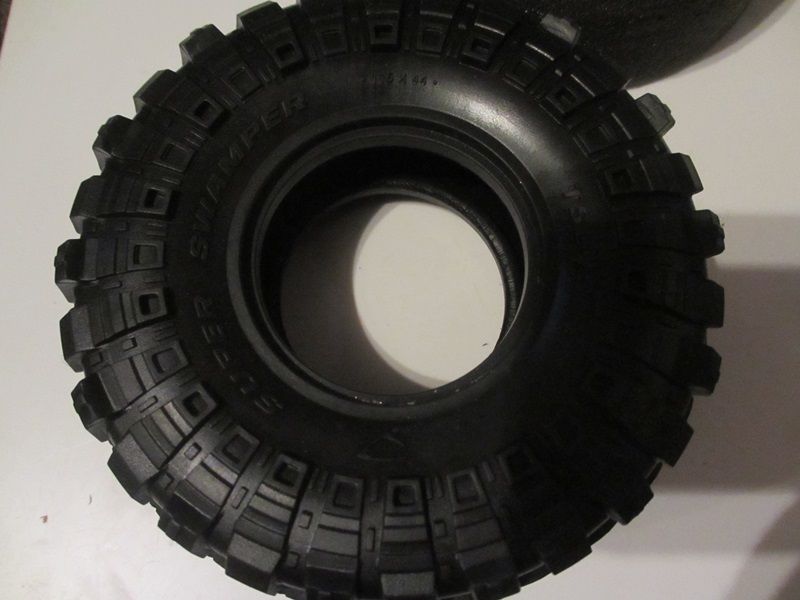 Sorted ish not fitting the bumpers or the body. 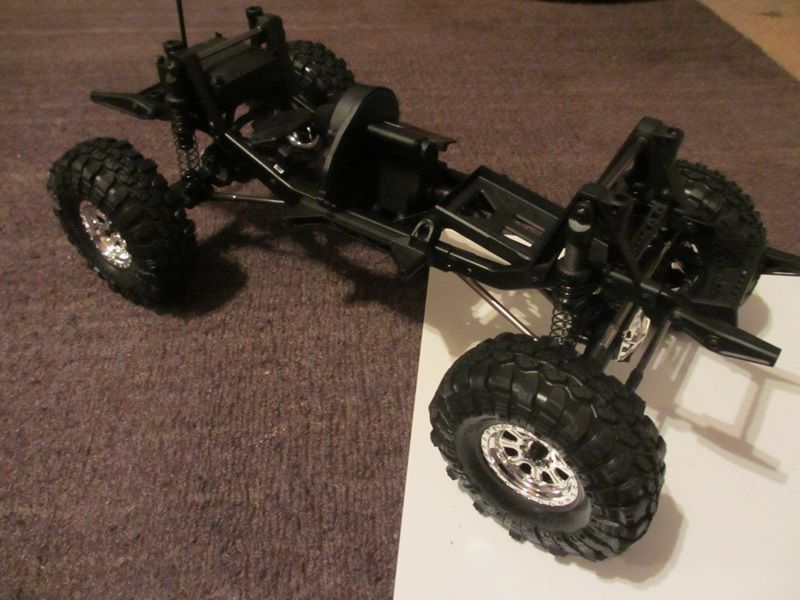 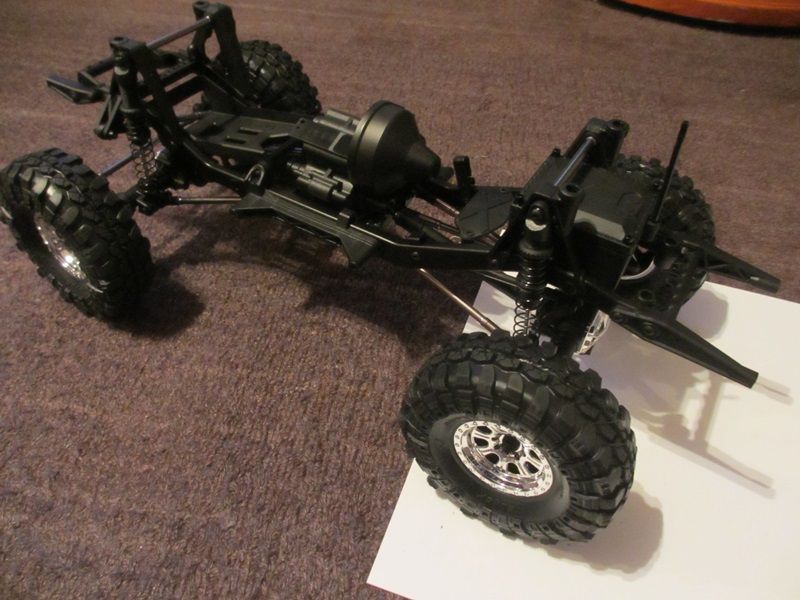 Width is pretty much identical to my SCX10 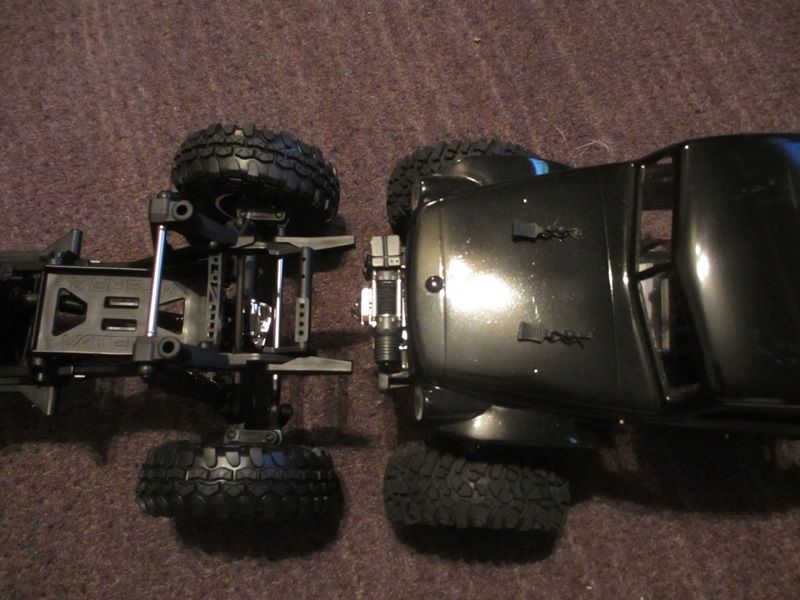 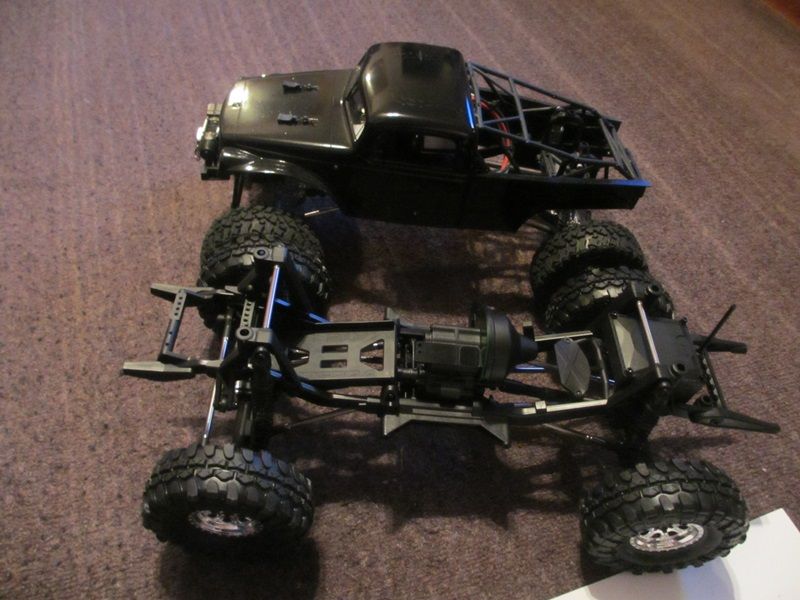 DISCLAIMER I'm not about to sudgest you cut up your brand new Ascender so do this at your own risk. or if you ask nicely i'll do it for you for some beer vouchers You will need:- Drill Hacksaw 2.5mm Drill Bit M3 Tap Axles now and that track width is a bit wide for my liking So this is what you get as standard. 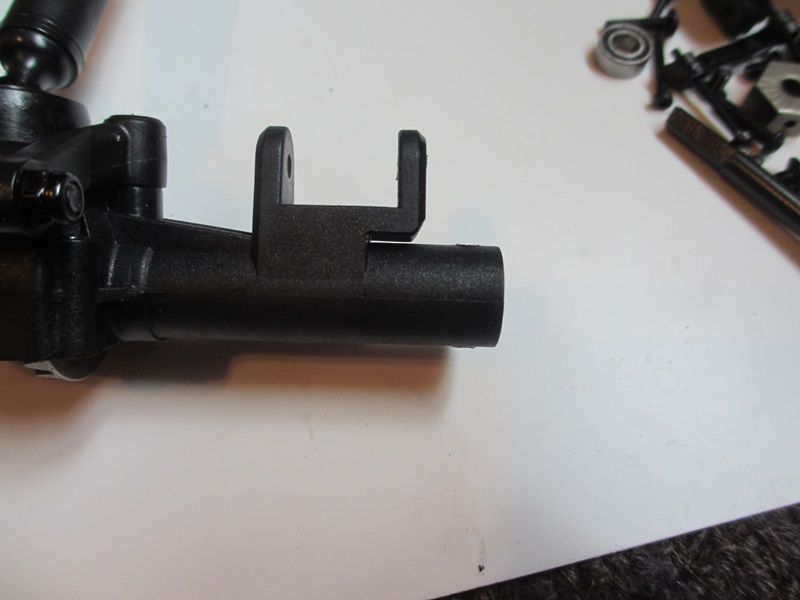 So lets cut a bit off 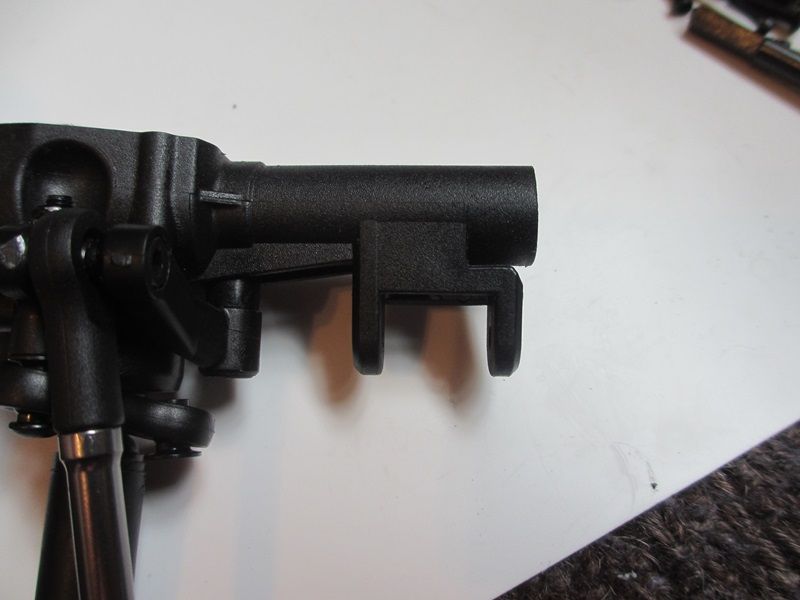 Lets trim the C slightly and slide it on. 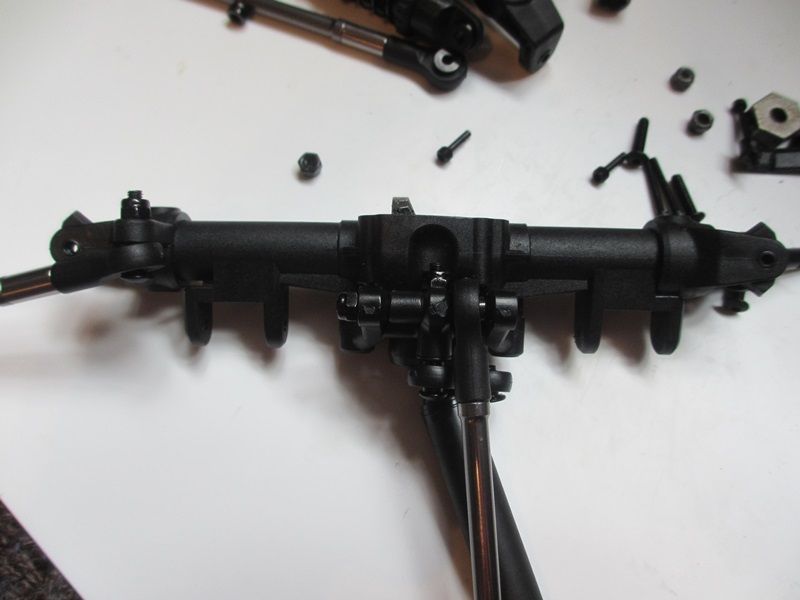 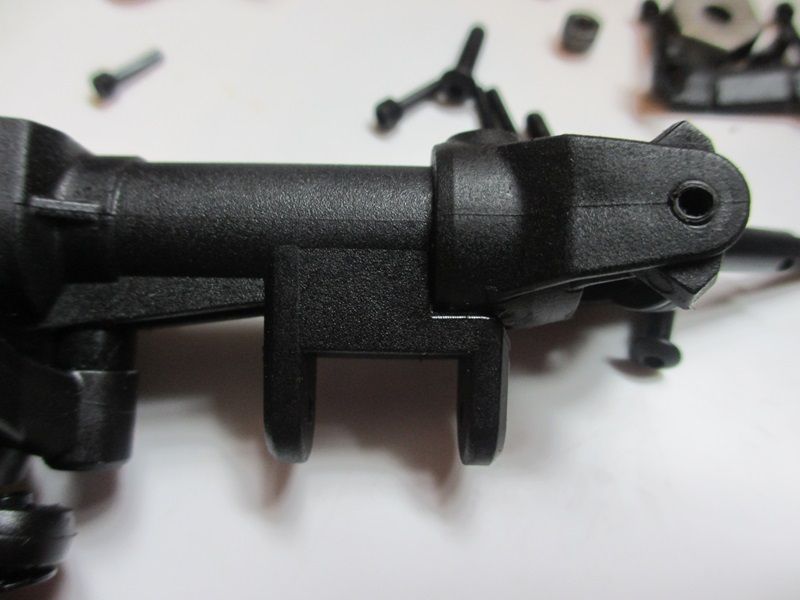 So now because we cut the part off with the holes we are going to need some new ones. 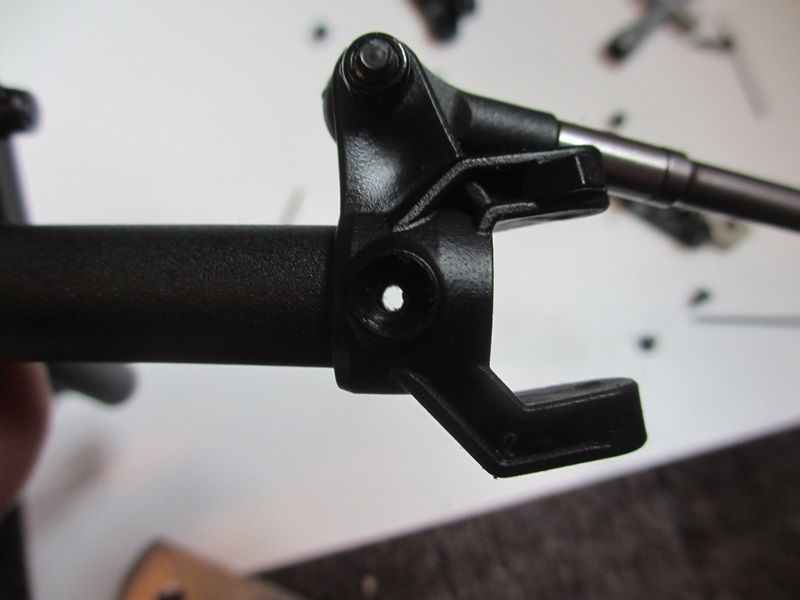 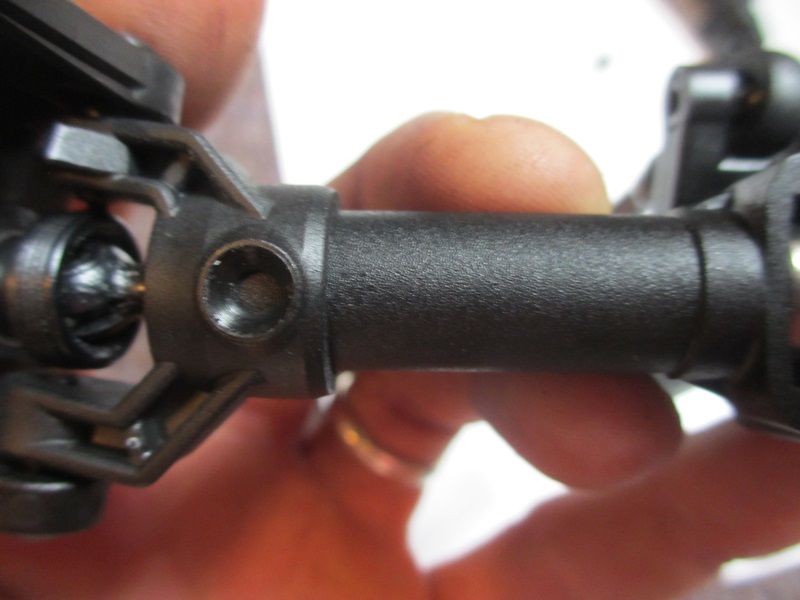 We are also going to need an M3 Tap. 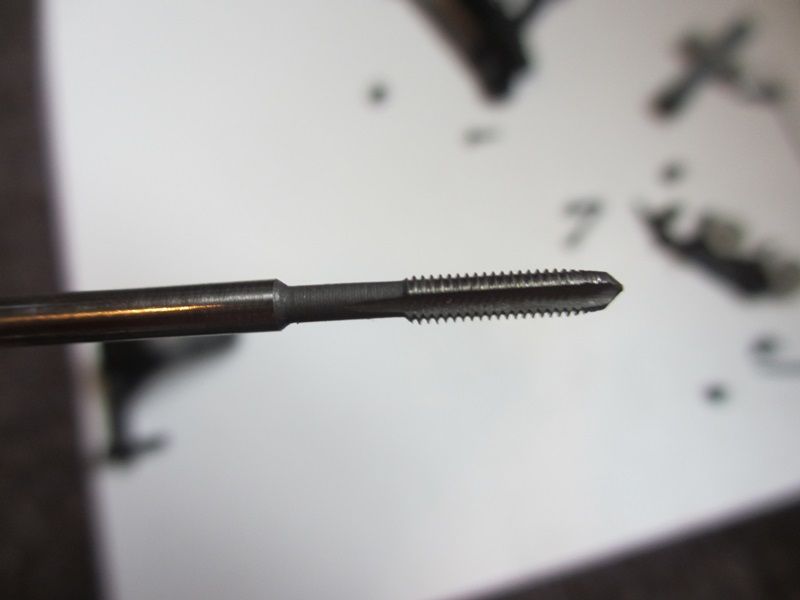 Drill a 2.5mm Hole and Tap it out with the tap. 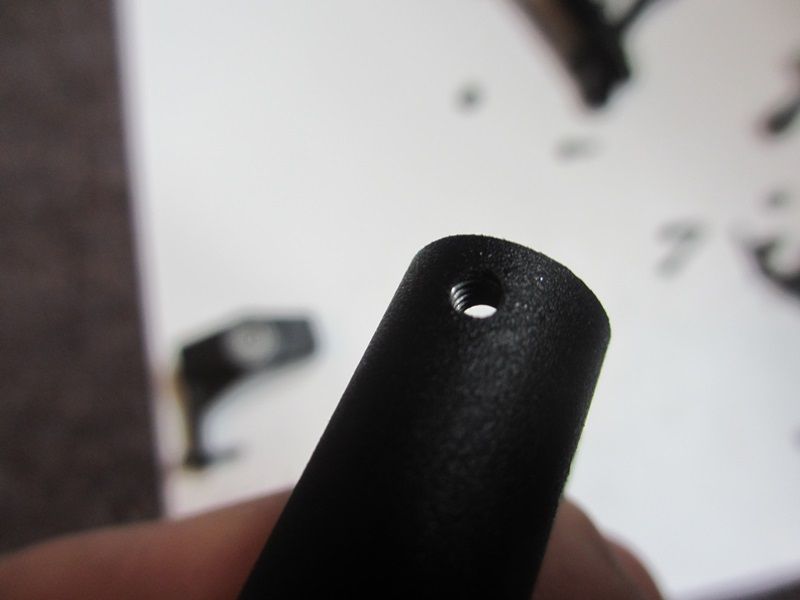 Your going to need to shave a little off the C to get it to slide all the way on. Your also going to need to drill a hole somewhere else. 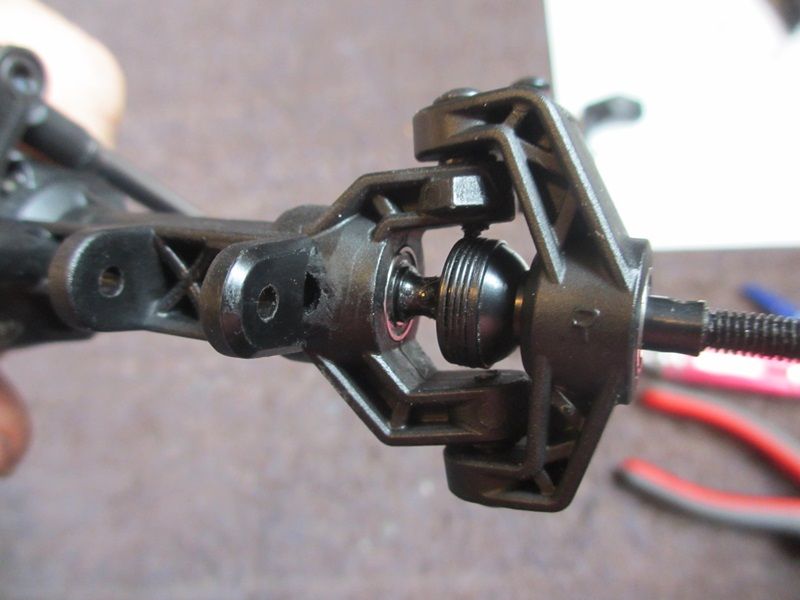 Up here will do and secure it with a m3 grub screw or small bolt. 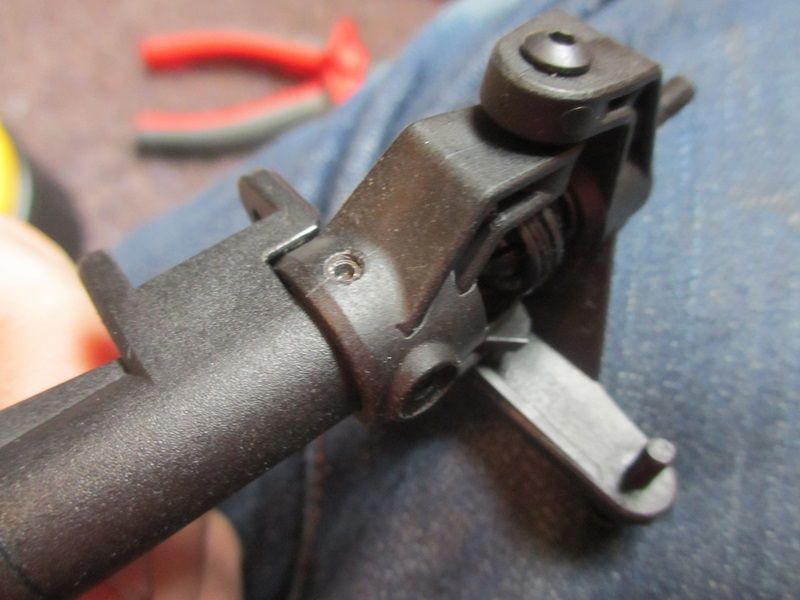 Another one here just for good measure. 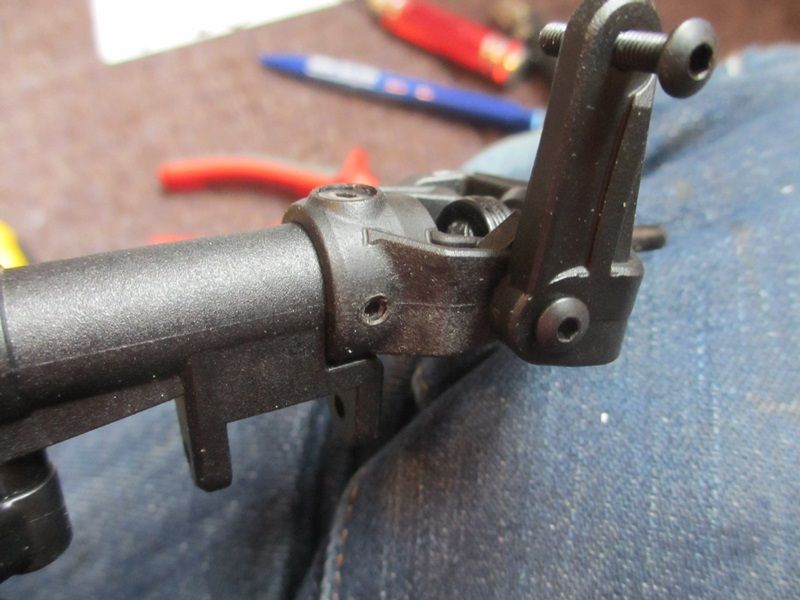 Same underneath. 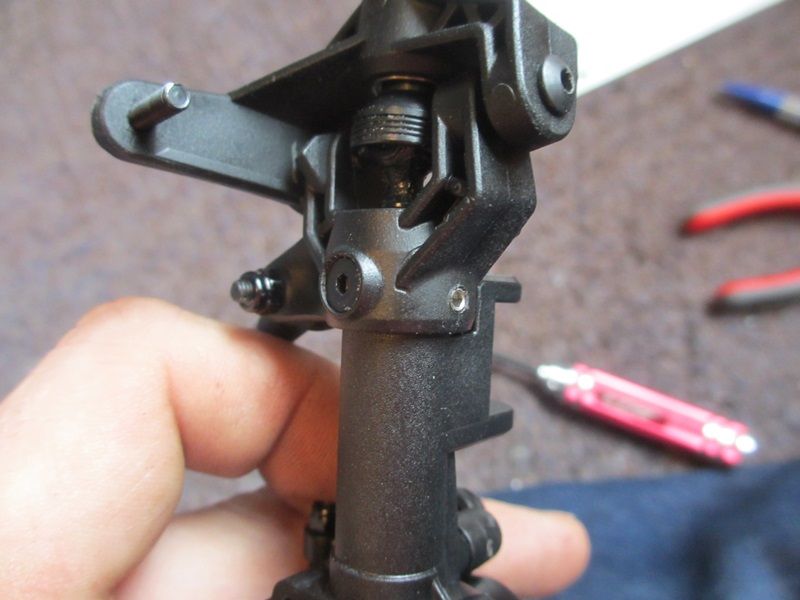 Steering link was put back using exsiting Spare Link parts I had left over. 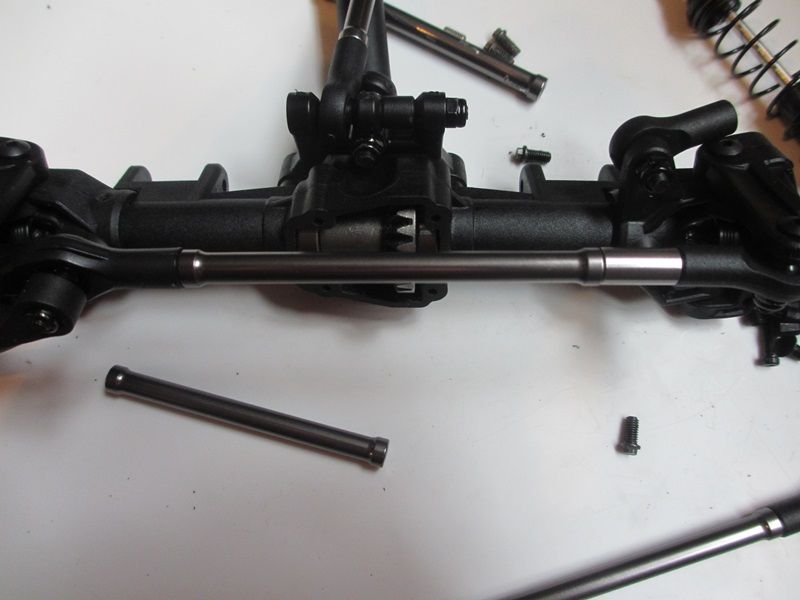 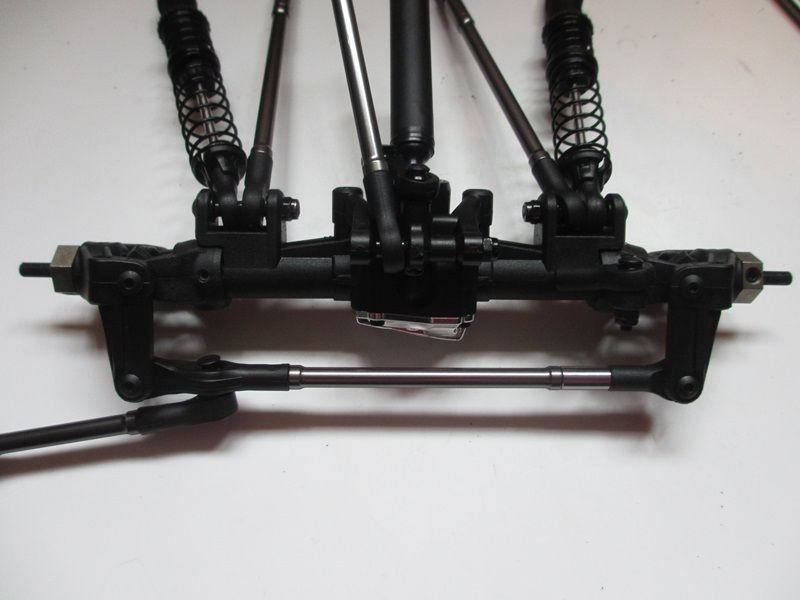 Panhard needed a little spacer I had lying around. 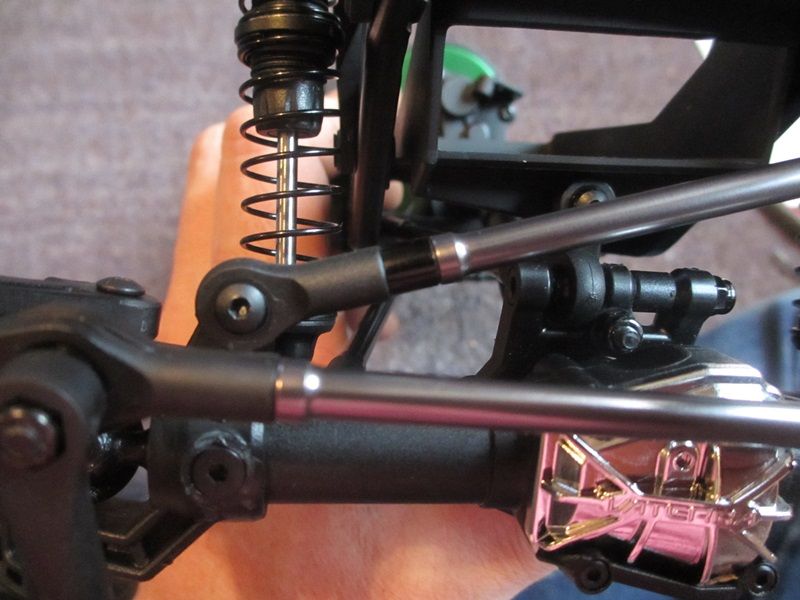 I also added a tiny spacer in the top link to give a better angle for the propshaft. 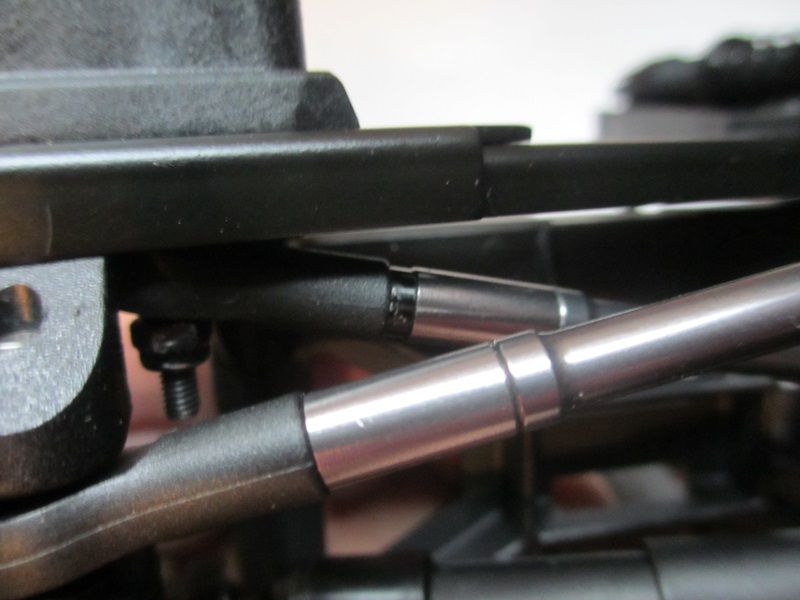 It just touches on full lock. 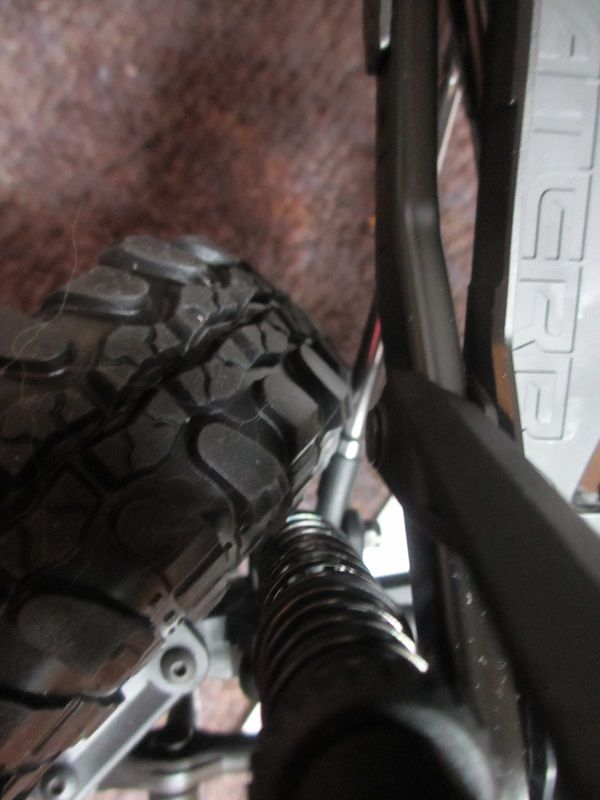 Back same thing cut a bit off drill some new holes and slide the Lock out on. 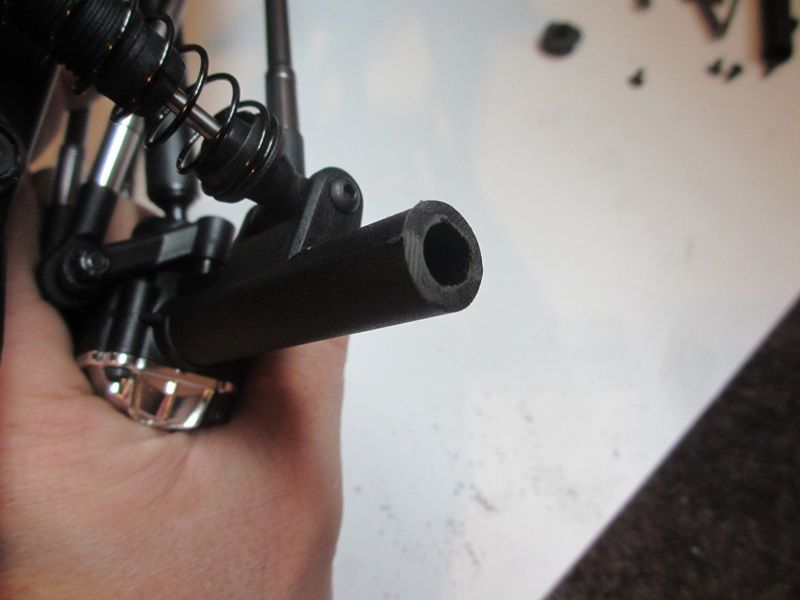 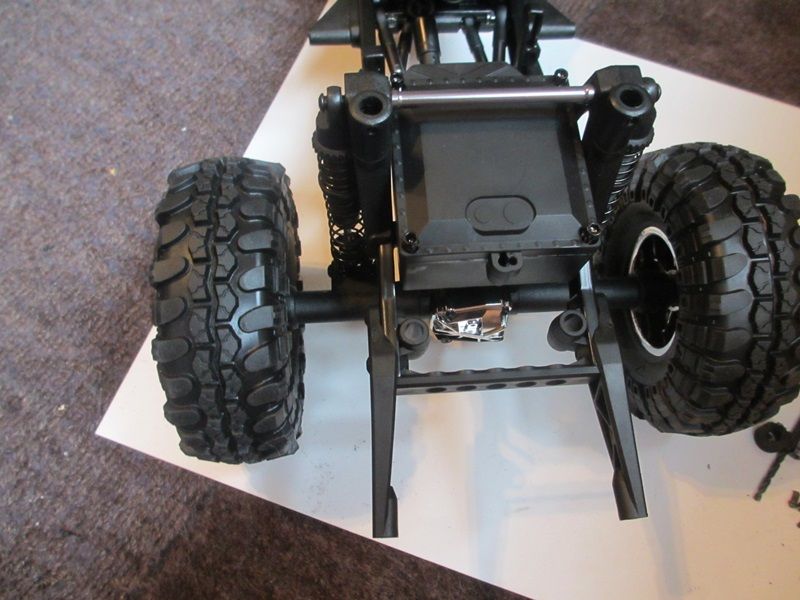 Track Width is now 180mm Last edited by Dready; 11-21-2014 at 03:43 PM. |

|  |
| Sponsored Links | |
| | |
|
11-21-2014, 09:39 AM
| #2 |
| Pebble Pounder Join Date: Nov 2012 Location: madera
Posts: 149
|
did you have to cut down the inner axles
|
|
| |
|
11-21-2014, 11:01 AM
| #3 |
| I wanna be Dave Join Date: Oct 2007 Location: Castle Rock, WA
Posts: 8,785
|
Nice. this should get awesome pretty quick. hex to hex widths of narrowed axles, please and thank you. I am not super familiar with the ascender but it looks like you narrowed the front as much as possible? |
|
| |
|
11-21-2014, 11:04 AM
| #4 | |
| RCC Addict Join Date: Dec 2007 Location: London
Posts: 1,950
| Quote:
No modification to the inner metal shafts. | |
|
| |
|
11-21-2014, 11:06 AM
| #5 | |
| RCC Addict Join Date: Dec 2007 Location: London
Posts: 1,950
| Quote:
180mm from outside of hex-hex is what I ended up with. | |
|
| |
|
11-21-2014, 11:17 AM
| #6 |
| RCC Addict Join Date: Dec 2007 Location: London
Posts: 1,950
|
Next to go was the Trans I was going to pull the trigger on a GCM relocation kit but figured I have enough bits and bobs to make my own. Transfer Case was mounted to a piece of delrin that I attached to the skid. 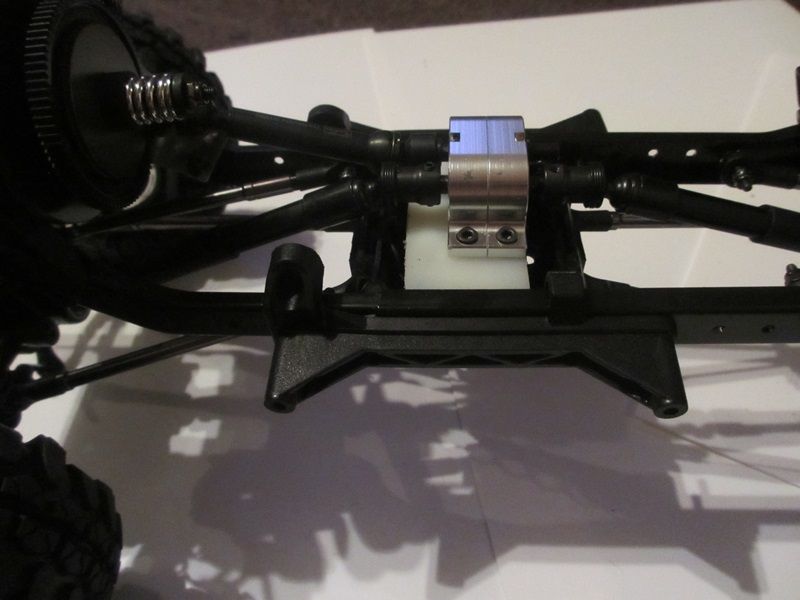 The Transmission was attached with a metal plate I had in my box of bits. 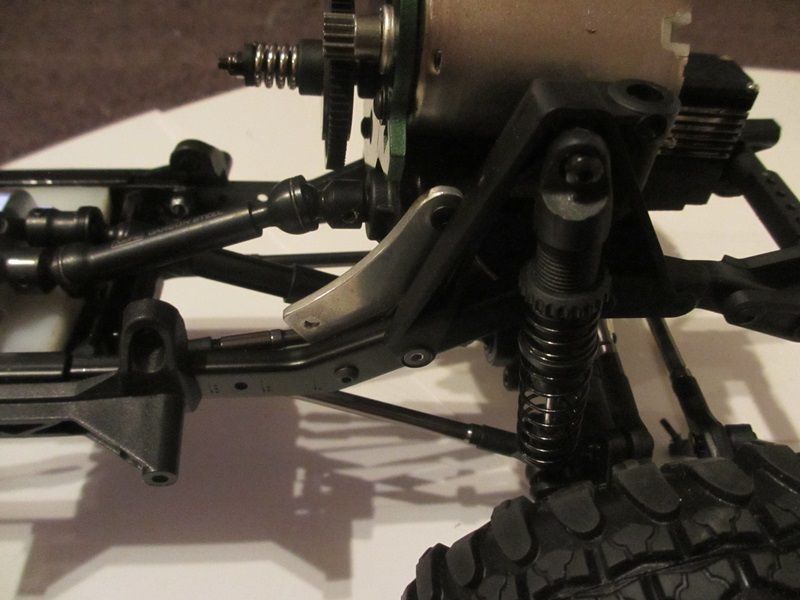 It bolts through the shock hoop on the other side so has 3 fixings. 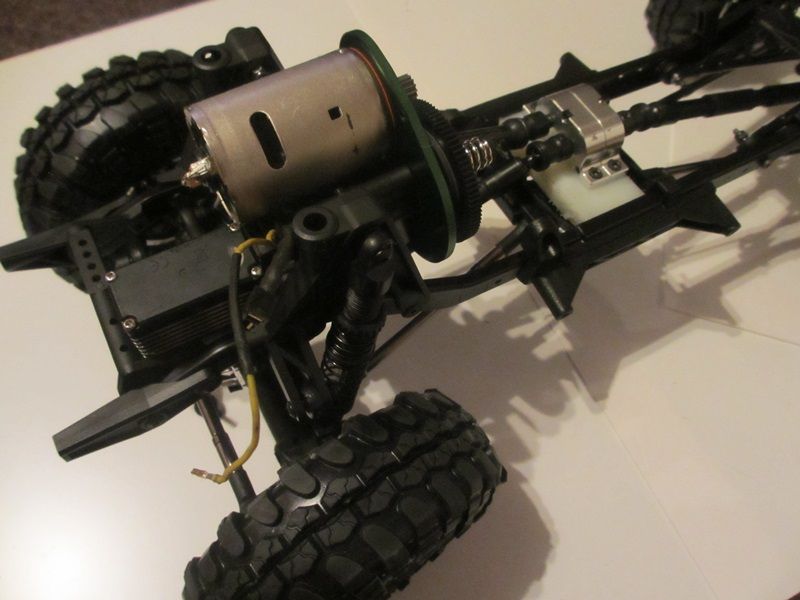 So whilst I was at it I got the Wheelbase to a better length for this build. 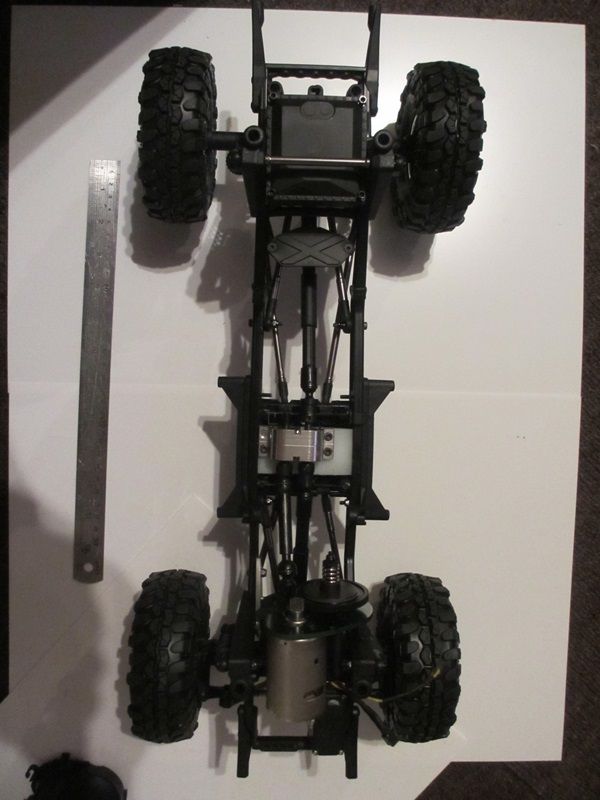 |
|
| |
|
11-21-2014, 03:45 PM
| #7 |
| RCC Addict Join Date: Dec 2007 Location: London
Posts: 1,950
|
So I lost the rear Towers added some shorter shocks and quickly dumped the Lid on that I have been working on for a while now. That'll work 4 Doors is most deffinately better than 2!!! 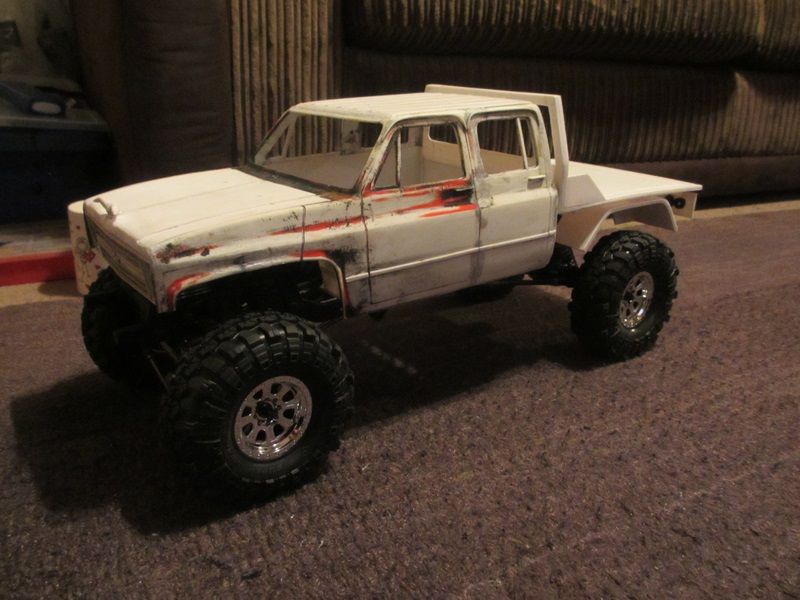 |
|
| |
|
11-21-2014, 09:35 PM
| #8 |
| Pebble Pounder Join Date: Nov 2012 Location: madera
Posts: 149
|
Man that looks good. What are you going to do with the k5 body ?
|
|
| |
|
11-22-2014, 02:38 AM
| #9 | |
| RCC Addict Join Date: Dec 2007 Location: London
Posts: 1,950
| Quote:
| |
|
| |
|
11-22-2014, 11:15 AM
| #10 |
| I wanna be Dave Join Date: Oct 2007 Location: Castle Rock, WA
Posts: 8,785
|
Nice idea on the trans plate. Gives me some ideas as well. That truck body is awesome too.
|
|
| |
|
11-22-2014, 11:21 AM
| #11 | |
| RCC Addict Join Date: Dec 2007 Location: London
Posts: 1,950
| Quote:
| |
|
| |
|
11-22-2014, 11:22 AM
| #12 |
| RCC Addict Join Date: Dec 2007 Location: London
Posts: 1,950
|
Right Important things today and it has taken all day on and off. Everytime I build a truck I leave the Battery placement till last and then scratch my head alot because there is nowhere to put a good size pack. Well not this time. First up the Floor and I want 4 seats so it had to be flat ish. 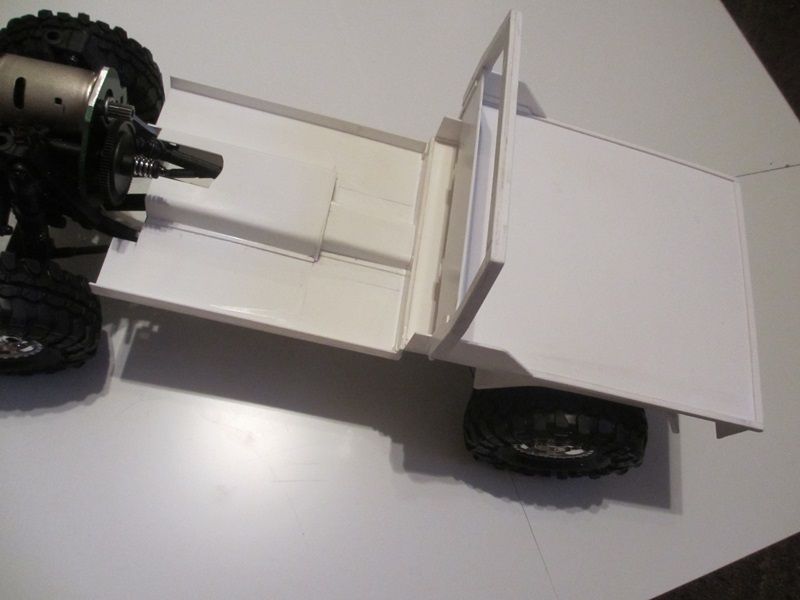 I have incorporated a space under the flat bed. 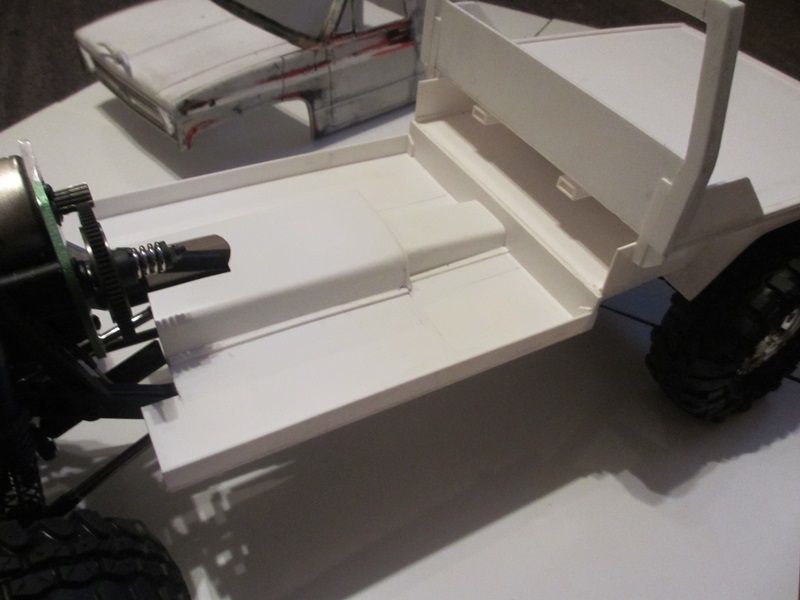 5000 2's Lipo will do for a good run time. 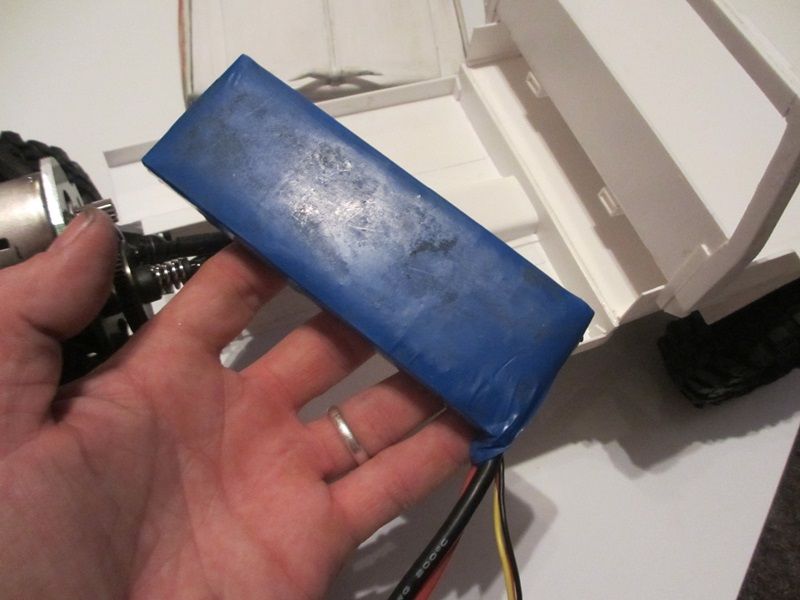 That'll work for me and you wont see it either. 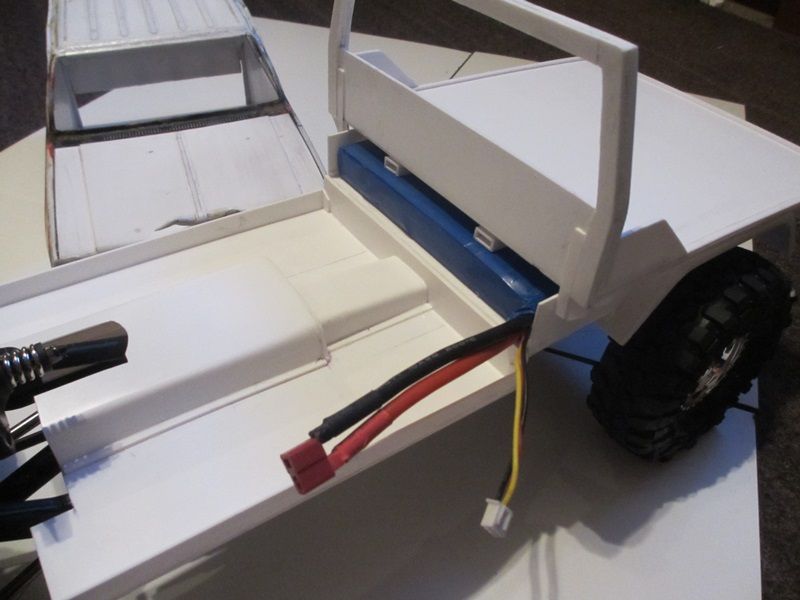 |
|
| |
|
11-22-2014, 03:32 PM
| #13 |
| Pebble Pounder Join Date: Nov 2012 Location: madera
Posts: 149
|
Man you are doing a sweet job on the truck
|
|
| |
|
11-22-2014, 04:45 PM
| #14 |
| Rock Crawler Join Date: Nov 2012 Location: Charlotte
Posts: 931
|
Lots of win n the thread. Great start bud.
|
|
| |
|
11-23-2014, 04:27 AM
| #15 |
| Rock Crawler Join Date: Jun 2013 Location: Portugal
Posts: 516
|
It's getting great. Funny that the axles are designed to be narrowed.. |
|
| |
|
11-23-2014, 05:45 AM
| #16 | |
| RCC Addict Join Date: Dec 2007 Location: London
Posts: 1,950
| Quote:
I cant work that out why they are so wide in the first place. | |
|
| |
|
11-27-2014, 09:45 AM
| #17 |
| SORRCA Committee Member   Join Date: Dec 2008 Location: Parkston, SD
Posts: 4,523
|
Love it! Very cool as always Neil.  |
|
| |
|
11-30-2014, 10:19 AM
| #18 |
| RCC Addict Join Date: Dec 2007 Location: London
Posts: 1,950
|
Some progress on the Ascender its been slow but hey ho. Inner fenders are coming along as is the floor. 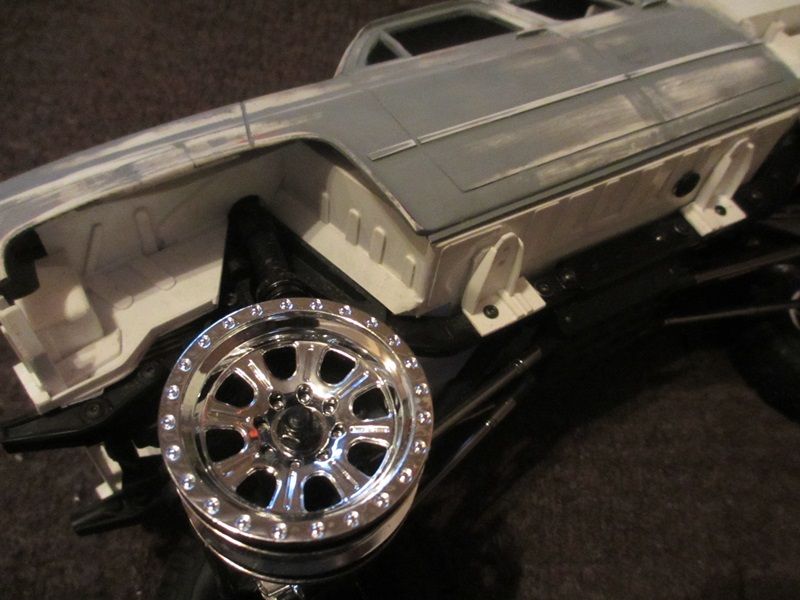 Picked up 2 Rc4wd Mojave Seats as they are cheap and easy to work with. Going with my new planning method its electronics placement at the same time. Back seat is in. 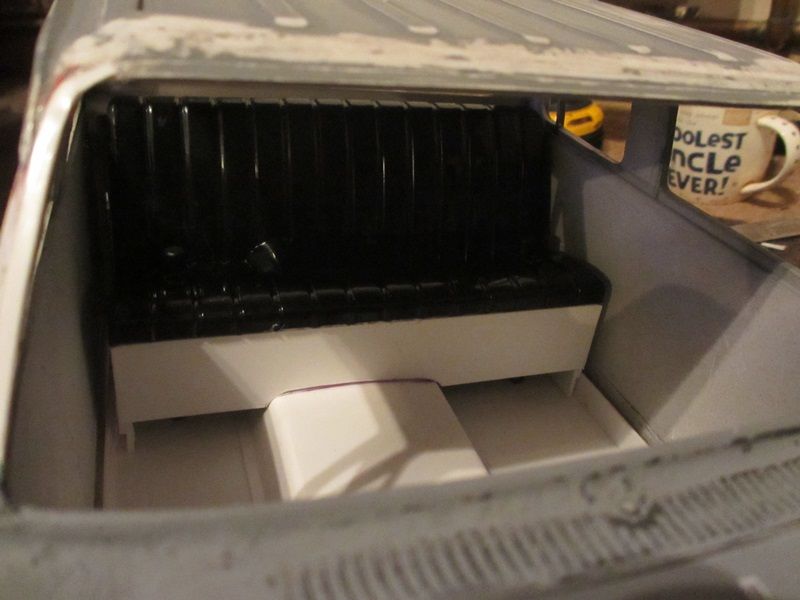 But it needs to come out to get to the battery? Using the Vaterra bodymounts with a couple of pins this should work fine. 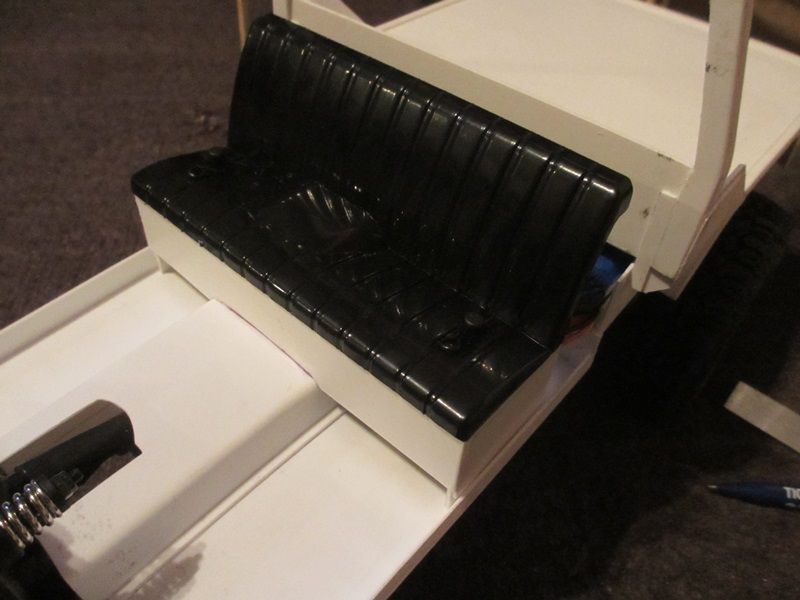 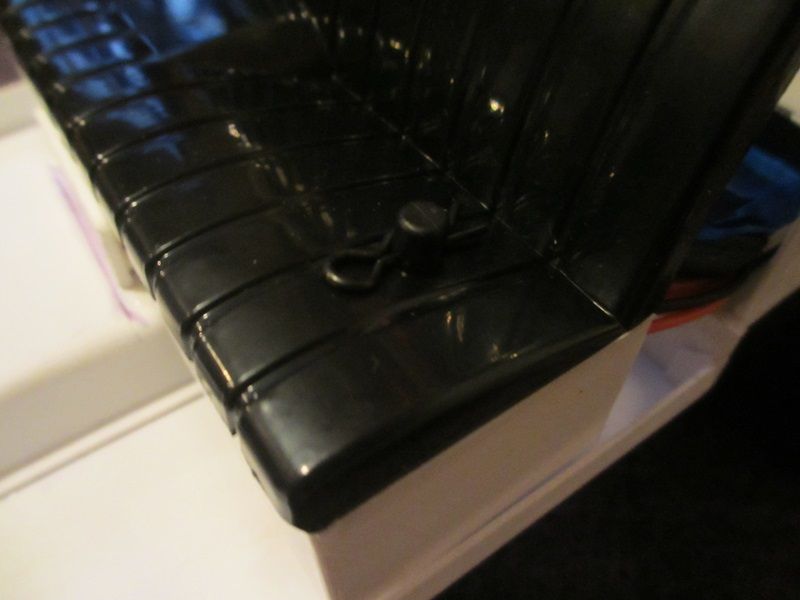 That'll work and there is room under the seat for and Esc and Receiver 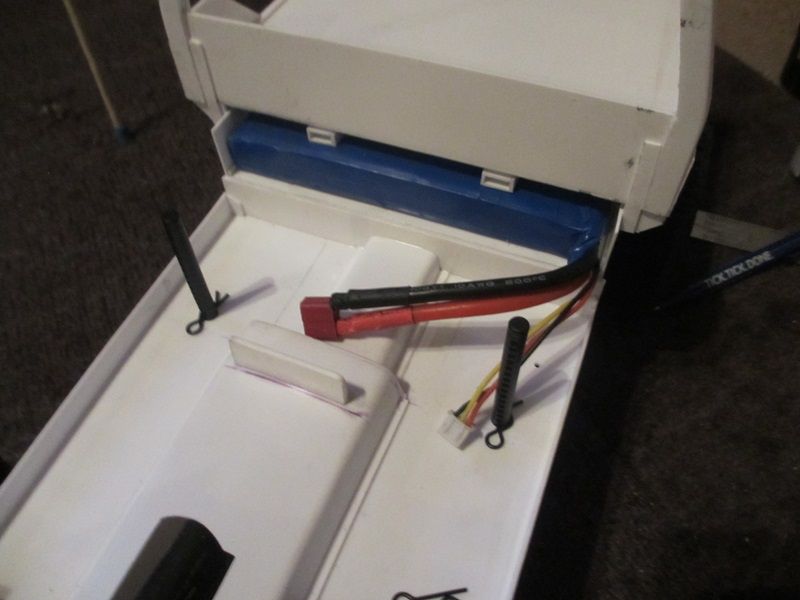 |
|
| |
|
11-30-2014, 11:03 AM
| #19 |
| RCC Addict Join Date: Mar 2013 Location: Commerce Township
Posts: 1,594
|
Dready, you are simply a styrene madman! Awsome build, very through. Love the details! I am not worthy! Curious, what's the color scheme you are going for?
|
|
| |
|
11-30-2014, 11:17 AM
| #20 | |
| RCC Addict Join Date: Dec 2007 Location: London
Posts: 1,950
| Quote:
Might go Green and White  Or maybe Orange and White  Or Brown and Cream 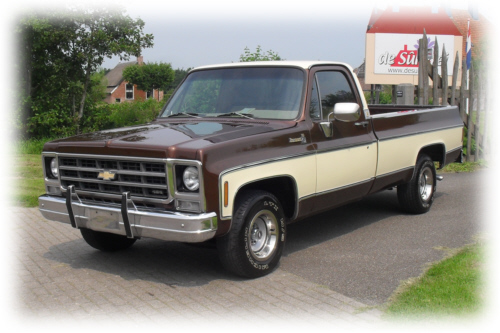 | |
|
| |
 |
 Dready's '4D' Ascender - Similar Threads
 | ||||
| Thread | Thread Starter | Forum | Replies | Last Post |
| Dready's Rc4wd Trailfinder 2 **Now with Blackwells!!** | Dready | RC4WD Trail Finder 2 | 98 | 01-12-2016 05:55 PM |
| Dready's 'Cats and Dogs' | Dready | 1.9 Scale Rigs | 84 | 08-25-2014 01:11 PM |
| Dready's New Toy | Dready | 2.2 Scale Rigs | 30 | 02-16-2010 03:11 PM |
| Dready's Tundra Truggy | Dready | 1.9 Scale Rigs | 104 | 10-25-2009 12:10 PM |
| Dready's Carlsberg Toyota | Dready | 1.9 Scale Rigs | 283 | 08-20-2009 01:00 PM |
| |


 Linear Mode


