• Welcome to RCCrawler Forums.

    It looks like you're enjoying RCCrawler's Forums but haven't created an account yet. Why not take a minute to register for your own free account now? As a member you get free access to all of our forums and posts plus the ability to post your own messages, communicate directly with other members, and much more. Register now!

    Already a member? Login at the top of this page to stop seeing this message.

R2J builds a C2 for Zia Scale Nationals

Lovin this build. Can you get some pics of the side body mounts.

Sent from my Moto Z (2) using Tapatalk
 
Done a little work on the grille last night. Filled in the headlight hole and removed the bucket portion to end up with this. Still thinking about lights, but have a couple of ideas.

Venture23.jpg

 
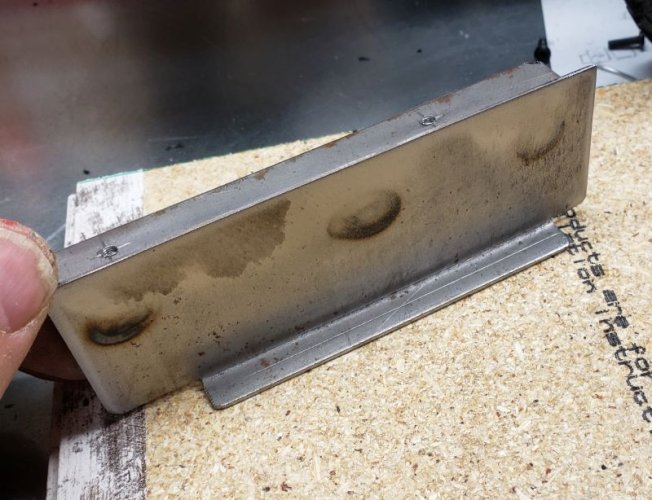
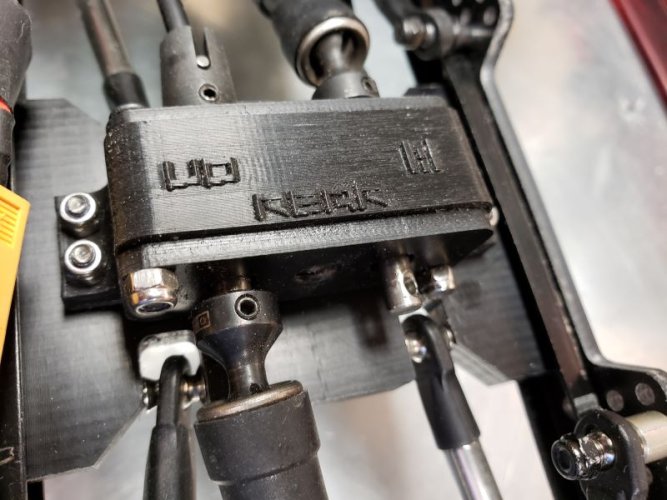
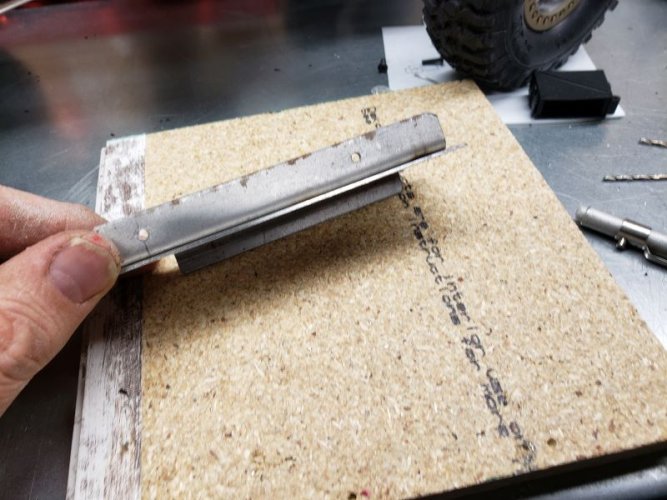
Been slacking, but found a bit of time to make the final set of sliders/body mounts. Also had time to mount the new servo and build the wiring harness for the battery kill switch so I don't have to pull the cab to unplug the battery between courses.

Venture27.jpg

Venture28.jpg

Final version slider/mount


Venture31.jpg

Venture30.jpg

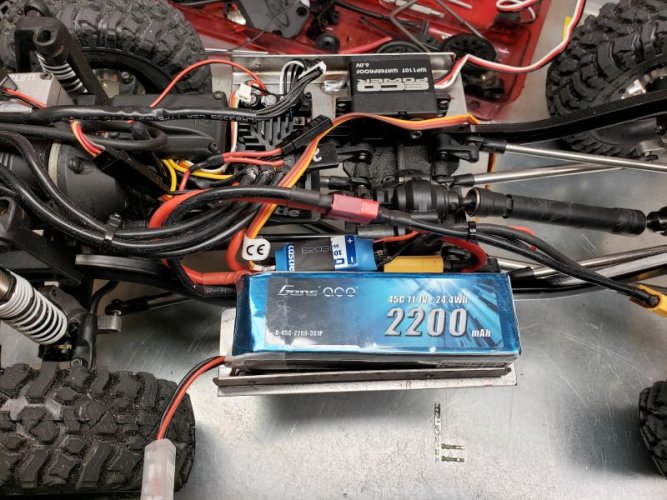
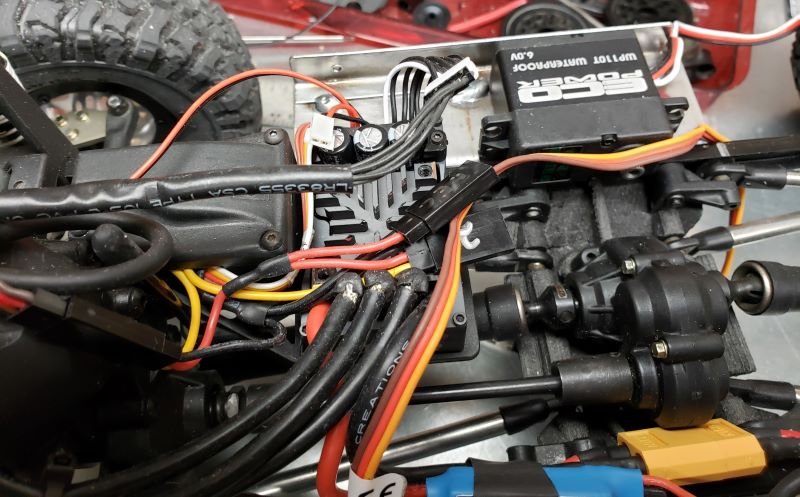
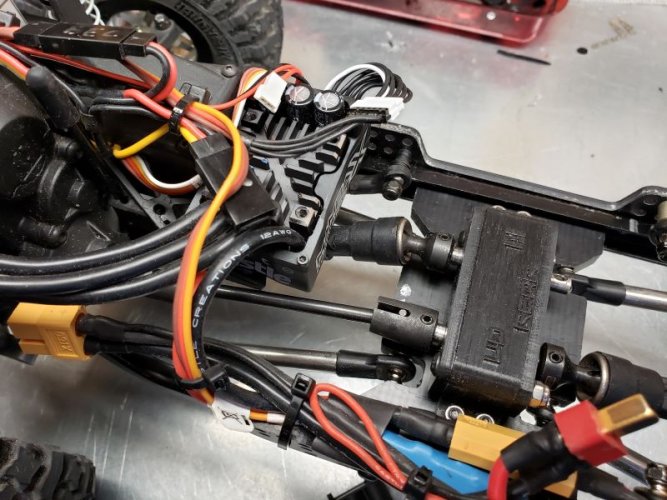
Electronic layout, still need to shorten a few things, but it all fits. Nice place for servo winch on the passenger side.


Venture29.jpg

Battery kill switch harness......

Venture32.jpg

Battery kill switch plug that will be mounted somewhere in the rear tube work for easy access.


Venture33.jpg

Venture34.jpg

Venture35.jpg

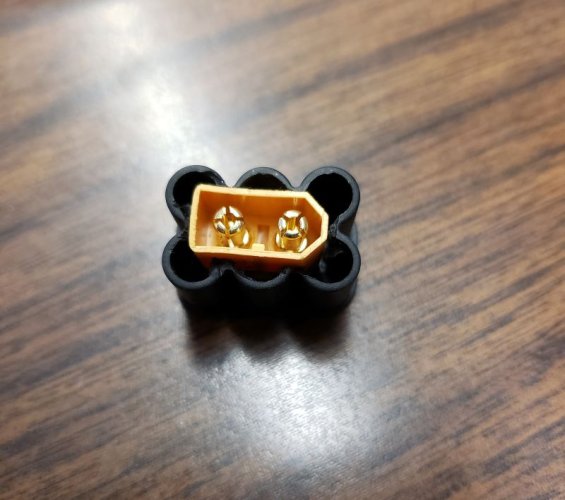
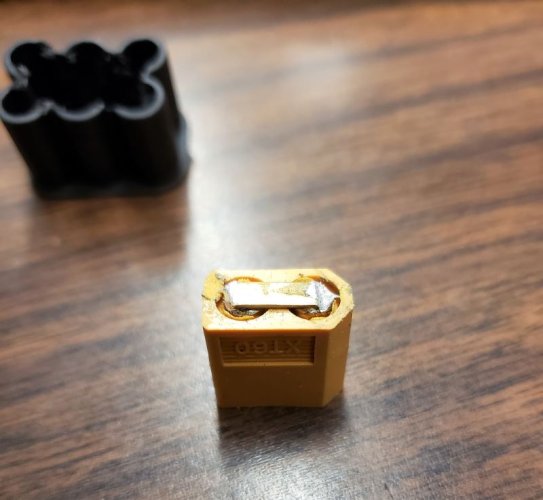
Found a perfect piece to use for the kill switch, Axial gel-cell battery accessory. I removed the mounting tab from the inside and then modified the XT60 male plug to fit inside.


Awesome sliders, nice to have extra mounting area with balance. That kill switch is great idea and I'm really liking your use of cover for it.
Keep up the good work!

Sent from my SM-G930V using Tapatalk
 
Re: R2J builds a C2 Venture

Long time coming on updates......First off, work got in the way and I couldn't make it to nationals so it got left on the bench for a bit. Only to be tinkered with here and there until I decided to try out the Deadloc under drive transfer case and mess with rear shock placement, not fond of the shock mounting on the axle side, at least on the rear.

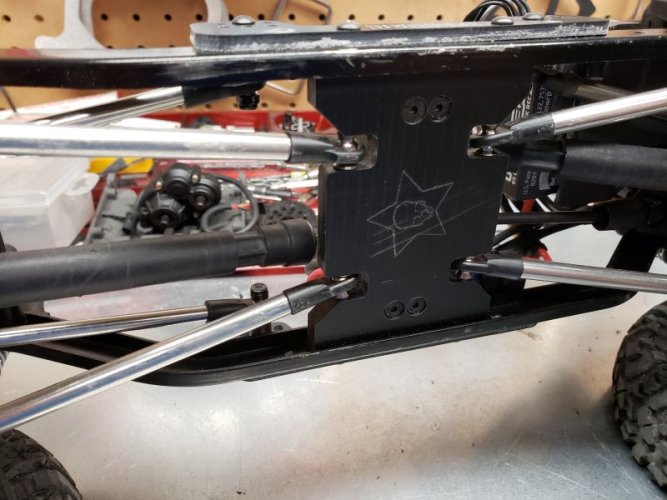
The Deadloc tranfer case is a very nicely made piece and comes with a flat Delrin skid, link risers made from G10, hardware and full assembled and greased printed case. Transfer case can be ran in 1:1 ratio as well for trail running instead of under drive, which is very neat option by simply moving the rear driveshaft to the 1:1 position. The front driveshaft and upper link do run into the electronics box to the point of having to trim a 1/2" off to keep it from hitting, and for the link, using a offset rod end from Axial tierod. Changing the rod end is only because you will need to use the lower hole on the Deadloc link riser to have enough clearance between upper and lower links. Deadloc does have how-to videos on their website that are fairly detailed, it would be a good idea for not so savvy or novice builders because of the modifications needed to make a smooth installation.
Venture39.jpg

Venture38.jpg

Venture37.jpg

Venture36.jpg

Venture41.jpg

Moved the rear shocks down to the link mount location to improve shock angle for a smoother operation. But with moving them, I had to use shorter shock towers to keep the ride height the same in relation to the front. So rather than just building some out of metal, I grabbed a set of front SCX10 hoops and drilled new holes forward from the stock holes. Works really good and now I have a place to mount sway bar links to in the old mount holes."thumbsup"
Venture40.jpg


Changed it up a bit...went with a new body and added SSD shocks.
Venture47.jpg

Venture49.jpg
 
Rad. I really like that blue. I'm going to "venture" to say that this is the coolest looking Venture I've seen. Even cooler than mine, which is saying a lot. I think mine is pretty cool.
 
Rad. I really like that blue. I'm going to "venture" to say that this is the coolest looking Venture I've seen. Even cooler than mine, which is saying a lot. I think mine is pretty cool.

Thank you! I really like what you've done to yours too, I have been following your build.
 
New shoes and bead locks. Messing with the bed, gives it a more finished look, think I'll paint it up and see how it looks.

PW-1.jpg

PW-2.jpg

 
Back
Top