• Welcome to RCCrawler Forums.

    It looks like you're enjoying RCCrawler's Forums but haven't created an account yet. Why not take a minute to register for your own free account now? As a member you get free access to all of our forums and posts plus the ability to post your own messages, communicate directly with other members, and much more. Register now!

    Already a member? Login at the top of this page to stop seeing this message.

How-To: Functional 2.2 Beadlocks for under $30

gone_wheelin said:
I'm really liking this idea. I'm going to have to head out to Home Depot soon and find me some of these PVC couplers. Is that the 2" stuff you are using?

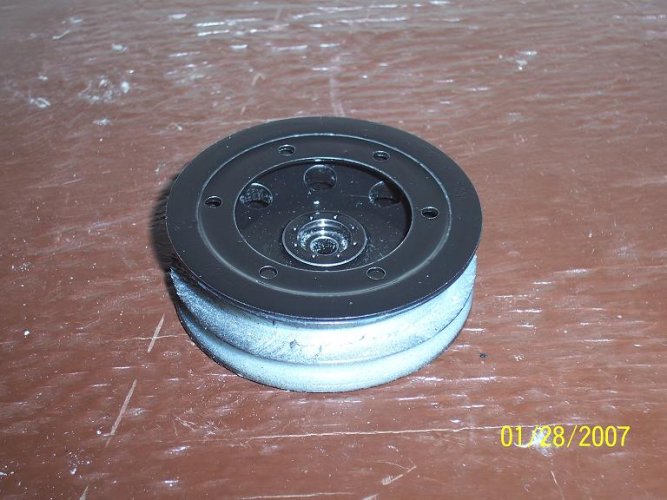
Yeah, 2". I used the gray PVC from home depots electrical department, had a bit better I.D.
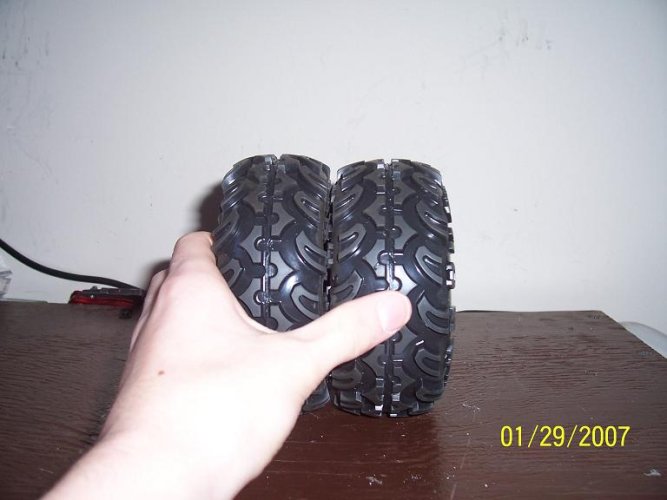
 
I tried this out tonight. A few notes:

1) Wow, using my drill press is so much easier than a hacksaw. I can't believe how easy that is. I'm using a blade in a vise grip set on top of my vice as a platform and it cuts perfect smooth cuts every time.

2) I really need to go pick up some more screws to try and lock it down and see how the tires feel mounted on there. They sure seem like they'll be nice and tight though.

3) With some older 2.2 mashers I have, I'm thinking of getting some bigger outer diameter reducing washers to really push the bead against the pvc pipe and wheel. I think that would help as the bead area is stretched to hell right now. Not sure about this, but I'll have to experiment.

Overall, good howto and glad you have those pics up. When I do my other wheels later, I'll see about taking some more pics.
 
Without adding the PVC pipe into the mix there really isn't much more to it. I do agree though, the real deal would be nice to have but, you can make just about any wheel a beadlock with this idea.

Cloak: I was trying to find a larger reducing washer for that same reason and have not had very good luck. I think a 1 3/4" - 1" would probably work great as the 2" - 1" are pretty large.
 
ColquittCustom405 said:
Too much materials and doing this and that,and I'm fabricator.I'll just spend an extra $74 and get the real deal.:)

Just narrowing the wheels with a drill press and a blade amuses the crap out of me. I've been thinking of buying a few wheels just to reduce because I like the method. I find myself trying to find other things to hook up to the drill press and apply sharp tools to. :)

BTW DJ, you should see my garage since I actually cleaned up. You can see the floor AND you can actually see the top to my high tech quality-build table. ;)
 
Updated original post today

I finally got off my *** and re-attached the missing images. I also added some updates to the first post about the fuel tubing mod and I will be adding links to the PVC mod as well as links to sources for the reducing washers and hardware.

Thanks again to everyone for your feedback and helping make this basic idea even better.
 
Wonder Squirrel: Masher 2K's have a very thin bead that needs a little extra TLC to keep it locked in place, on the original design at least.
 
gone_wheelin said:
Wonder Squirrel: Masher 2K's have a very thin bead that needs a little extra TLC to keep it locked in place, on the original design at least.

I'd like someone to try the pvc coupler, I'm sure it would hold without problem
 
I just picked one up from the hardware store today. I hope to be making a new set of beadlocks real soon so I will try it on those.
 
I bought some of those 2"x1" reducers last night. They're huge, but I'm going to try and run them.

I'm thinking I'll tap out the center of some solid rod for the middle and use threadlock to hold it together.
 
I'm still in the process of setting mine up, but I figured I should take some clear pics for us.

The washers I'm trying 2"x1", as you can see:
beadlocks3.jpg


These are the wheels I'm using. They were previously mounted, so they look like crap. But you get the idea. You can see where I narrowed them and where I cut off the outer rim. I'll do some better pics down the road of cutting. I had a hell of a time trying to get those tires inside that pipe. So what I did was take my utility knife and thinned the edges until I could get them in there. Then I used thick CA glue and just dumped a ton around the bead area.
beadlocks4.jpg


Here you have it all mounted up. Locked down nice and tight. I didn't like the locknuts on the back, so I had some plastic tubing and I had it meet in the middle between 2 screws. Seems to tighten down real well and I have a crapload for a couple bucks, so it is cheap.
beadlocks2.jpg


The problems I was having with the bead of the mashers are gone. This clamps down on tire, bead and everything it can get its hands on. Of course since this all worked out pretty well, I realize afterwards I forgot to put weight on the pvc tubing. At least it is only a matter of undoing 5 screws now. :)
 
I was digging through my box of parts this weekened and found a package of 2" - 3/4" washers and they should definitely do the trick for pinching the bead at the right place now, provided you add the PVC. I would still like to locate some 1 3/4" - 1" washers though to try on some rims that do not have the PVC.
 
1.75"x.75" would be really ideal. You could have a nice big rock ring and a good sized outer ring for clamping down.

Out of curiosity, do those big 2" outer rings still qualify under the comp rules?
 
I picked up some of the rings yesterday. They are a PERFECT fit. I set one on top of the tire and pushed down on it and I was able to push it just about all the way down to the desk, with a foam in the tire too. I just need to pick up some 3mm nuts, and I'm going to get to work on them.
 
I'm new and I read this post from the beginning to end...it was like a story plot to me! I'll explain.

My first thought was how come nobody just used the 2 washer per wheel method instead of glueing on inside rings and trying to hold little nuts behind the washer while tightening the bolts. It seemed so much easier to cut the outer lips off and then sandwich.

I was intrigued to keep on reading to see if somebody would try it out.

It took a while, but it finally happened!

It was interesting to see the progression!

A few years ago I mounted some Clod wheels on my daughter's Blackfoot by taking the Blackfoot rim and modding and bolting it inside the clod wheel...basically sandwiching them together.

I guess that's why 2 washers bolted the whole way through the wheel idea came quickly to me...that and i would never have the patience to do it the original way!

It was neat to see the progression.
 
Well I got mine done, well for the most part. I did it so theres just two rings on one side. Getting the nuts on was easy with those needle nose plyers that are bent at a 30* angle. I think the hardest part was just trying to get the wheel centered right because if it wasn't, the bead could easily slip out. I really like the way mine turned out. I painted the inner ring black and I'm going to be getting red paint tonight for the outter ring.

Mine were done on previously narrowed pede rears. I narrowed them to 1", then did the beadlock trick.

Heres a few pics...
 

Attachments

  • wheels 008.jpg
    wheels 008.jpg
    76.9 KB · Views: 595
  • wheels 009.jpg
    wheels 009.jpg
    44.6 KB · Views: 590
  • wheels 010.jpg
    wheels 010.jpg
    47 KB · Views: 595
  • wheels 011.jpg
    wheels 011.jpg
    48 KB · Views: 582
Back
Top