• Welcome to RCCrawler Forums.

    It looks like you're enjoying RCCrawler's Forums but haven't created an account yet. Why not take a minute to register for your own free account now? As a member you get free access to all of our forums and posts plus the ability to post your own messages, communicate directly with other members, and much more. Register now!

    Already a member? Login at the top of this page to stop seeing this message.

Vedder’s ‘Jero full vintage resto.

eddievedder

Spinning Gold Star
Gold Star Baby!
Joined
Oct 28, 2007
Messages
1,513
Location
Long Island, NY
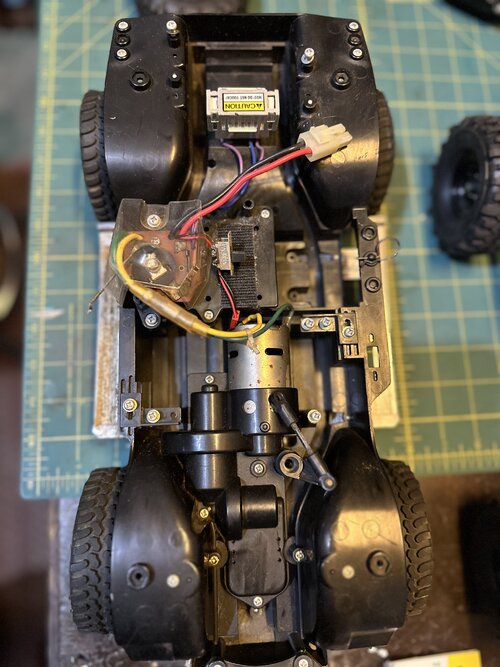
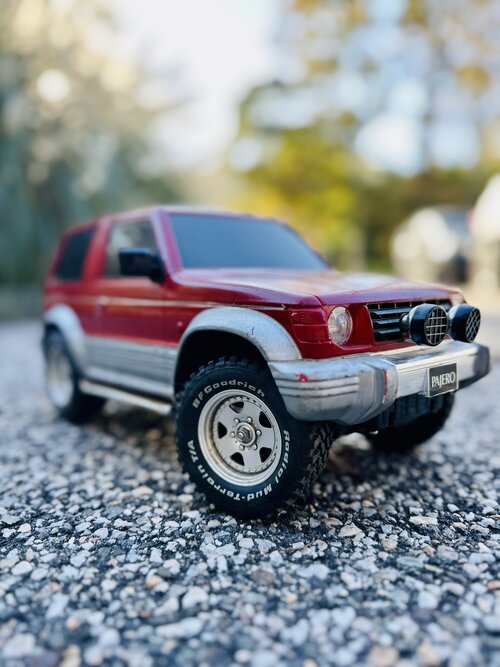
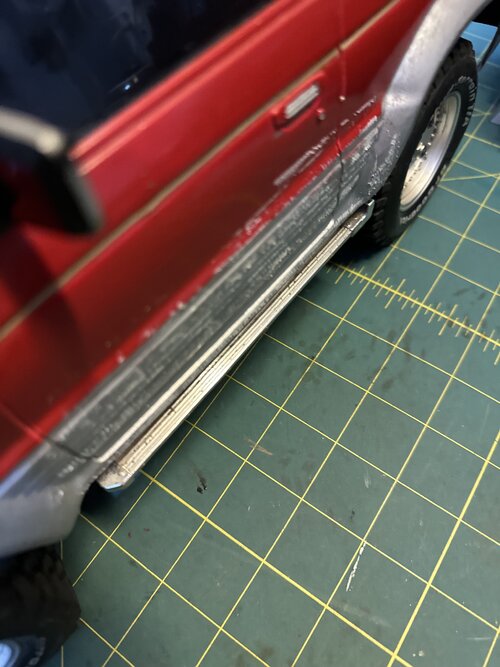
My kids are pretty into RCs. I wanted to get my 8 year old nephew into a hobby and what better way to introduce a new hobby than to restore a vintage RC truck? Anyway I picked this original Tamiya Pajero CC01 up and it is for sure vintage. It definitely needs some attention.
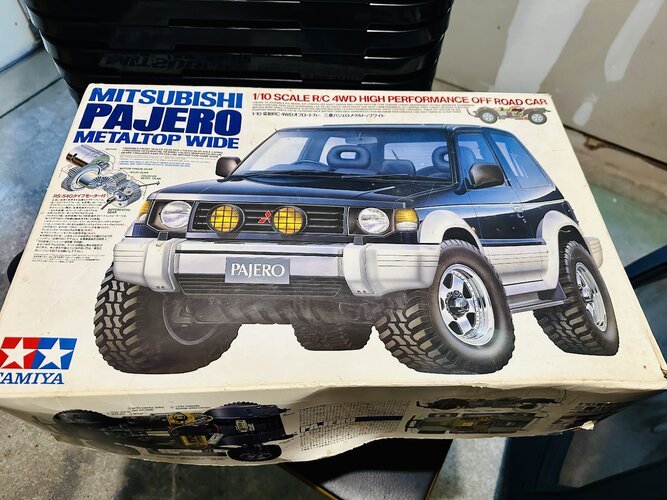
IMG_0455.jpegIMG_0456.jpeg

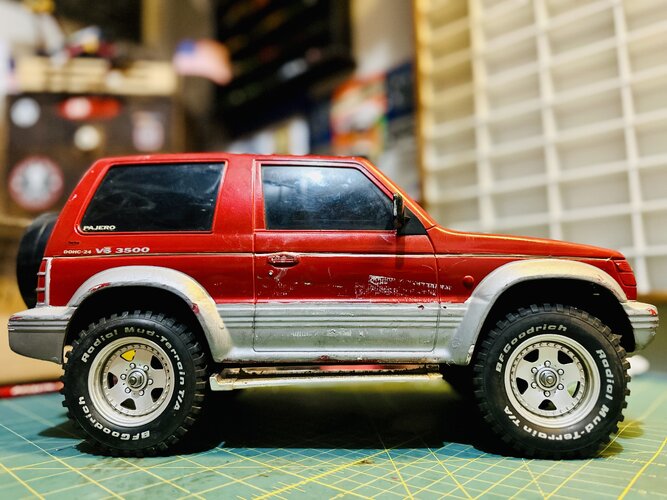
I have no idea where this thing sat for the last 30 years but it’s warped. It’s brittle. It’s perfect for a restoration.
IMG_0457.jpeg
IMG_0458.jpeg

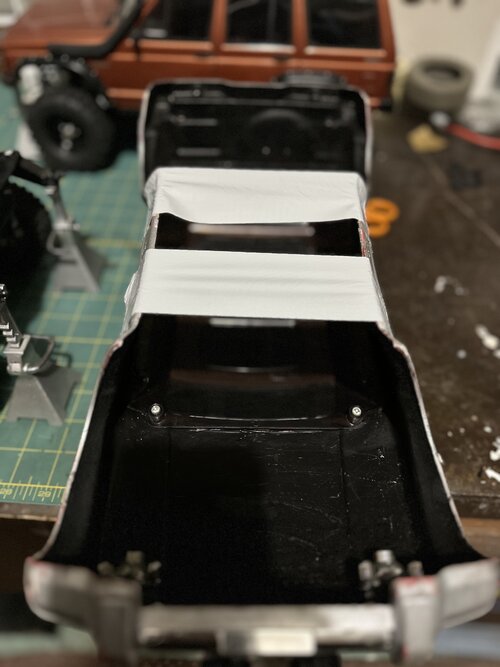
It doesn’t look like it’s been used much at all. Original tires aren’t dry rot and crumbling but definitely have flat spots. The odd thing is the body is warped as is the rear chassis. As if it sat for ages with the body resting over the side steps because the body now is wider than the steps. Also the rear chassis where the body would mount is warped and the mounts sort of point down and the rear has an arch to it.
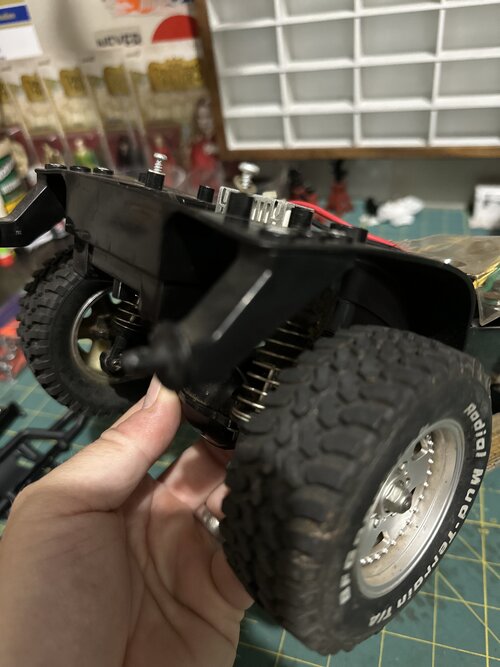
IMG_0479.jpegIMG_0476.jpegIMG_0477.jpeg
The warping is worse in person than in the photos but the body won’t mount properly as is.

Anyway this is going to take some work. Should be a fun resto with my young nephew.
 
Sure looks good, at least from here. The bumper(s) and the flare look unloved, but that's not by any fault of yours. Used, being vintage and something that does over 15mph and is a hardbody. Lives a rough life. That is also cool that your nephew likes rc.

Hey what would you use to strip the paint from the body if you were to do a full on body jibber restore? I have a couple hardbodies I want to do a paint strip. But dont want to ruin a nowadays one off body. How did everything come out with the heatgun treatment? Straight?
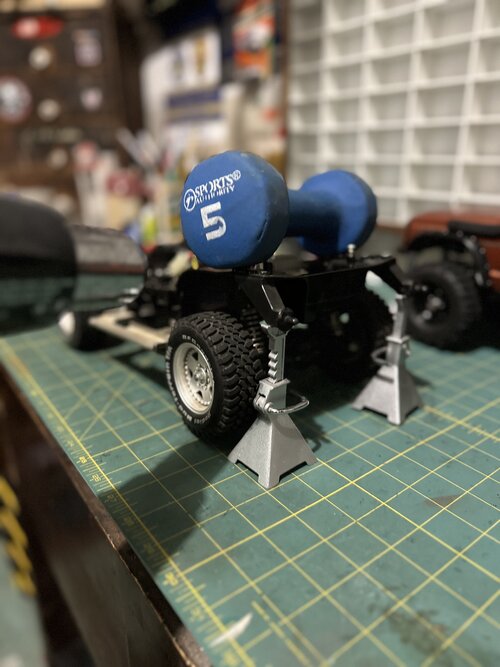
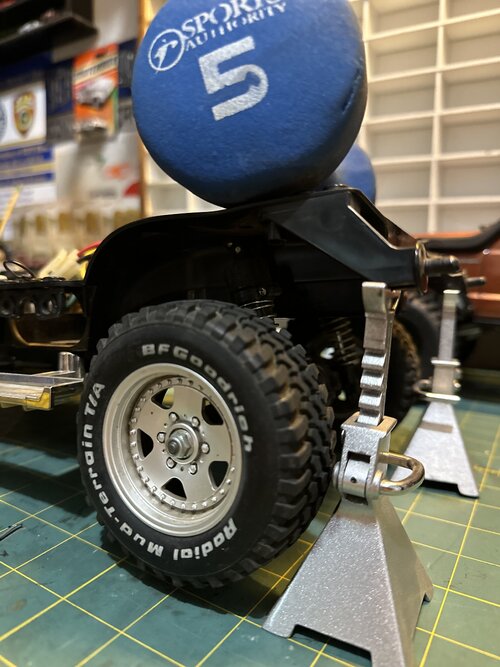
The CC01 is still sitting on the workbench with the 5lb weight on it. Hoping it’s straight when I take it off. As for the body I use oven cleaner to strip it. I’ll strip it as best I can. Sand. Prime. And repaint.
 
So it looks like the rear of the chassis is straightened out. Hopefully it stays that way.
IMG_0572.jpegIMG_0573.jpeg

You can see how the driver’s side of the body bulges out a bit where the passenger side is more lined up with the running board.

Passenger side

IMG_0576.jpeg

Driver side

IMG_0578.jpeg
Should probably sit about here instead

IMG_0577.jpeg
 
Last edited:
I like the stock stance but I’m thinking a slight lift. Better performing tires. And some subtle upgrades such as CVDs, better shocks, full bearing kit, swapping out the Tamiya rod ends with some beefier HPI ends, front brick removal with homemade skid. As I tear this down I’ll get a feel of how brittle some of this old plastic is and replace things as needed. I already ordered aluminum steering knuckles as I can tell the old plastic ones are ready to crumble.
IMG_0574.jpeg
 
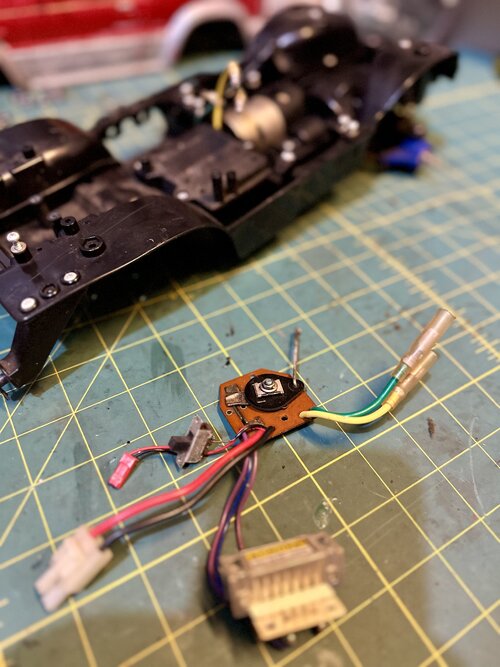
Ooh... A mechanical speed controller... Noice.

The warpage is insane, never seen anything like it. Must have been stored on a hot attic.
 
Ooh... A mechanical speed controller... Noice.

The warpage is insane, never seen anything like it. Must have been stored on a hot attic.
I kinda wanna use the old speed control lol. Yeah I’m thinking the same. Stored somewhere hot and with something on top of it pressing down.
 
My nephew is coming over for a few hours tomorrow and we are going to tear into this. Wish us luck! I’ll update tomorrow night on our findings. I’m curious what the insides of the rear axle and front gear box look like on this 31 year old Tamiya.
IMG_0657.jpeg
 
Whatever mileage it has, it didn't "happen" off road according to underneath. I mean that punkin looks like it's never touched a rock. Hopefully the previous owner put the ceramic grease on the pot metal gears.
 
Started the tear down today.
IMG_0667.jpeg
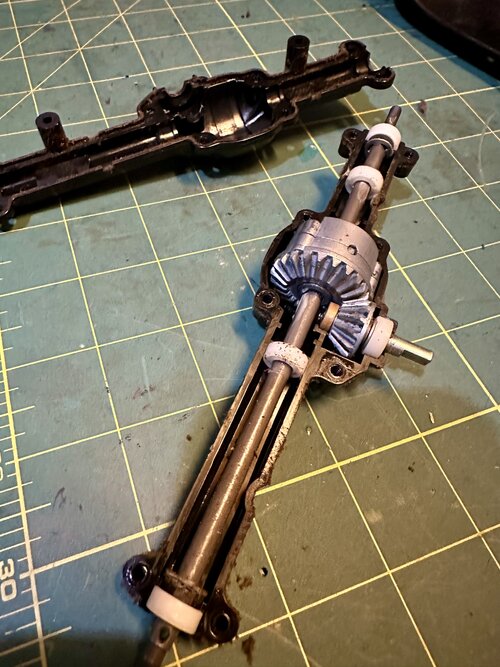
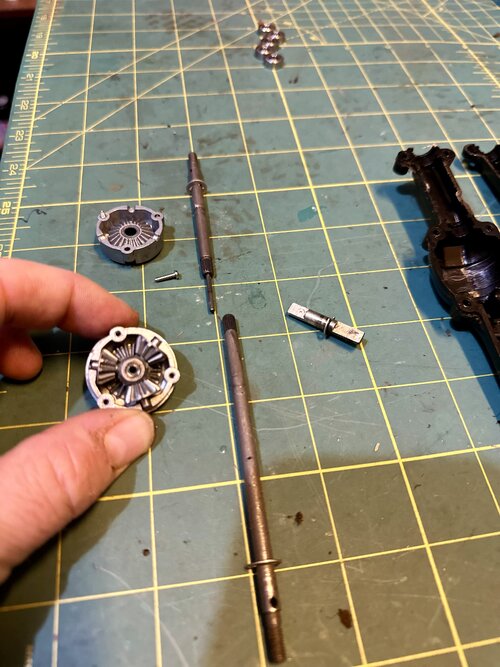
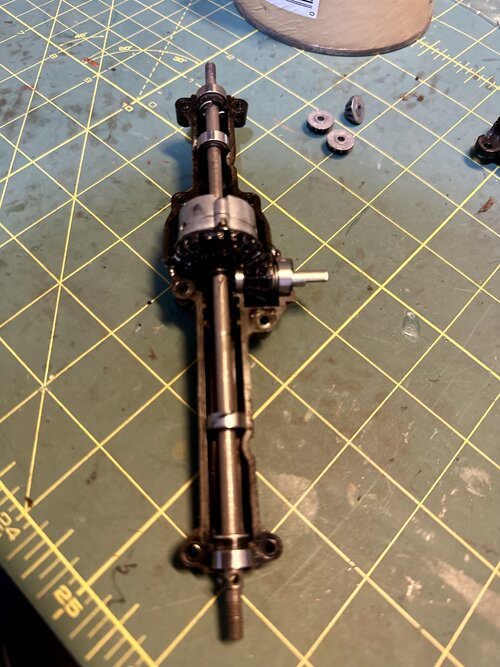
Not a drop of grease in this 31 year old axle.
IMG_0668.jpeg
Dry
IMG_0669.jpeg
I had this old Dynamite bearing kit I’ll use to replace all the bushings.
IMG_0670.jpeg
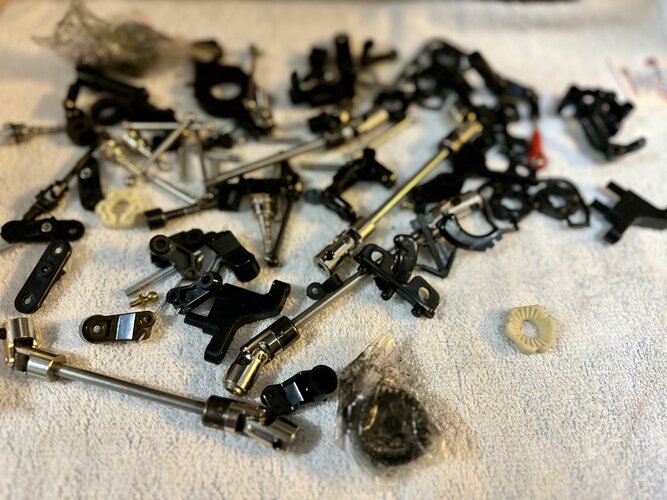
My CC01 spare parts pile. Found a rear locker.
IMG_0671.jpeg
Locked the rear axle
IMG_0673.jpeg
Installed bearings and grease.
IMG_0674.jpeg
 
This old thing cracks me up. The 90s baby.
IMG_0675.jpeg
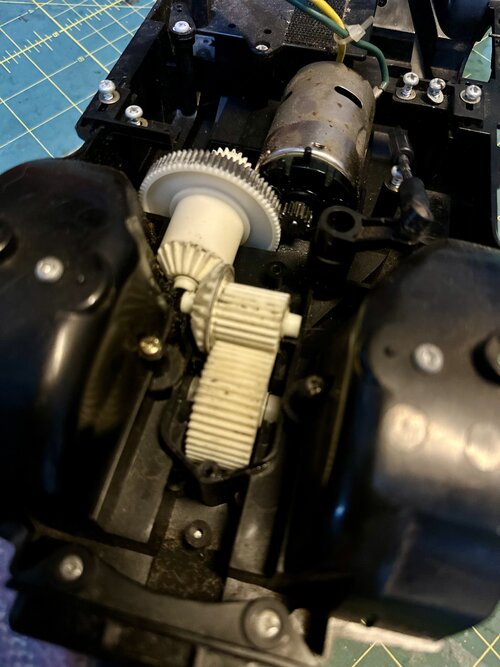
No grease in the plastic gears either.
IMG_0676.jpeg
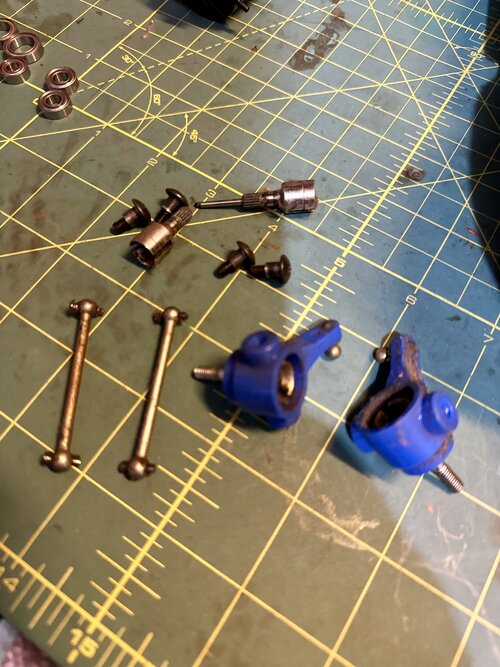
Old axles and steering knuckles. The knucks seem pretty brittle.
IMG_0677.jpeg
Time to open this up and lock it.
IMG_0678.jpeg
No grease. Lol. I locked it via extra gear that I borrowed from the rear diff.
IMG_0679.jpeg
 
IMG_0680.jpeg
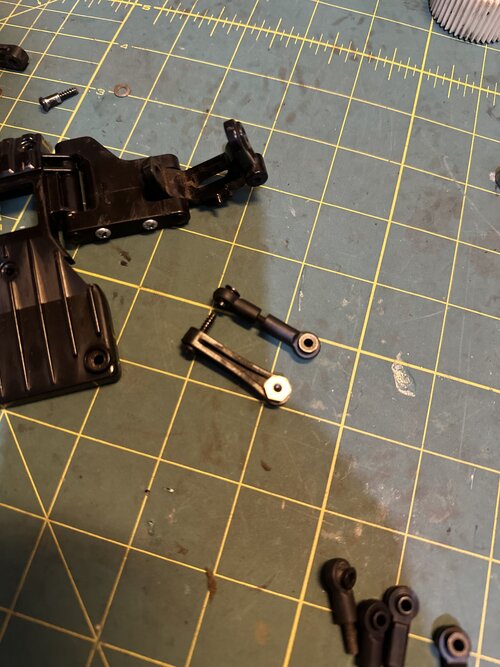
I like to make my own. Threaded rod and rod ends with balls instead of the cheapo plastic ones.
IMG_0681.jpeg
The old blue steering knuckles seemed pretty brittle so I grabbed some aluminum ones and scored some old school Tamiya CVDs.
IMG_0684.jpeg
Here’s the difference
IMG_0683.jpeg
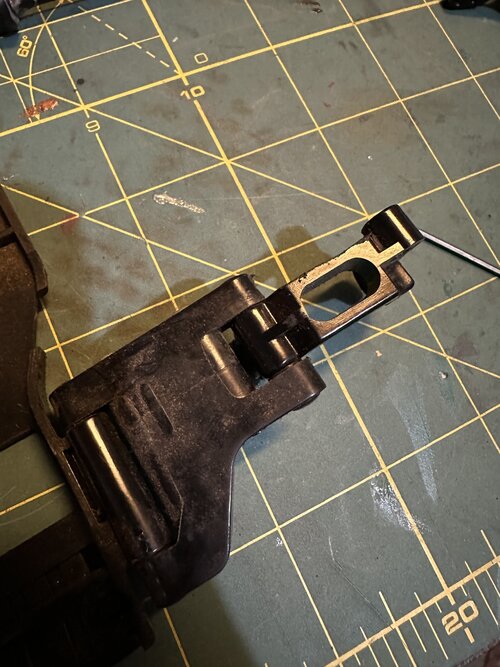
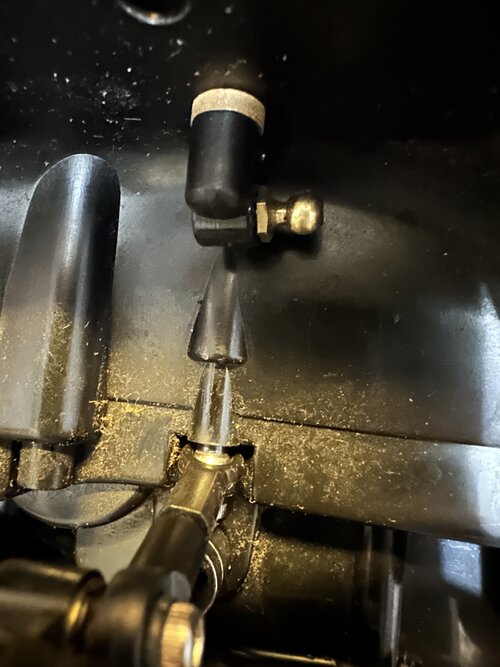
The C hubs or Chubs for us old school RCC guys have this steering bump stop. It needs to go.
IMG_0682.jpeg
Out with the dremel and small file.
IMG_0685.jpeg
 
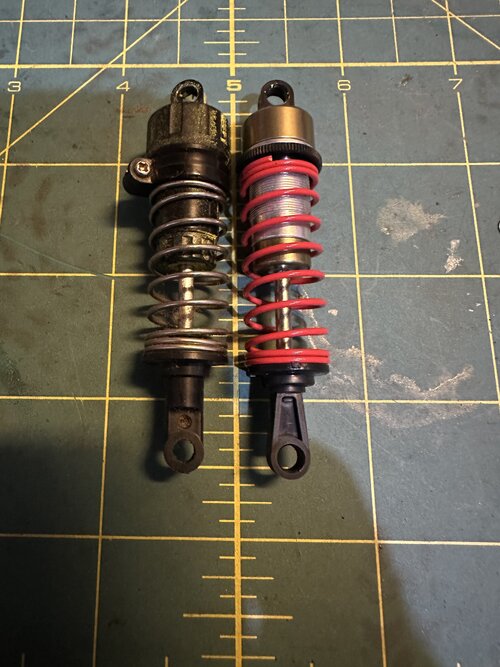
I’m not a fan of the stock plastic shocks (though properly built and oiled they are not terrible for stock) I opted for adjustable aluminum Tamiya goodness. These shocks don’t come with springs as they are intended to use the stock kit silver springs. I had some stiffer springs in my spare parts bin that I’ll use. Blue is stiff. Red is softer. Still stiffer than the stock silver springs.
IMG_0698.jpeg
Time to assemble.
IMG_0701.jpeg
They are much nicer, super smooth and just a hair longer than stock which will hopefully help with the ride height/travel I am trying to achieve.
IMG_0702.jpeg
Slight front spacer “lift”
IMG_0700.jpeg
Got one mounted up.
IMG_0703.jpeg
 
I got all 4 shocks assembled. So smooth. I started on the rear 4 link then decided to rework it and go three link. It came out great and works really well. I have to make some very minor adjustments but it’s great. I also tested a few different shock springs for the rear to find the perfect amount of stiffness and flex.
IMG_0705.jpegIMG_0706.jpegIMG_0707.jpegIMG_0708.jpeg
 
Back
Top