| |||||||
Loading
 |
| | LinkBack | Thread Tools | Display Modes |
| |||||||
 |
| | LinkBack | Thread Tools | Display Modes |
| | #1 |
| I wanna be Dave Join Date: Feb 2005 Location: Cleveland, OH
Posts: 8,009
|
After four Ohio winters, my homemade roll pan has seen better days: 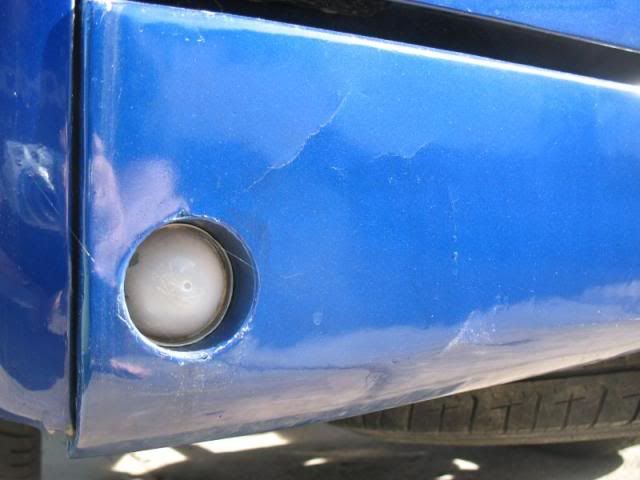 You can see some of the cracks. If I ever make another one I'll use more than two layers of cloth over the foam core. Lesson learned. There's some other damage from a low-speed backing incident, too. So I figured if I'm gonna run into stuff, might as well put the bumper hack on. But that leaves me with no reverse lights, since I pimped it up with Caddy bullet taillights: 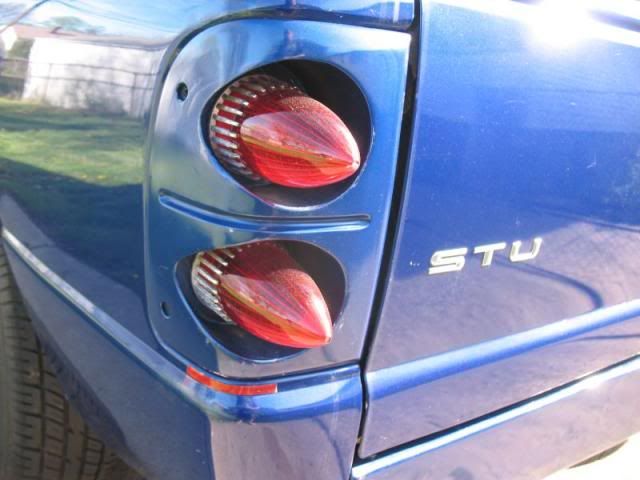 Since I've got to paint it anyway, might as well have some fun with it first. Gonna add some pockets for my homemade reverse lights (from the roll pan), lose the bumper pad (since it's borked anyway) and generally smooth it out. 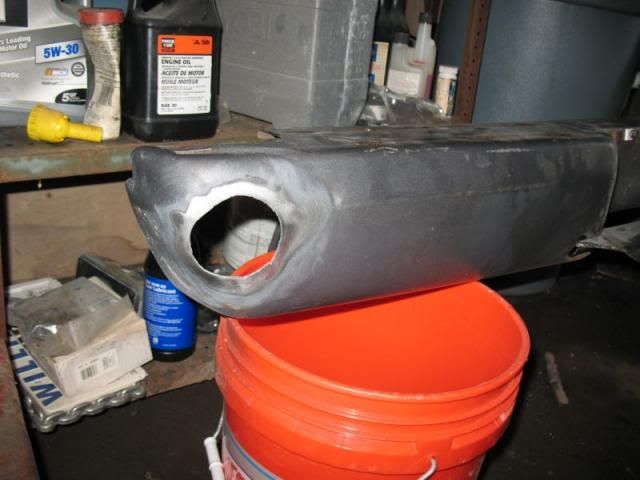 Step one, cut some holes. Maybe this is step two, after "buy some exhaust-pipe reducers." Wait, what? 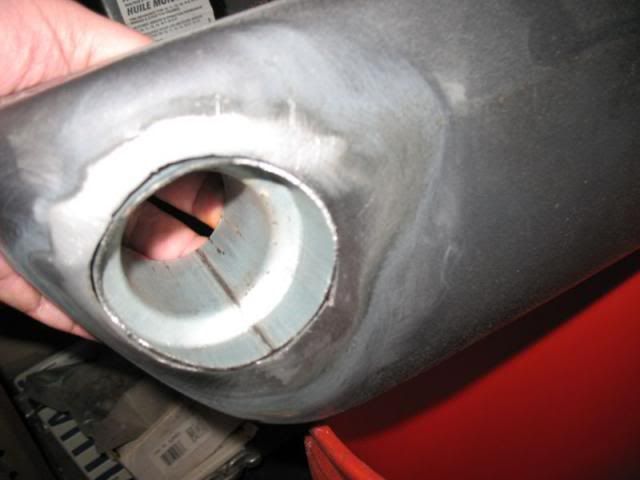 Yes, the light pockets are really 2" ID x 3" OD exhaust pipe reducers. They'll fit in the holes like this. Gotta bug an old buddy of mine next week to do the welding. Now, if I'm losing the bumper pad, I need to figure out a license plate light, since the factory lights mount to it. So let's grab another reducer and stick the LP light in it, and pocket that into the bumper like so: 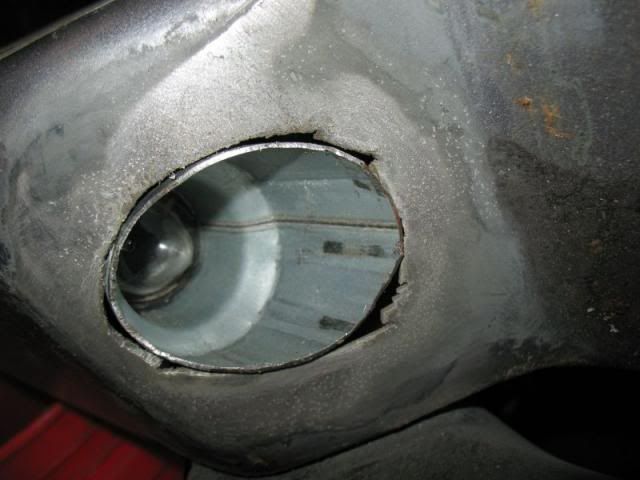 That's the factory LP light, with the black cover popped off. It fits into the tube like so: 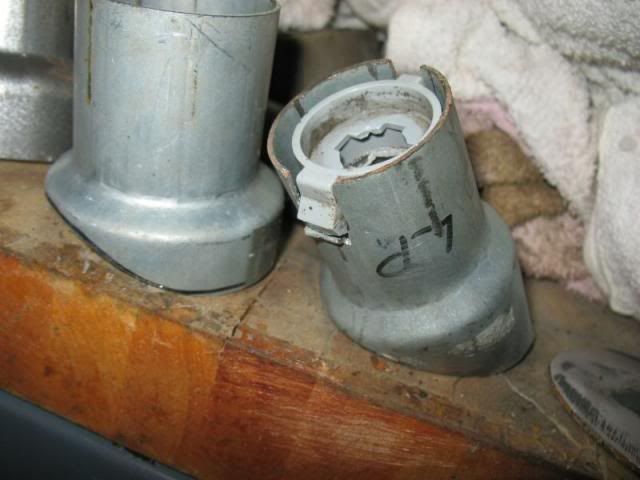 I'll drill a hole and stick a set screw in there so it stays put. The hole for the right-side light will be plugged. Now is where the "smoothie" part comes in: 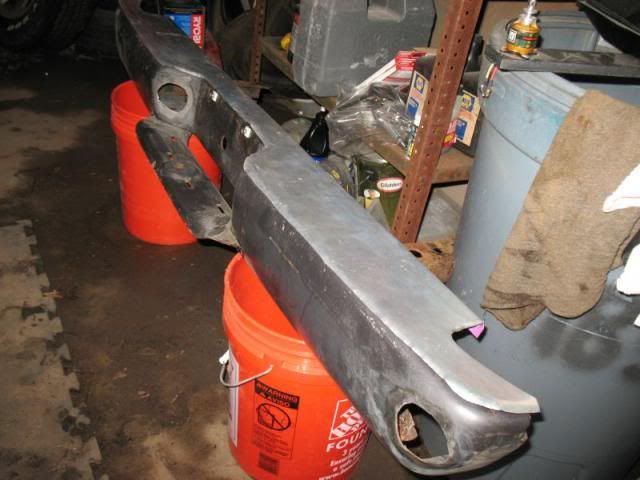 To cover up the slots in the top of the bumper, I cut out some sheet aluminum. I can either paint or polish this, and I'm leaning toward polished because, hey shiny! Clear coat will keep it shiny forever, or six months, whichever comes first. 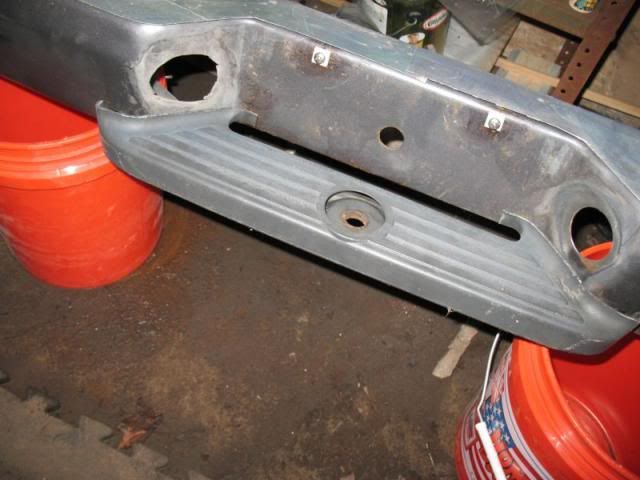 There's some slots in the hitch mount, too, so I cut up the damaged pad. I'll paint this part black. Not shown are the squared-off holes for the new license nuts (since the LP mounts to the pad that won't be there. So this is where the project stands now. Once I con my buddy into welding it up I can get started in earnest. Oh, and this whole mess goes on the back of my '03 Ranger. I figure you probably know what those look like already. |
| |  |
| Sponsored Links | |
| | #2 |
| Oppan Gangnam Style  Join Date: Jun 2005 Location: Shingle Springs
Posts: 5,164
|
Cool project there Stu, I'll keep an eye on this to see how it turns out.
|
| |  |
| | #3 |
| I wanna be Dave Join Date: Aug 2005 Location: NE Ohio
Posts: 8,817
|
I better check my tank for my shielding gas eh?
|
| |  |
| | #4 |
| I wanna be Dave Join Date: Feb 2005 Location: Cleveland, OH
Posts: 8,009
|
Either that or I load up on Taco Bell beforehand |
| |  |
| | #5 |
| I wanna be Dave Join Date: Feb 2005 Location: Cleveland, OH
Posts: 8,009
| |
| |  |
| | #6 |
| MODERATOR™  Join Date: Jul 2004 Location: Ohio
Posts: 18,928
| |
| |  |
| | #7 |
| Suck it up!  Join Date: Mar 2008 Location: Arkansas
Posts: 11,652
|
What, no styrene? Also, I'm a forever fan of those wheels.  |
| |  |
| | #8 |
| I wanna be Dave Join Date: Aug 2005 Location: NE Ohio
Posts: 8,817
|
Thinking the 15th might be the day if you can wait that long?
|
| |  |
| | #9 |
| I wanna be Dave Join Date: Feb 2005 Location: Cleveland, OH
Posts: 8,009
|
Works for me  |
| |  |
| | #10 |
| I wanna be Dave Join Date: Feb 2005 Location: Cleveland, OH
Posts: 8,009
|
Update: Welding pushed back til next week, so I took care of some odds and ends: 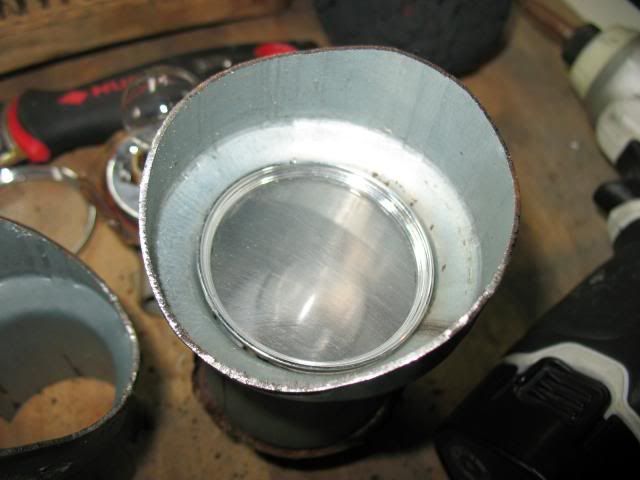 Made some new lenses, since UV rays totaled out the old ones. These are Lexan so they should hold up a little better. 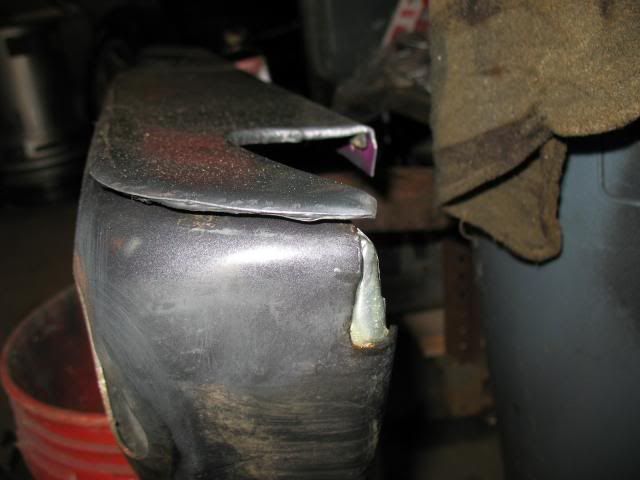 That notch at the top is where the bumper pad would overlap. Since there'll be no pad, I made some filler pieces out of aluminum (steel would be better but I have aluminum). These are just backing pieces, I'll cover them up with kitty hair. You can also see the bead of silicone I laid down on the caps; this will keep the glue contained when I stick 'em on there for good. Also, gotta love pollen season |
| |  |
| | #11 |
| I wanna be Dave Join Date: Feb 2005 Location: Cleveland, OH
Posts: 8,009
|
Hooray welding! 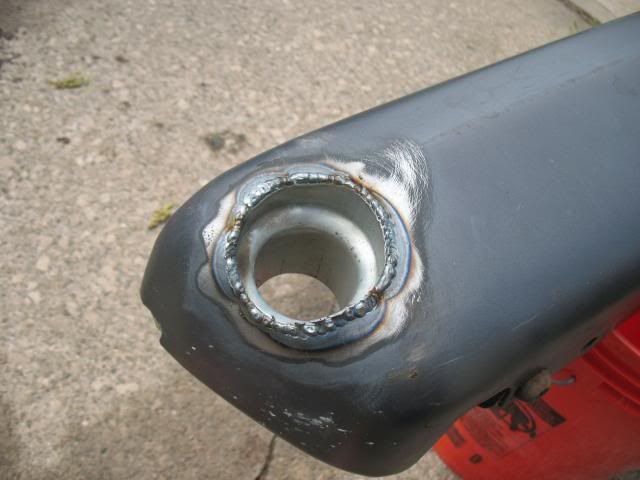 Andy did a hell of a job on these. Filled up my sloppy gaps like it ain't no thang. 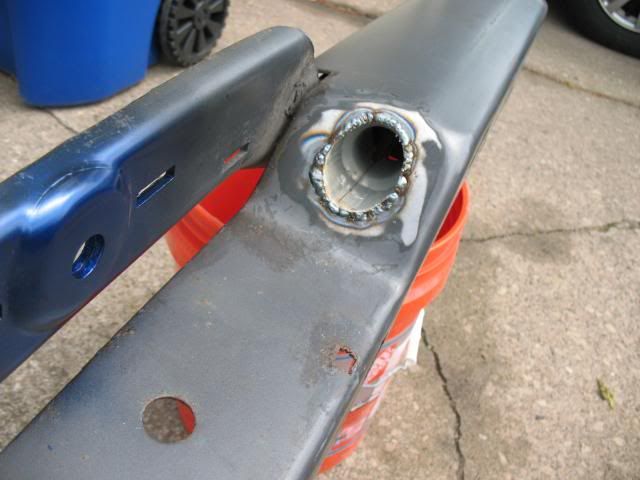 License-plate light came out good, too. 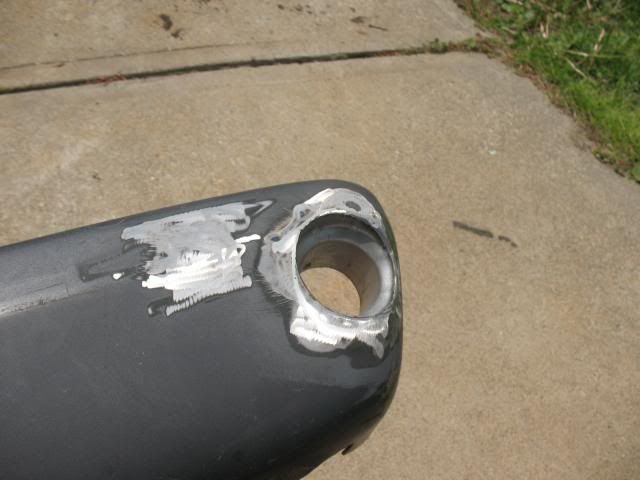 Seems a shame to grind them all off, but that's what I did. Gonna skip the filler and sanding, cause you all know what that stuff looks like anyway, and skip to the money shot: 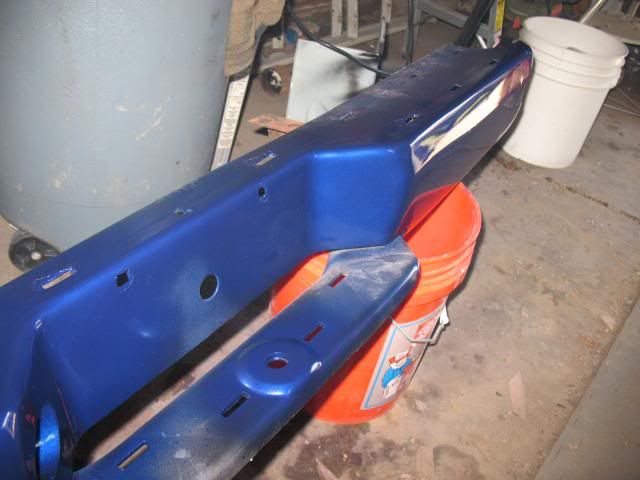 Hooray paint! Once it dries I'll clear-coat it and start assembly. As a bonus, I'm totally high right now. Kinda glad it's too windy to paint outside. 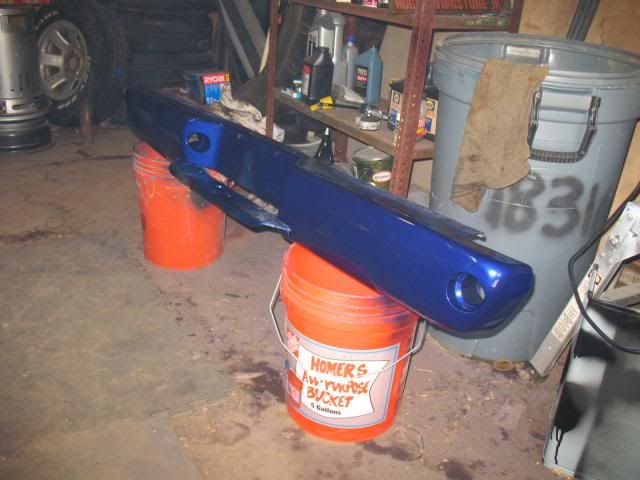 And one more. |
| |  |
| | #12 |
| I wanna be Dave Join Date: Aug 2005 Location: NE Ohio
Posts: 8,817
|
You work fast |
| |  |
| | #13 |
| I wanna be Dave Join Date: Feb 2005 Location: Cleveland, OH
Posts: 8,009
|
I guess so It ain't what anyone would call show quality, but good enough from 10 feet. And yes, I did paint the center even though it's under the license plate. |
| |  |
| | #14 |
| I wanna be Dave Join Date: Aug 2005 Location: NE Ohio
Posts: 8,817
|
I barely had my car washed and waxed in that time...
|
| |  |
| | #15 |
| I wanna be Dave Join Date: Feb 2005 Location: Cleveland, OH
Posts: 8,009
|
You didn't think I just sat on my butt and drank whiskey all night, did ya? Okay, I did that, but I also got this done: 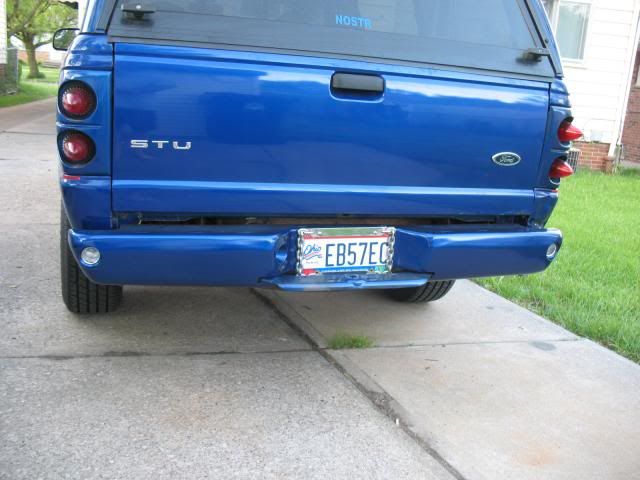 Mounted to the frame. Not super pleased with the gap under the tailgate; I guess the pad is thicker than I thought. The aluminum cap will take some of that away. I need to paint the rusty spare-tire carrier, too. 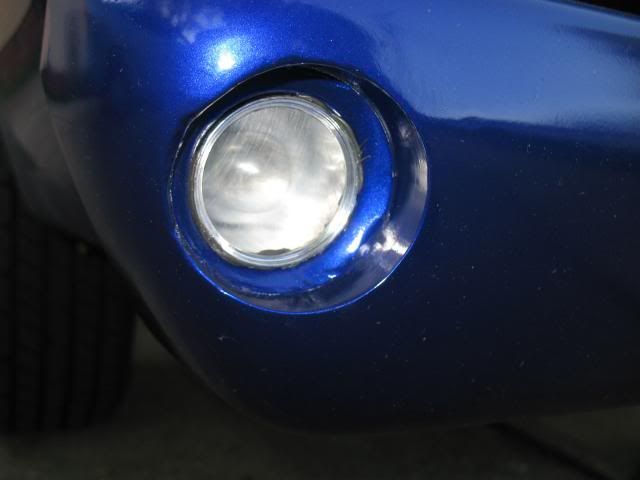 Chrome tape and lenses installed 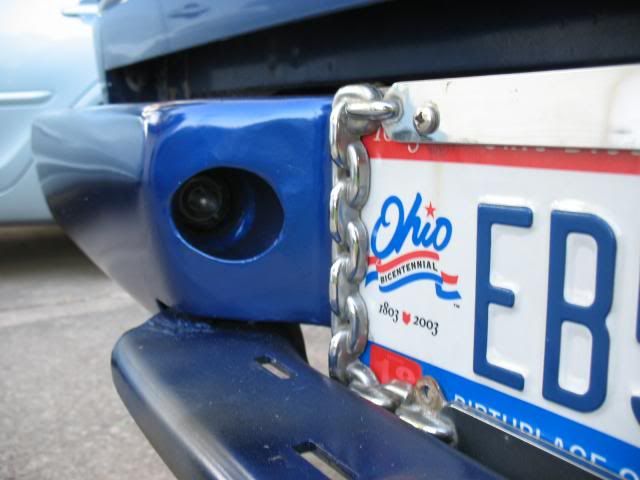 License-plate light. Remember when chain-link frames were cool? 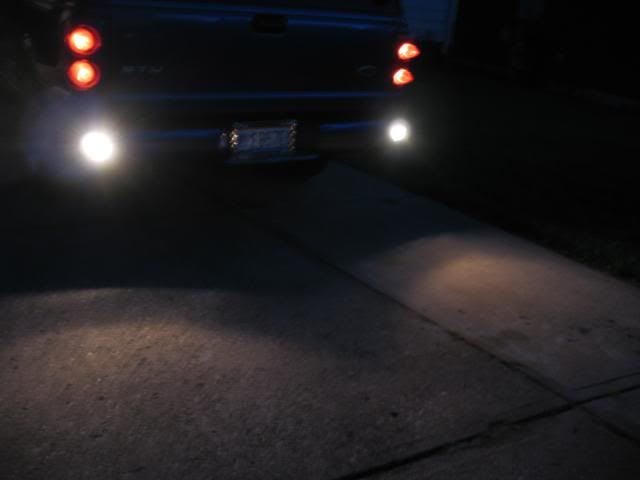 Aziz, light! Also, the truncated pad on the step is a disaster. Sticks out like a sore dick and there's a huge gap around the back. Time for plan B. |
| |  |
| | #16 |
| I wanna be Dave Join Date: Feb 2005 Location: Cleveland, OH
Posts: 8,009
|
And this is Plan B: 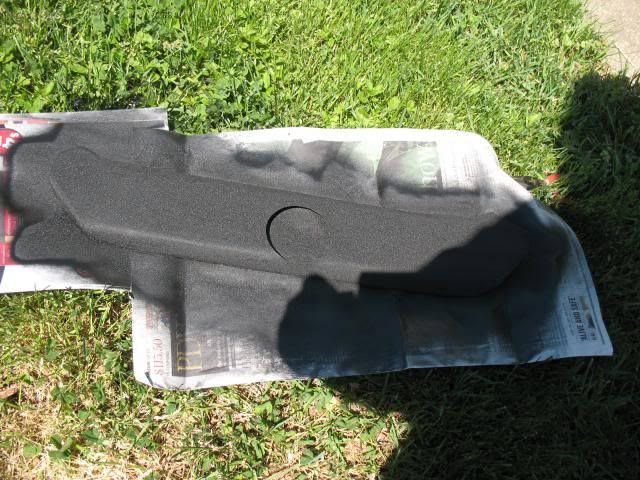 More aluminum, this time with wrinkle-finish paint. Because any excuse to use wrinkle-finish is a good one. I'm supposed to wait 48 hours before handling it, so maybe Sunday morning. 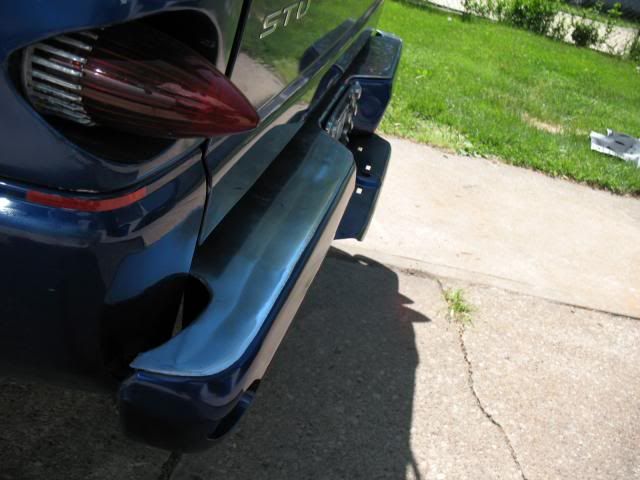 Shiny aluminum cap installed 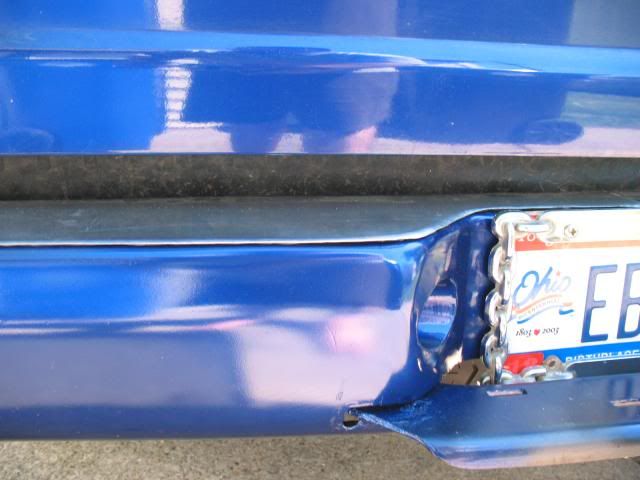 Easy cover-up for the rusty frame: Pull the bed mat out a few inches and let it droop. Yes, I really am that lazy. |
| |  |
| | #17 |
| I wanna be Dave Join Date: Feb 2005 Location: Cleveland, OH
Posts: 8,009
| |
| |  |
| | #18 |
| I wanna be Dave Join Date: Aug 2005 Location: NE Ohio
Posts: 8,817
|
Cool
|
| |  |
| | #19 |
| Oppan Gangnam Style  Join Date: Jun 2005 Location: Shingle Springs
Posts: 5,164
|
Nice work Stu, looks like it will last you a few winters.  Oh yeah, in post #15, what is this "rust" word you speak of? I've never heard that term before. |
| |  |
| | #20 |
| I wanna be Dave Join Date: Feb 2005 Location: Cleveland, OH
Posts: 8,009
| |
| |  |
 |
 PROJECT: "Smoothie" rear bumper - Similar Threads
 | ||||
| Thread | Thread Starter | Forum | Replies | Last Post |
| AREA 51RC "Project Chaotic "Switch" XR10" | D19er | Axial XR10 | 105 | 03-10-2014 05:30 PM |
| Project "Tombstone" R.I.P "Rest In Pieces" | mud digger | 2.2 Scale Rigs | 25 | 05-20-2013 07:54 PM |
| Project "FRANKESTAIN" or "AXIAL FORCE" | mykonian | General Crawlers | 5 | 03-06-2009 11:37 AM |
| |