| |
 02-01-2011, 07:59 PM
| #21 |
| Pebble Pounder Join Date: Mar 2010 Location: mid michigan
Posts: 172
|
pretty cool whered you get that chassis? |

|  |
| Sponsored Links | |
| | |
|
02-01-2011, 08:02 PM
| #22 |
| RCC Addict Join Date: Apr 2007 Location: Murfreesboro
Posts: 1,537
|
I dig it man!!! Cant wait to see it with some scratches Matt |
|
| |
|
02-01-2011, 08:41 PM
| #23 | |
| Newbie Join Date: Jan 2011 Location: Ottawa
Posts: 36
| Quote:
| |
|
| |
|
02-01-2011, 08:44 PM
| #24 | |
| Newbie Join Date: Jan 2011 Location: Ottawa
Posts: 36
| Quote:
| |
|
| |
|
02-13-2011, 06:26 PM
| #25 |
| Newbie Join Date: Jan 2011 Location: Ottawa
Posts: 36
|
It's been a while since I've done anything on it because I've been sick lately. But I'm feeling better now and managed to get so motivation built up. The 2.2's are on it now, just so I could drive it to test out the Firebolt. After looking at the chassis with the body mounted I could tell it was sitting too high, and the wheelbase was too long. Lowering it made the wheelbase even worse, so something had to be done. 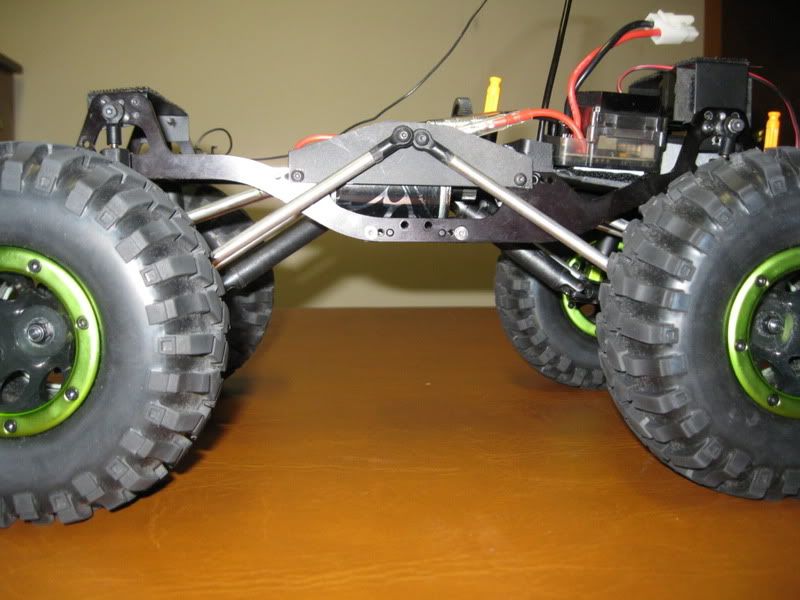 I shortened the wheelbase by moving the upper link mounts to the outside of the axles and making a plate for the lowers to mount to. I also got rid of the green by polishing them up. I also had to shorten the driveshafts. 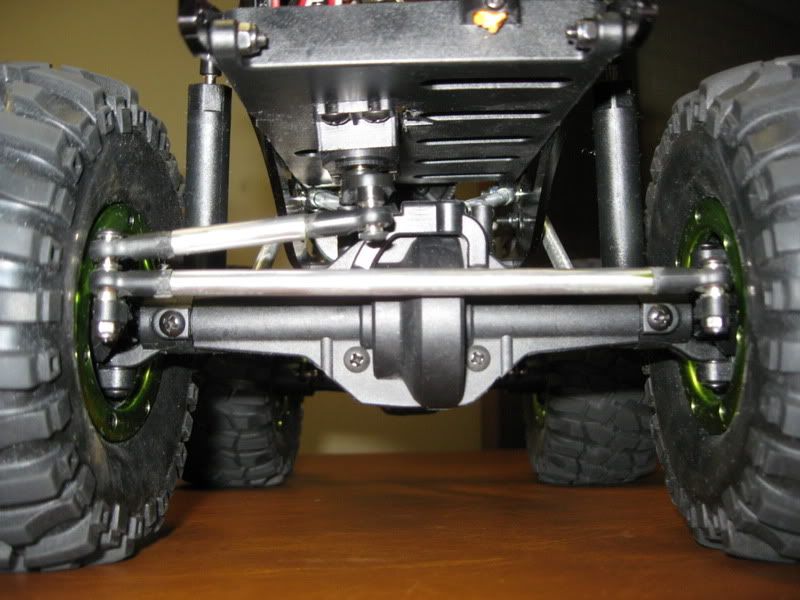 The servo-on-axle steering wasn't cutting it, so I mounted it up in my electronics plate. Works well. I also cut off the skidplate mounts from the bottom of the axles. 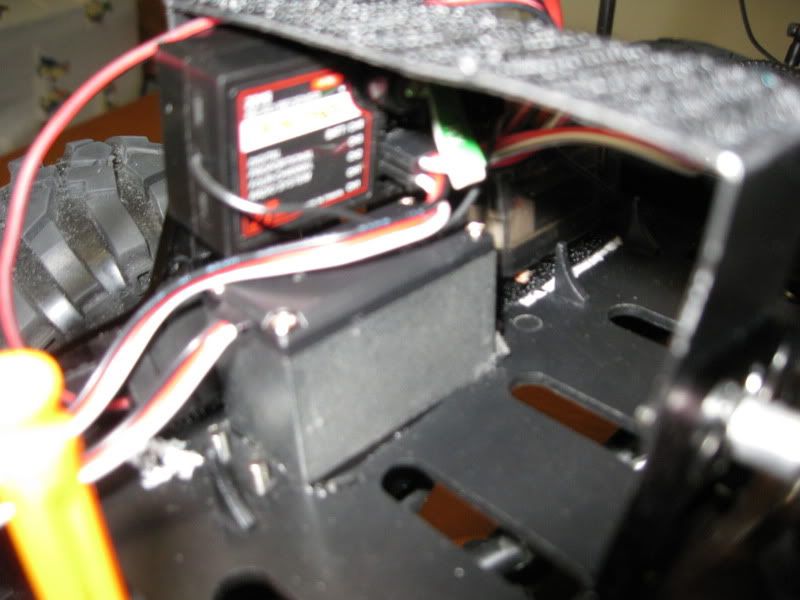 That's the picture of it from the top. I had to make new, taller posts from K'Nex for the battery because it now sits sideways thanks to the servo being in the way. The receiver is now mounted on the body mount. 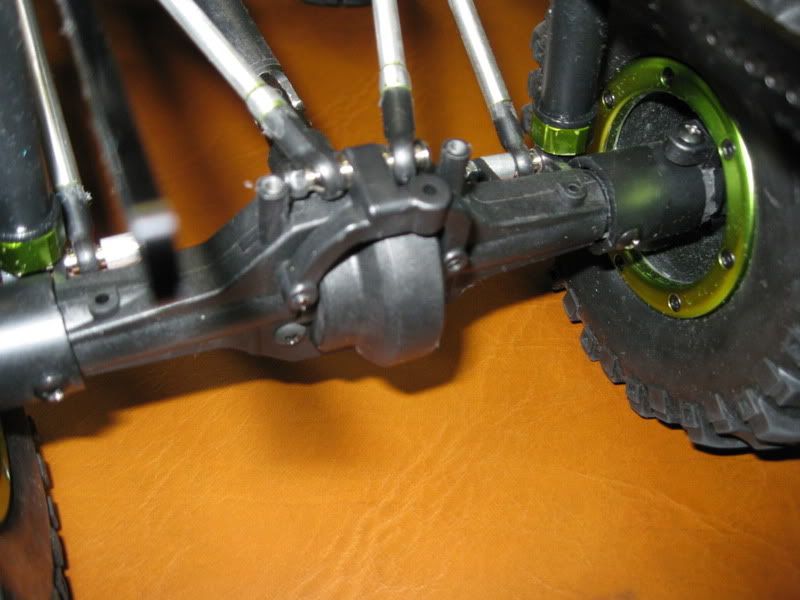 I made the rear a solid axle with some 3/4" PVC painted black. I got the idea after looking at a thread on here. You can also see the upper link mount which is now on the outside of the axle to shorten the wheelbase. |
|
| |
|
02-14-2011, 06:15 AM
| #26 |
| Quarry Creeper Join Date: Aug 2007 Location: Montrose
Posts: 320
|
Awesome paint job. Im curious how did you print those stickers?? What paper or whatever did you use?
|
|
| |
|
02-14-2011, 04:01 PM
| #27 | |
| Newbie Join Date: Jan 2011 Location: Ottawa
Posts: 36
| Quote:
| |
|
| |
|
02-14-2011, 04:30 PM
| #28 |
| Rock Stacker Join Date: Mar 2008 Location: Mundelein
Posts: 99
|
how well do you think those decals are going to hold up?
|
|
| |
|
02-16-2011, 05:08 PM
| #29 | |
| Newbie Join Date: Jan 2011 Location: Ottawa
Posts: 36
| Quote:
| |
|
| |
|
02-16-2011, 05:51 PM
| #30 |
| Quarry Creeper Join Date: Apr 2009 Location: San Diego,CA
Posts: 348
|
Sweet paint job
|
|
| |
|
03-02-2011, 02:21 PM
| #31 |
| Rock Crawler Join Date: Jul 2010 Location: Great Britain
Posts: 767
|
thats a great looking paint job, did you use any special primer ? and what grade did you use to sand down the shell ? im proper impressed  |
|
| |
|
03-02-2011, 02:41 PM
| #32 |
| I wanna be Dave Join Date: Mar 2009 Location: sittin in the sky
Posts: 4,630
| |
|
| |
|
03-06-2011, 07:50 PM
| #33 | |
| Newbie Join Date: Jan 2011 Location: Ottawa
Posts: 36
| Quote:
| |
|
| |
|
03-06-2011, 07:52 PM
| #34 | |
| Newbie Join Date: Jan 2011 Location: Ottawa
Posts: 36
| Quote:
| |
|
| |
|
03-06-2011, 08:13 PM
| #35 |
| Newbie Join Date: Jan 2011 Location: Ottawa
Posts: 36
|
It has been a while, but it's finally finished, well, for now anyway. 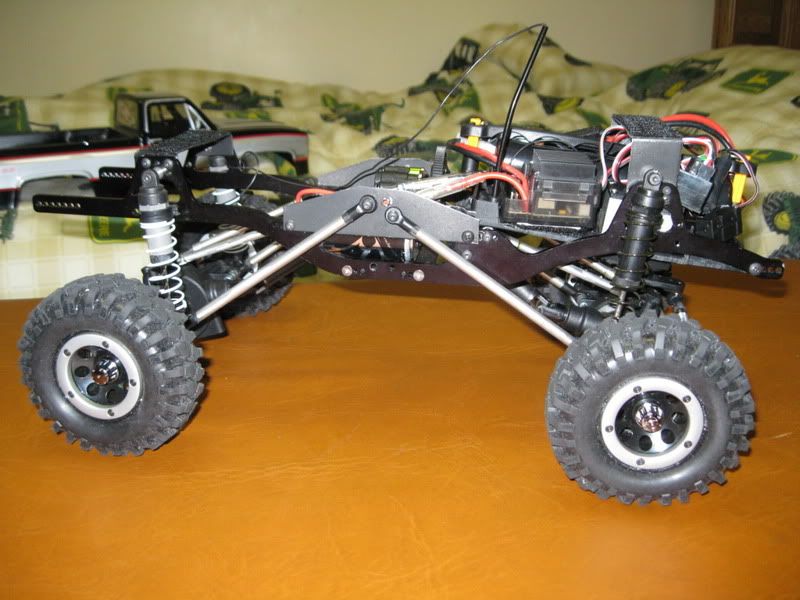 I got my 1.9's mounted up. They're the tires and wheels off of a MaxStone 16. I bought them in the spare parts section at NitroRCX. They're not bad, but I don't recommend buying the wheels and tires seperatly like I did. (They were sold out of the combos.) Something was messed up because when I put the beadlocks on, the bead didn't lock 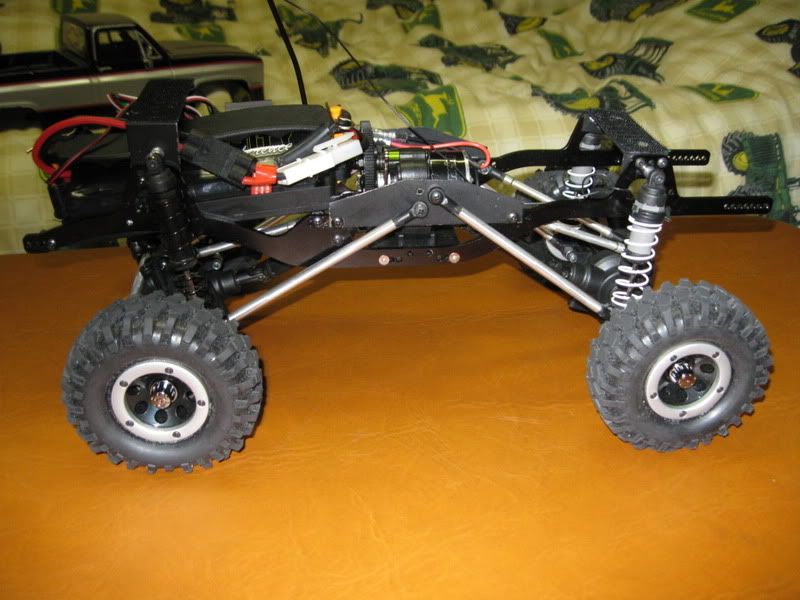 I wasn't happy w/ the original shocks set up in droop, so I got a set of Rustler shocks from my brother and put them on. They are pretty stiff, but I'm pretty happy w/ them. The front shocks are from the rear, and the rear are from the front. I'd like to have 2 sets of fronts, but I just mounted the fronts on the body mount to make up for the extra length. 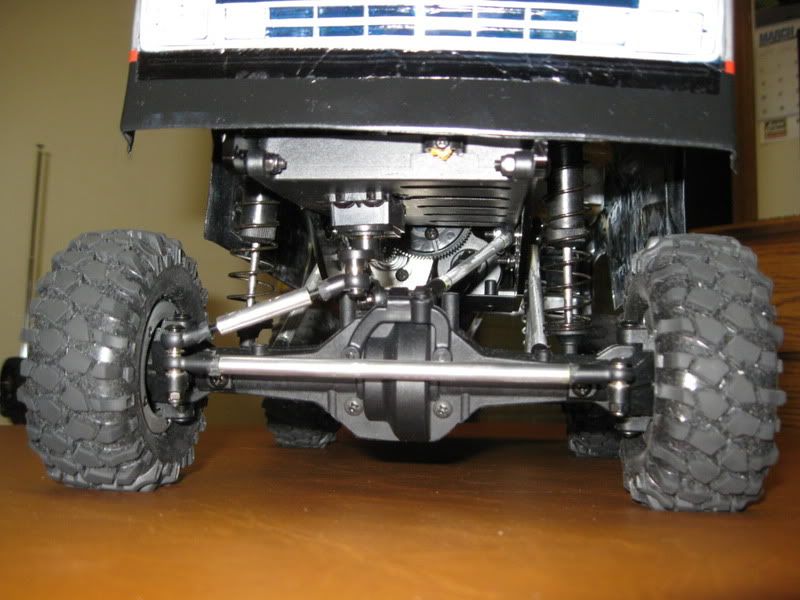 Here you can see my steering setup. I swaped the straight links off of the steering link for the angled ones from the rear upper links. The angle was too steep for the straight ends, but they've been working fine on the rear uppers. The suspension travel is limited by the servo horn hitting the top of the diff., but that's what happens when you sacrifice functionallity for looks. 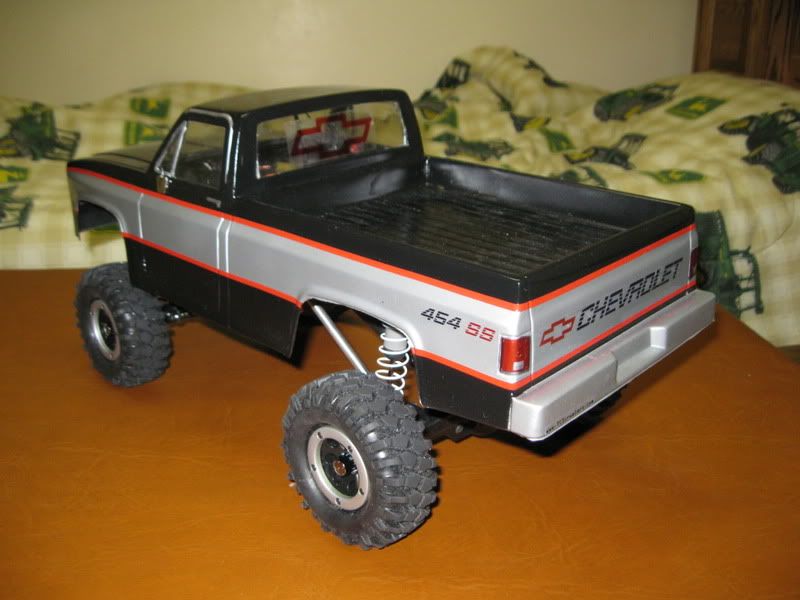 Here it is with the body on. I broke the mirror off within 5 minutes of driving. 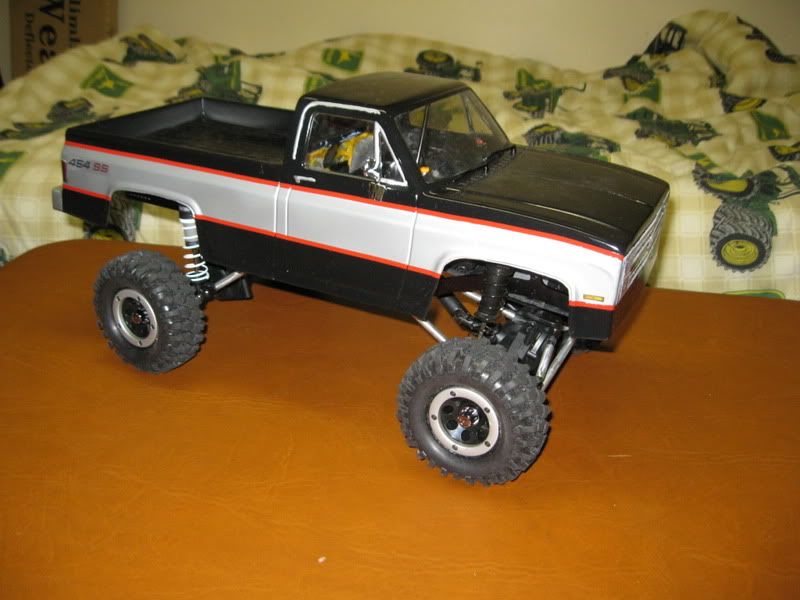 This is the other side. Mirror still intact |
|
| |
|
03-06-2011, 08:34 PM
| #36 |
| Rock Stacker Join Date: Jan 2009 Location: In My Car- hehe
Posts: 61
|
Nice sheets! I have those to |
|
| |
|
03-07-2011, 02:56 PM
| #37 | |
| Newbie Join Date: Jan 2011 Location: Ottawa
Posts: 36
| Quote:
| |
|
| |
|
03-19-2011, 07:32 PM
| #38 |
| Newbie Join Date: Jan 2011 Location: Ottawa
Posts: 36
|
I took it out for a trail run and snapped some pics. Enjoy... 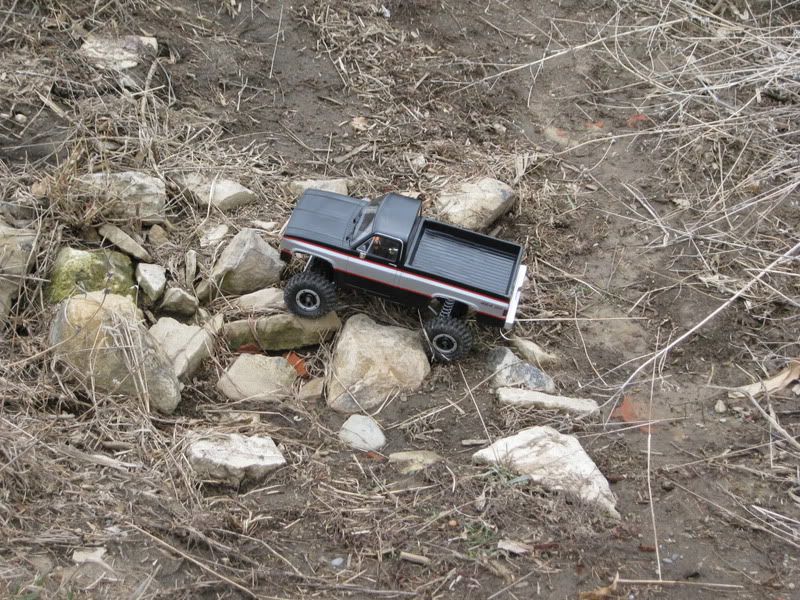 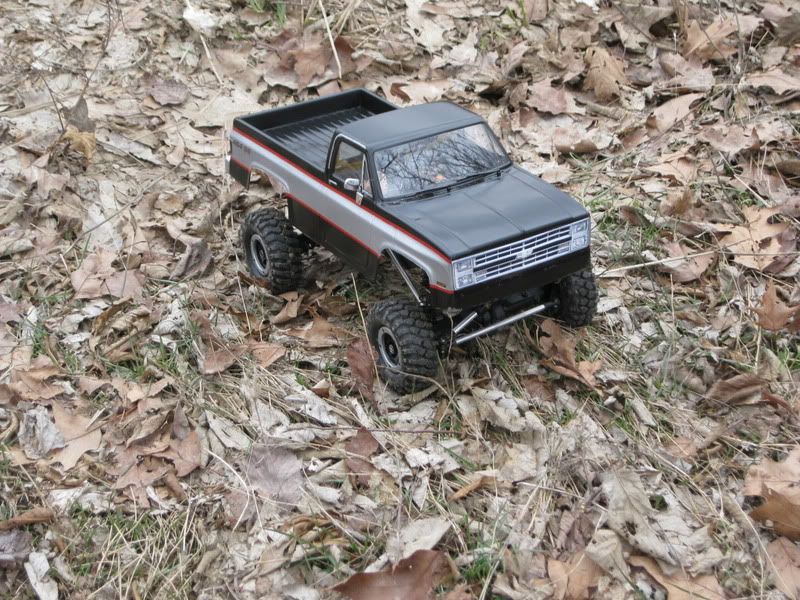 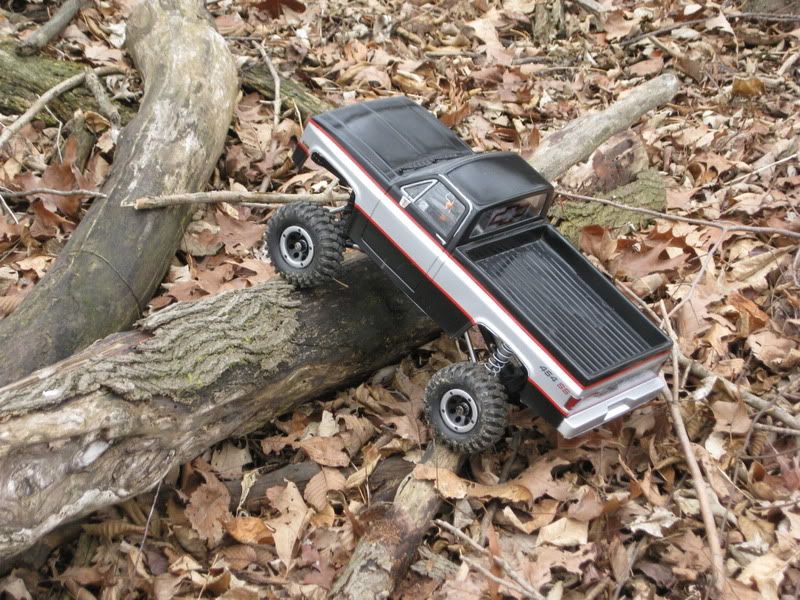 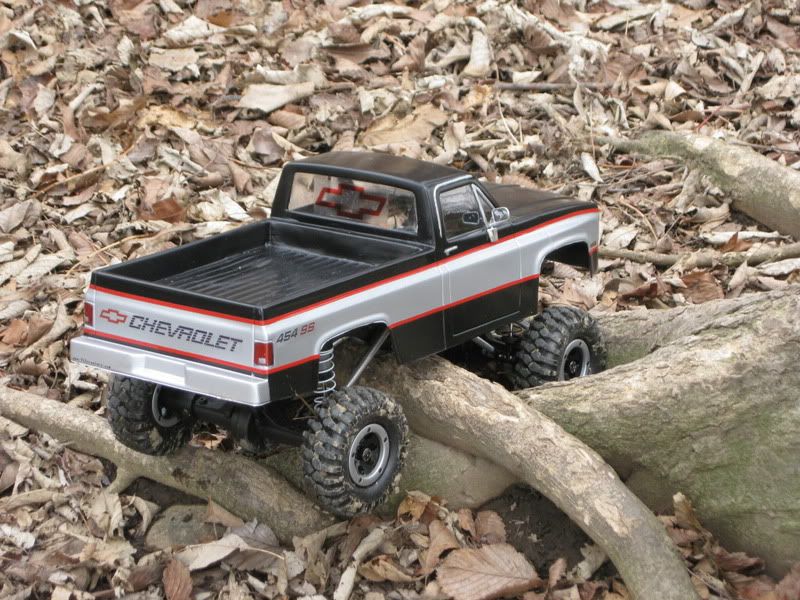 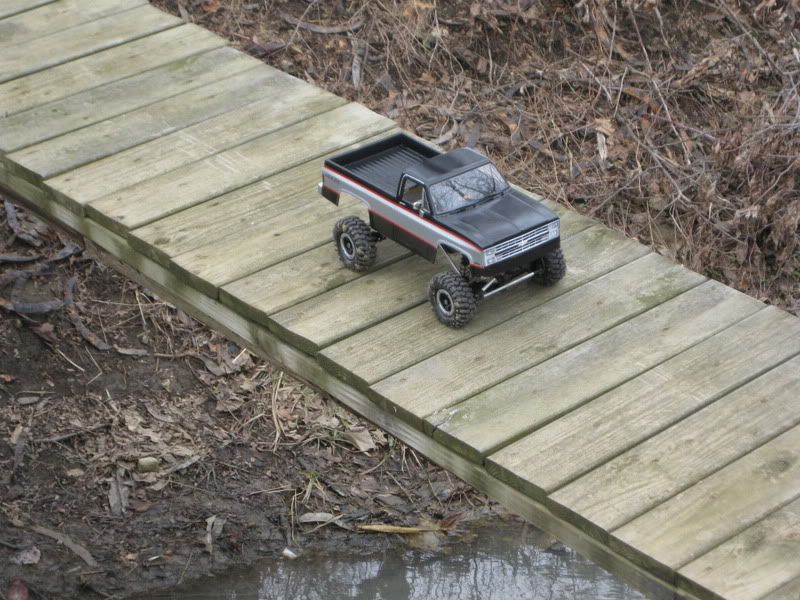 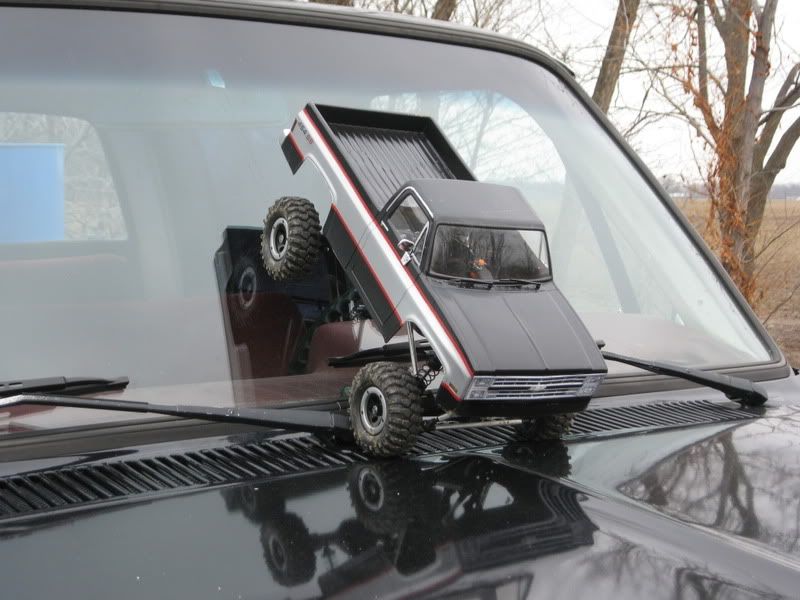 Crawlin' the Crew. 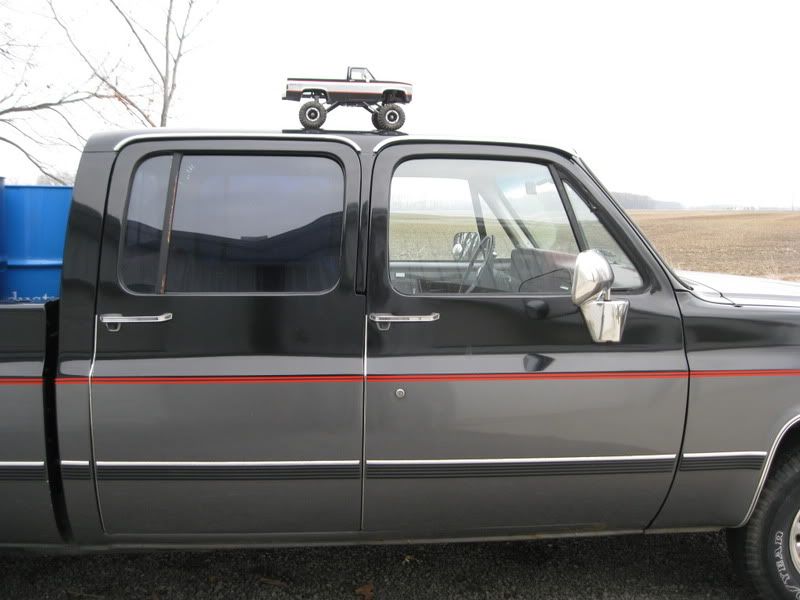 Okay, that one was posed. But I still like it. |
|
| |
|
03-20-2011, 07:57 PM
| #39 |
| Newbie Join Date: Jan 2011 Location: Ottawa
Posts: 36
|
I took it out for a short run a little bit ago and lost one of my hub covers. I looked for it but that was a waste of time. At least it doesn't harm its performance.
|
|
| |
|
04-28-2011, 08:15 PM
| #40 |
| Quarry Creeper Join Date: Mar 2011 Location: Mn
Posts: 329
|
Awsome job it looks sweet |
|
| |
 |
| Tags |
| chevy, exceed, k30, silverado, x-trail |
| |


 Linear Mode


