| |
| |||||||
 |
| | LinkBack | Thread Tools | Display Modes |
 05-09-2010, 09:17 AM
| #1 |
| Pebble Pounder Join Date: Jul 2007 Location: out there...
Posts: 123
|
Some of you probably saw this on scale4x4 so this is for the ones that did not so this is my HL from A-Z if you can say that on with the pics: It started out like this First time out  with my new rims and tires  with the first soft top 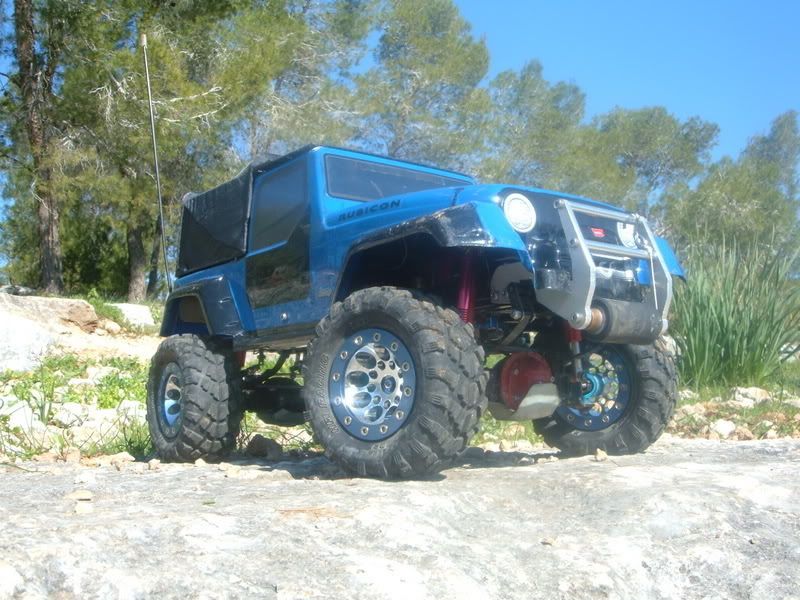 with the new top 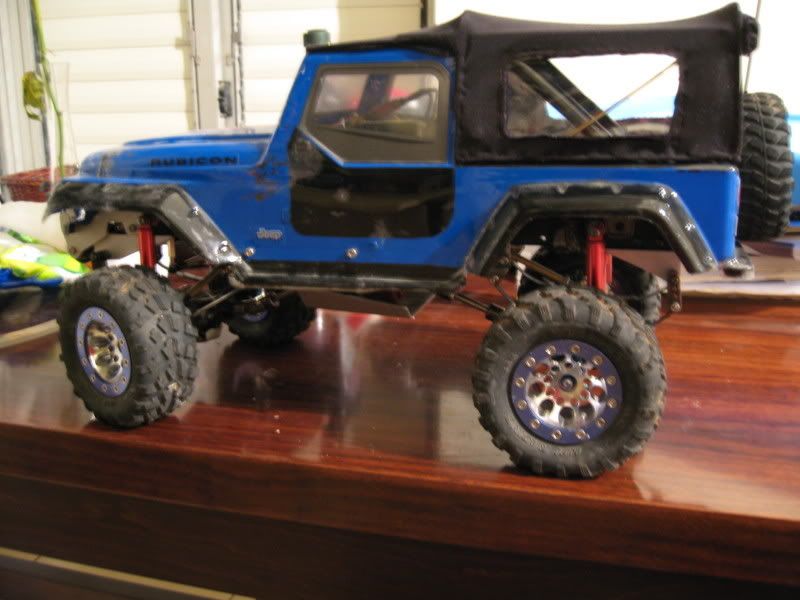 and with the new shoes 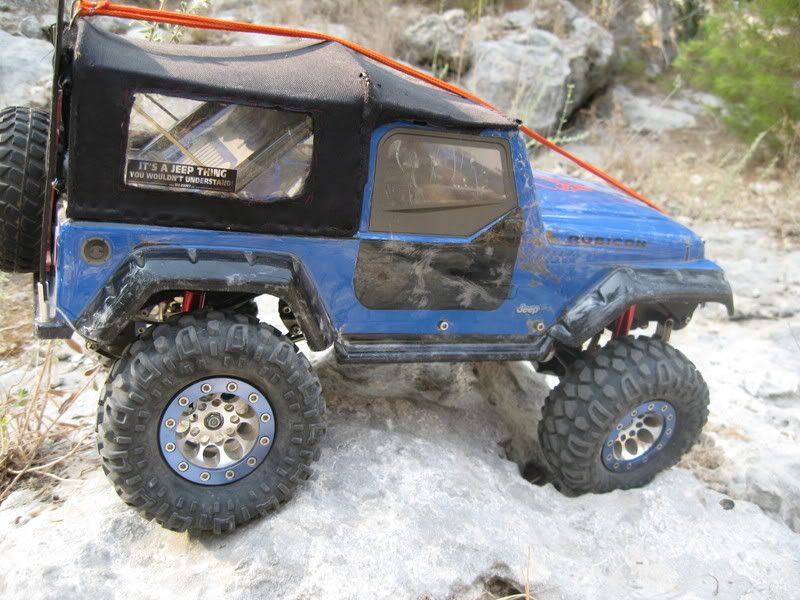 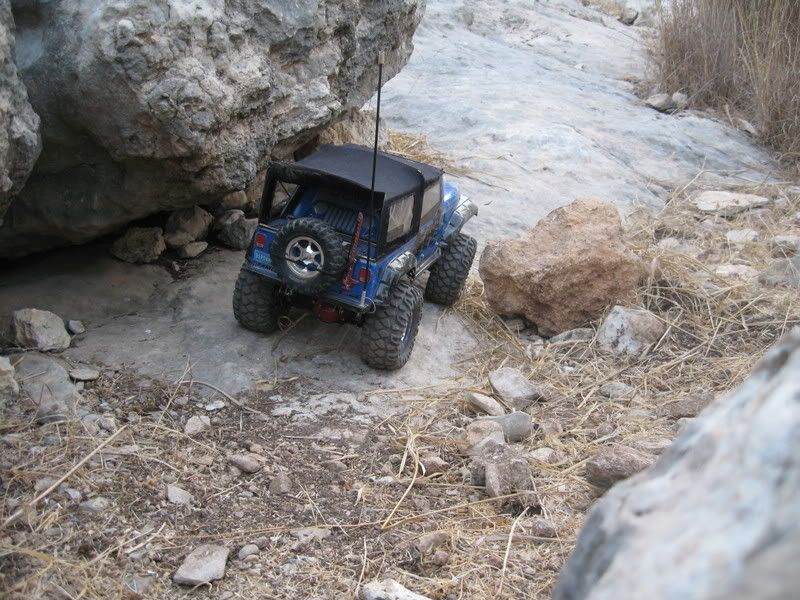 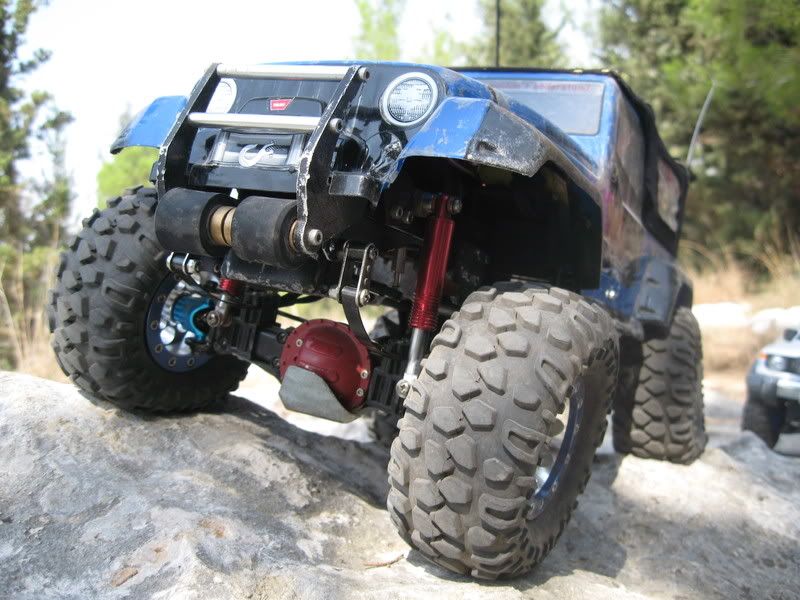 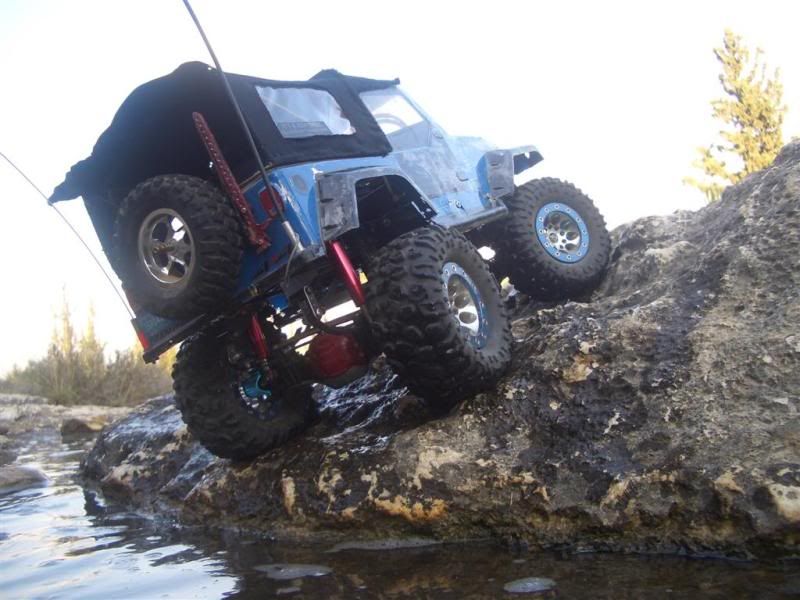 this is how've i started it all : 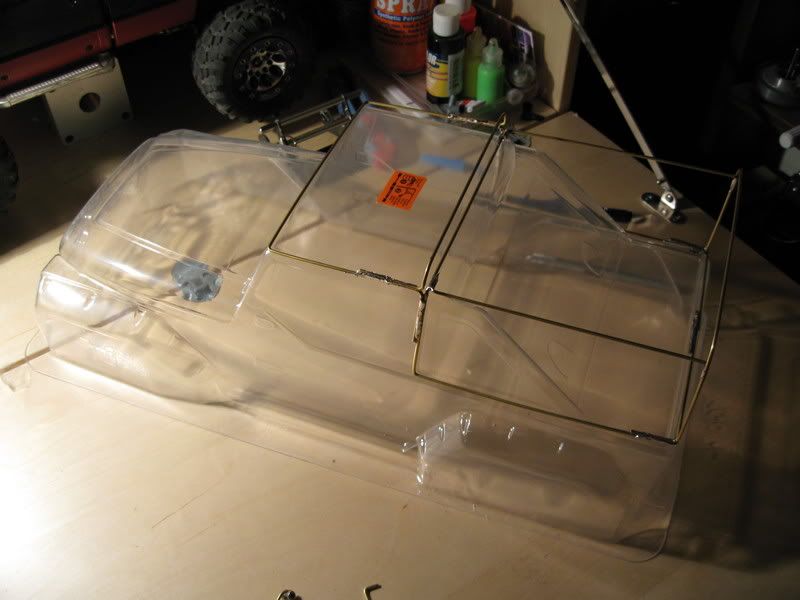 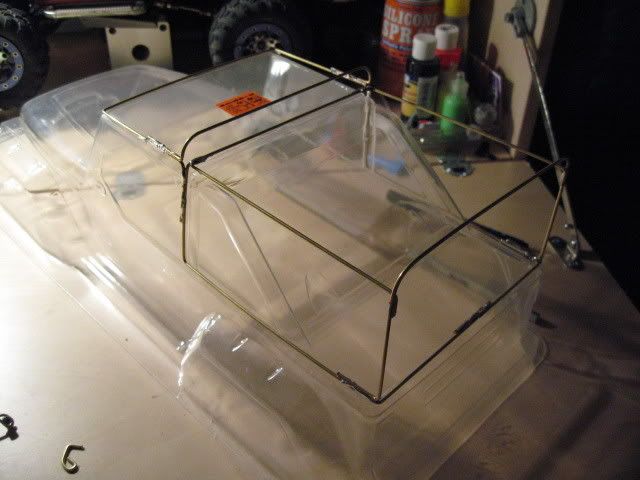 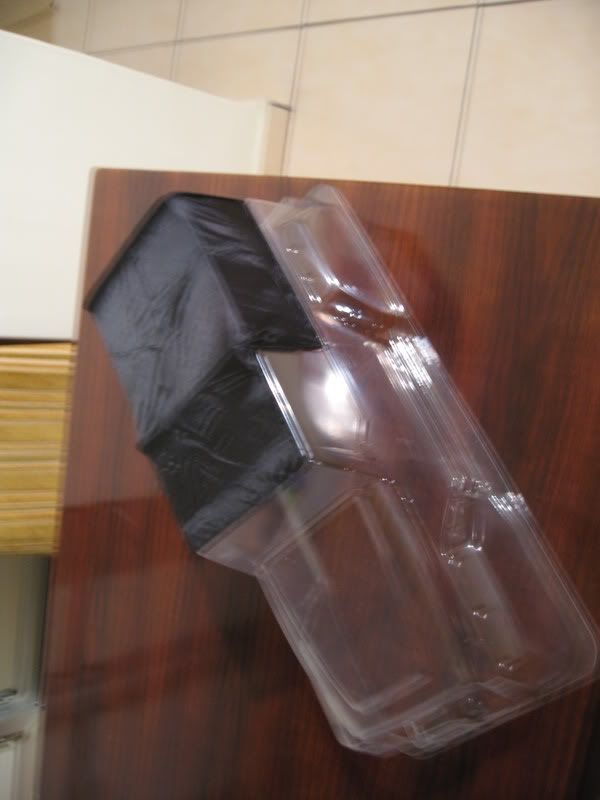 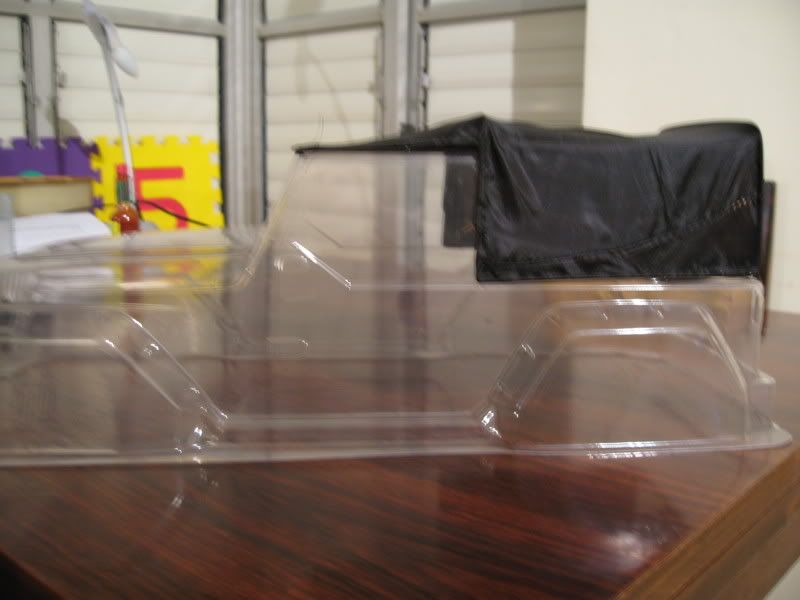 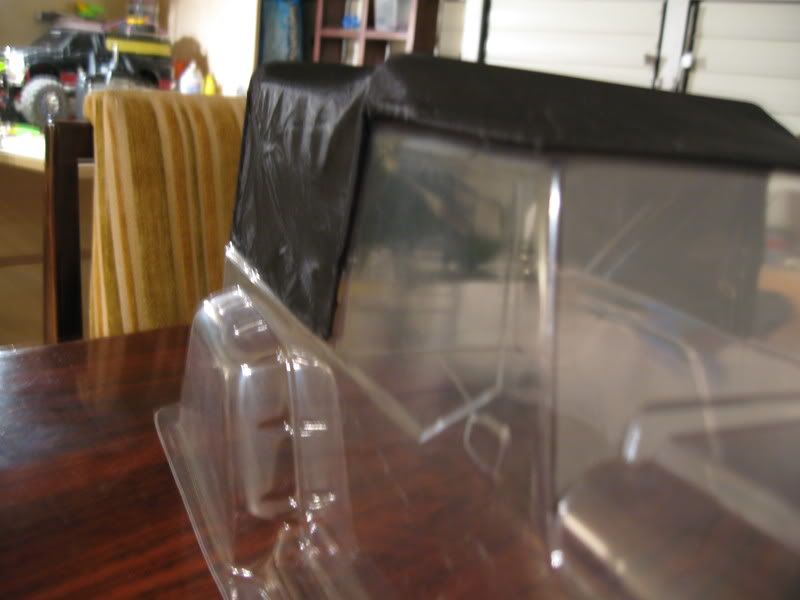 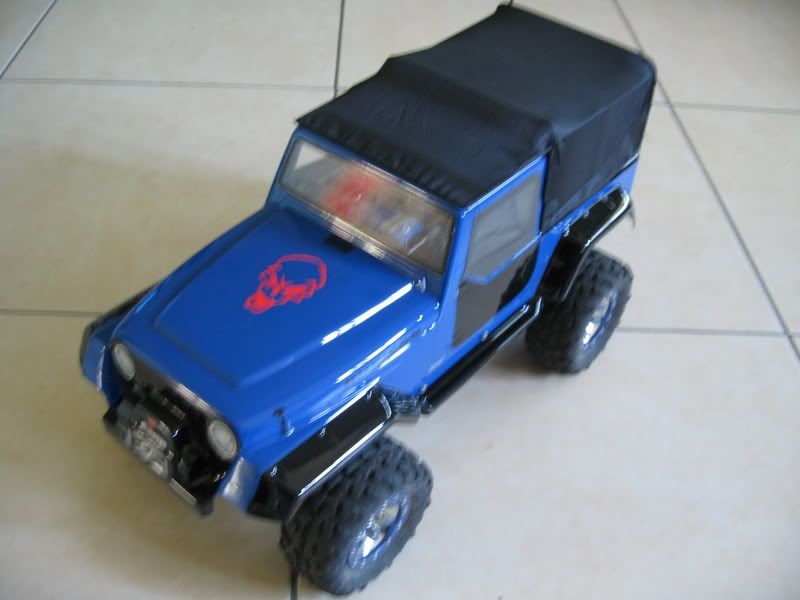 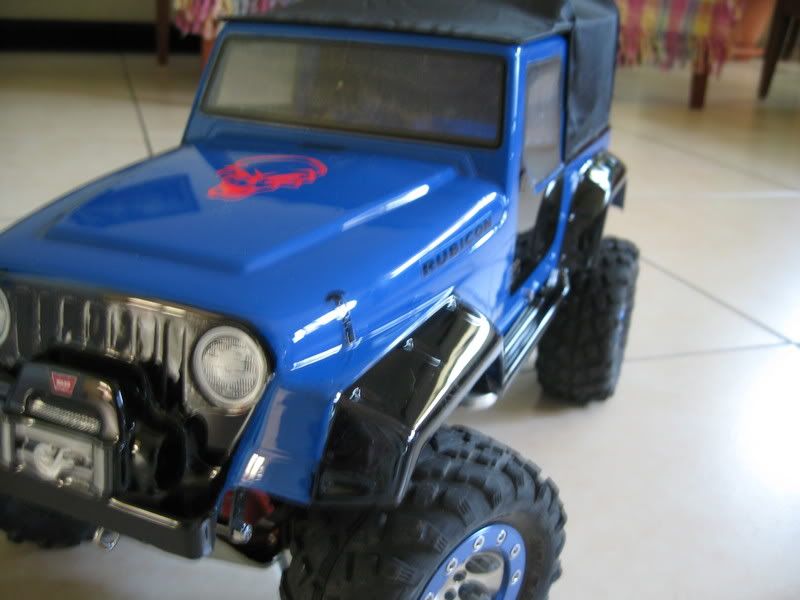  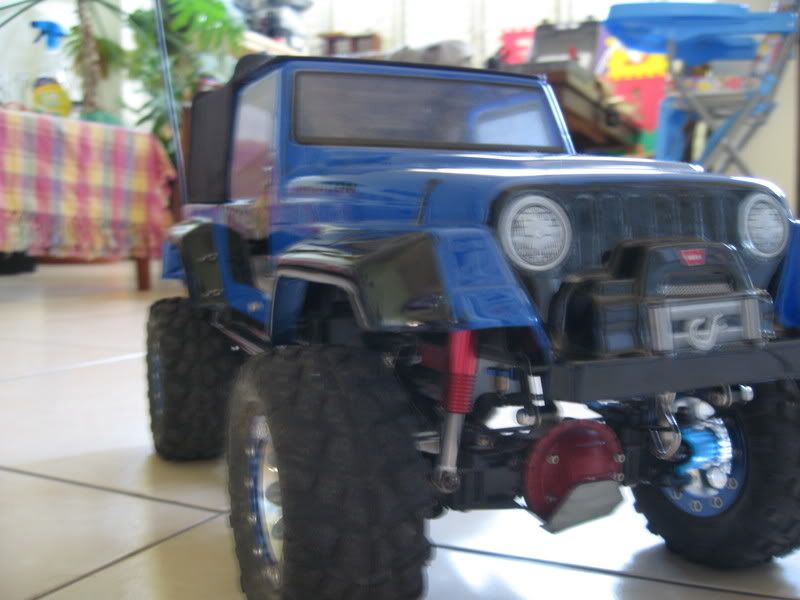 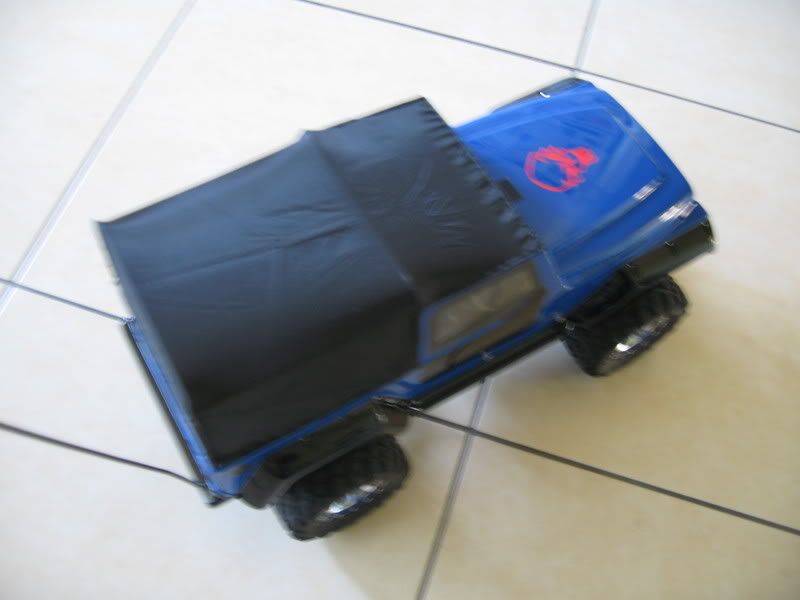 body support: 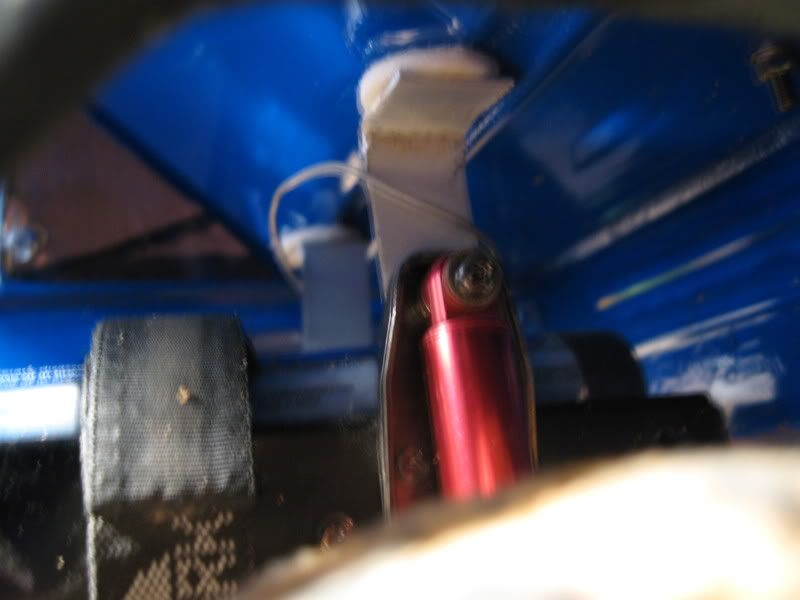 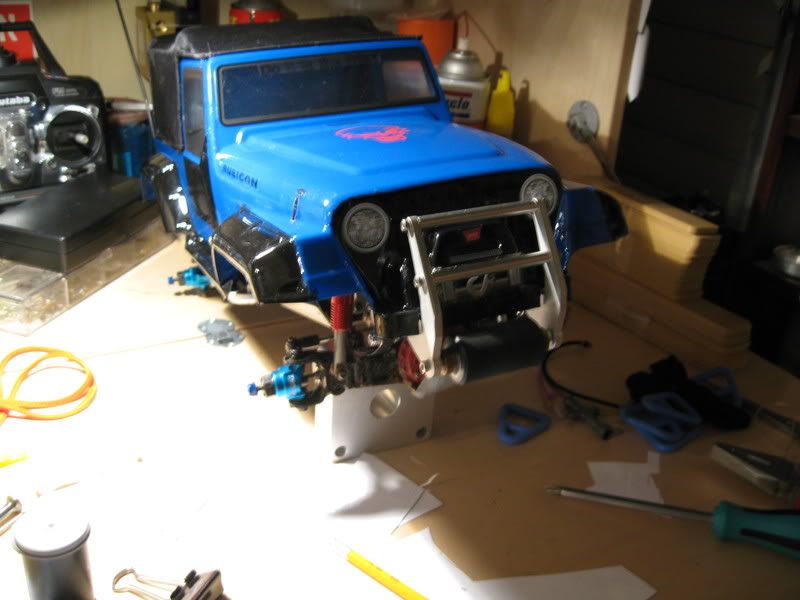 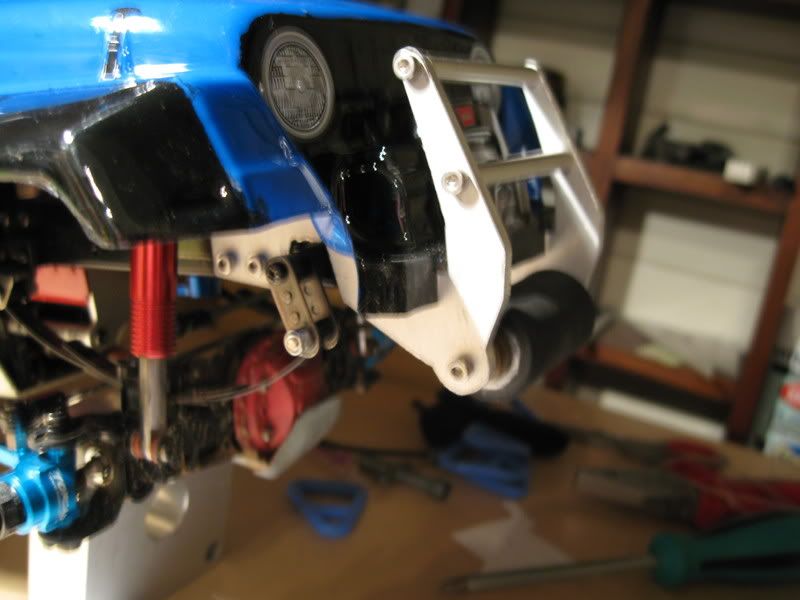 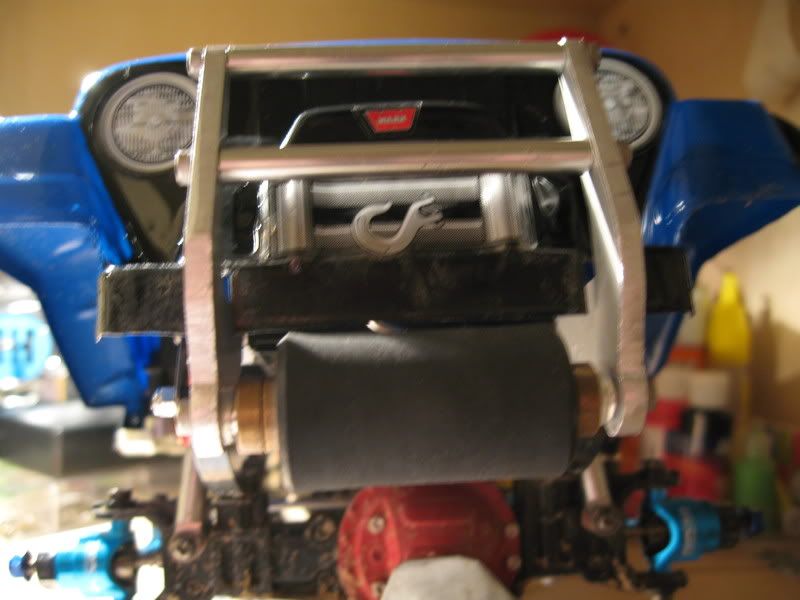 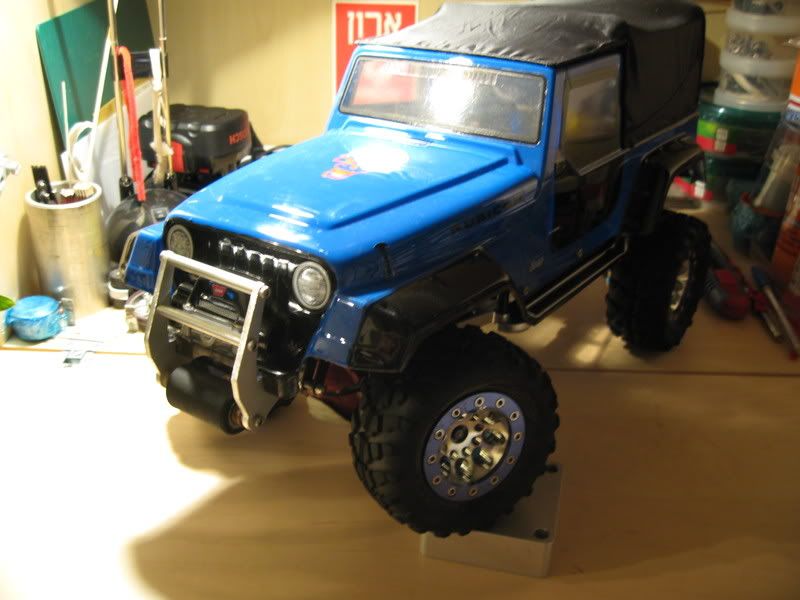 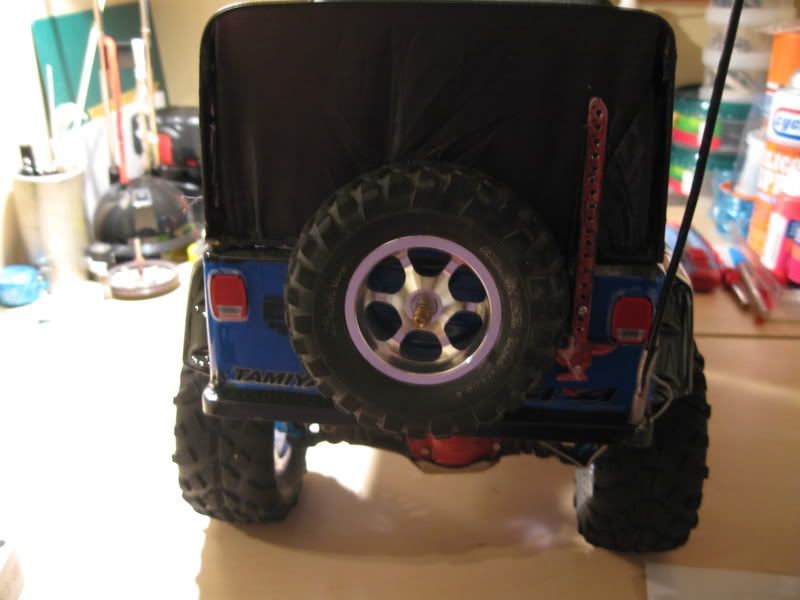  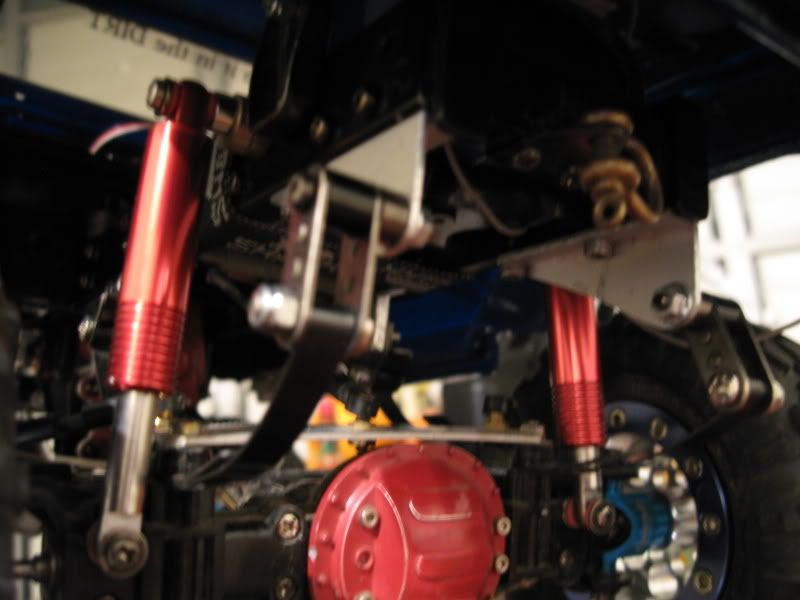 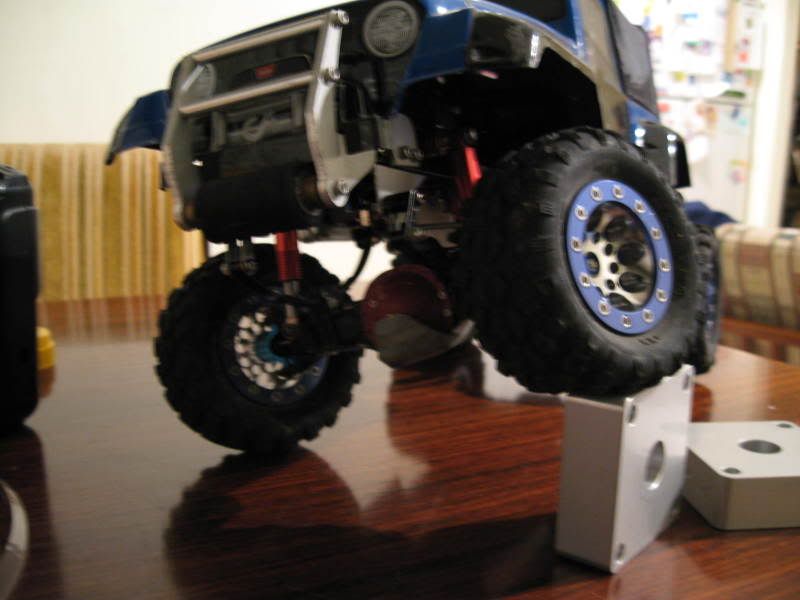 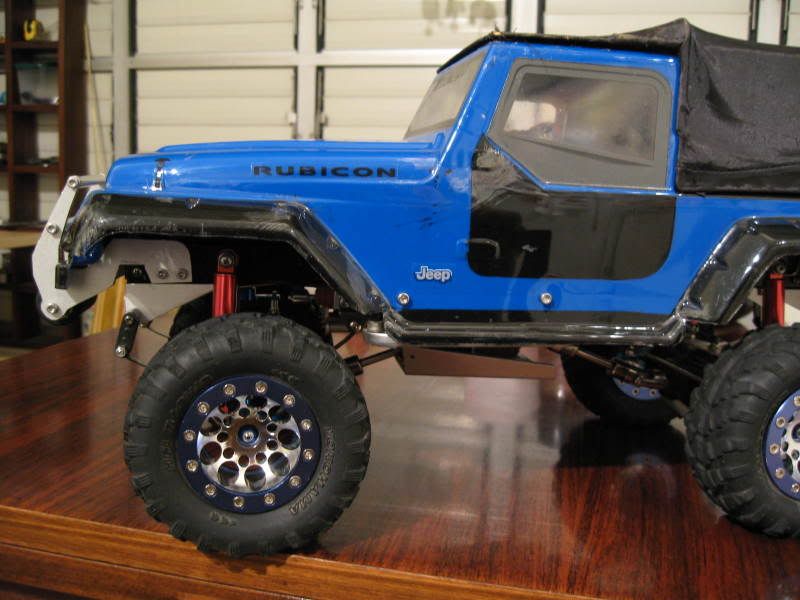 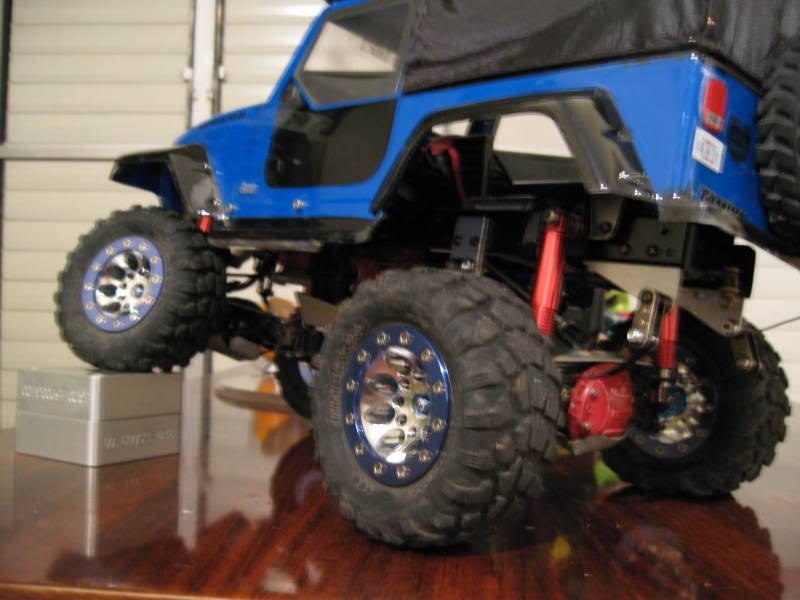 had to move the front axle forward so that it sites in its wheel wall... before: 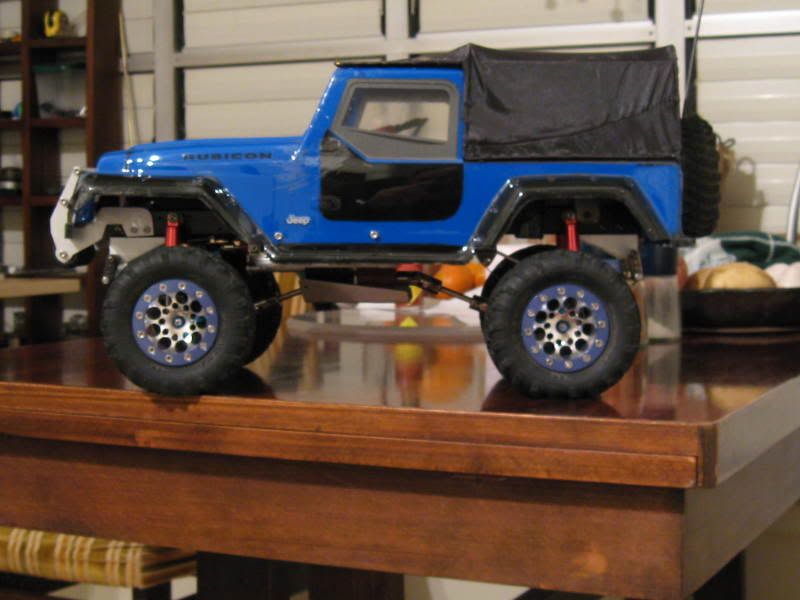 and after: 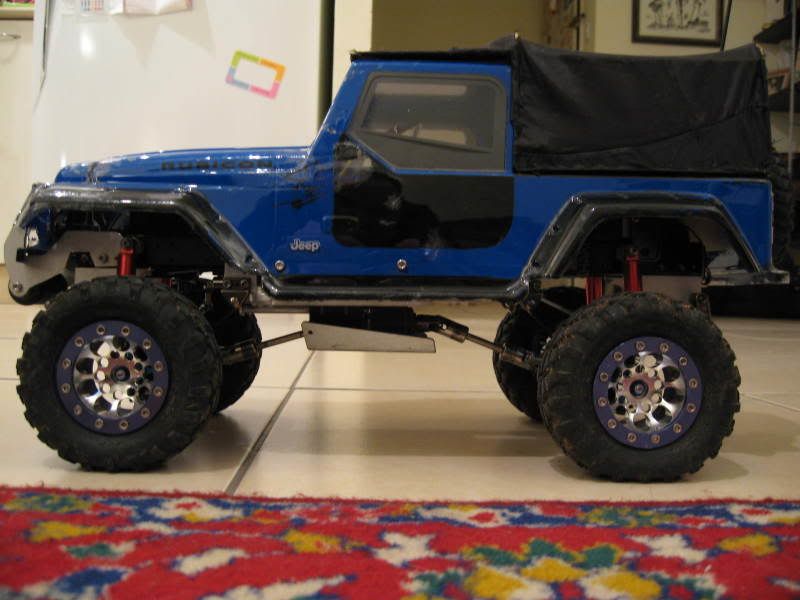 and this is how i did it:   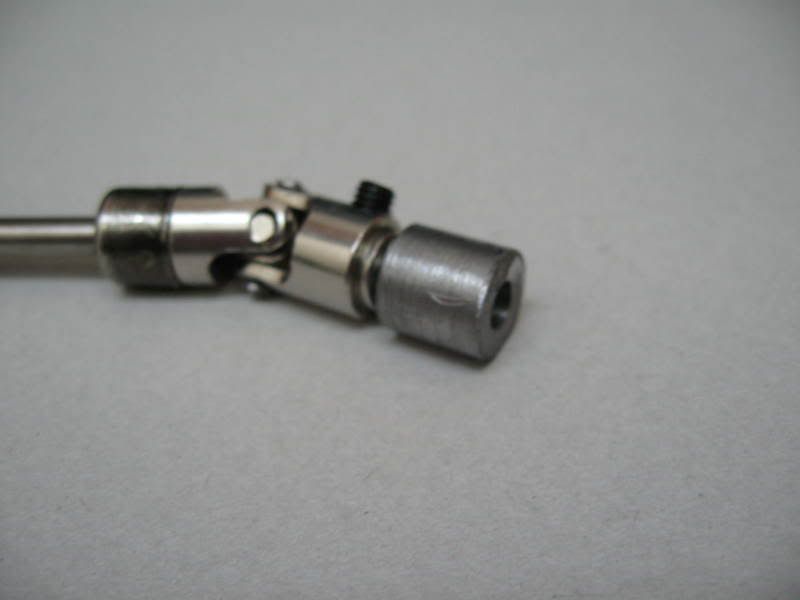 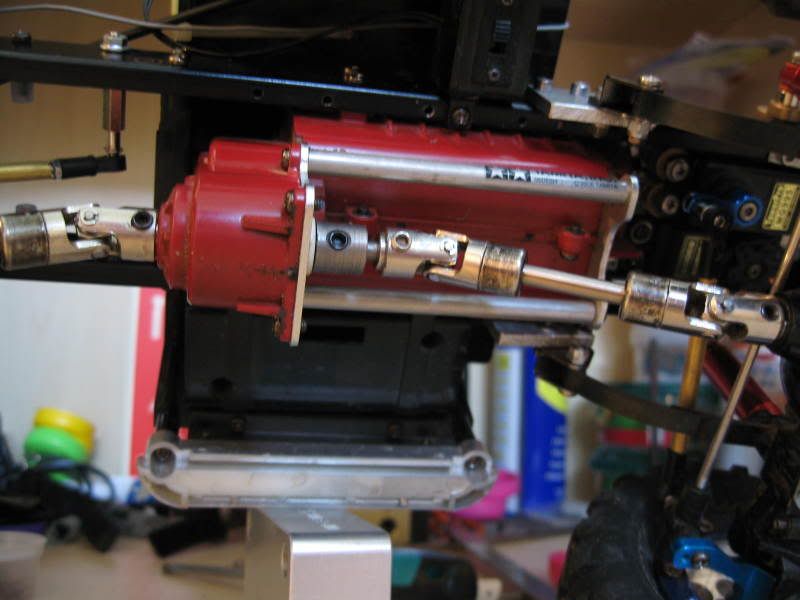 decided that the jeep needs a new soft top: 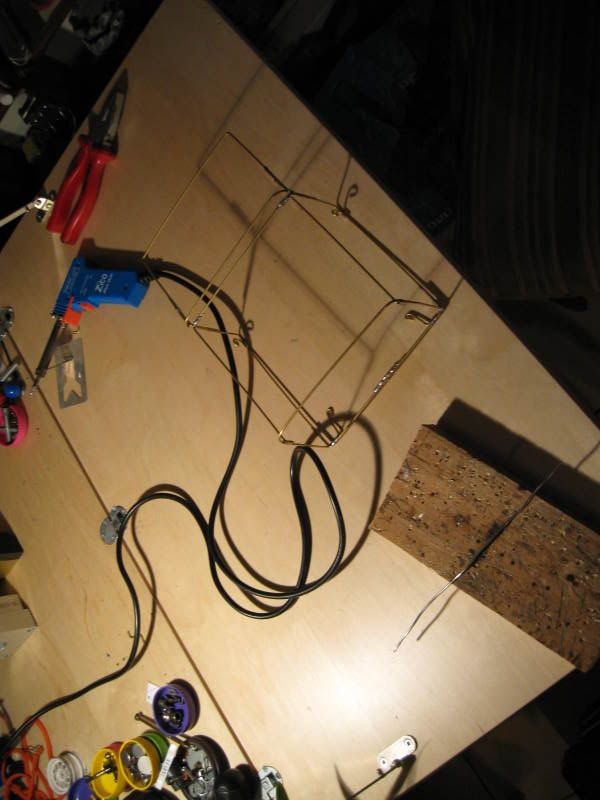 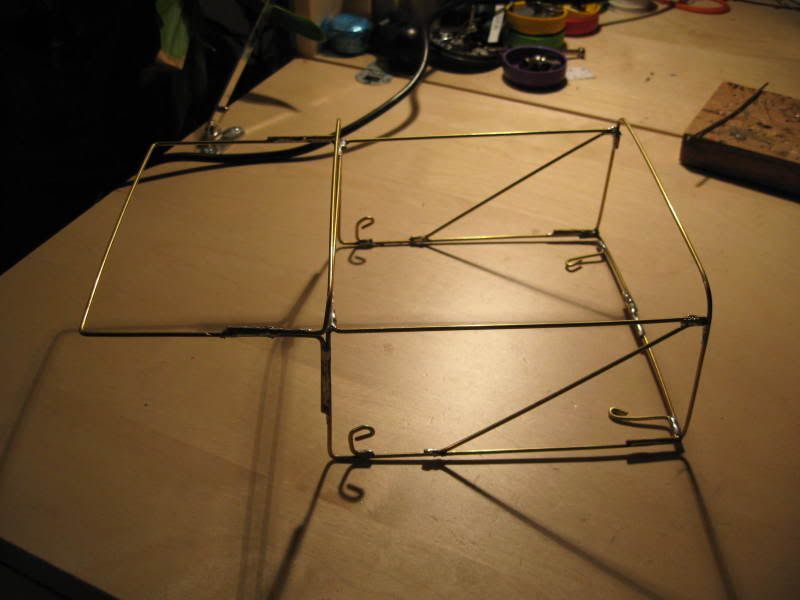 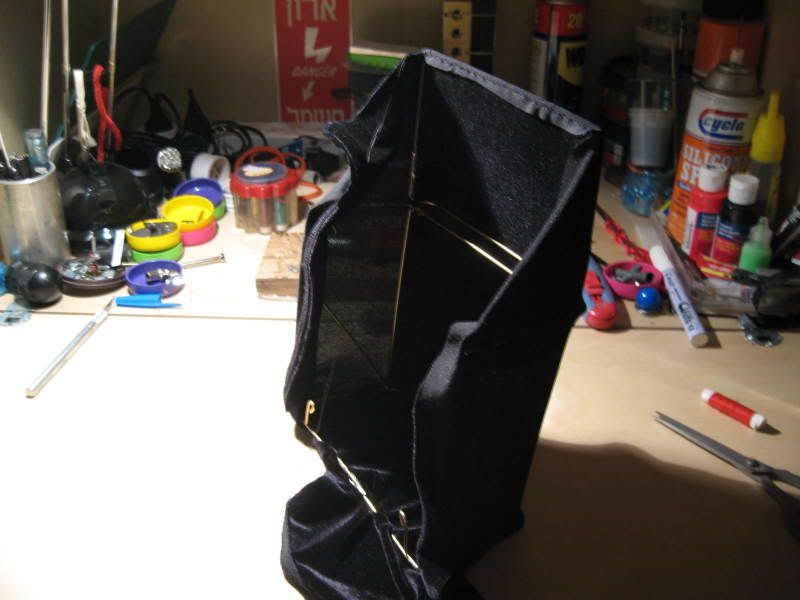 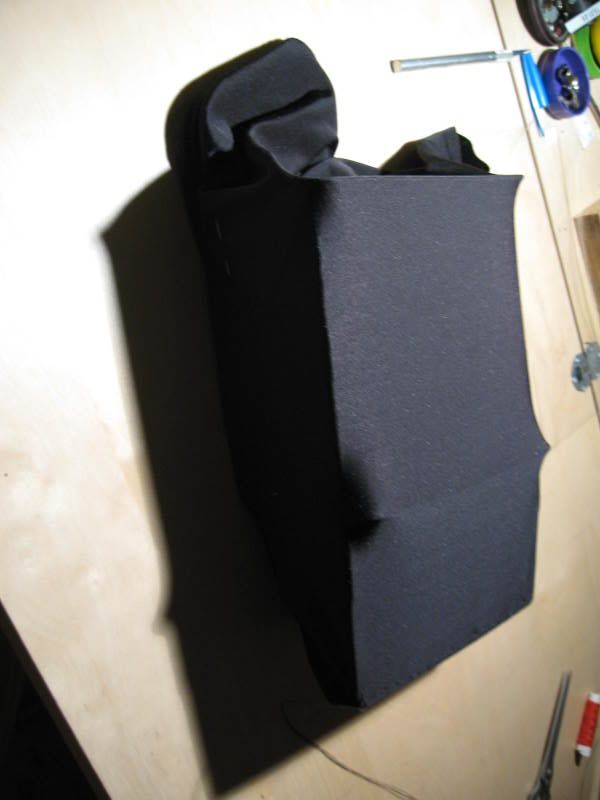  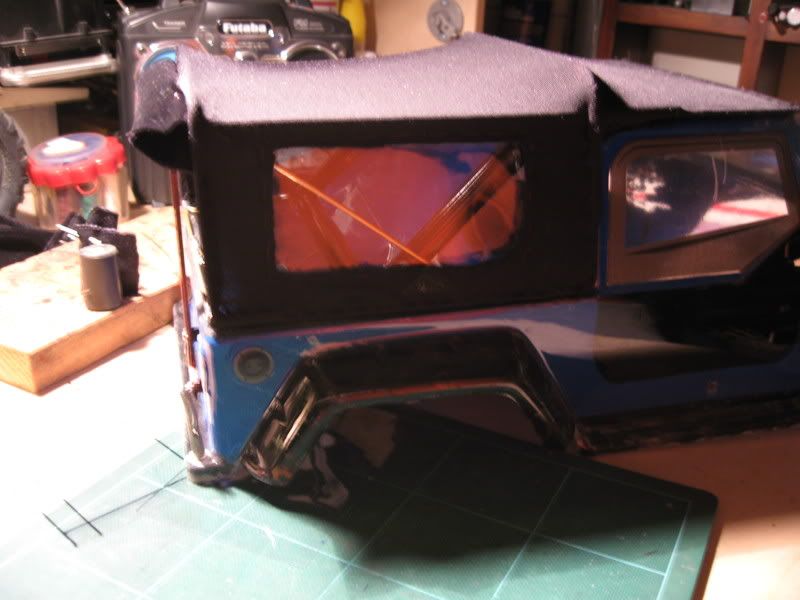  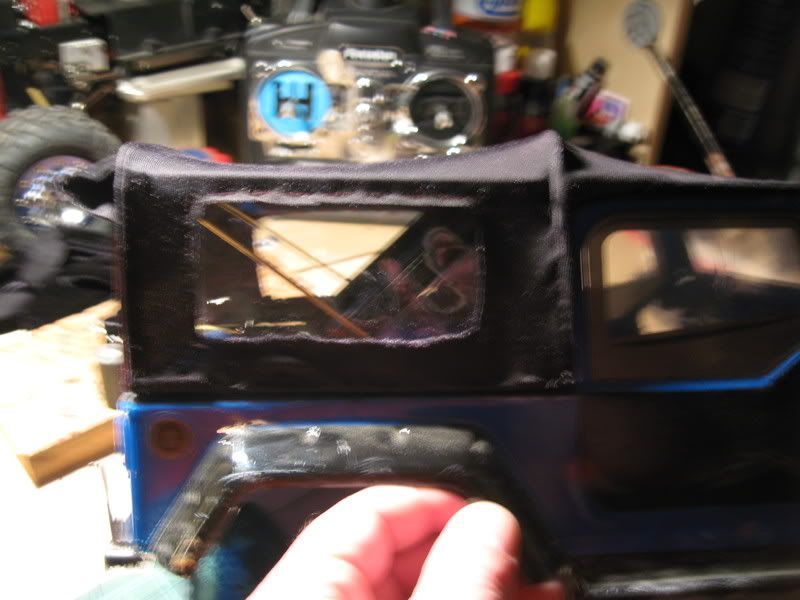  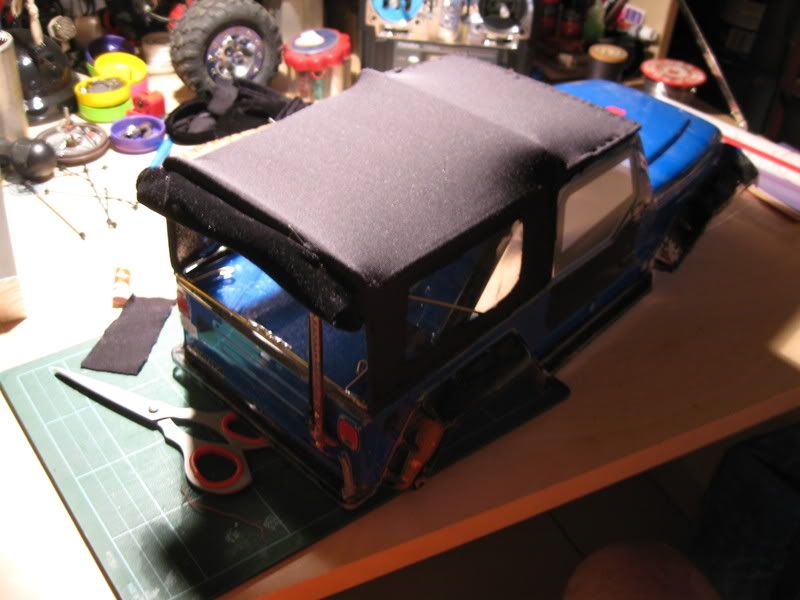 and the last upgrade : 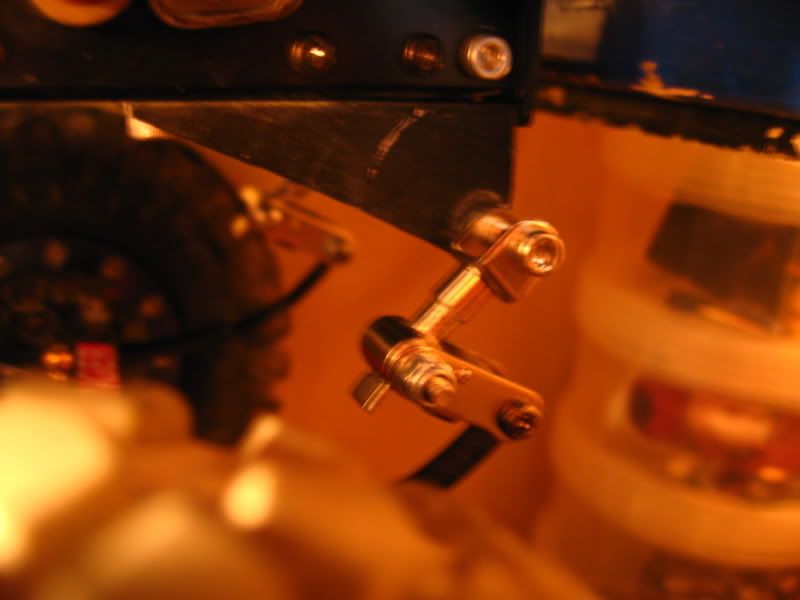    |

|  |
| Sponsored Links | |
| | |
|
05-09-2010, 09:19 AM
| #2 |
| Pebble Pounder Join Date: Jul 2007 Location: out there...
Posts: 123
|
It's been a long time since i've updated the body on "Old Blue" :( but finally i had some free time to work on the body for it :nice: The old and famous ruby body was beat up pretty well :cry and i did not want just to buy a new HPI one.... so I've thought of building one from scratch so bare with me on this : Made me a template from cardboard... 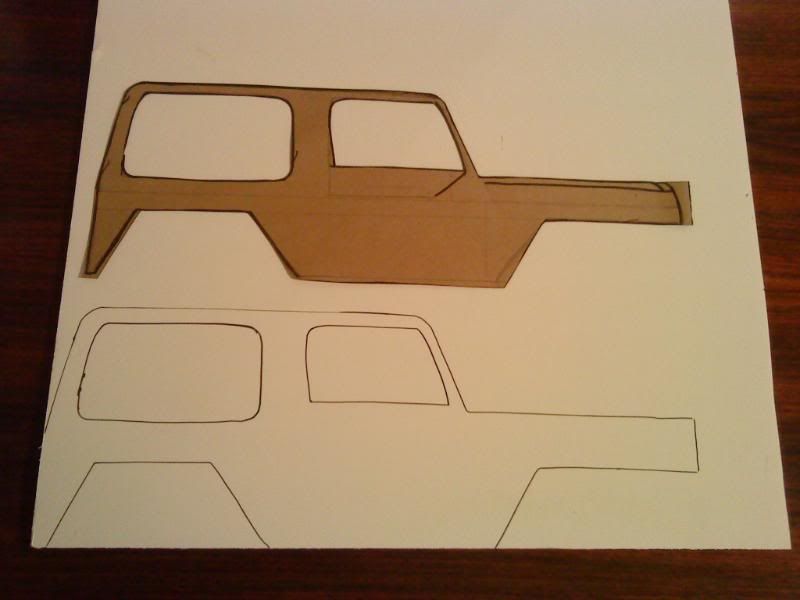 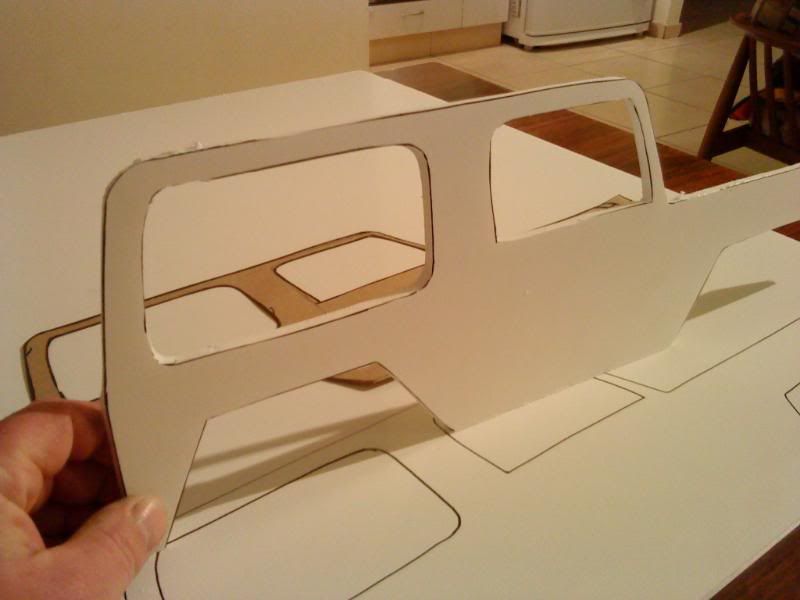 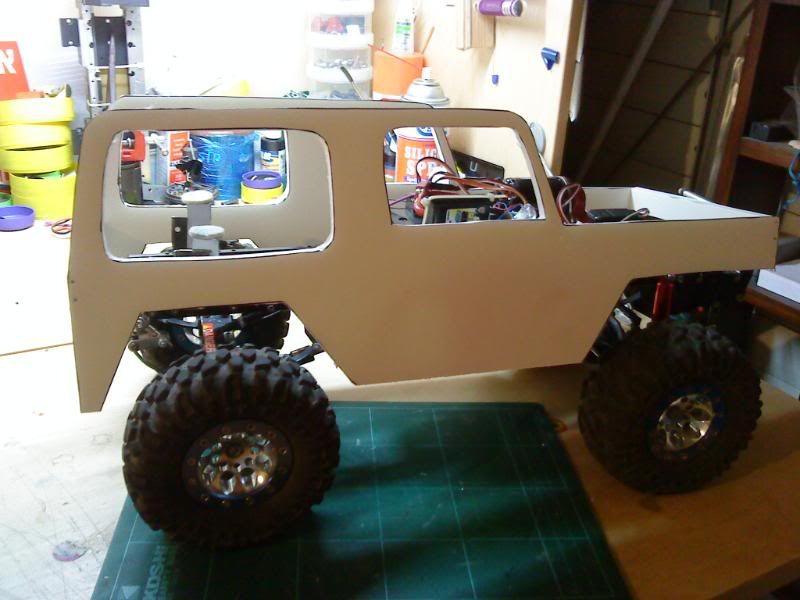 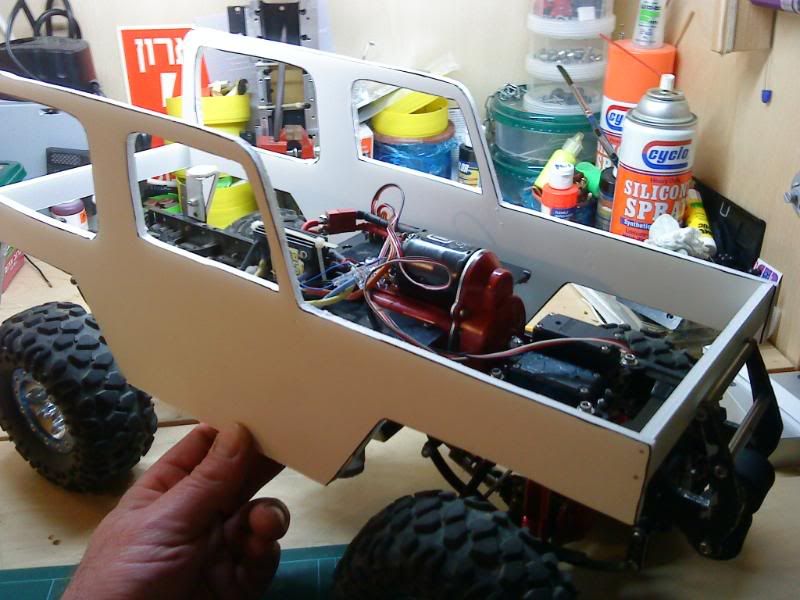 made the grill with the light buckets :thumbsup still working on the hood and roof and the back side :yahoo here are some more pics : 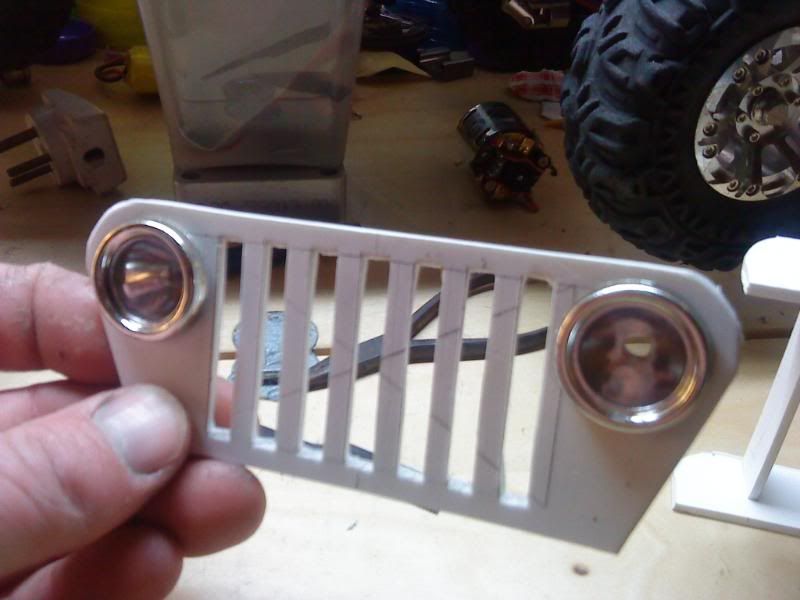 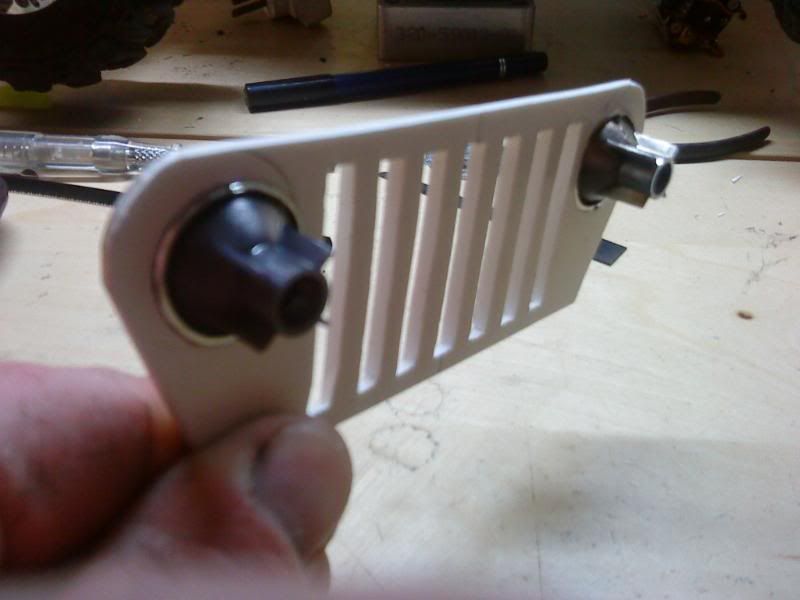 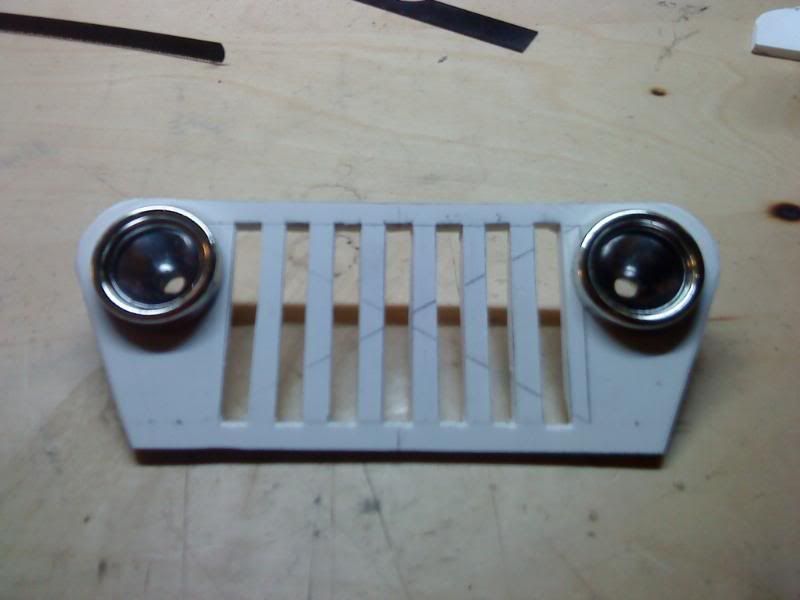 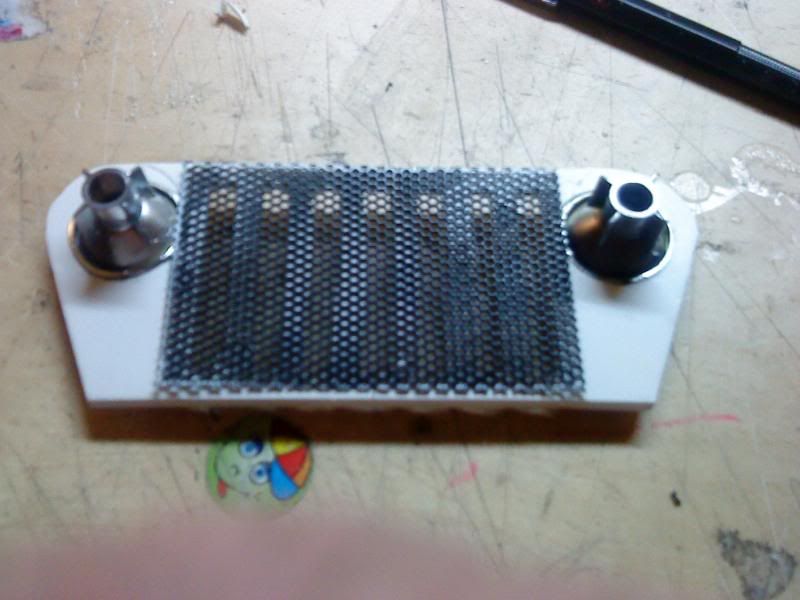 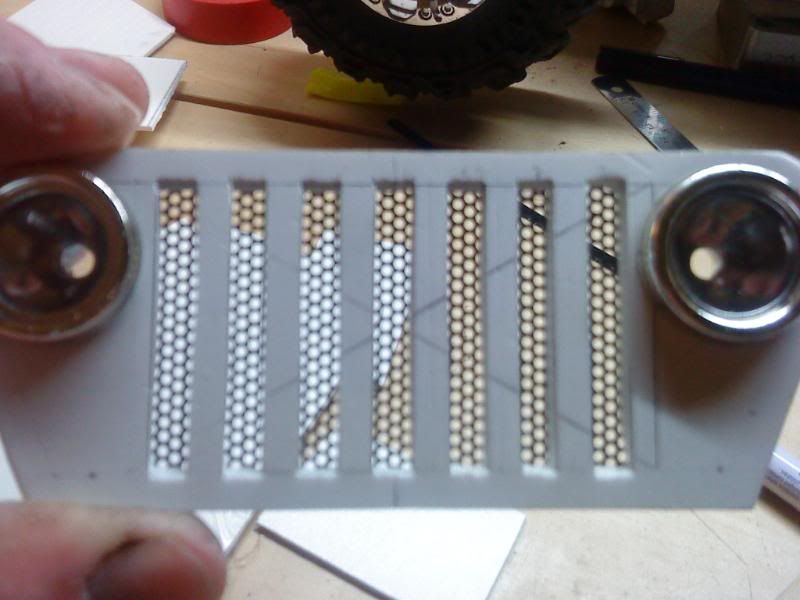 so eat your popcorn slow I've a lot more work on this So feel free to comment guys I'll update as i go with this |
|
| |
|
05-09-2010, 09:20 AM
| #3 |
| Pebble Pounder Join Date: Jul 2007 Location: out there...
Posts: 123
|
Started with the front window frame : 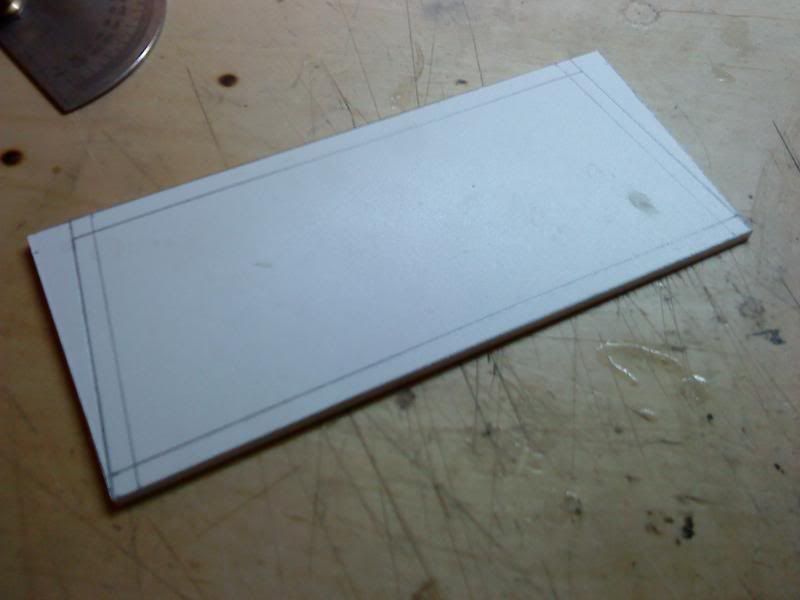 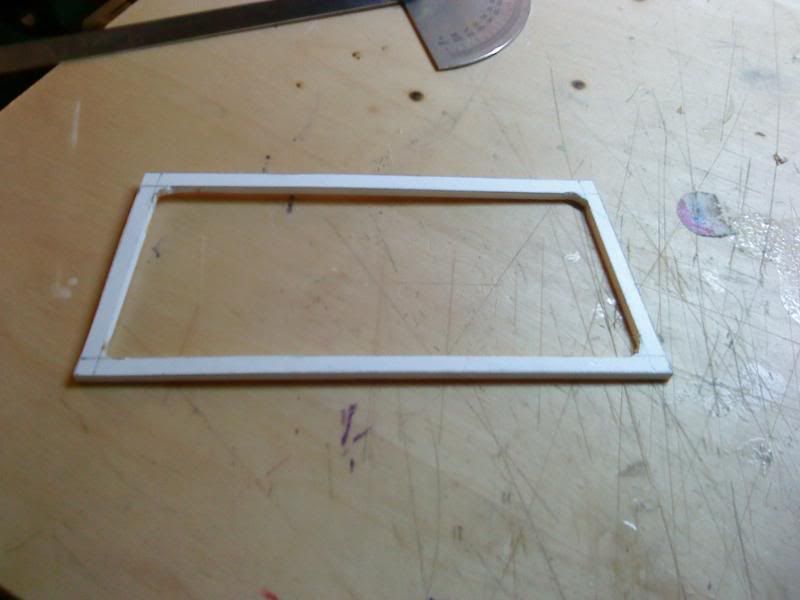 the back end of the hood, still need to sand the body filer .... : 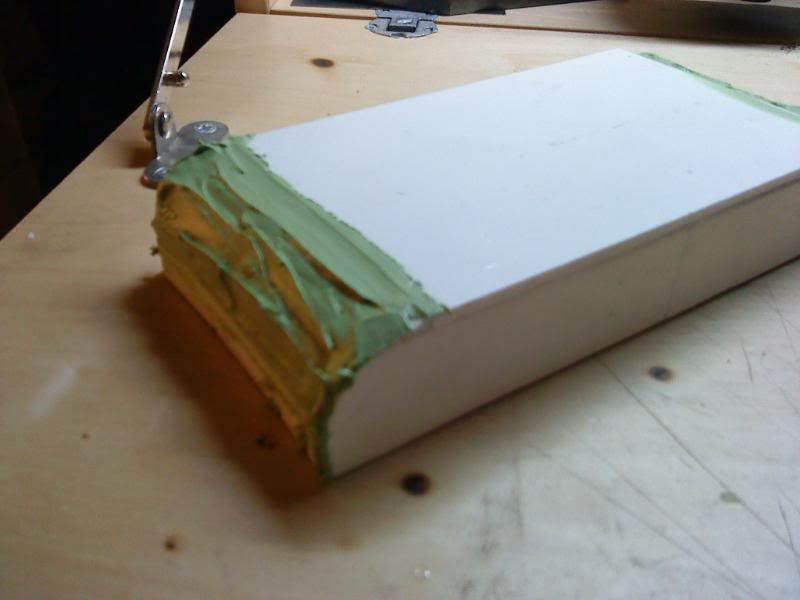 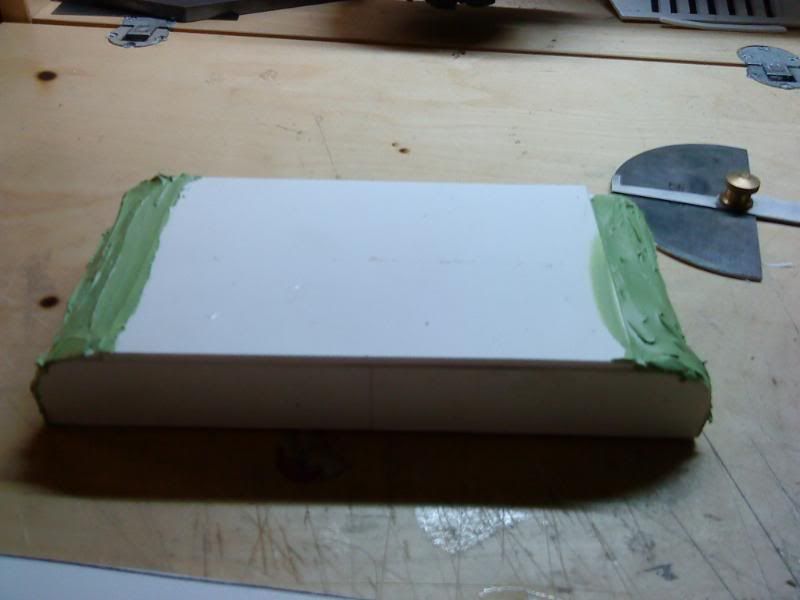 and here is a mock up.... 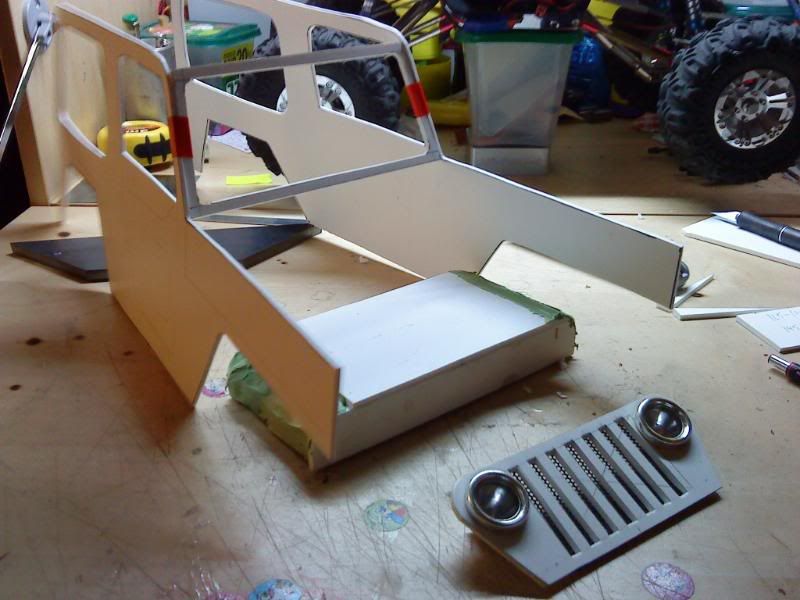 get more popcorn I'm on a roll..... |
|
| |
|
05-09-2010, 09:21 AM
| #4 |
| Pebble Pounder Join Date: Jul 2007 Location: out there...
Posts: 123
|
Did some more work on it so this is what came out from that.....  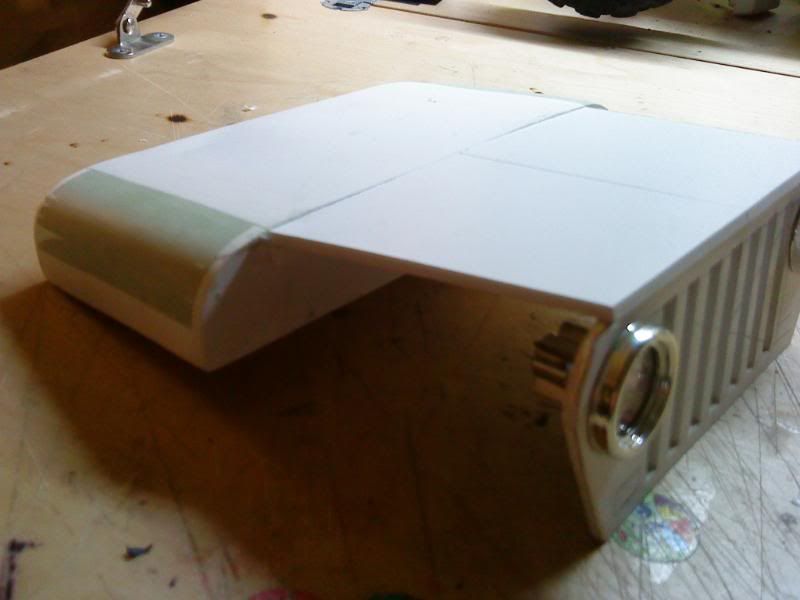 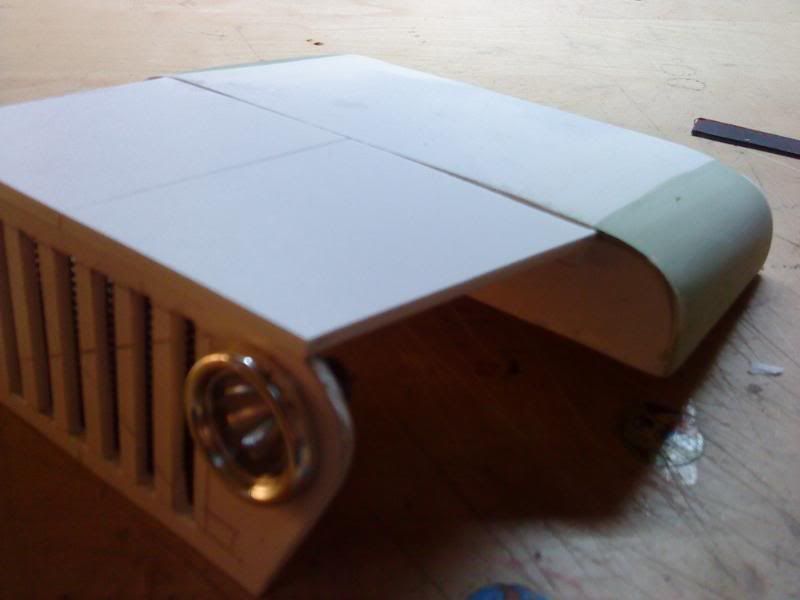 found some old plastic cover of some sort and thought it'll save me some hard work.... :laugh: 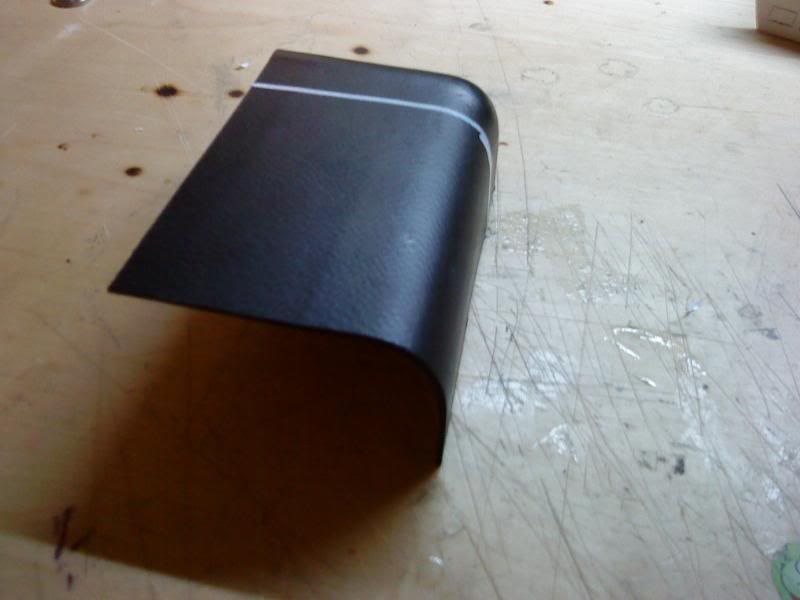 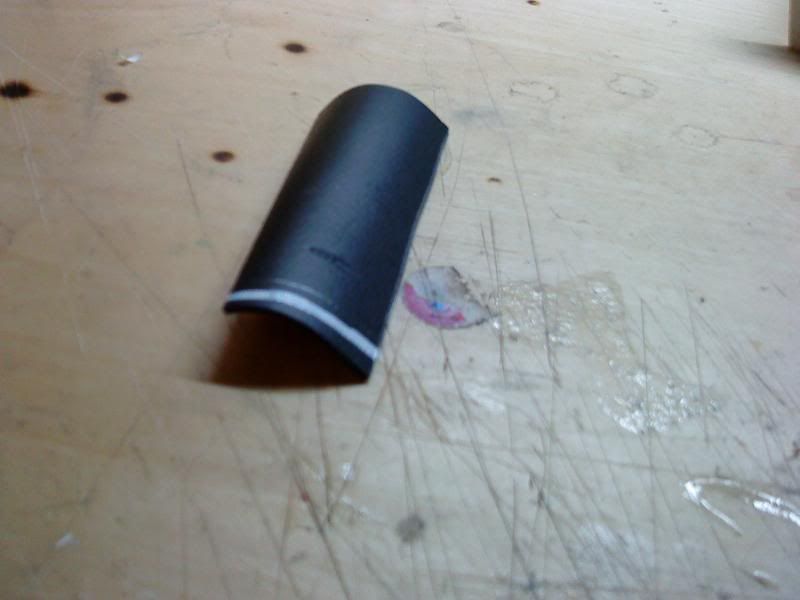 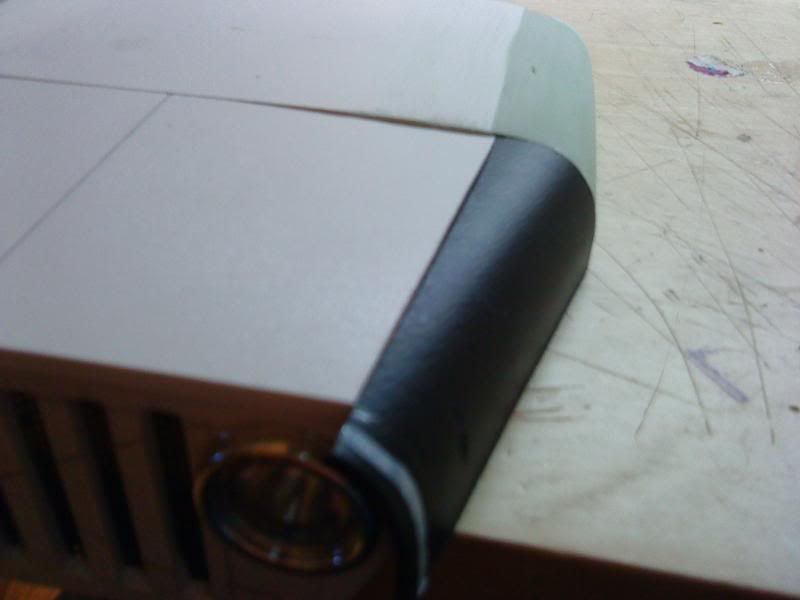 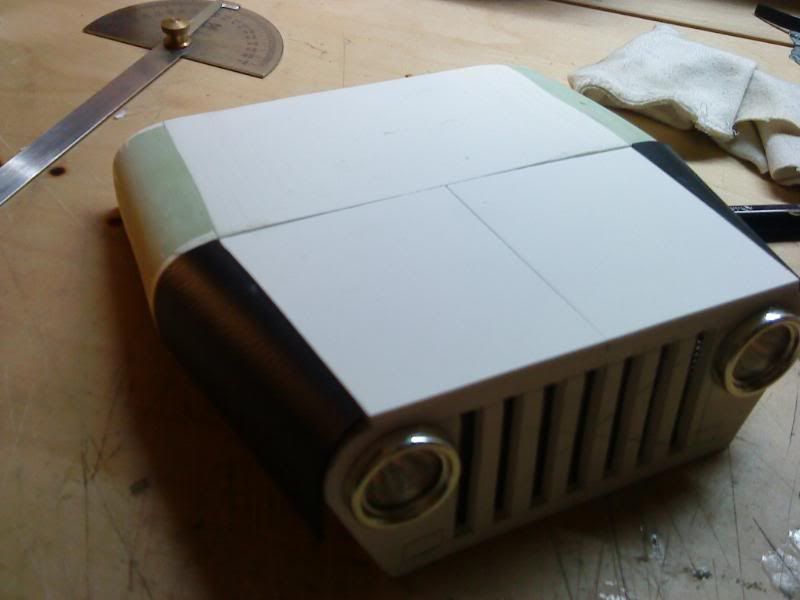 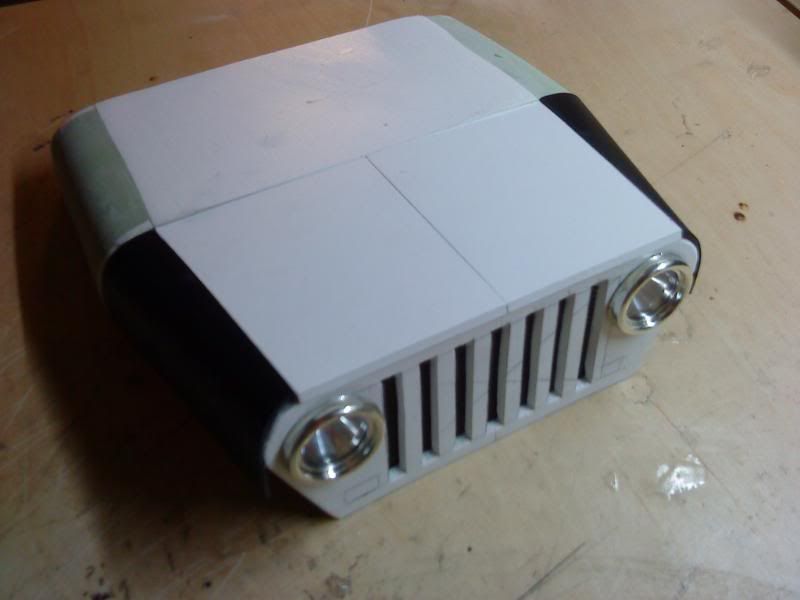 still need to make the "hood hump" and clean the lines but I'm pleased with it so far :nice: :nice: there is ice cold beer in the fridge and a new bucket of hot and buttered pop corn near on the table...feel free to help your self more to come.... |
|
| |
|
05-09-2010, 09:22 AM
| #5 |
| Pebble Pounder Join Date: Jul 2007 Location: out there...
Posts: 123
|
Some progress pics on the body.... Here you go guy, it's starting to get some shape :crazy: don't you think..... 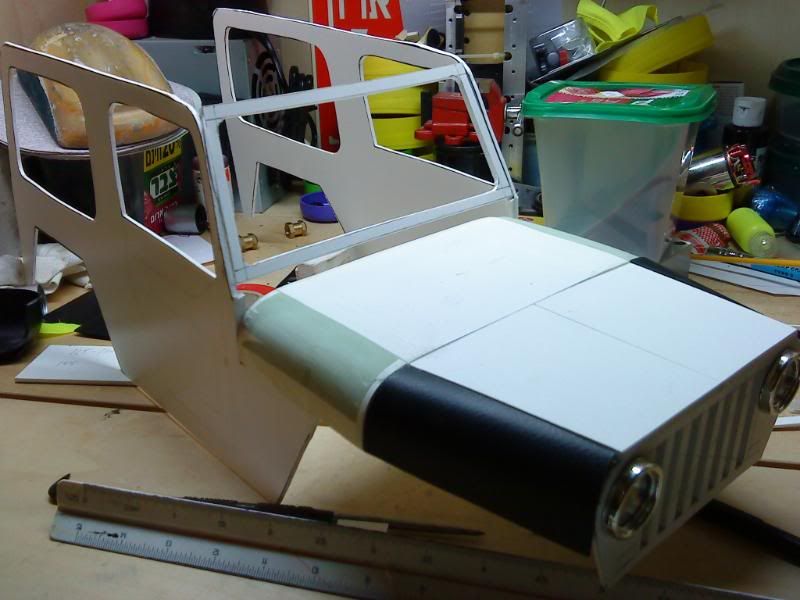 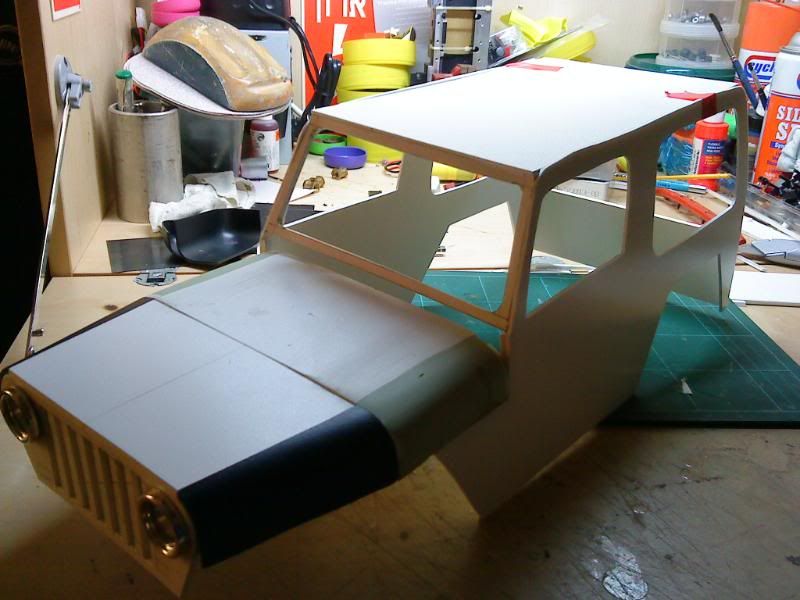 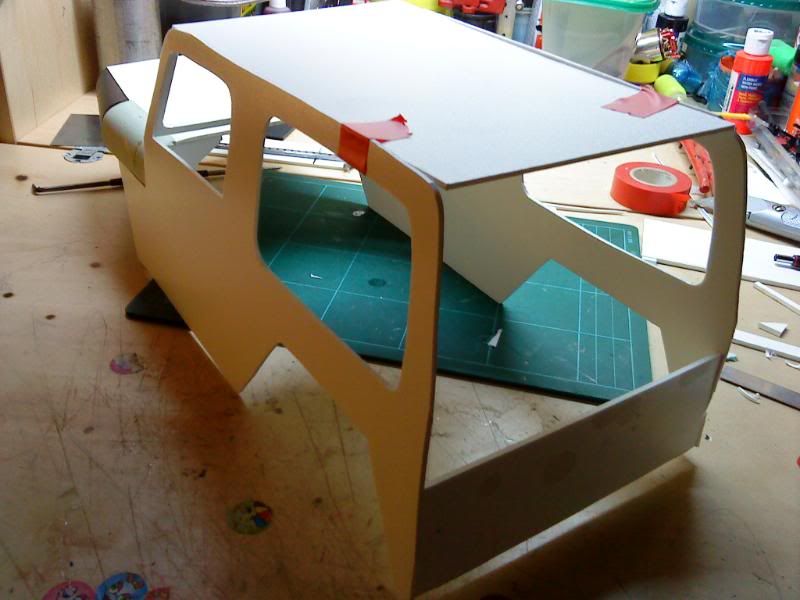 and some mock ups on the HL chassis:  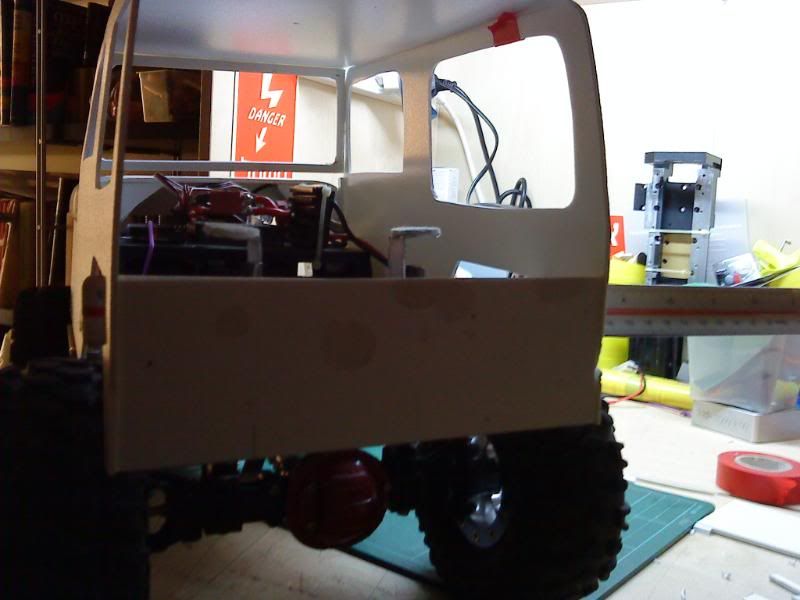 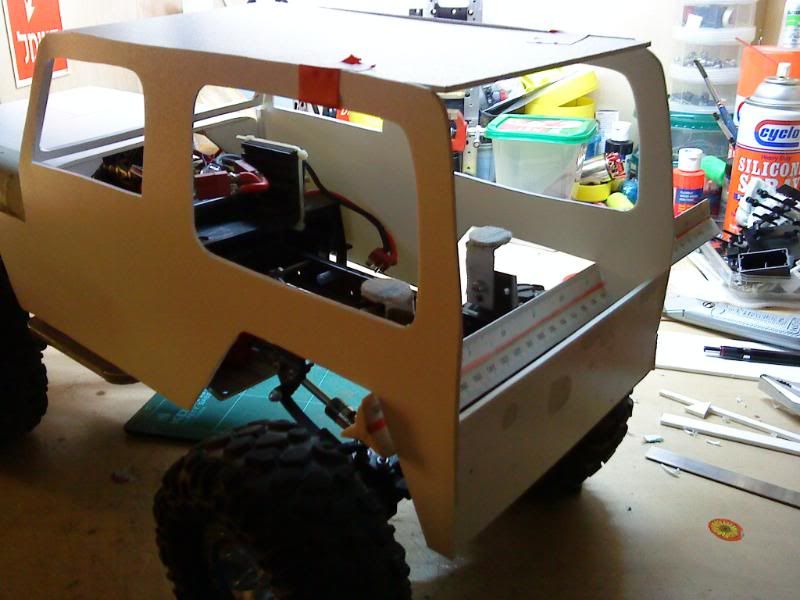 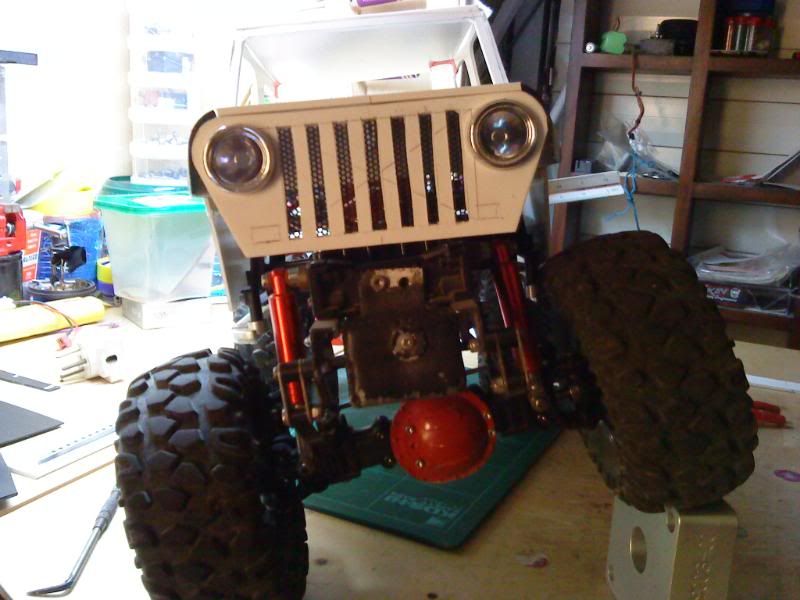 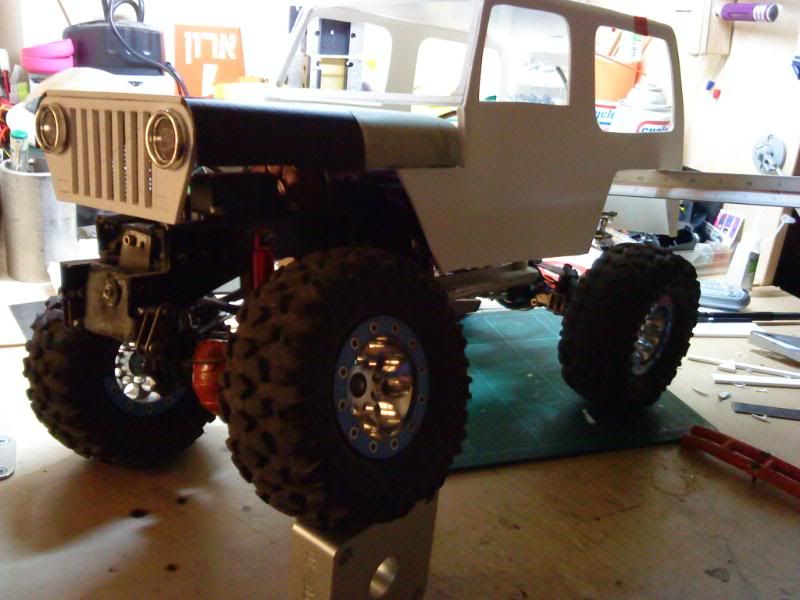 right now it seats 15 mm higher then i want it too .... I'll have to see how I'll get it lower ... cool more work on the old /new jeep |
|
| |
|
05-09-2010, 09:23 AM
| #6 |
| Pebble Pounder Join Date: Jul 2007 Location: out there...
Posts: 123
|
Here are some more pics of my progress: 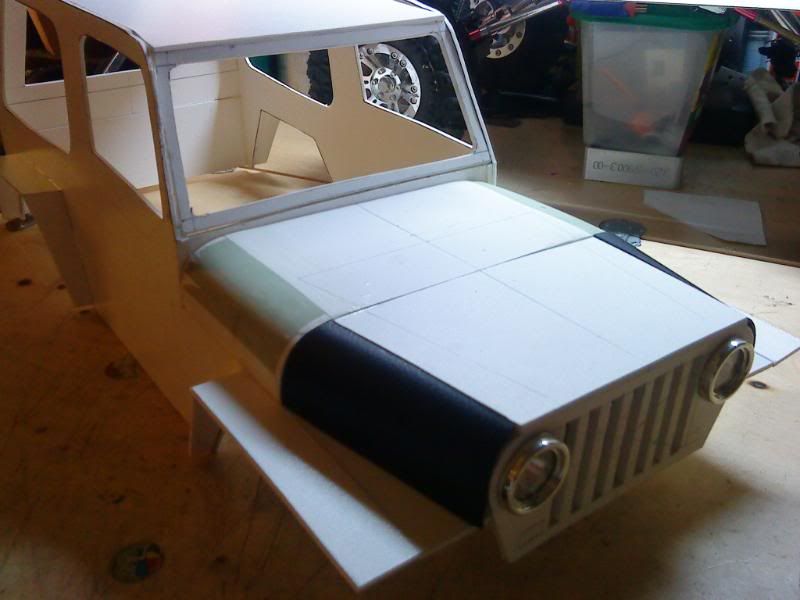 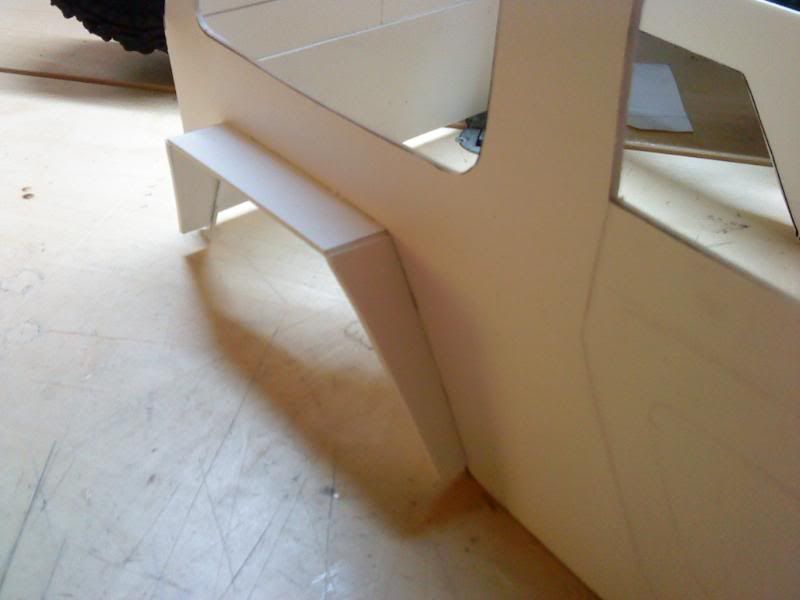 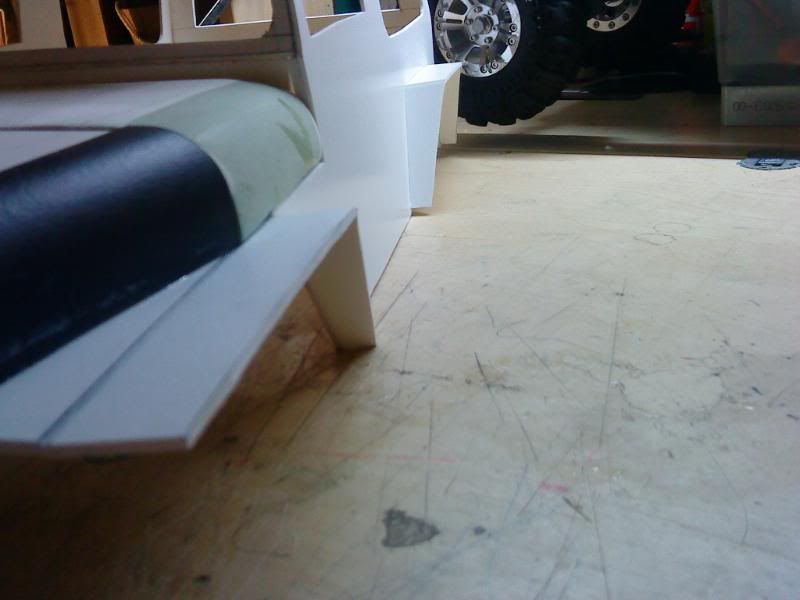 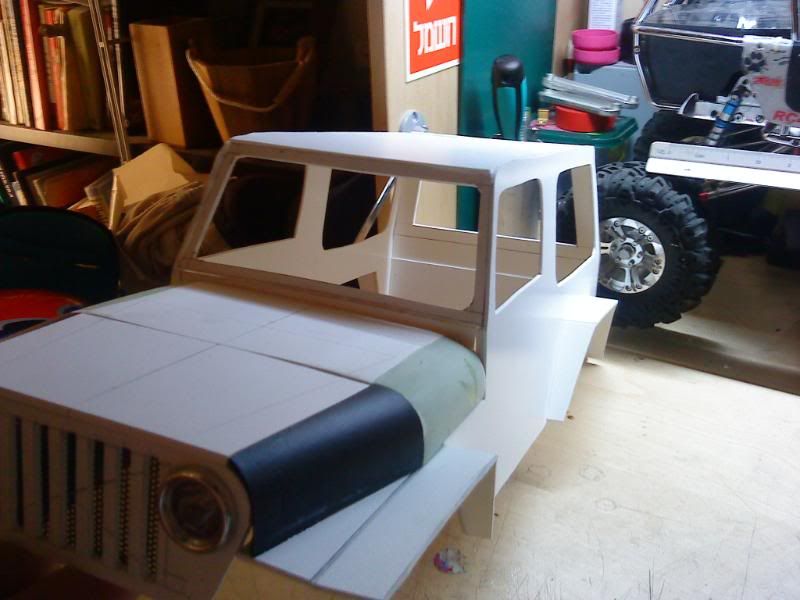 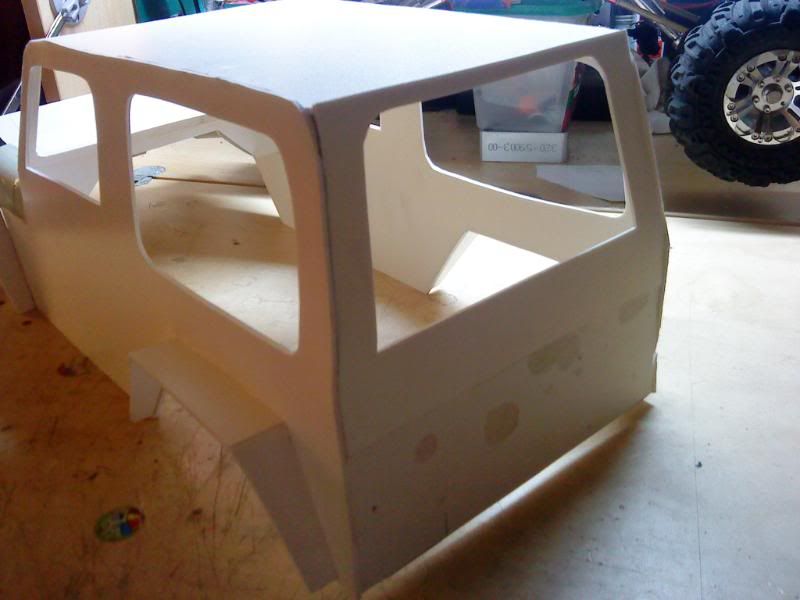 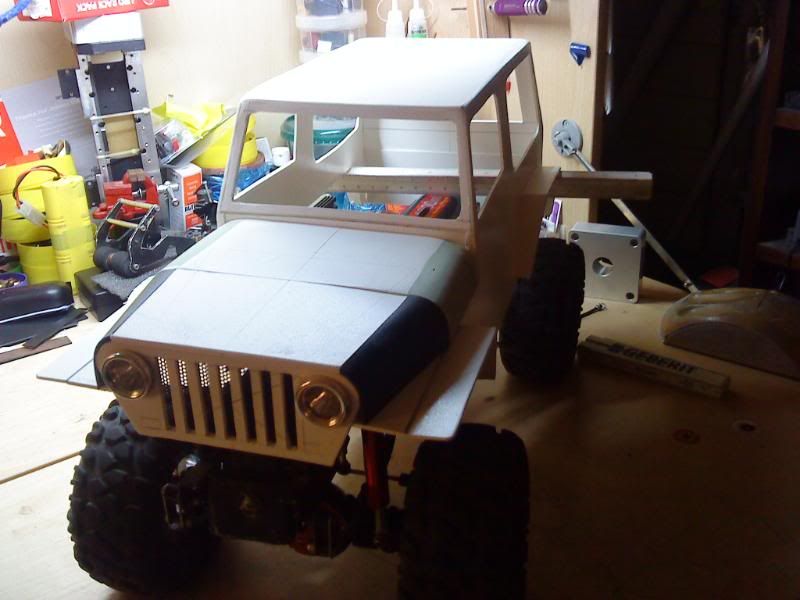 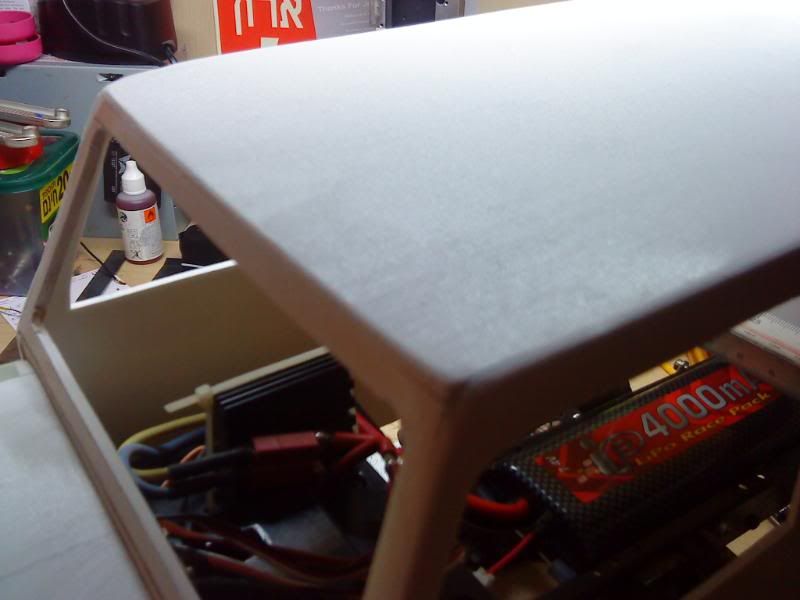 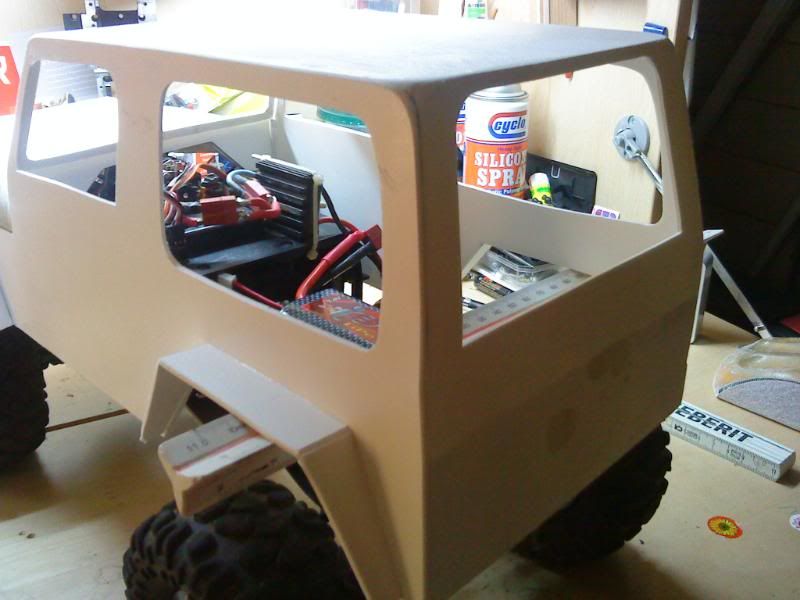 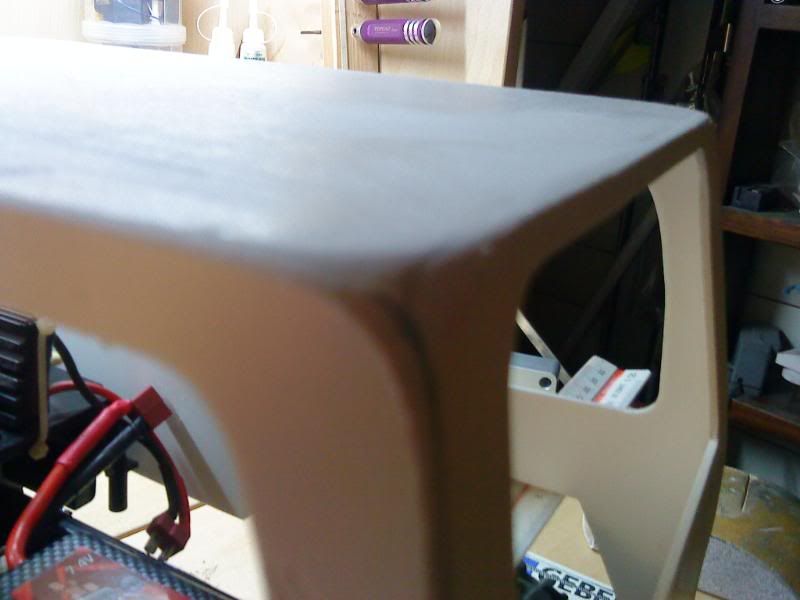 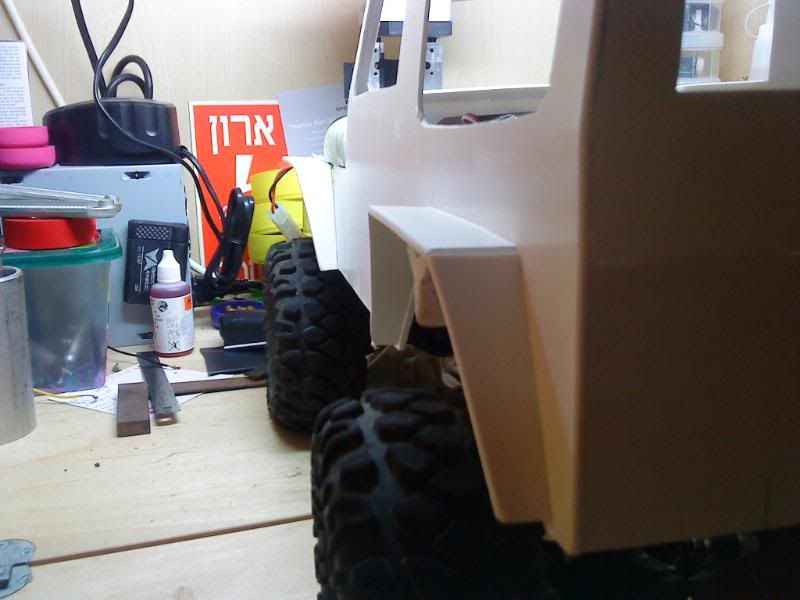 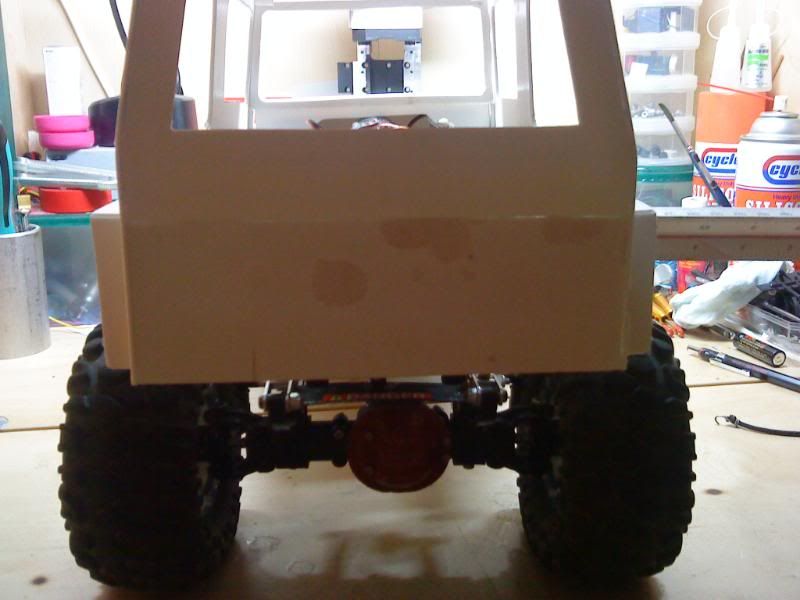 It is starting to take shape don't you think... |
|
| |
|
05-09-2010, 09:24 AM
| #7 |
| Pebble Pounder Join Date: Jul 2007 Location: out there...
Posts: 123
|
Well it's not that big of an up date (a lot of small repairing jobs to the body)sanding and some more sanding but it is getting there for sure  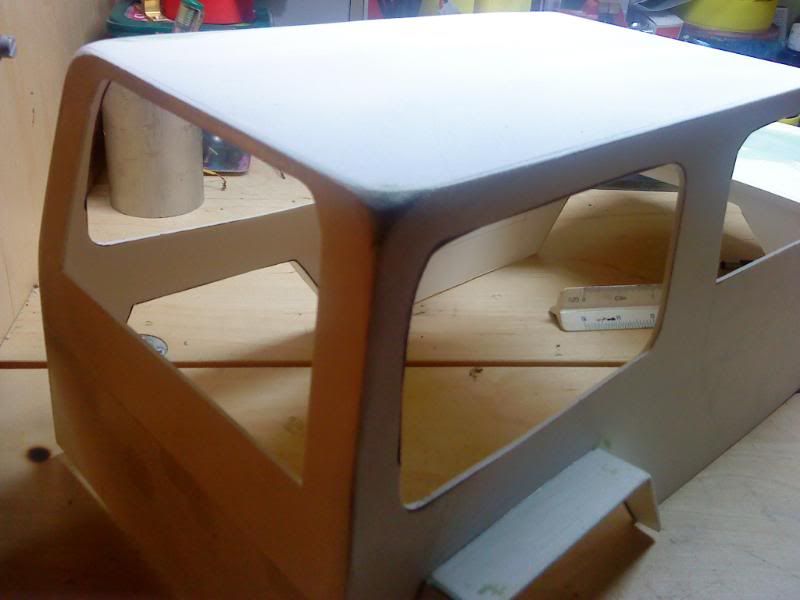 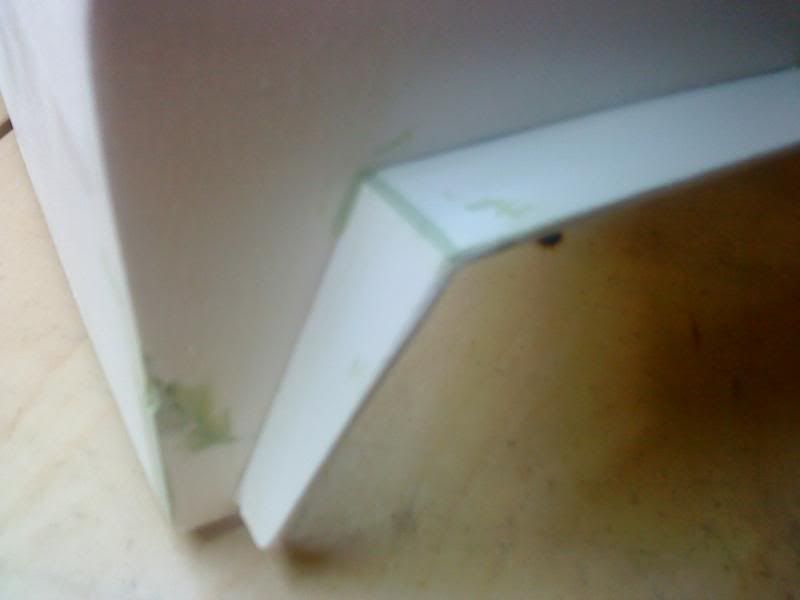 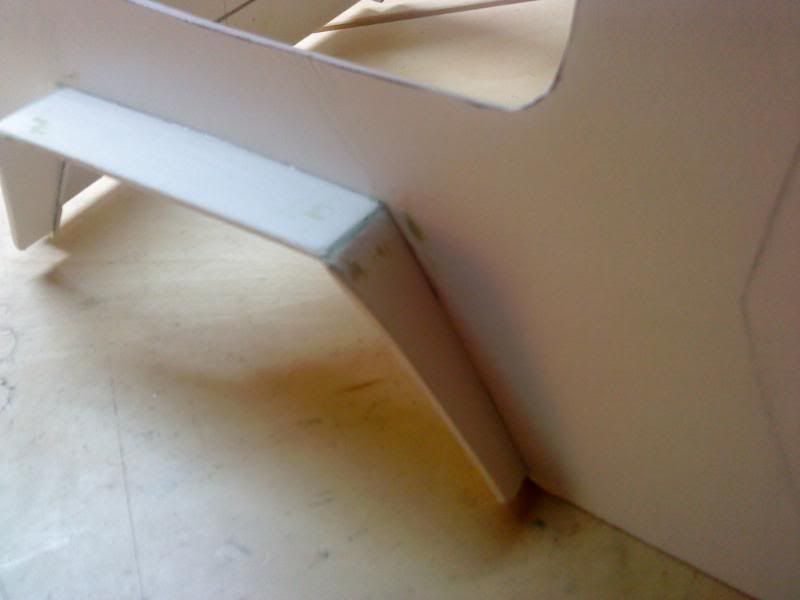 both of my jeeps 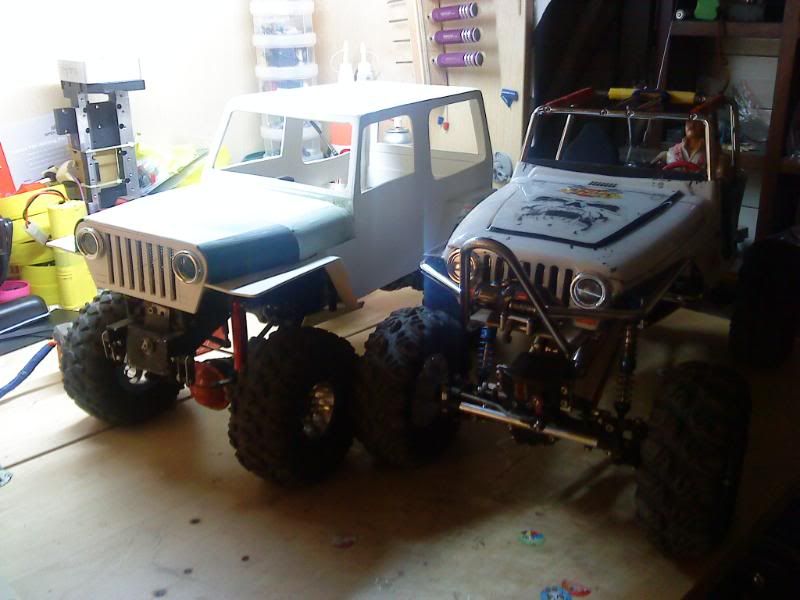 and made me a new High Lift jack 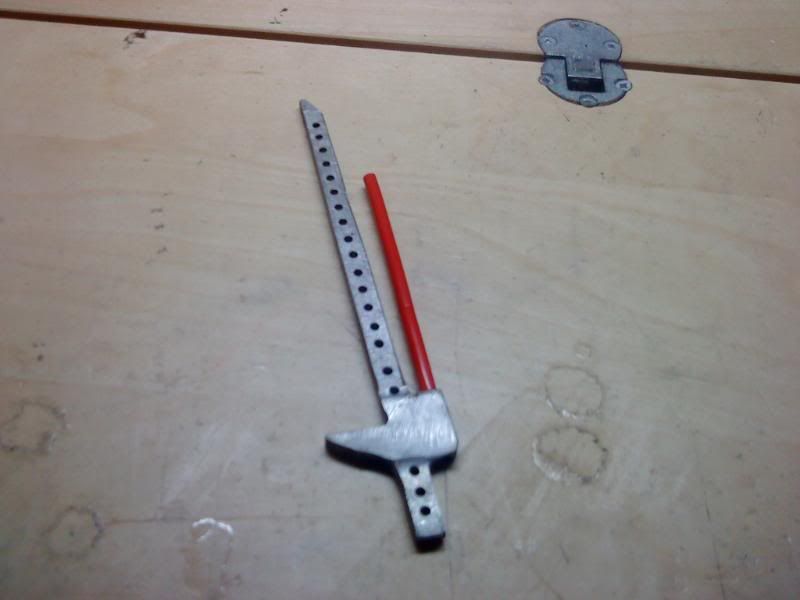 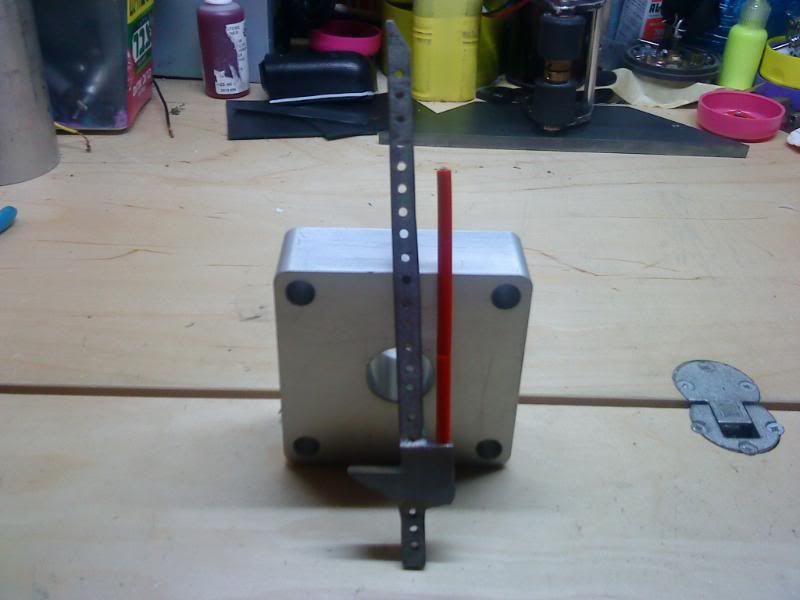 more update ......soon i hope |
|
| |
|
05-09-2010, 09:25 AM
| #8 |
| Pebble Pounder Join Date: Jul 2007 Location: out there...
Posts: 123
|
wish i could work a bit faster on this so here you go : Windows : 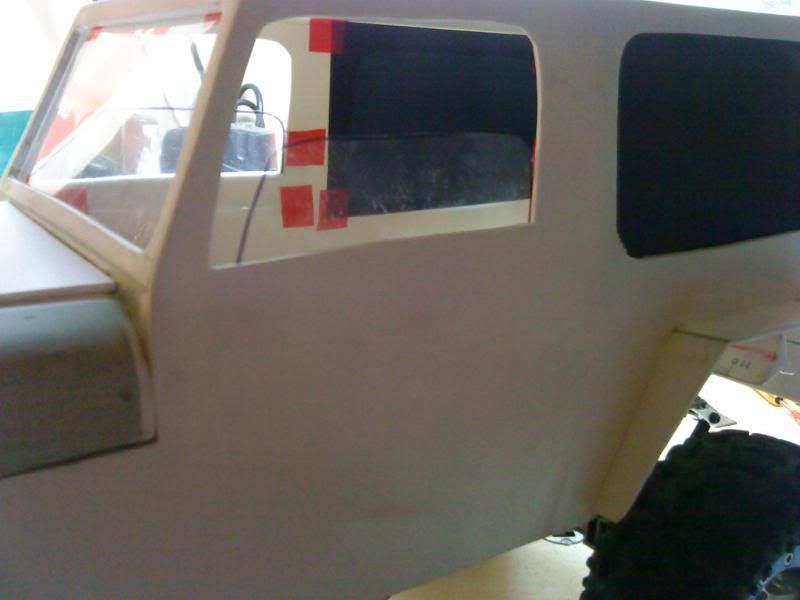 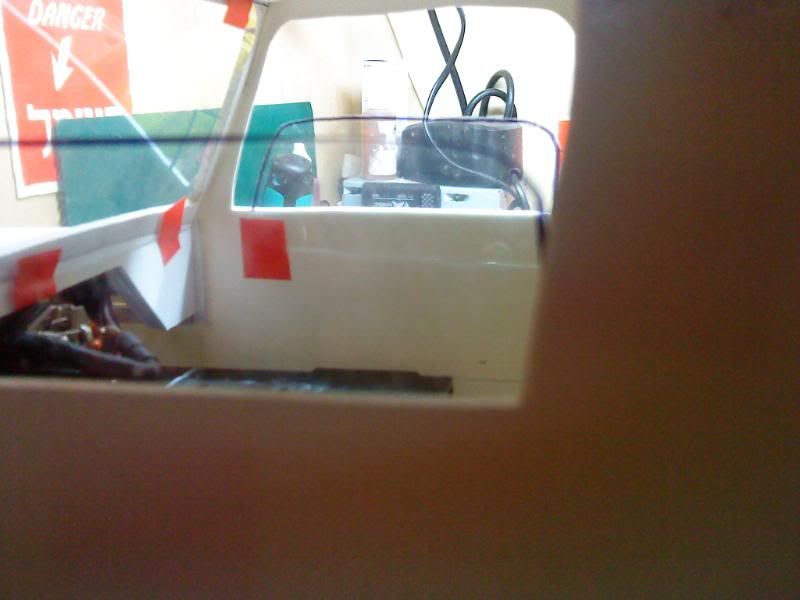 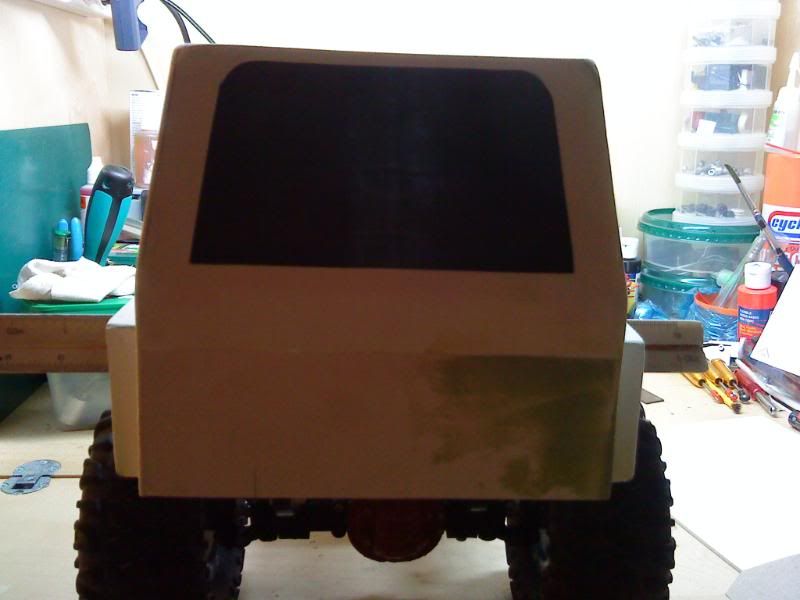 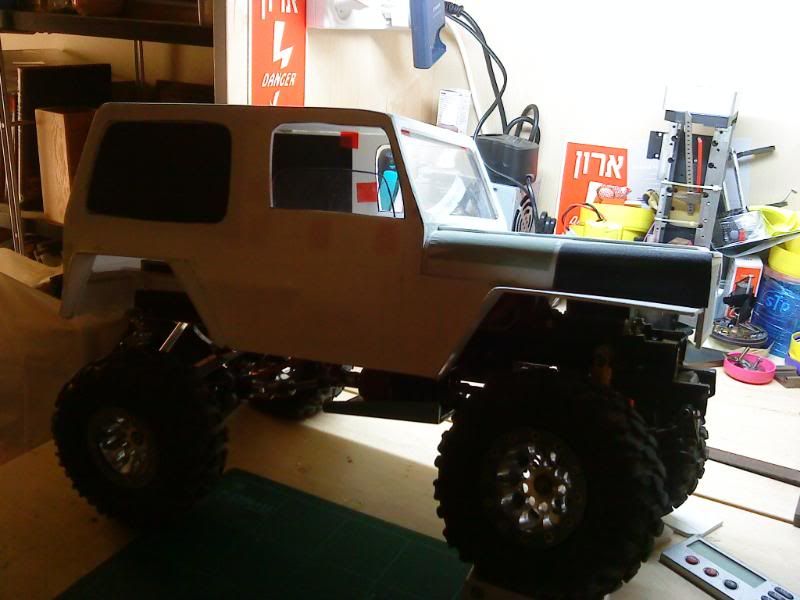 The start of the "floor" of the rig : 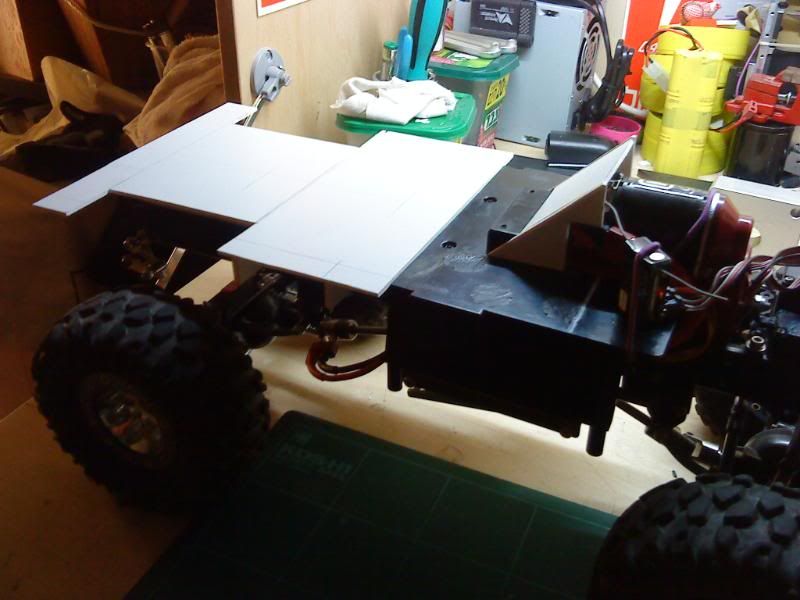 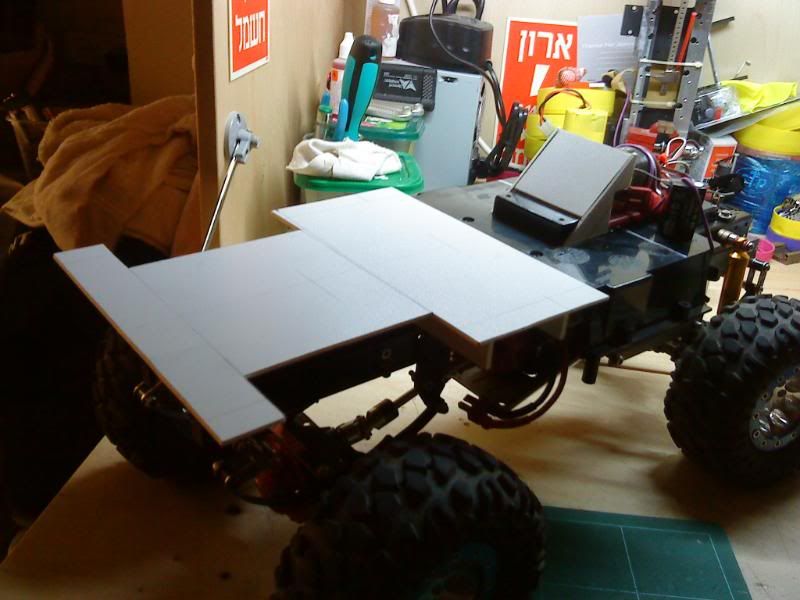 and the batt have a new compartment 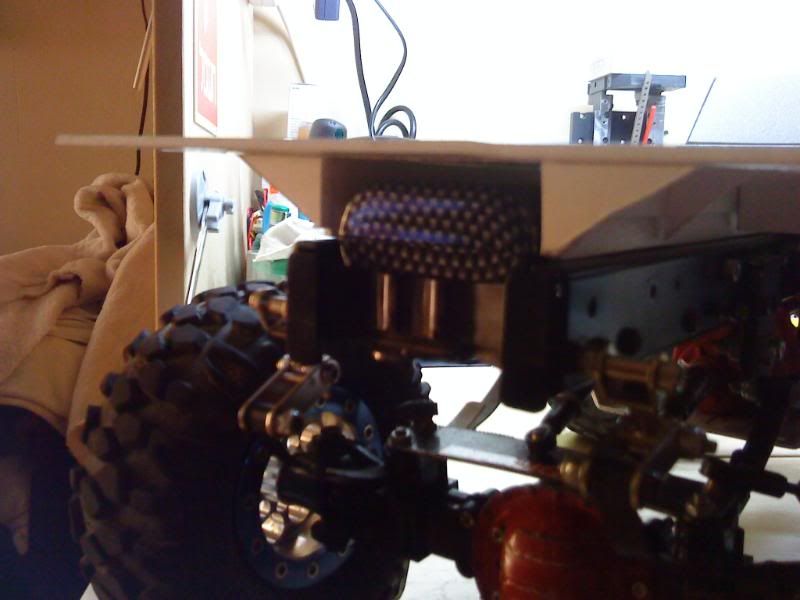 |
|
| |
|
05-09-2010, 09:26 AM
| #9 |
| Pebble Pounder Join Date: Jul 2007 Location: out there...
Posts: 123
|
I wanted to add some stuff to the body ...to make a bit more scale.... so tell me what you think Oh and I'm sorry for the bad pics ...it's the best that i can pull out from my phone A fuel cap: 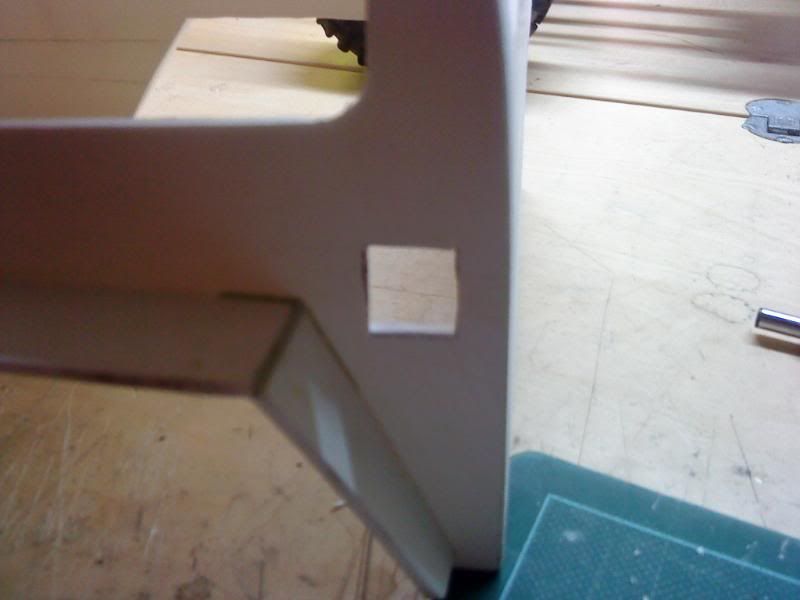 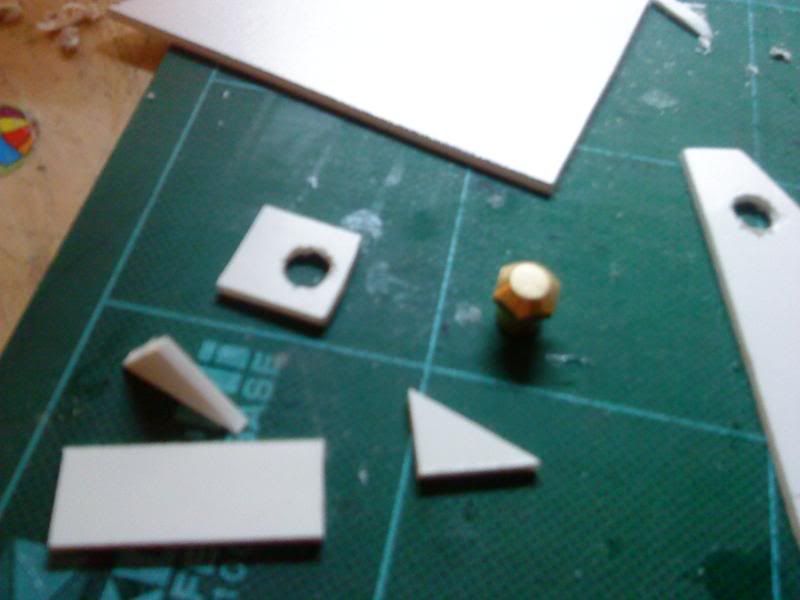  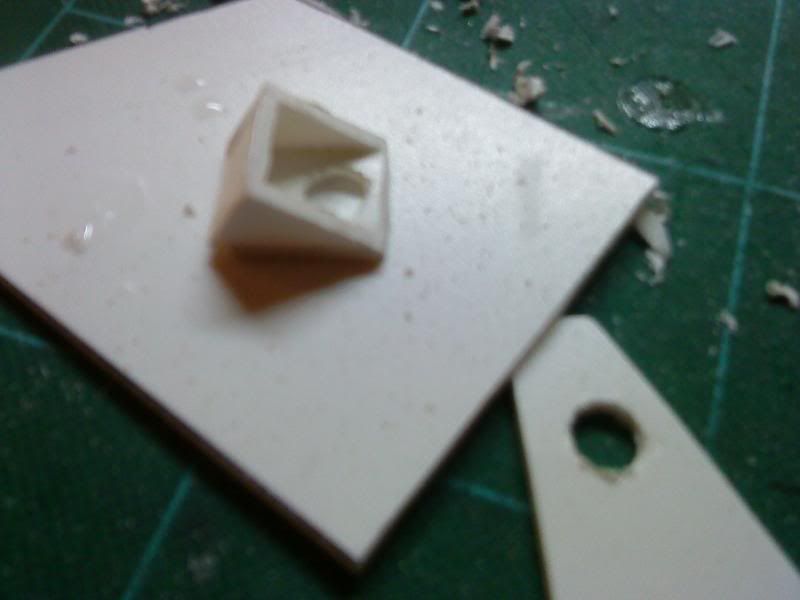 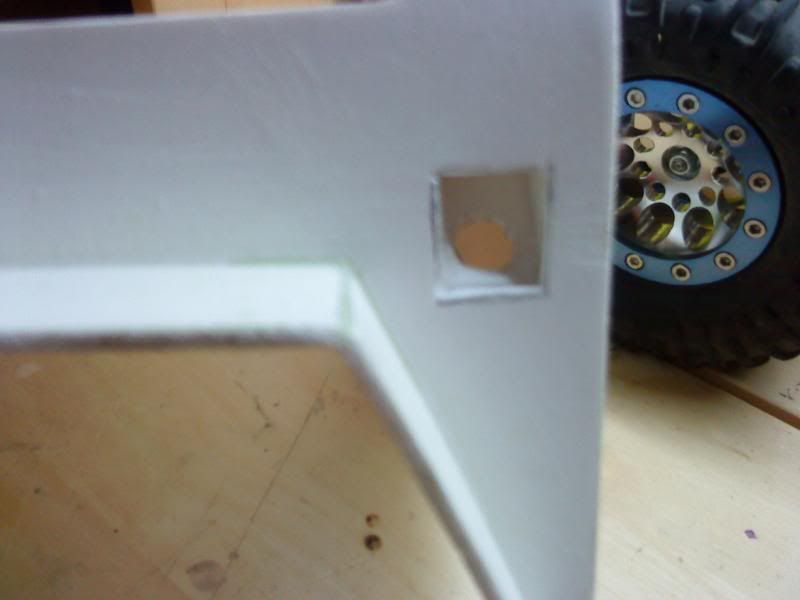 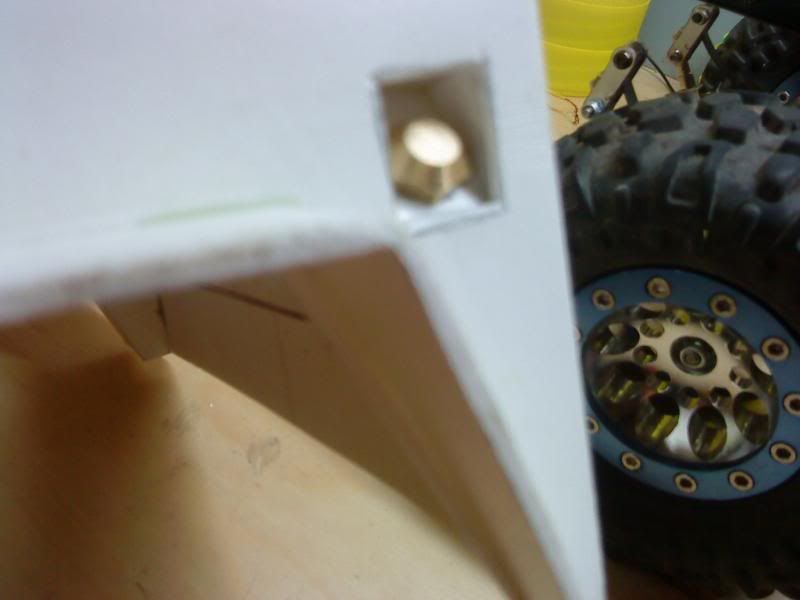 And that Air box grill 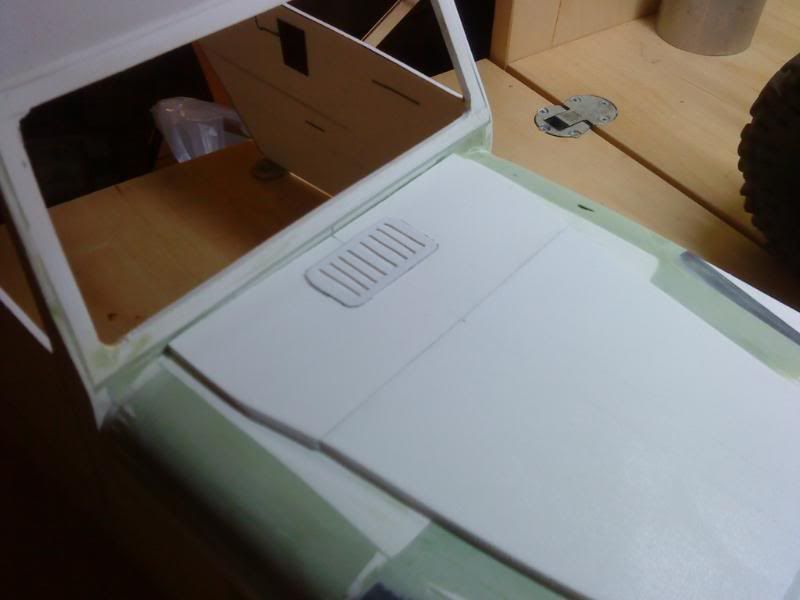 And the door handles : 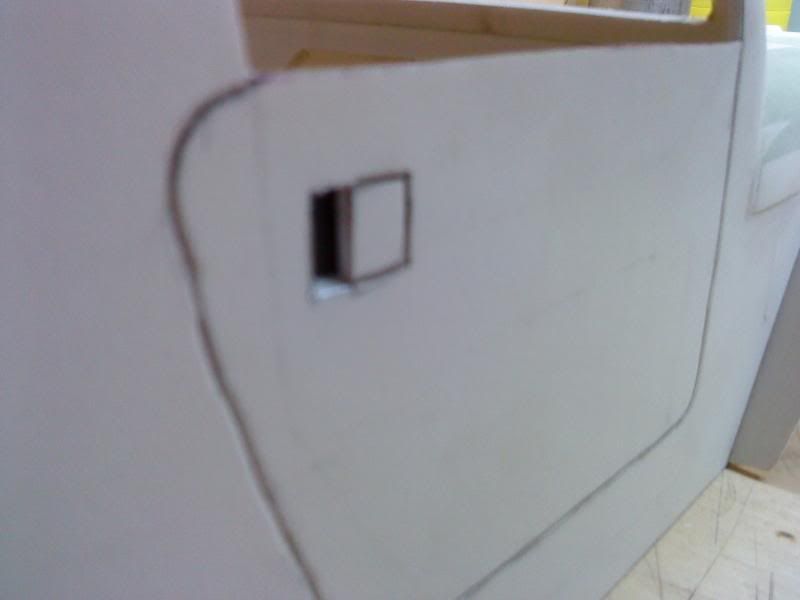 I'm still working on the interior and that is taking me a bit more time then i want ....so bear with me on that more to come .... |
|
| |
|
05-09-2010, 12:50 PM
| #10 |
| Rock Crawler Join Date: Jul 2008 Location: gilbert
Posts: 613
|
Man that thing is coming together nicely! Keep the pics coming, I like to see the evolution as it unfolds. |
|
| |
|
05-15-2010, 12:57 AM
| #11 |
| Pebble Pounder Join Date: Jul 2007 Location: out there...
Posts: 123
|
So guys... the last update that i have for now so on with the pics: 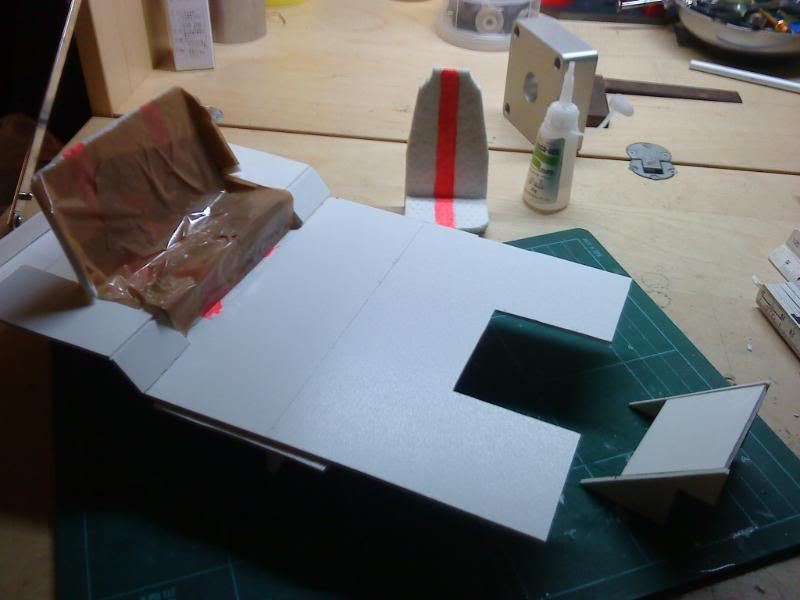 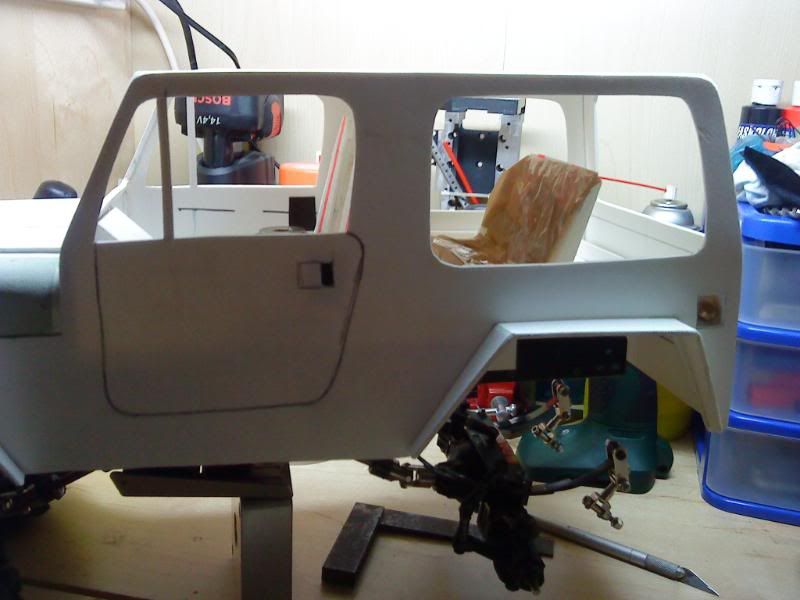 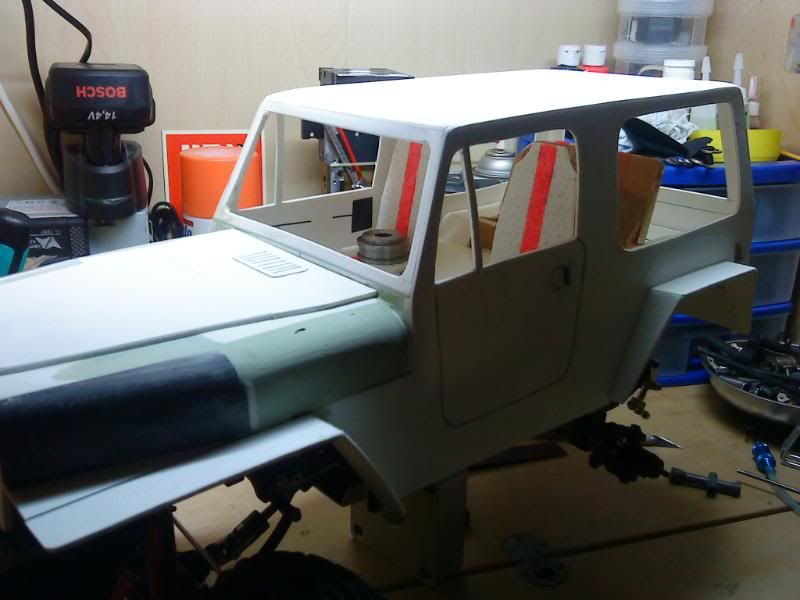 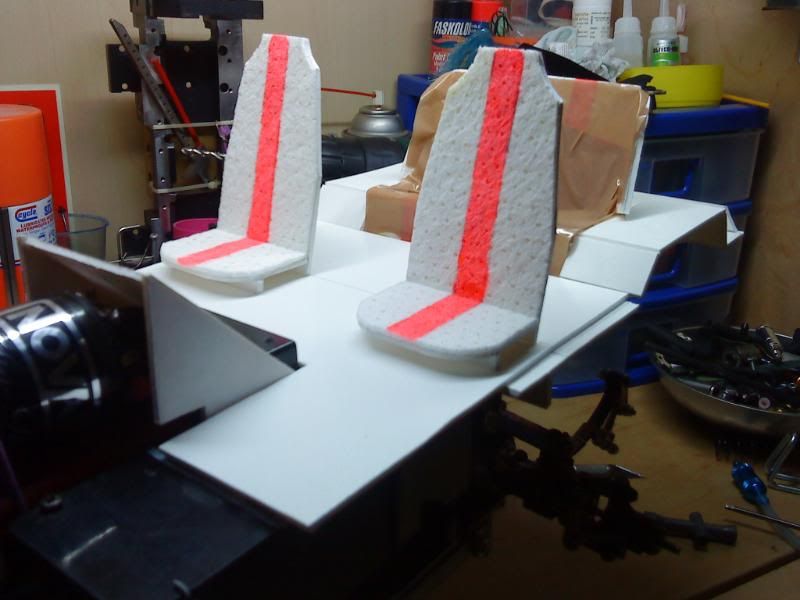 And here it is with paint: 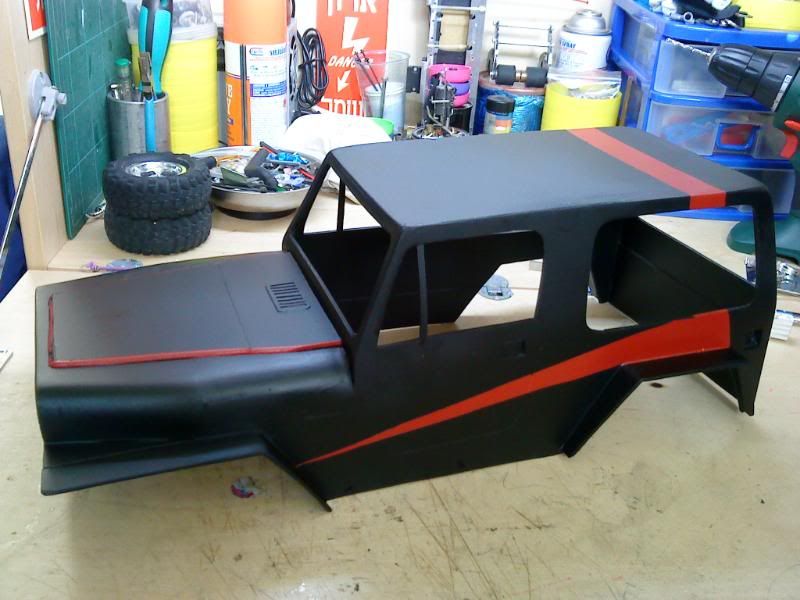 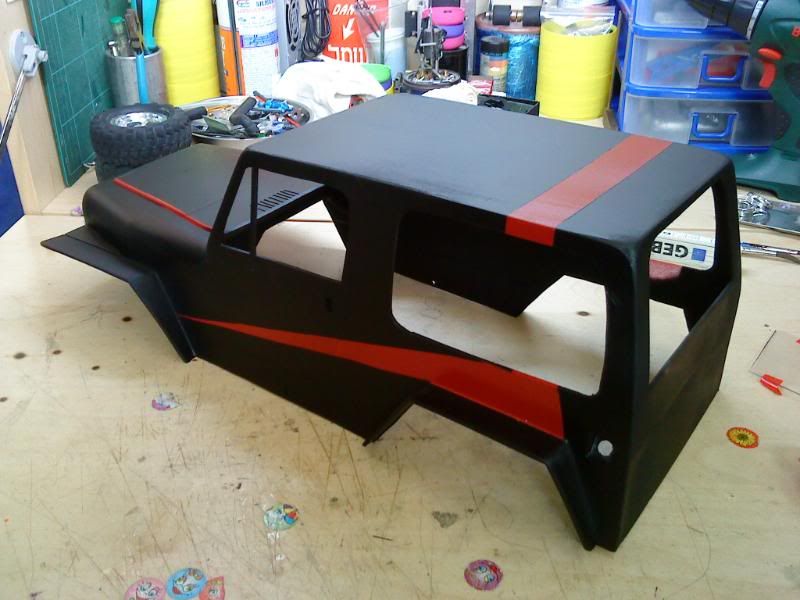 Windows: 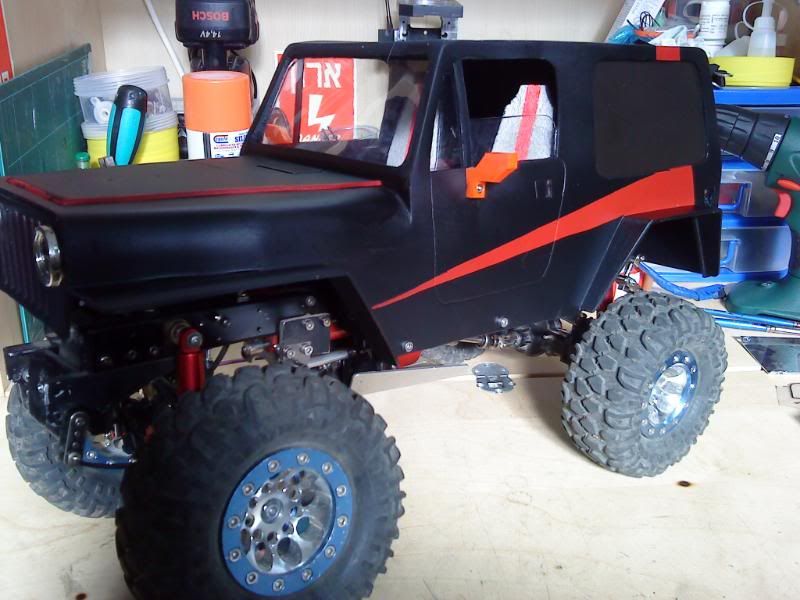 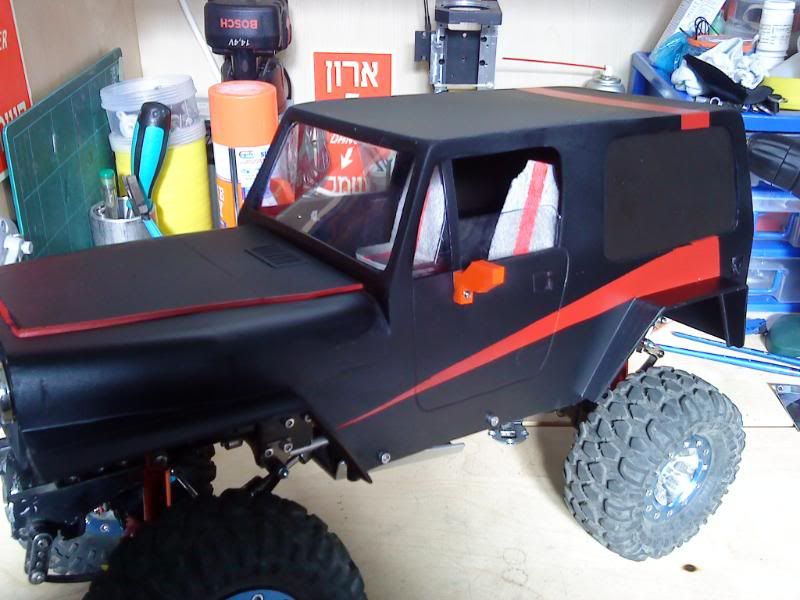 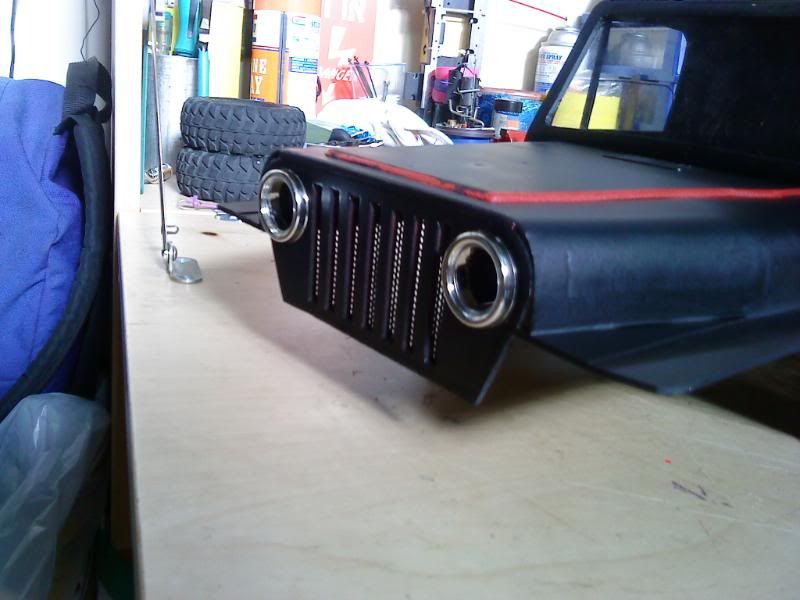 And with my home made "rubber side mirrors" 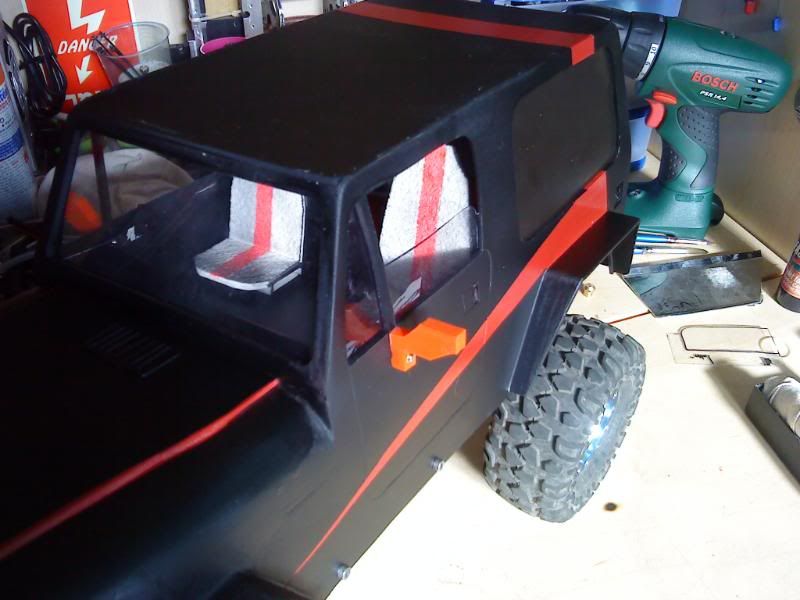 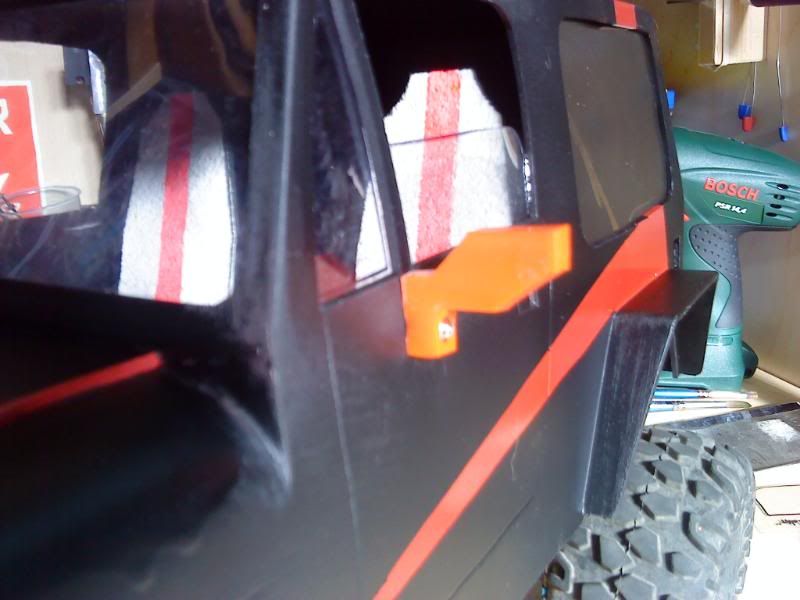 Still needs to make the front & rear bumpers and finish up the interior (steering wheel, stick shifts etc.... ) tell me what you think guys |
|
| |
|
05-17-2010, 10:45 AM
| #12 |
| RCC Addict Join Date: Apr 2007 Location: Murfreesboro
Posts: 1,537
|
Scratch built body is lookin good!!! The more you work on it the better it gets. Now get out there and beat it up some Matt |
|
| |
|
07-30-2010, 09:43 PM
| #13 |
| Pebble Pounder Join Date: Jul 2007 Location: out there...
Posts: 123
|
Well finally I can show you some outdoors pics of the jeep...this was my second test trial for it and had some things to address but all in all i love this jeep,still waiting on my custom front&rear bumpers to be made and working on some few things for it as well So have a look and enjoy the pics 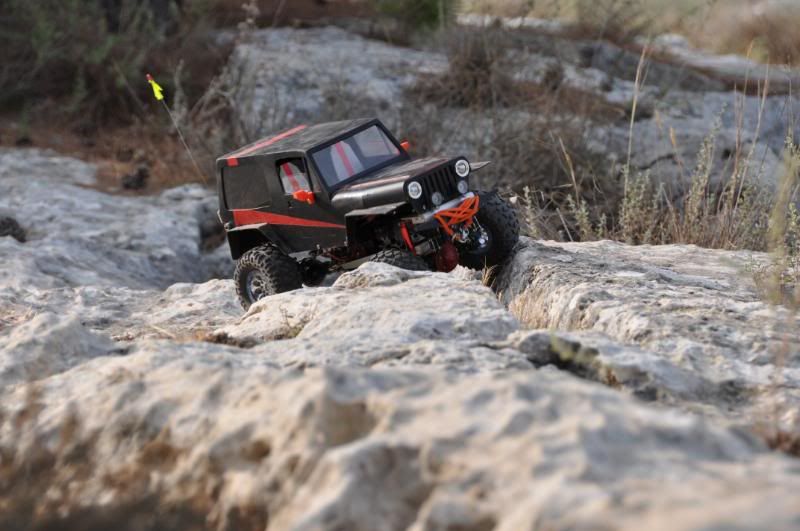 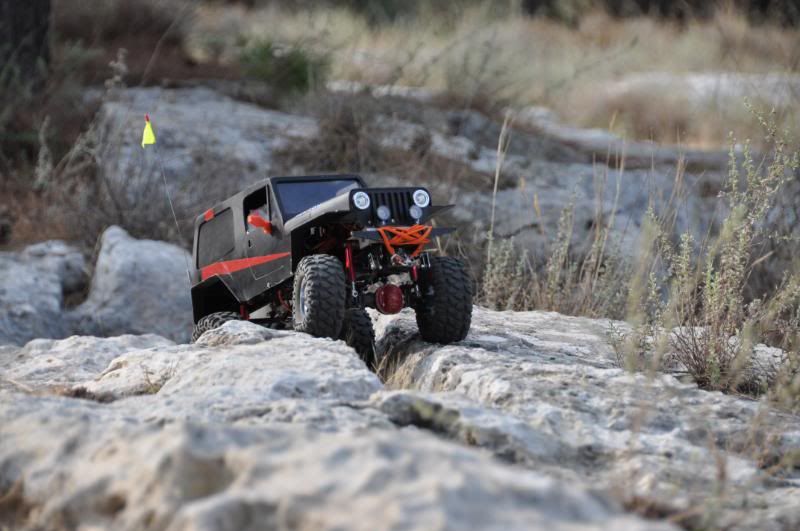 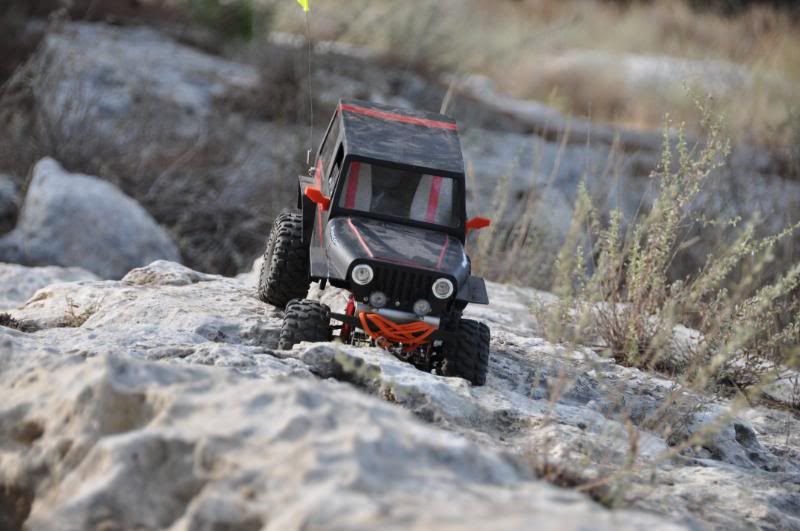 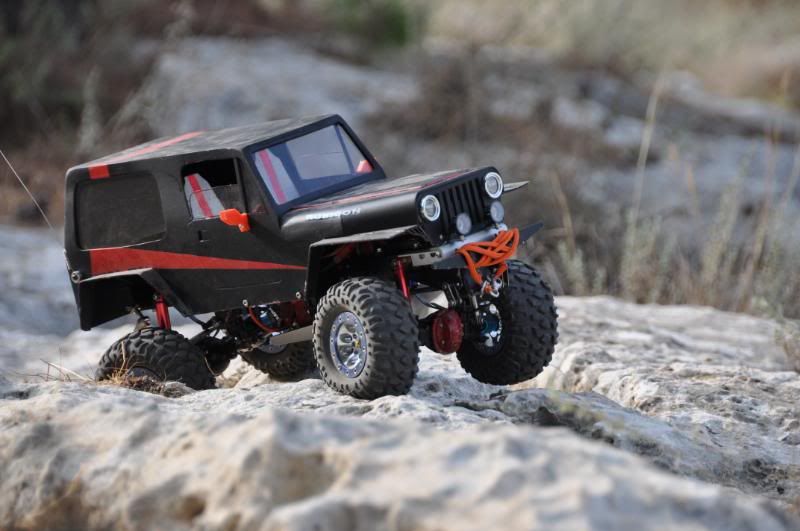 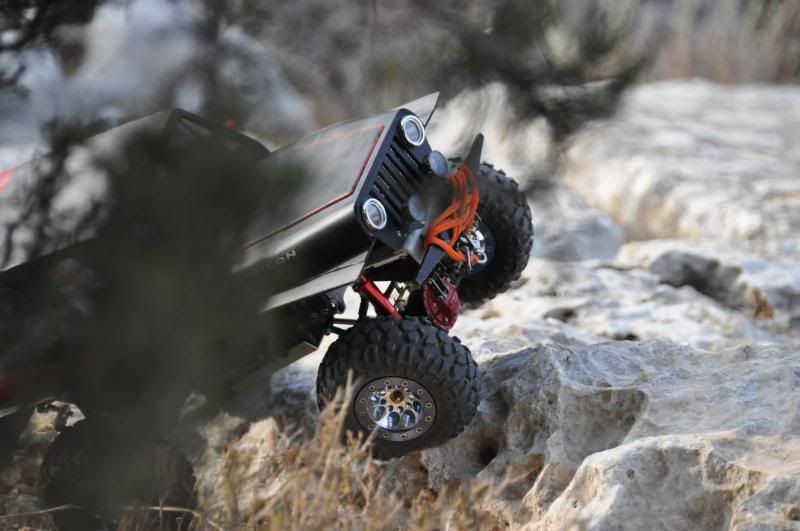  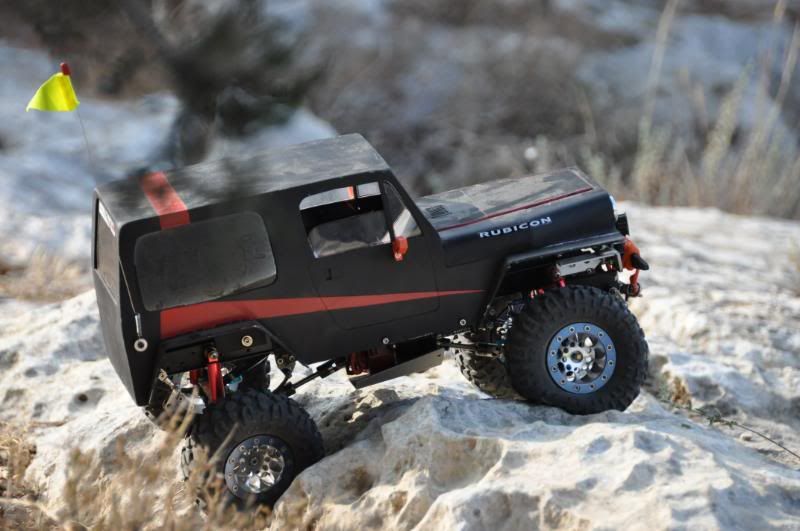 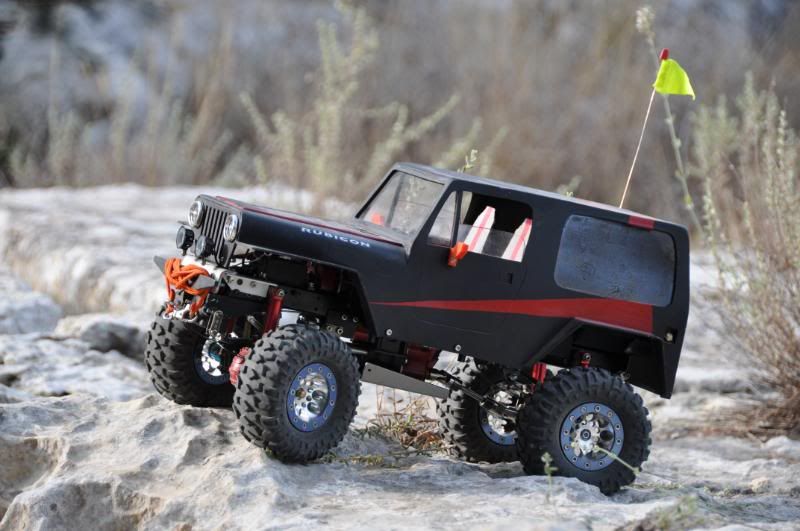 |
|
| |
|
08-15-2010, 12:43 PM
| #14 |
| Pebble Pounder Join Date: Jul 2007 Location: out there...
Posts: 123
|
I was able to get some free time on my hands so ....did some work on the Jeep I don't have access to a welder at home... so i fabricated some "Rock sliders" out of aluminum :nice: I know the pics are not so good guys but tell me what you think :nice: So out of this : 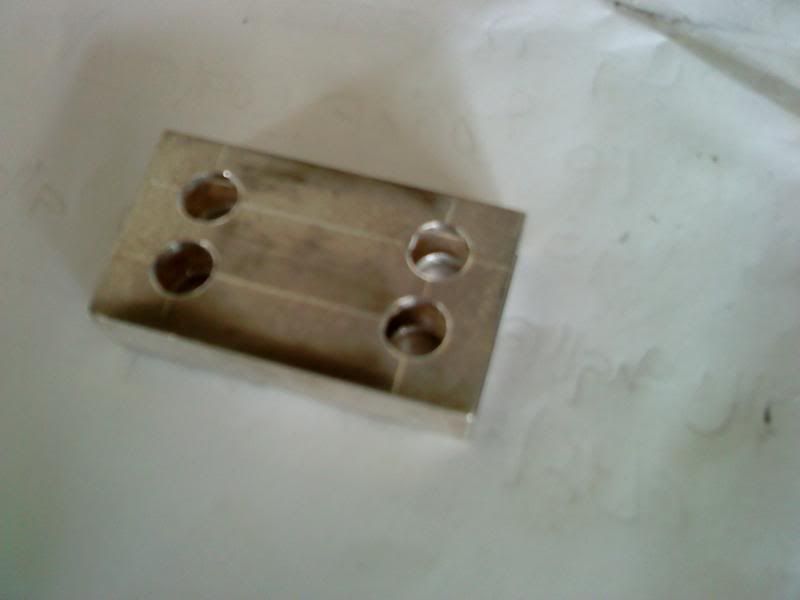 came this: 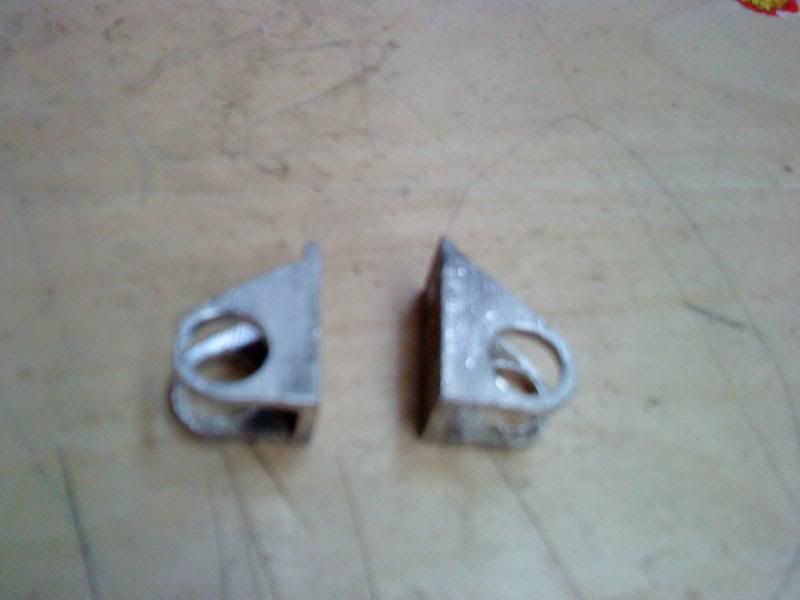 and on the jeep: 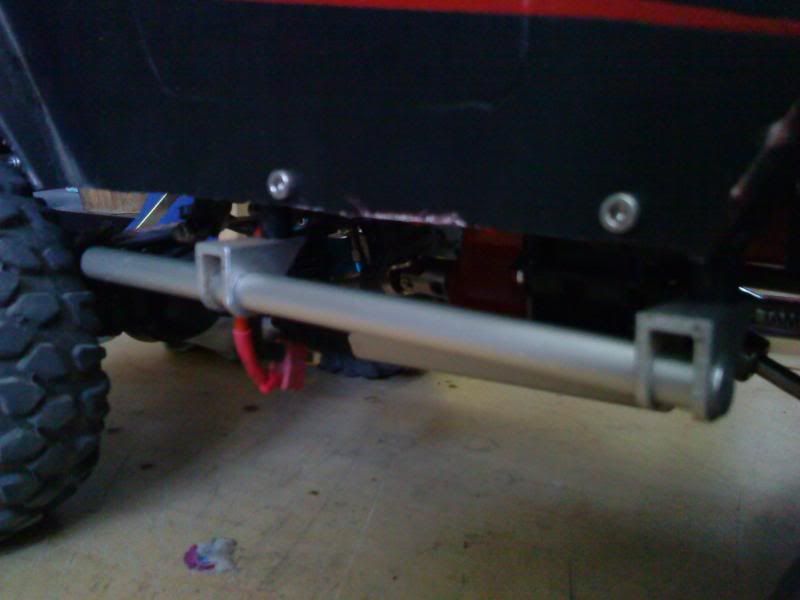 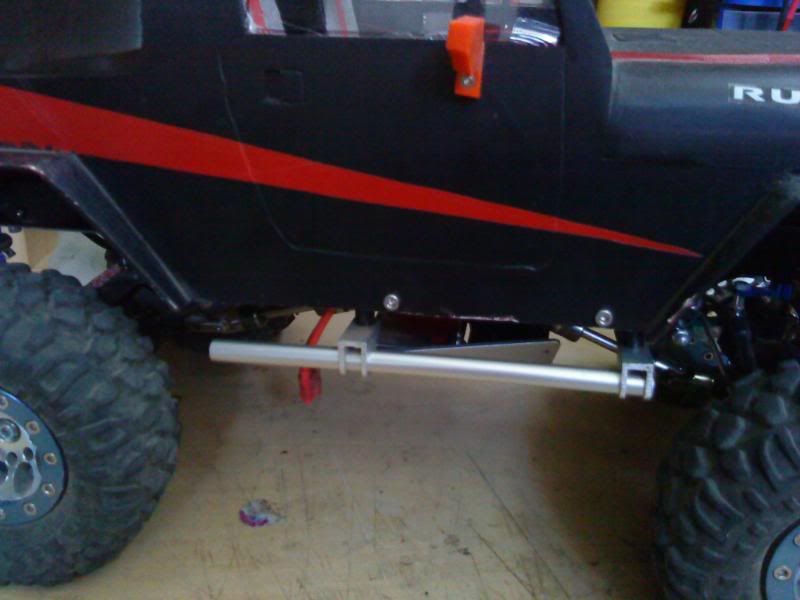 next was the rear lights...still need to make the red covers for them but IMO they came out reasonable.....  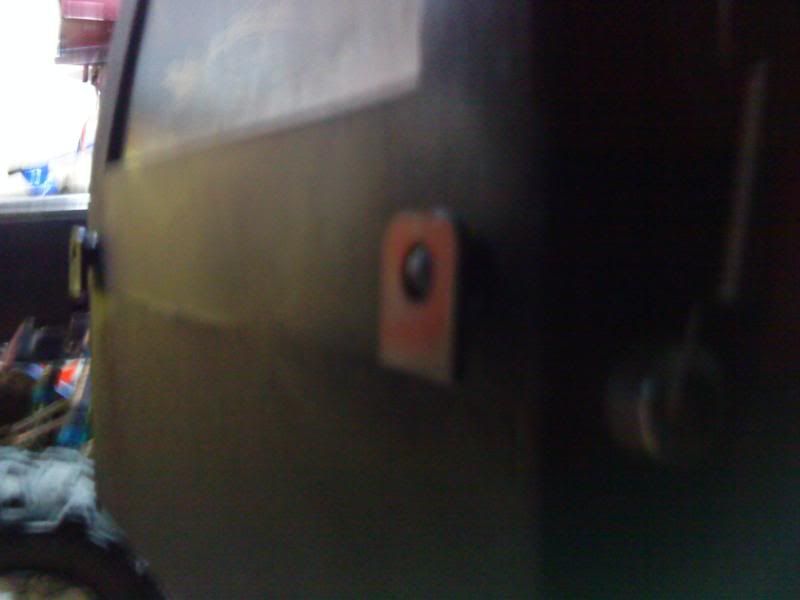  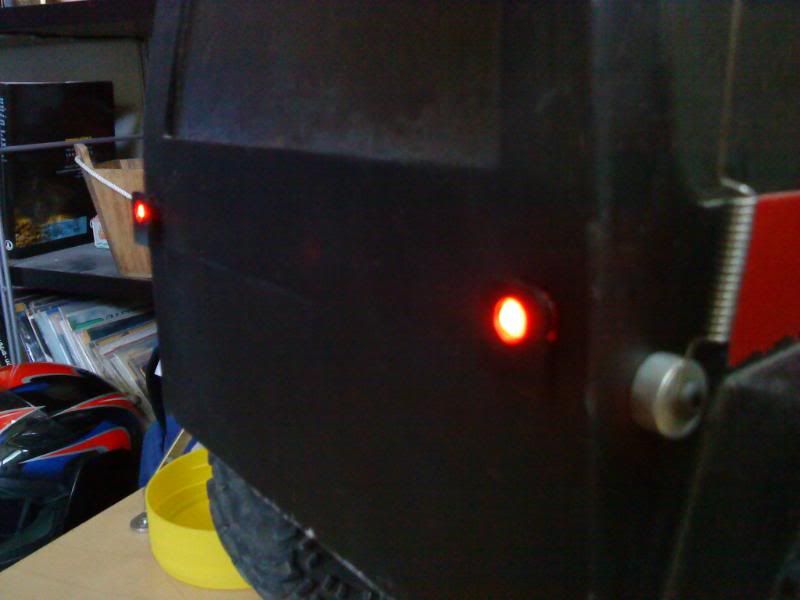 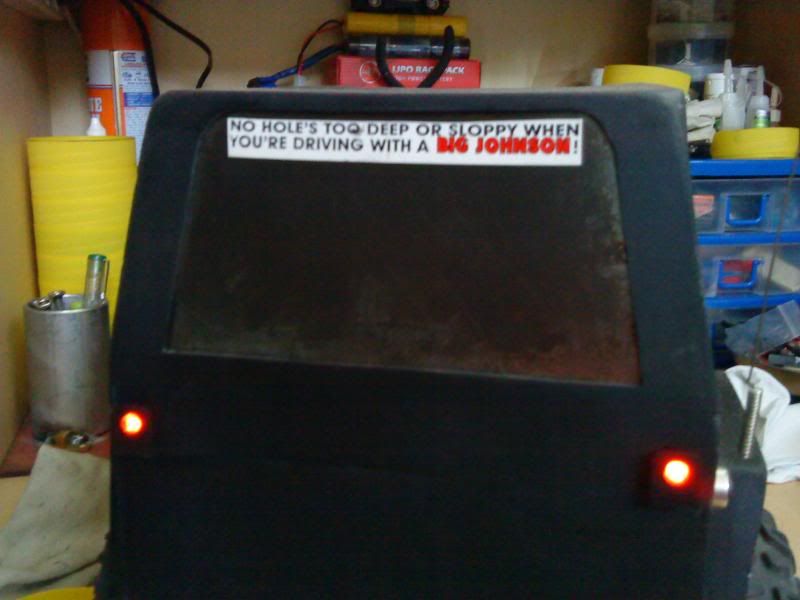 |
|
| |
|
08-15-2010, 03:15 PM
| #15 |
| Rock Stacker Join Date: May 2010 Location: united states
Posts: 57
|
this thing is very cool!!! |
|
| |
|
08-19-2010, 02:27 PM
| #16 |
| Pebble Pounder Join Date: Jul 2007 Location: out there...
Posts: 123
|
Well....since the guy that was suppose to make me the bumpers in a cnc is taking his time I've decided to do them on my own... so this is what i did: First thing was to saw in half the Rectangular aluminum tube : 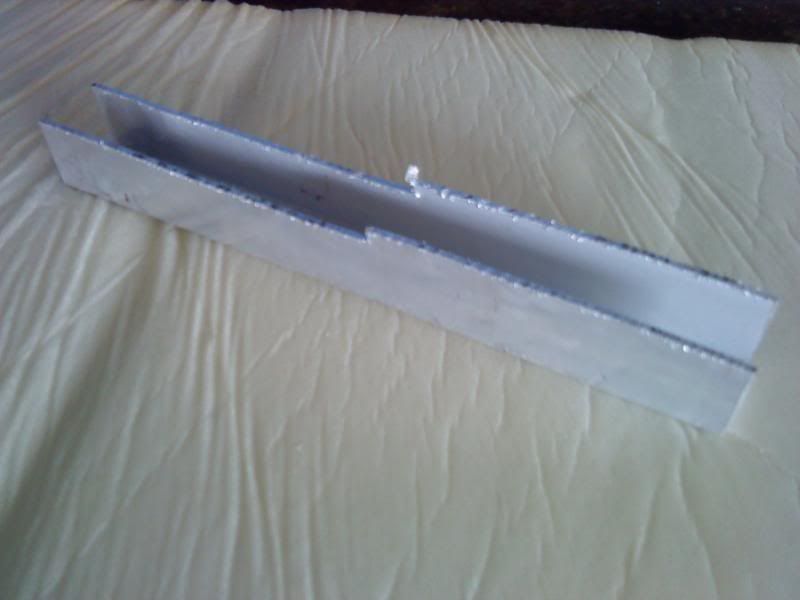 then I had to file the shape (front bumper) : 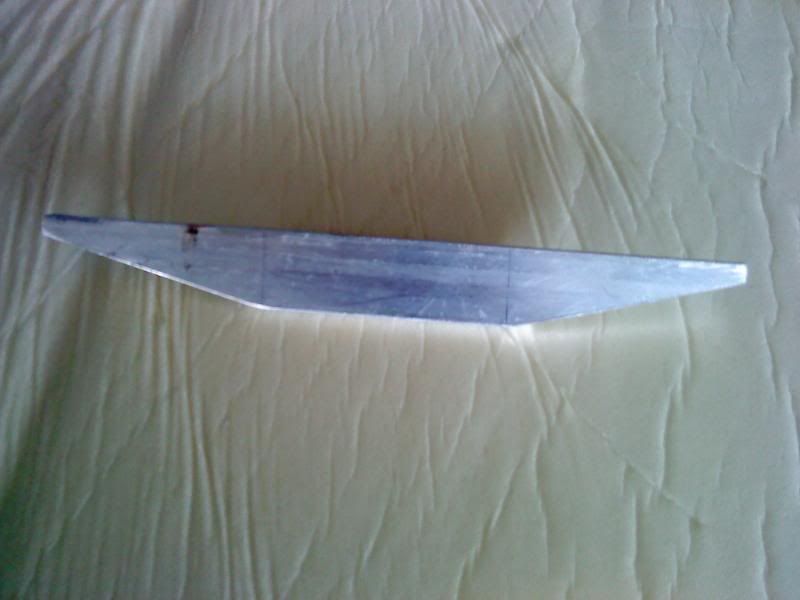 then i cut some styrene to fill the gap :  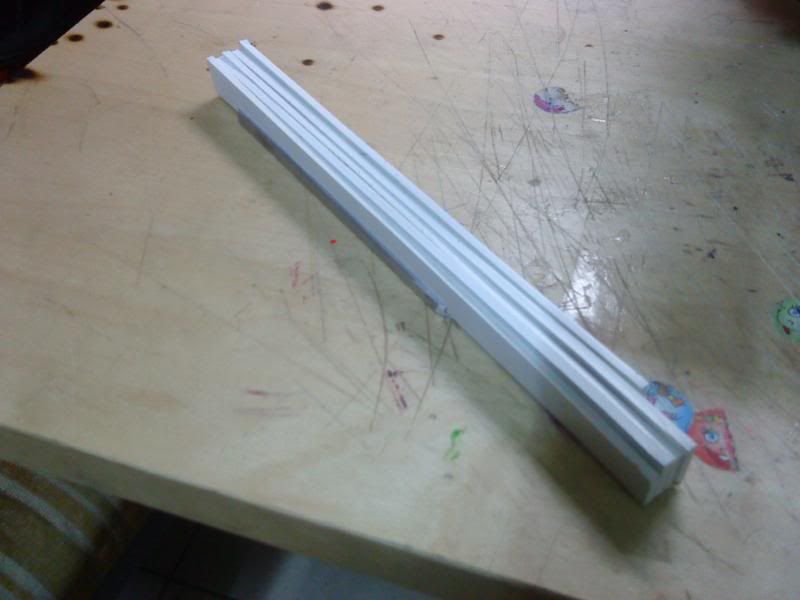 then after i glued them in, and file them to the desirable shape .....this is what came out of it front&rear bumpers :nice: : 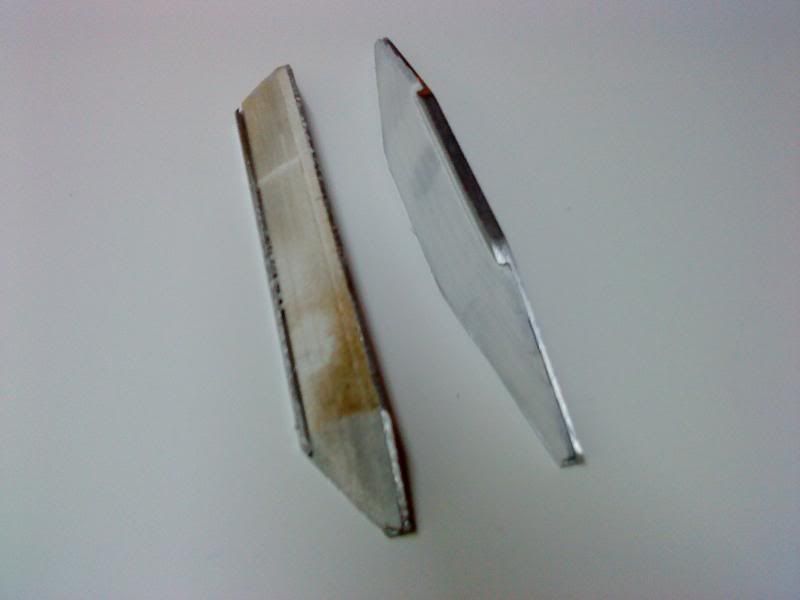 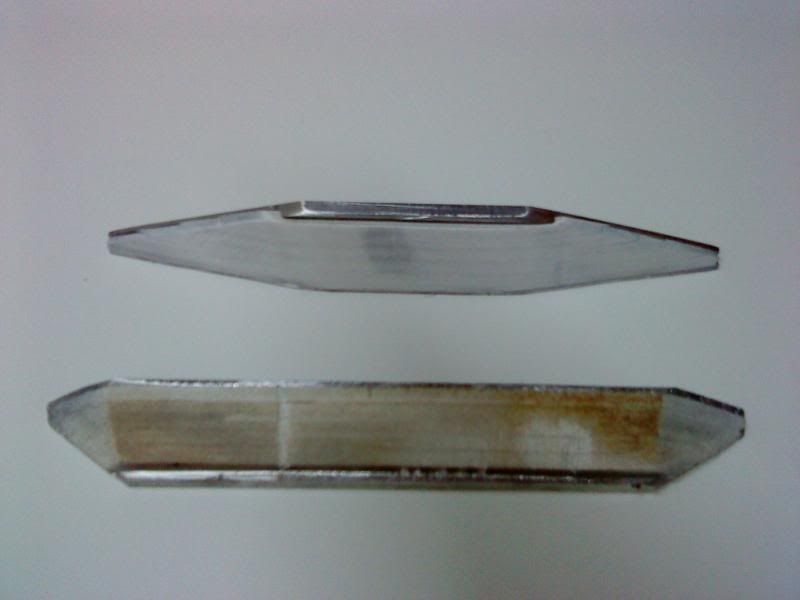 and some mock up pics front : 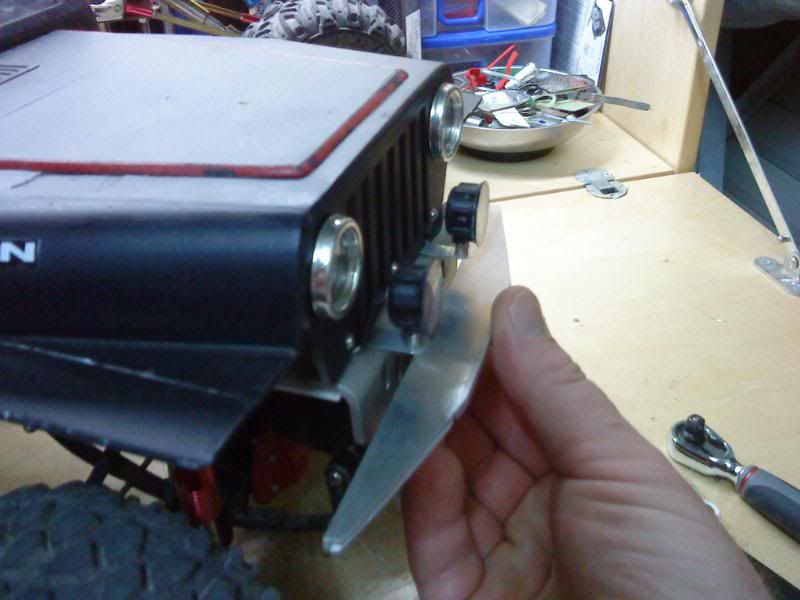 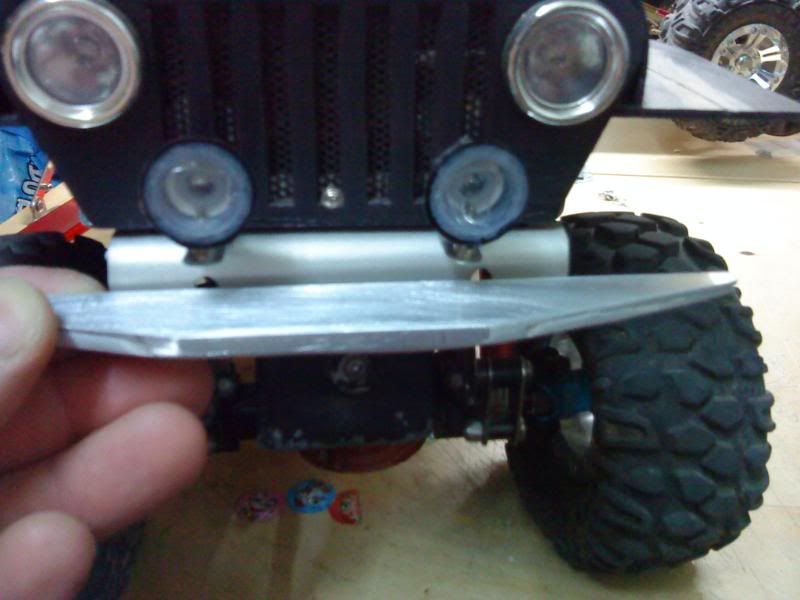 and rear : 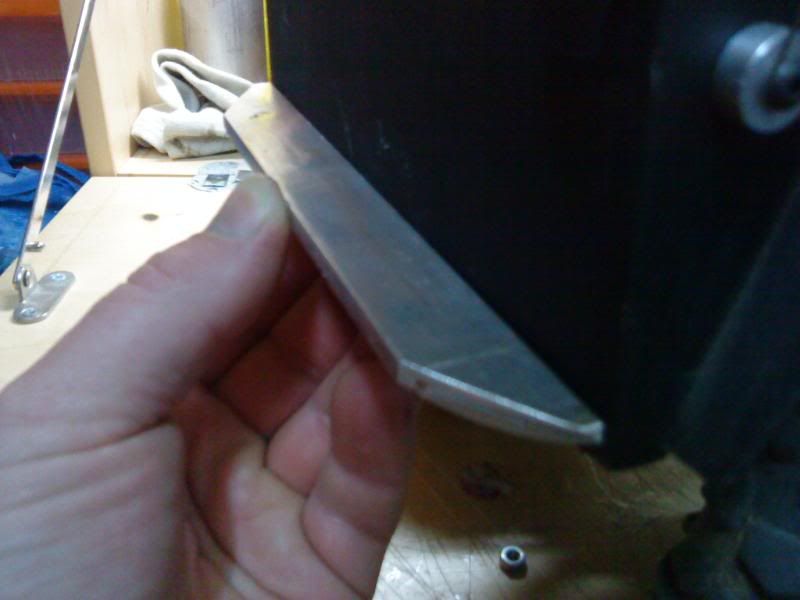 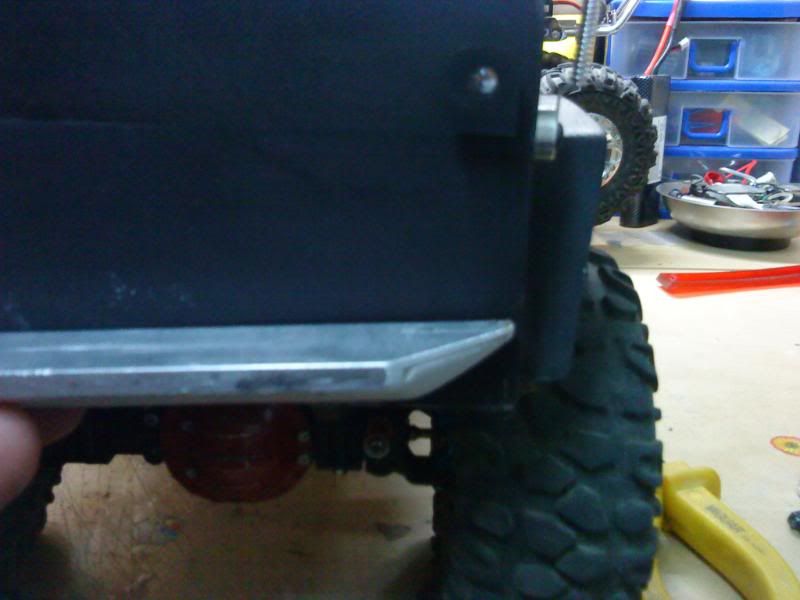 still need to mount them on and paint them but all in all I think they came out great :nice: what do you think guys |
|
| |
|
08-20-2010, 10:11 PM
| #17 |
| Pebble Pounder Join Date: Jul 2007 Location: out there...
Posts: 123
|
A lil update... sorry about the pics...i had to use the cellphone 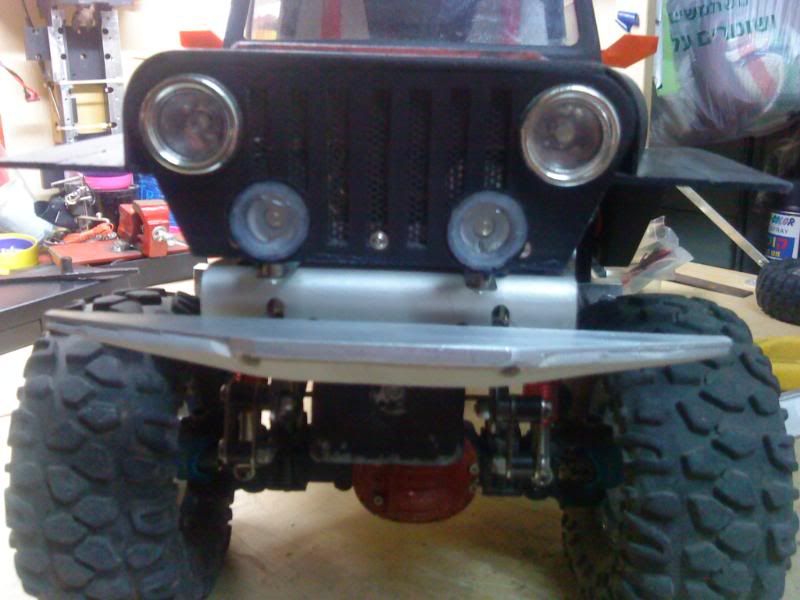 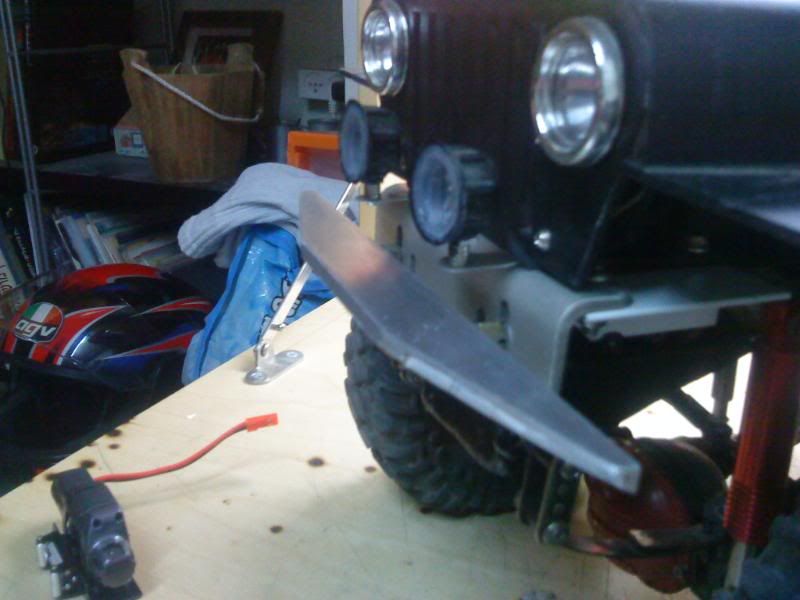 Tow hook : 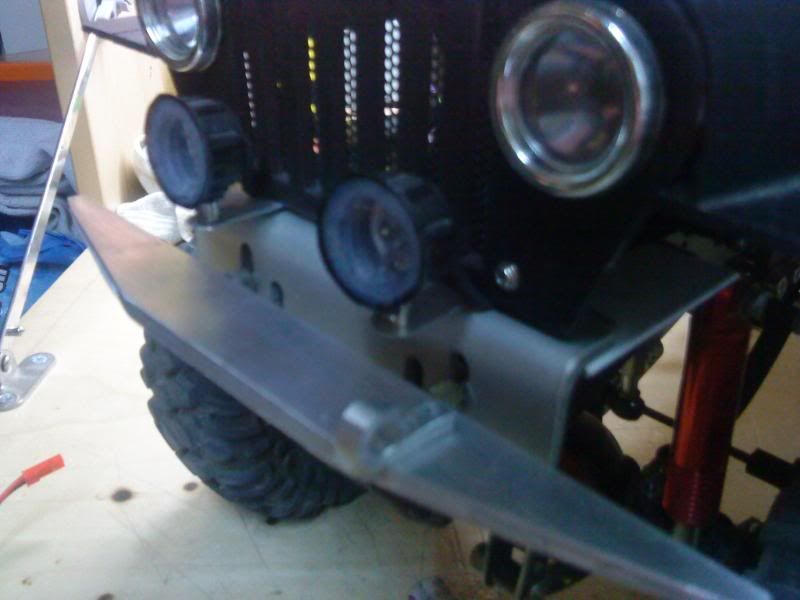 and with the winch as well : 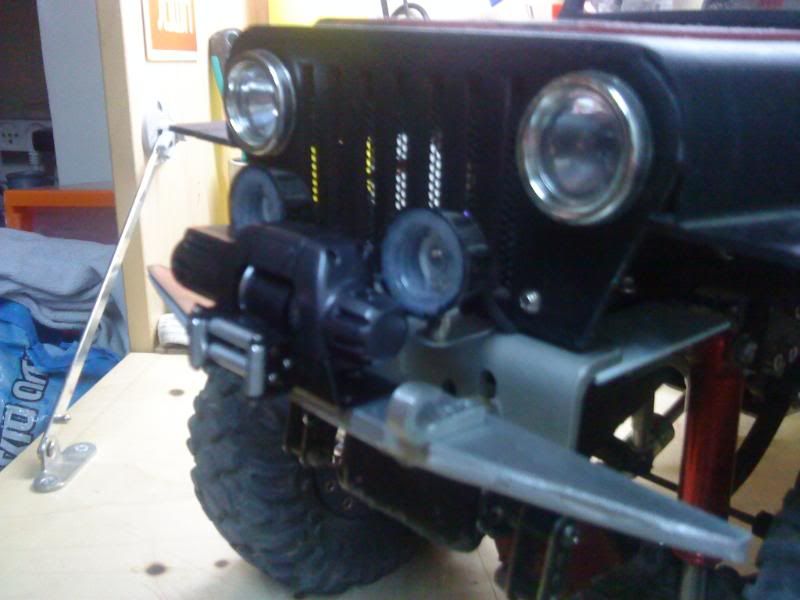 I need to spread the two Extra front lights or to move them to the bumper....but I'm happy with it :nice: now I'm working on the rear one ....more to come stay tuned |
|
| |
|
08-31-2010, 08:09 PM
| #18 |
| Pebble Pounder Join Date: Jul 2007 Location: out there...
Posts: 123
|
I have an update guys The bumpers are on The front with the winch : 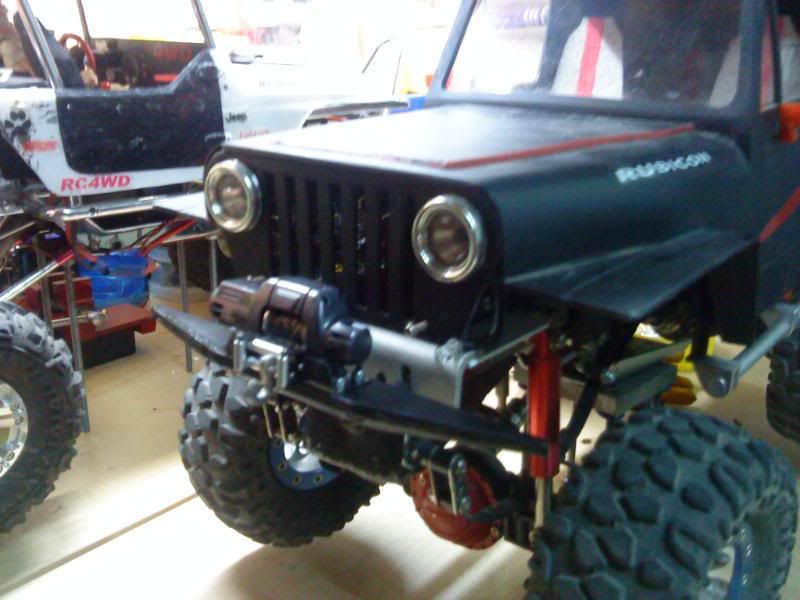 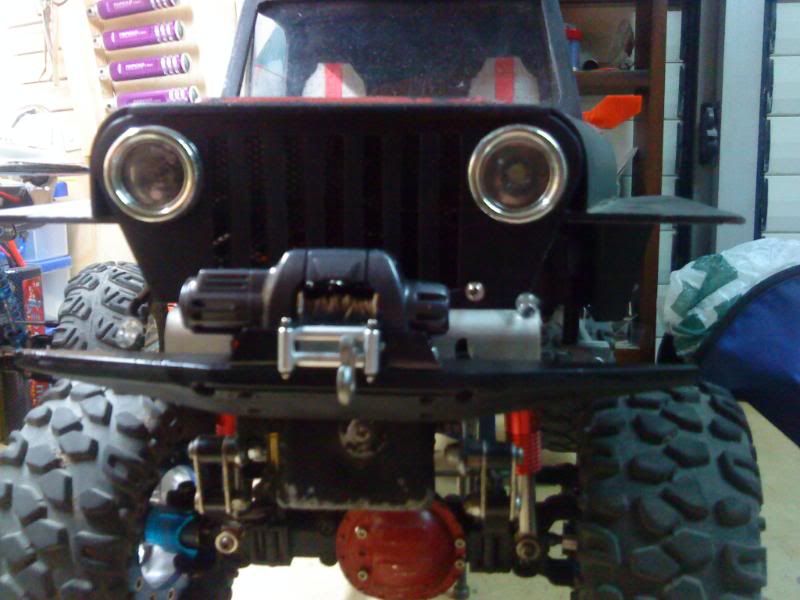 Rear with the spare and the red covers for the rear lights : 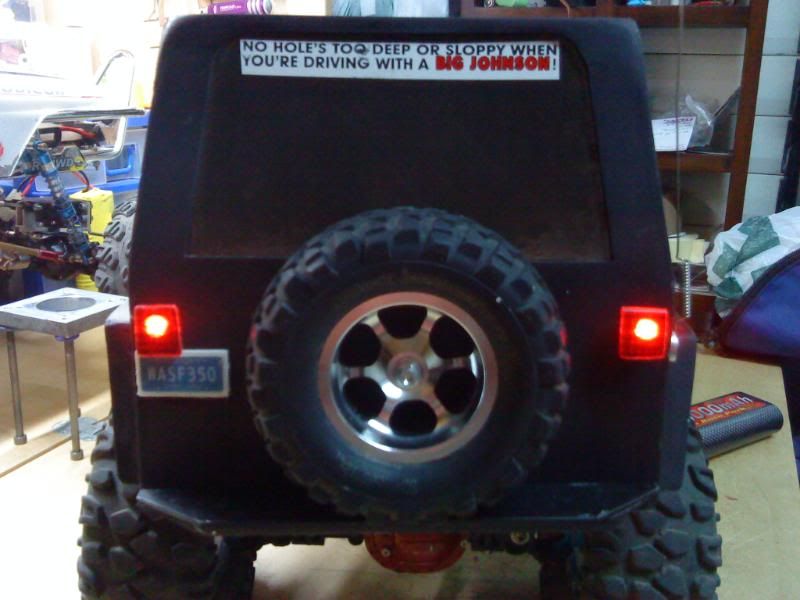 Made me a new plate 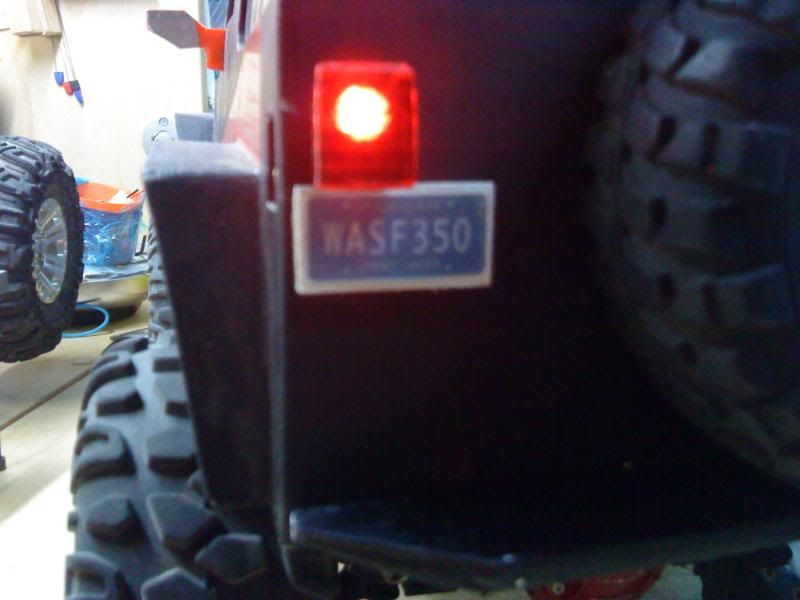 That's it for now ....hope to get some out doors pics soon . |
|
| |
|
09-01-2010, 05:52 AM
| #19 |
| Quarry Creeper Join Date: Feb 2009 Location: Seattle, WA
Posts: 374
|
damn,...it is a sweet hand made jeep where did u get the tow hook on the front bumper?? |
|
| |
|
09-01-2010, 08:10 AM
| #20 | |
| Pebble Pounder Join Date: Jul 2007 Location: out there...
Posts: 123
| Quote:
I made the hook on the front bumper and the one for the winch This is how i did it : (Sorry for the bad pics had to use my phone camera for this first I've drilled two holes in a 4mm thick piece of steel like this: 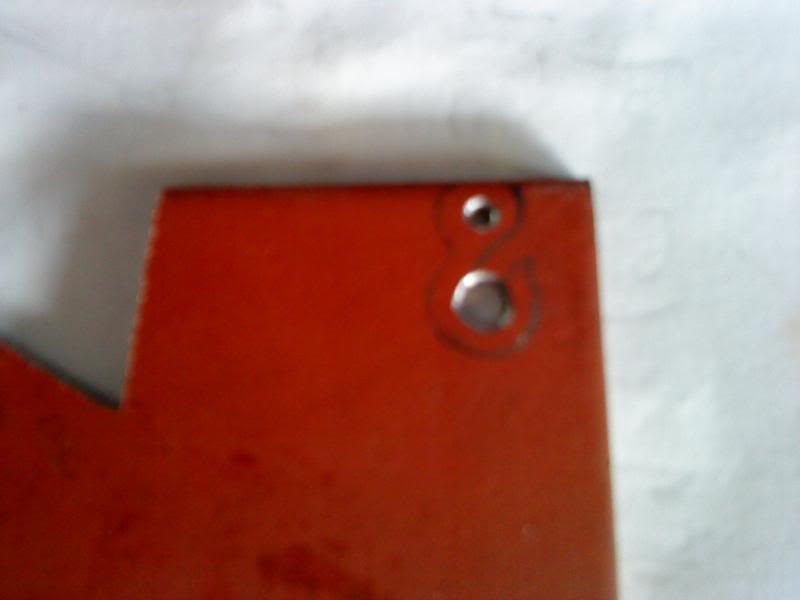 then I used the saw to open up the hook : 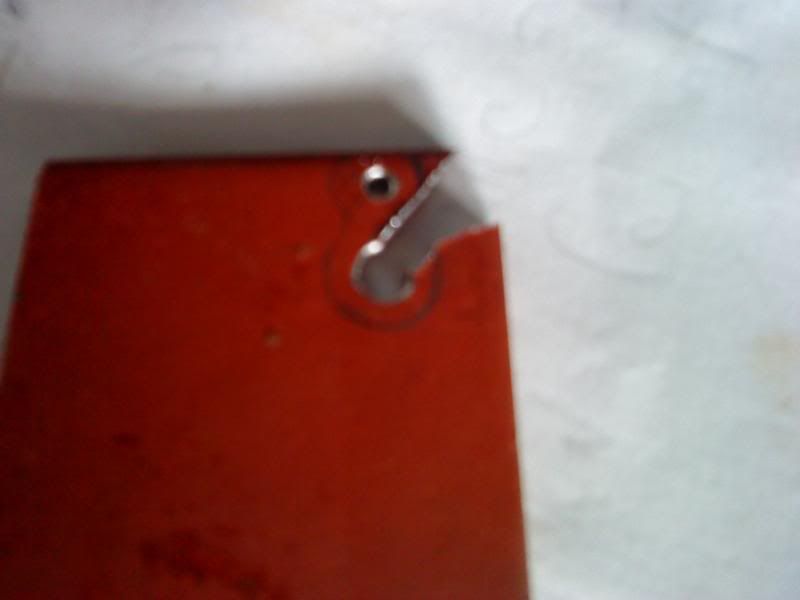 after that I've cut the hook out and filed its shape: 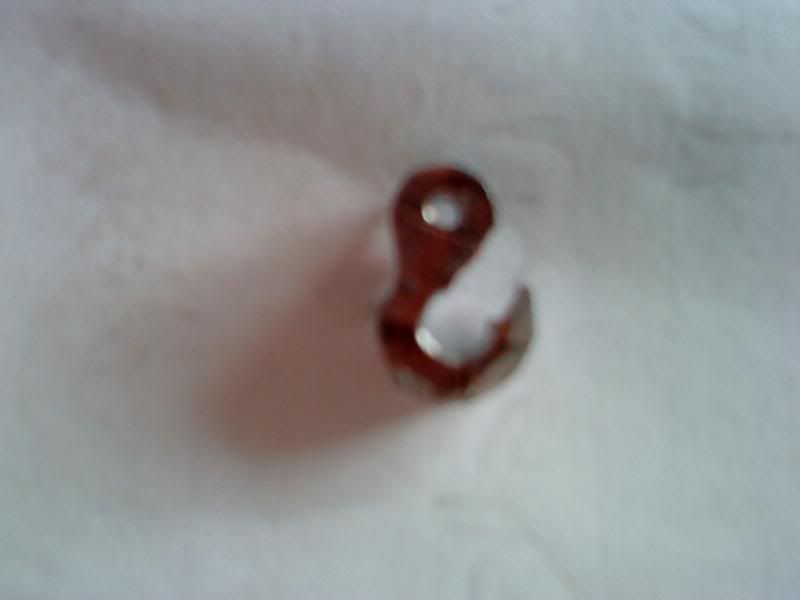 | |
|
| |
|
| |


 Linear Mode


