| |
| |||||||
 |
| | LinkBack | Thread Tools | Display Modes |
 11-08-2010, 06:17 AM
| #1 |
| RCC Addict Join Date: Nov 2009 Location: New Wilmington, PA
Posts: 1,234
|
Warning, photos are with a cell phone, I always have it with me, so its easier to take the photos. I'm setting all of the parts off to the side that were on the bronco to rebuild it in the future, it was a good truck, but I wanted to build a replica of my jeep I had. Mine was a YJ, and all I was able to find was a TJ, so I had to sacrifice that... May decide to make a new grill in the future though, but It will never have leafs like mine did. Got the body, seeing what needs done. The wheelbase is way off in this picture. 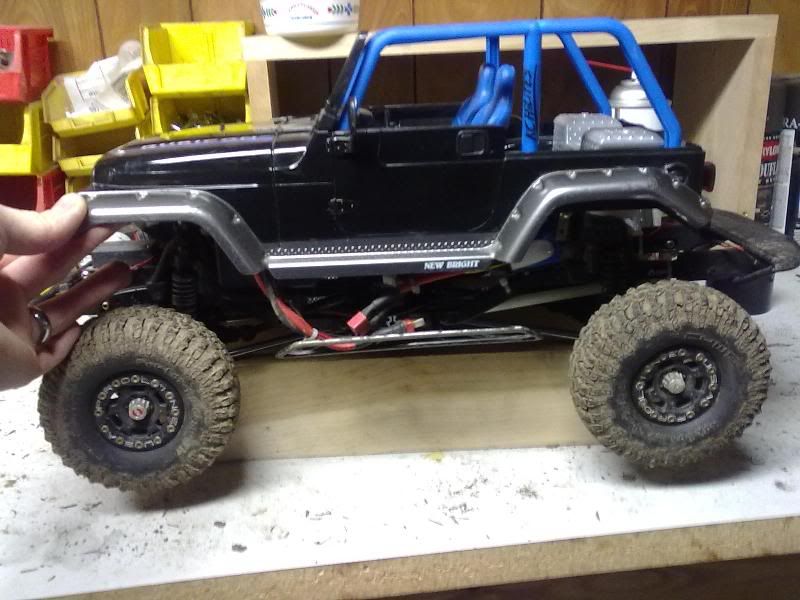 Cleaning up the body: 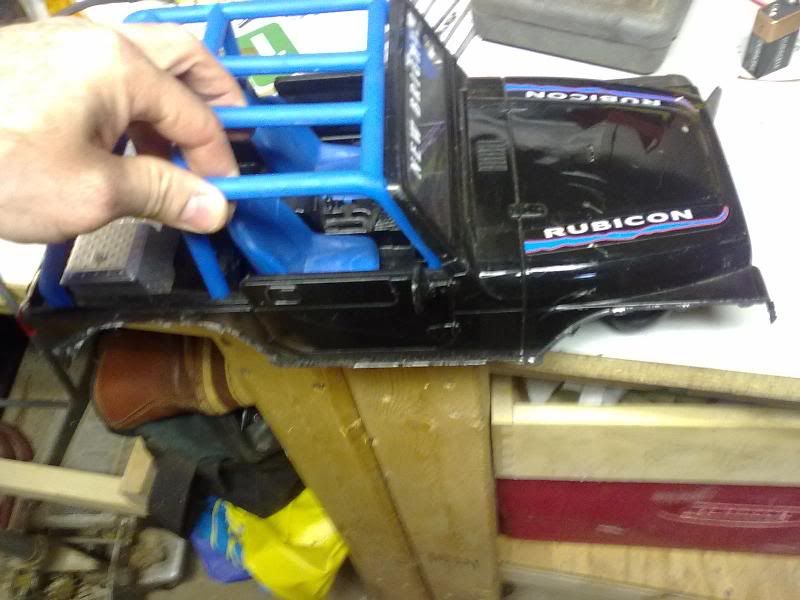 Mockup of the wheelbase. I think it sits at about 11.5 in this photo. I wanted it slightly longer. 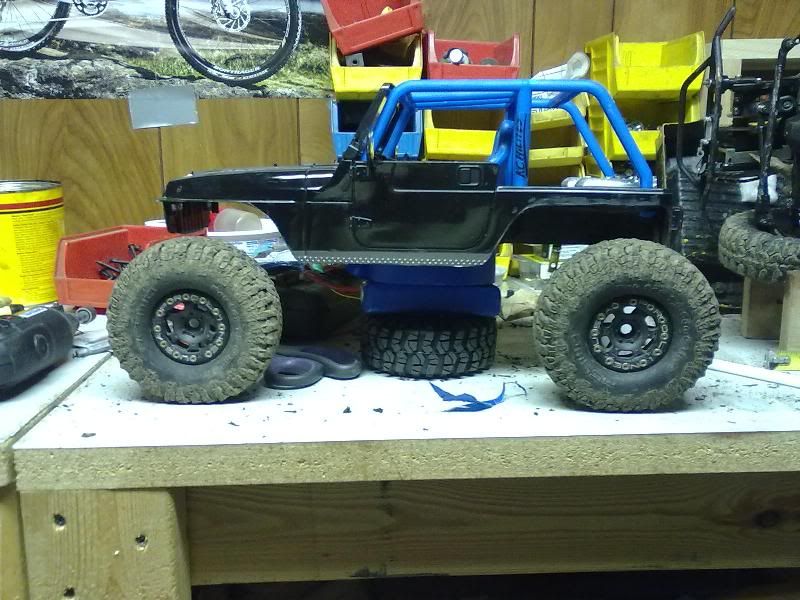 Stripping everything down except the tranny. 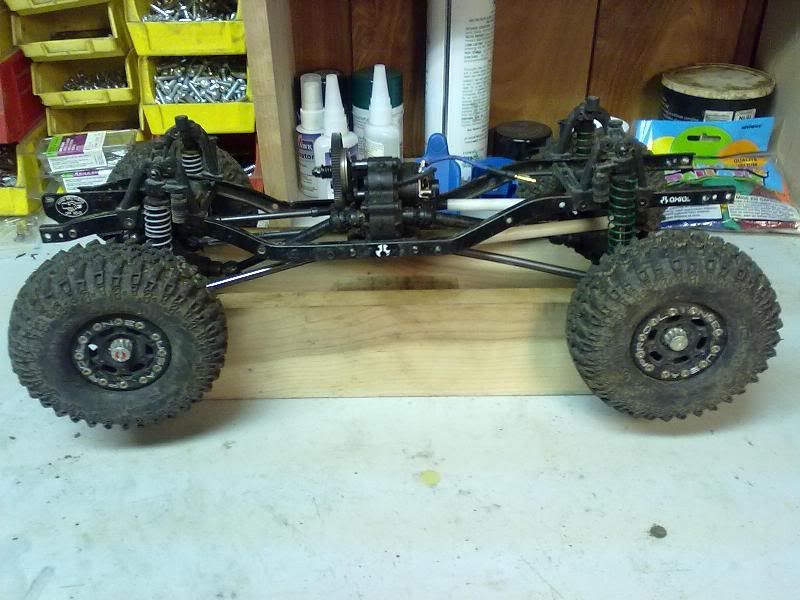 This is how it sits currently, I think about 11.625-11.75 wb. 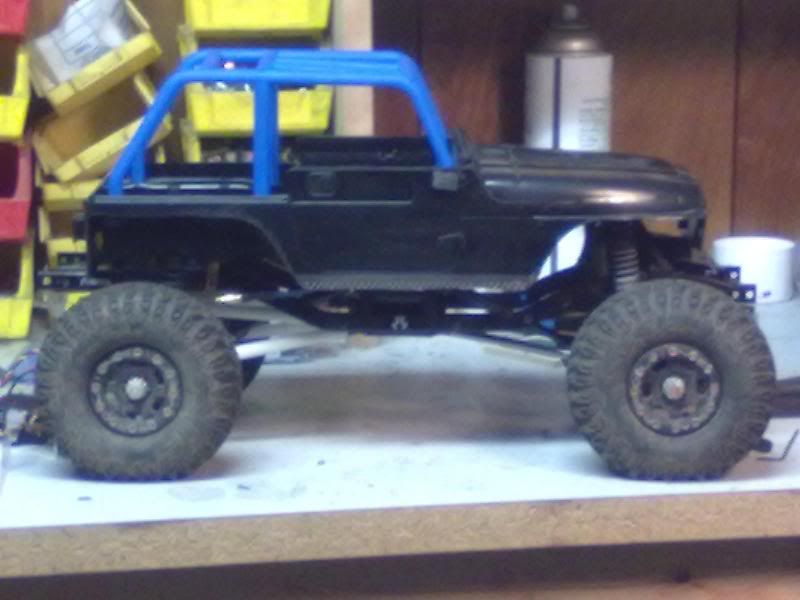 My to do list: Cut the rear frame rails and add a mount to the rear- My goal is to hinge the body in the back for easy access to everything. Make a mount for the steering and winch servo. Make "boat sides" where sliders would be. Probably out of aluminum. Make an easy way to hold the front of the body down, maybe a reverse post where the pin us in the chassis instead of coming through the hood or a really strong magnet. Roll cage, small bumpers, tube in the front of the hood, and mount the fake winch in the front. Then the waterproofing comes! Last edited by JesterSpec; 11-08-2010 at 06:34 AM. |

|  |
| Sponsored Links | |
| | |
|
11-08-2010, 06:22 AM
| #2 |
| RCC Addict Join Date: Nov 2009 Location: New Wilmington, PA
Posts: 1,234
|
Got the steering servo mounted, the winch is mounted above, in the photo it isn't done, but I did get it mounted. I'm not sure if I like it though. 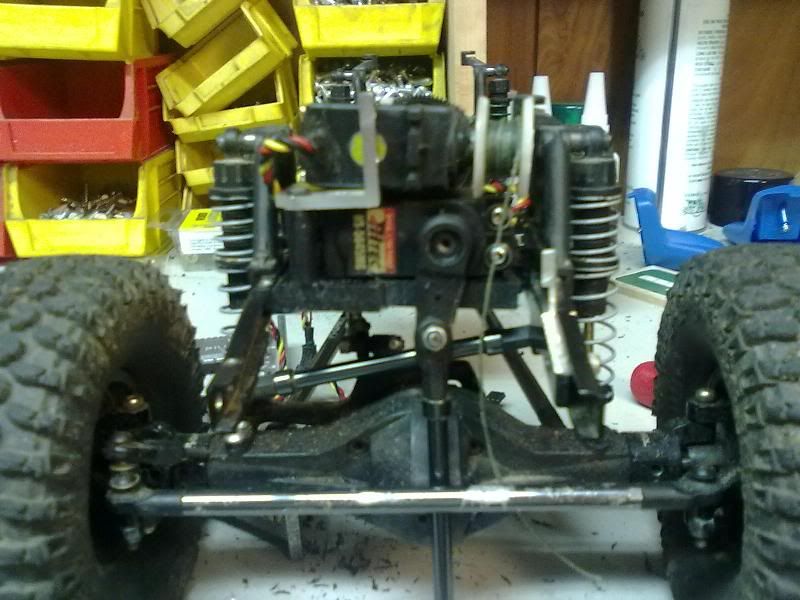 View from the front, I'm not sure on the ride height though. I'm mounting the 3R winch up there just to take up space, and route the line through. I'll be making the mount out of delrin. This is just a mockup, it didn't want to stay, that is why it looks crappy. 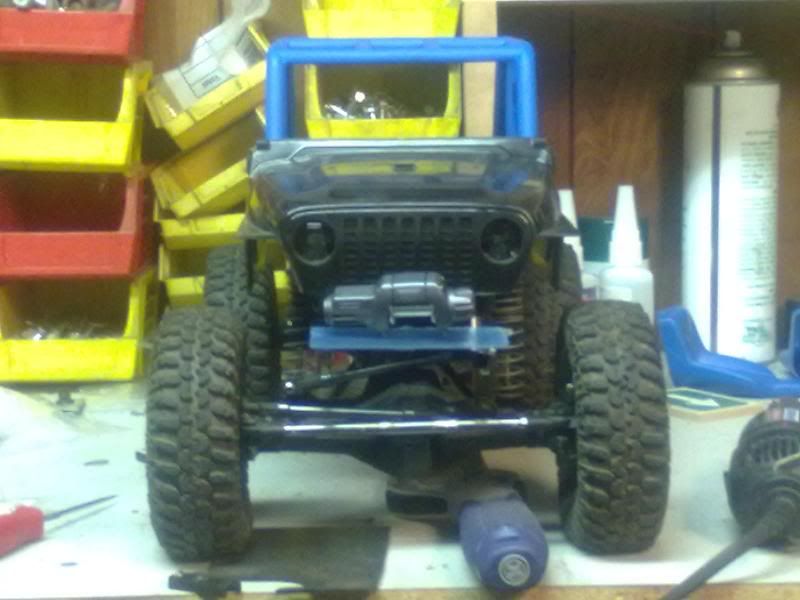 View of the rear after I cut about an inch off of the frame. 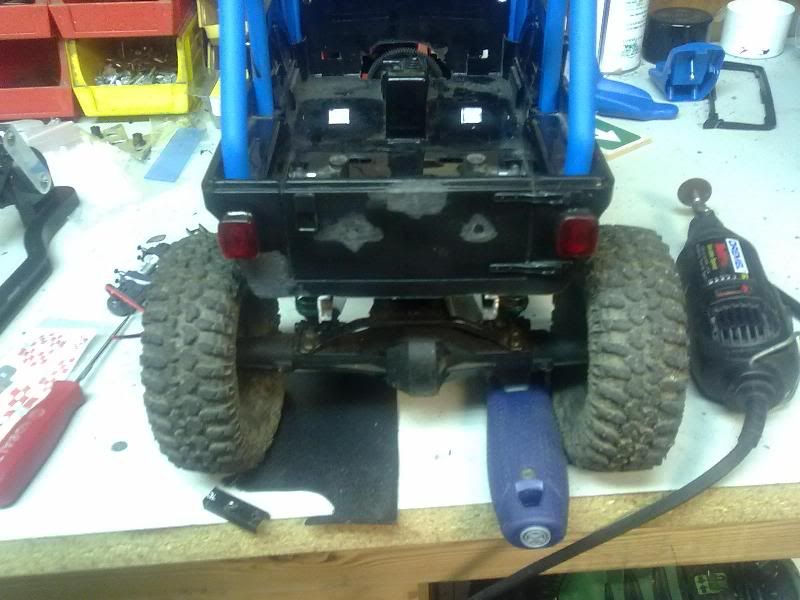 View of the hinges, they seem to hold well enough. I sandwiched them between two sheets of kydex I had laying around. Glue doesn't stick to that stuff, so I sandwiched and then put 3 screws through to hold them on. I then glued the other end to the body. If the glue on the body doesn't hold I'll figure out something else to hold the hinge to the body. 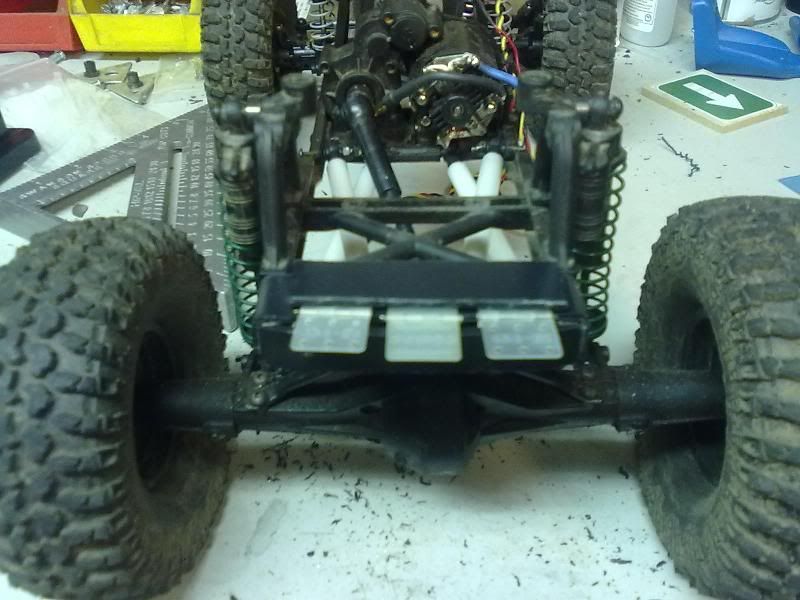 Last edited by JesterSpec; 11-08-2010 at 06:35 AM. |
|
| |
|
11-08-2010, 06:27 AM
| #3 |
| RCC Addict Join Date: Nov 2009 Location: New Wilmington, PA
Posts: 1,234
|
More done, but still slow moving. I only got to do about 2 hrs worth of work on it sunday. Next weekends tasks: Cage finished Sliders/angle the sides down to the frame(boat tail?) Get a front bumper worked up with a winch mount, maybe a grill/hood hoop. Some form of a rear bumper. Bender I'm using, Cheap brake line bender, someone gave it to my dad for doing work for them, got it for 5$ out of a "special" bin. 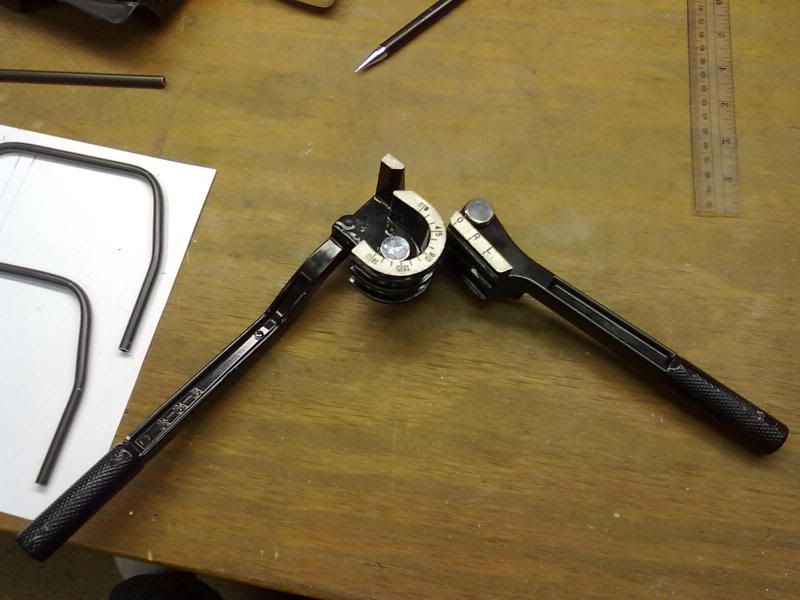 Showing how the bender works, its not perfect, but it was free to use. 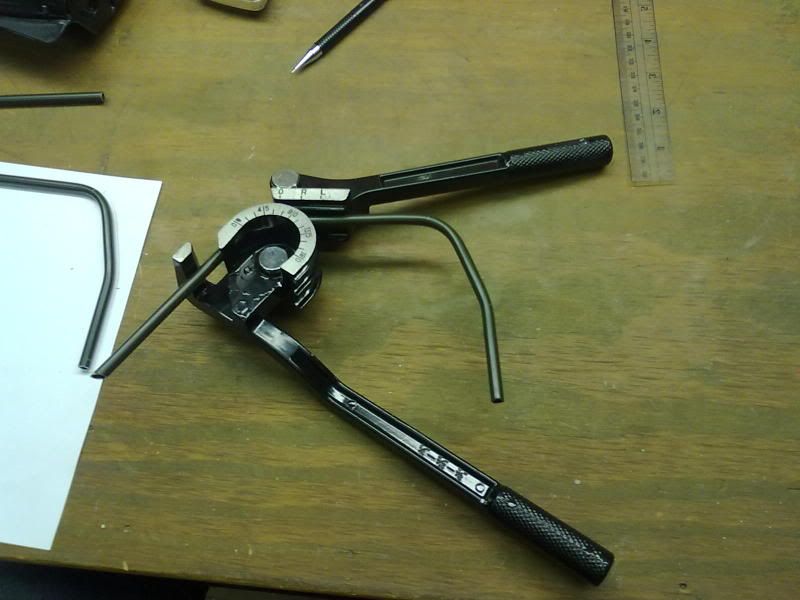 I took the old cage that was in the jeep(factory plastic one) and sketched it out. I liked the windshield bends and where they fell, and the height so I just replicated that. I didn't like the TJ/YJ style rear bend, so I just did something different. This is .25" Coated brake line. 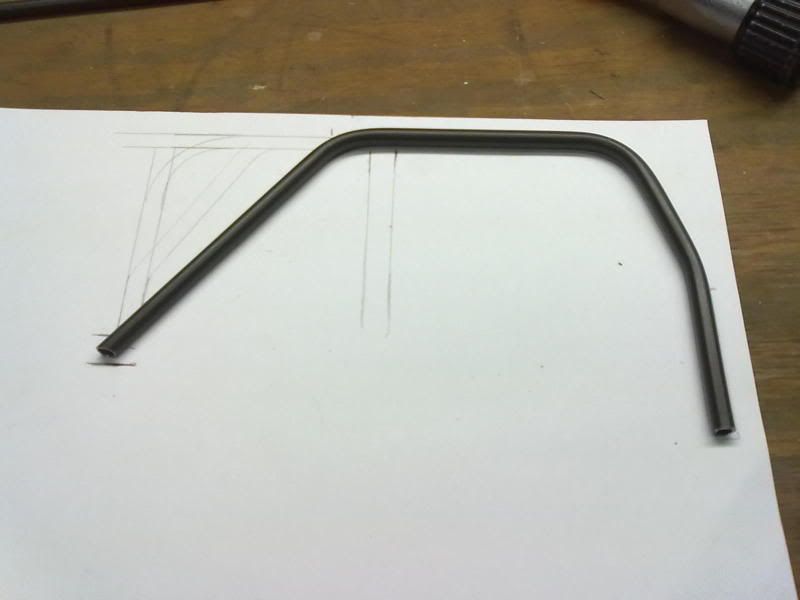 Like everyone says, its easy to bend one, but duplicating is a PITA: 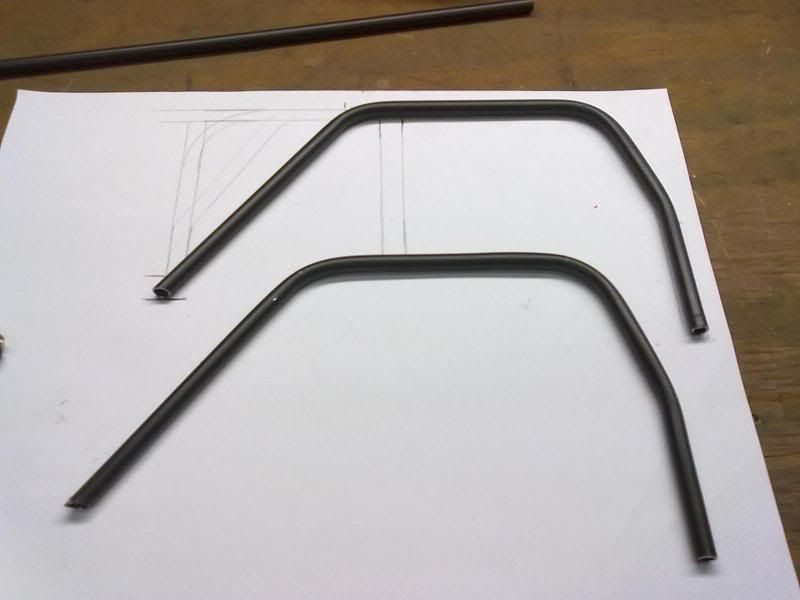 Cage spreaders are silver soldered up, you just can't see them. This is about how the cage will sit. I now need the drop bars but I ran out of time. 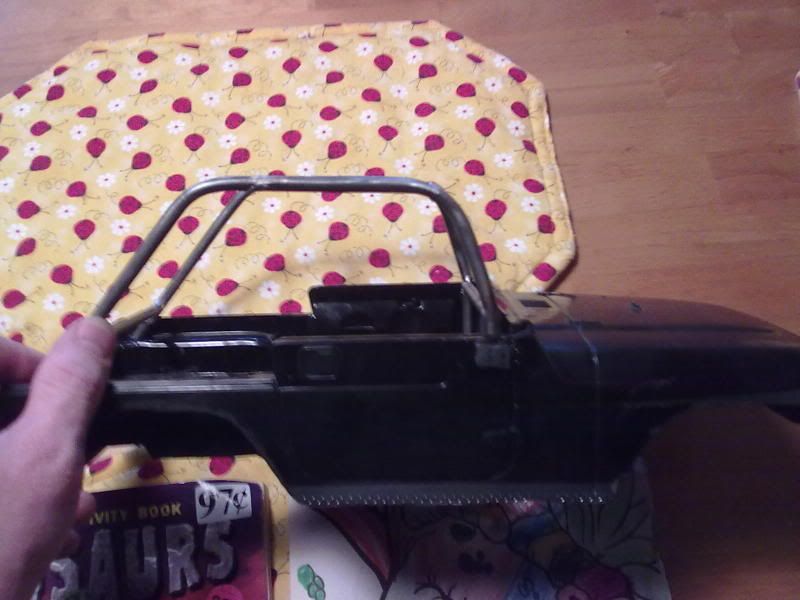 I'll try to get a photo tonight of the cage mocked up in the jeep mounted to the chassis to get the full effect, and a top view of the cage. Its not perfect, but I figure I'm going to beat on it, and I'm no tuber pro, so its good enough for a trail rig. Last edited by JesterSpec; 11-08-2010 at 06:37 AM. |
|
| |
|
11-08-2010, 06:28 AM
| #4 |
| RCC Addict Join Date: Nov 2009 Location: New Wilmington, PA
Posts: 1,234
|
crap, I'll get them into photobucket
|
|
| |
|
11-08-2010, 06:48 AM
| #5 |
| RCC Addict Join Date: Nov 2009 Location: New Wilmington, PA
Posts: 1,234
|
I threw a link on the servo so it can steer now. I have some bump, but I'll live with it. Biggest difference is that I jumped to 2.2 tires. The 1.9's just looked to small. This is before the new steering link  These 2 are before I notched the dash out for the cross bar. 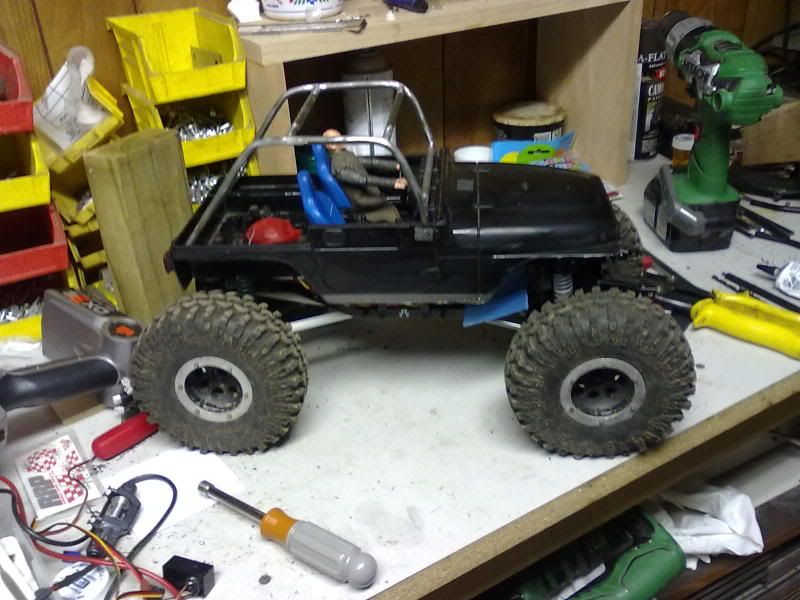 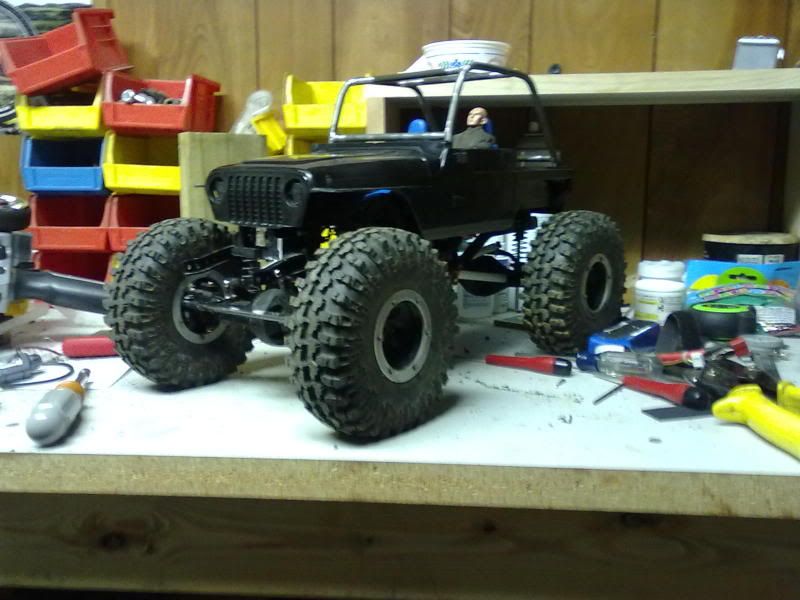 Besides missing the down tube in the center, and mounting, this is how the cage will sit. 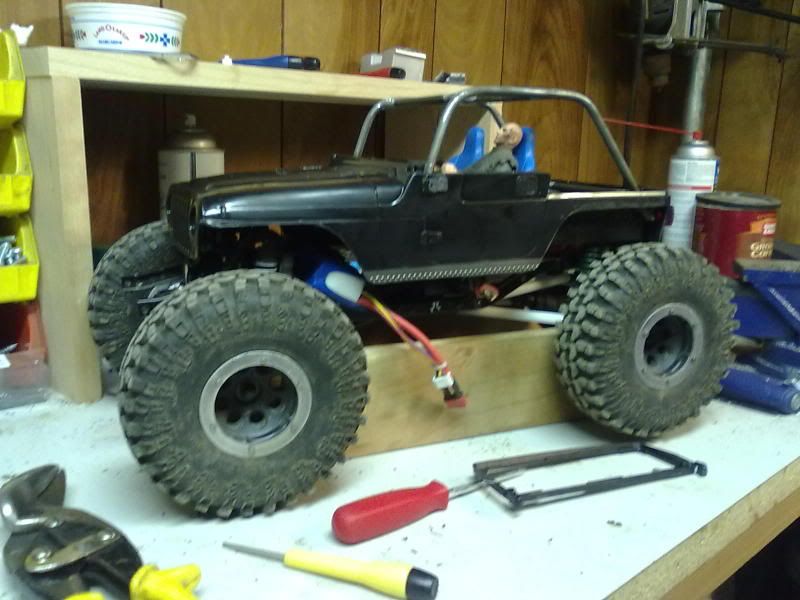 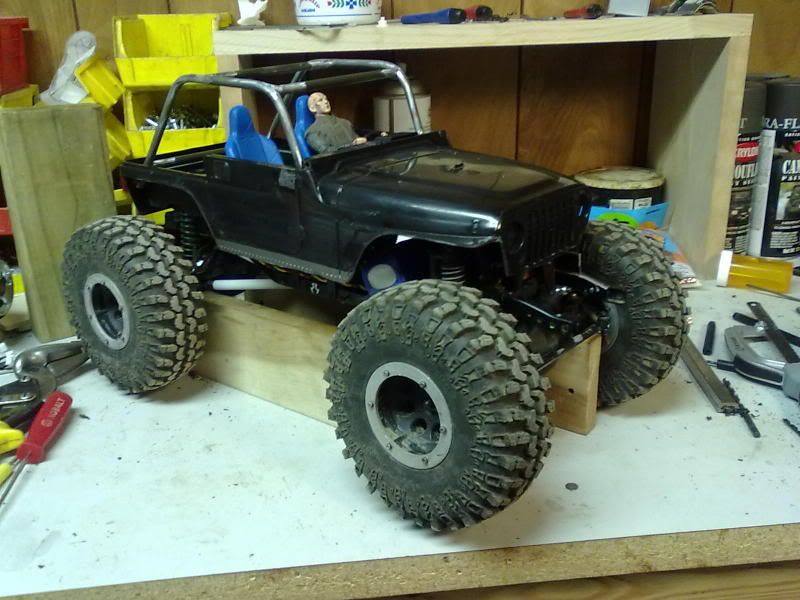  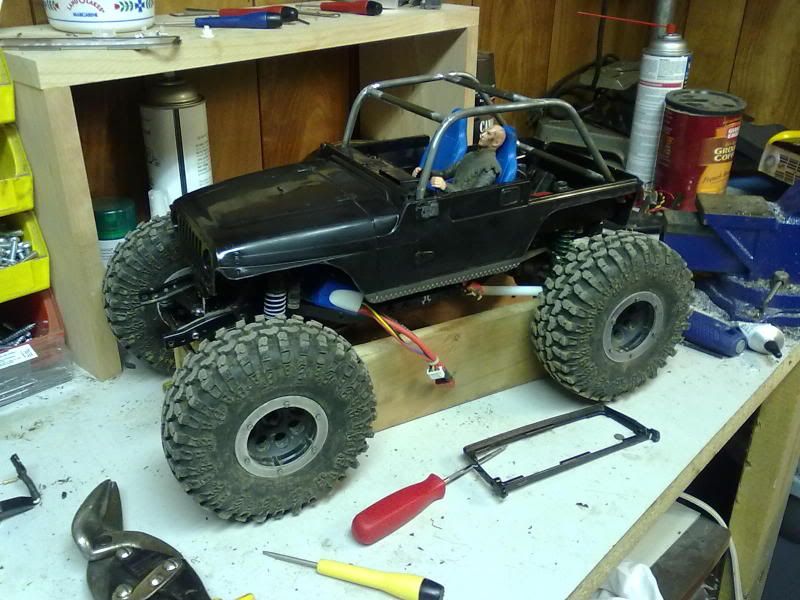 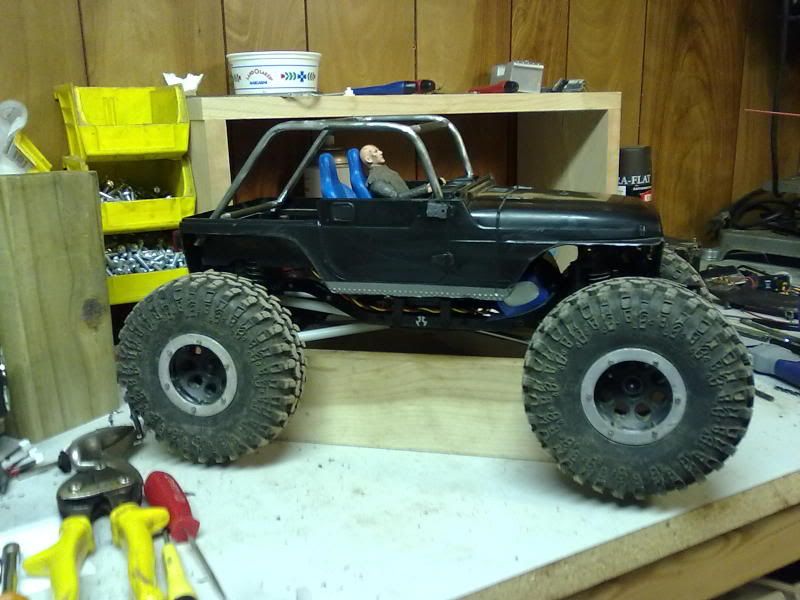 Prioritys, these need done before the 21st Cage finished Sliders/angle the sides down to the frame(boat tail?) Get a front bumper worked up with a winch mount/Mount winch When I get spare time: a grill/hood hoop. Some form of a rear bumper. Lights Mounting scale stuff. Depending on the national rules: rear steer |
|
| |
|
11-08-2010, 07:02 AM
| #6 |
| Sometimes, I make things.   Join Date: May 2009 Location: Mt. Upton
Posts: 1,043
|
Boat side is the term your looking for, not boat tail  Nice decision on going w/ 2.2's, it looked good before but I feel bigger tires is always better. I like the slope of the rear on your rollbar, looks like it will have pretty decent sedlf righting ability if it ends up on its lid. Glad you got the pics fixed. |
|
| |
|
11-08-2010, 07:04 AM
| #7 |
| RCC Addict Join Date: Nov 2009 Location: New Wilmington, PA
Posts: 1,234
|
Last of the cage building: 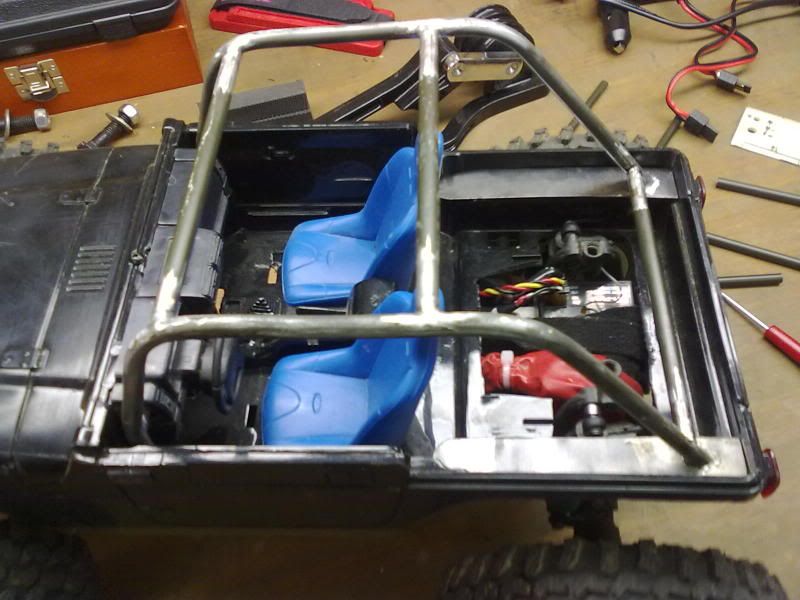 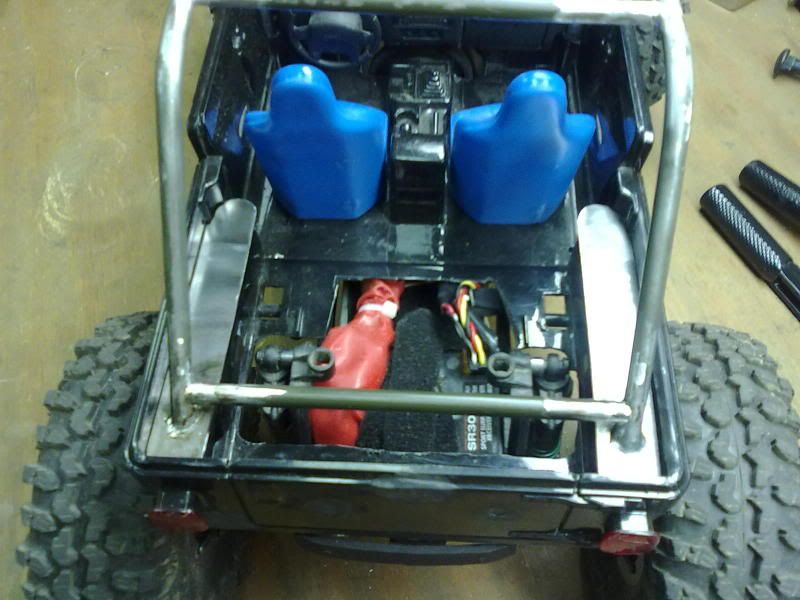 Playing with the working product with the attached cage: 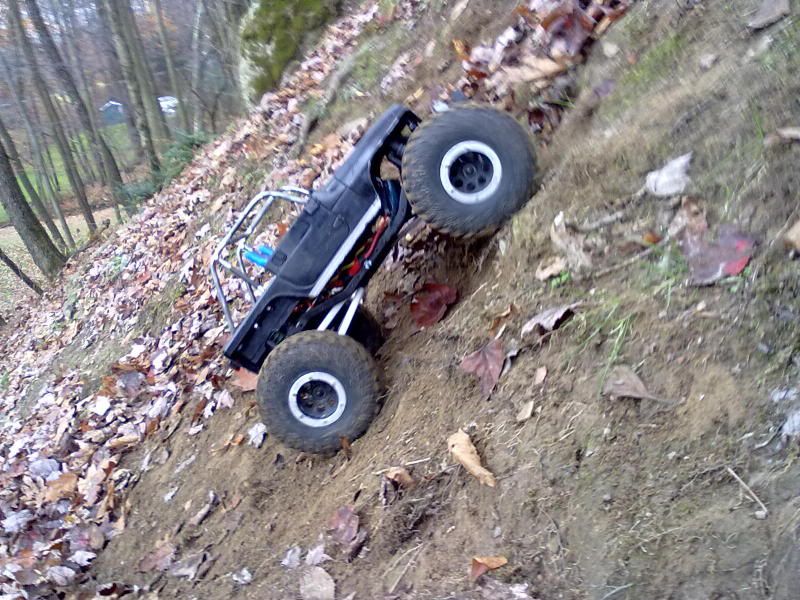 Painting stage: 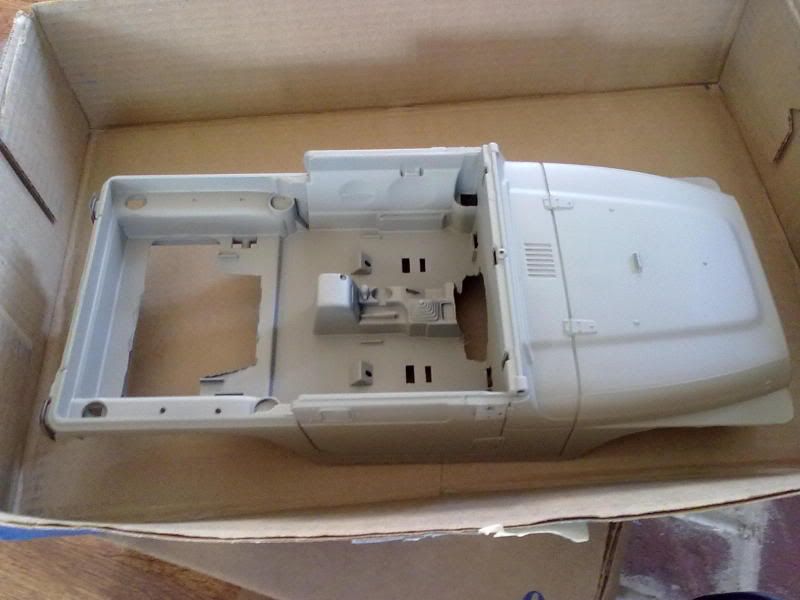 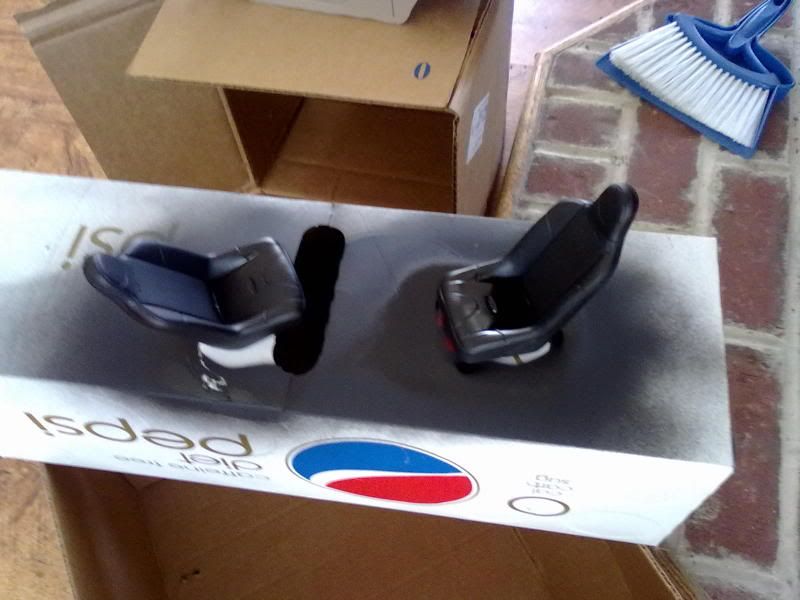 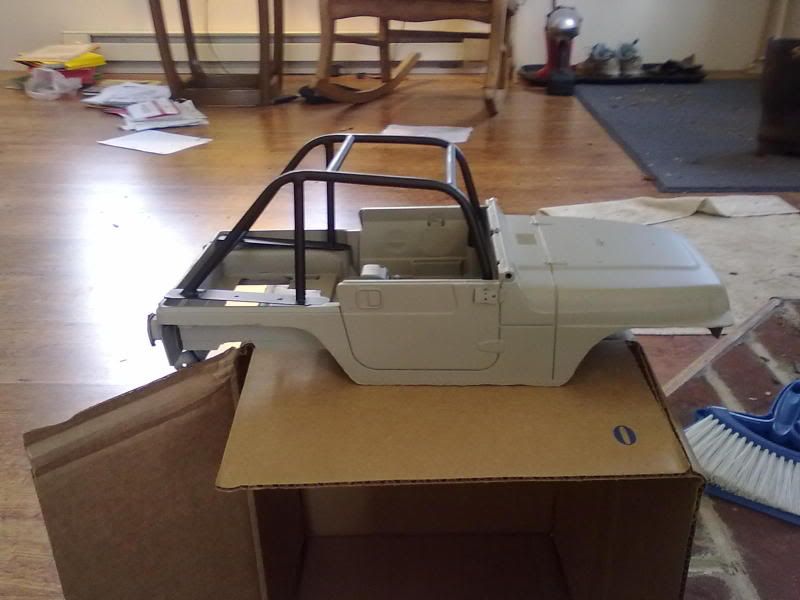 Finished looking pretty: 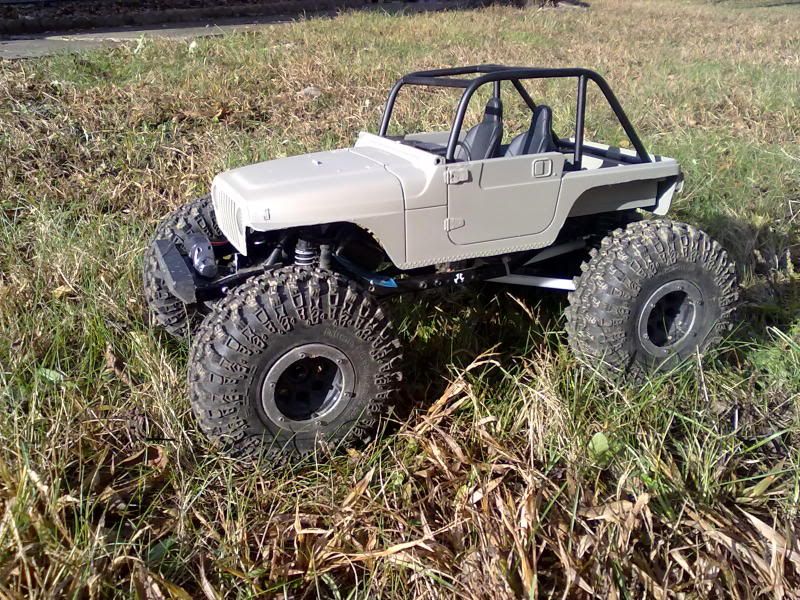 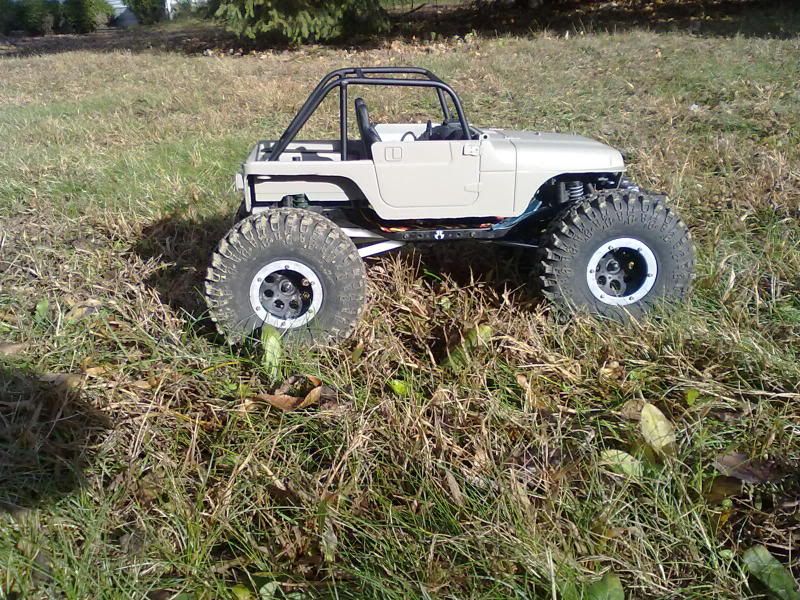 Still have some small details to go over (under the hood), but this is how it will sit for the 21st. |
|
| |
|
11-08-2010, 07:24 AM
| #8 |
| RCC Addict Join Date: Nov 2009 Location: New Wilmington, PA
Posts: 1,234
|
Rebuilt shocks, sits a little bit more level now(photos were before the shock rebuild) In these pictures I added sliders/boat side that cover the chassis up to the body, gives it a lot more clean of a look. I'll be mounting lights this week, still have to figure out how I'm doing that. 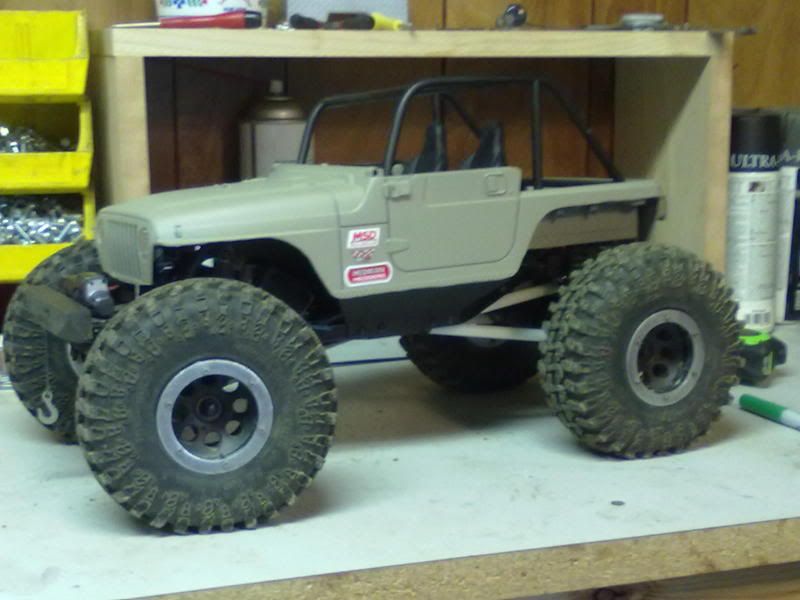 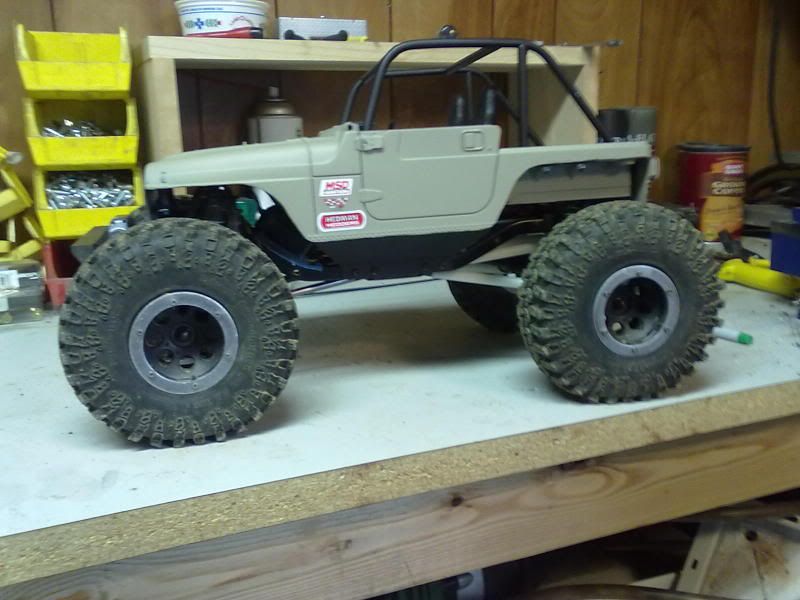 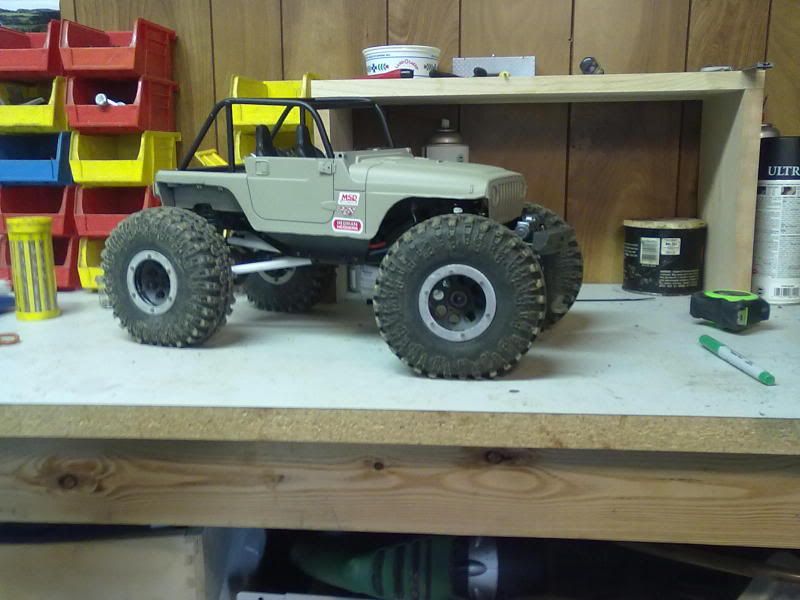 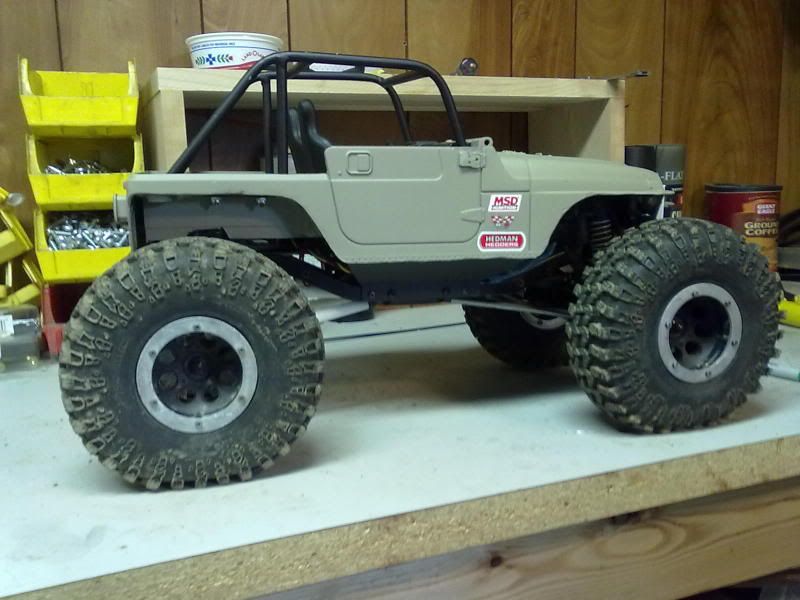 I'll try to get some better photos, and poser shots up next. Last edited by JesterSpec; 11-08-2010 at 07:56 AM. |
|
| |
|
11-08-2010, 03:07 PM
| #9 |
| I wanna be Dave Join Date: Jun 2007 Location: Canada, eh.
Posts: 2,919
|
Looks good, I like the colour. I'd personally comp cut the doors. They look a little "unfinished" with the b-pillar being further back behind them now. Might want to see about mounting the winch servo lower too so you can lower the body a bit more. Otherwise, nice clean looking rig.
|
|
| |
|
11-08-2010, 03:39 PM
| #10 | |
| RCC Addict Join Date: Nov 2009 Location: New Wilmington, PA
Posts: 1,234
| Quote:
I'd love to cut the doors, but I've never worked with styrene, I'll get to it someday, but its not on the top of my list. The tranny is what is keeping me from lowering the body. I really don't want to cut the body up to mount it lower. Its tall, but not to tall. I think it almost fits the tires. Thanks for the positive feedback. I also didn't want to narrow the back end but I'm afraid how the tires are going to interfere when I get the steering hooked up. | |
|
| |
|
11-11-2010, 07:35 AM
| #11 |
| RCC Addict Join Date: Nov 2009 Location: New Wilmington, PA
Posts: 1,234
|
Fitting the steering servo in: 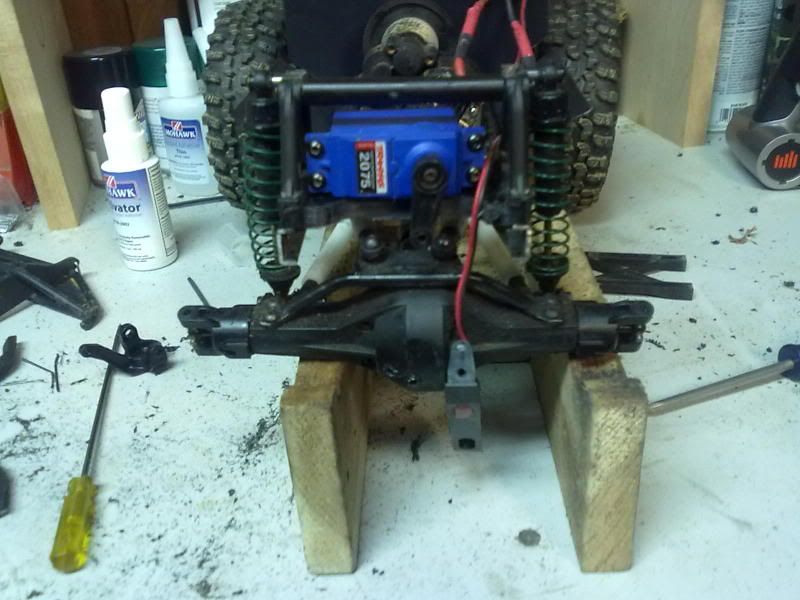 Got it fitted and setup with 4 link, and it sucked, so I changed it to have a panhard bar. Same basic setup as the hand brothers kit. It works really well now. 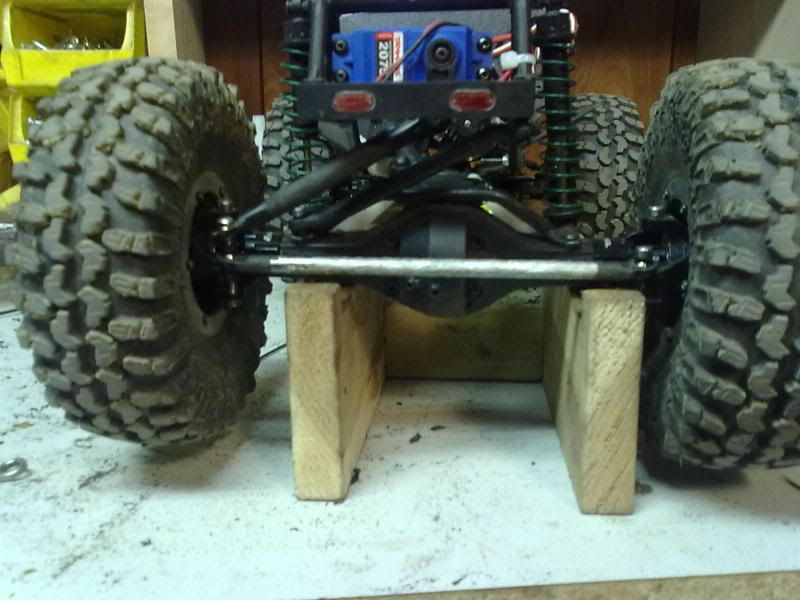 Off the body shot: everything is tucked in. I need to get a new y harness as the wires are frayinging in it, and I don't want to waste time trying to fix it. Battery is tucked up nicely under all of the electronics. I need to bend the firewall slightly back to open it up more under the hood. 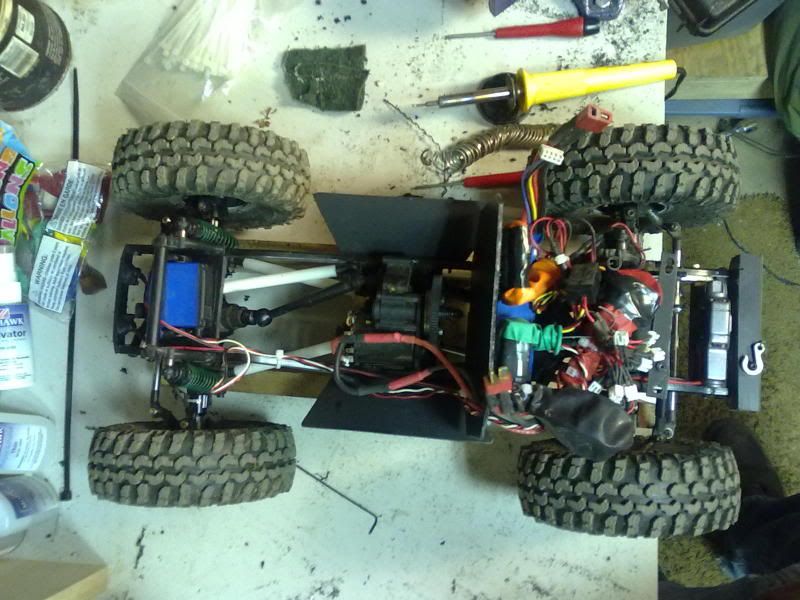 I have 2 weeks to learn 4 wheel steering, and to get some headlight buckets in, and wired. Small vid of me testing the steering: Not sure why, but the vid wouldn't embed. http://www.youtube.com/watch?v=Pkwz7hVY29M |
|
| |
|
11-12-2010, 05:48 AM
| #12 |
| Quarry Creeper Join Date: Jan 2009 Location: Bay City
Posts: 365
|
Man how did you get everything tucked in there. Okay, Do you guys buy new newbright bodies or find them elsewhere. I want to build one but not sure if I should buy a new one or just keep checking swap shops. |
|
| |
|
11-12-2010, 06:07 AM
| #13 |
| RCC Addict Join Date: Nov 2009 Location: New Wilmington, PA
Posts: 1,234
|
when you finally get things figured out, its not that bad fitting. FXR is small, rx is small, and I put in a wireless remote for the winch. I took the wireless control out of the box to make it smaller. After putting the firewall in, that cleaned things up alot. The lighter stuff is up top, and the battery is at the bottom by the frame. The wiring is what makes the biggest mess. bodys: the JK are selling at radio shack again, you have to buy the whole RC car. The TJ I found in the sale area. |
|
| |
|
11-12-2010, 06:04 PM
| #14 |
| Quarry Creeper Join Date: Jan 2009 Location: Bay City
Posts: 365
|
I will be swinging by my local radio shack this weekend.
|
|
| |
|
11-21-2010, 12:45 AM
| #15 |
| Pebble Pounder Join Date: Jul 2009 Location: Fort scott
Posts: 174
|
Or you can check local flea-markets and yard sales. I picked one up today for 7,50. |
|
| |
|
11-24-2010, 06:31 PM
| #16 |
| RCC Addict Join Date: Dec 2009 Location: Rock Bouncin' with the Patented Technique
Posts: 1,374
|
Looks good. I use the same bender. It ain't the best thing but it gets the job done.
|
|
| |
|
11-25-2010, 12:50 AM
| #17 |
| Quarry Creeper Join Date: Jan 2008 Location: Hollister
Posts: 223
|
I'm liking the rebuild!!!! Where can I find info on scale TTC???
|
|
| |
|
11-25-2010, 12:15 PM
| #18 | |
| RCC Addict Join Date: Nov 2009 Location: New Wilmington, PA
Posts: 1,234
| Quote:
Just look around and see what everyone else is building. there are no real rules yet. | |
|
| |
|
11-27-2010, 09:46 AM
| #19 |
| RCC Addict Join Date: Sep 2005 Location: Behind the torch!
Posts: 1,360
|
Here are a few pics of the Jeep in action at our TTC last weekend 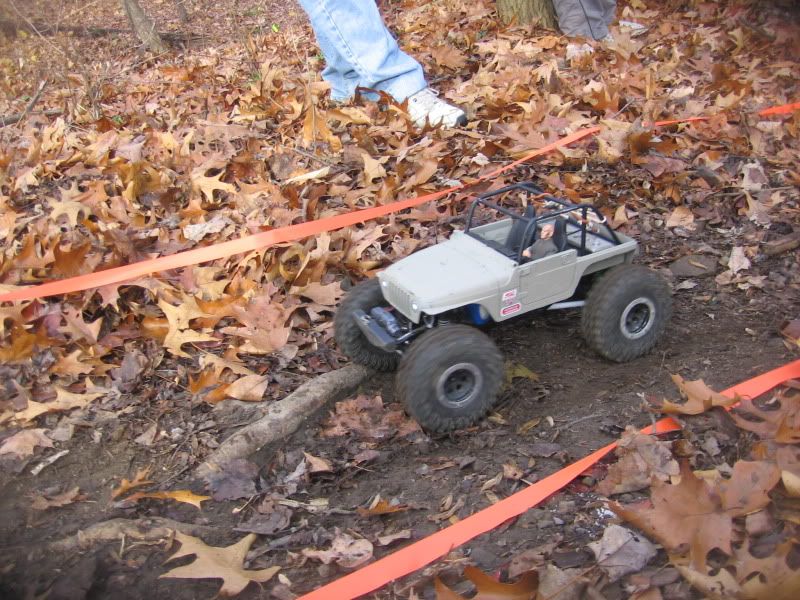 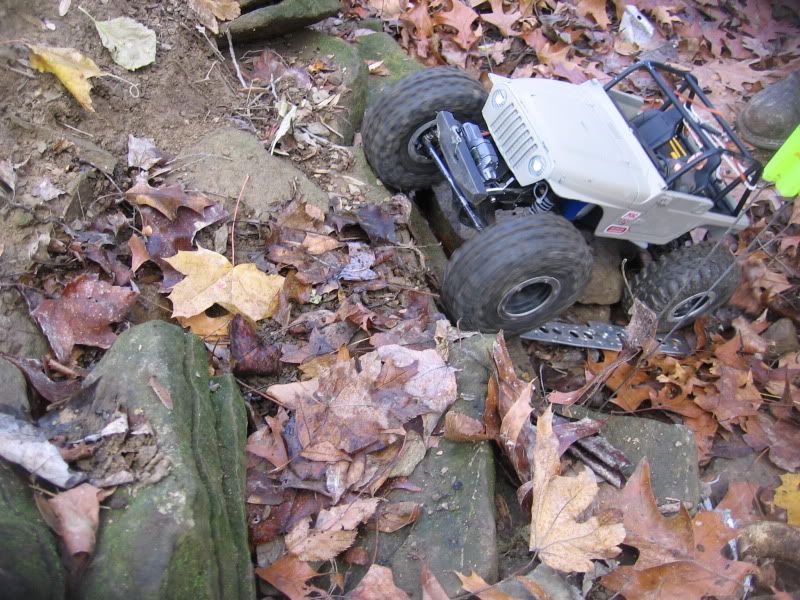 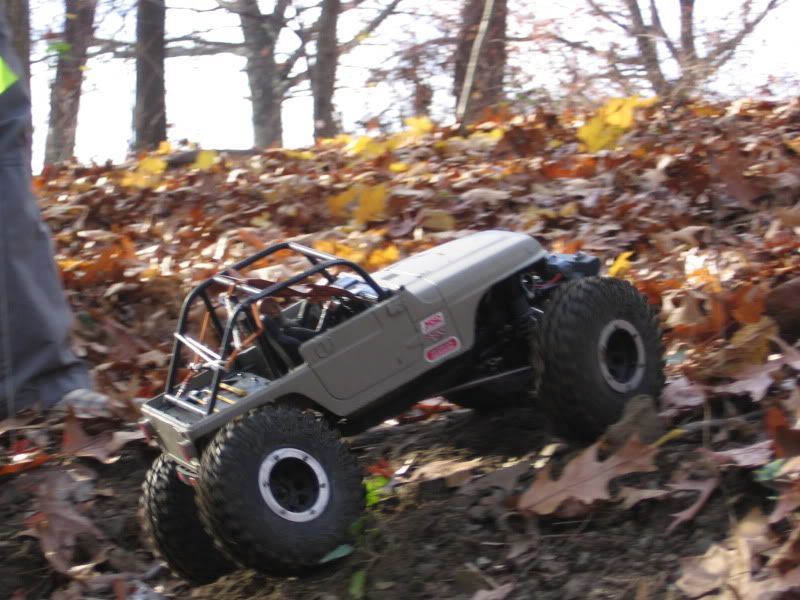 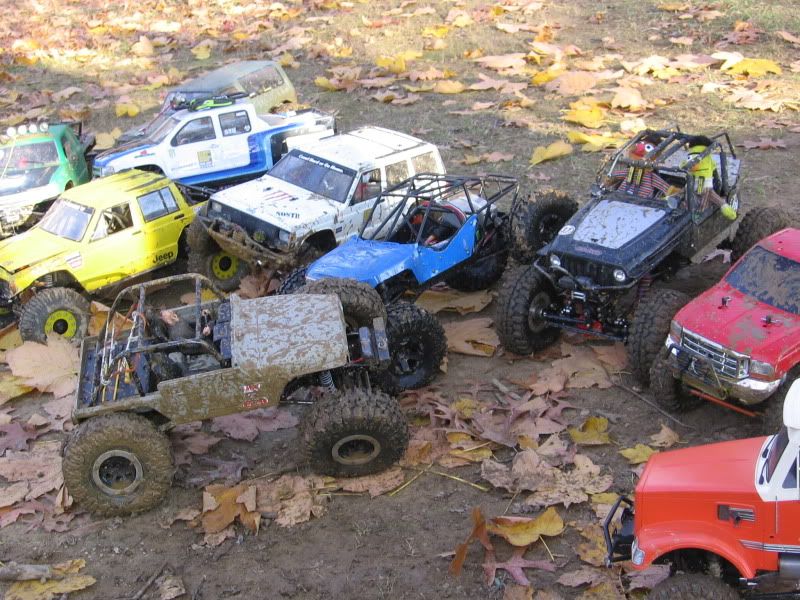 |
|
| |
|
11-27-2010, 03:46 PM
| #20 |
| Quarry Creeper Join Date: Jan 2009 Location: Bay City
Posts: 365
|
Looks like fun, I wish their was something like that by me. I'm rebuilding my scaler and hope to make it rock capable and easily adapted to the TTC.
|
|
| |
|
| |


 Linear Mode


