| | #1 |
| RCC Addict  Join Date: Aug 2005 Location: New Oxford PA
Posts: 1,290
| Well a few months ago I was very kindly informed that my class 3 Toyota was not within spec. apparently I had forgotten the rule about keeping the body no less than 1 1/8” narrower than the inside of the tires. I thought at first, no big deal, I’ll just put the WK axles back in. I had just purchased some more upgrades for them anyways but after measuring I realized I was still ½” to narrow! CRAP! This posed a dilemma. I had just spent a tone of time reworking the chassis but in order to use it I would need to go back to SCX10 axles but I didn’t have any that would handle the power and I was out of cash to upgrade a set. Here is the old build tread Class 3 Yota scaler (another comp truck rebuild) So after pondering it for a while I decided to start from scratch. There are several reasons I decided to go this route. The first is the axles. I really like the width of the wraith axles and feel they suit the tire size better and they were already upgraded. Another reason is that since this was going to spend a fair amount of time in the water and mud I wanted to fend off corrosion so this is going to be completely stainless. I also wanted to go to a tranny/T-case set-up which would require more space as well as a lower position for the battery. Another thing I wanted to change was the suspension. I want to stick with the servo on the chassis so a 3 link is going up front and since the area the comp is In has a lot of loose climbs I’m leaning towards a rock bounder set-up with shorter links and a slightly different geometry. Along with that I want to get away from the links part of the skid and make them permanent to the chassis with a separate drop out skid. Then of course, something I eluded to in my other build, and excuse to use the new Isuzu body panels I just made and as a bonus the body is exactly 1 1/8" narrower then my tires!  With all that, here is my class 3 entry to the ECSC. I started it a month or so ago but could only work on I a little at a time while taking care of other obligations. well to start I had already cut a set of skins down to see how they would look on my other truck but I wanted to narrow the nose so I cut up my mold for the hood 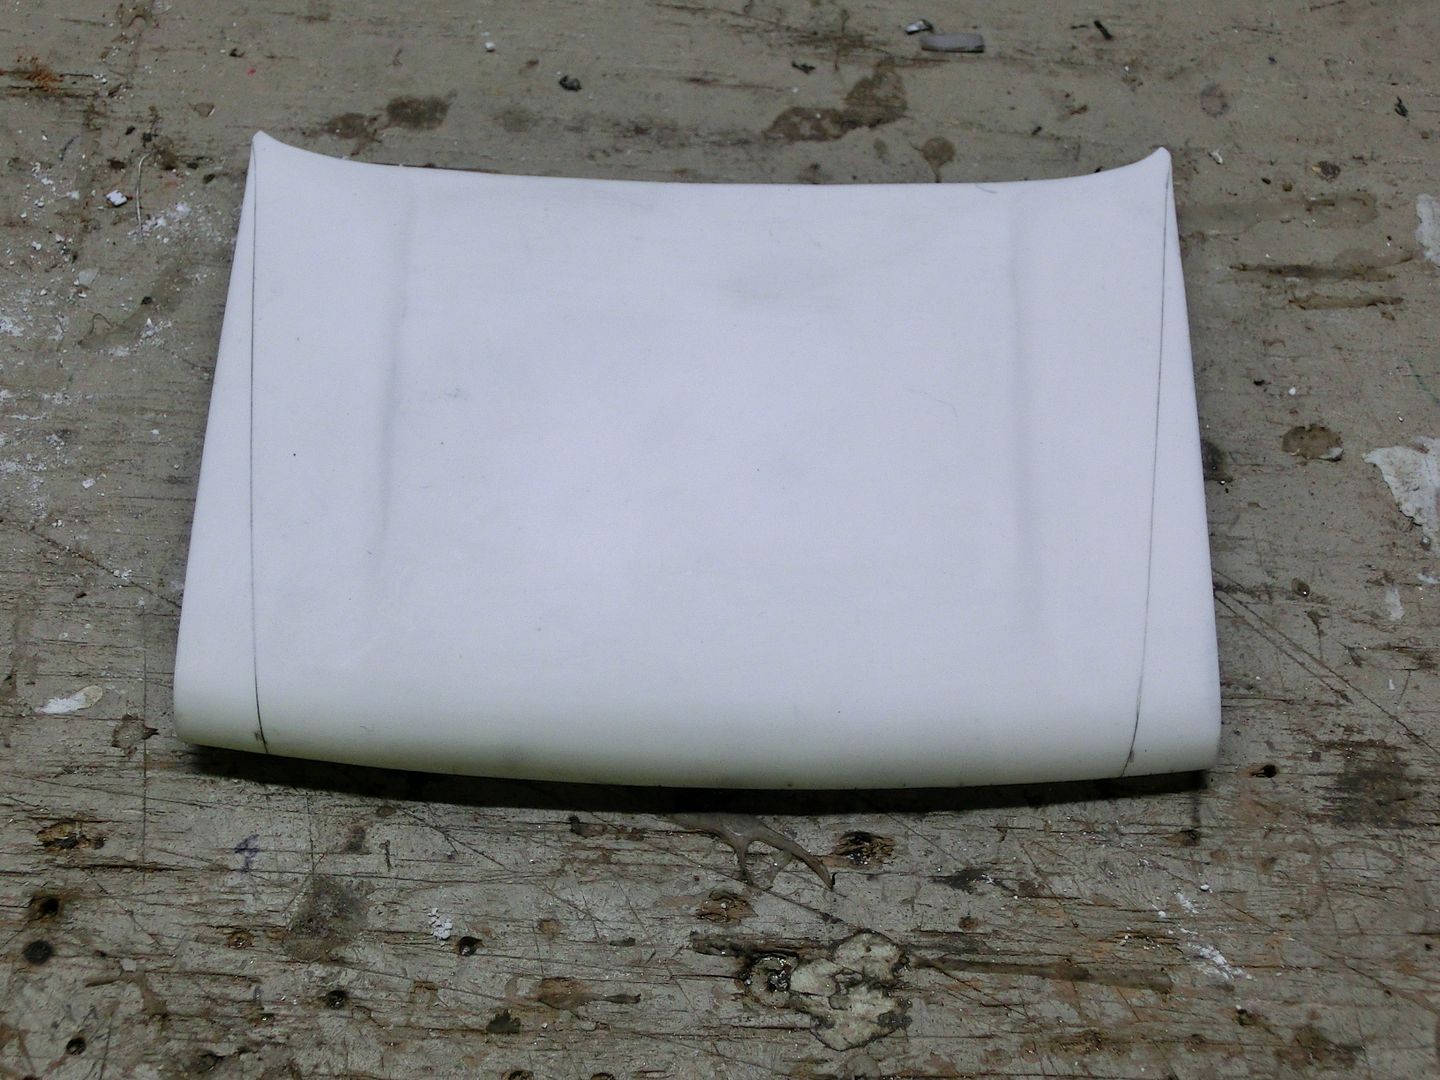 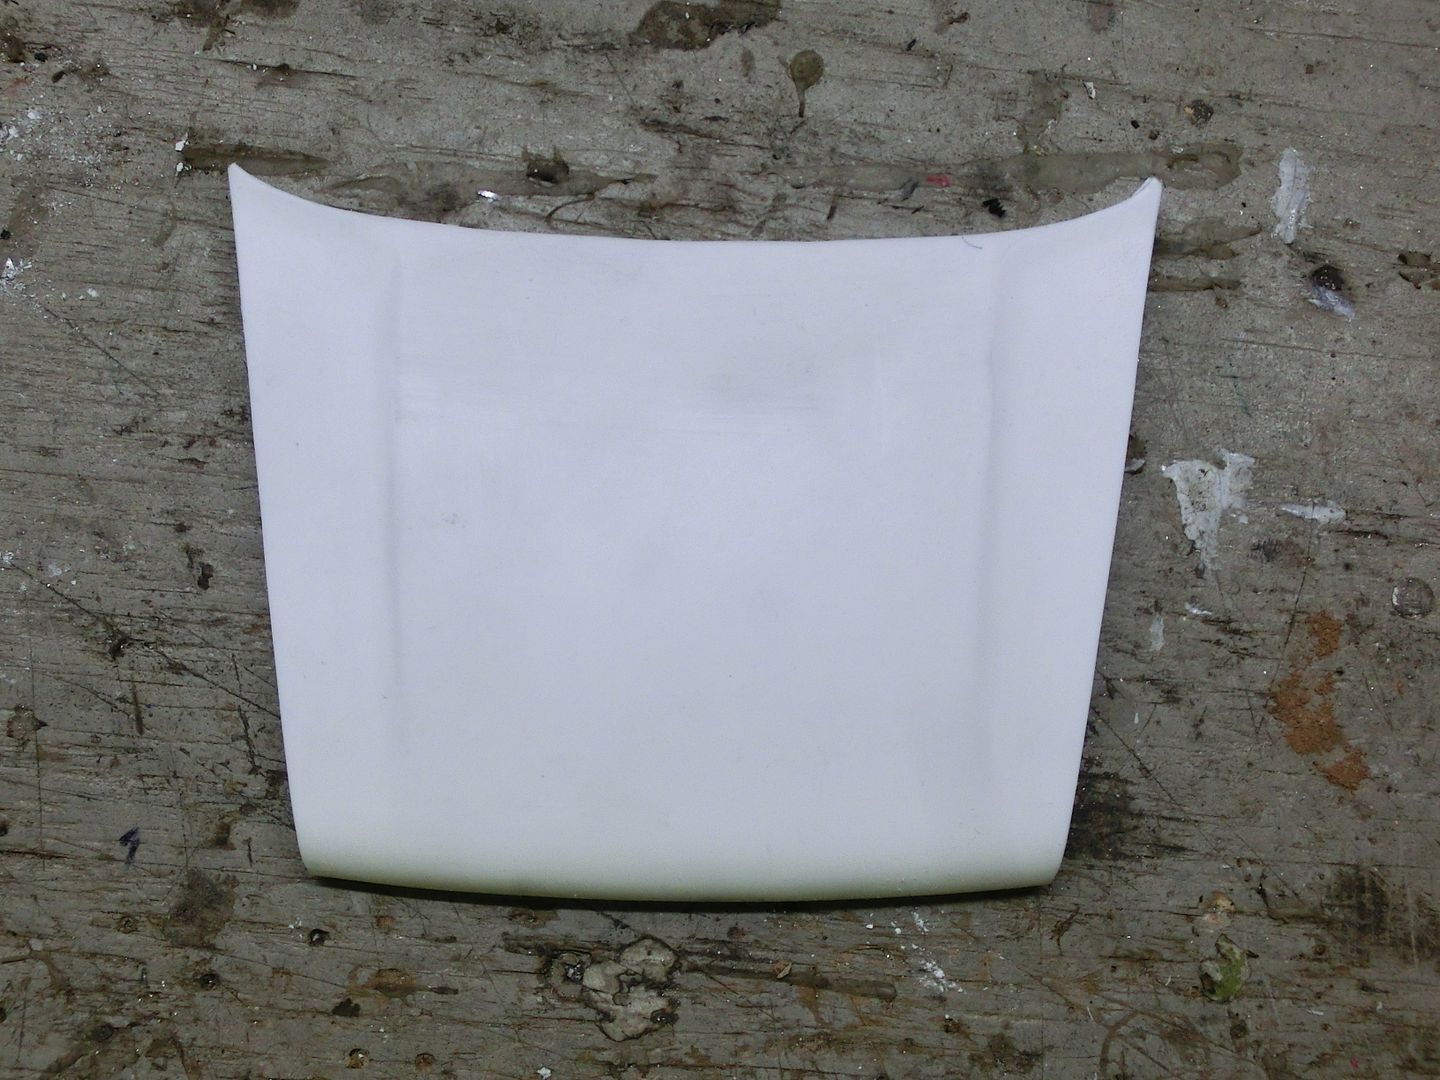 then clipped the body together to see how it looked 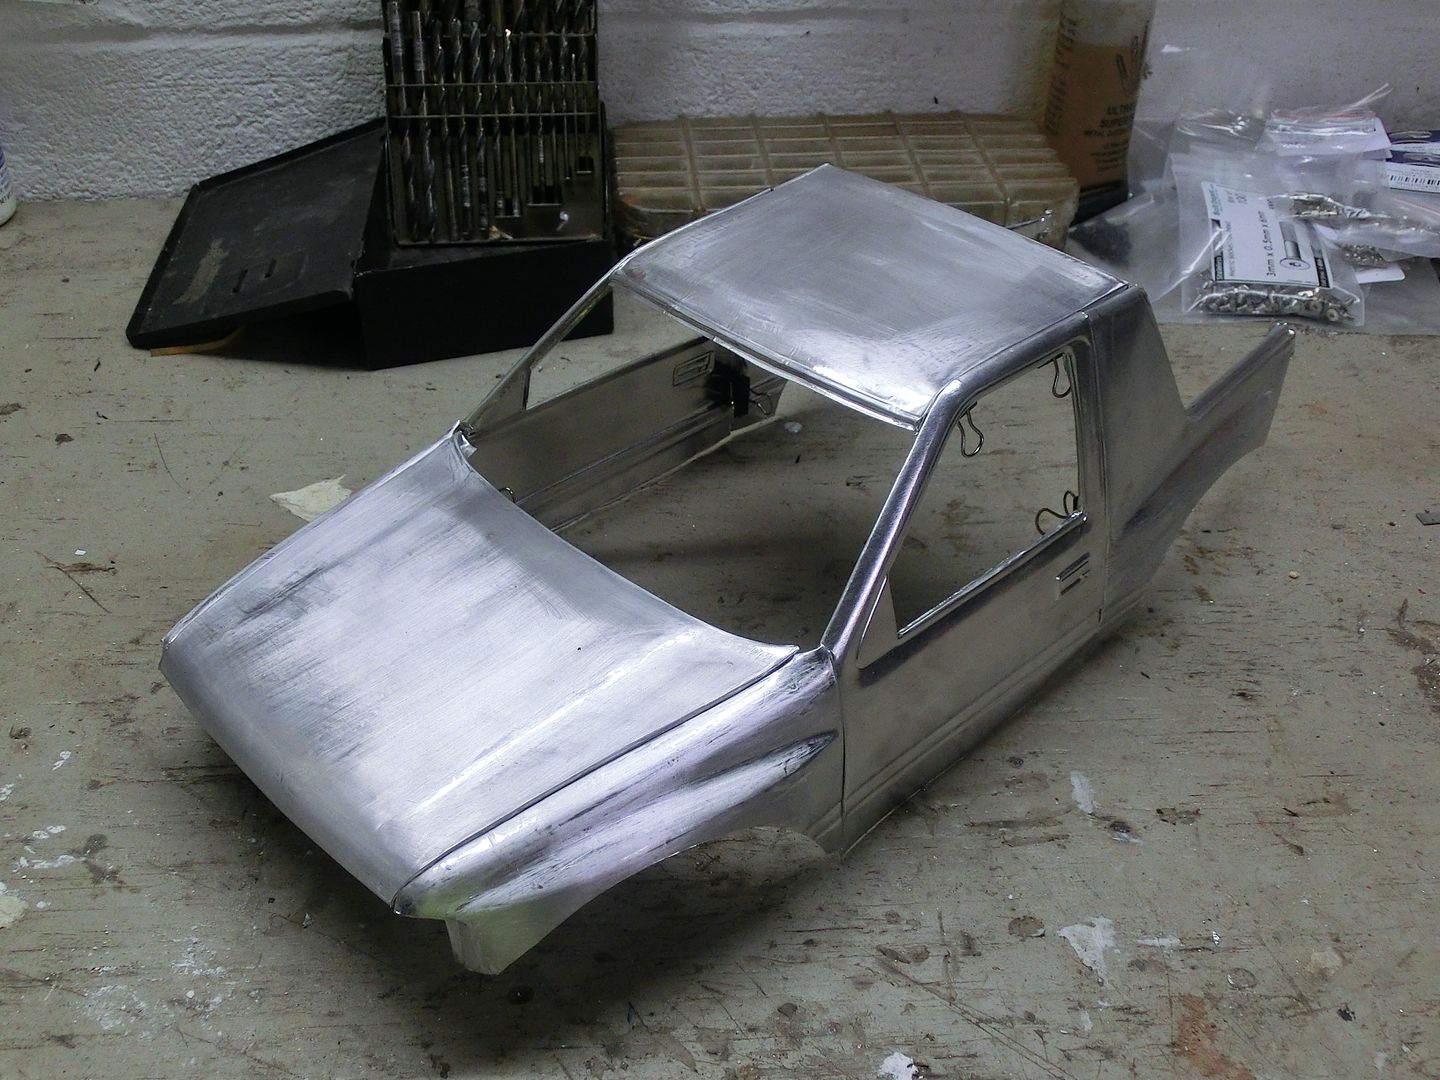 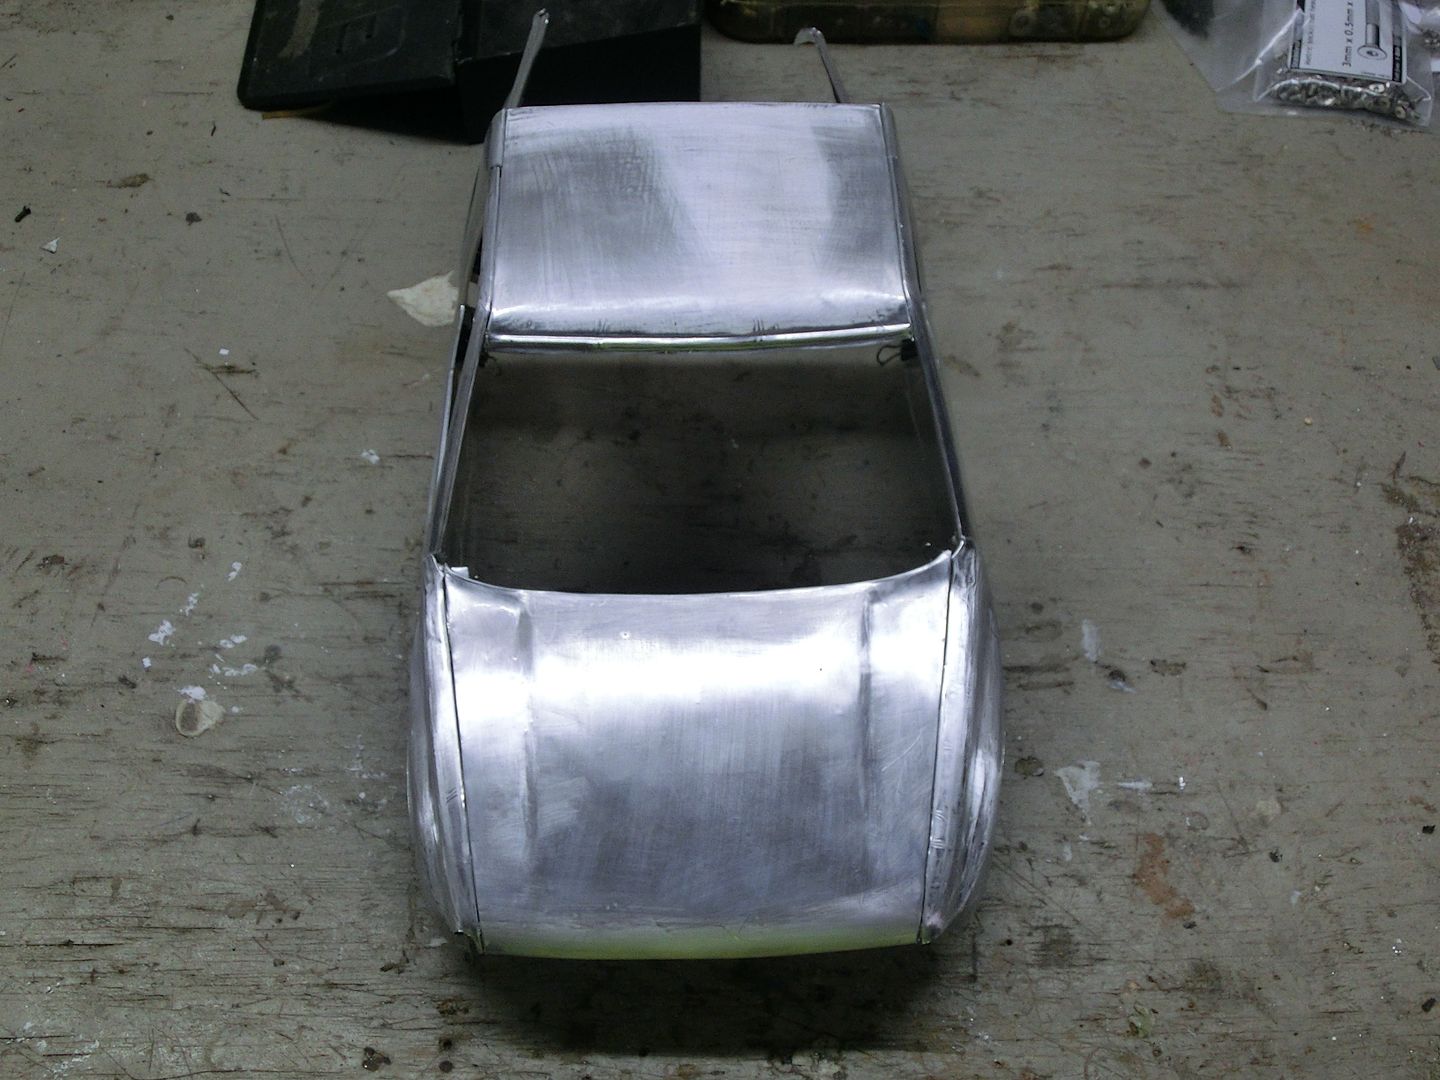 next I sliced the bumper off the grill 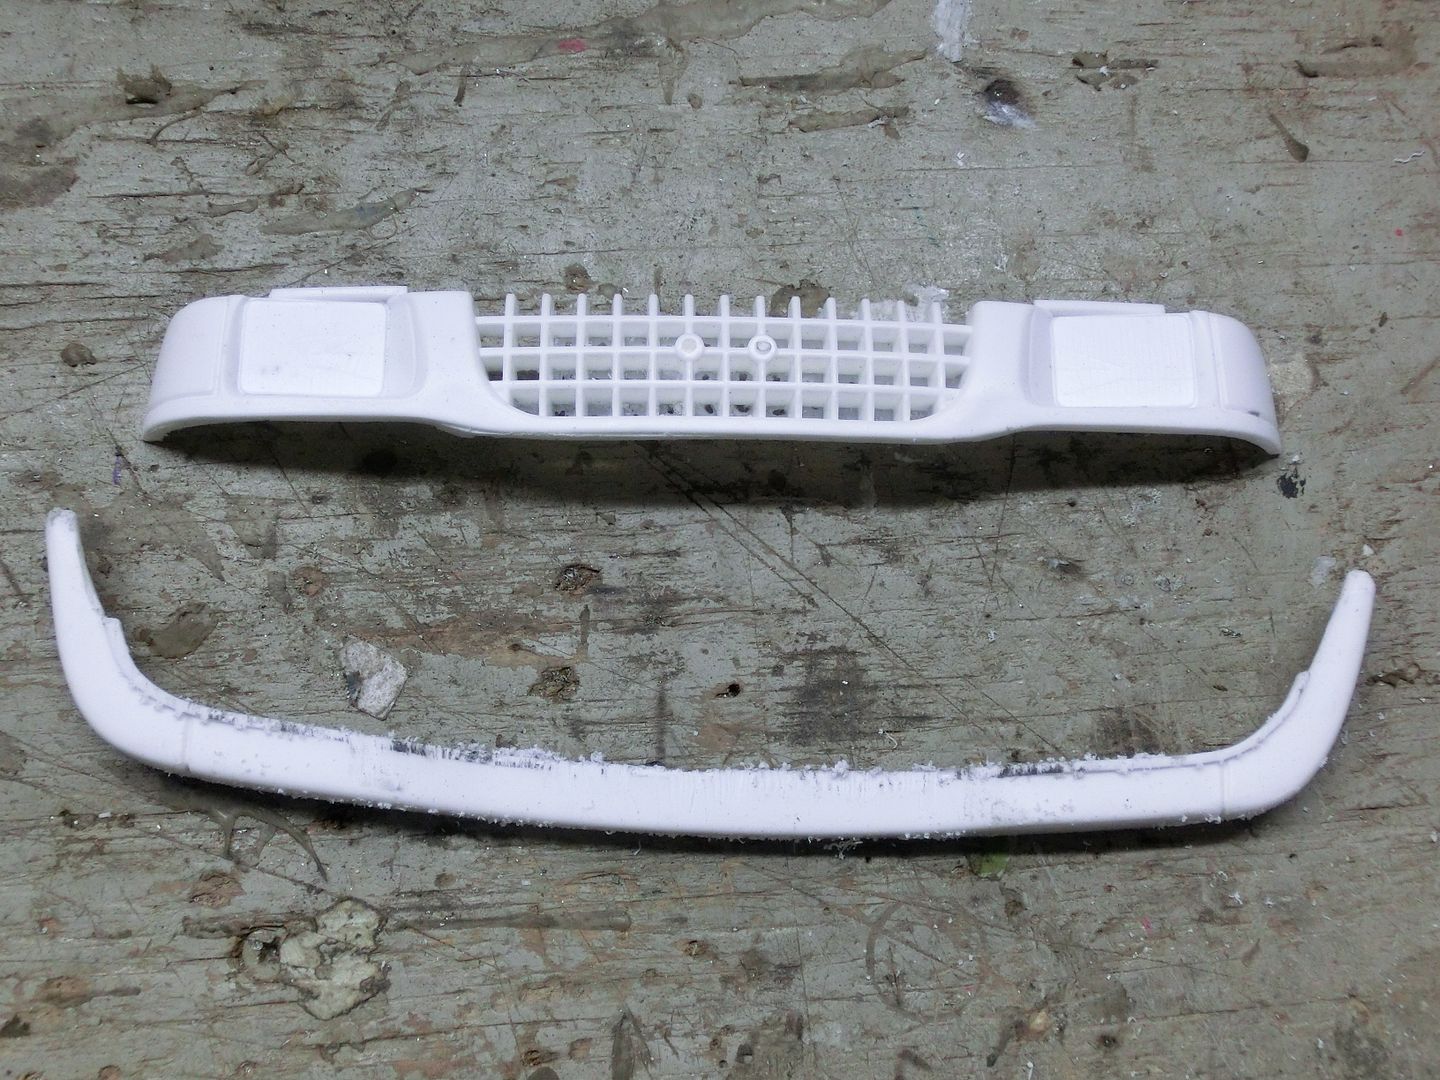 Then I narrowed it up 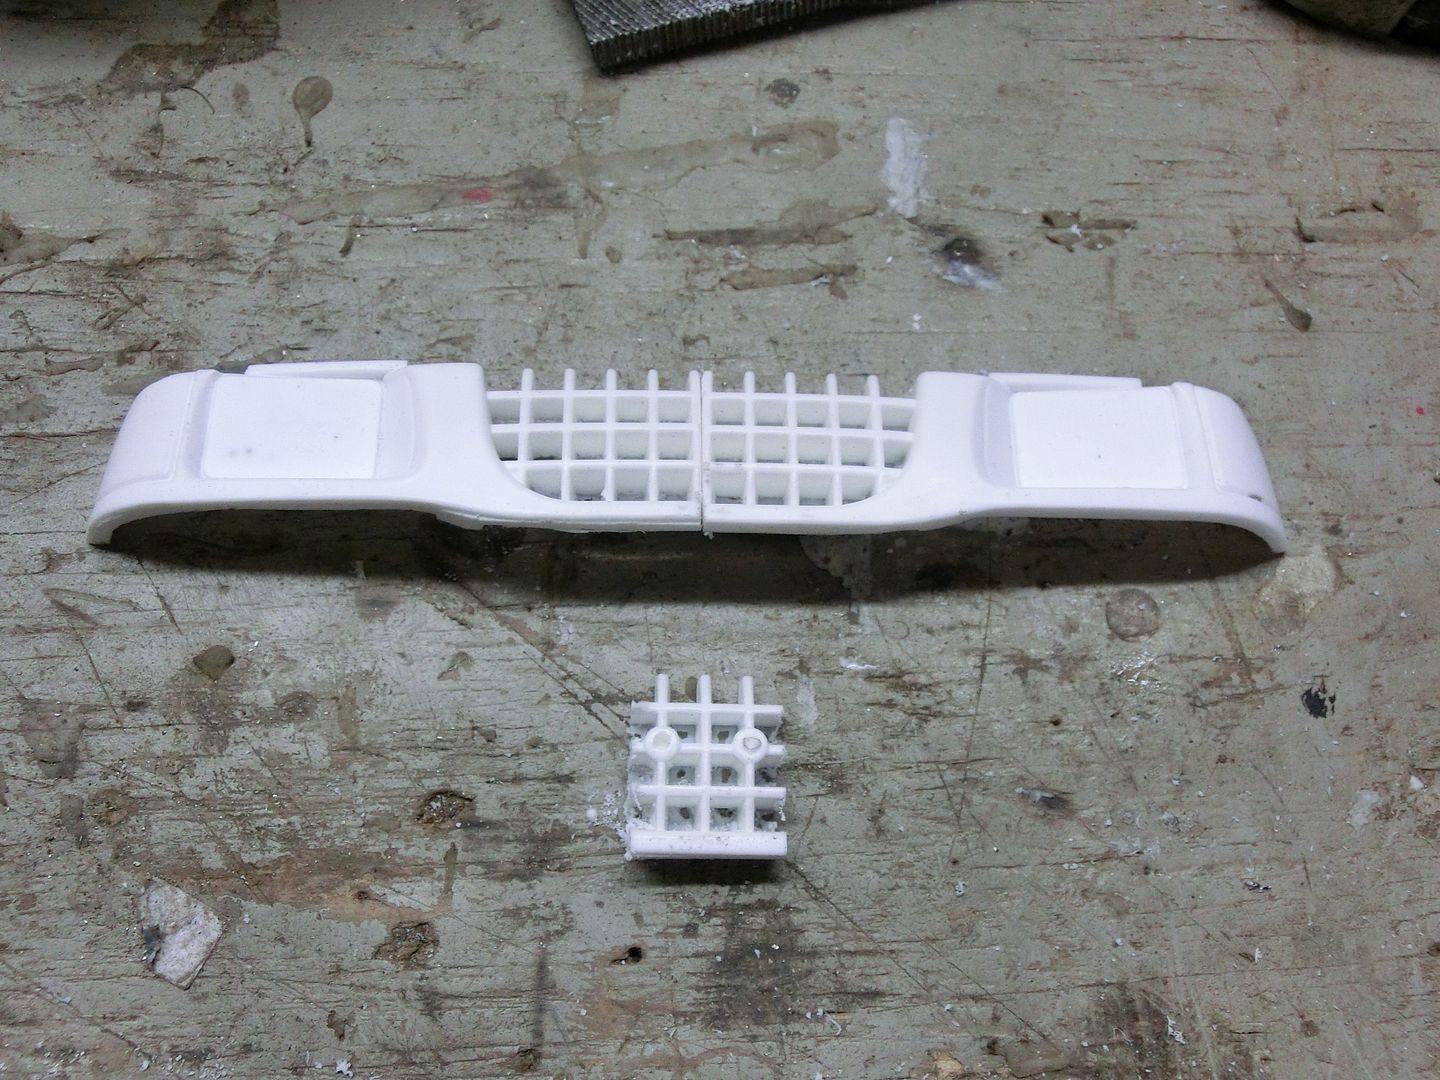 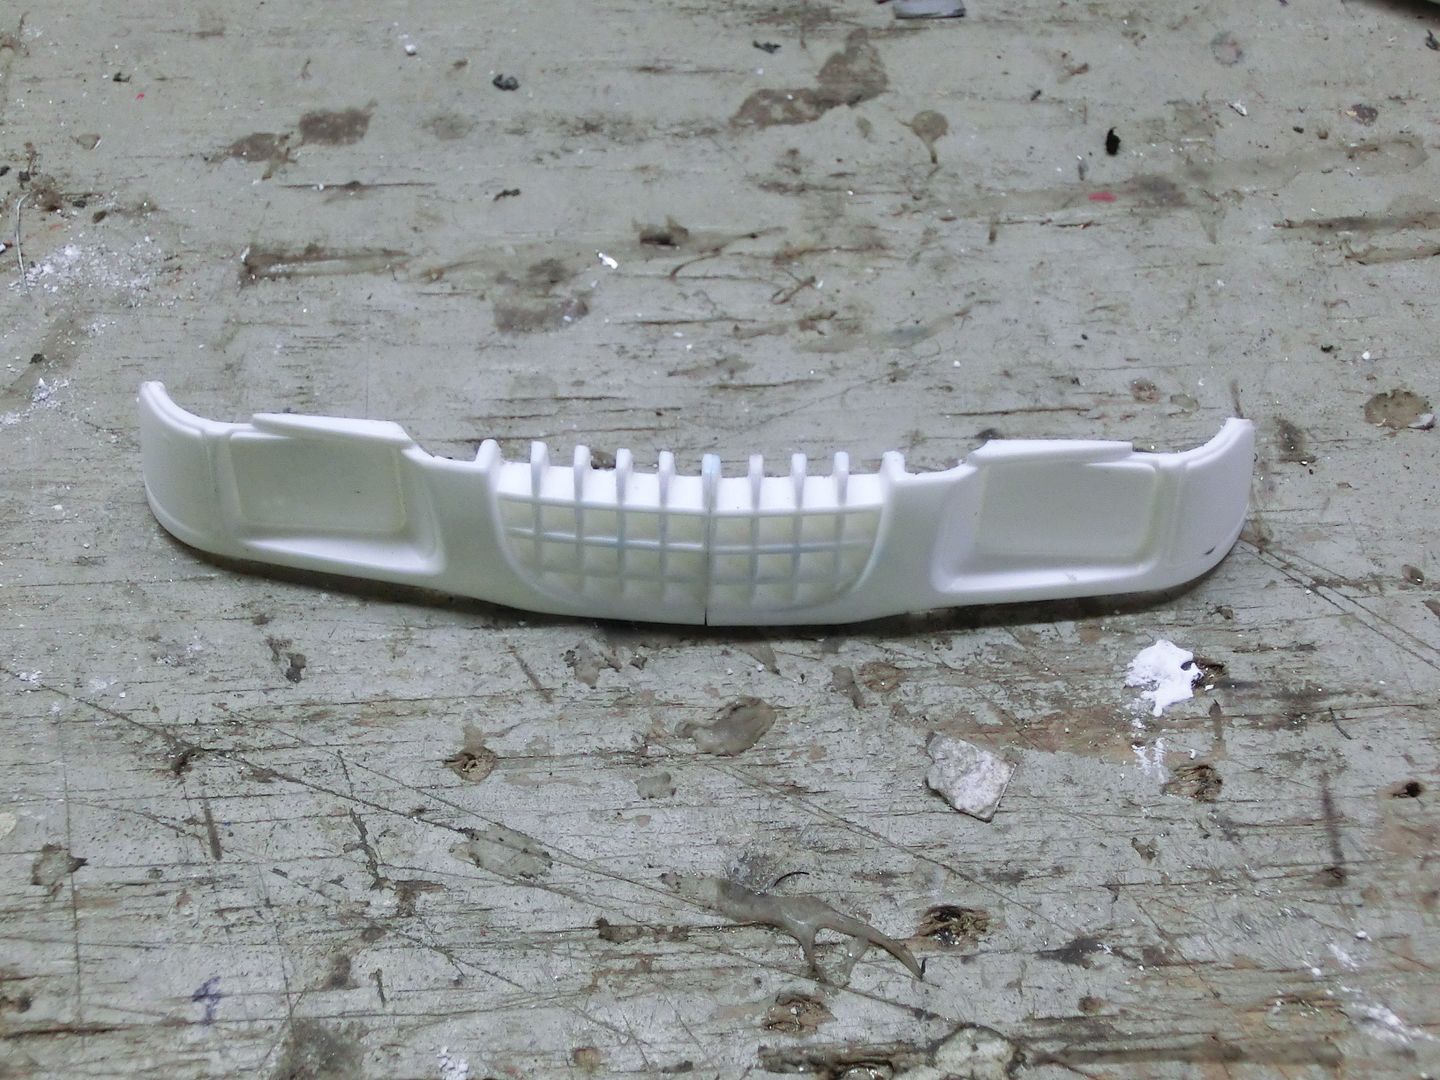 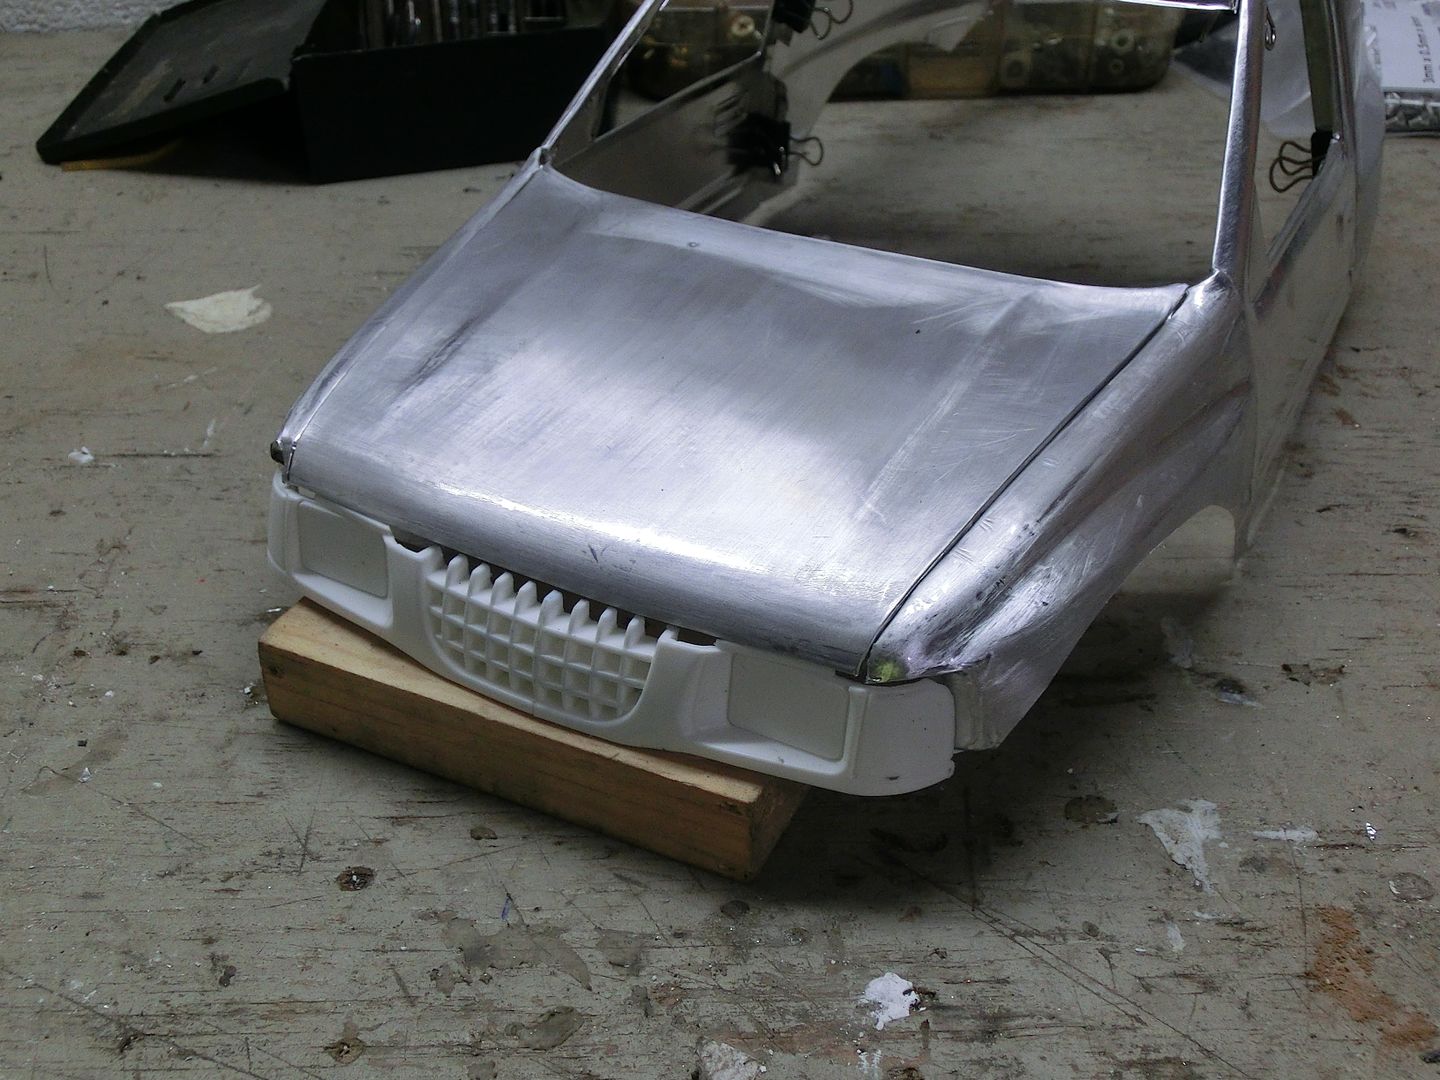 then mocked up the body with the axles at about 12 1/2" WB 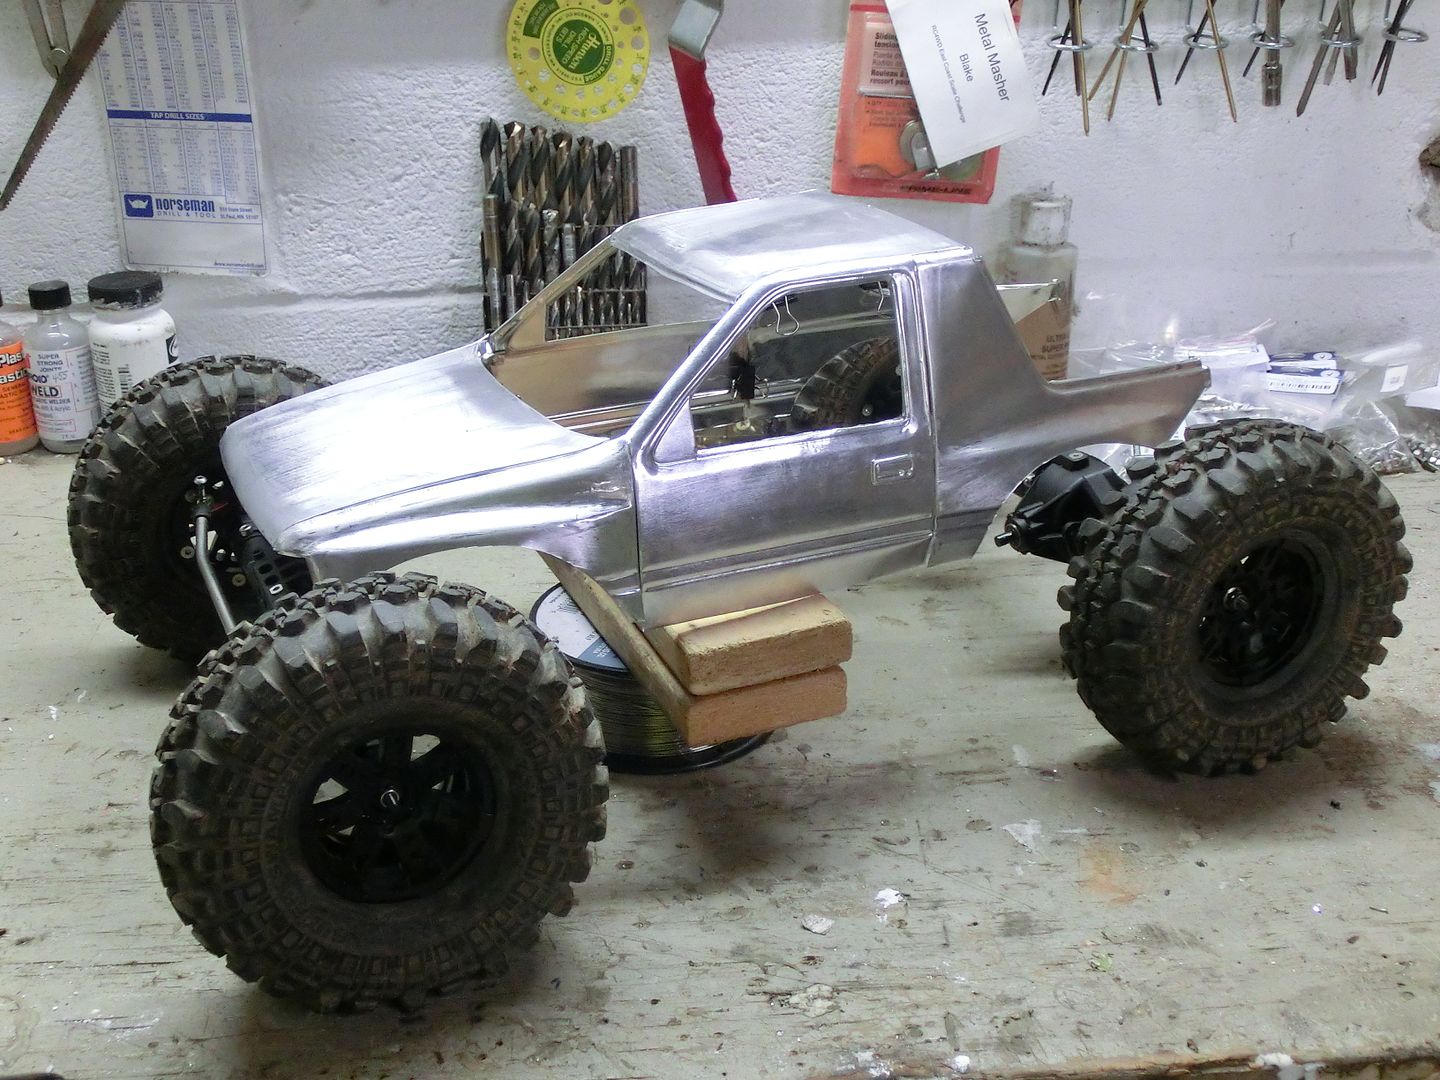 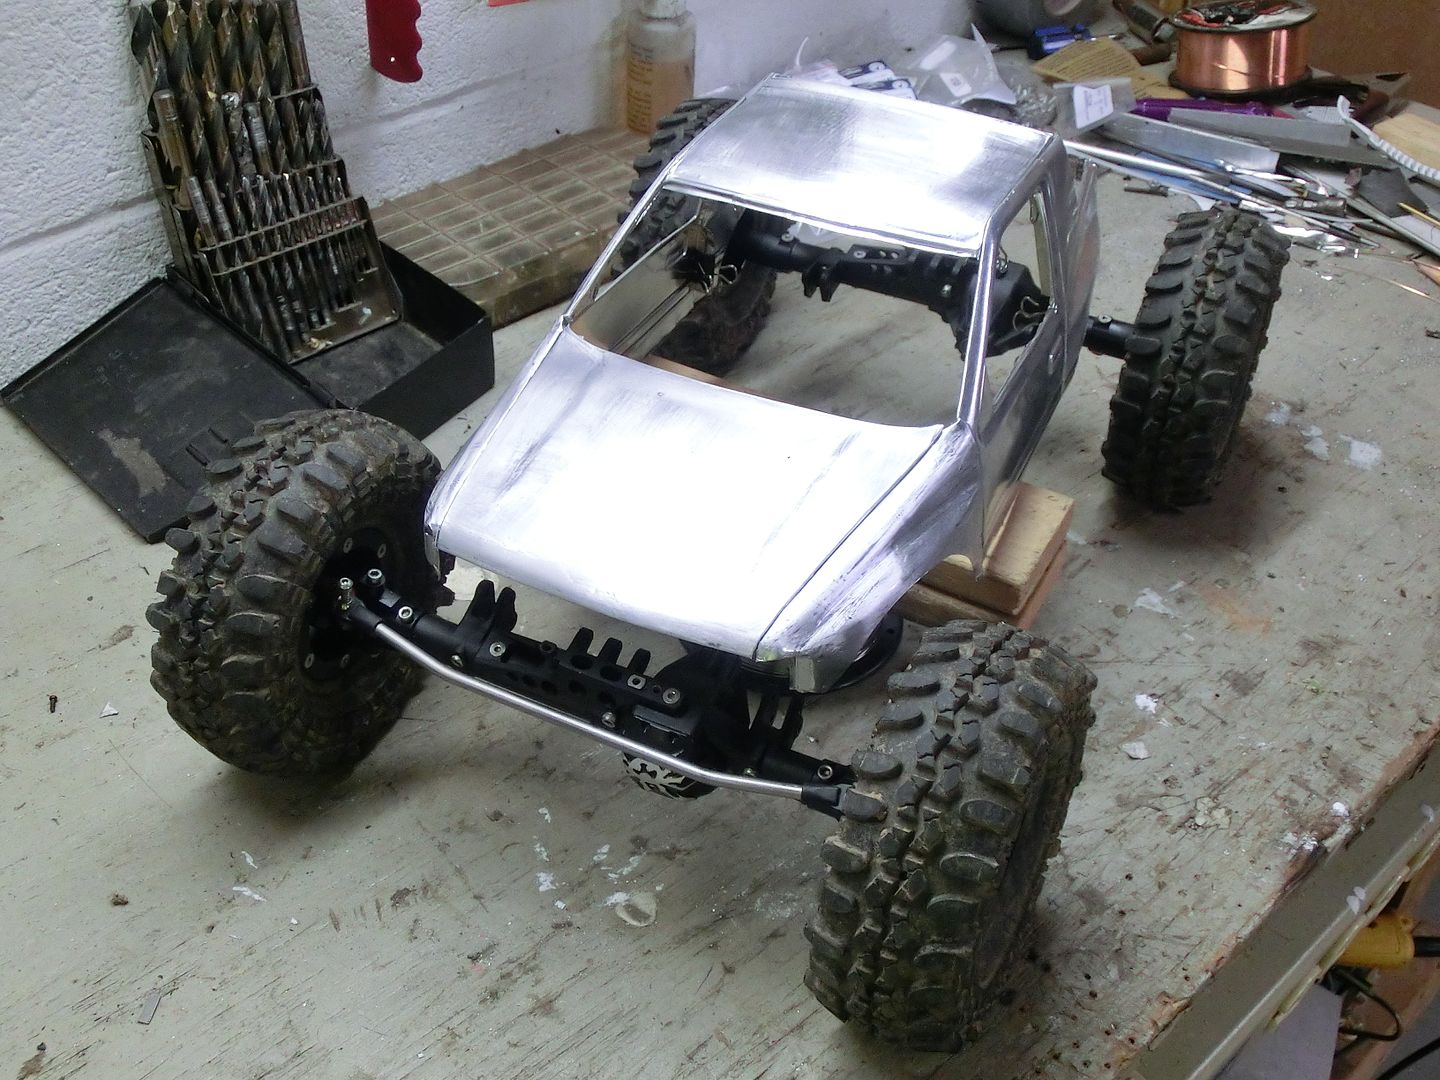 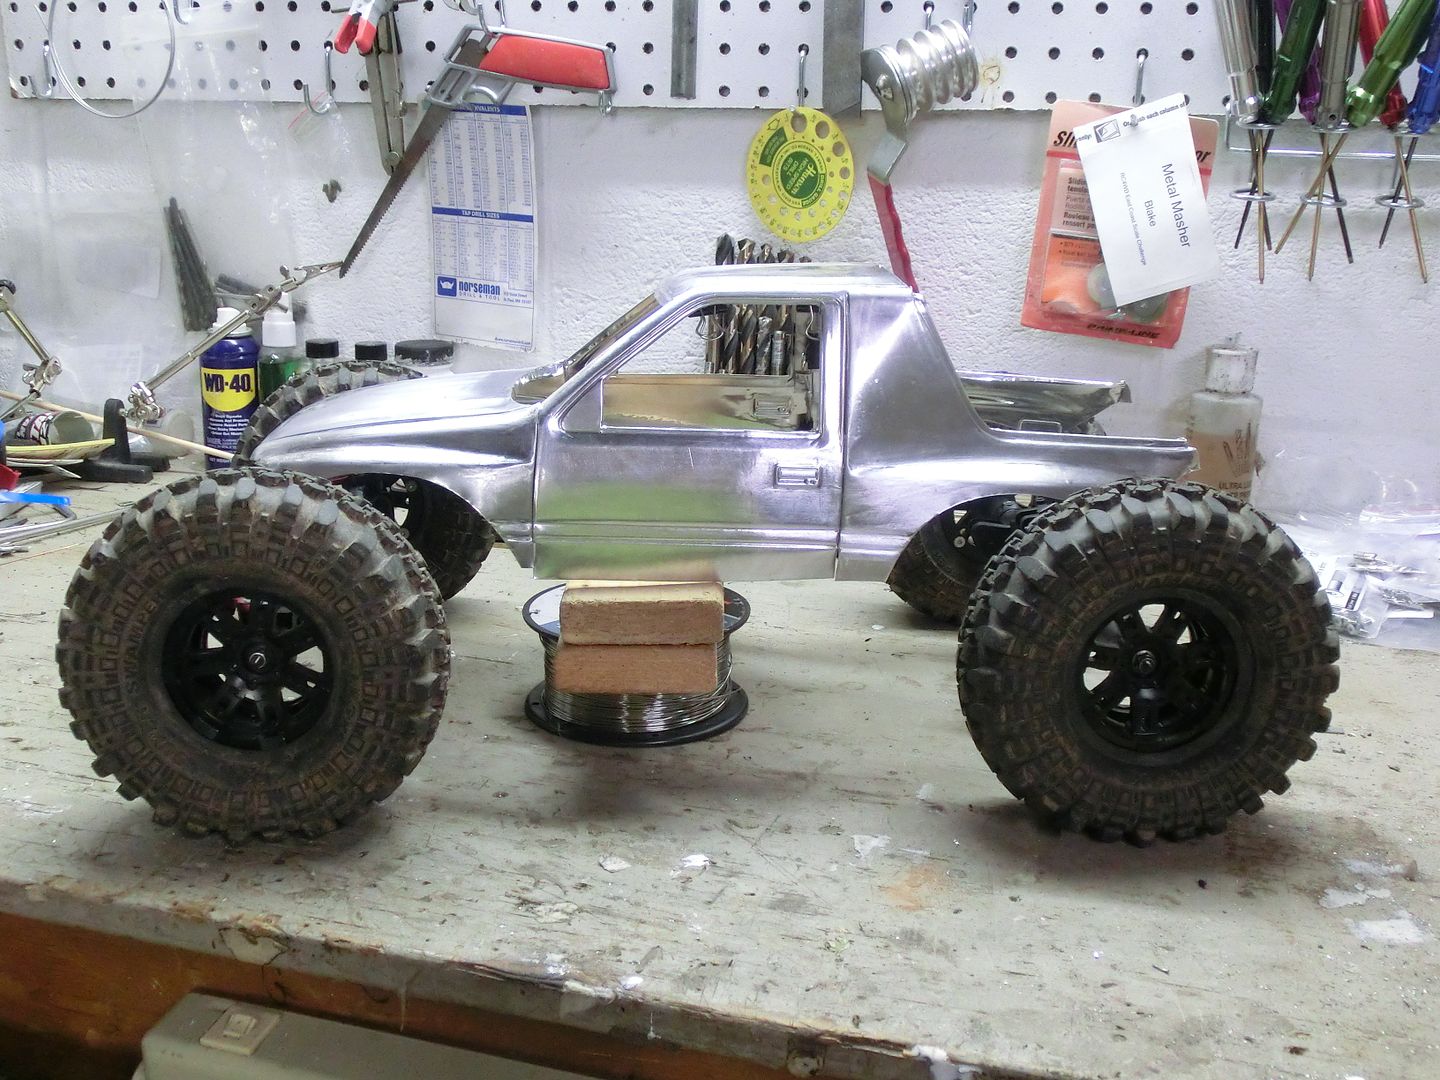 then it was time to start the chassis. 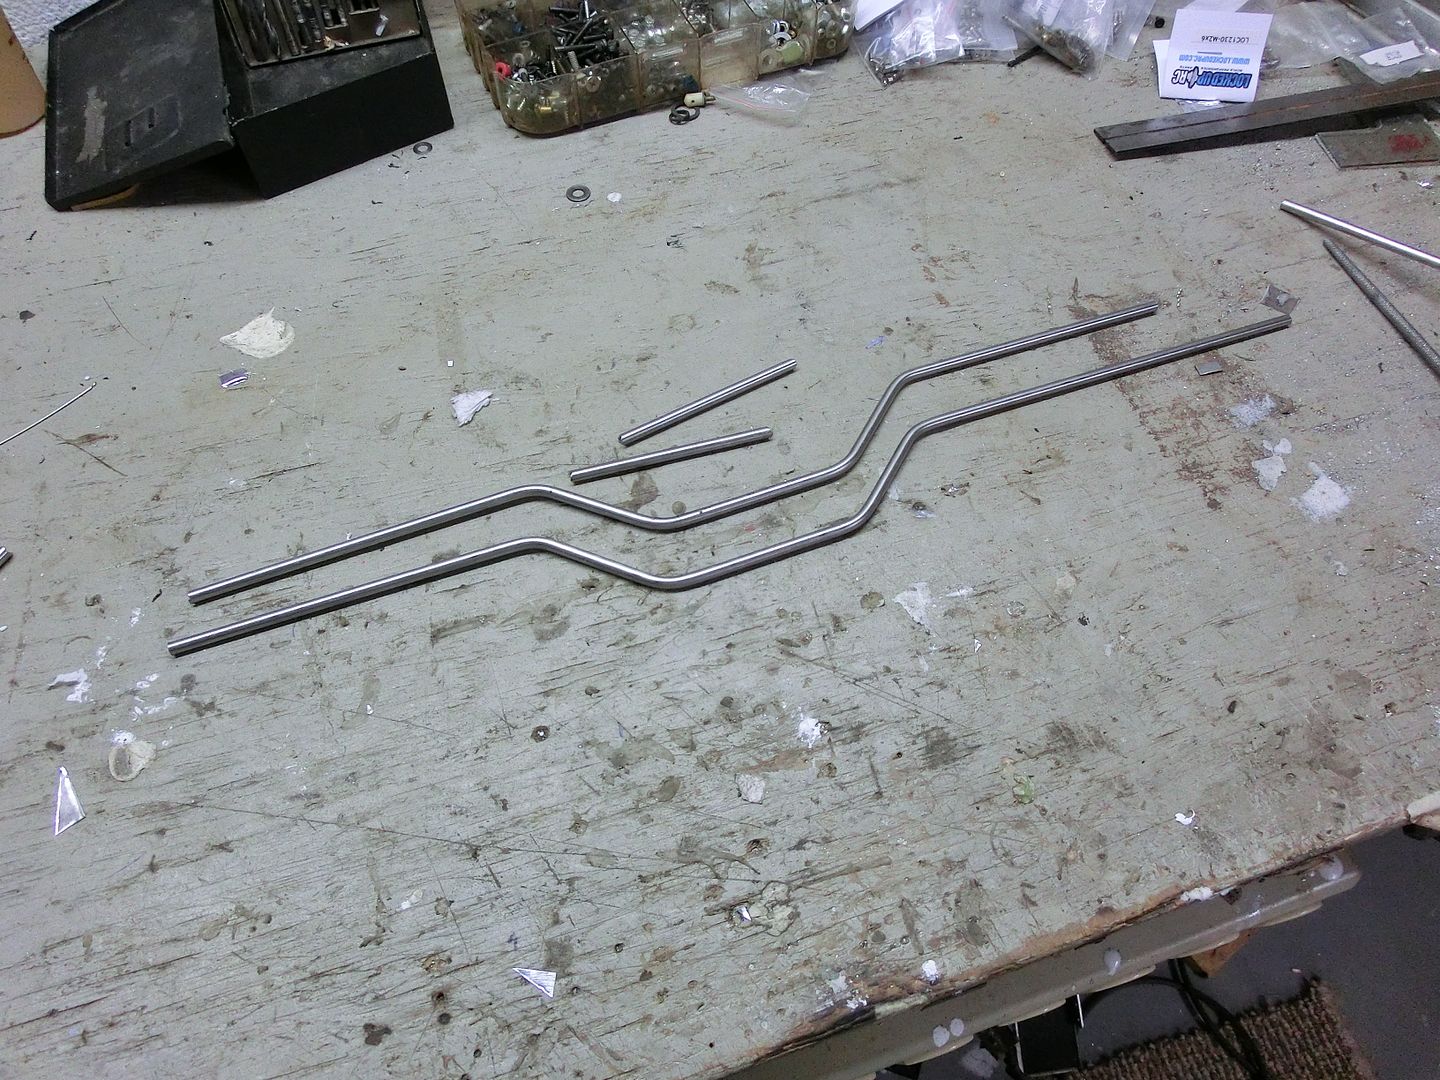 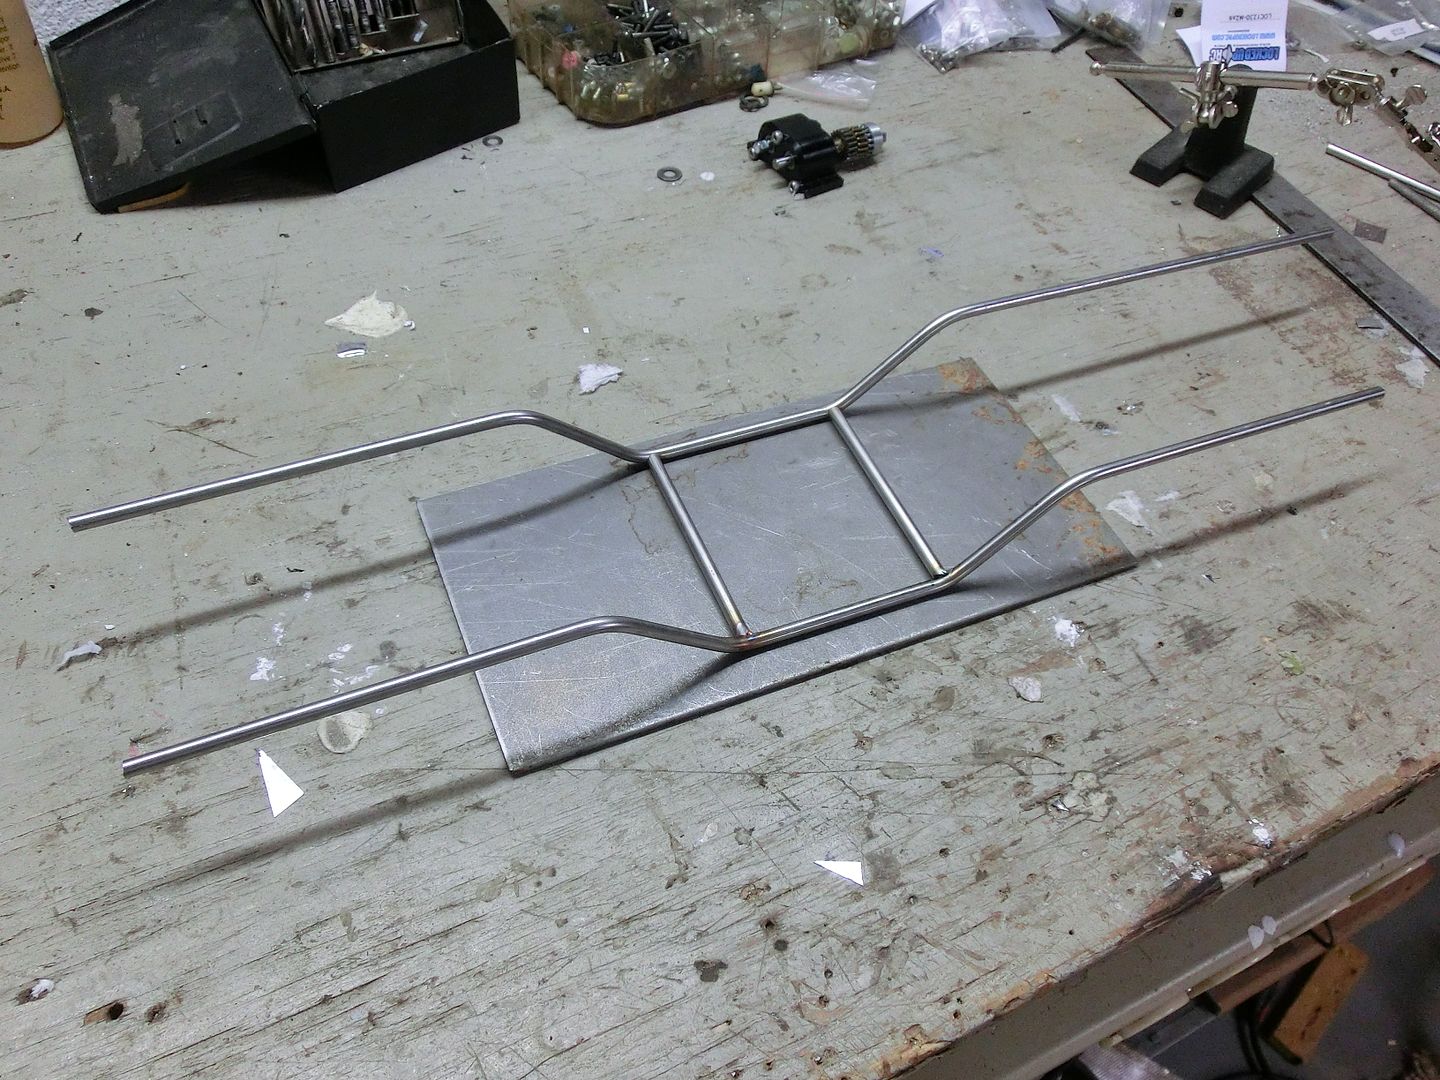 I added bars to sit under the skins. I'm going to try to sandwich the skins under the boat sides this time so I don't need to put a ton of little screws in. 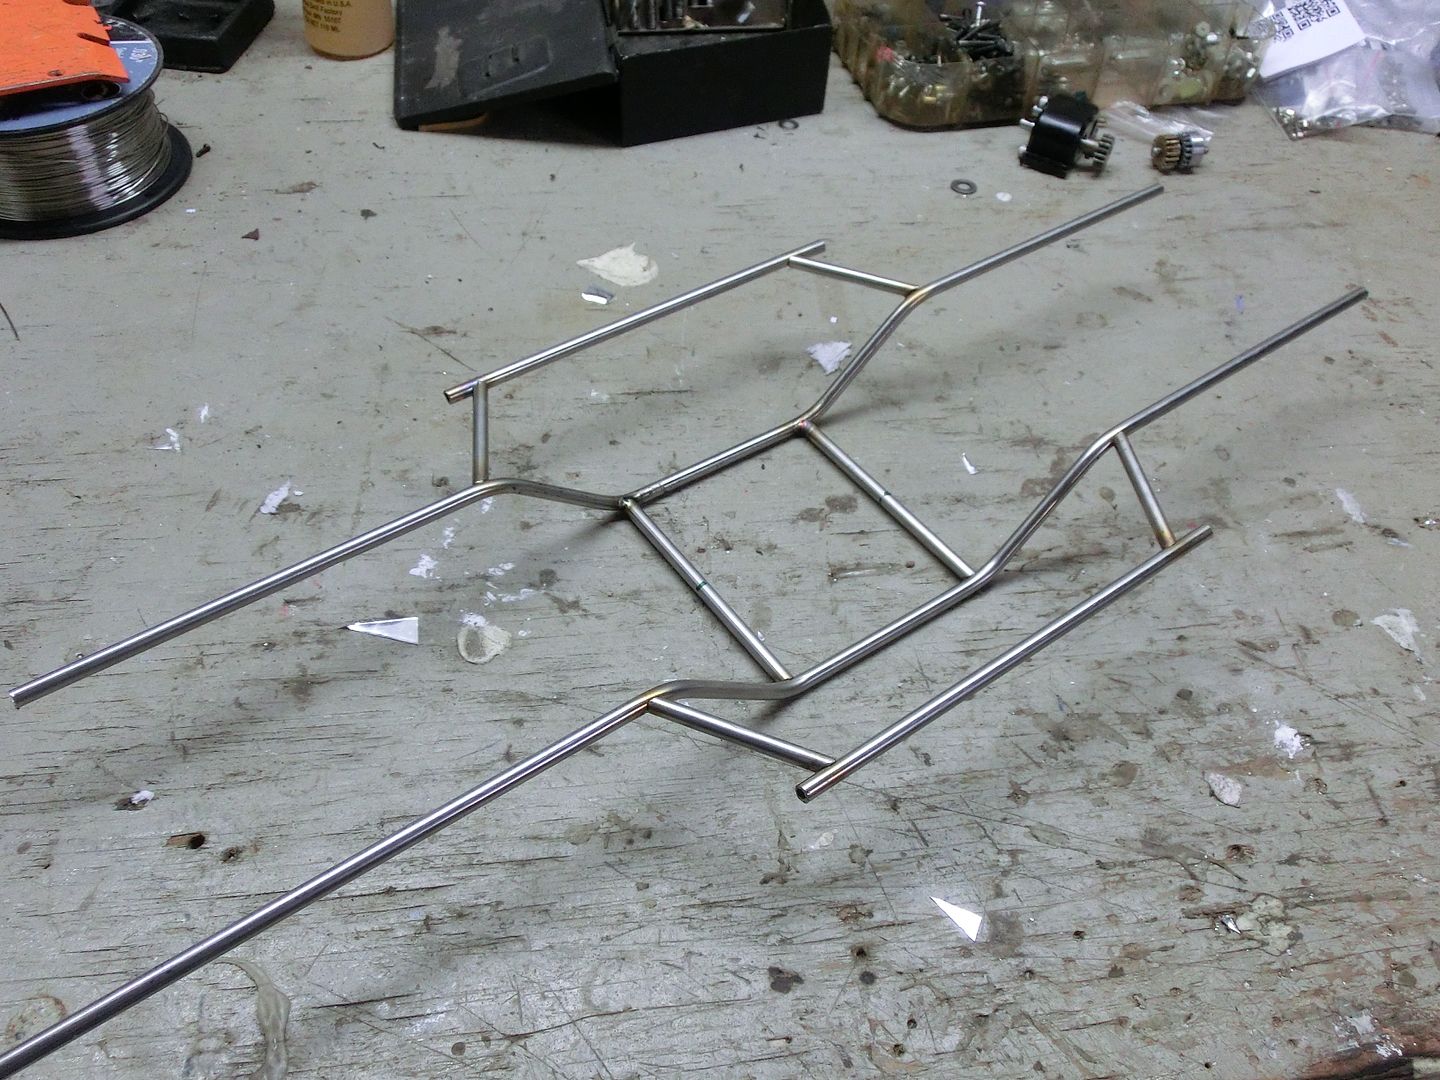 more supports. these will be the floor eventually 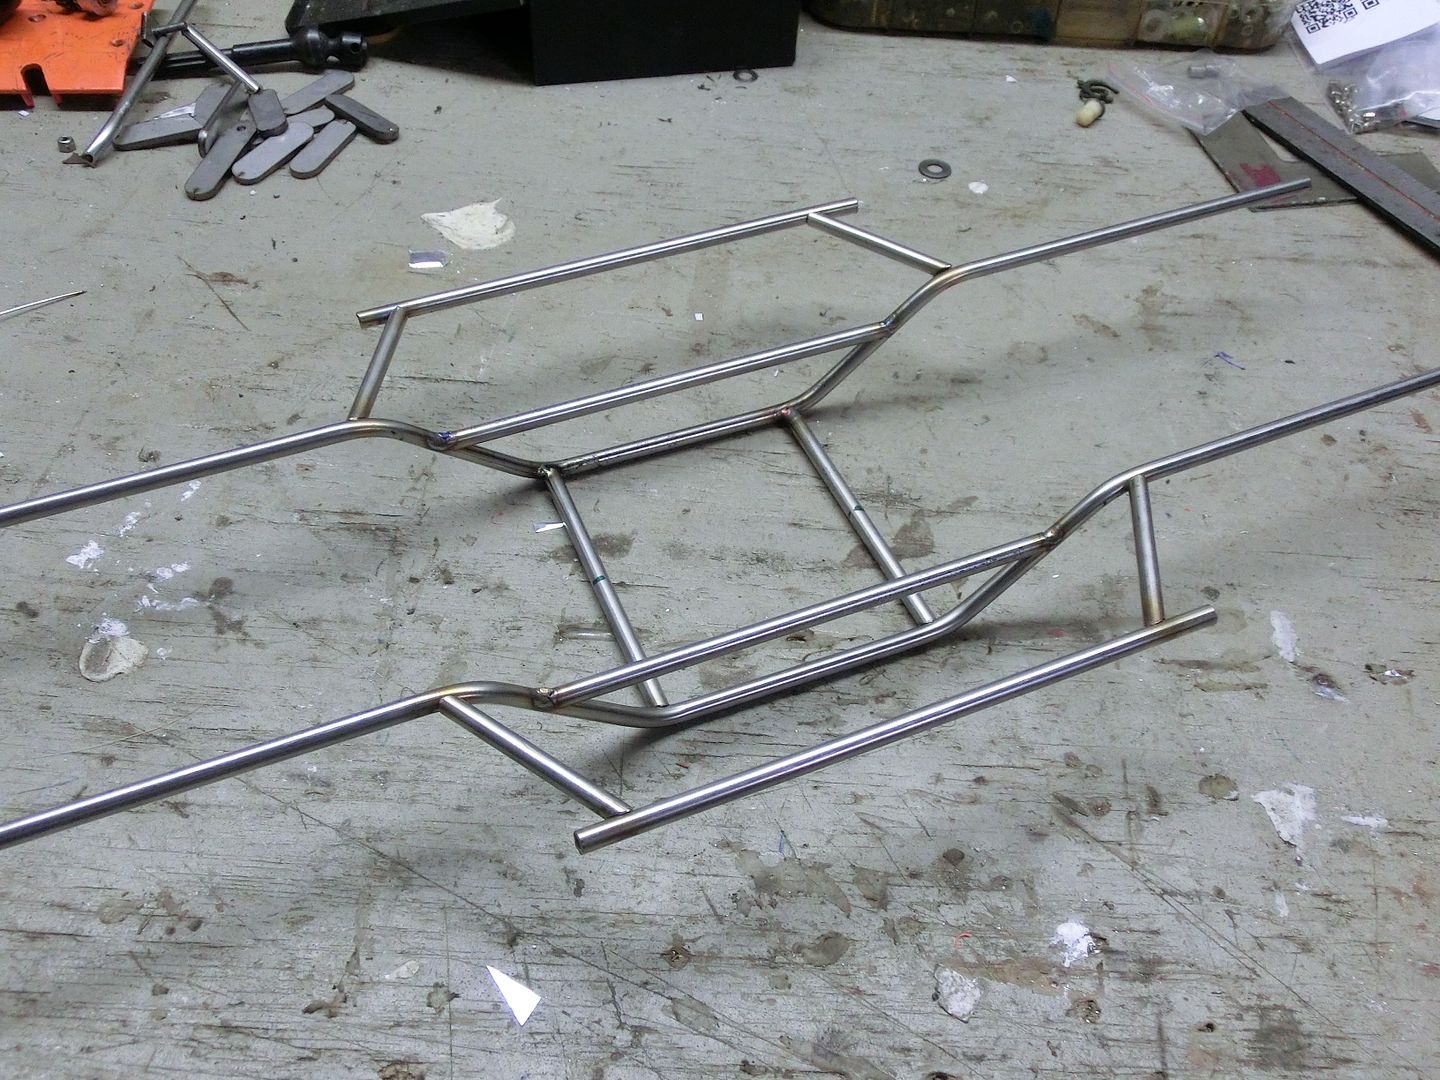 for the link mounts some 16 gauge stainless was used 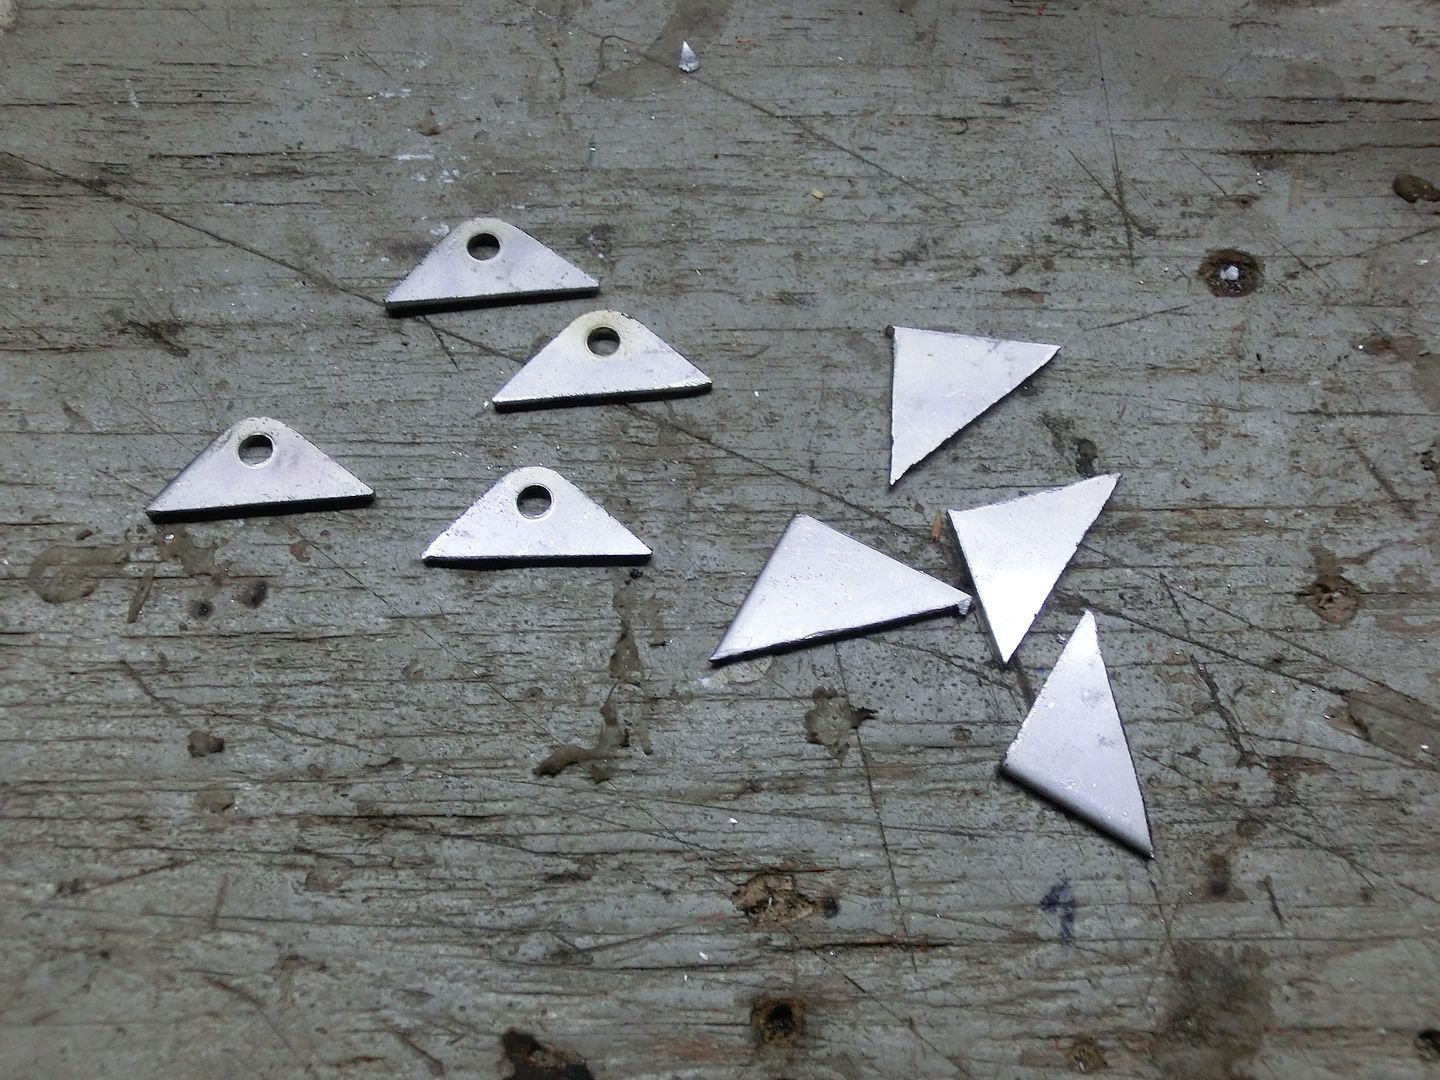 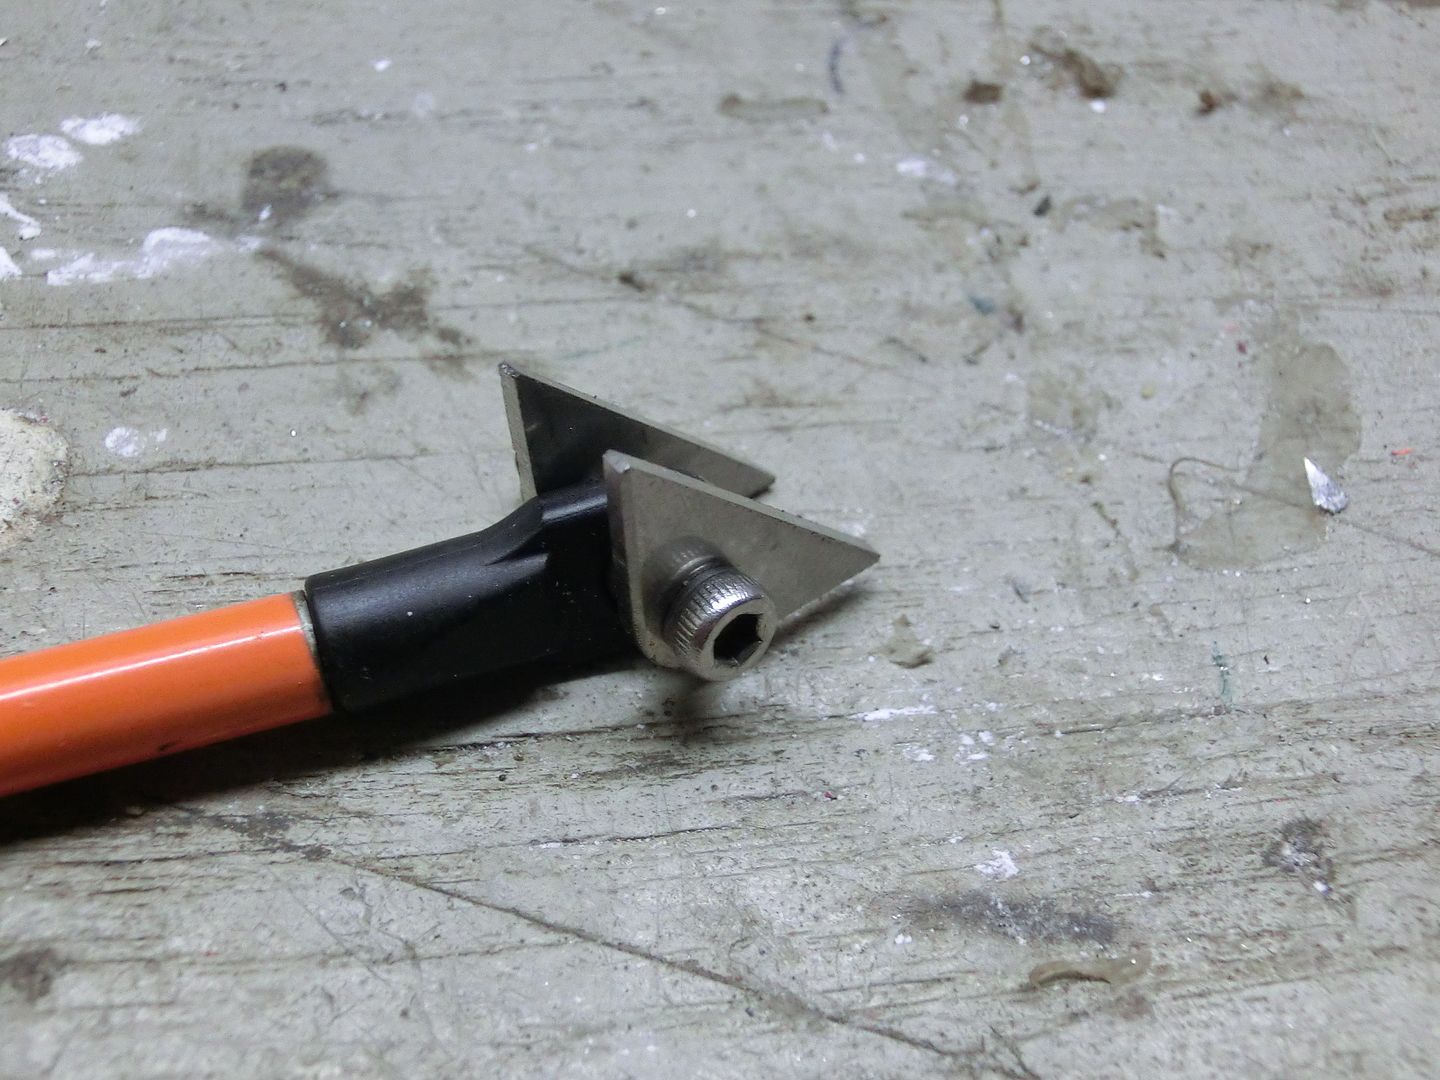 added some more tie bars 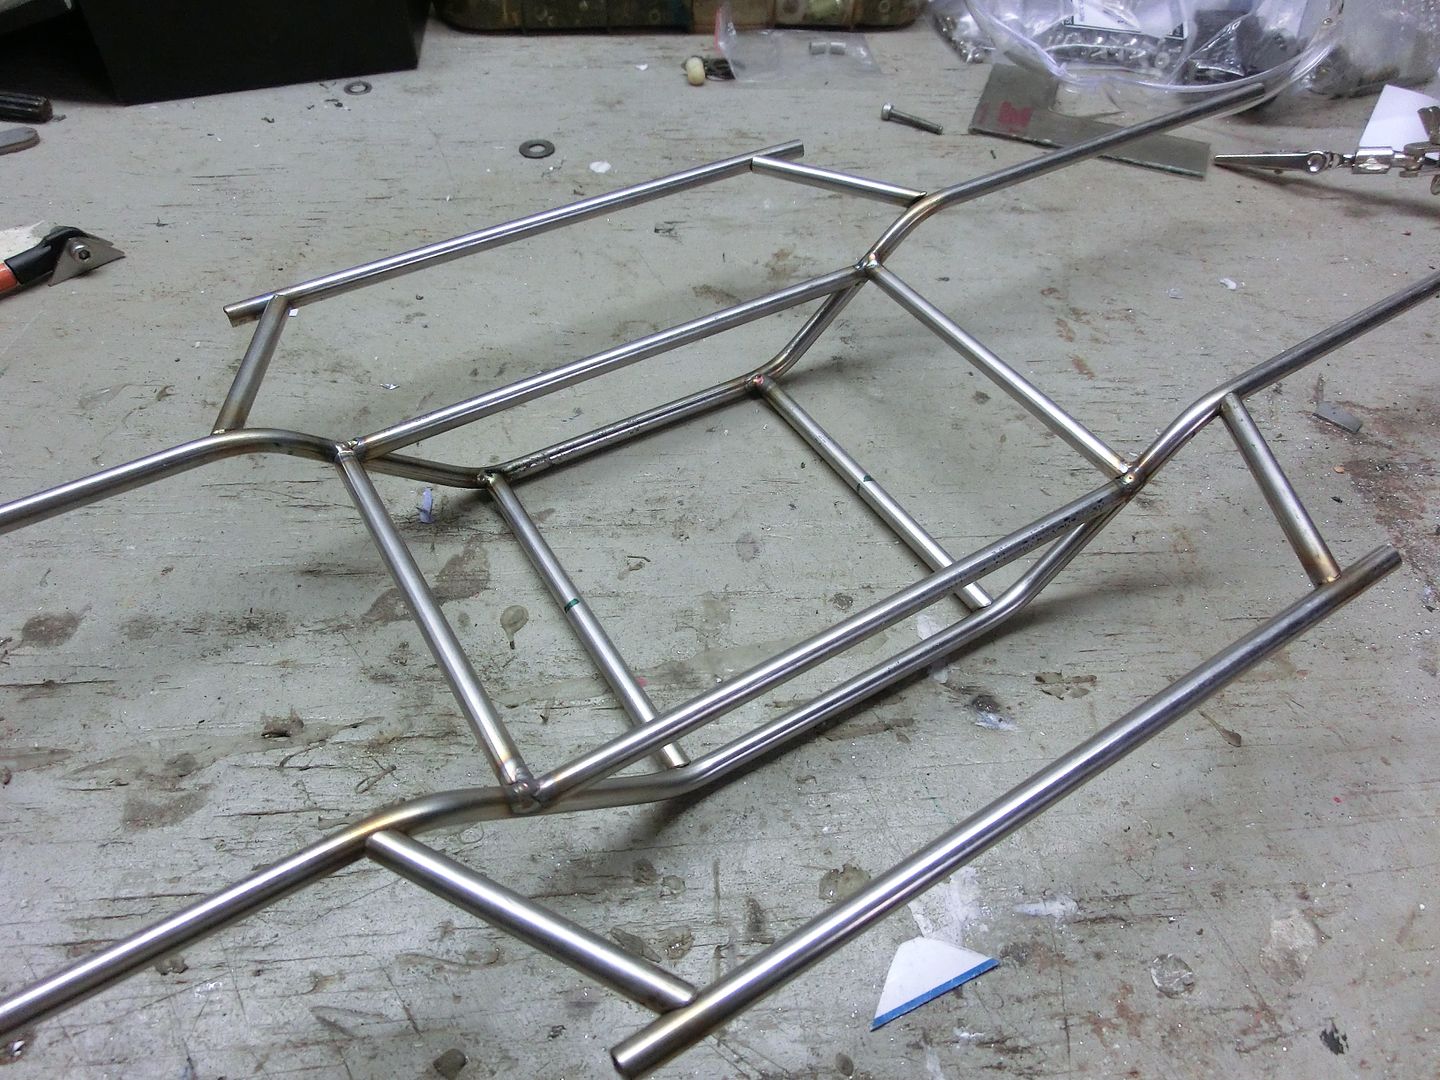 then places for the link mounts 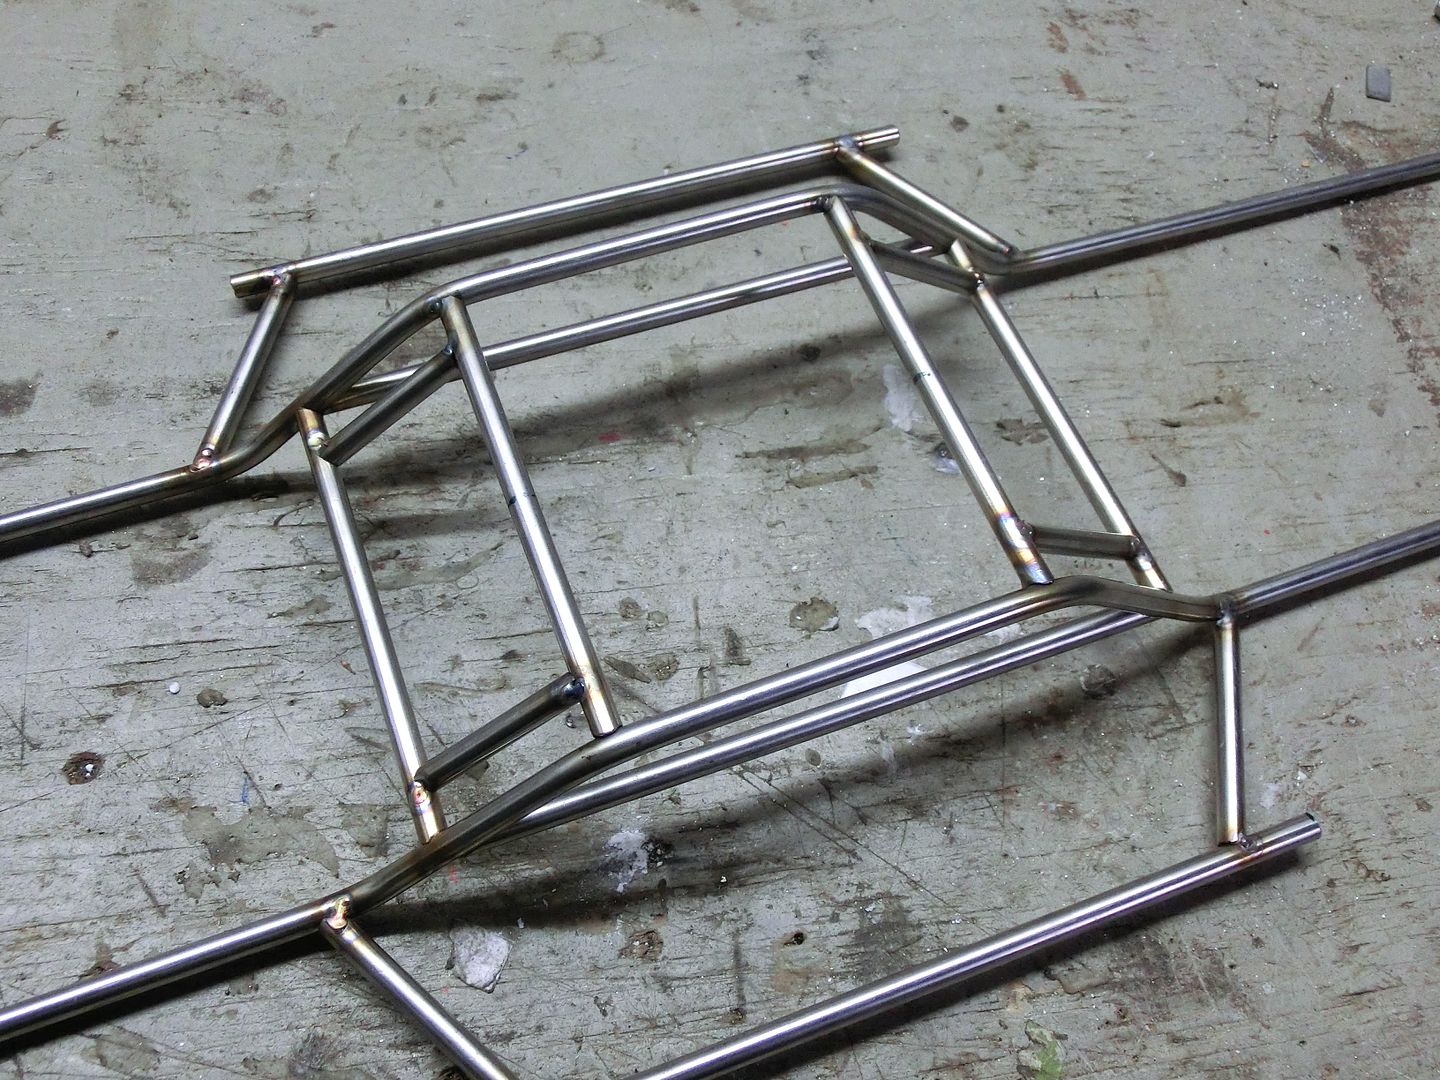 then the mounts 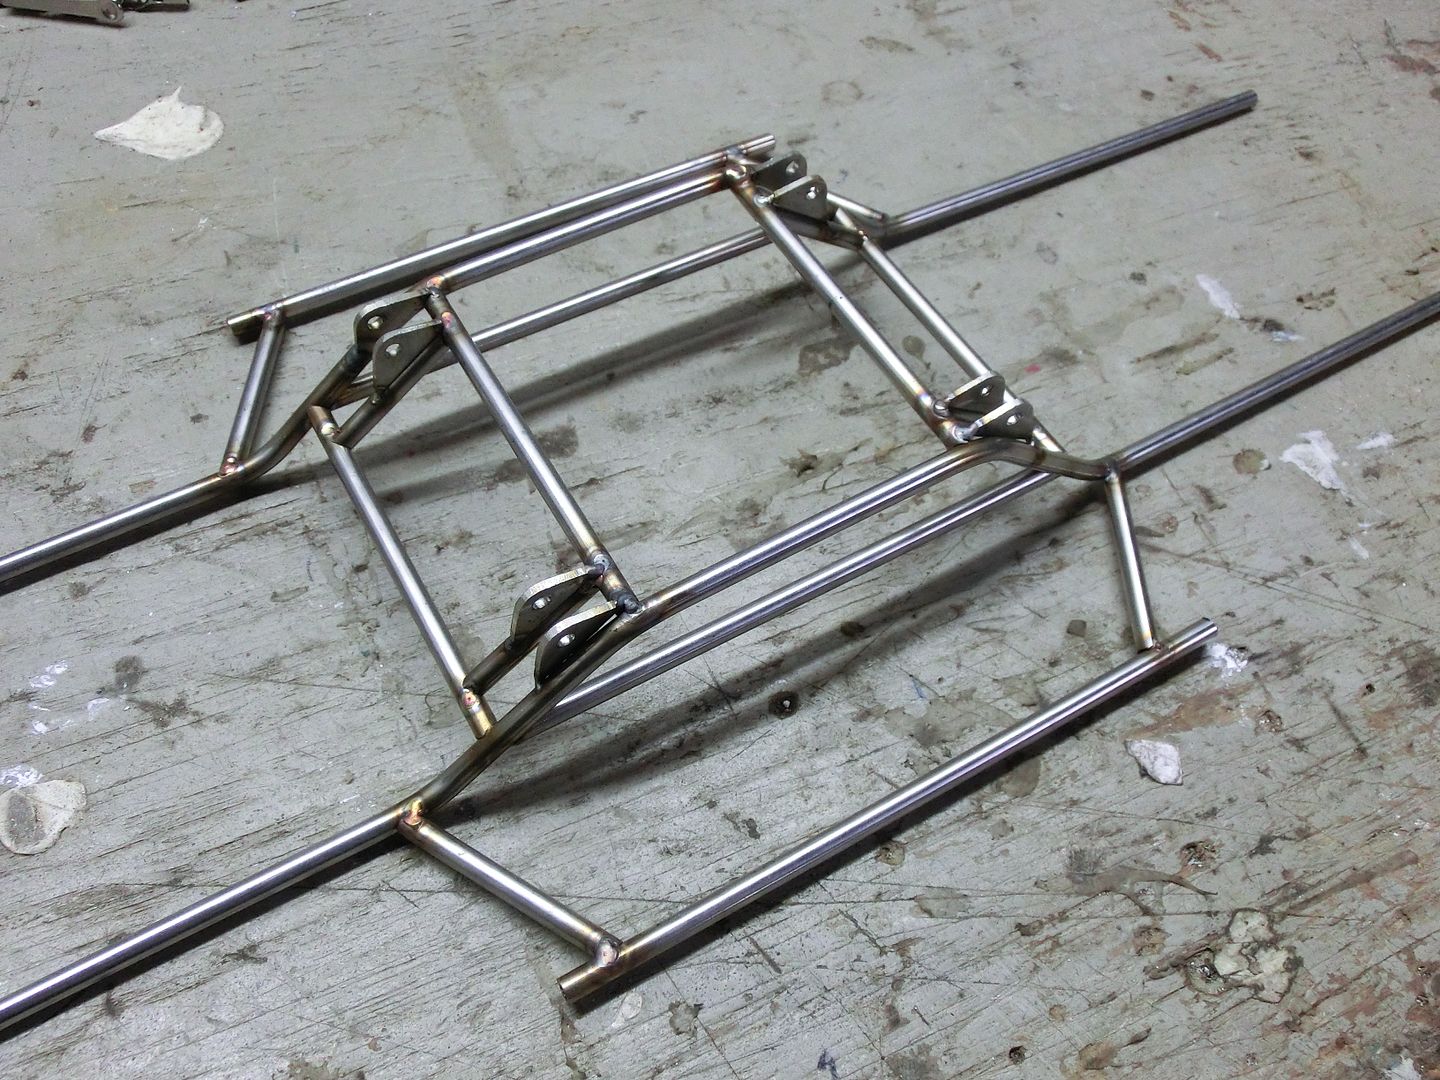 for the upper rear I used 12 Gauge Stainless 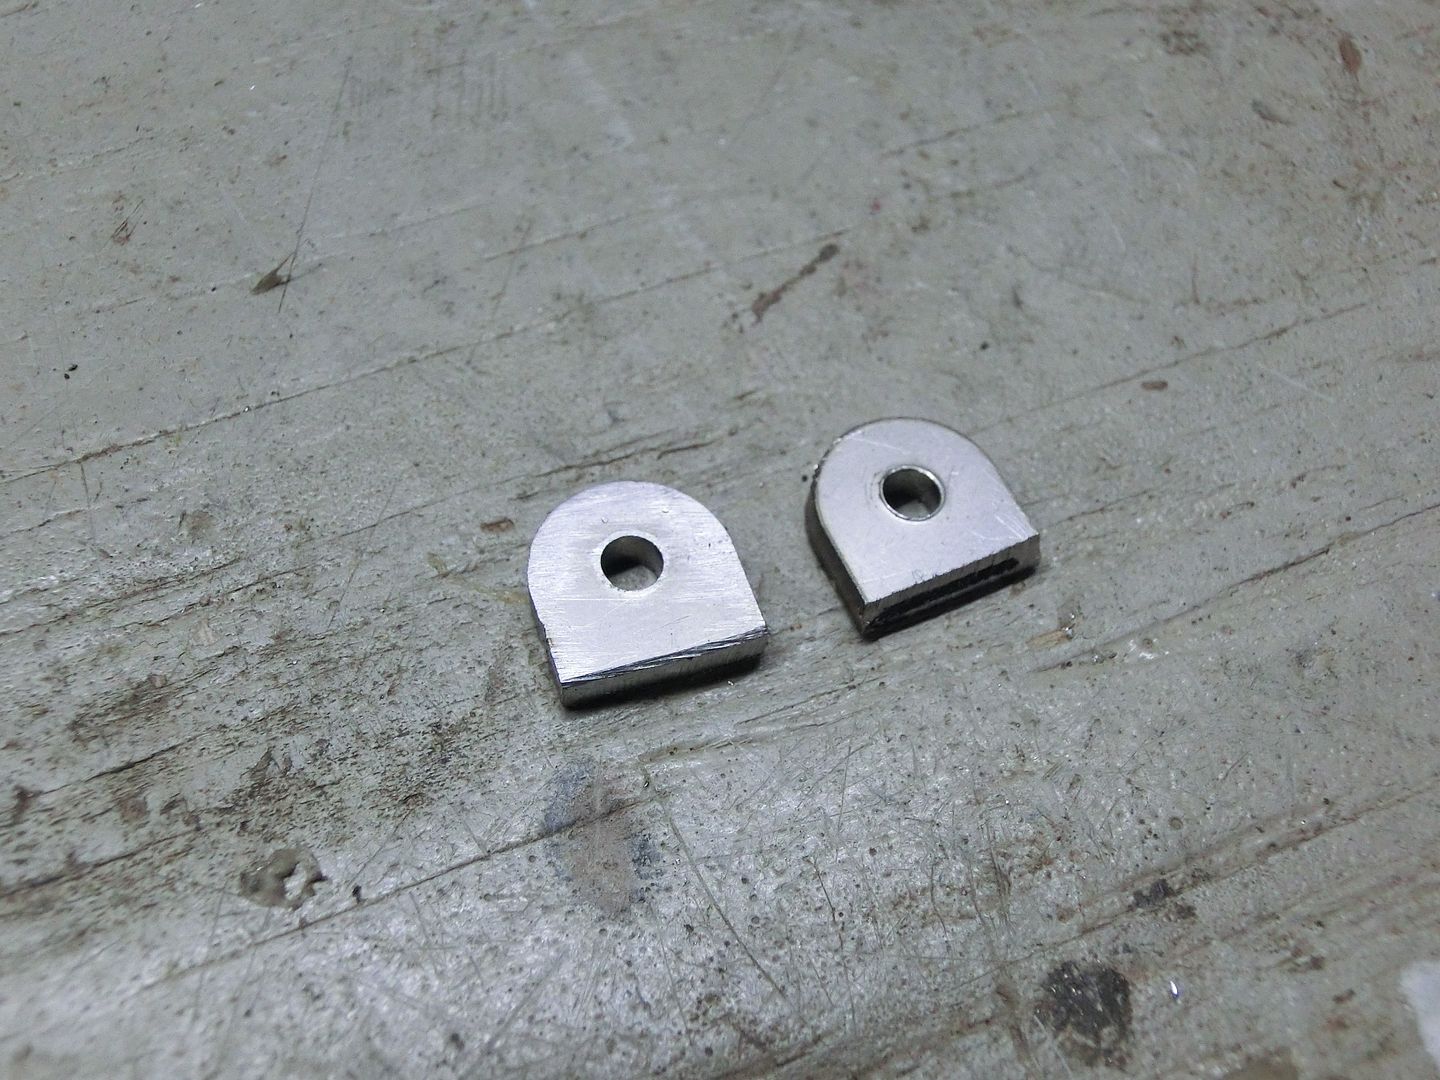 Tacked in place 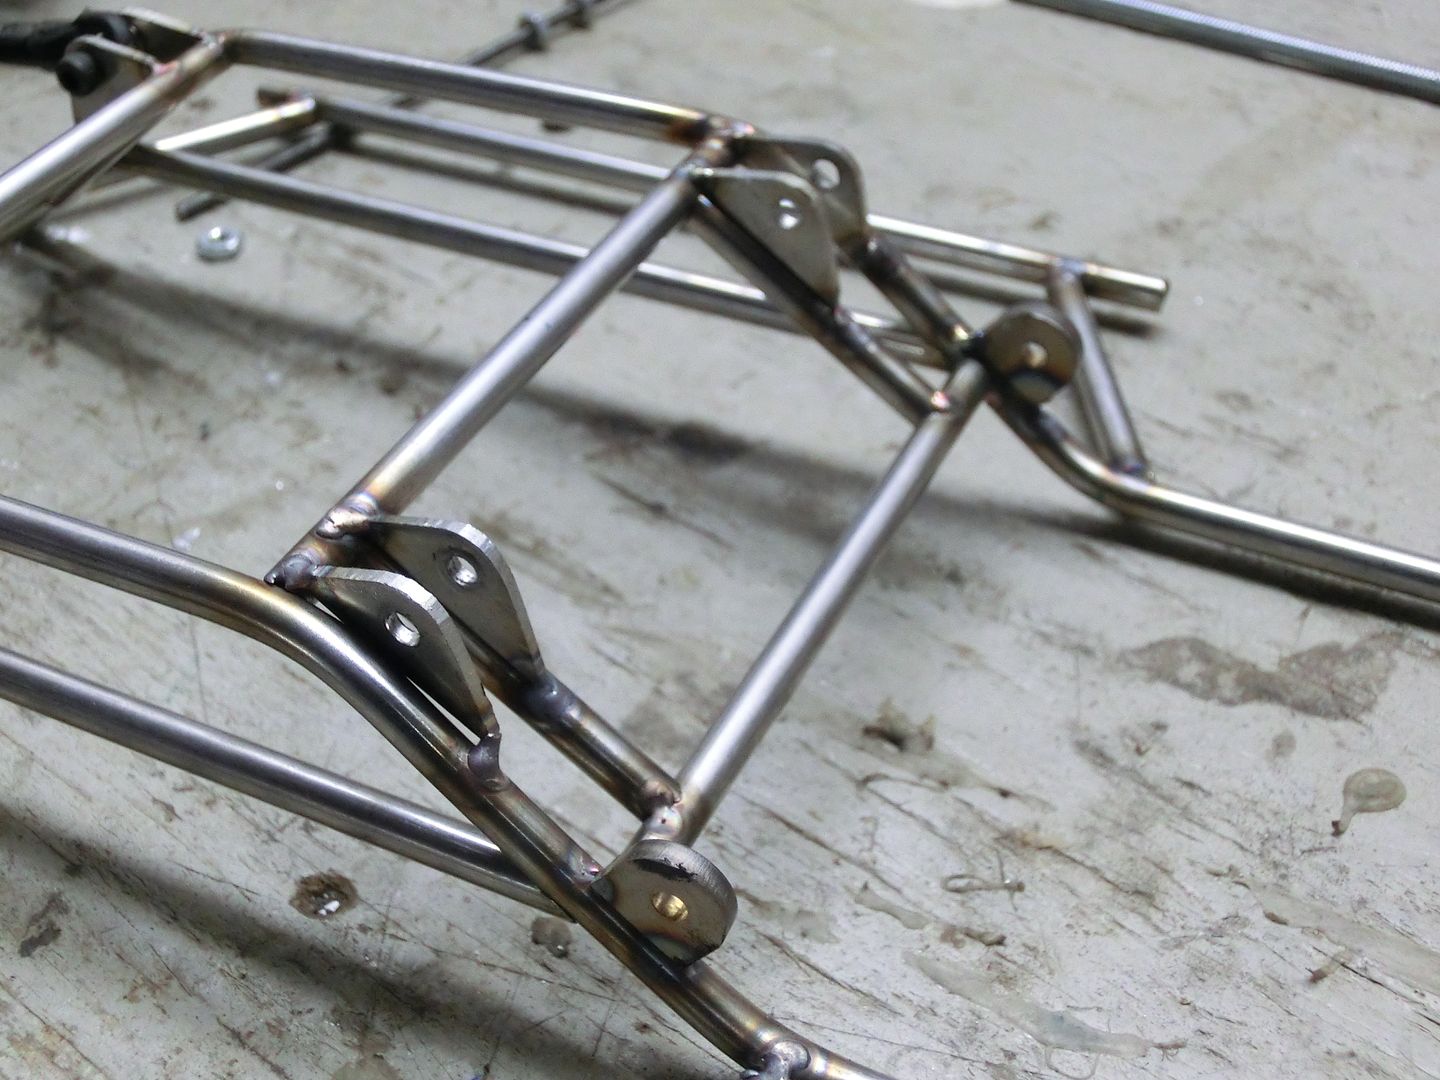 a test fit of the suspension showed I had a bind so the uppers got moved 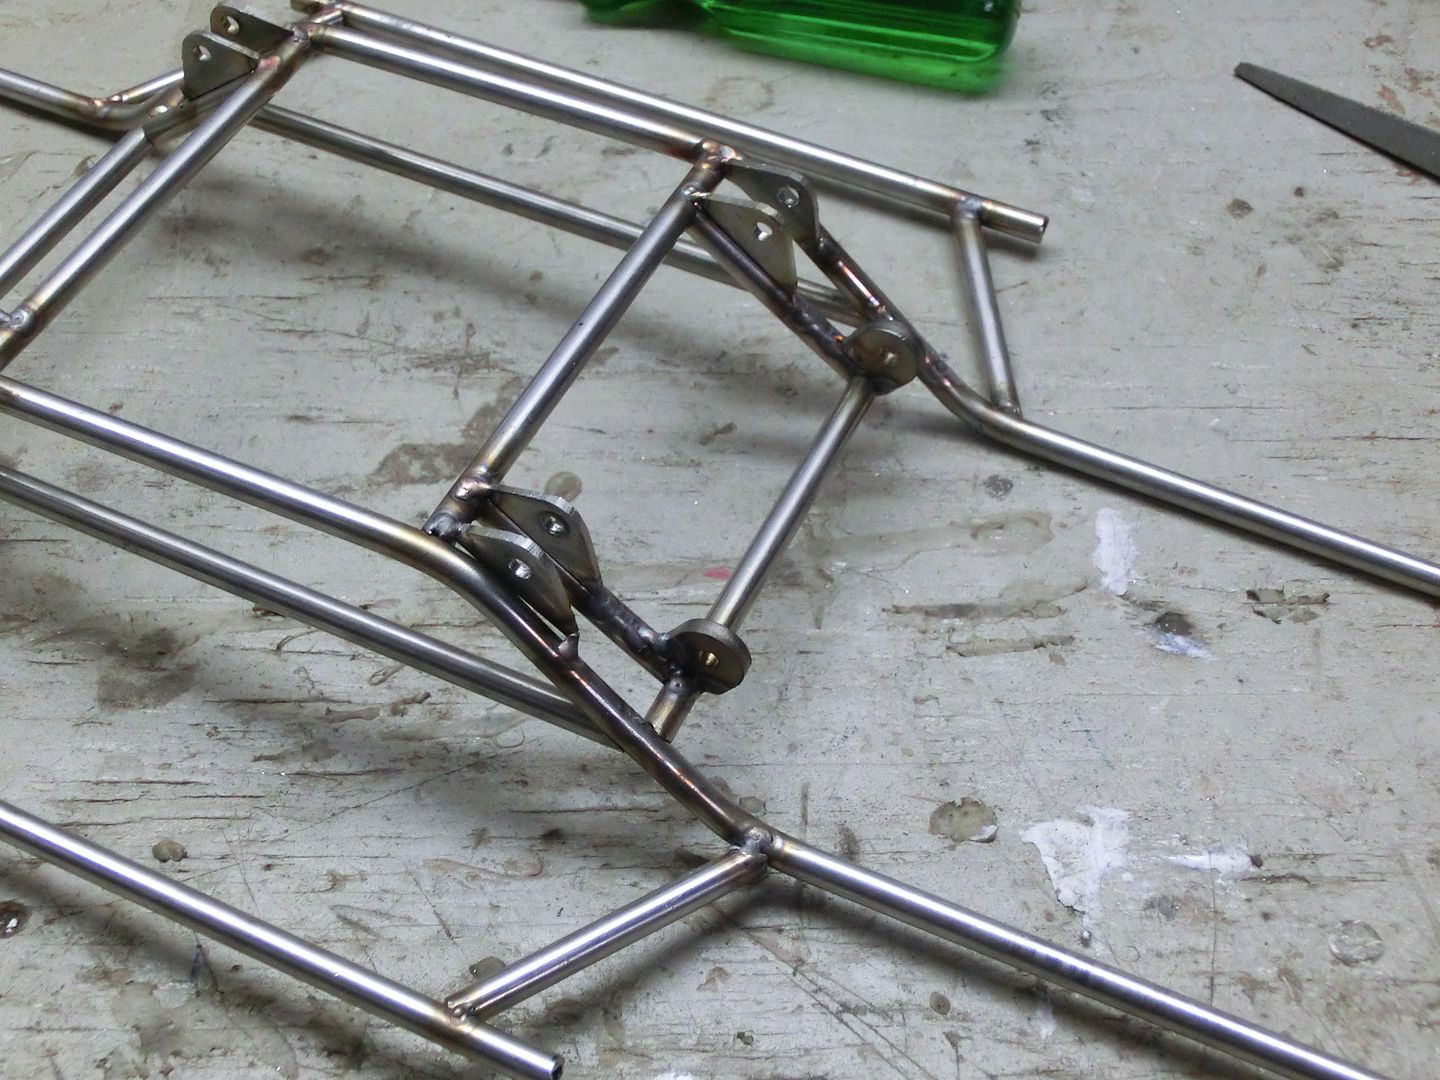 then I mocked up the axles 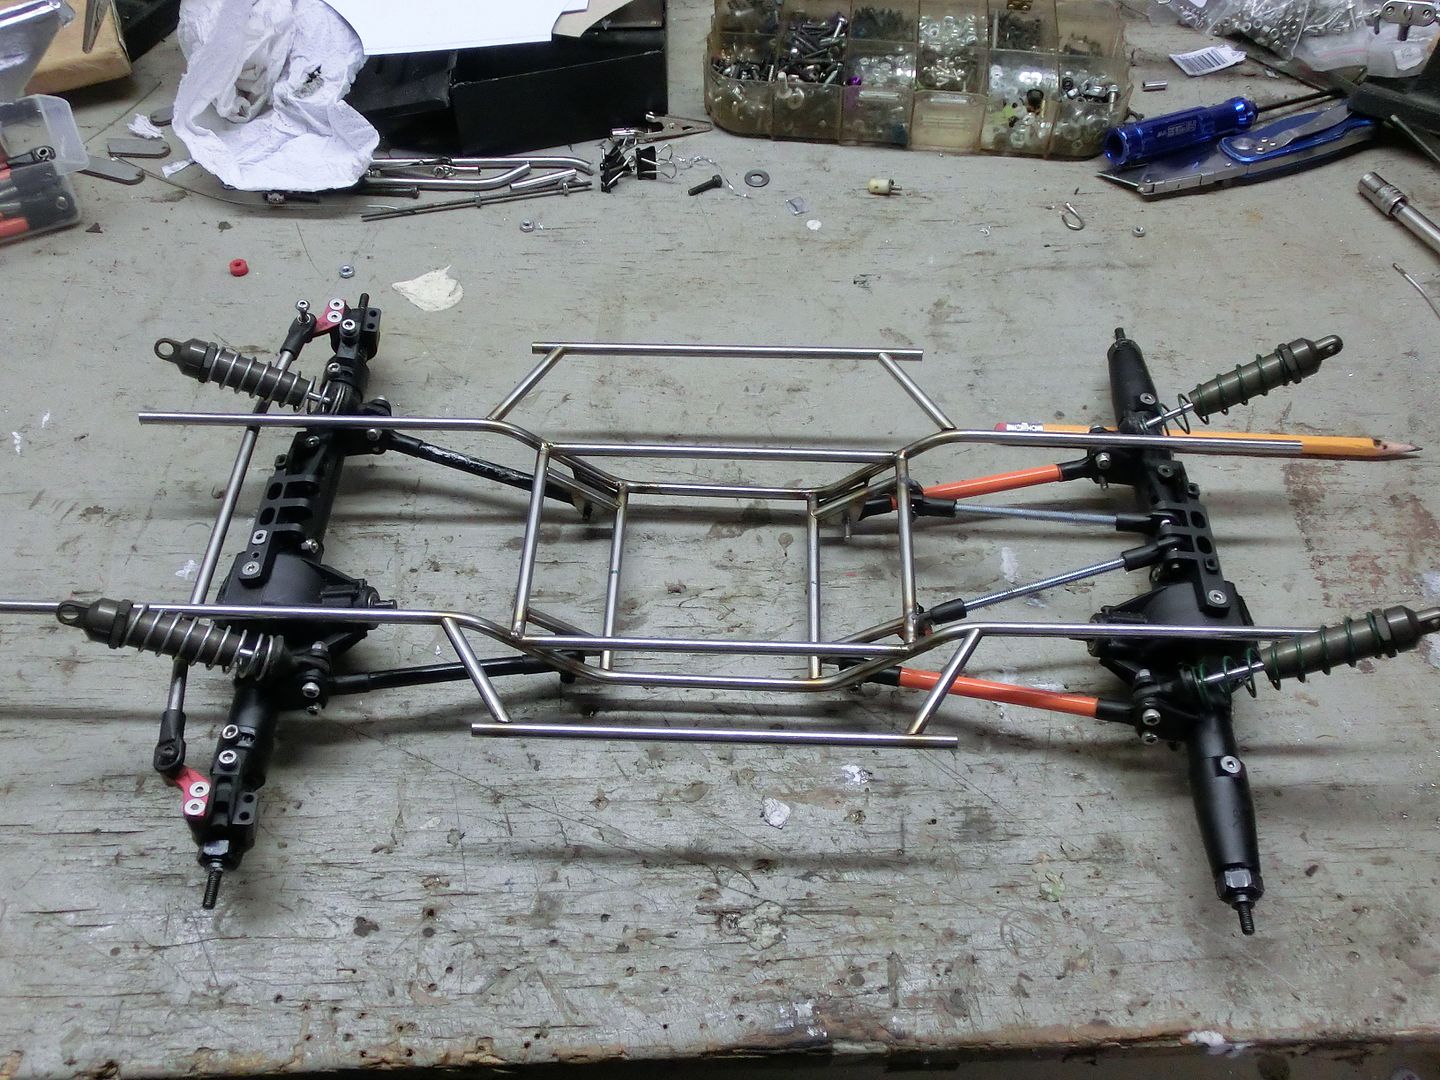 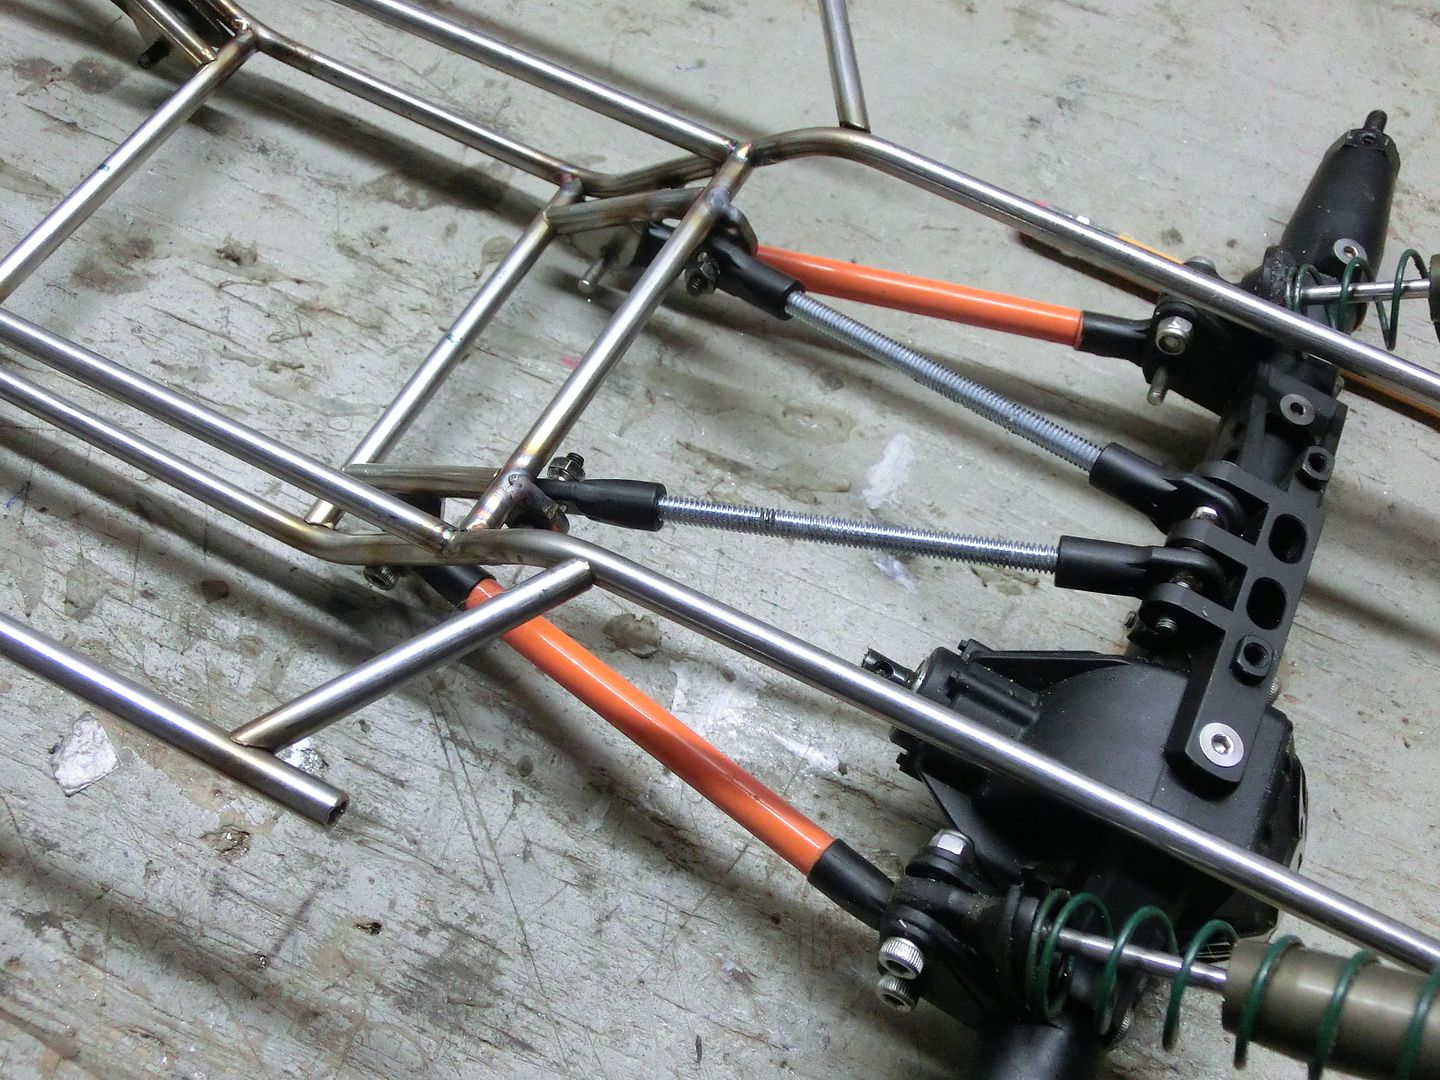 then threw on the tires 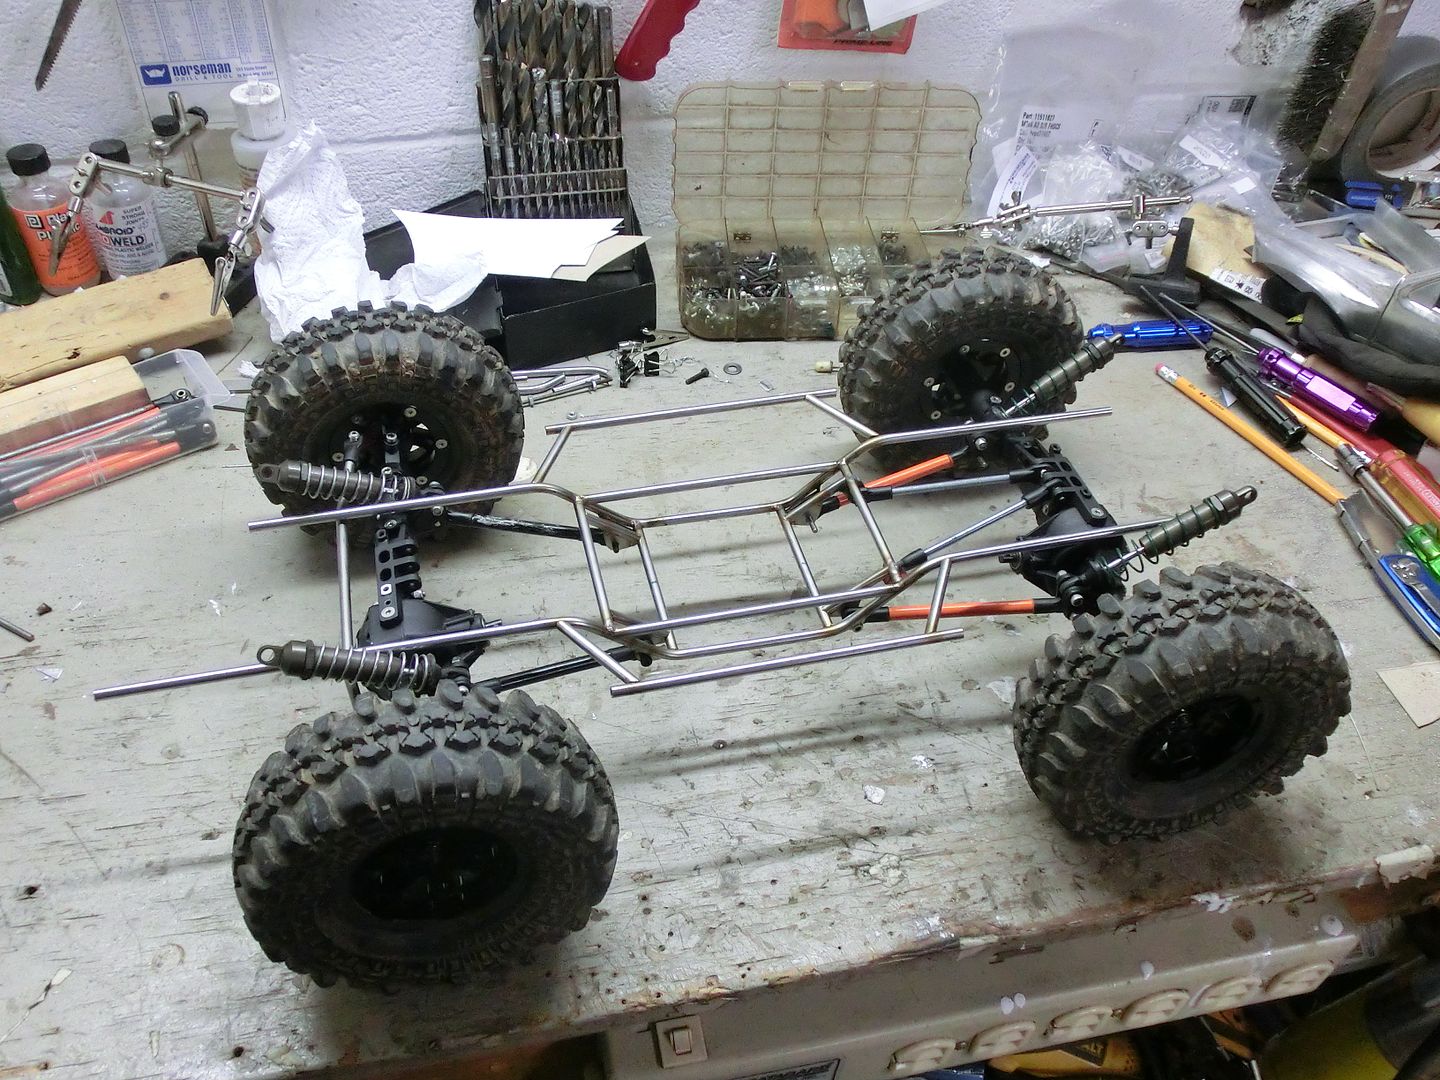 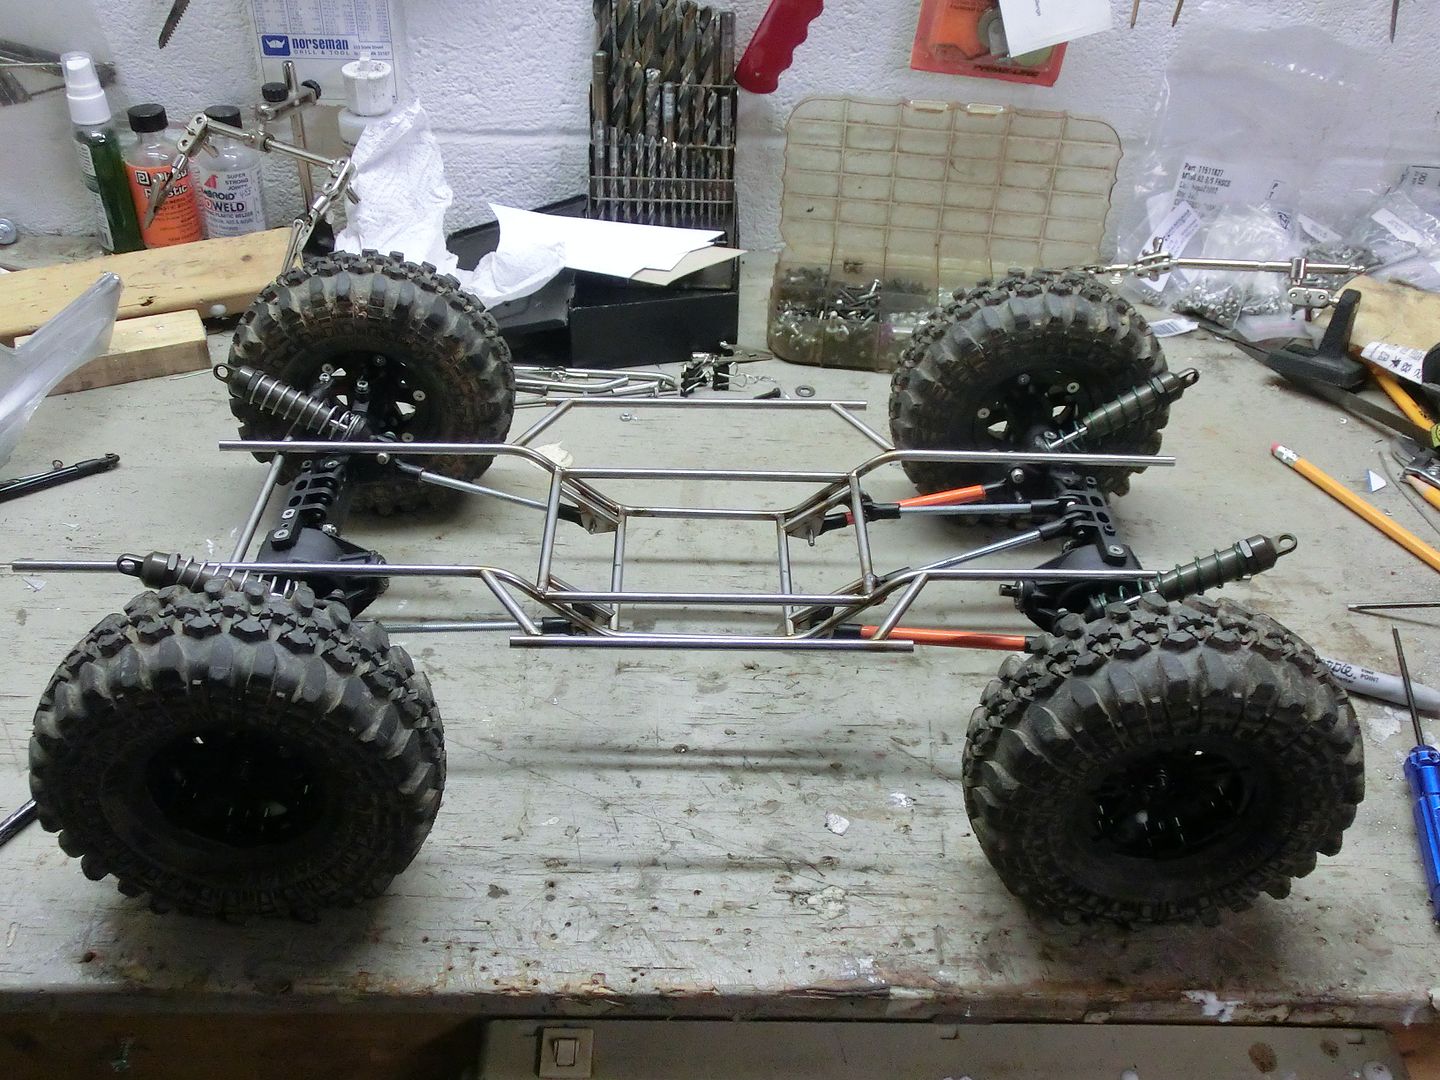 then the body to see how it all fits 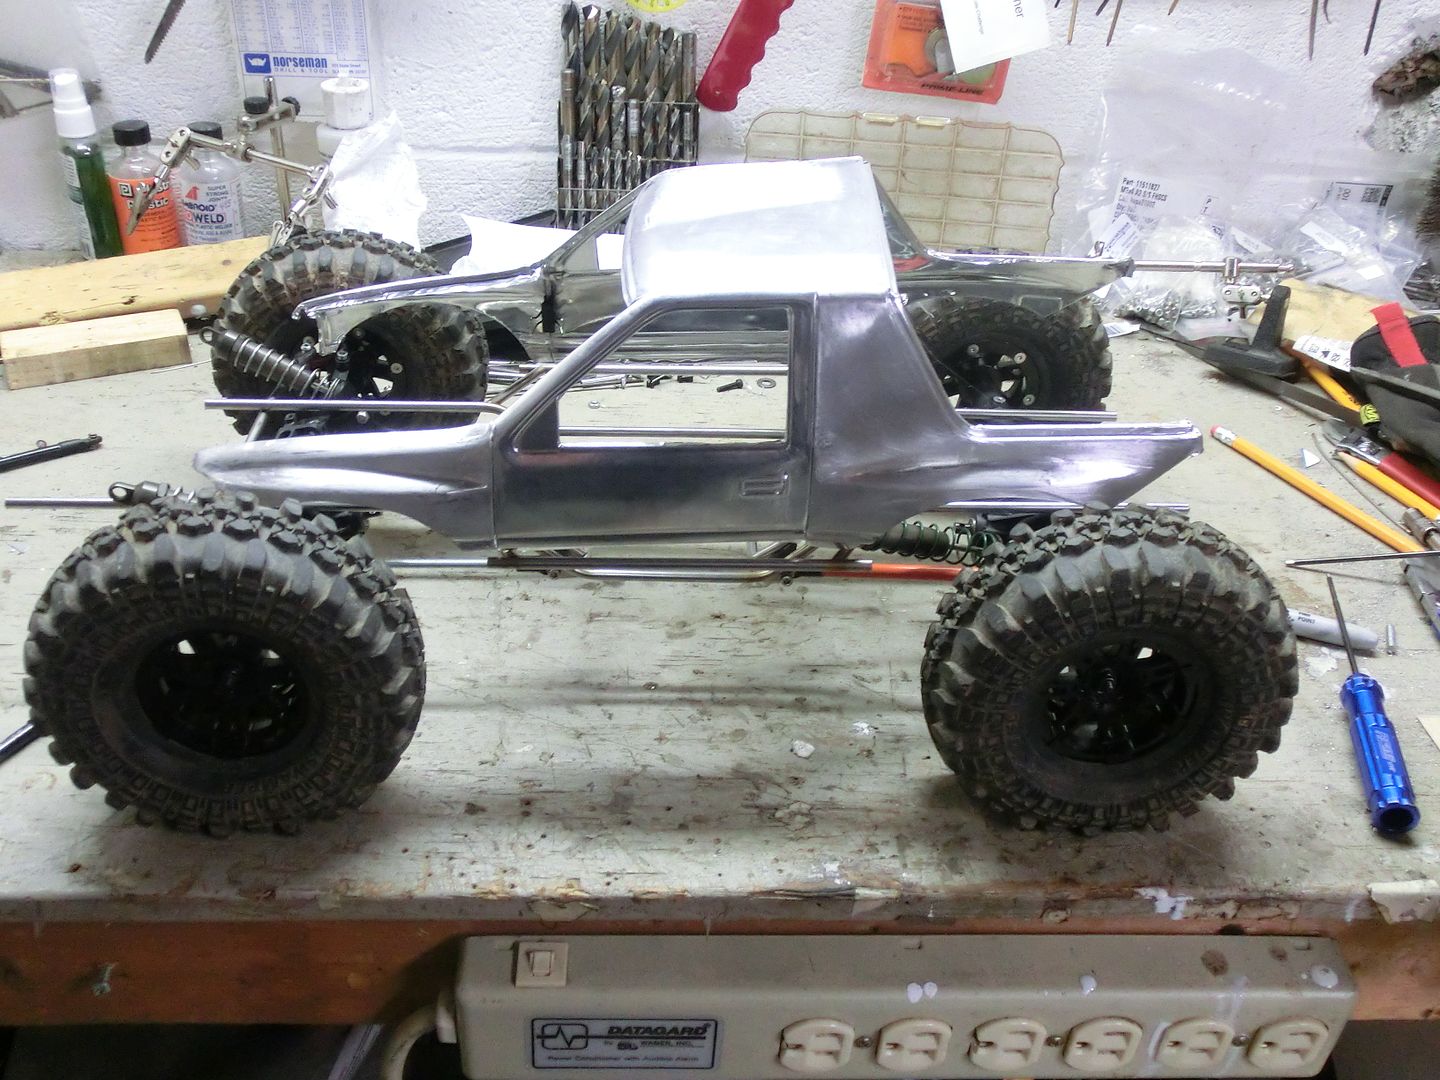 I'm liking it so far! More later |
| |  |
| Sponsored Links | |
| | #2 |
| I wanna be Dave Join Date: Jul 2010 Location: Toronto
Posts: 2,389
|
YES. Great build sir, and I applaud you for having the guts to start over. And for making a truck with a real looking body on it for C3. Nice. |
| |  |
| | #3 |
| RCC Addict Join Date: Dec 2007 Location: Rochester Hills
Posts: 1,773
|
So sick, can't wait to see it  Later, Farmer |
| |  |
| | #4 |
| Rock Crawler Join Date: Oct 2009 Location: 6512 Elevation
Posts: 884
|
We'll done sir!!!! I have to ask what does your shop look like? You always make these sick rigs look easy to build, but I know they are not! Anyway sub'd
|
| |  |
| | #5 |
| Rock Crawler  Join Date: May 2012 Location: Washougal
Posts: 625
|
Damn I love how you build stuff! Very clean work as usual   |
| |  |
| | #6 |
| I wanna be Dave Join Date: Aug 2004 Location: central VT
Posts: 2,301
|
You are well on you way to creating the coolest Isuzu ever. Kind of ironic that it won't ever rust out. I can't even wait to see you thrash on this thing in only two more weeks! |
| |  |
| | #7 |
| RCC Addict Join Date: Mar 2007 Location: Turn the mayflower around.. it will never work
Posts: 1,588
|
• Class 3 body minimum specs: Rock sliders, mirrors, etc. do not count in these measurements: The distance between the inside of the tires (of any axle) can be no greater than 1.25" more than the width of the body at the doors. *Example* (7" inside-of-tire to inside-of-tire = body must be 5.75" wide) The body must be at least 5" wide from the front to the rear of the doors. 1 1/4 not 1 1/8 |
| |  |
| | #8 | ||||
| RCC Addict  Join Date: Aug 2005 Location: New Oxford PA
Posts: 1,290
| Quote:
Quote:
Thanks Sam. You do great work yourself! Quote:
 I can't wait to thrash on it either! Quote:
Before i could continue onto the cage i needed to get the boatsides in place to get the final position of the body. A quick cut out of some scrap and i had the general shape. 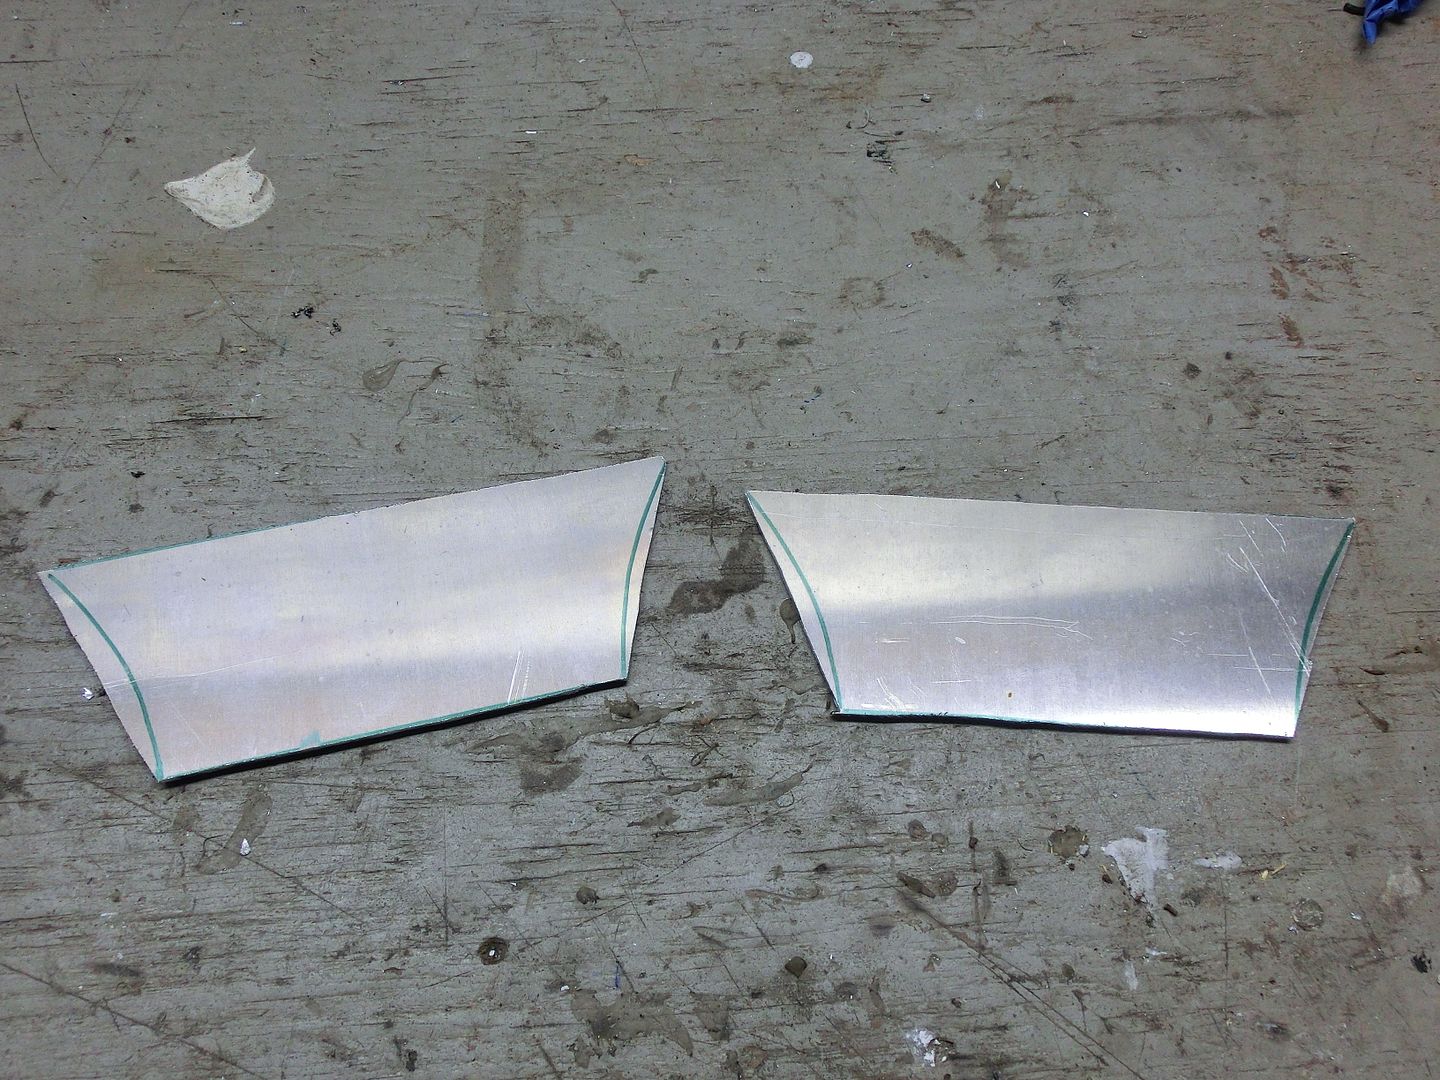 some filing and they were done. 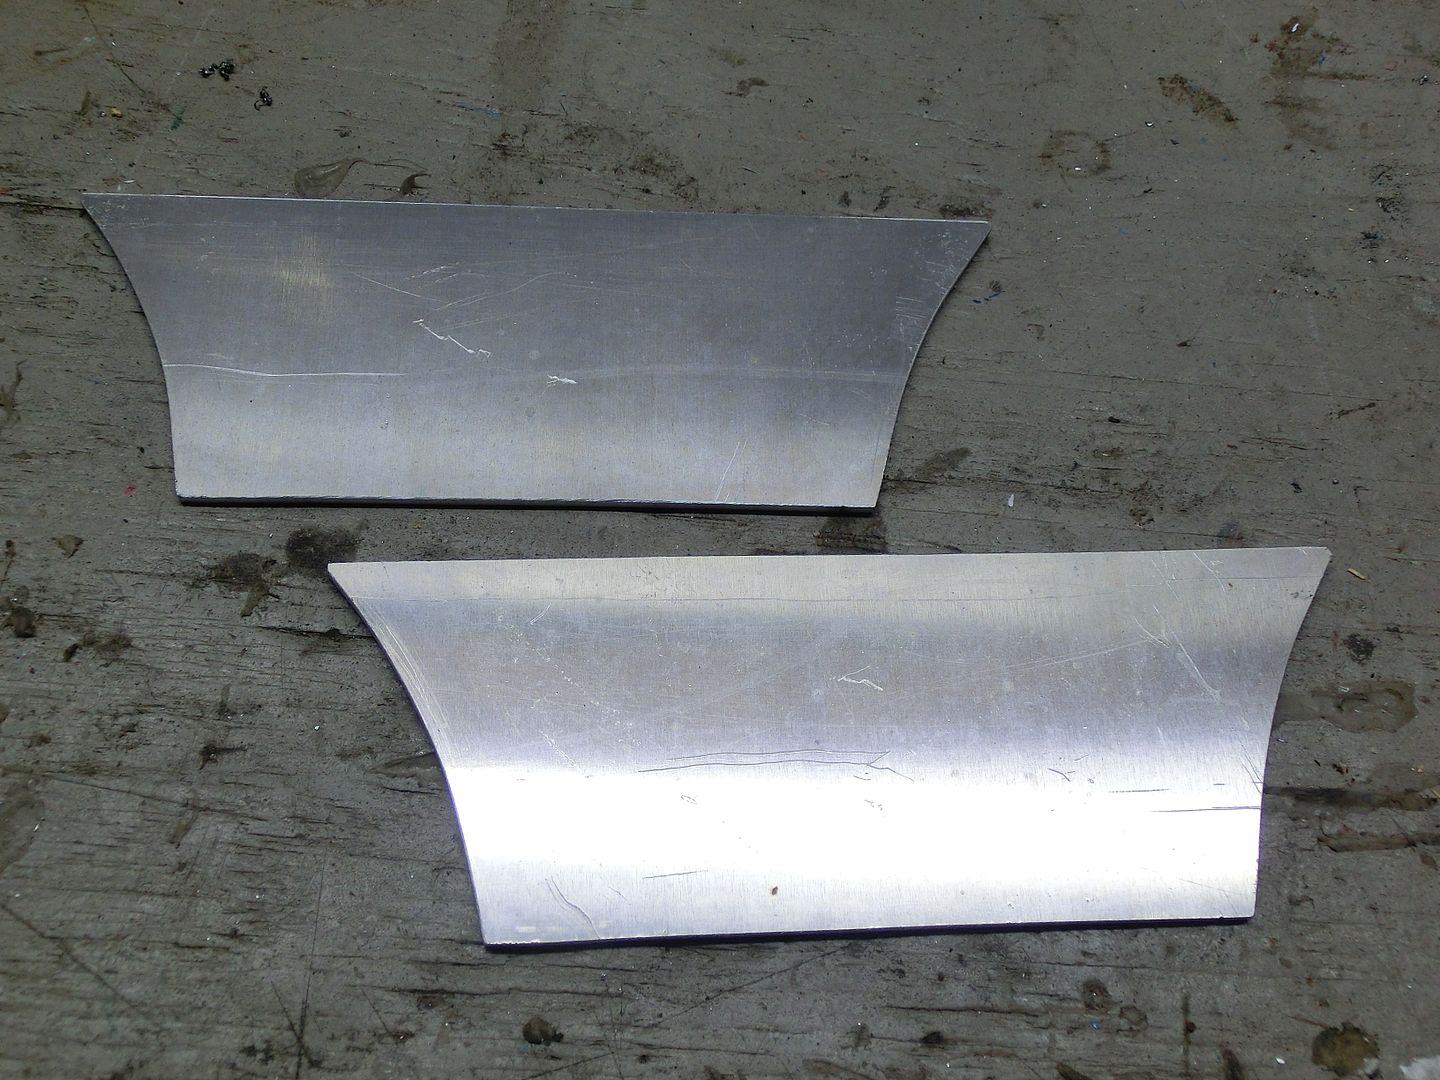 then it was time to drill and countersink some holes 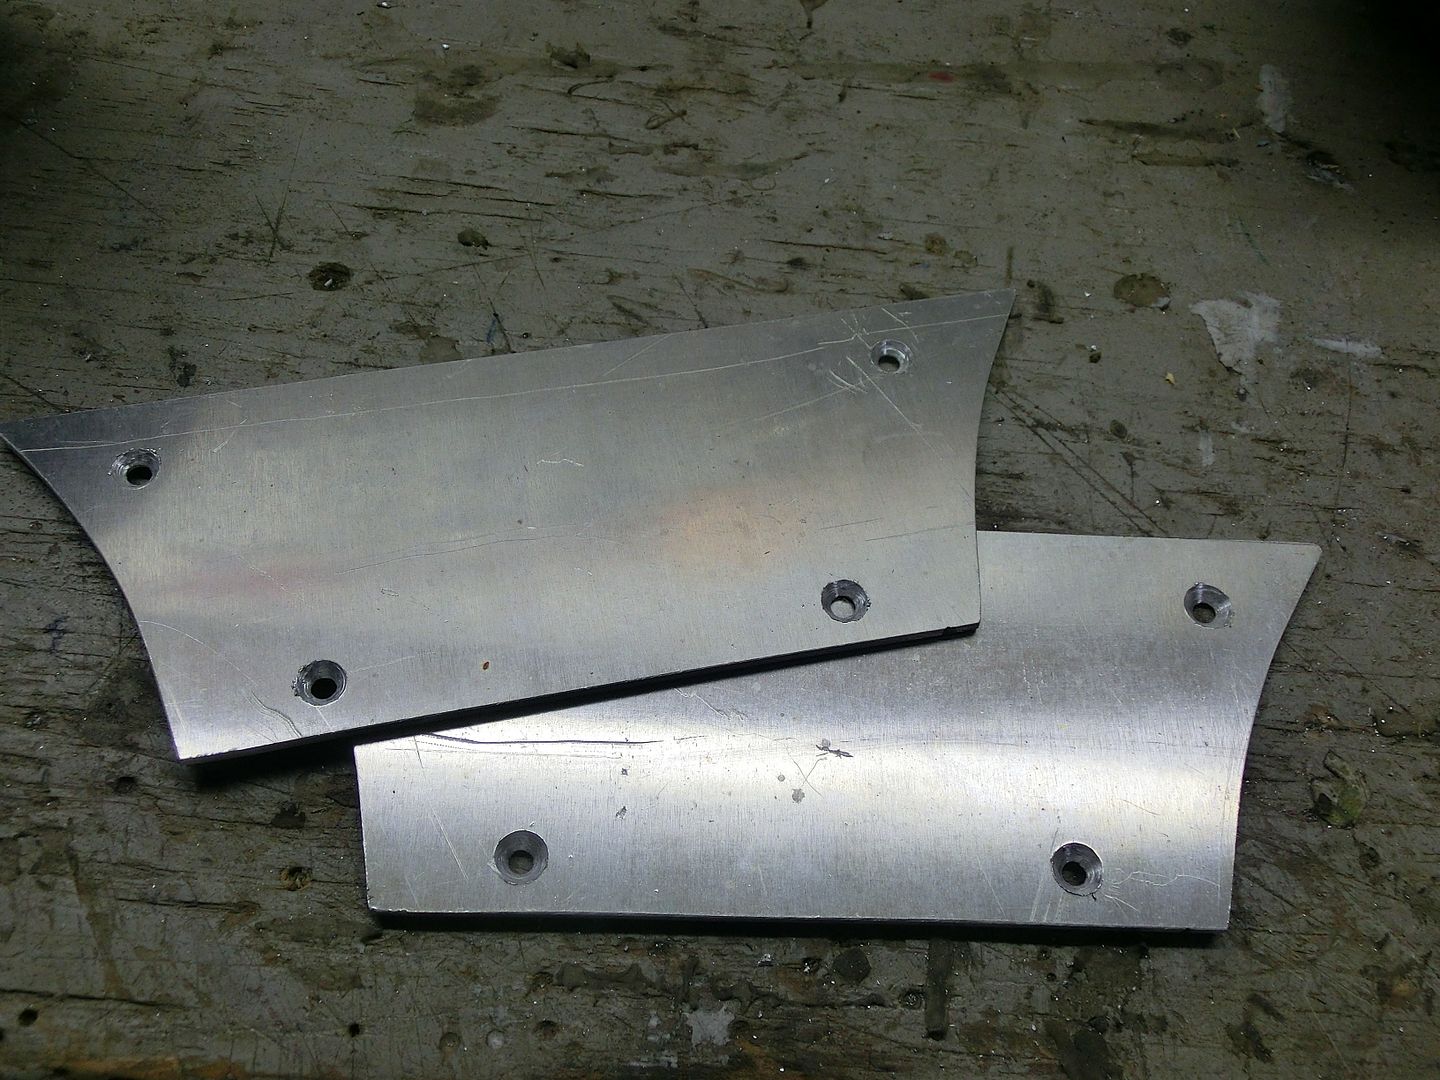 Then i needed tabs. i work in a facility that makes industrial water coolers so we have tons of scrap. These are drop-offs from our laser machine and should work great. 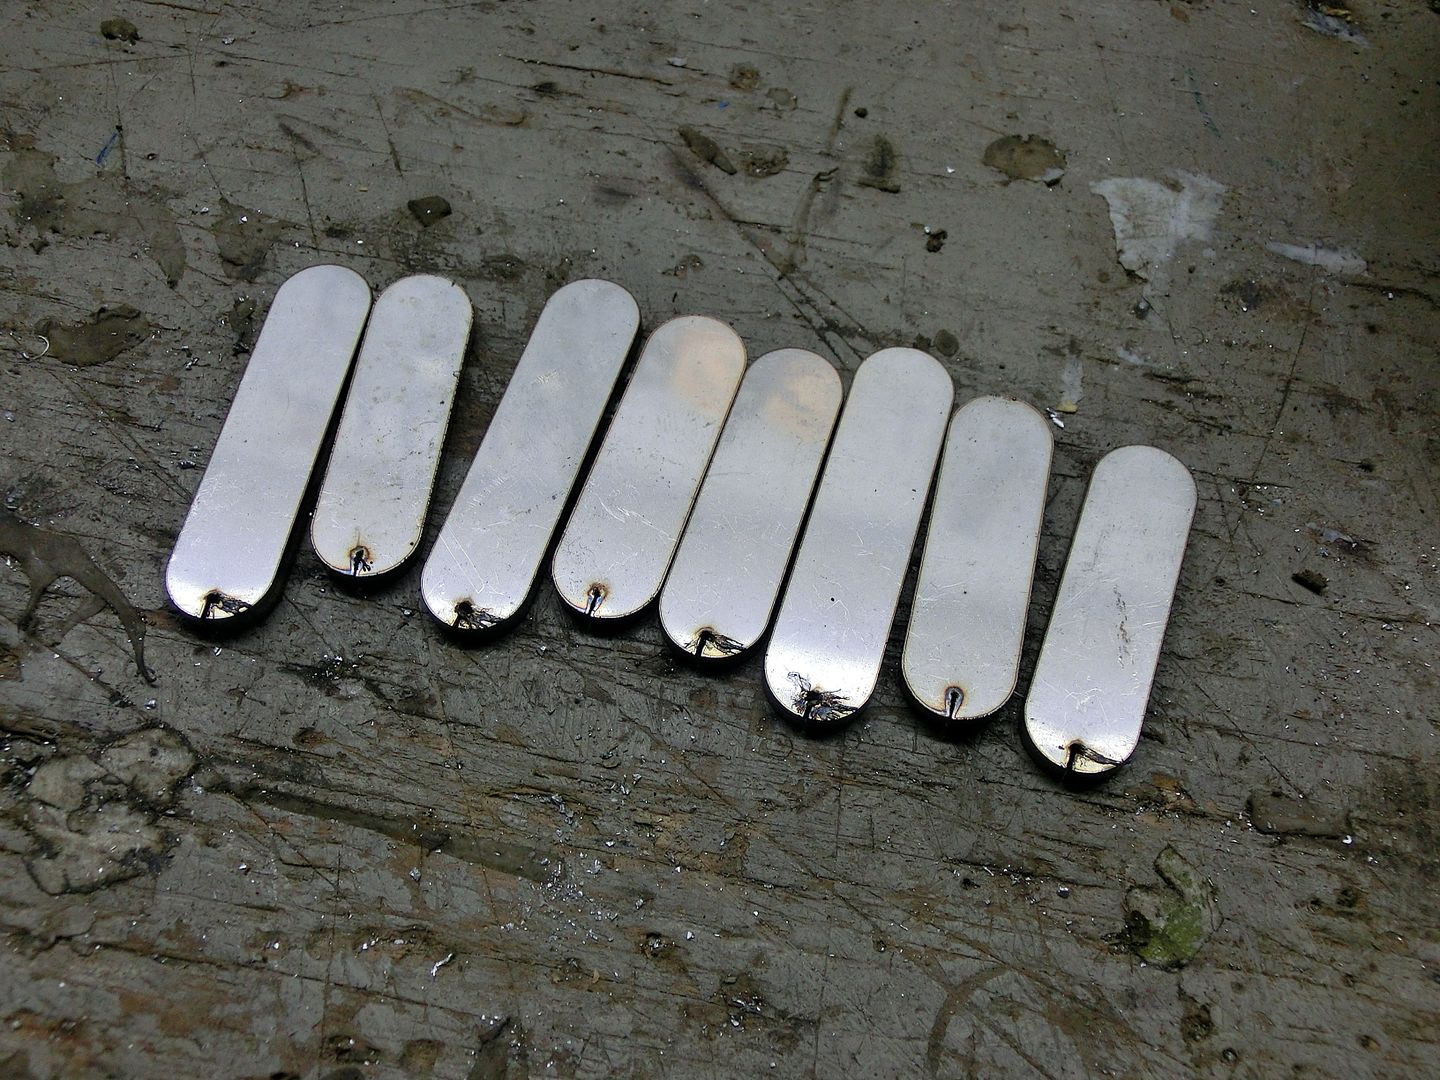 I began by drilling and tapping all the clean ends 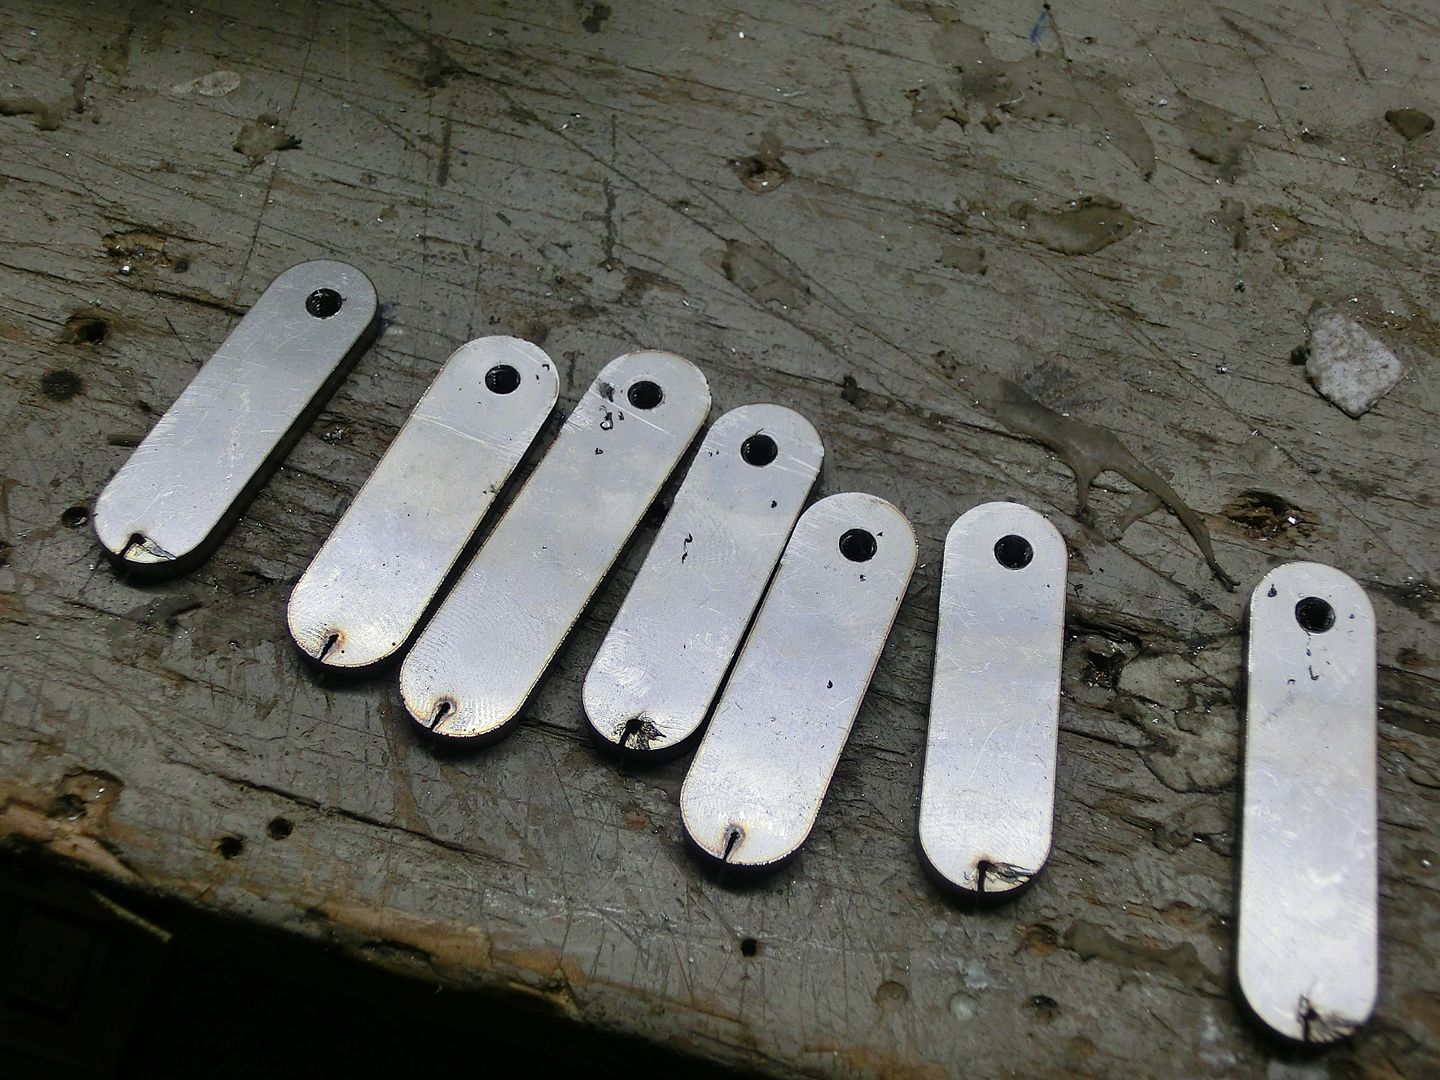 then cutting them down to size 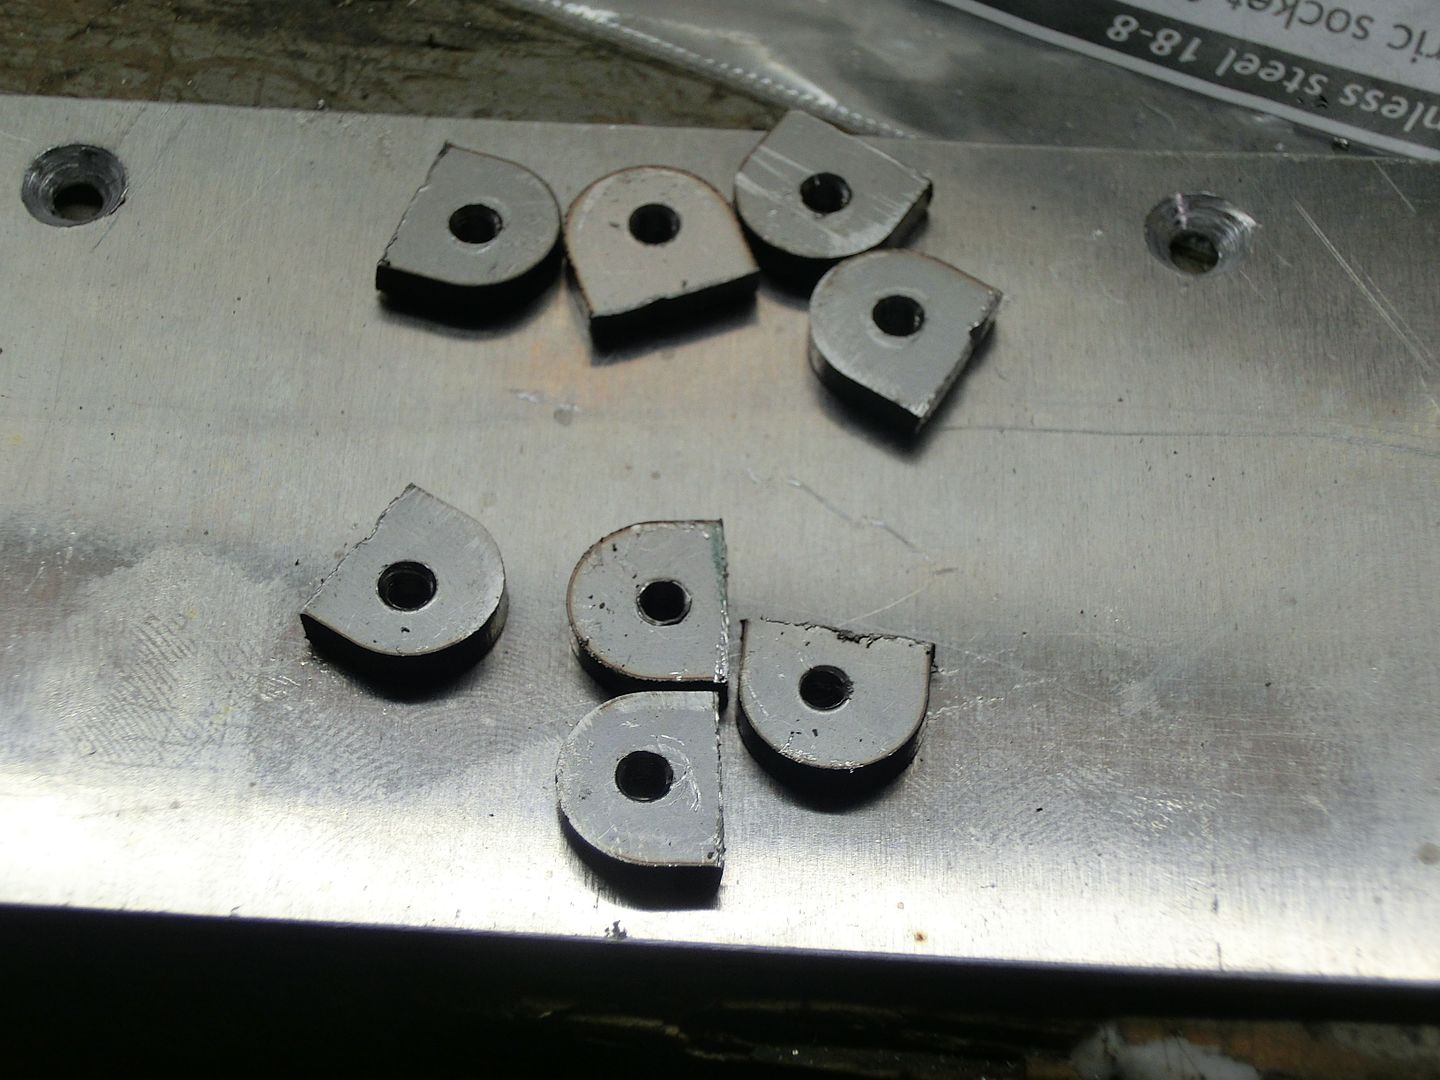 then tacked them to the chassis 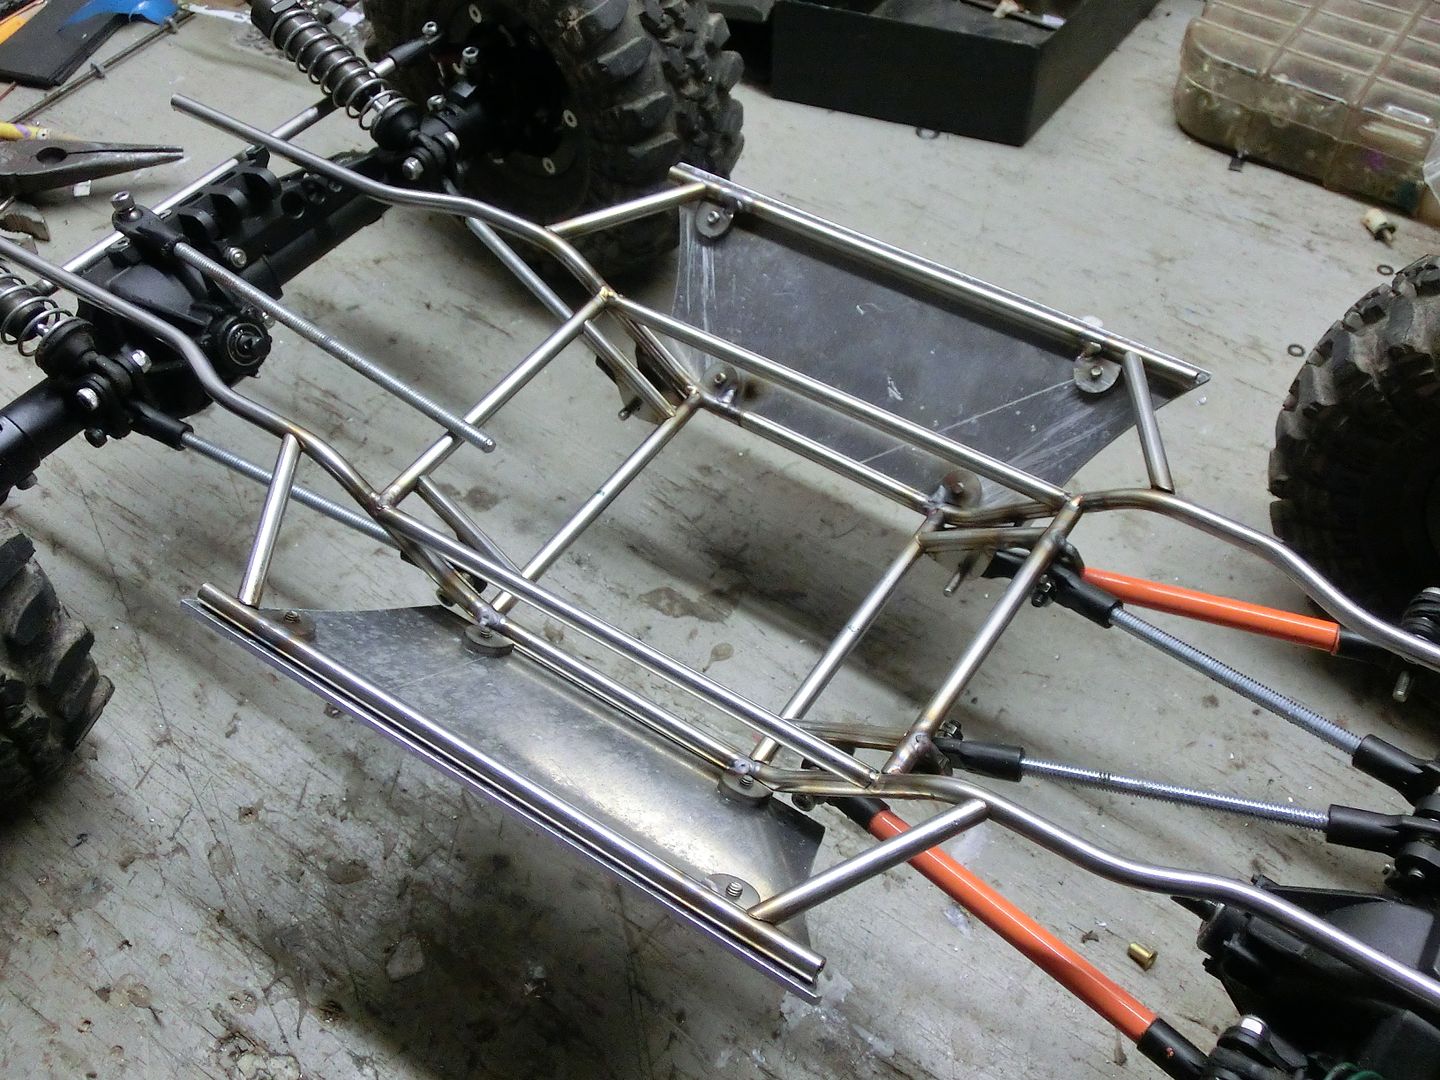 I really like how they came out. 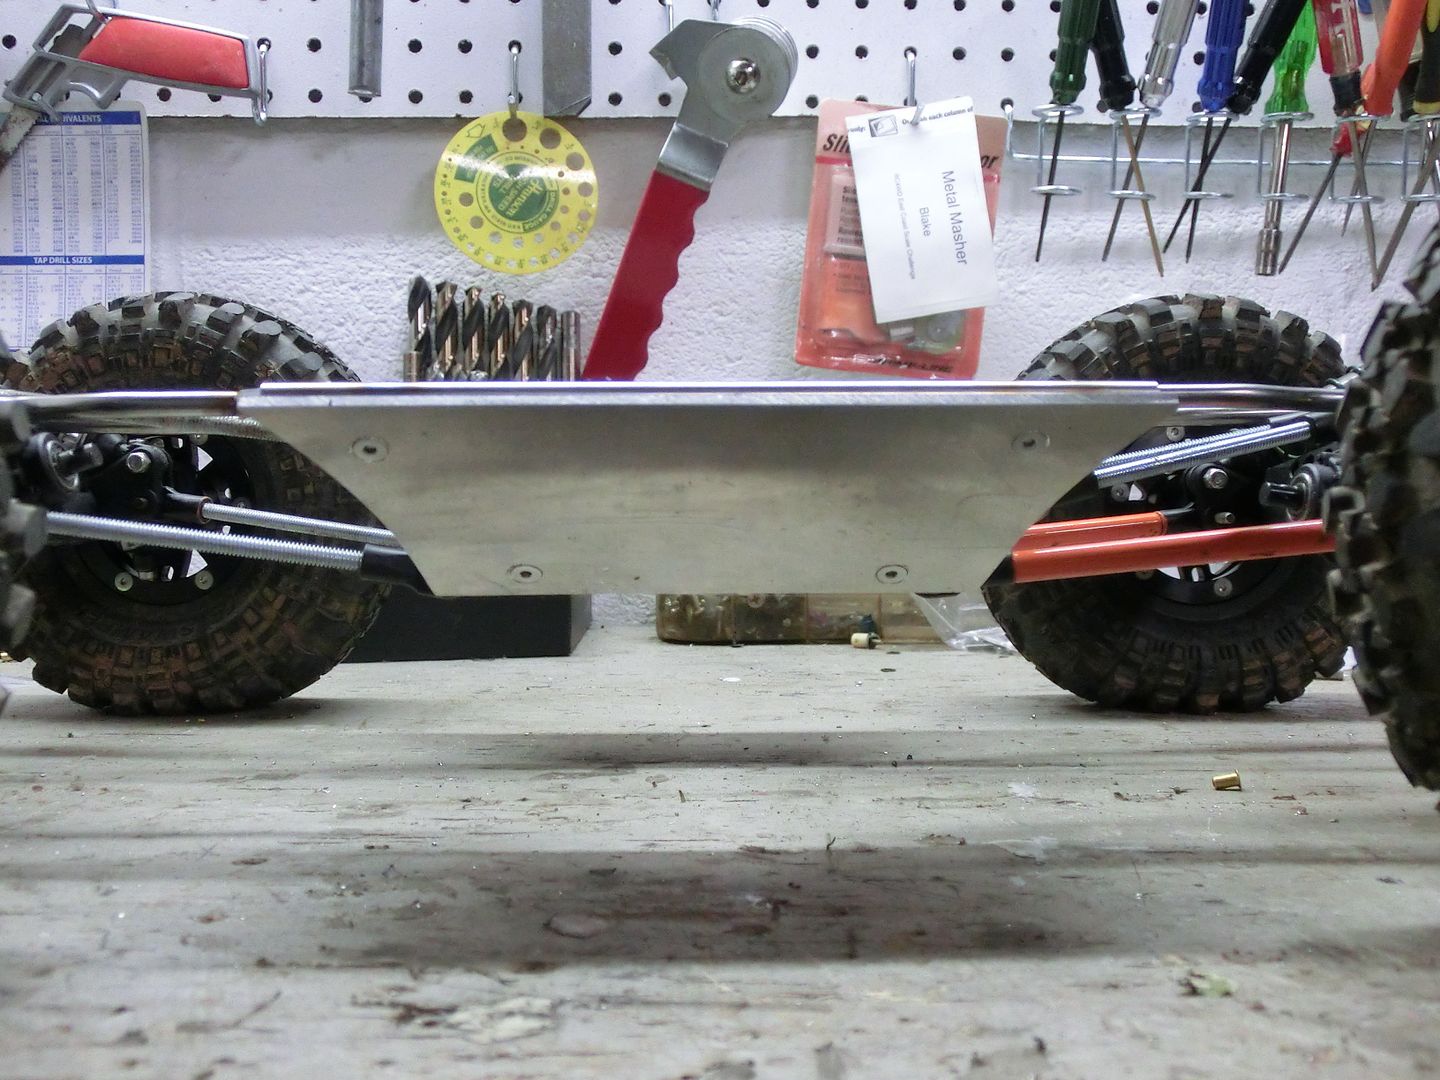 and my plan worked just like i had hoped and was able to sandwitch the body panel between the boat side and the tube. no more little screws holding the body on!  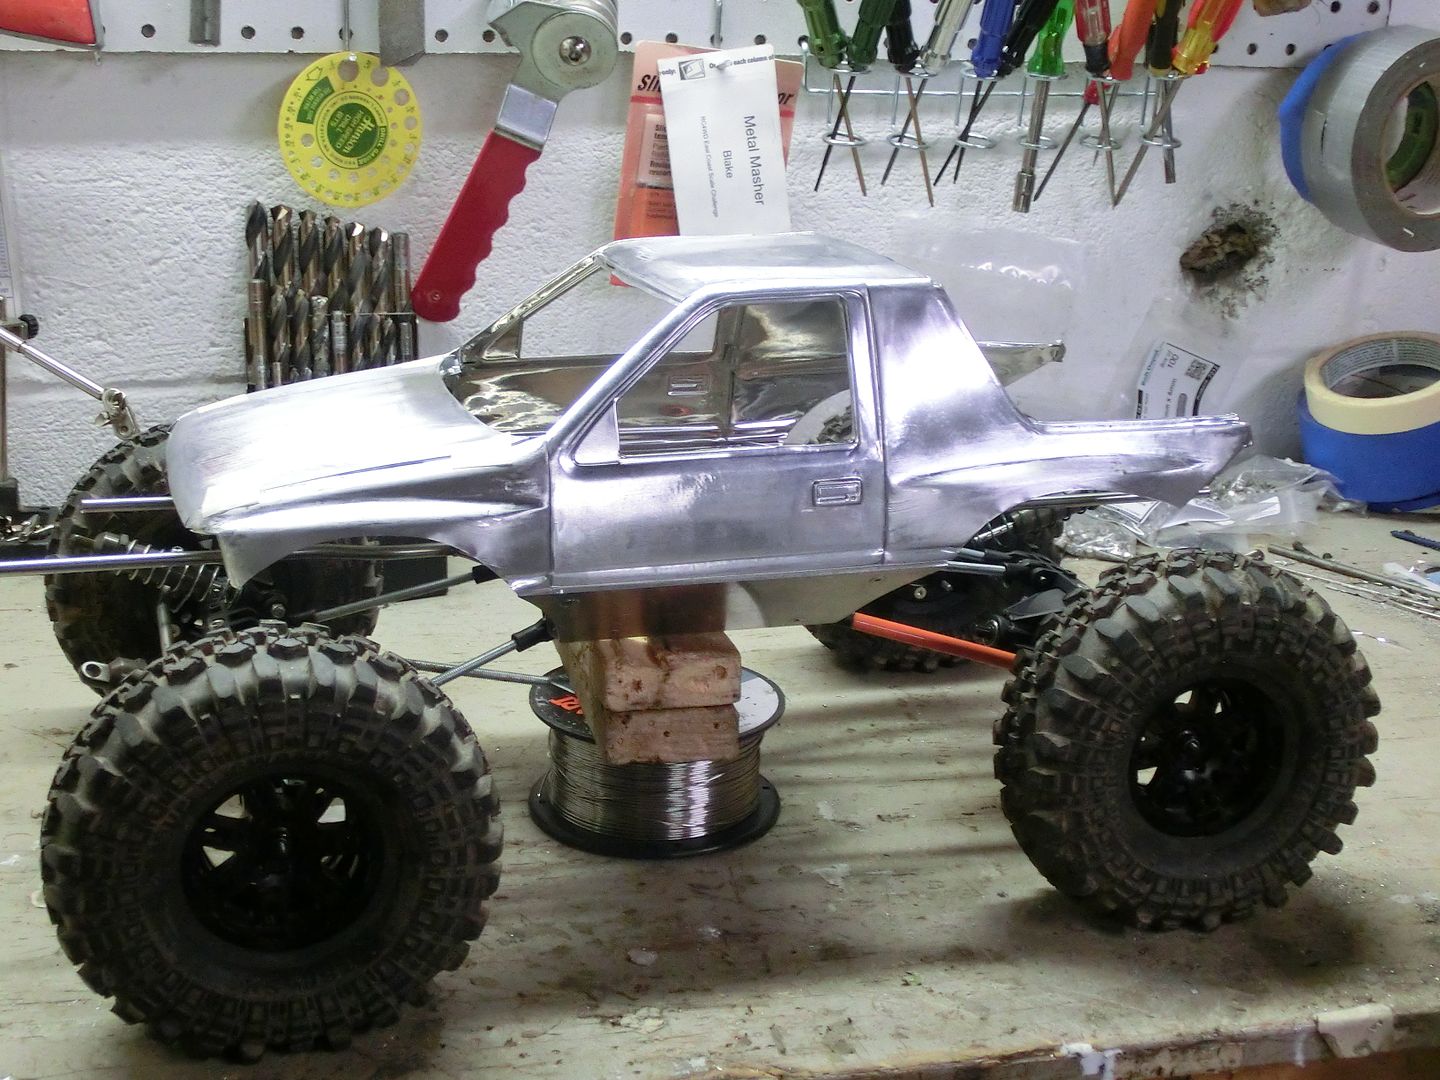  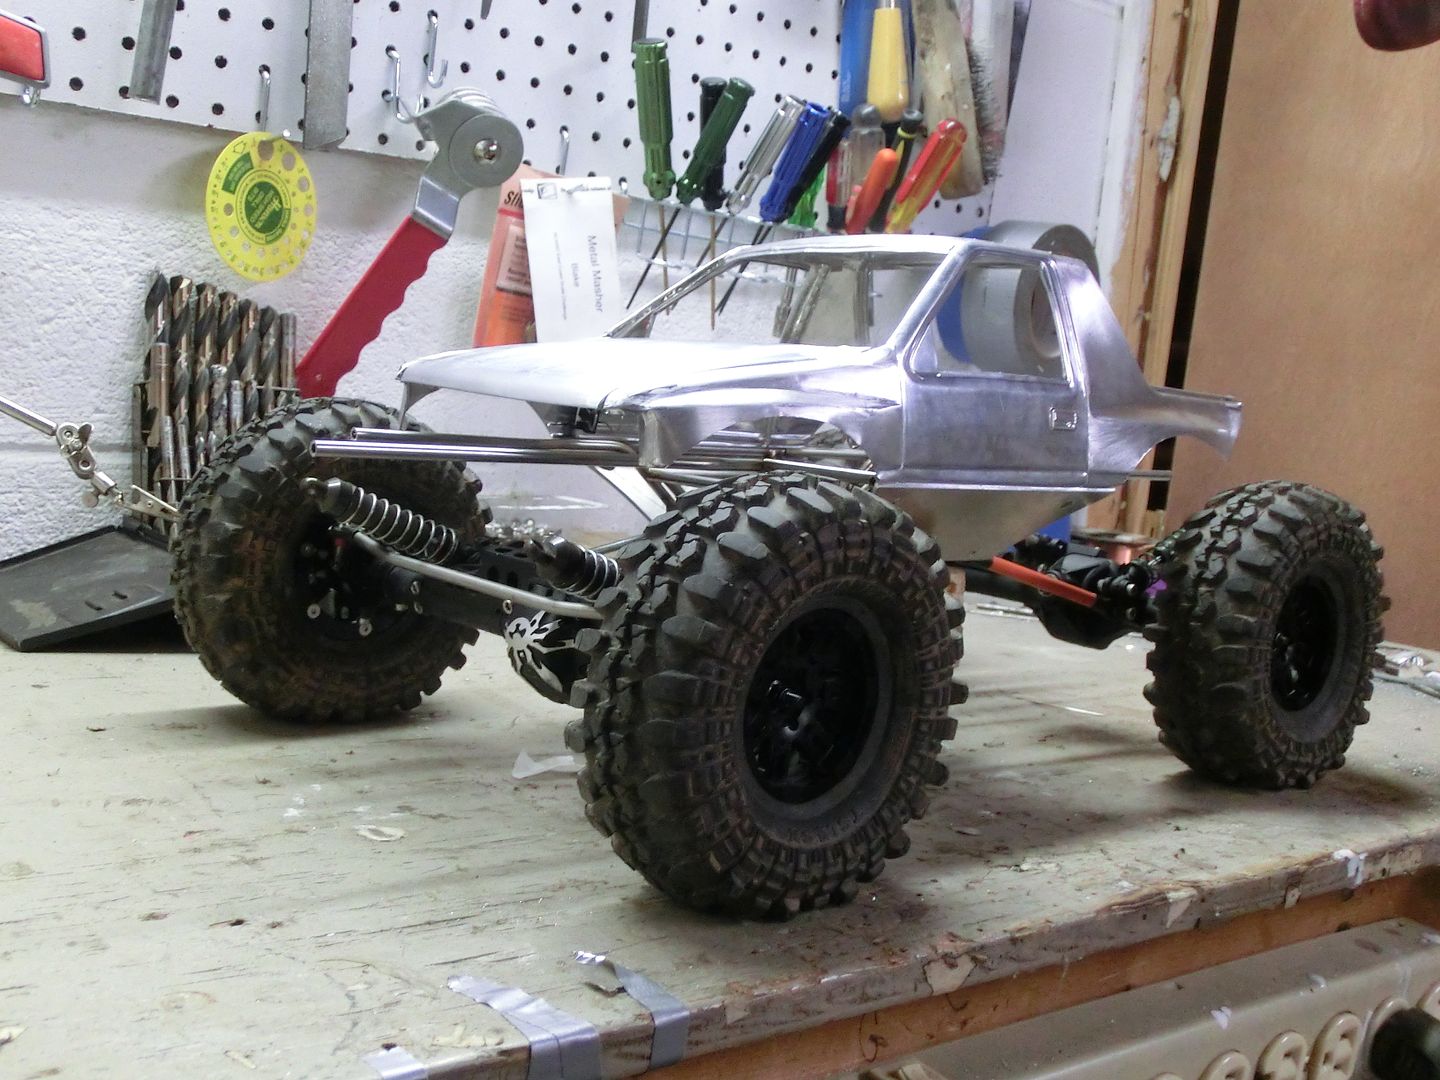 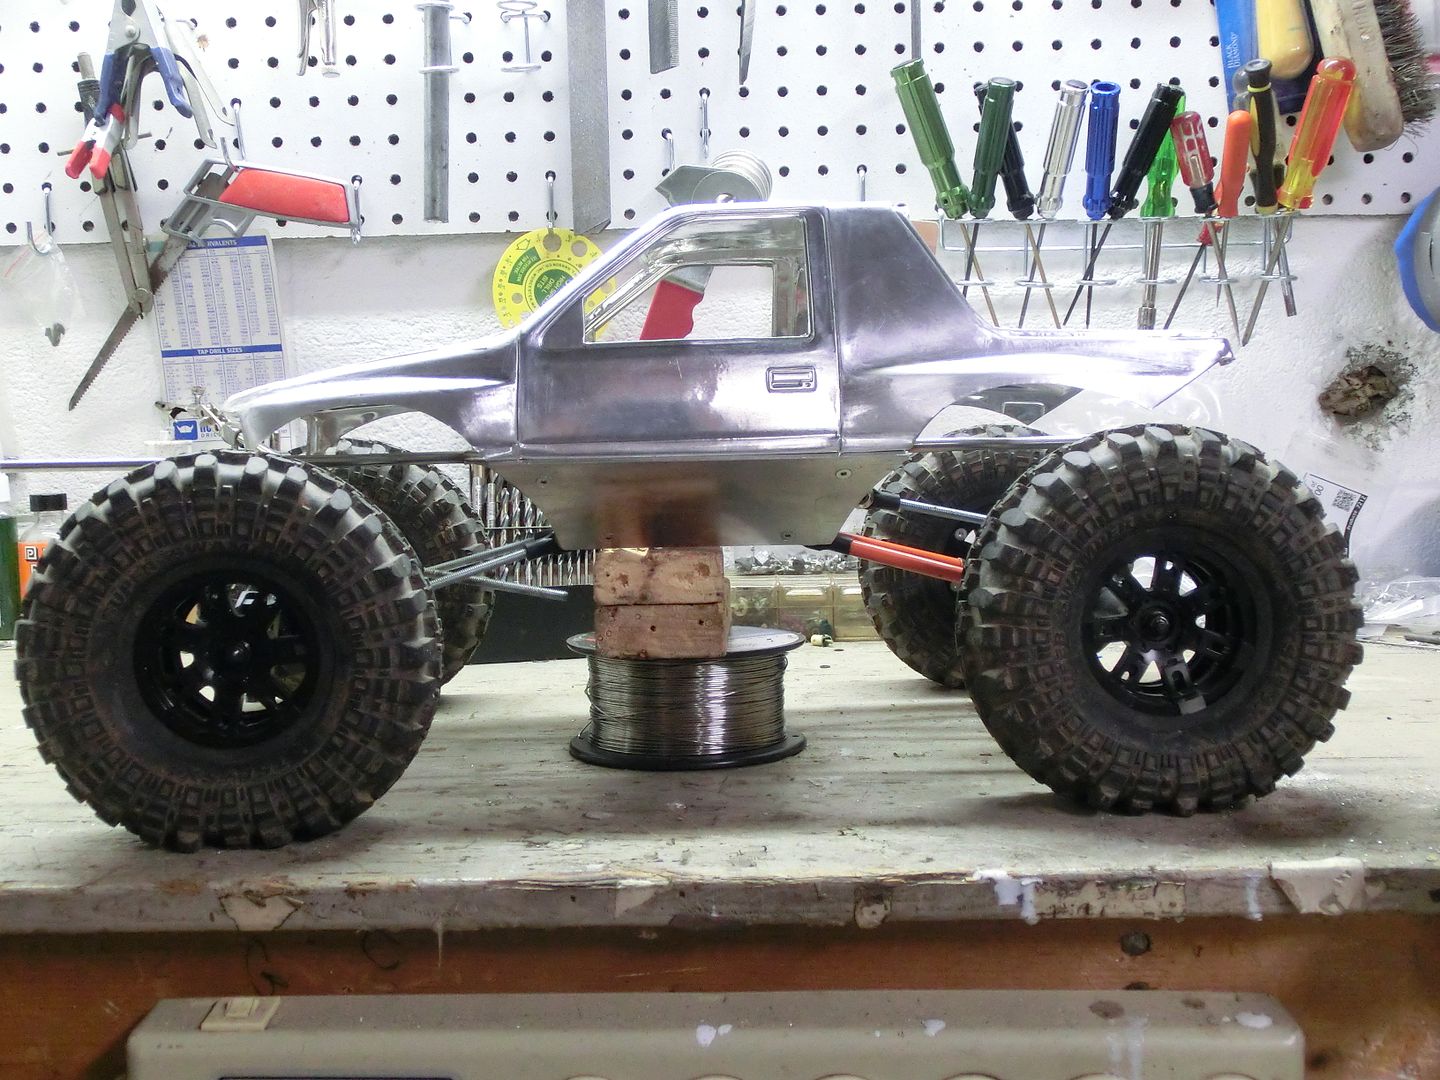 then i test fit the grill and believe it or not it fit without any adjustment needed. 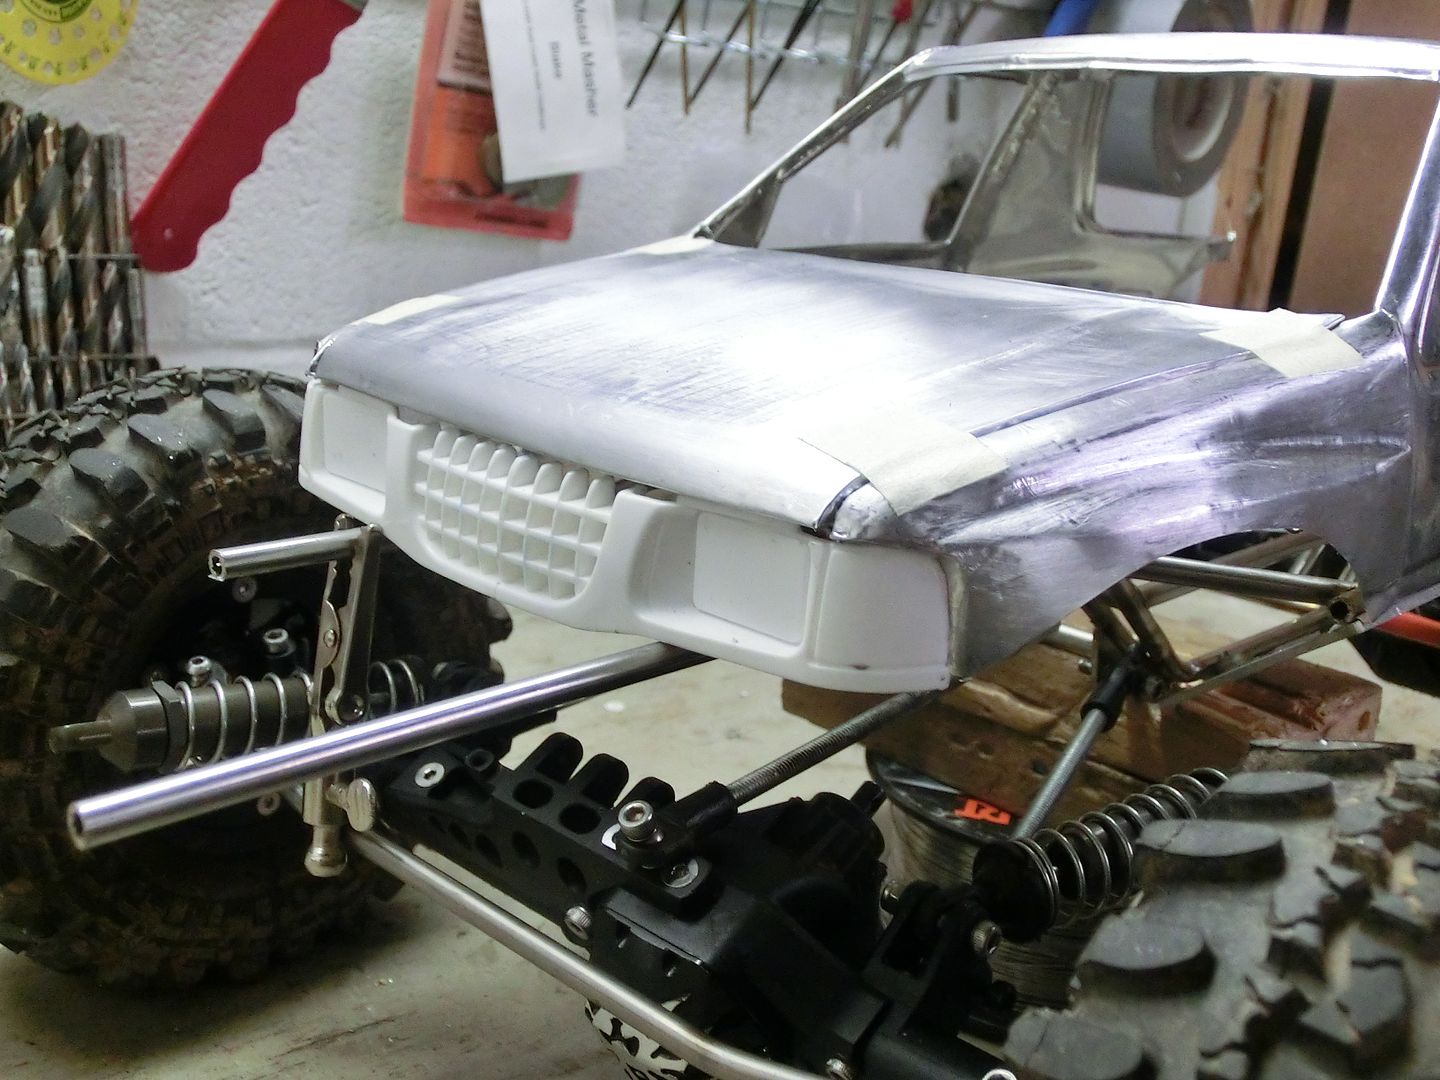 now to start the cage. first came the main hoop. 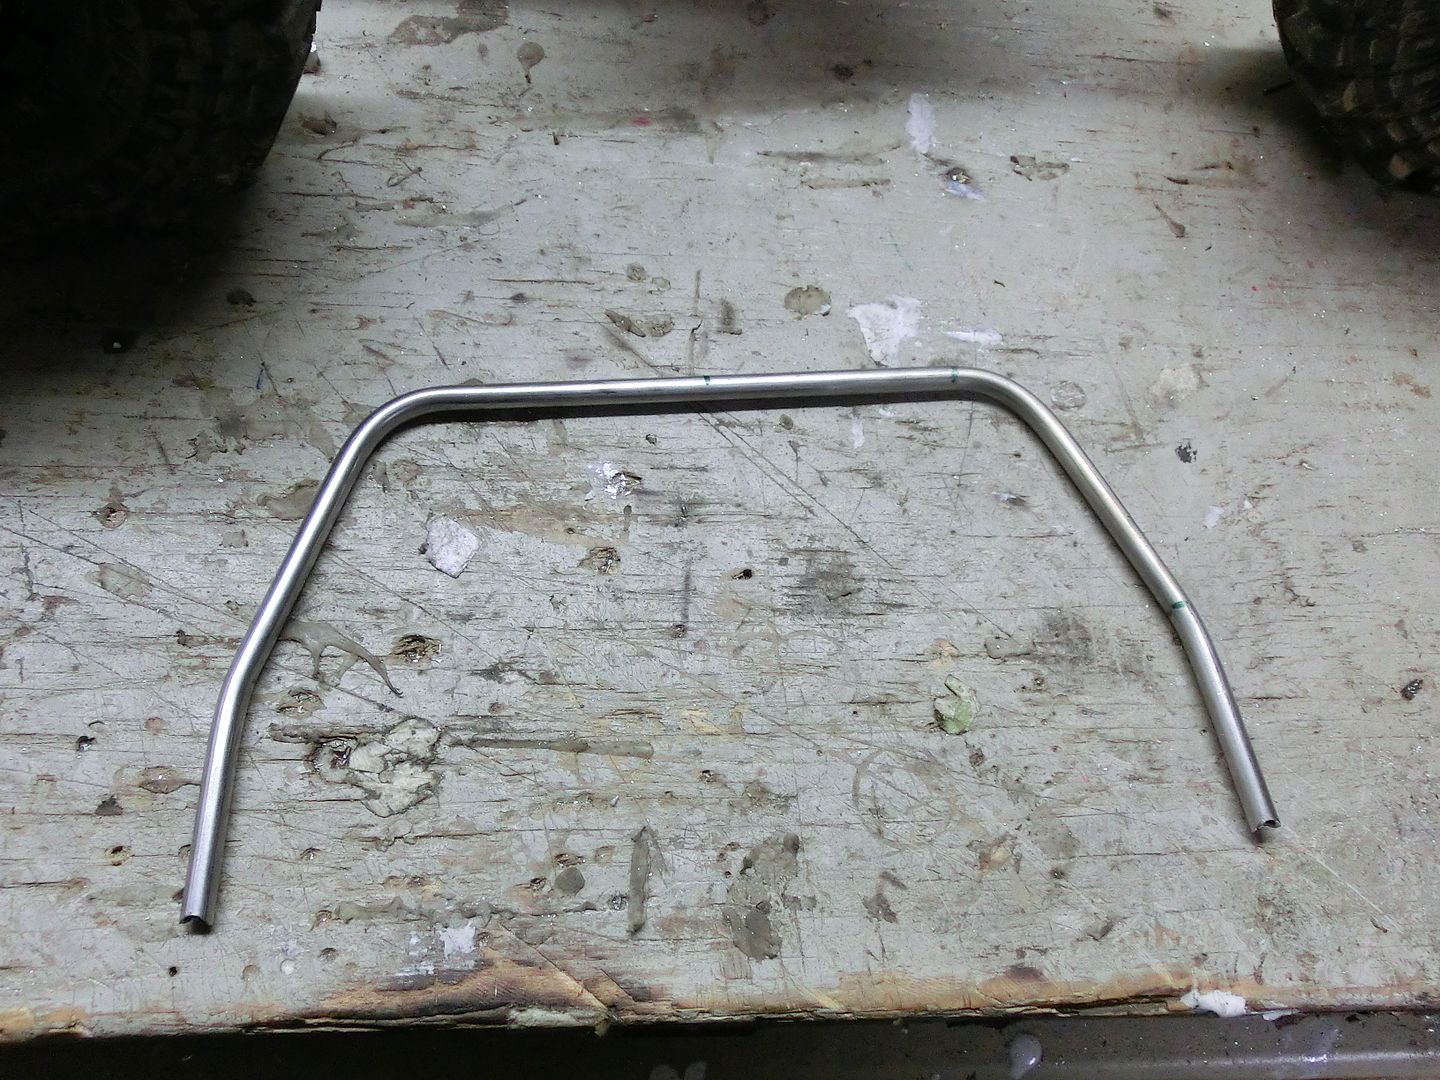 Tacked in place 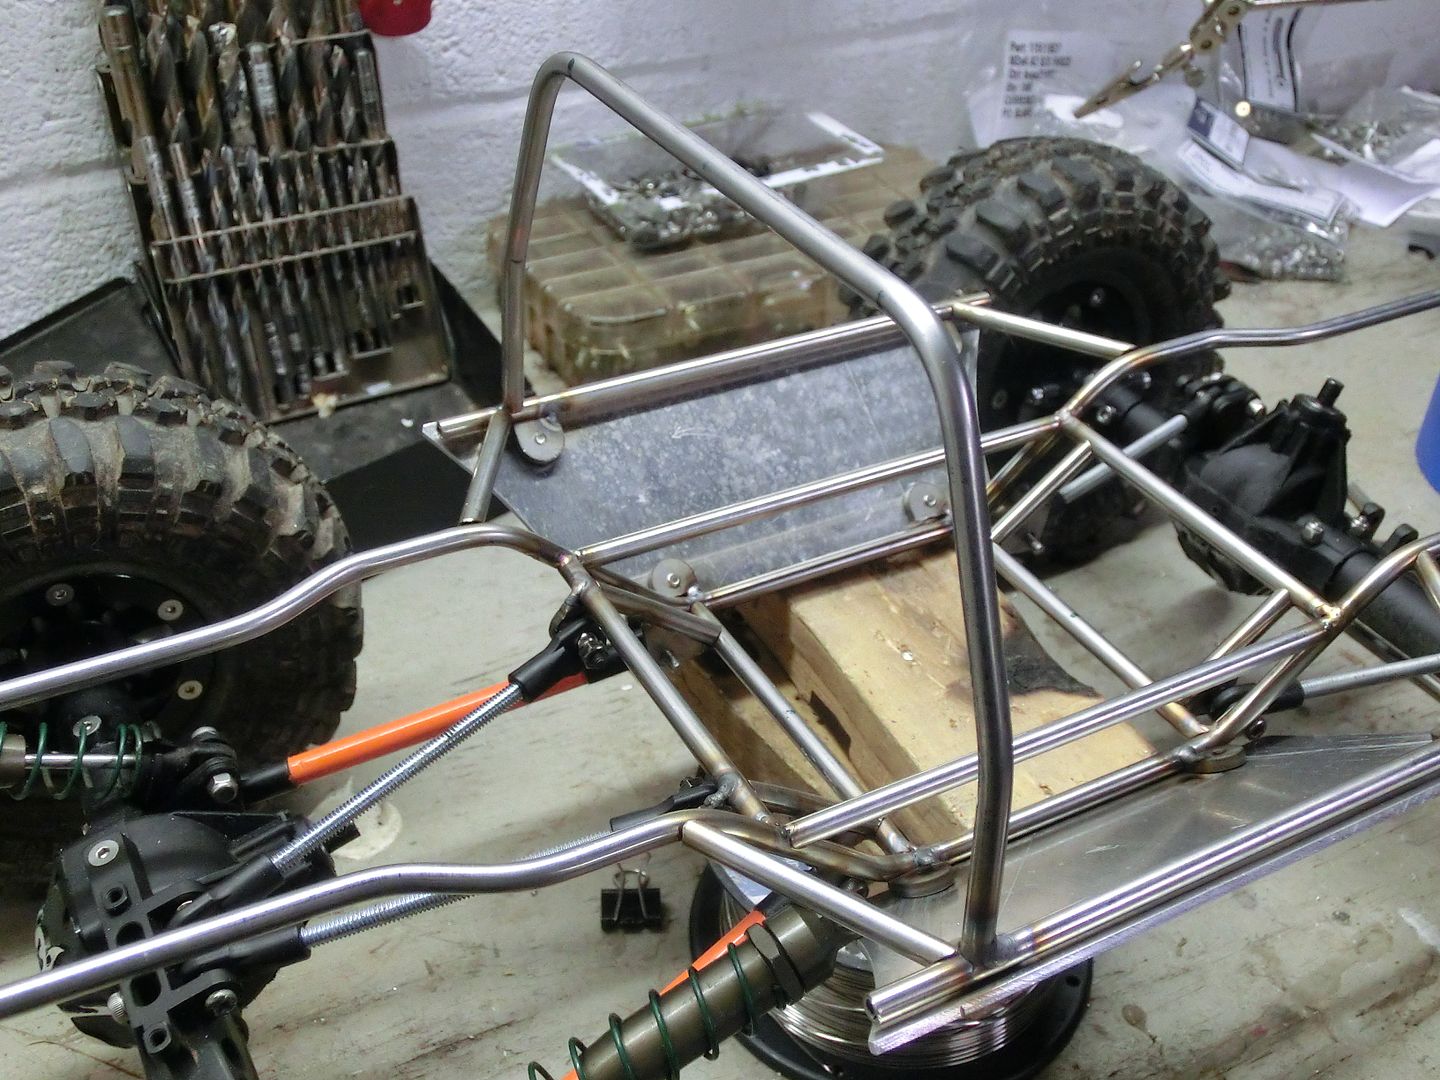 then the forward bars were placed 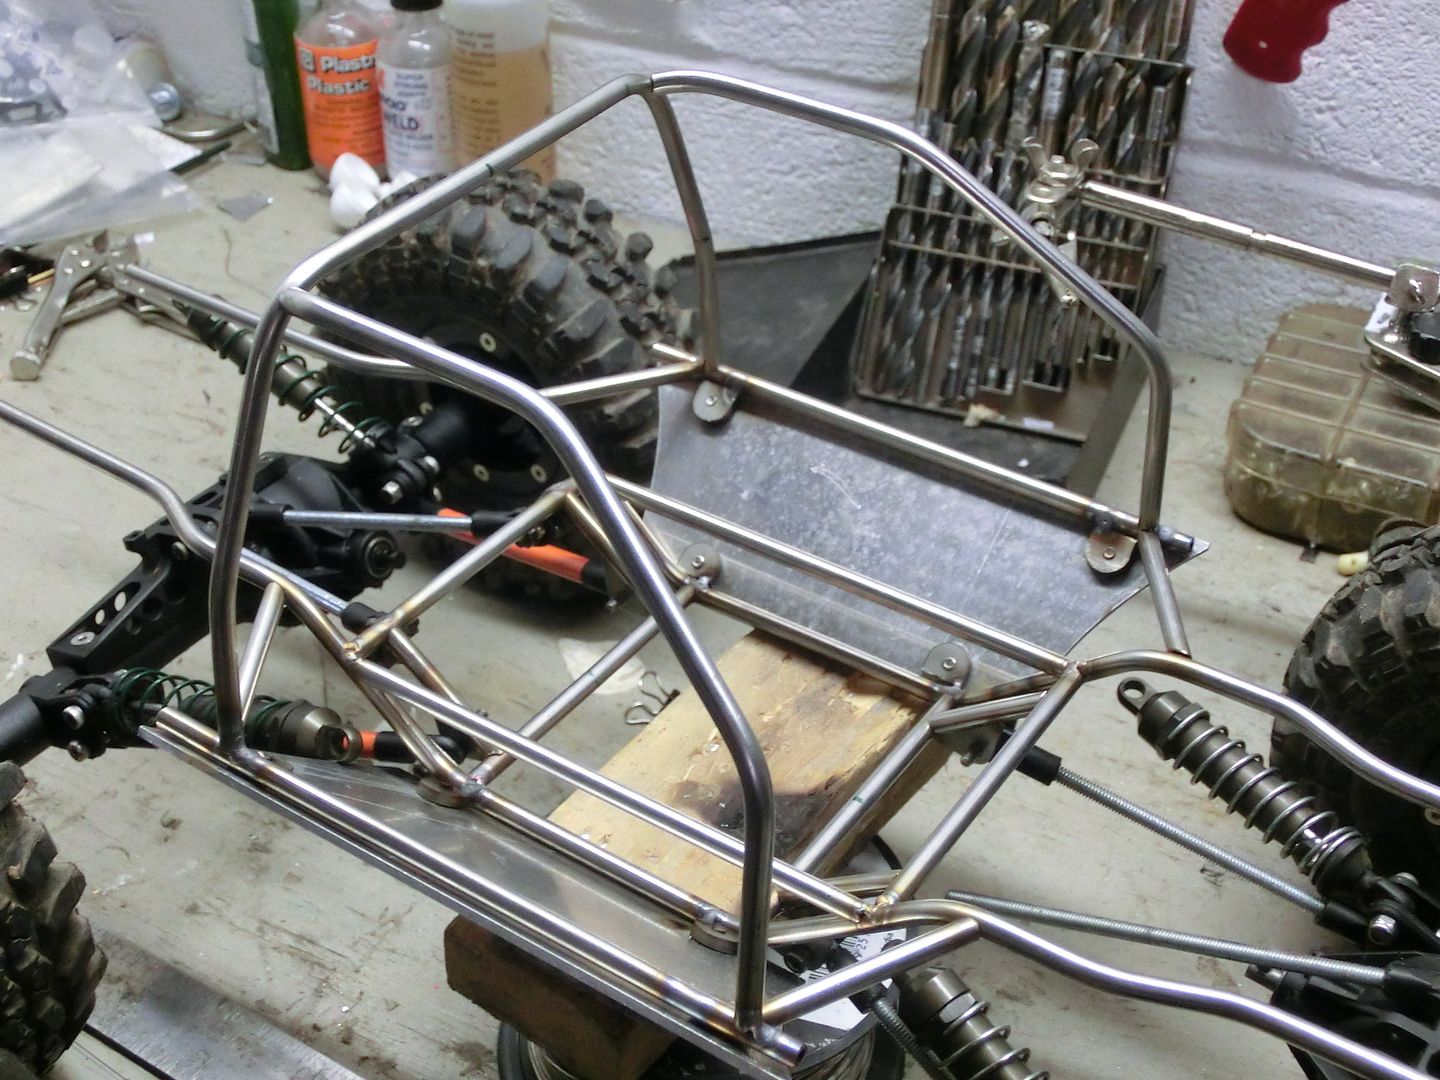 installed the cross bar and everything tucks nicely under the body 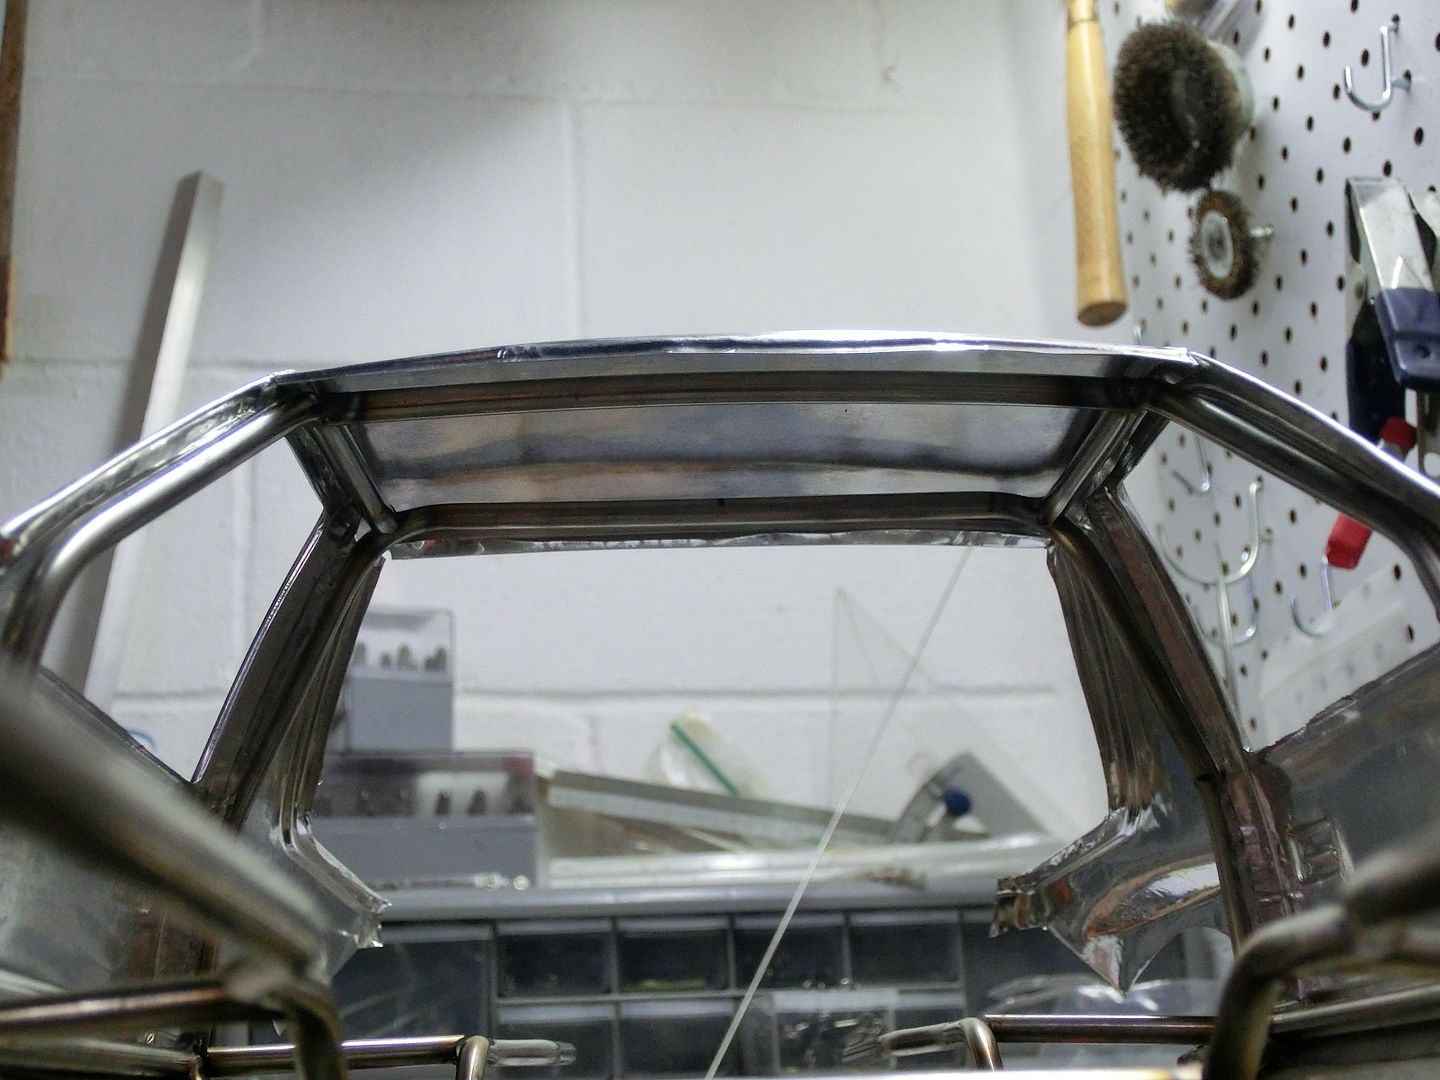 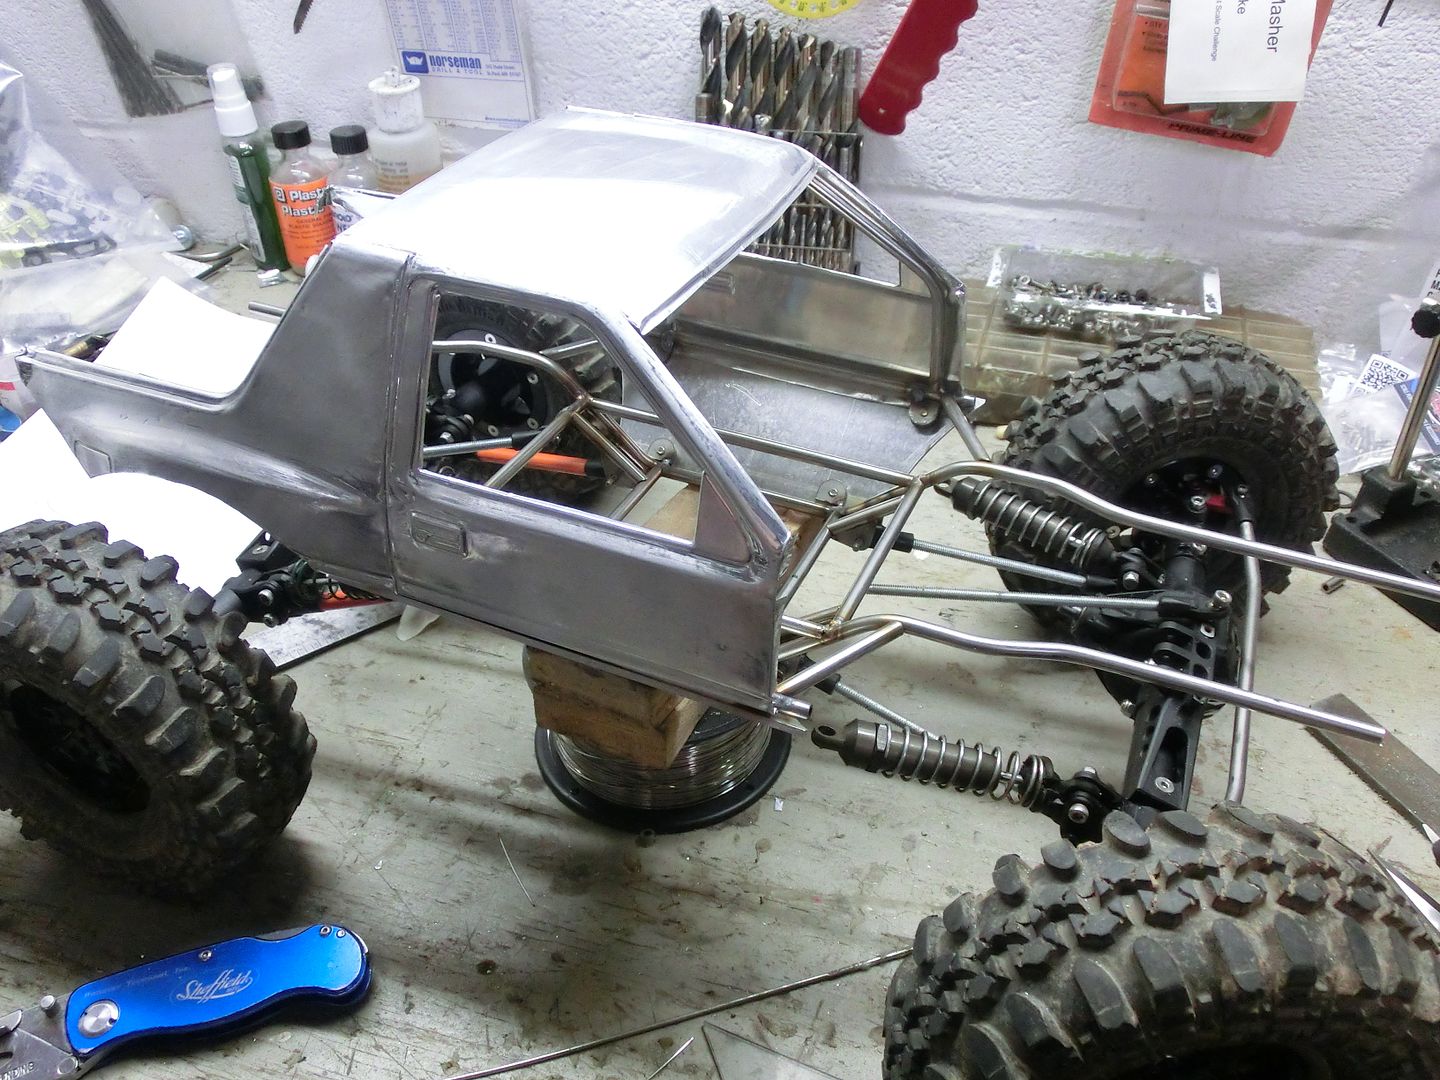 More later | ||||
| |  |
| | #9 |
| RCC Addict Join Date: Nov 2010 Location: nashville
Posts: 1,447
|
That's sick looking man. You don't see many little Isuzu's and definitely none this nice.
|
| |  |
| | #10 |
| RCC Addict  Join Date: Aug 2005 Location: New Oxford PA
Posts: 1,290
|
Thanks! I've not seen anyone use the Amigo as a platform for Class 3 so I figured it was a perfect choice. Well since i decided to run a 3 link in the front i needed a way to attach the link to the axle. I know they make them but i'm cheap and wasn't happy with the ones i found so i decided to make my own. I started with a piece of stainless formed into a C using the vice and a socket the same size as the inner axle tube 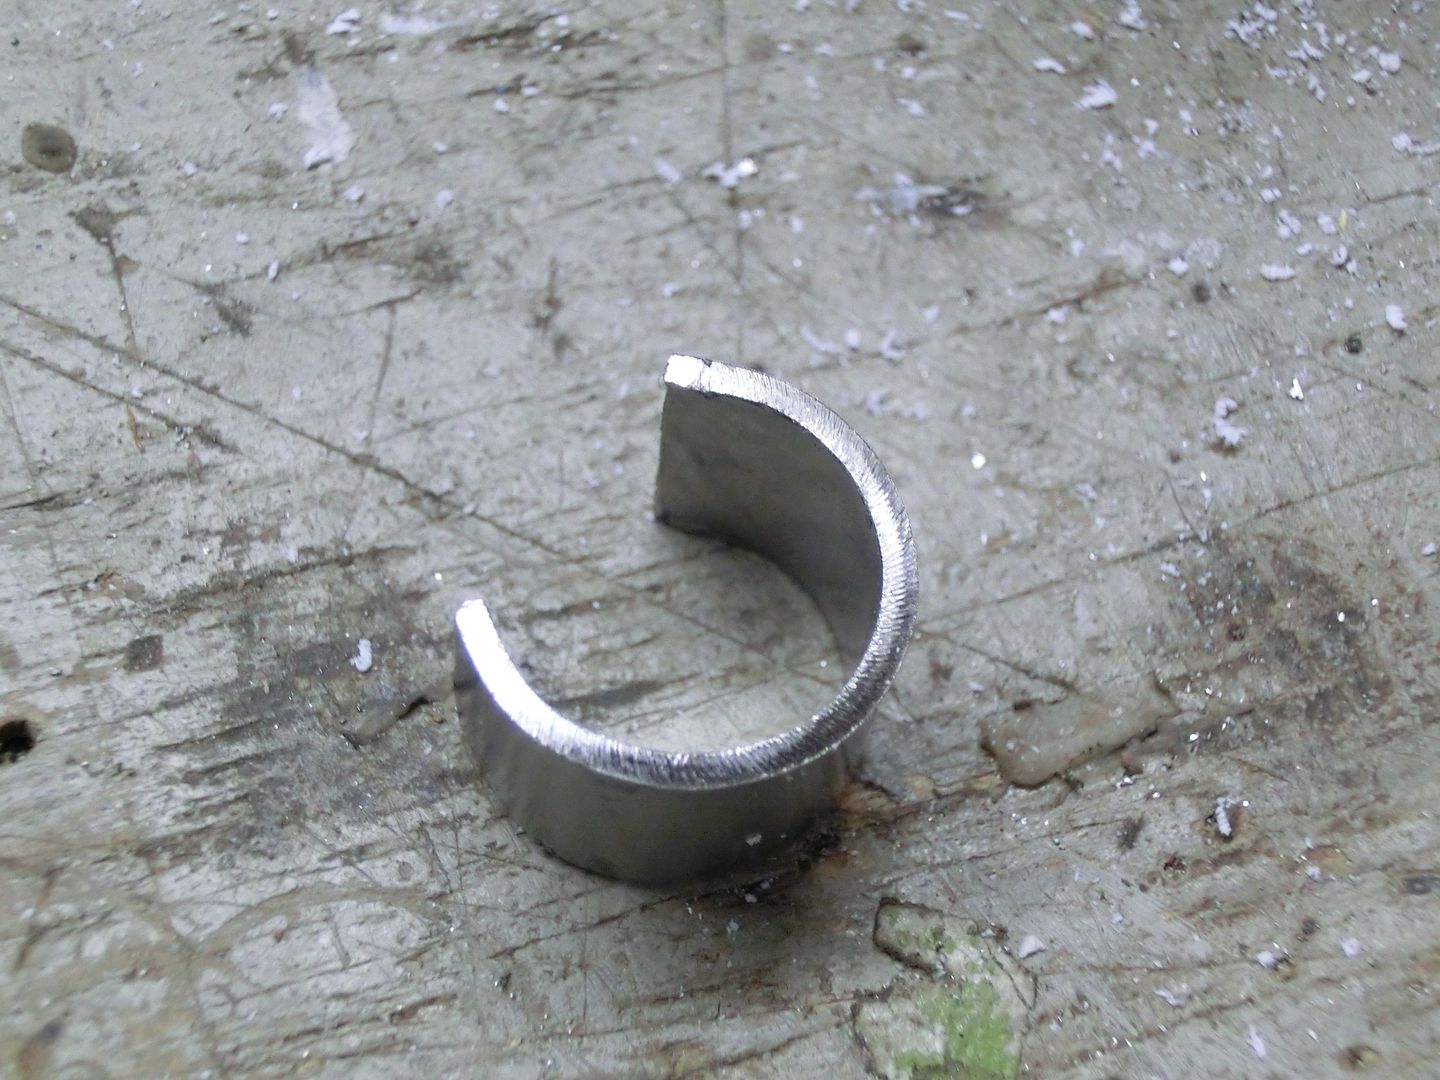 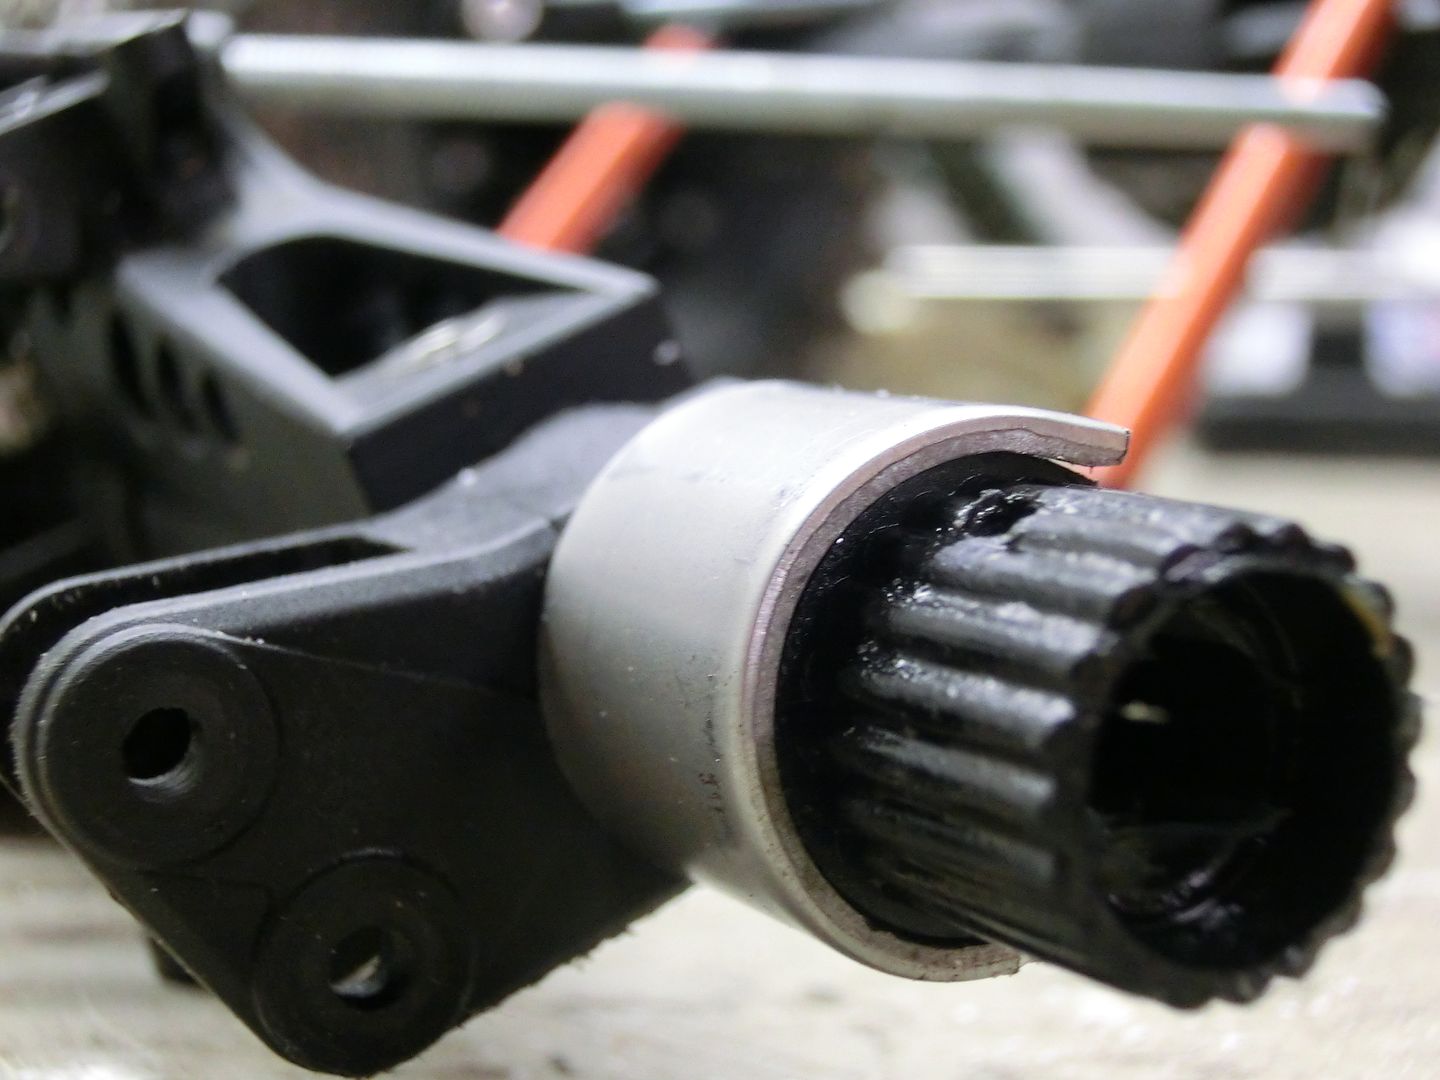 Happy with the fit i made another piece to fit over the C hub 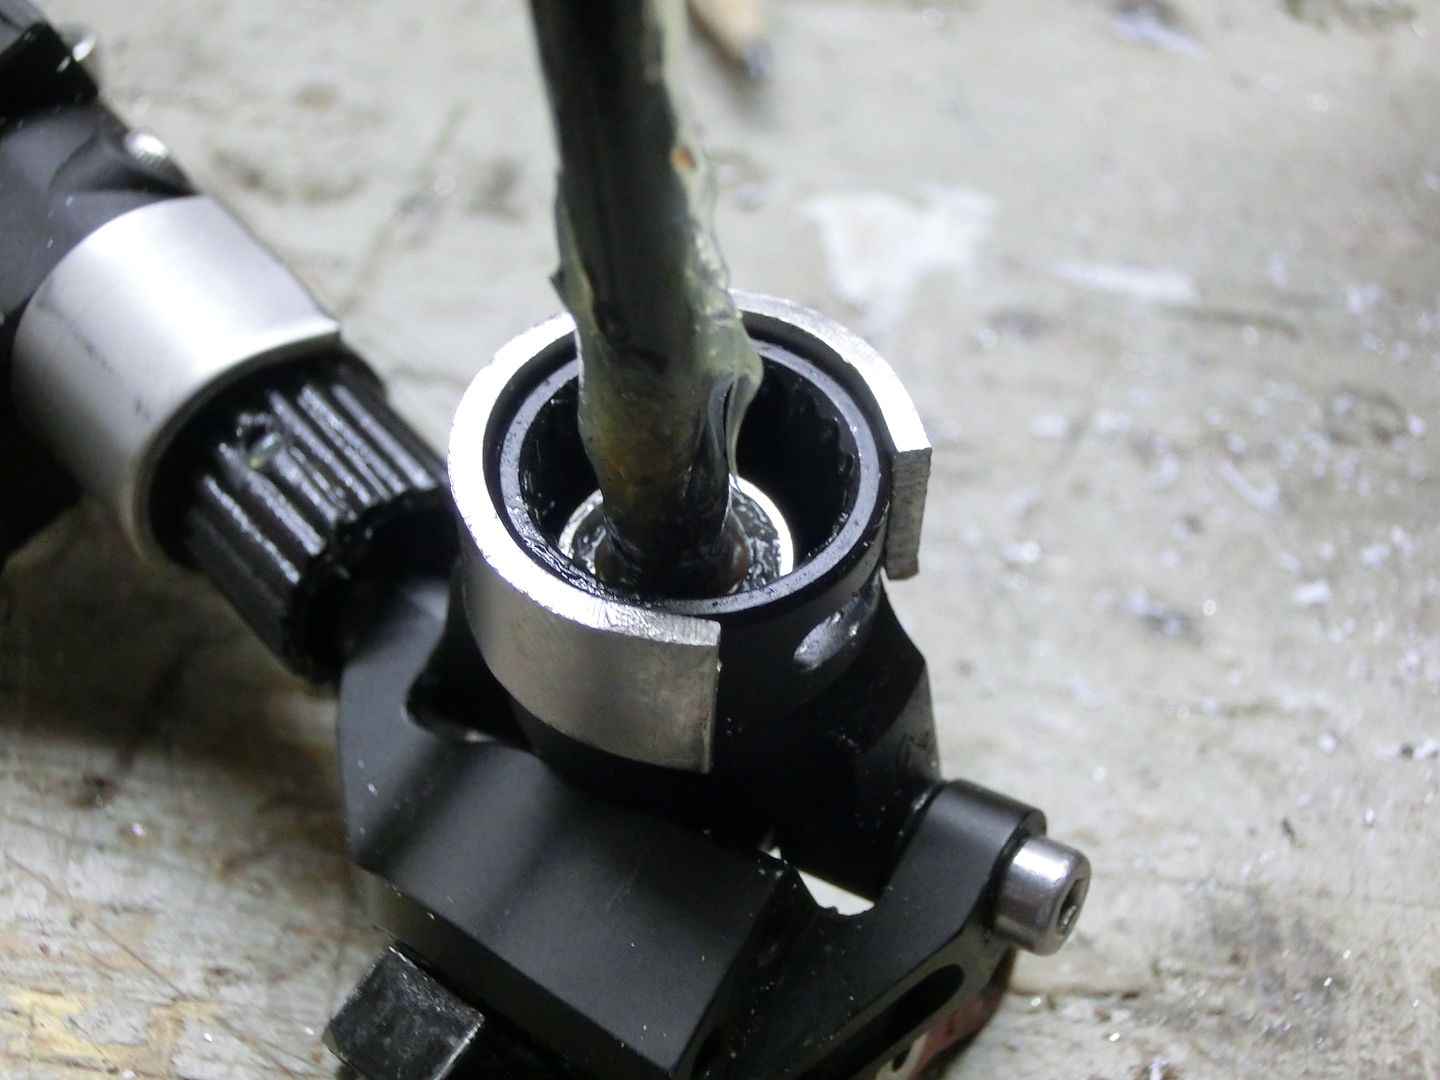 then drilled holes for the mounting screws and tacked the pieces together 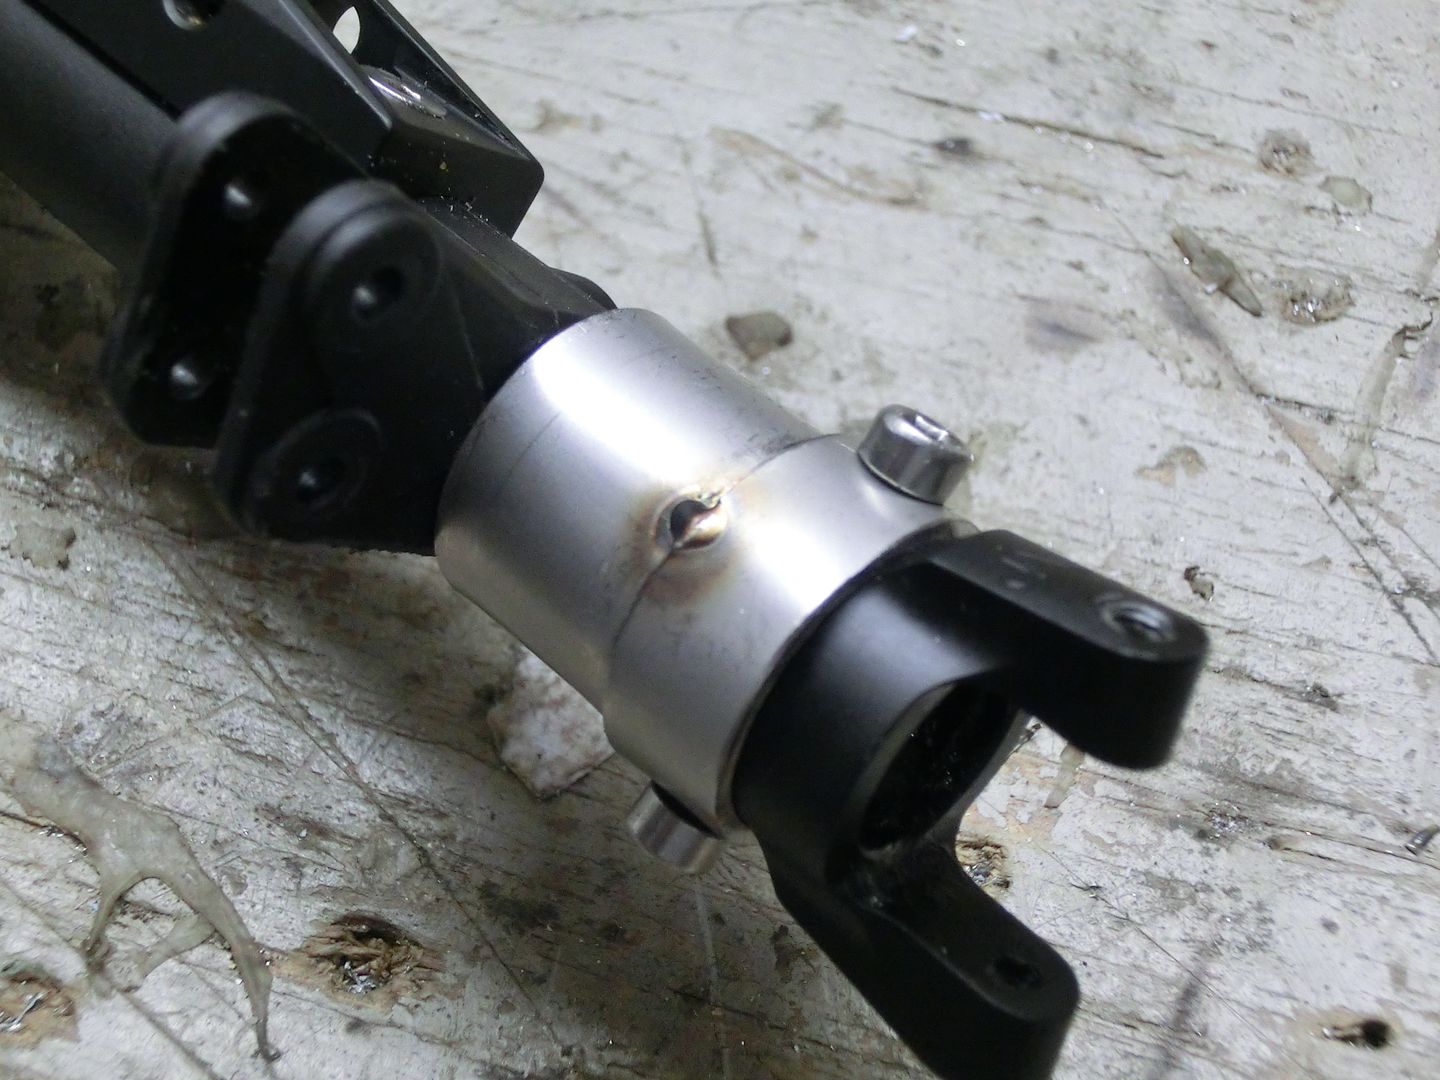 then burned them solid 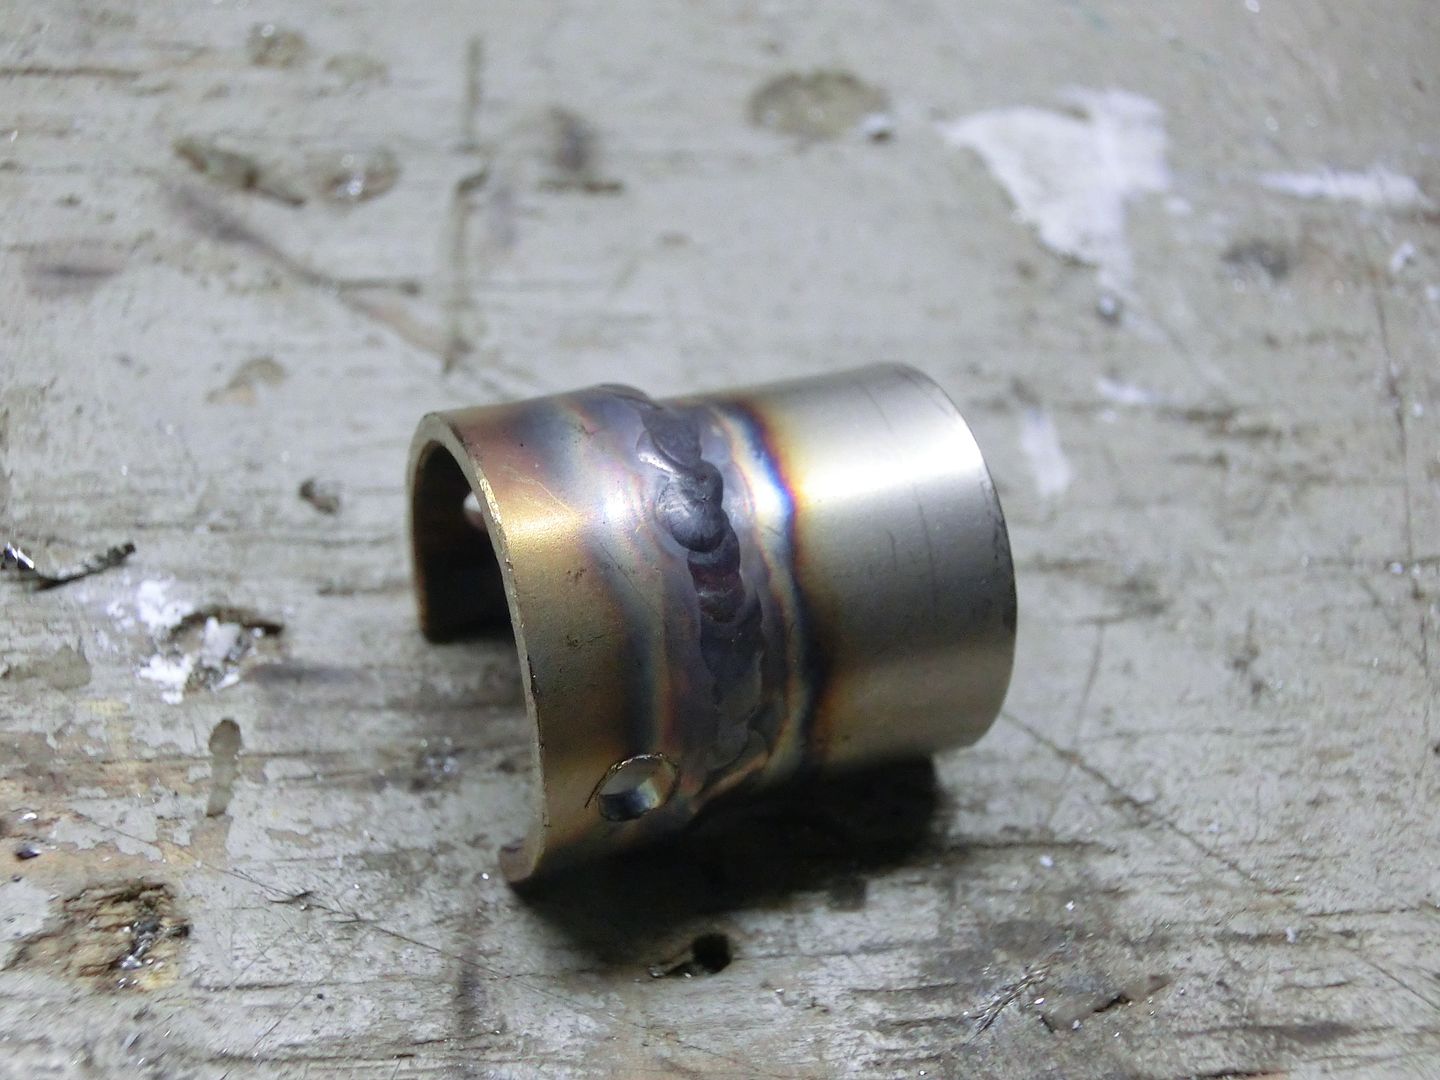 next i made a plate to fit beside the link mounts 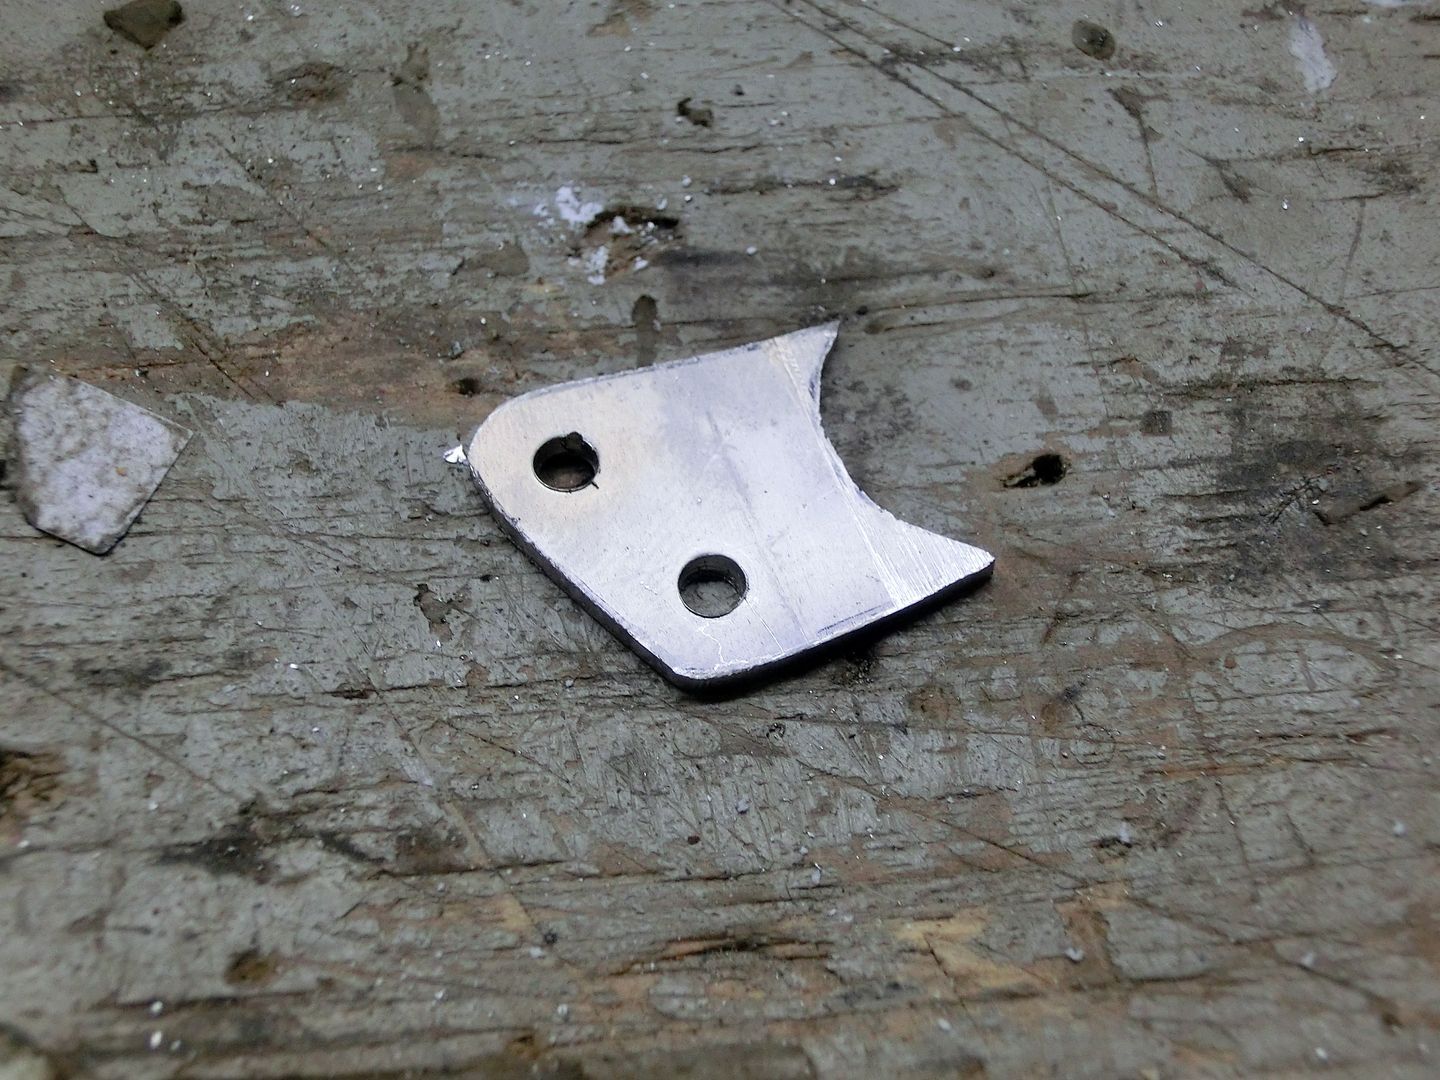 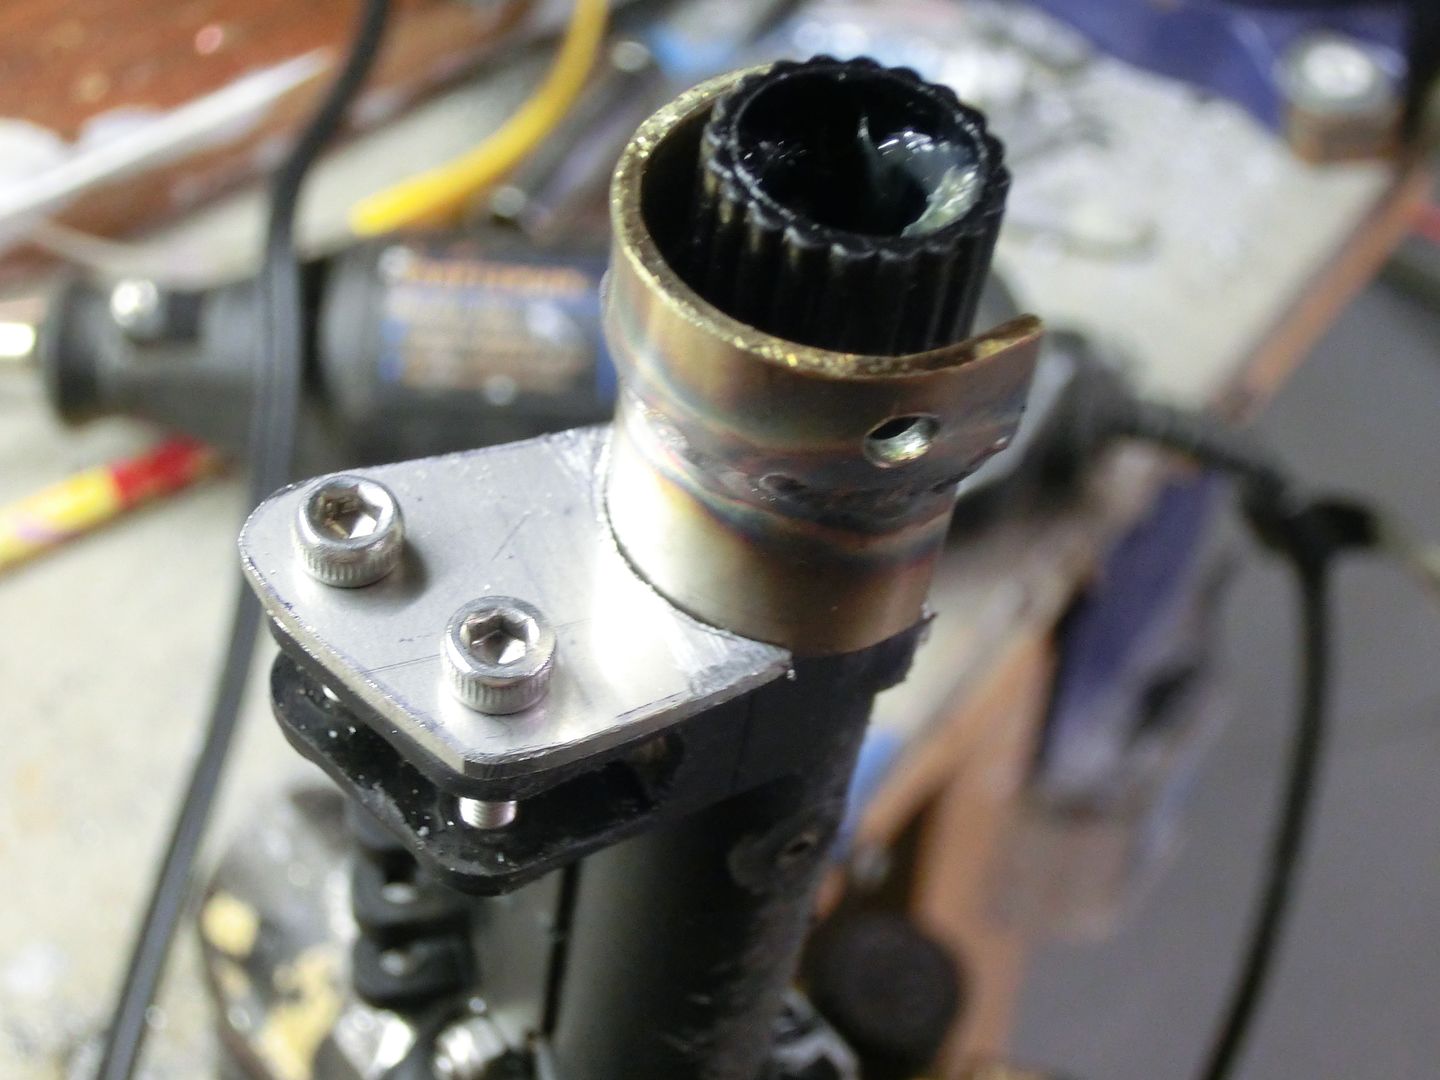 fits good so i made it permanent 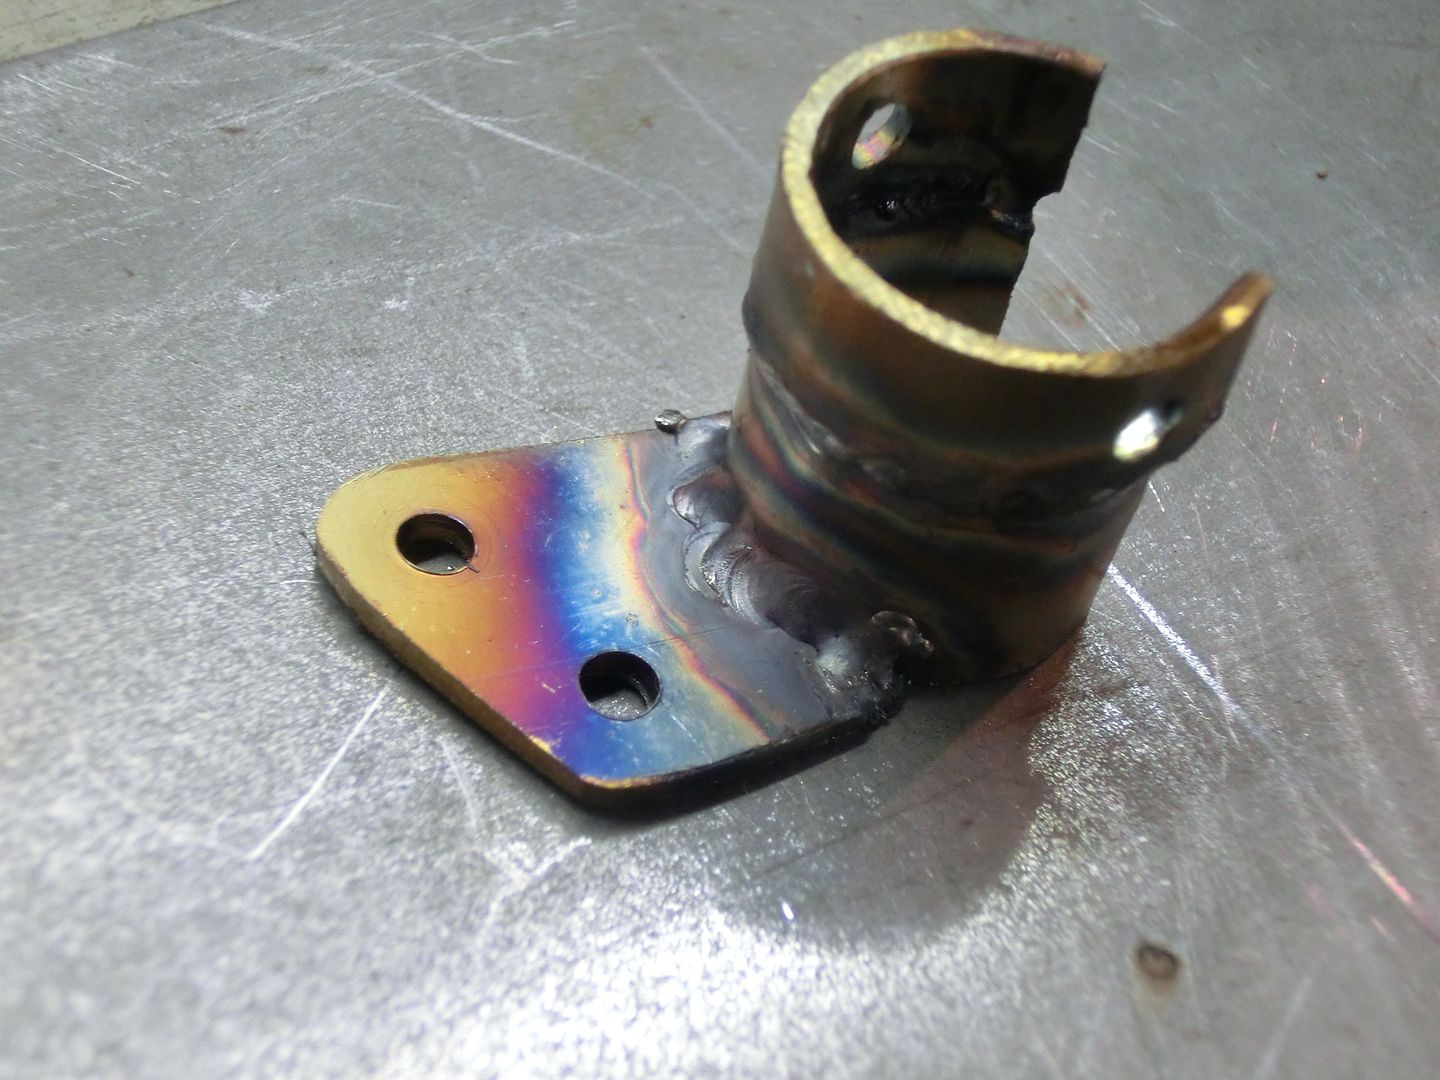 then I wanted to tie into the upper truss so a small plate was crafted 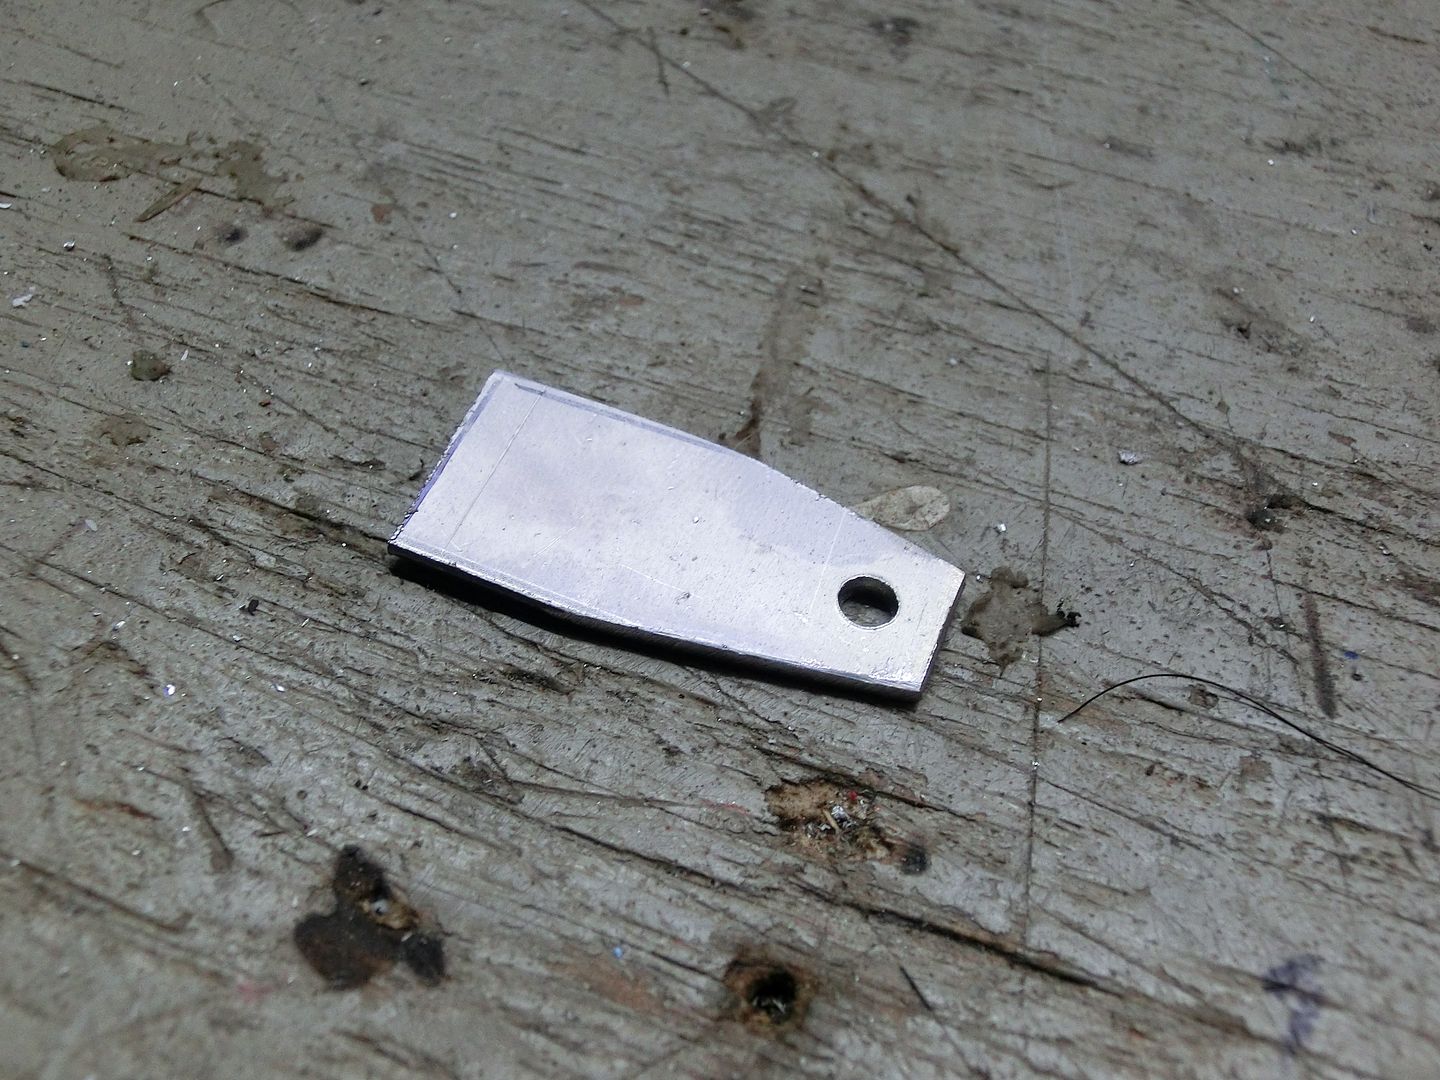 and test fitted 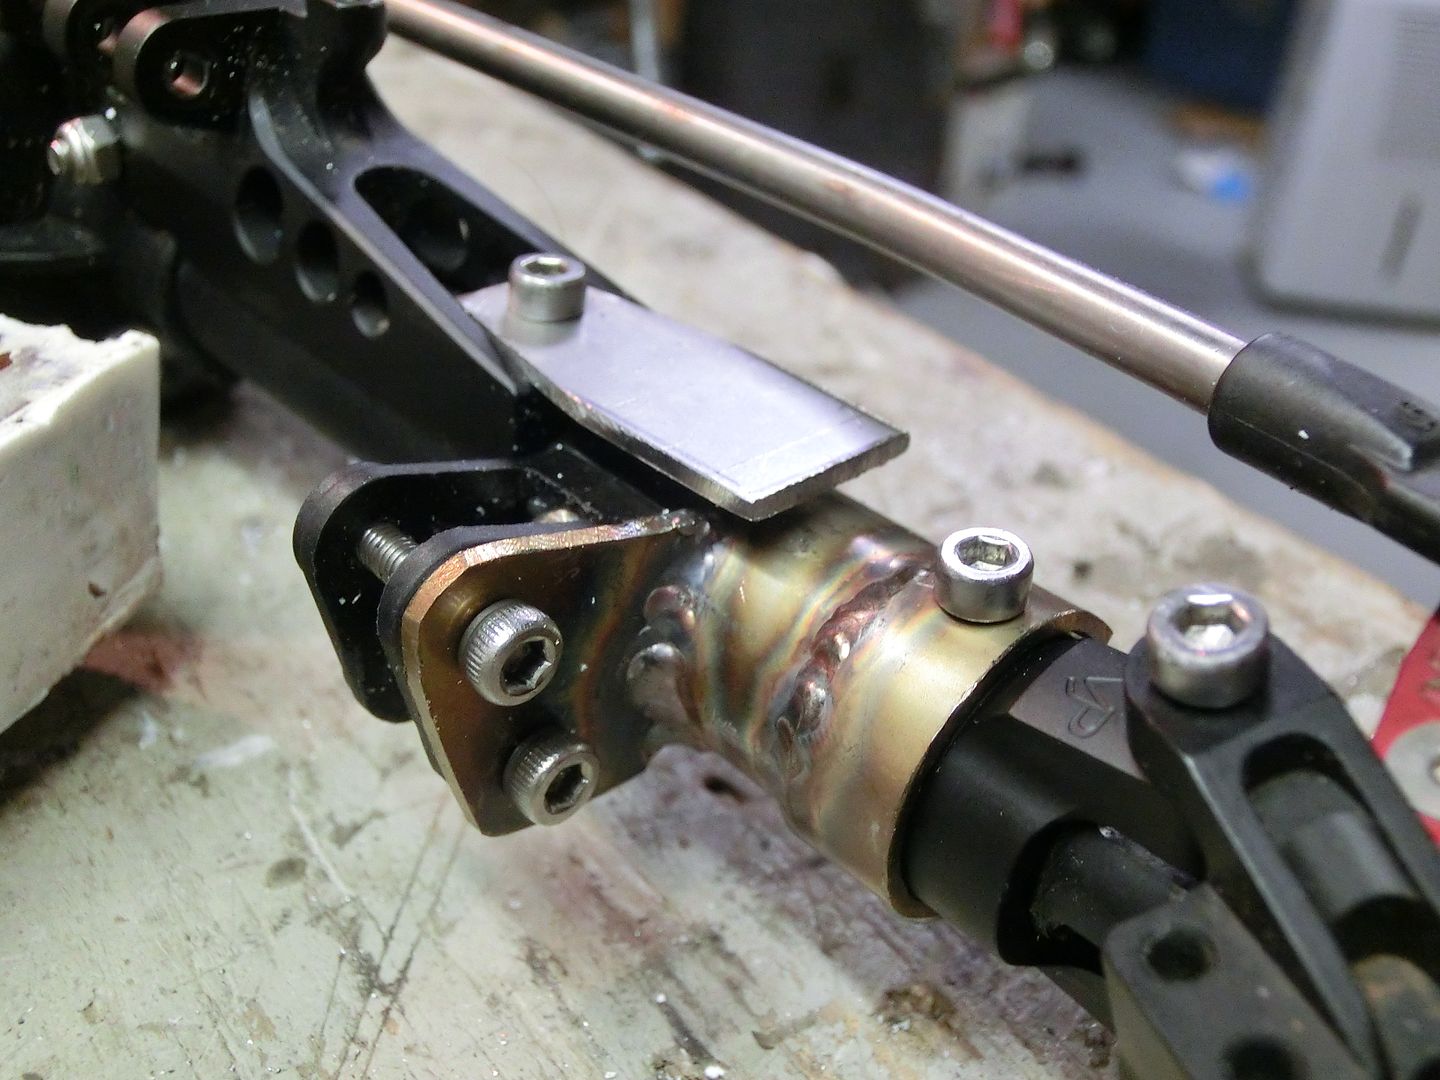 some pounding later 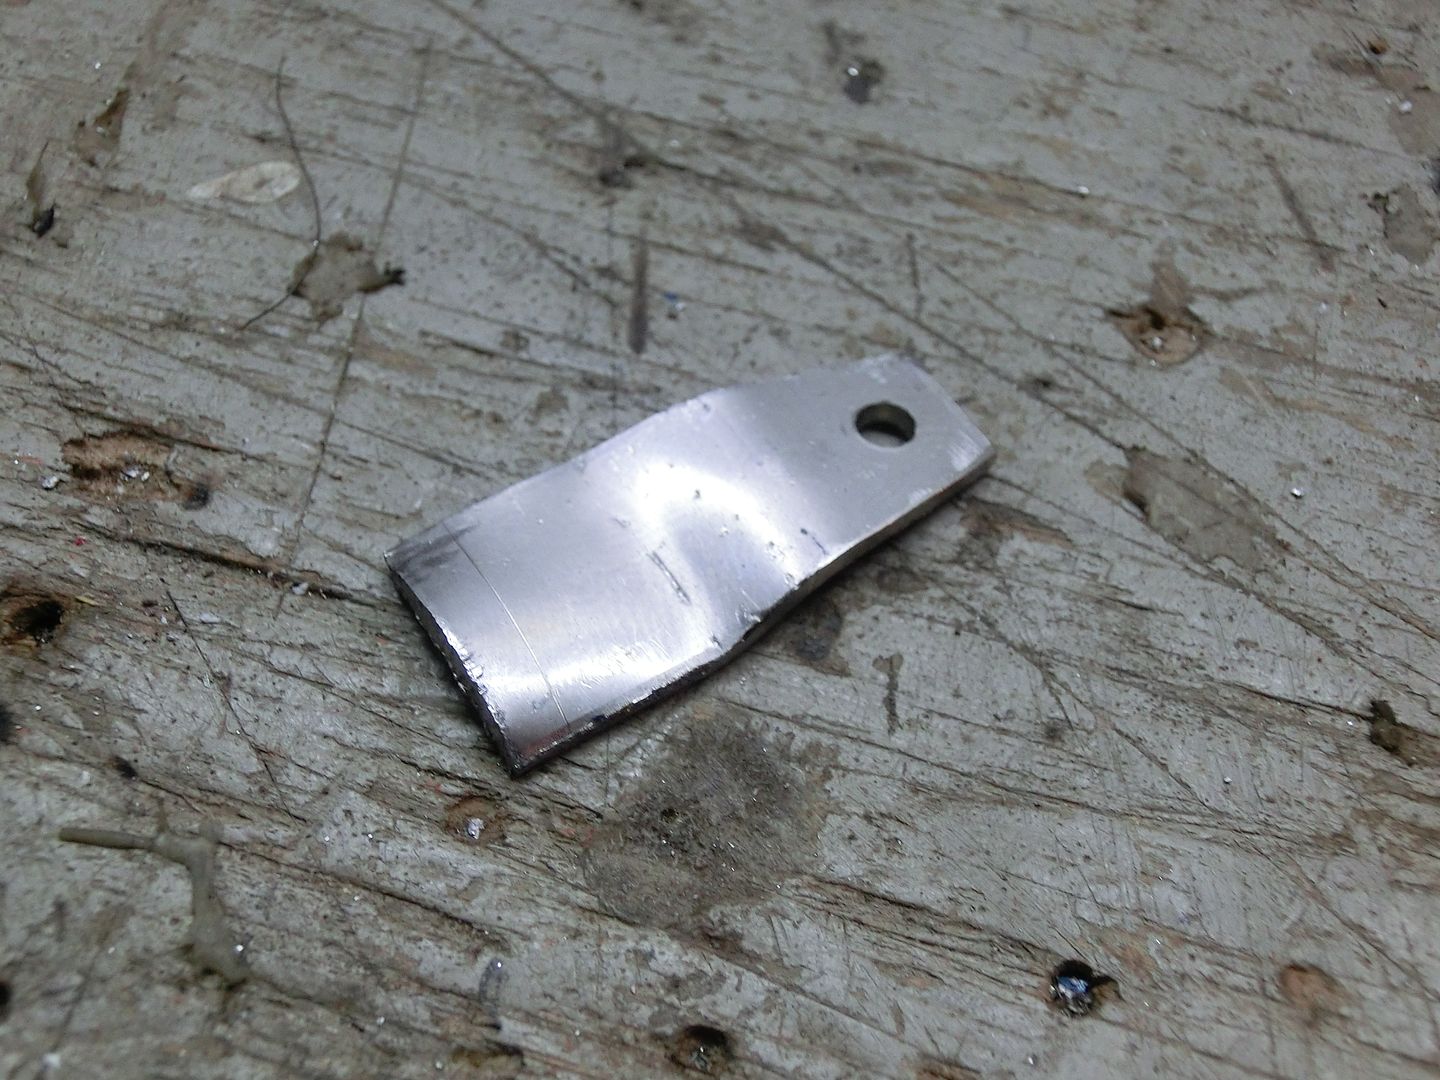 and it fit very well 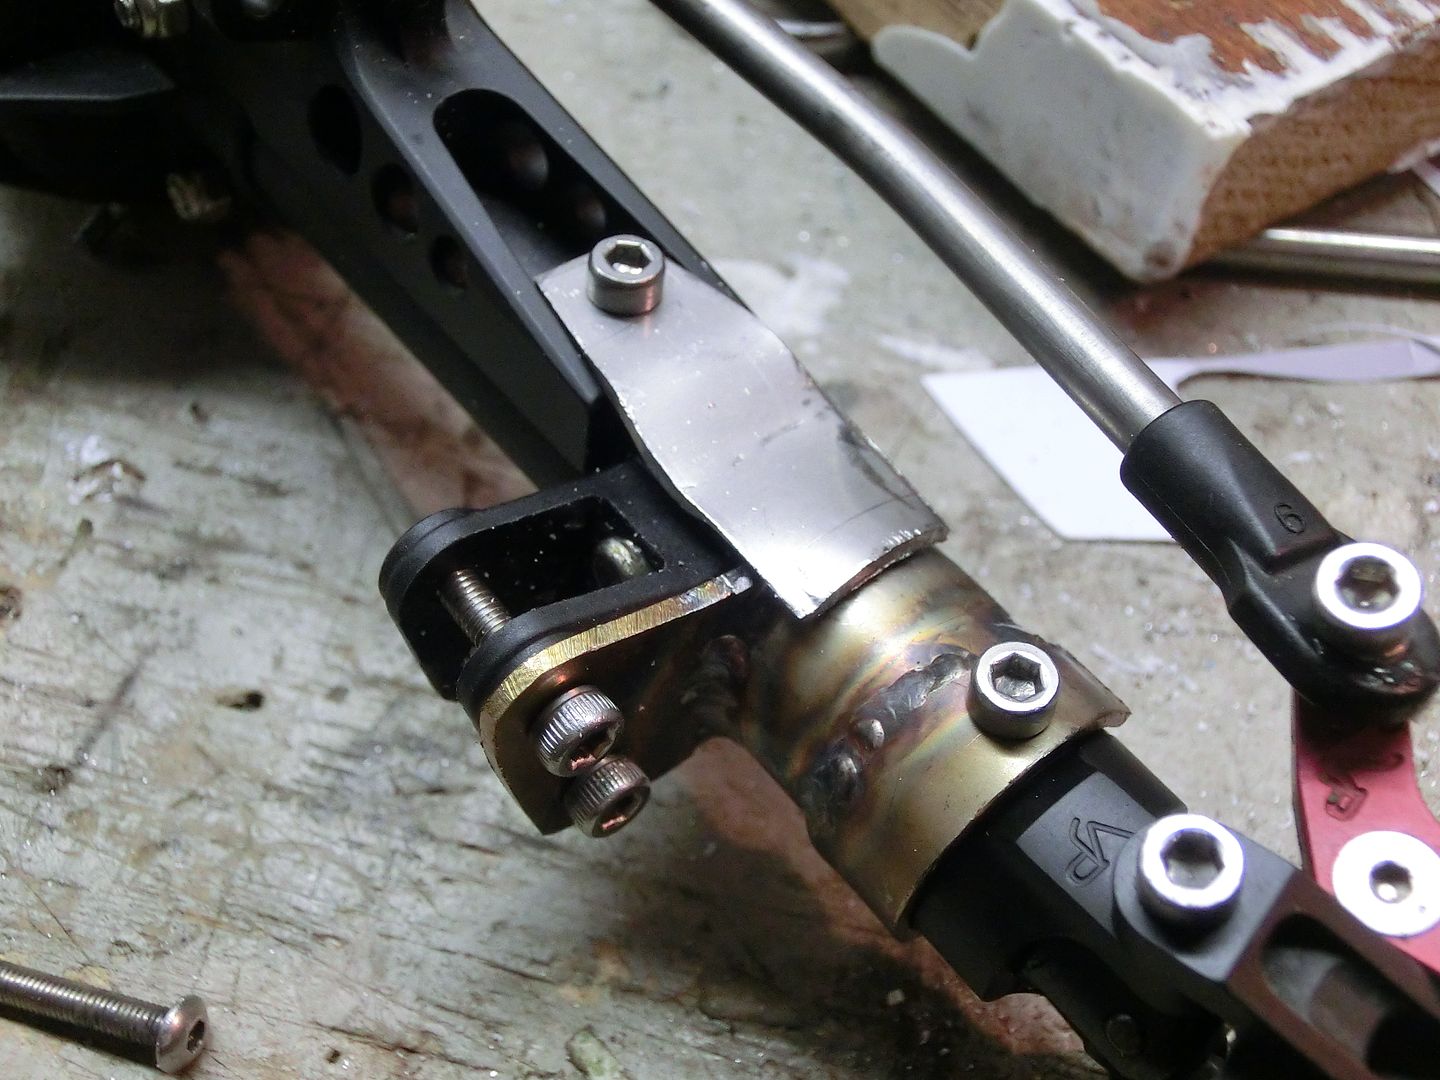 now with it fully welded i am ready for the link mount but more on that later. 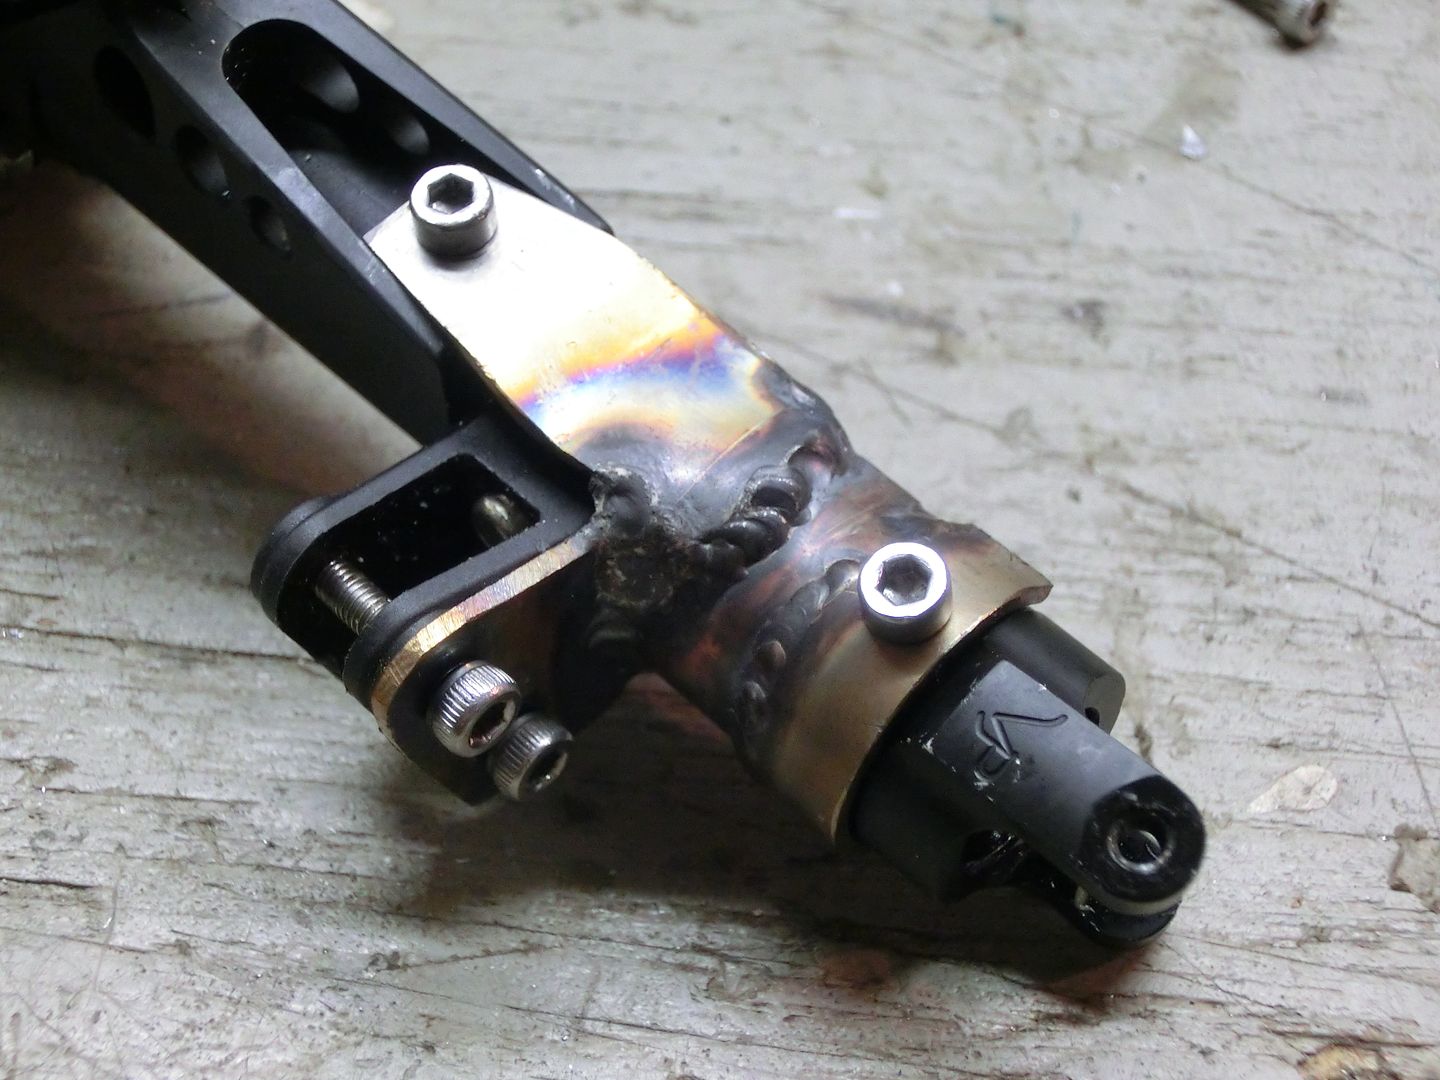 Thanks for watching! |
| |  |
| | #11 |
| RCC Addict  Join Date: Aug 2005 Location: New Oxford PA
Posts: 1,290
|
Well before i got any further on the chassis i wanted to try and tackle the new drive train. My original plan is to put a T-case on the skid for the most space to make an interior. Then put the Tranny up under the hood. To add to that, i wanted to make the T-case Dig capable. Before i did anything, i drew it up in Solid Edge to make sure everything would fit. 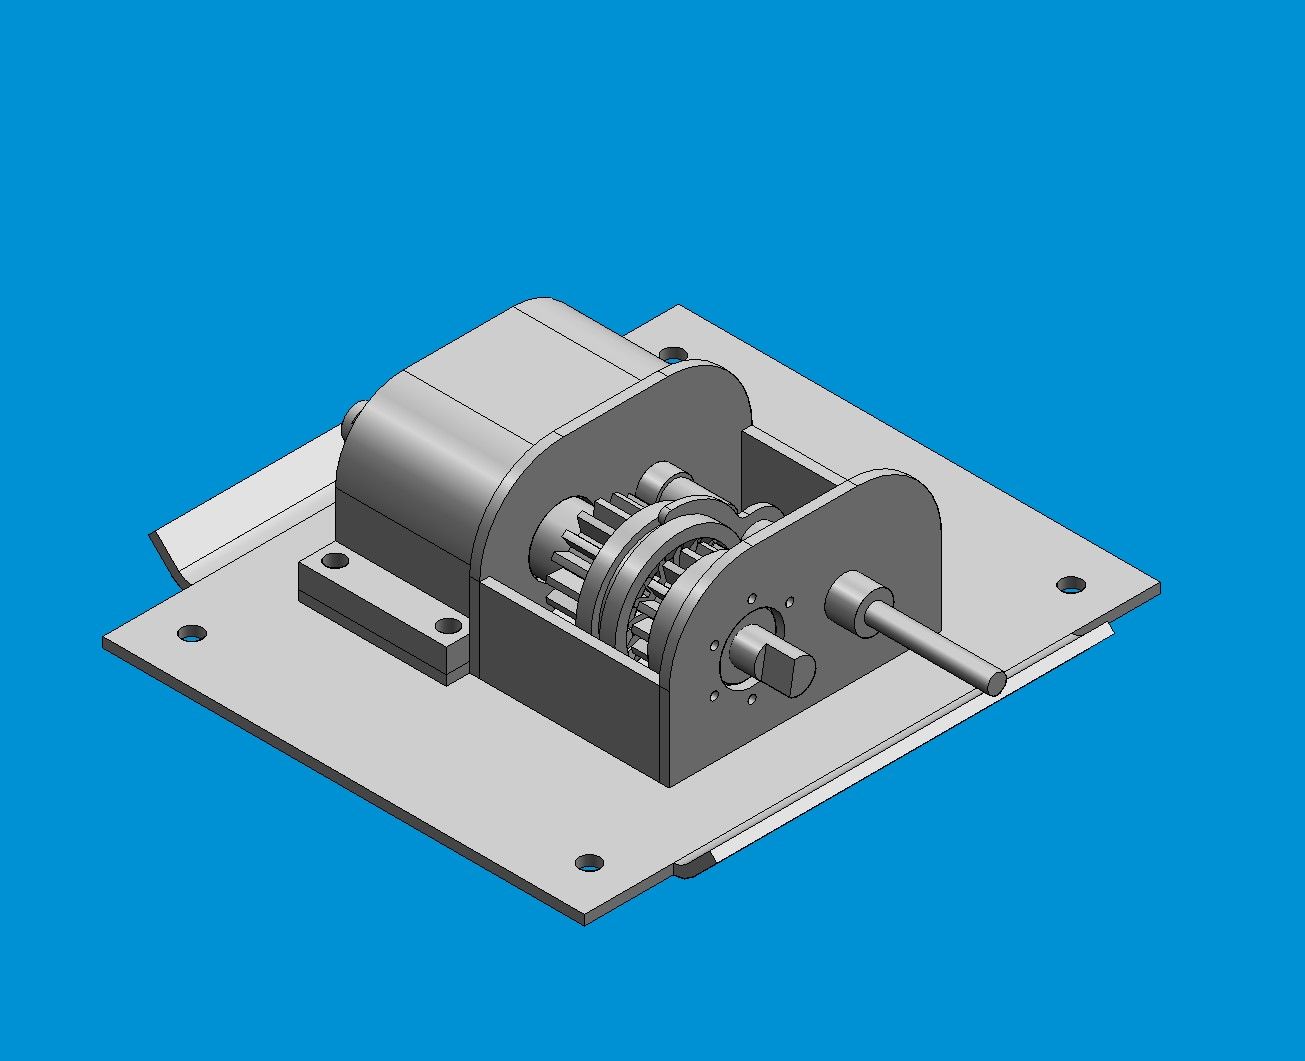 Happy with the design i started changing the cog set-up. this is the original slider assembly mocked onto the T-case. The gear on the right used to be soldered to the housing on my old set-up and never stayed put because the tie rod was attached directly to the slider. So i hatched a plan to make something more sturdy. 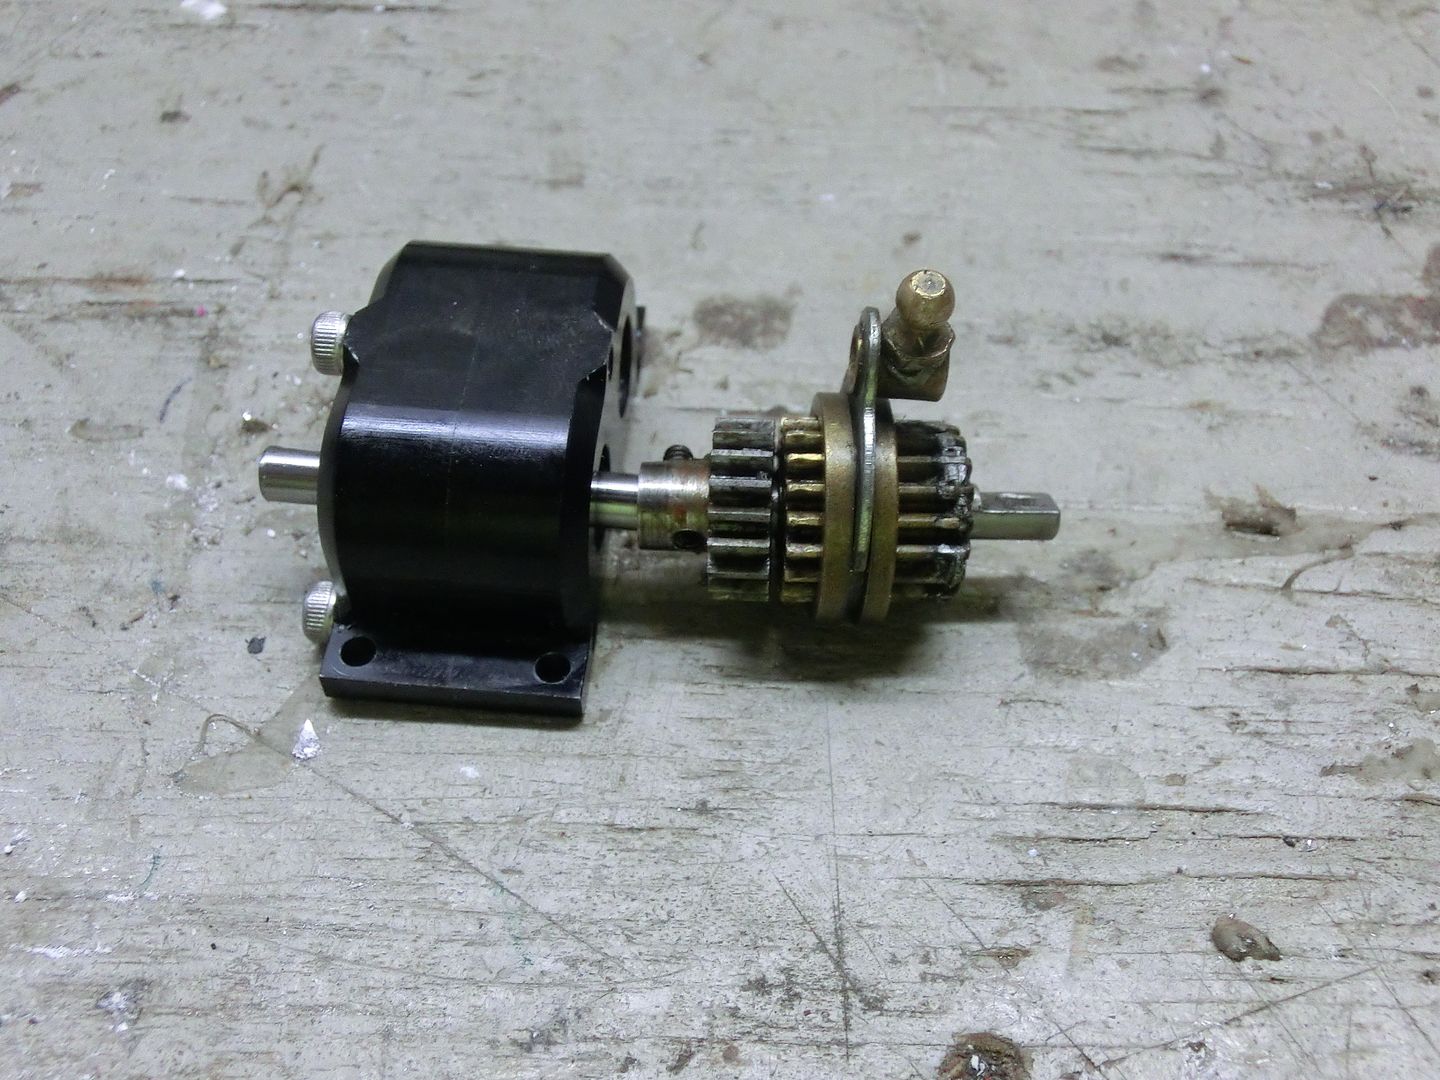 I scrounged through my parts bin and pulled a jack shaft from a junk Tamina 3 speed tranny. 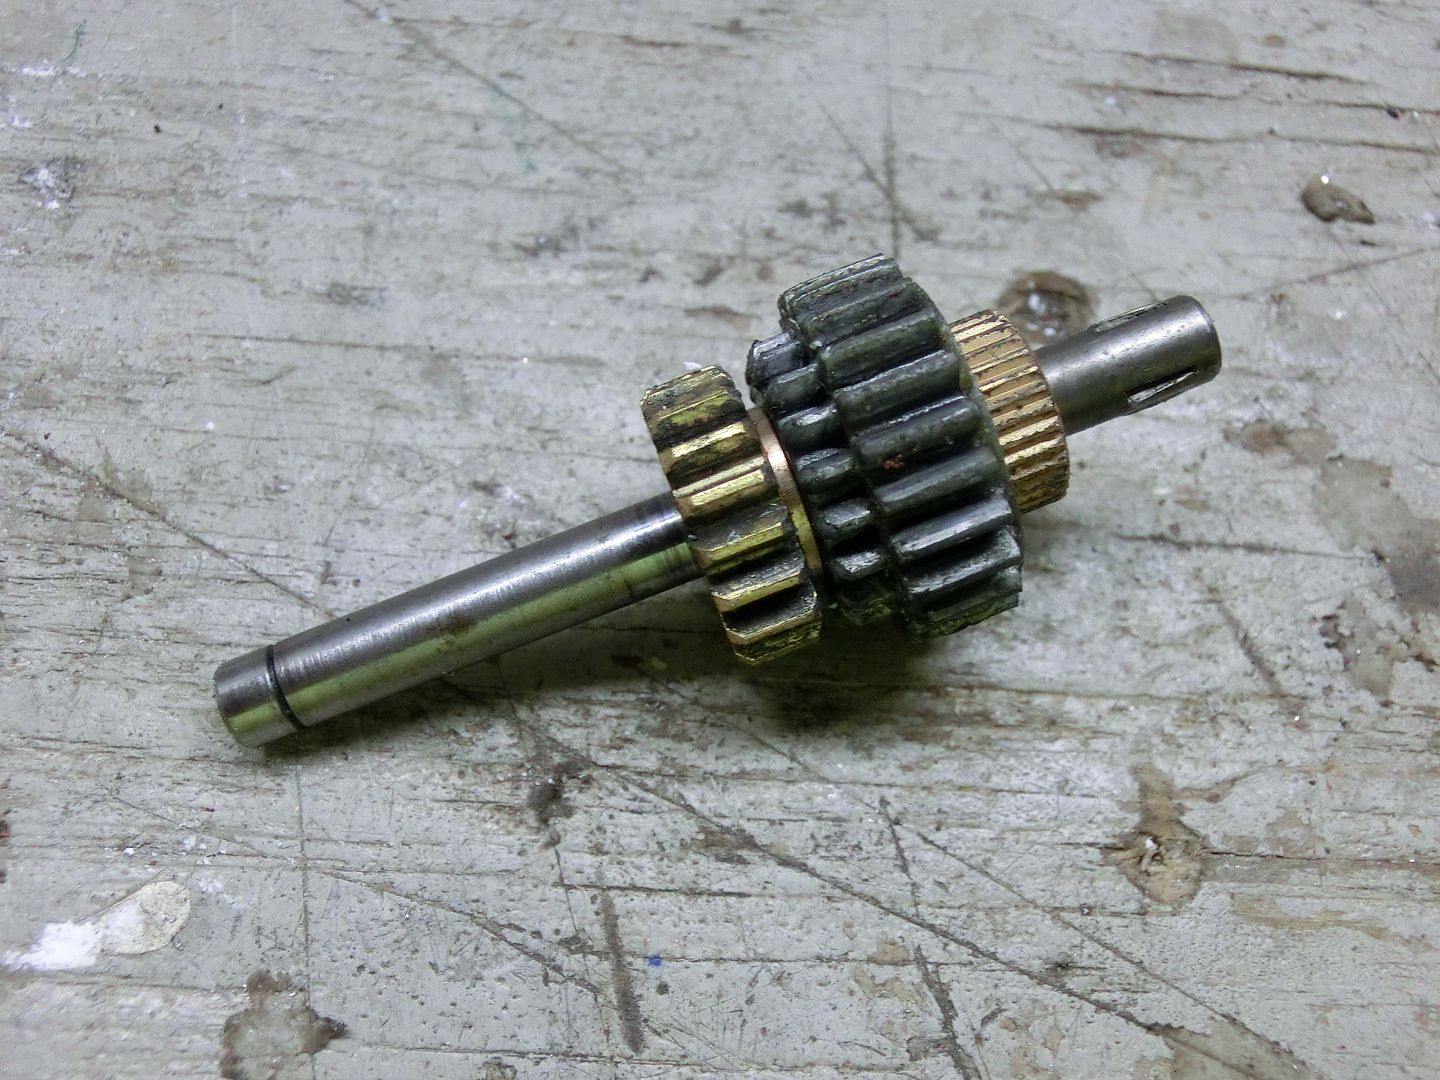 i hacked the shaft to get the gear off that i wanted 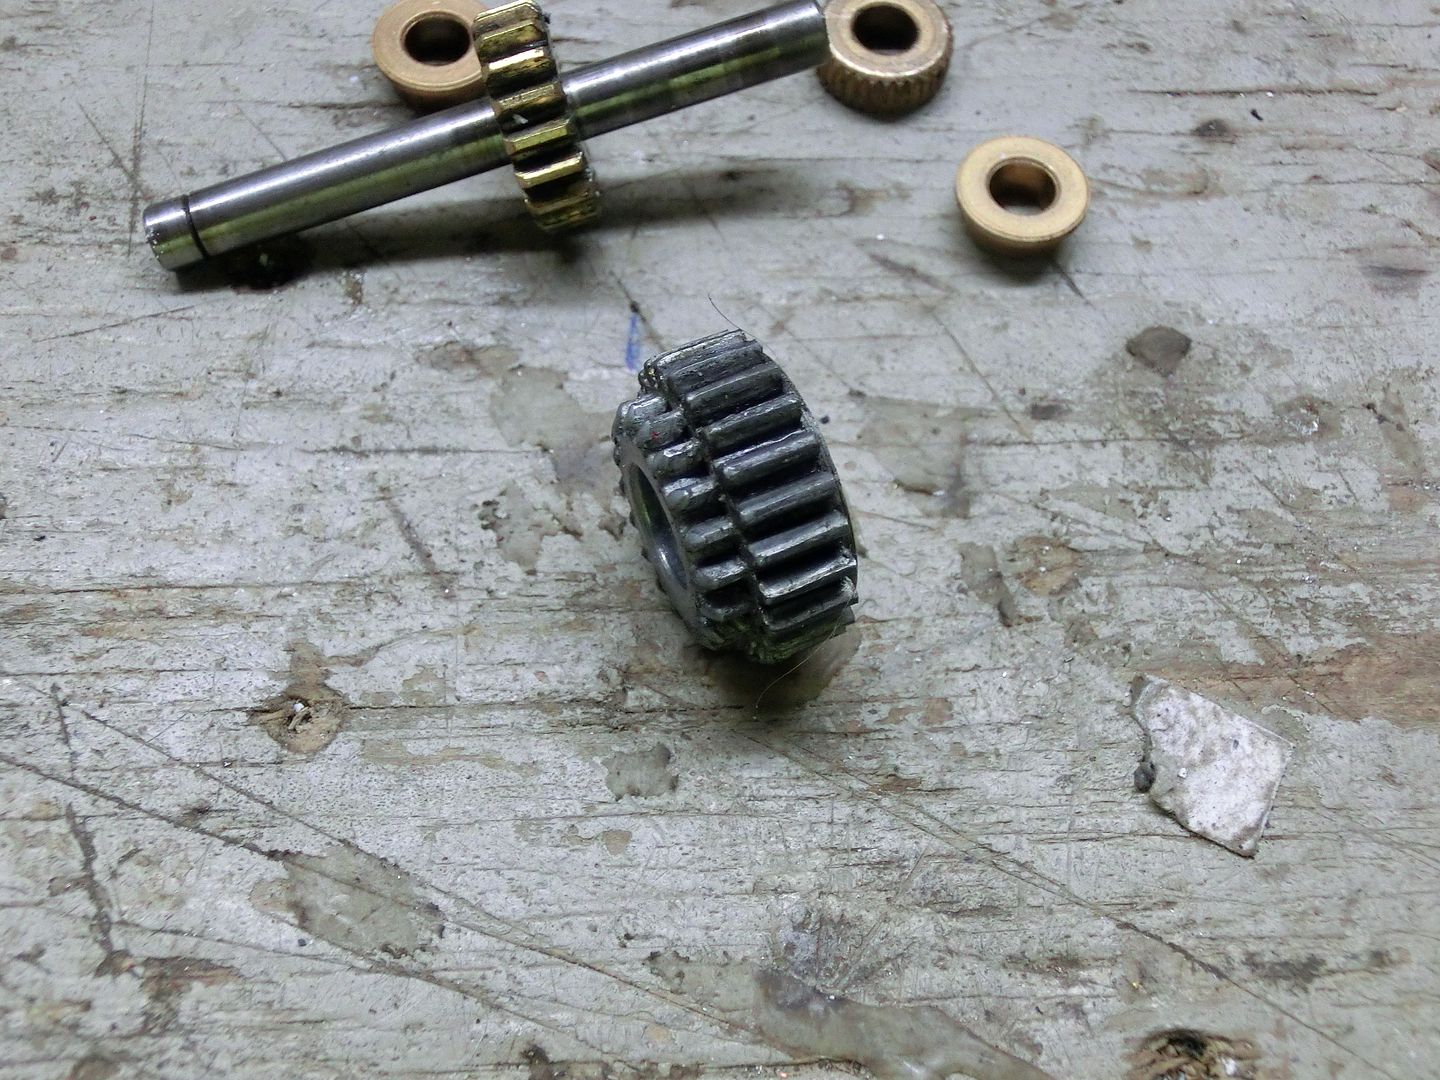 then i made a Jig to chuck it up in my lathe 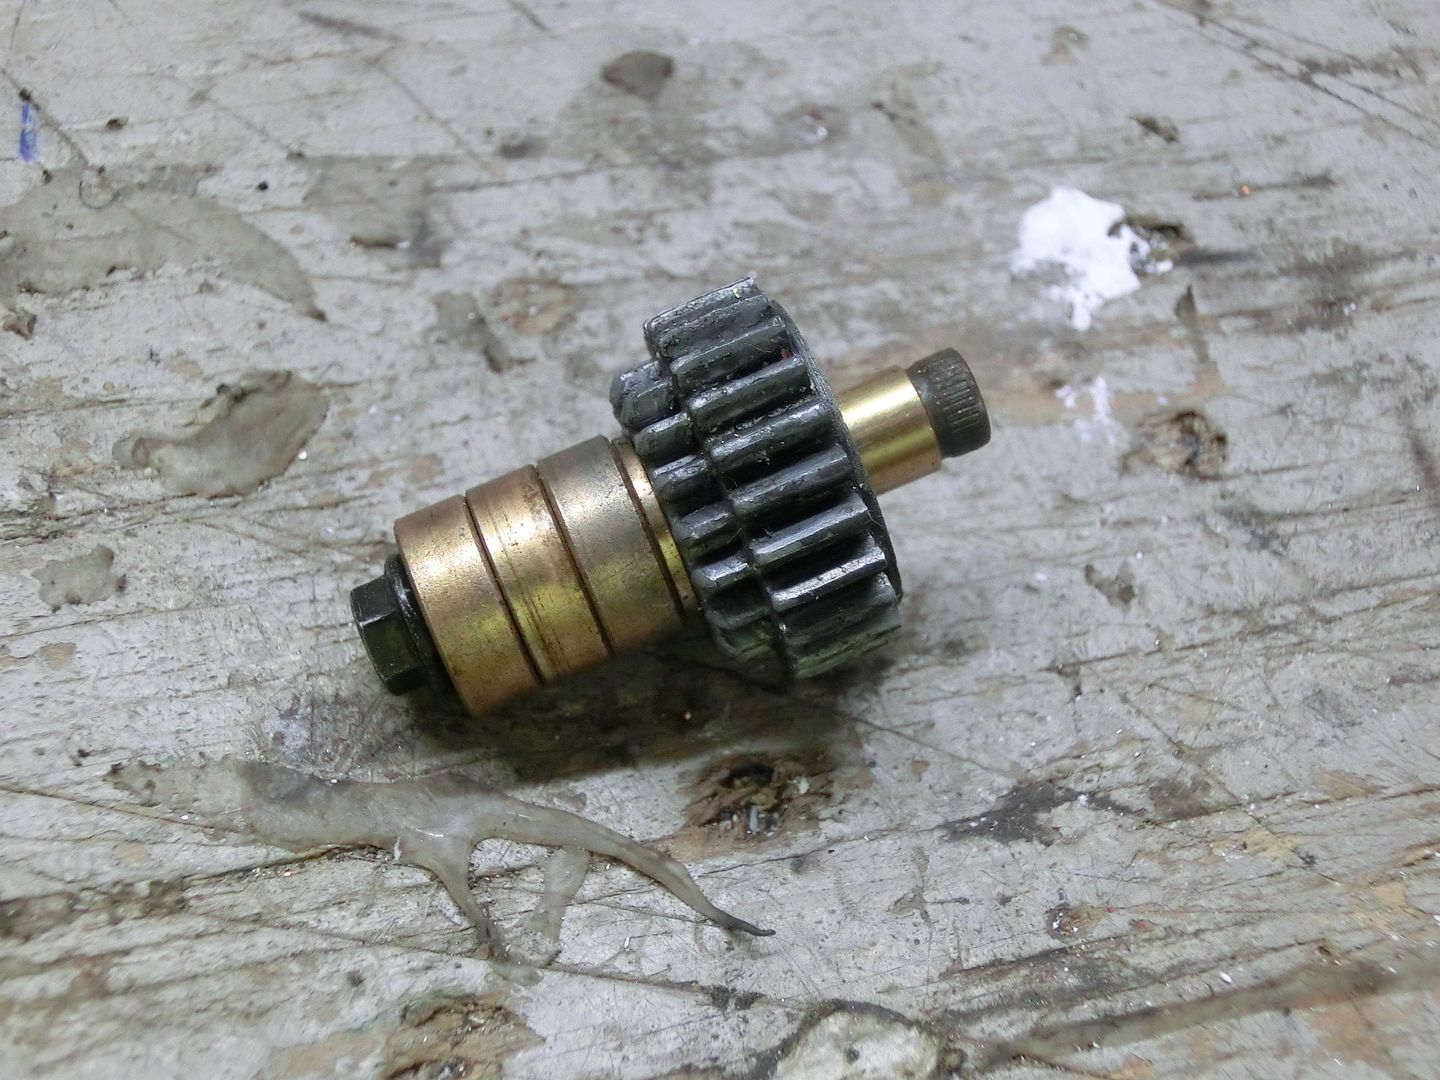 about a half hour later i had what i was looking for 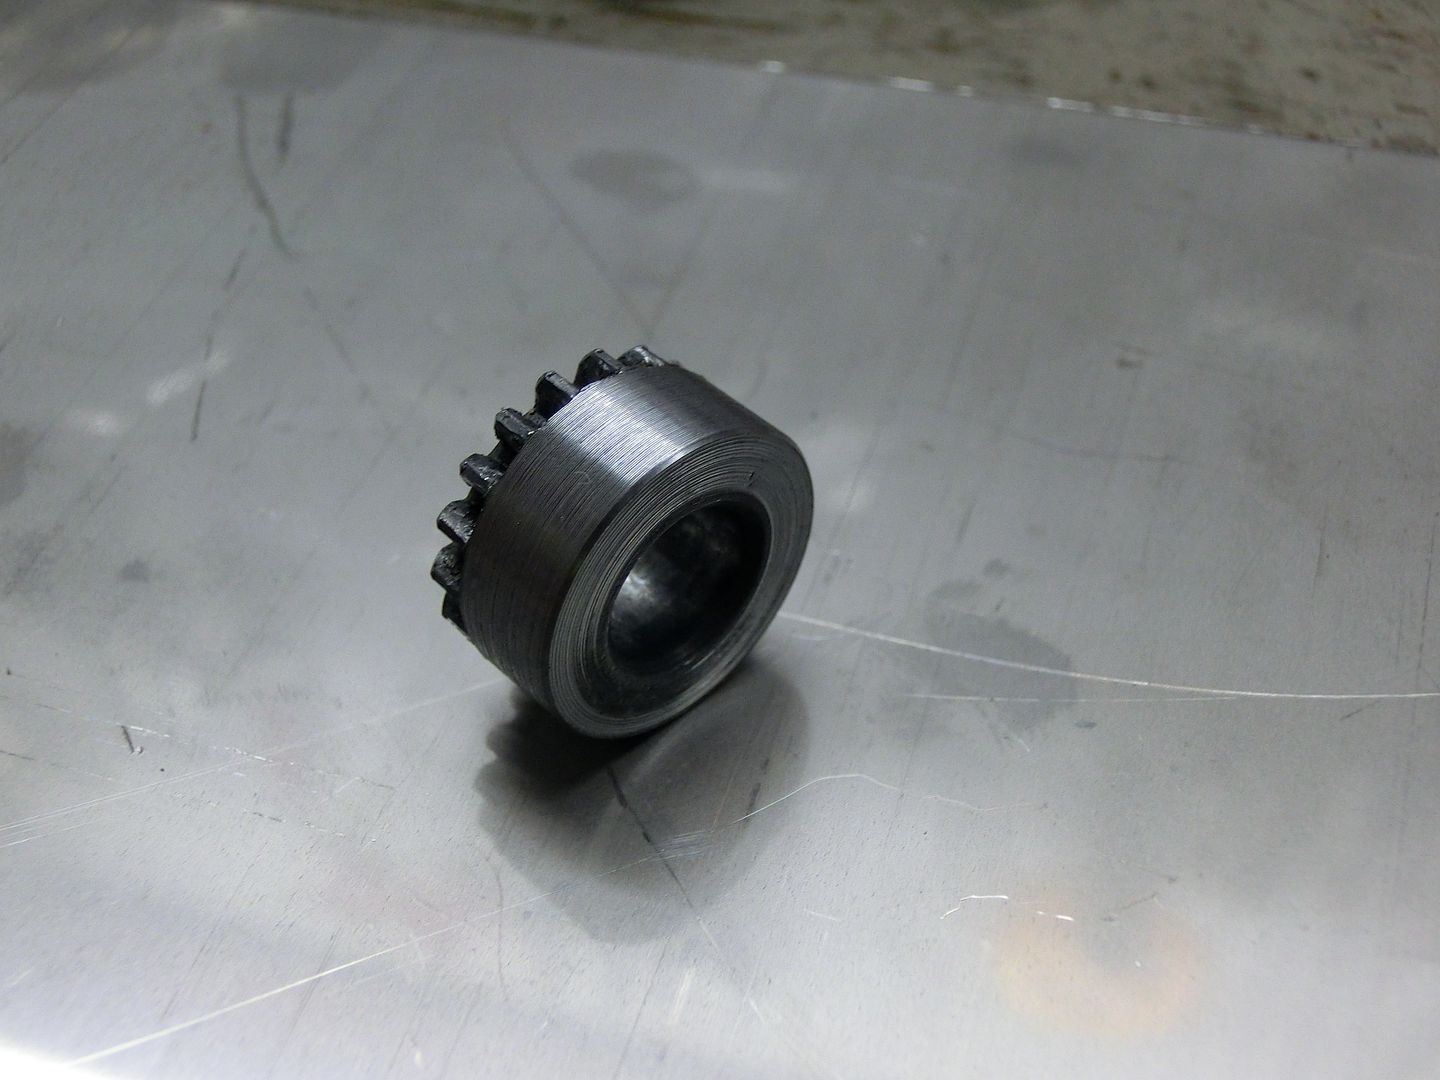 this will replace the outside gear i spoke of before. 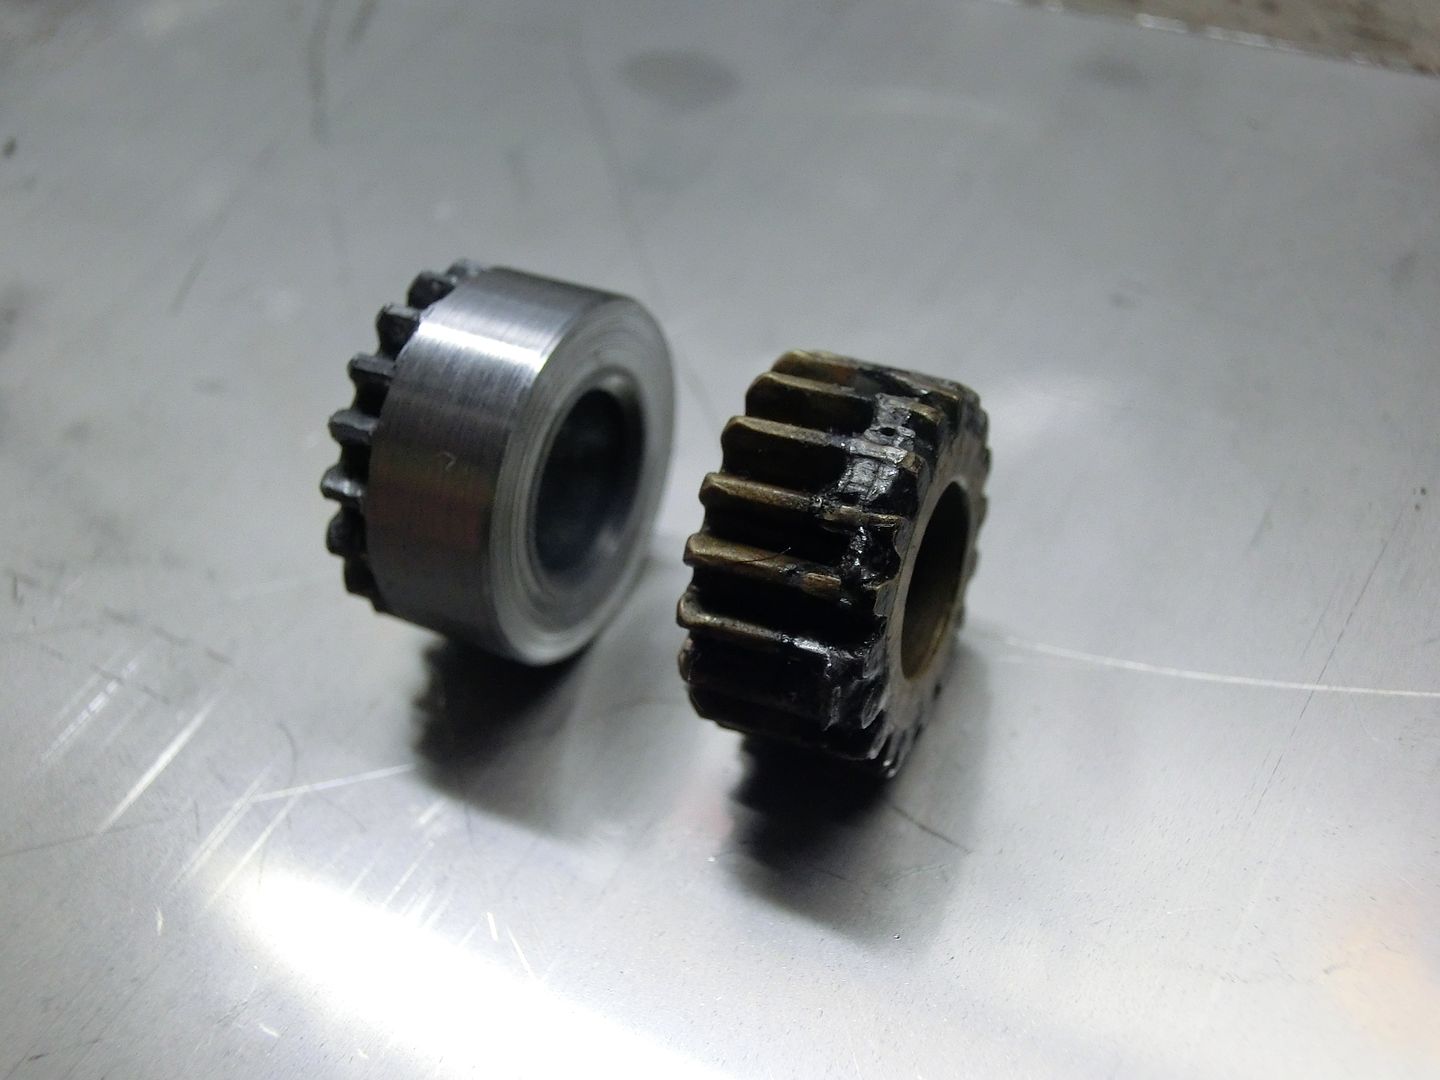 It will give me the material needed to machine some tapped holes for screws to secure it. this is how i plan to use it 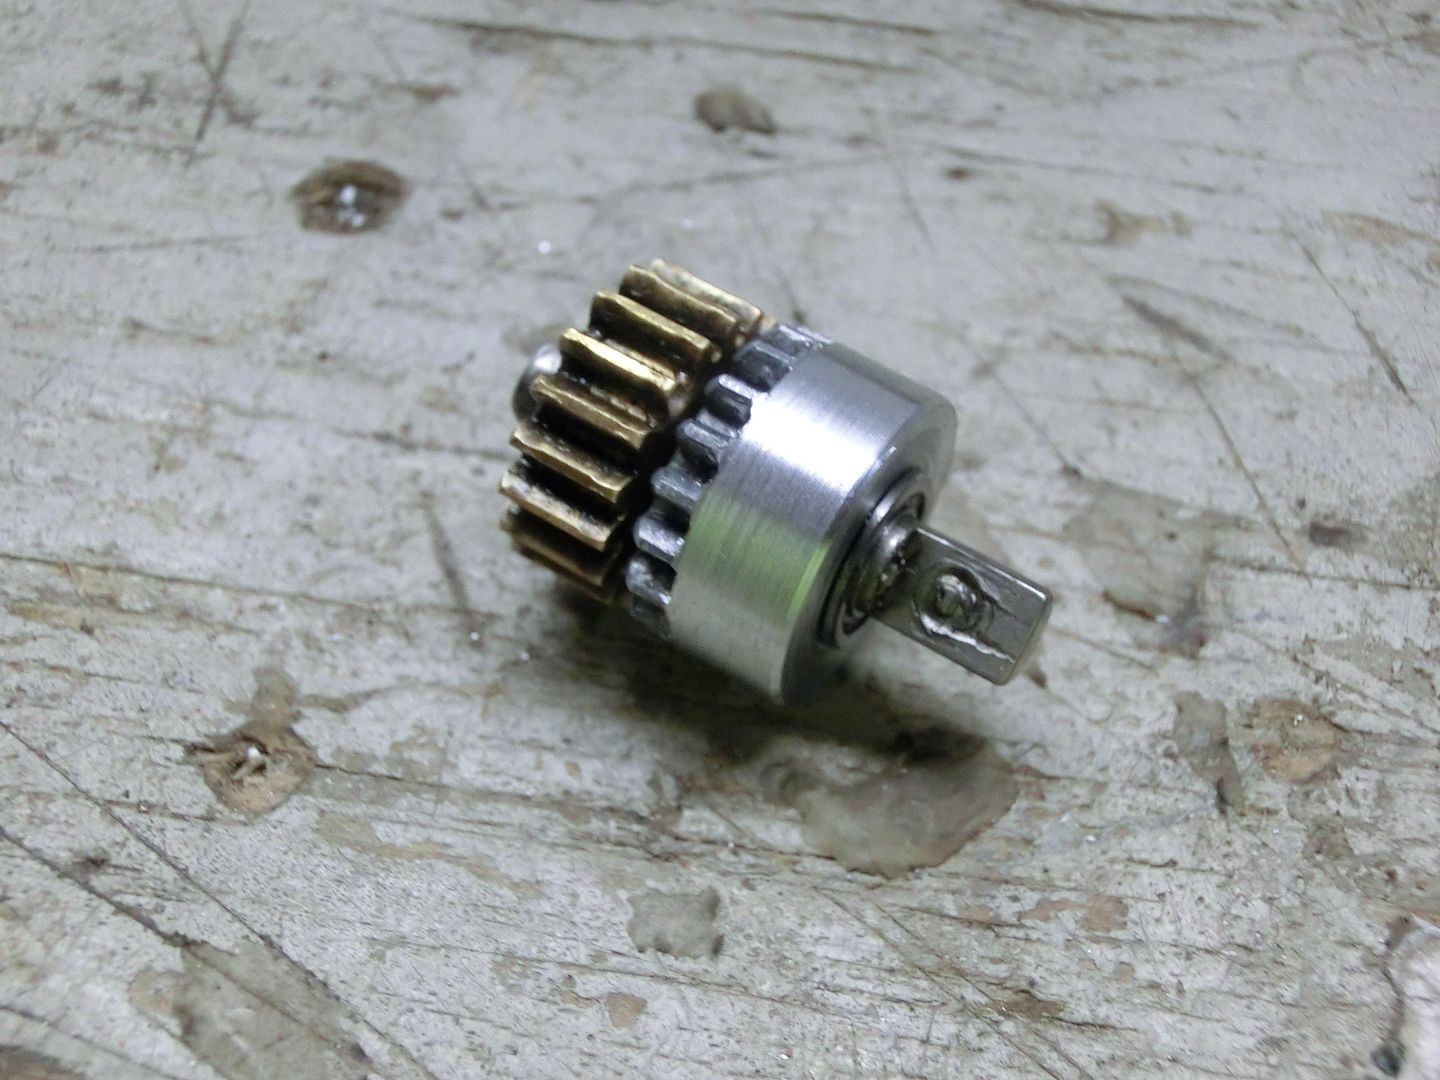 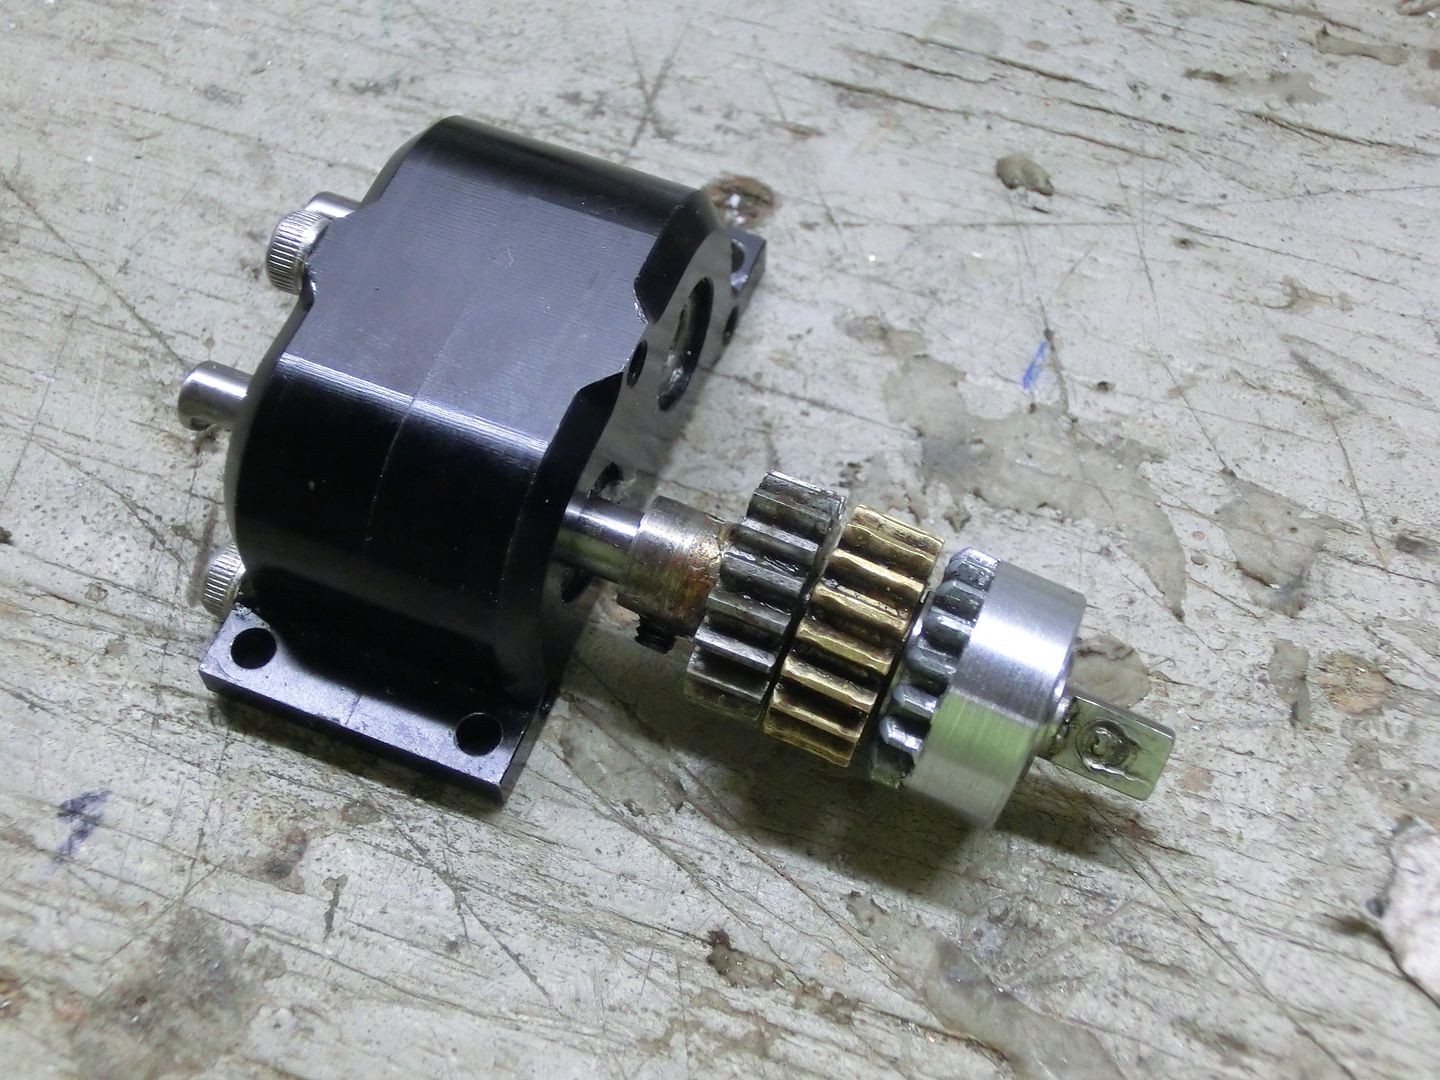 next i needed a better way to work the slider that engages the dig. the old way would get bind up in a heart beat. So i pulled an old Tamiya pats bag and hunted for something to work. 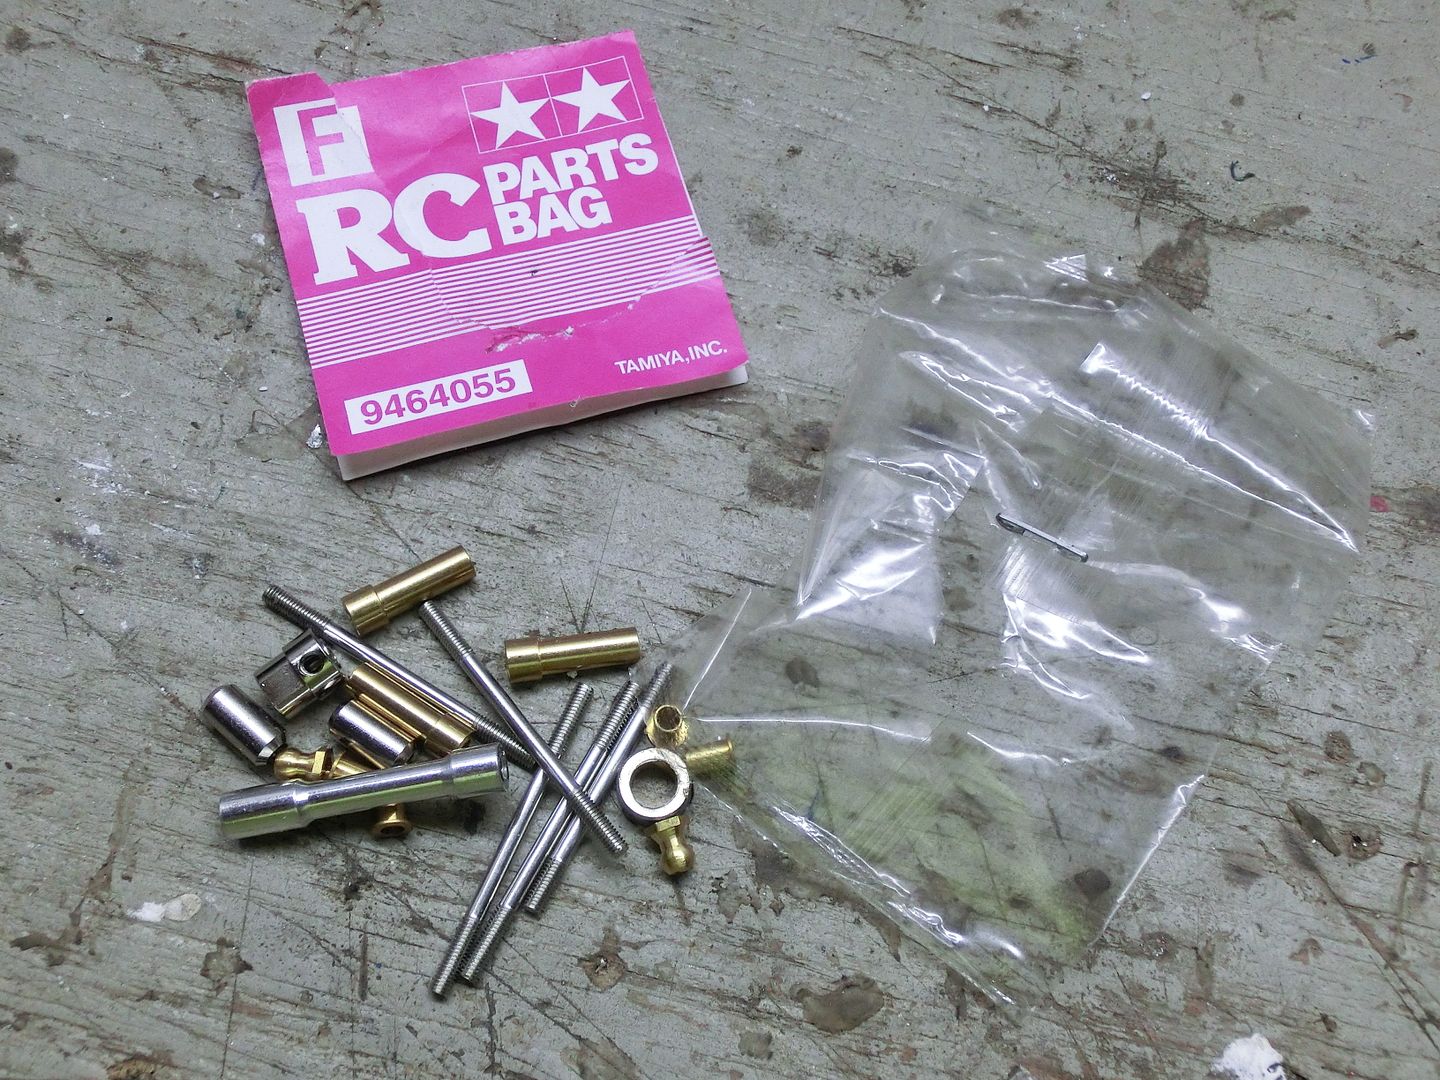 This is what i came up with. A TLT shock shaft and some bronze bushings. the "C" came from the 3 Speed tranny. 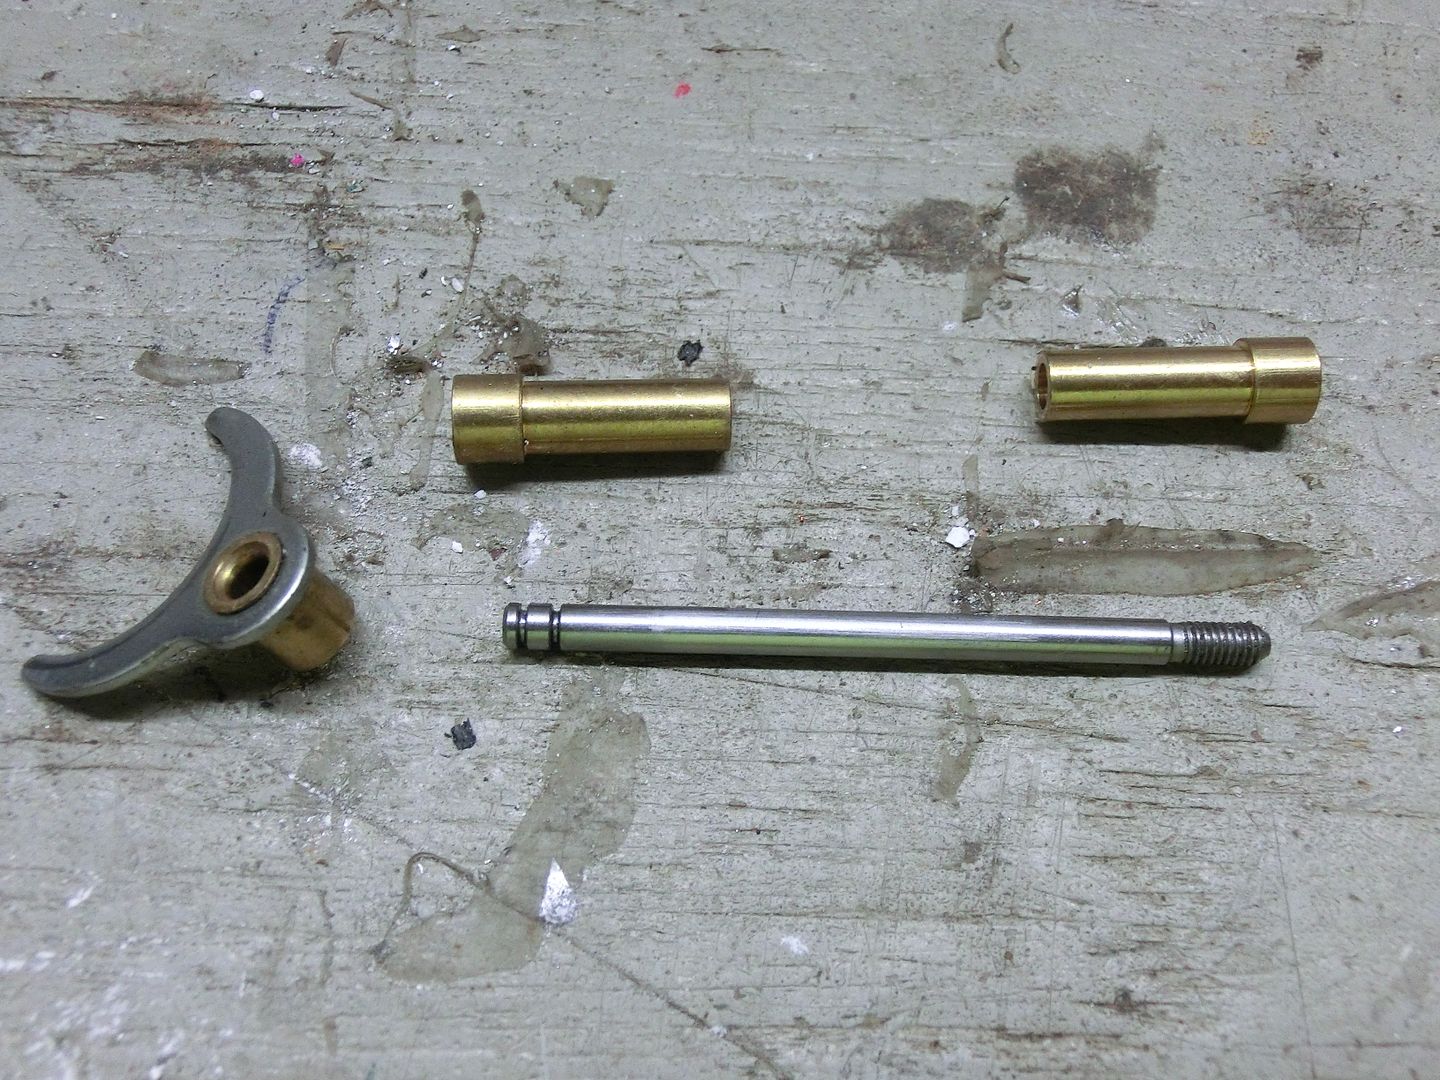 With all the parts figured out it was time to layout the drivetrain. that's where i ran into trouble. Even with the Extra room of the larger body there was still fitment issues. I got the T-case and Tranny where it would work, 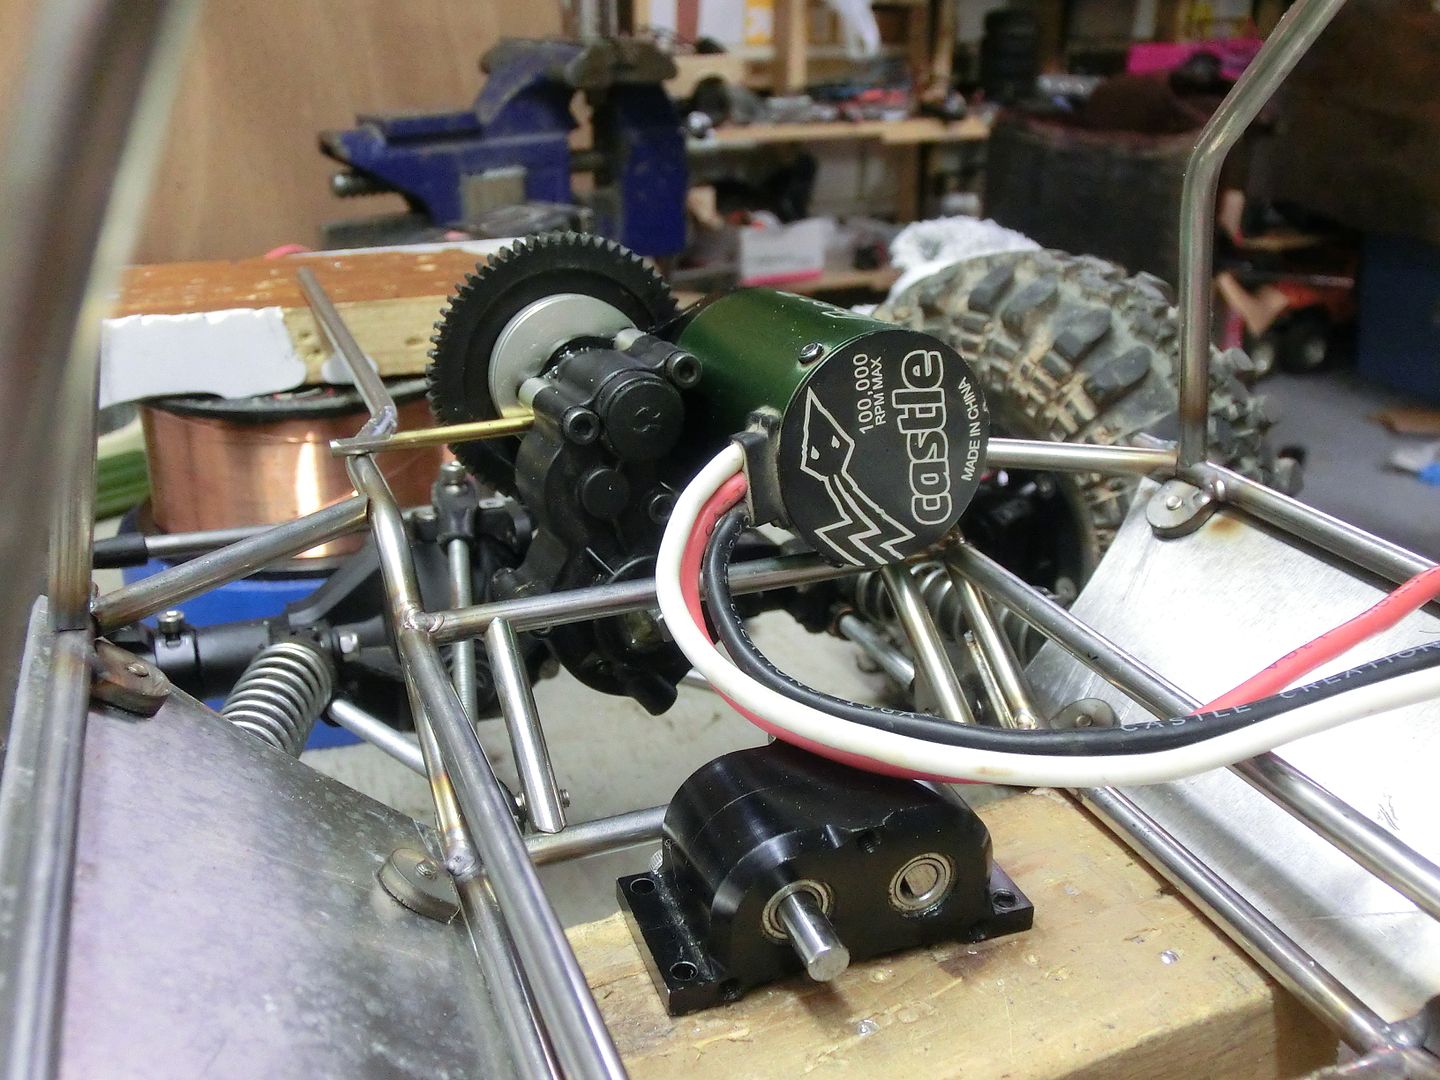 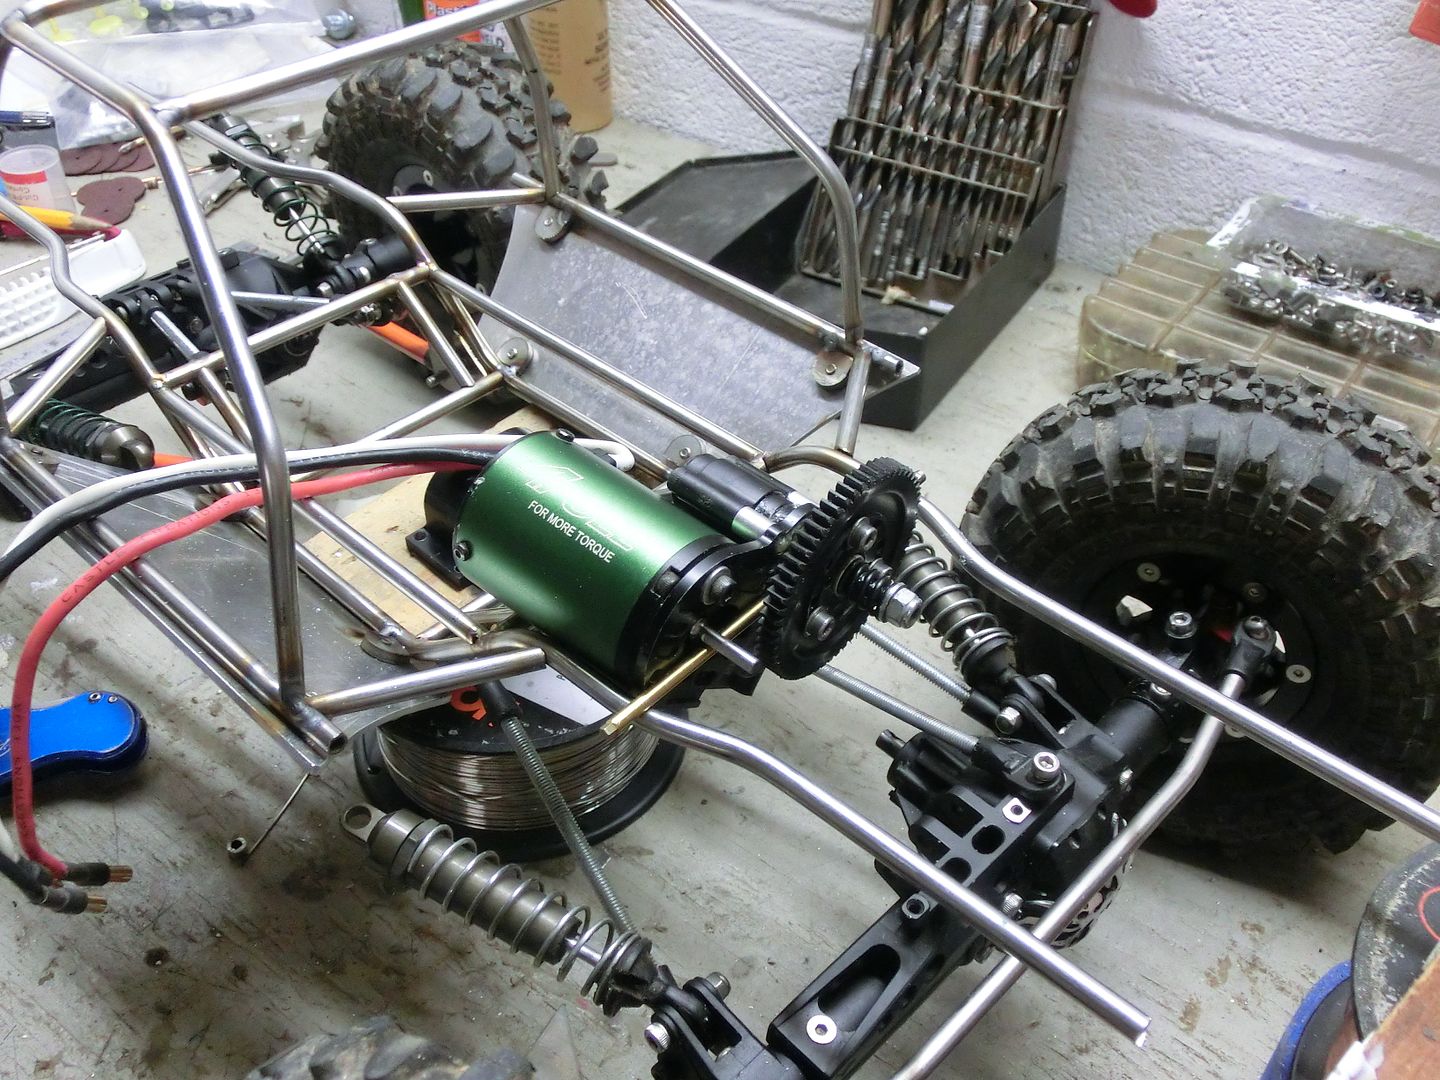 but once i place the grill 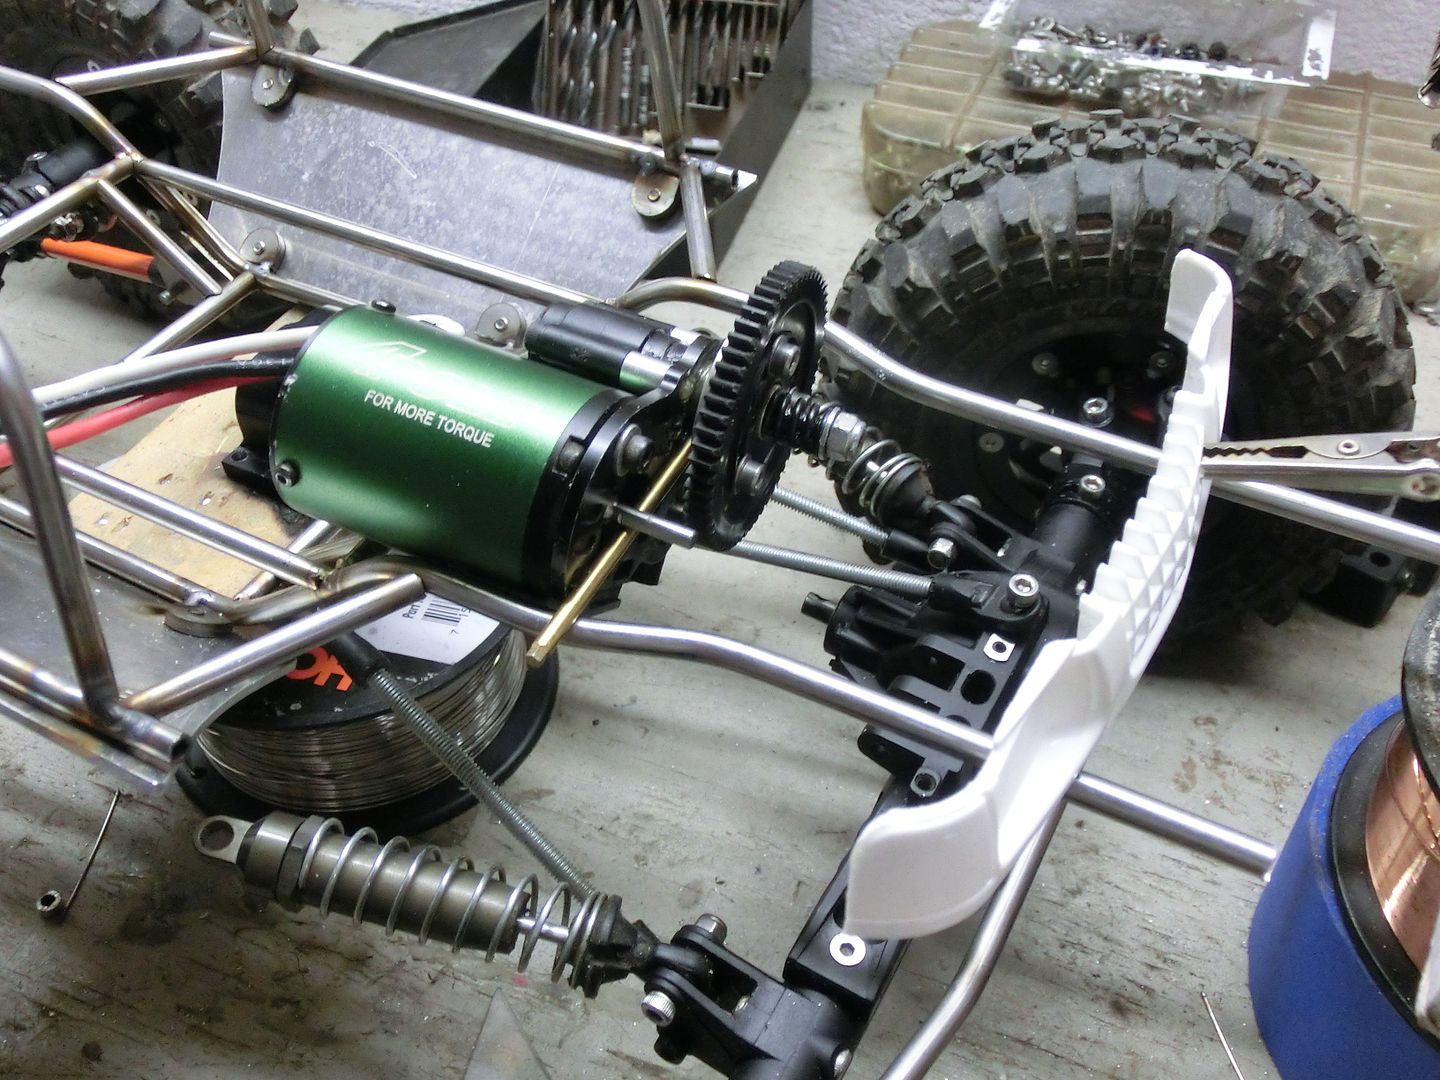 and started to try and fit the steering gear and winch, i ran out of room. 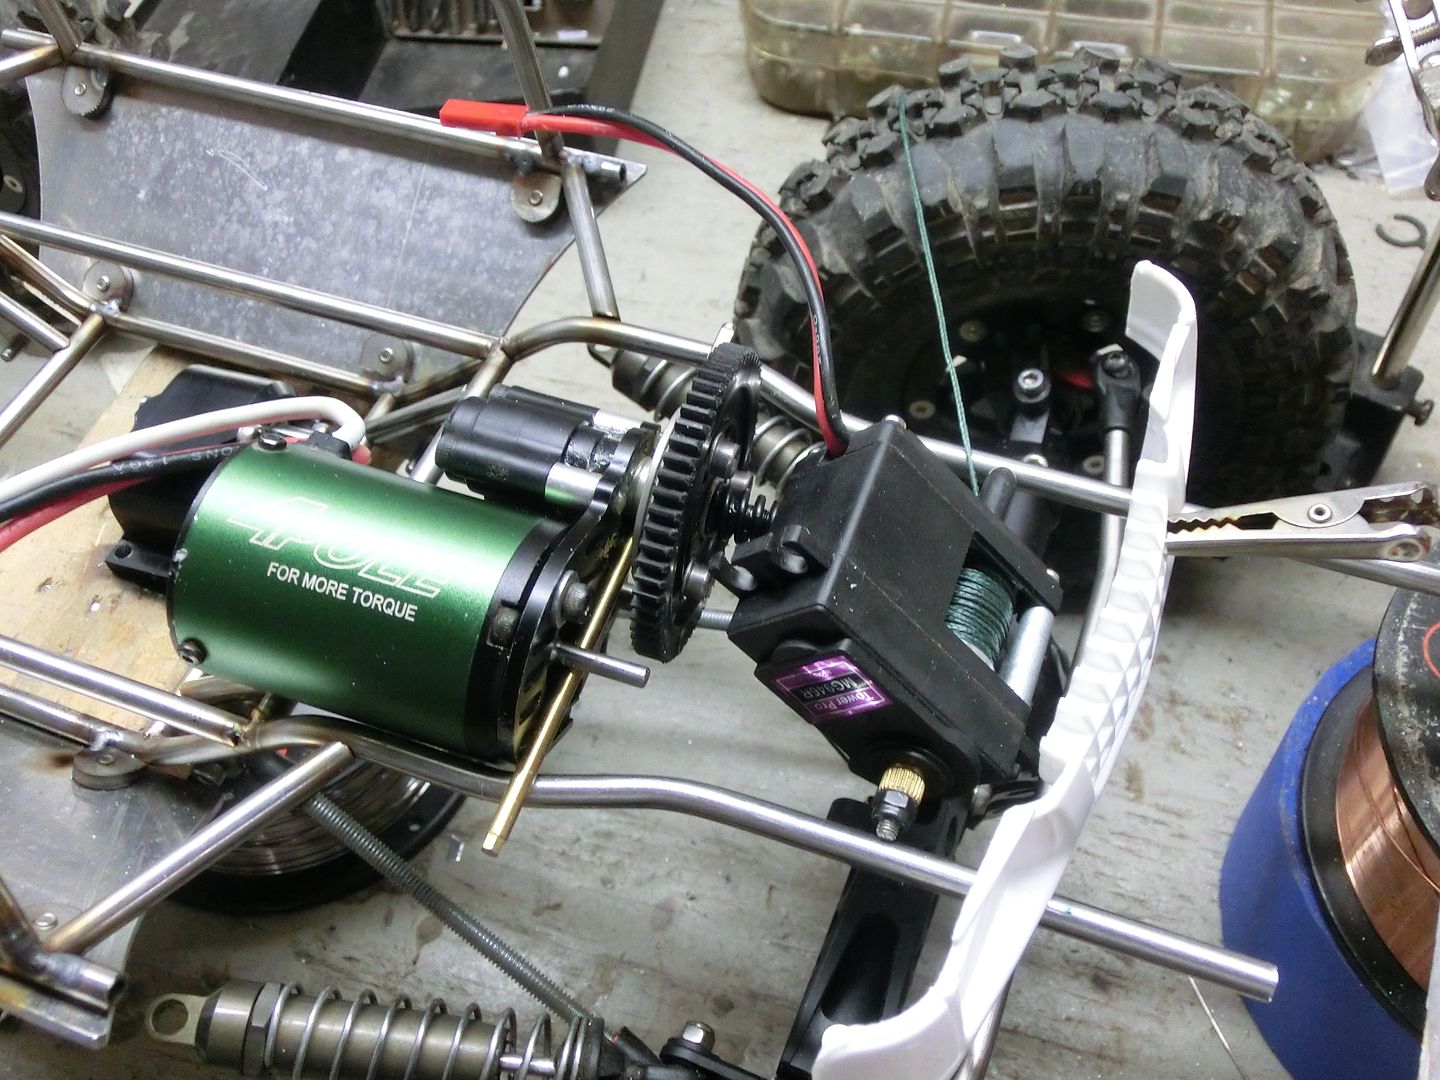 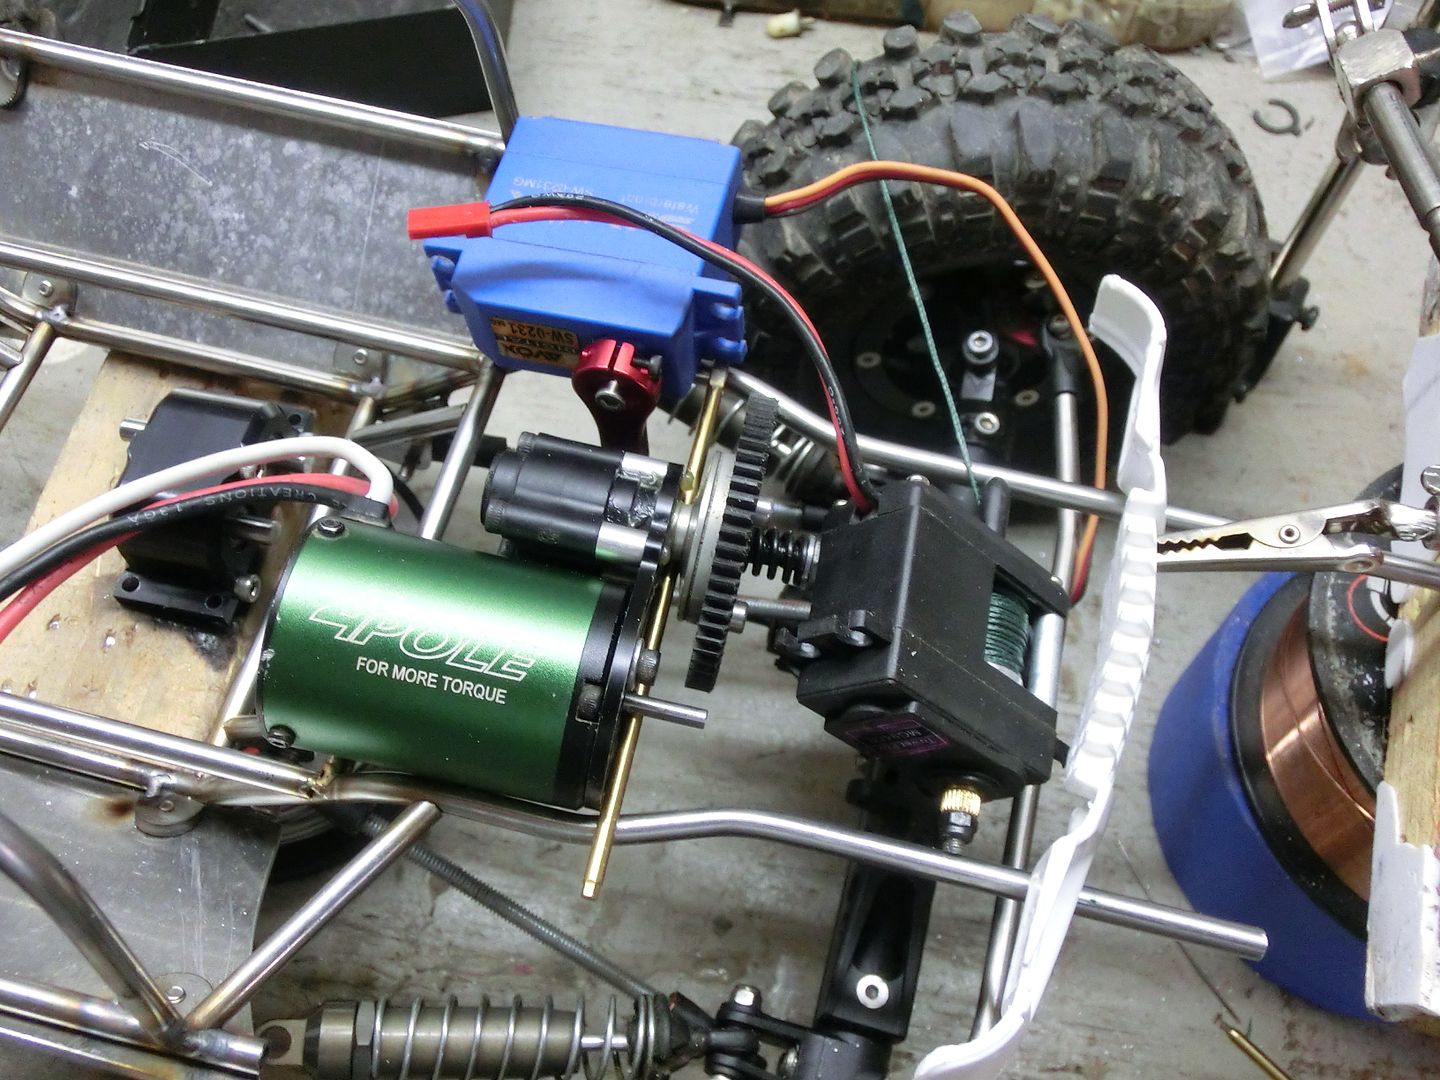 I was bummed. 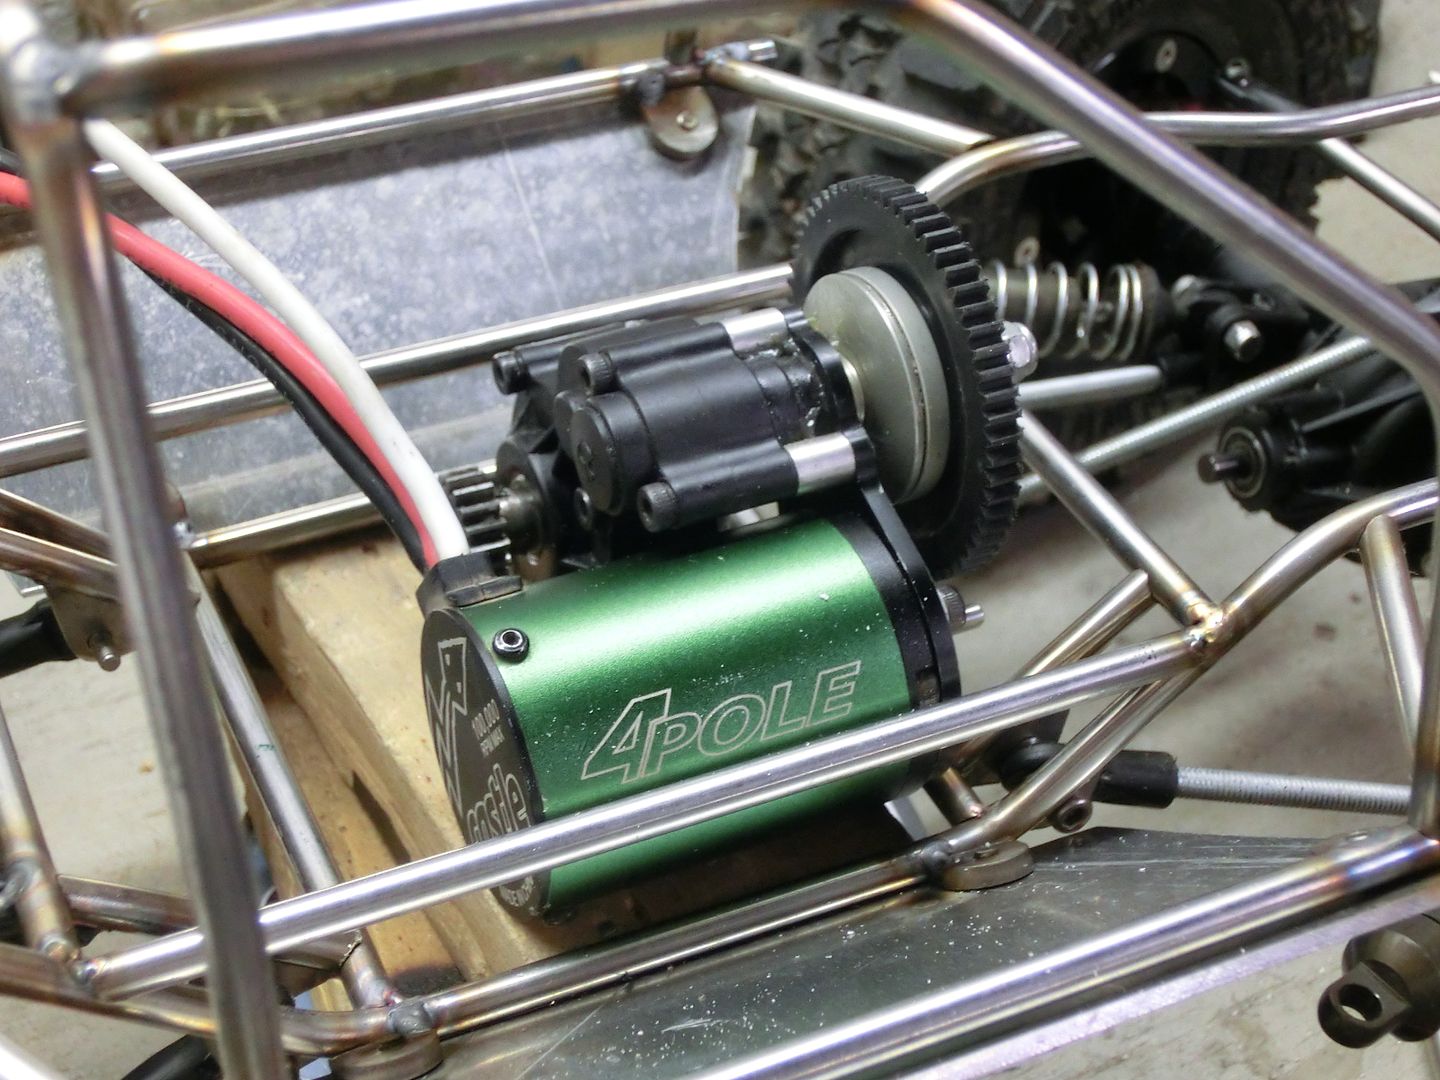 with the tranny location decided i needed to make sure i could still have an interior so i trimmed some replica Wraith seats. 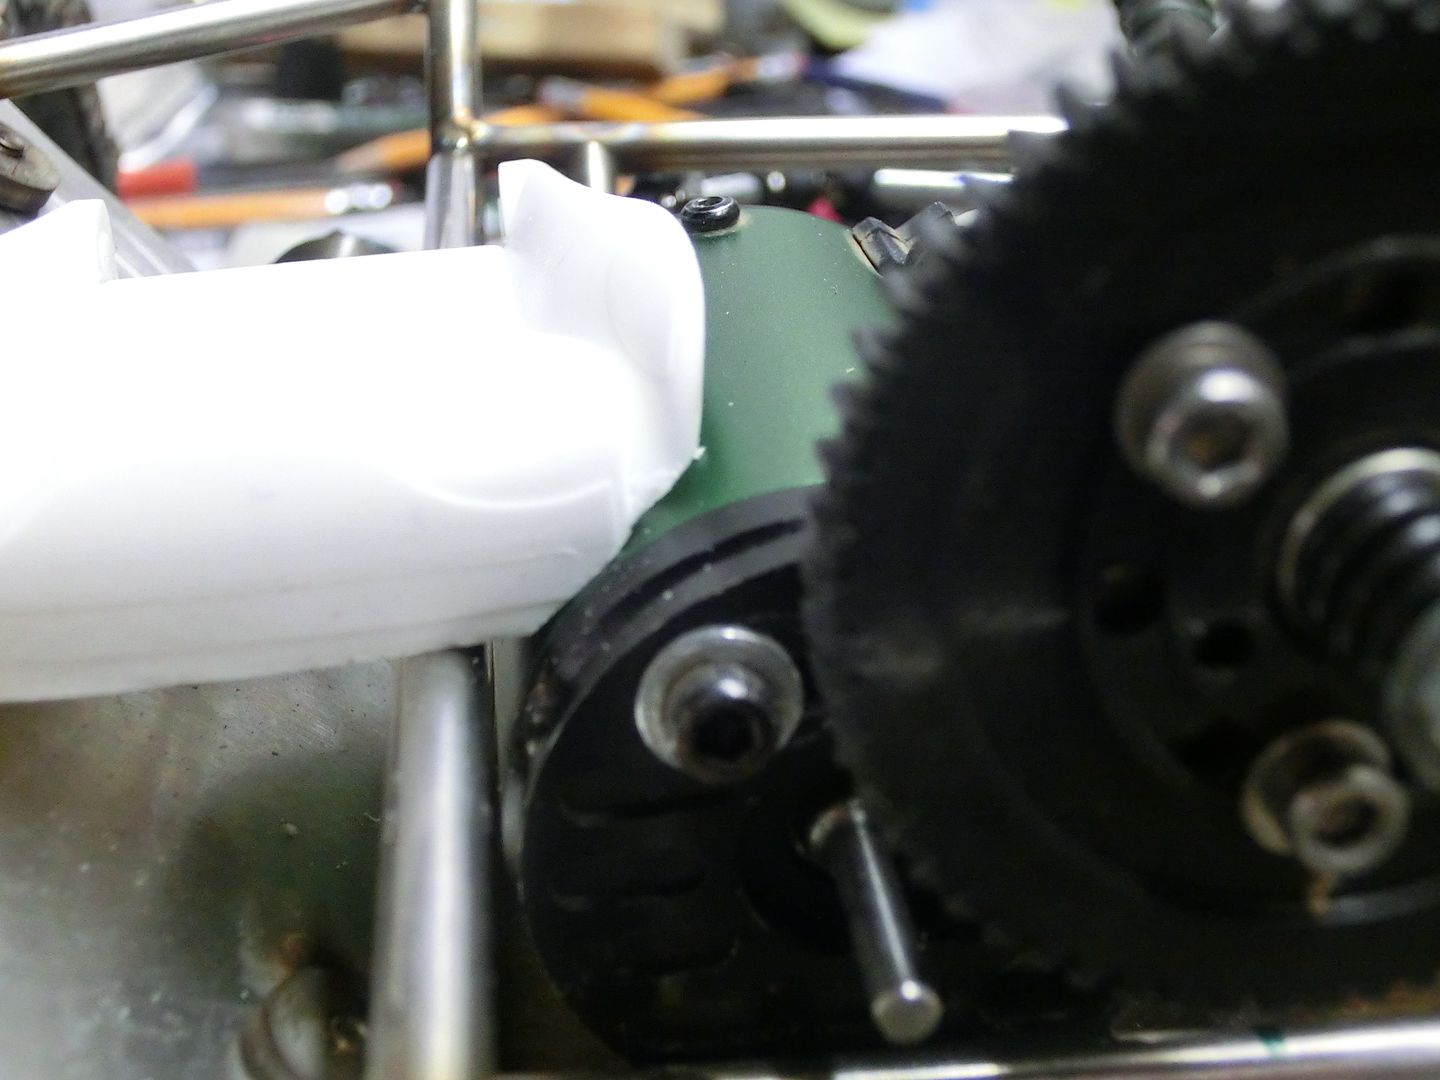 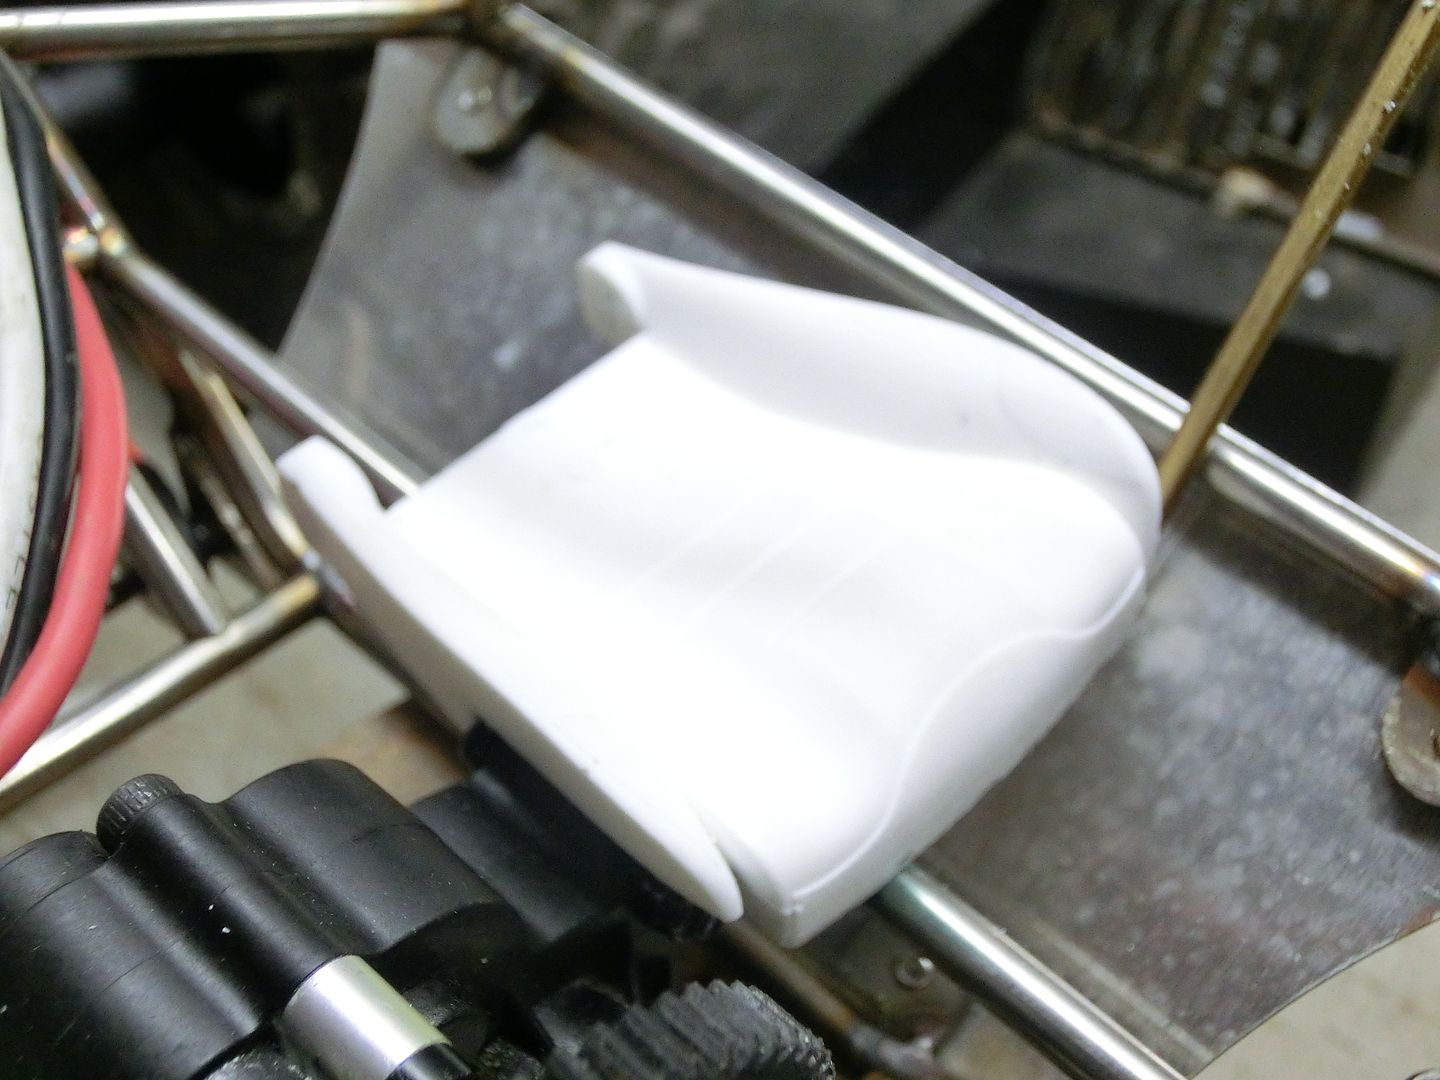 then made tabs to hold the seats 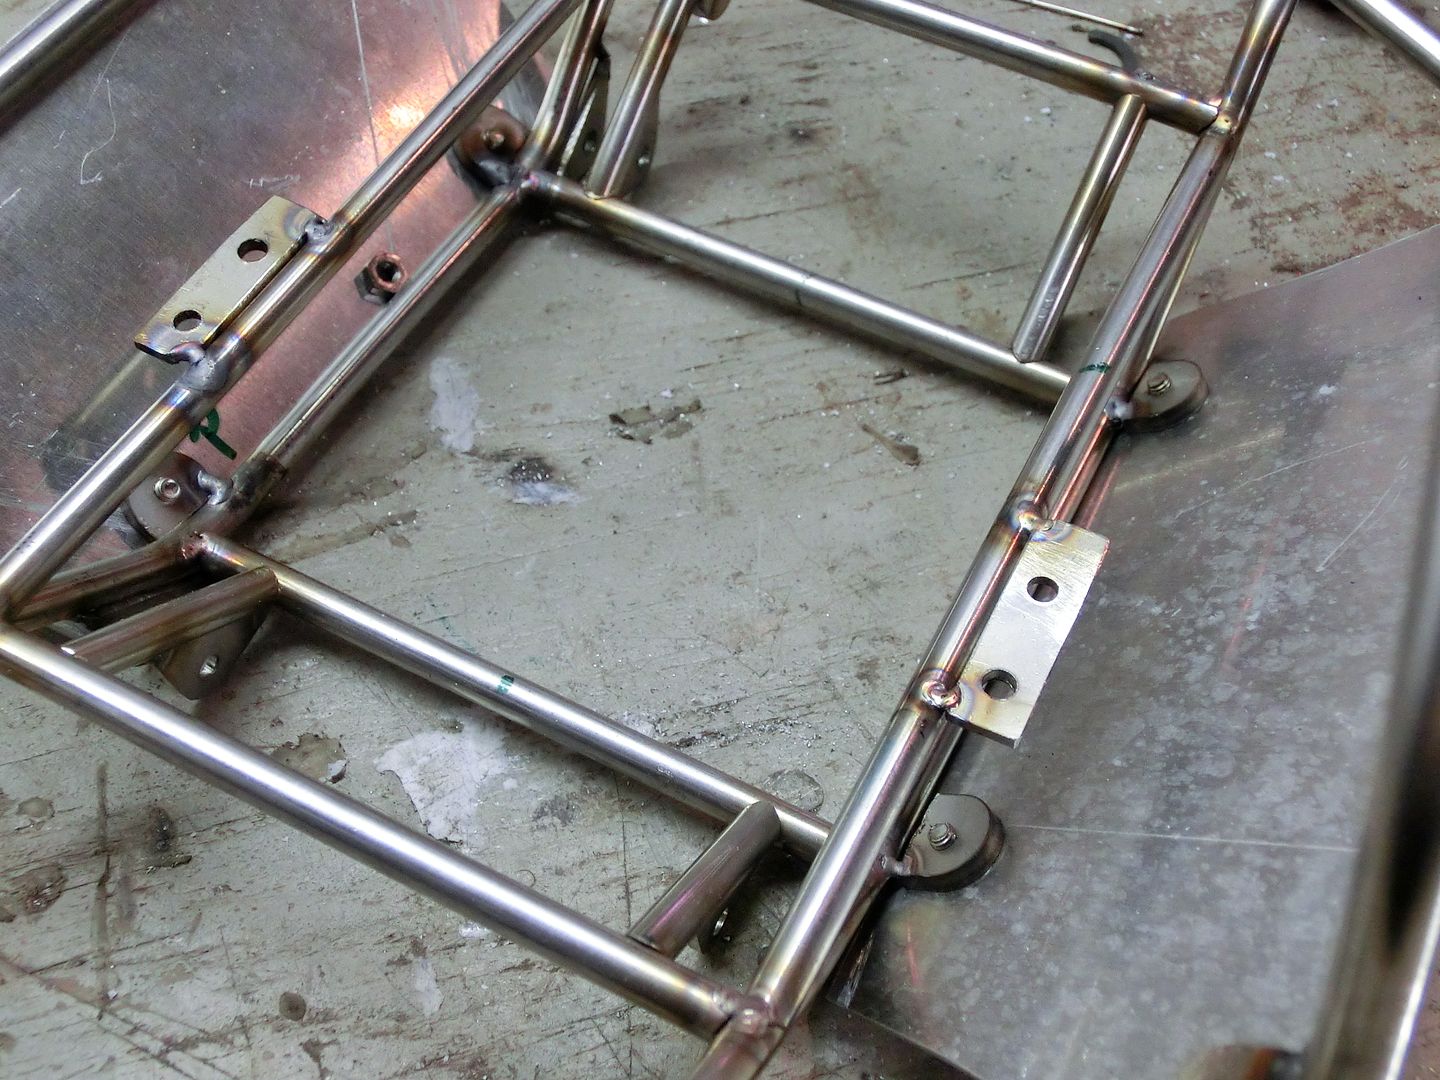 Now that i was using the tranny and not the T-case i needed to redesign the dig. back to the computer i went. 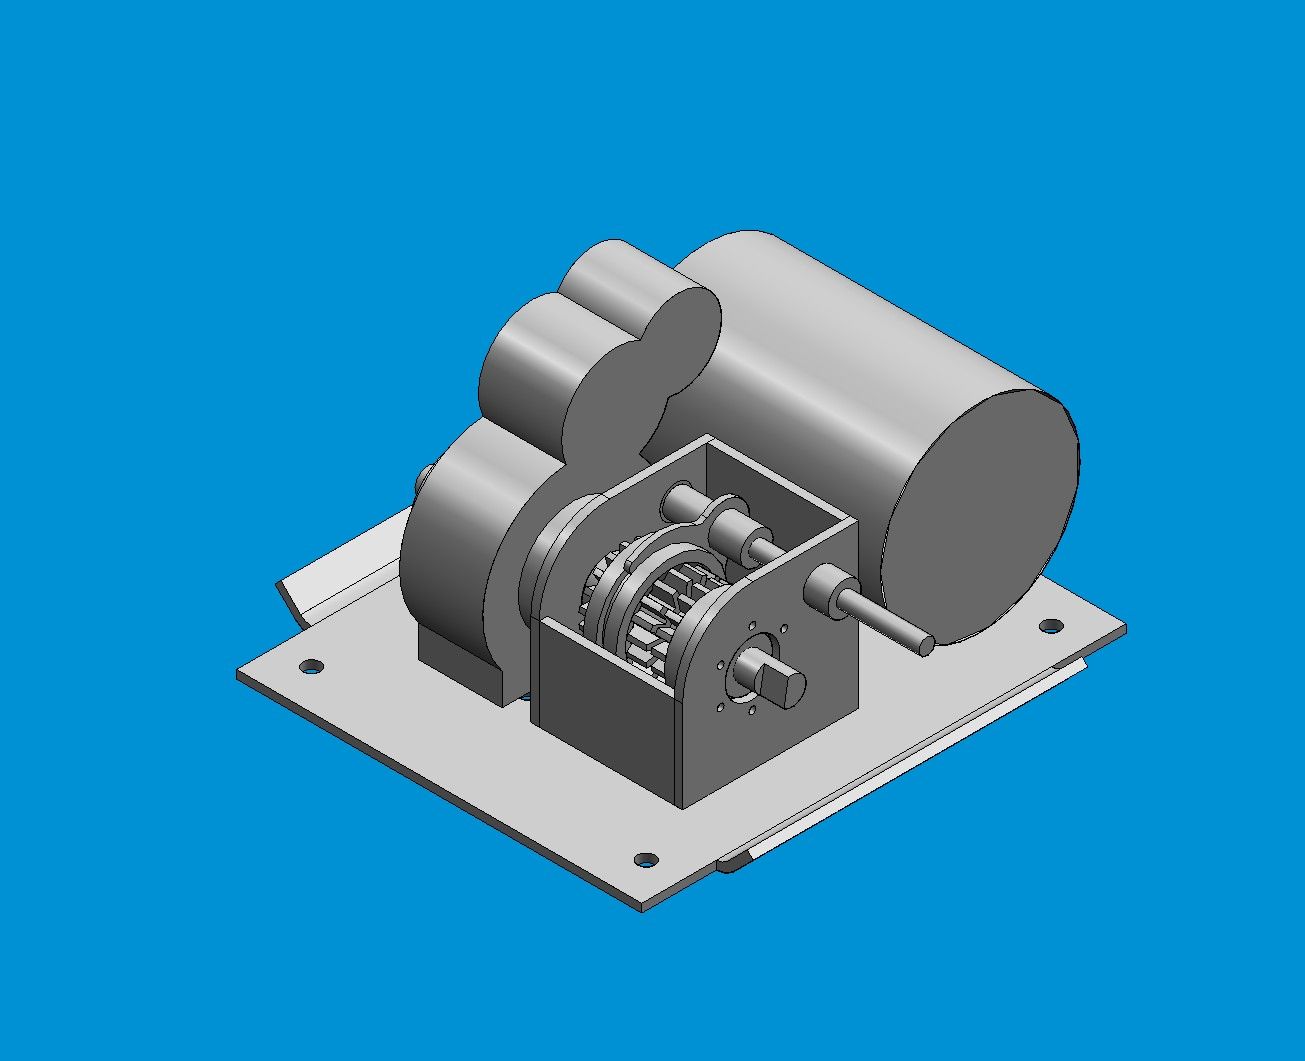 Now i was able to start by cutting the end plates 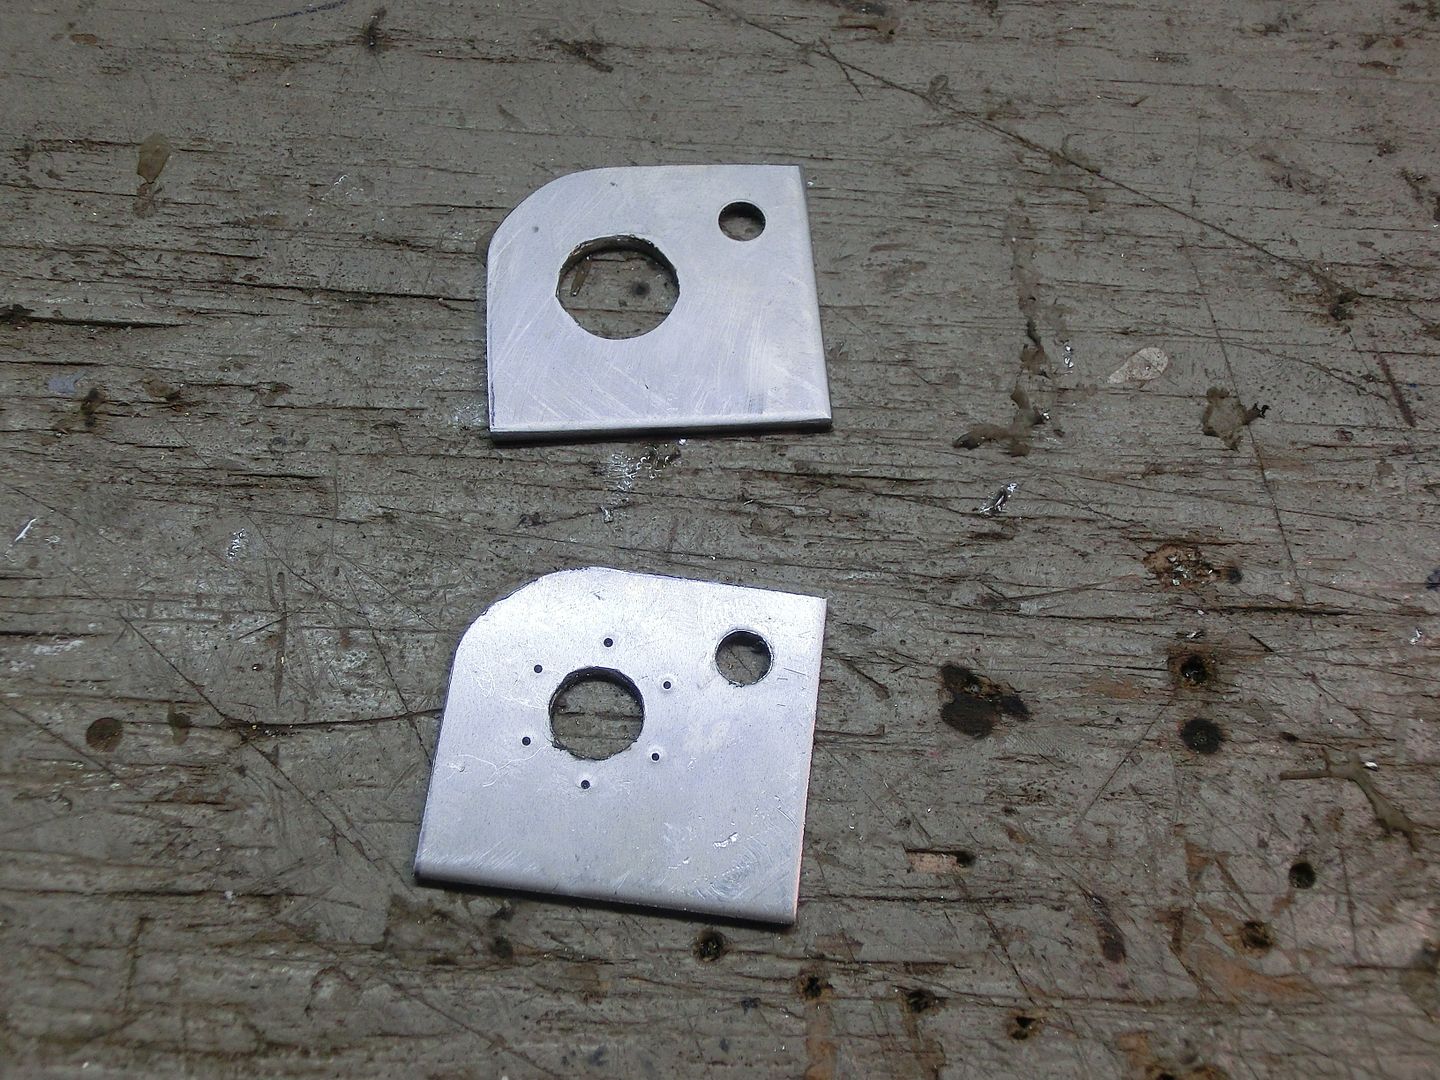 I drilled only the large holes and marked the smaller ones. That was so i could the plate as a template to drill the holes in the outer gear i machined earlier. A few bushings and a bolt and it was ready to drill 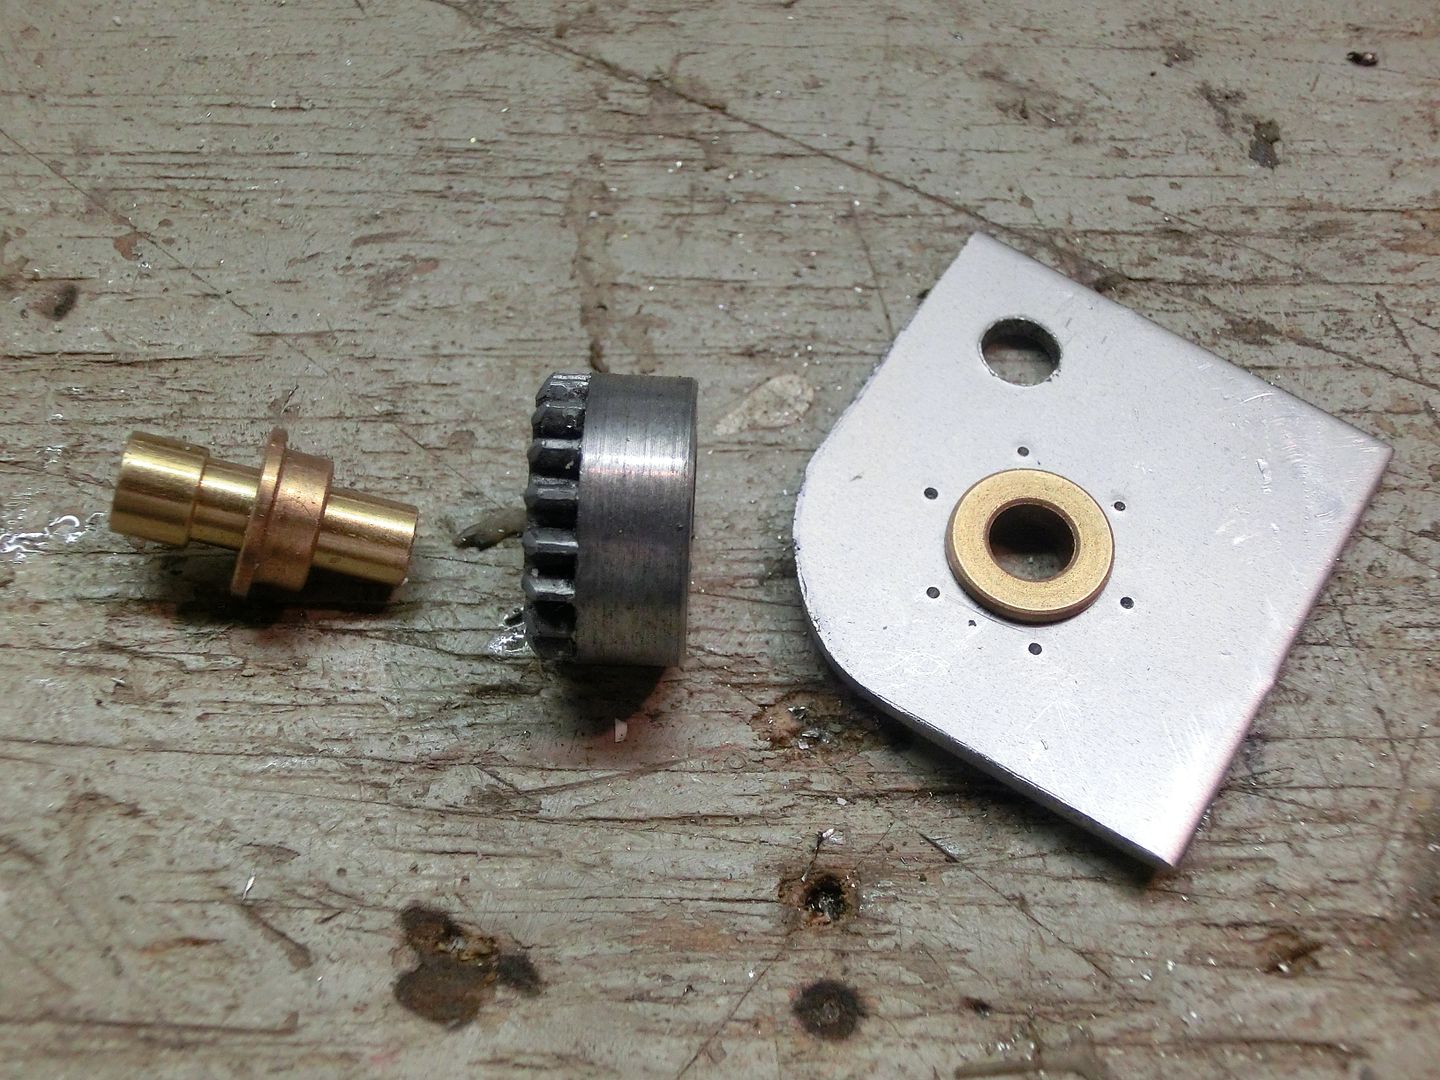 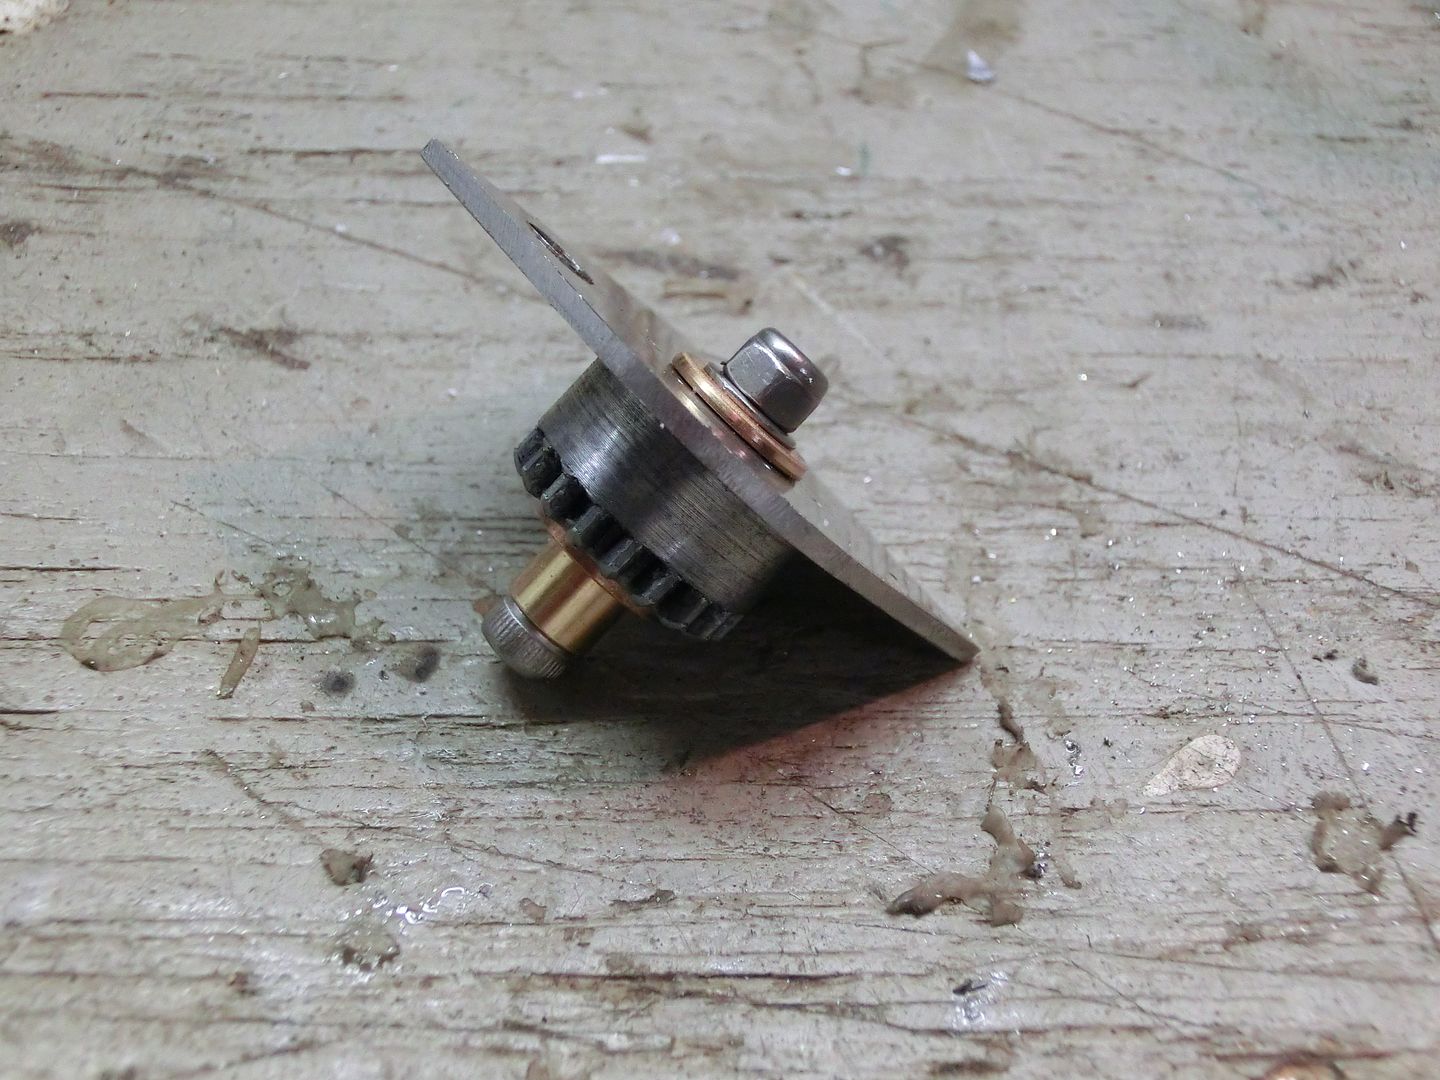 they turned out pretty good for just a drill press. 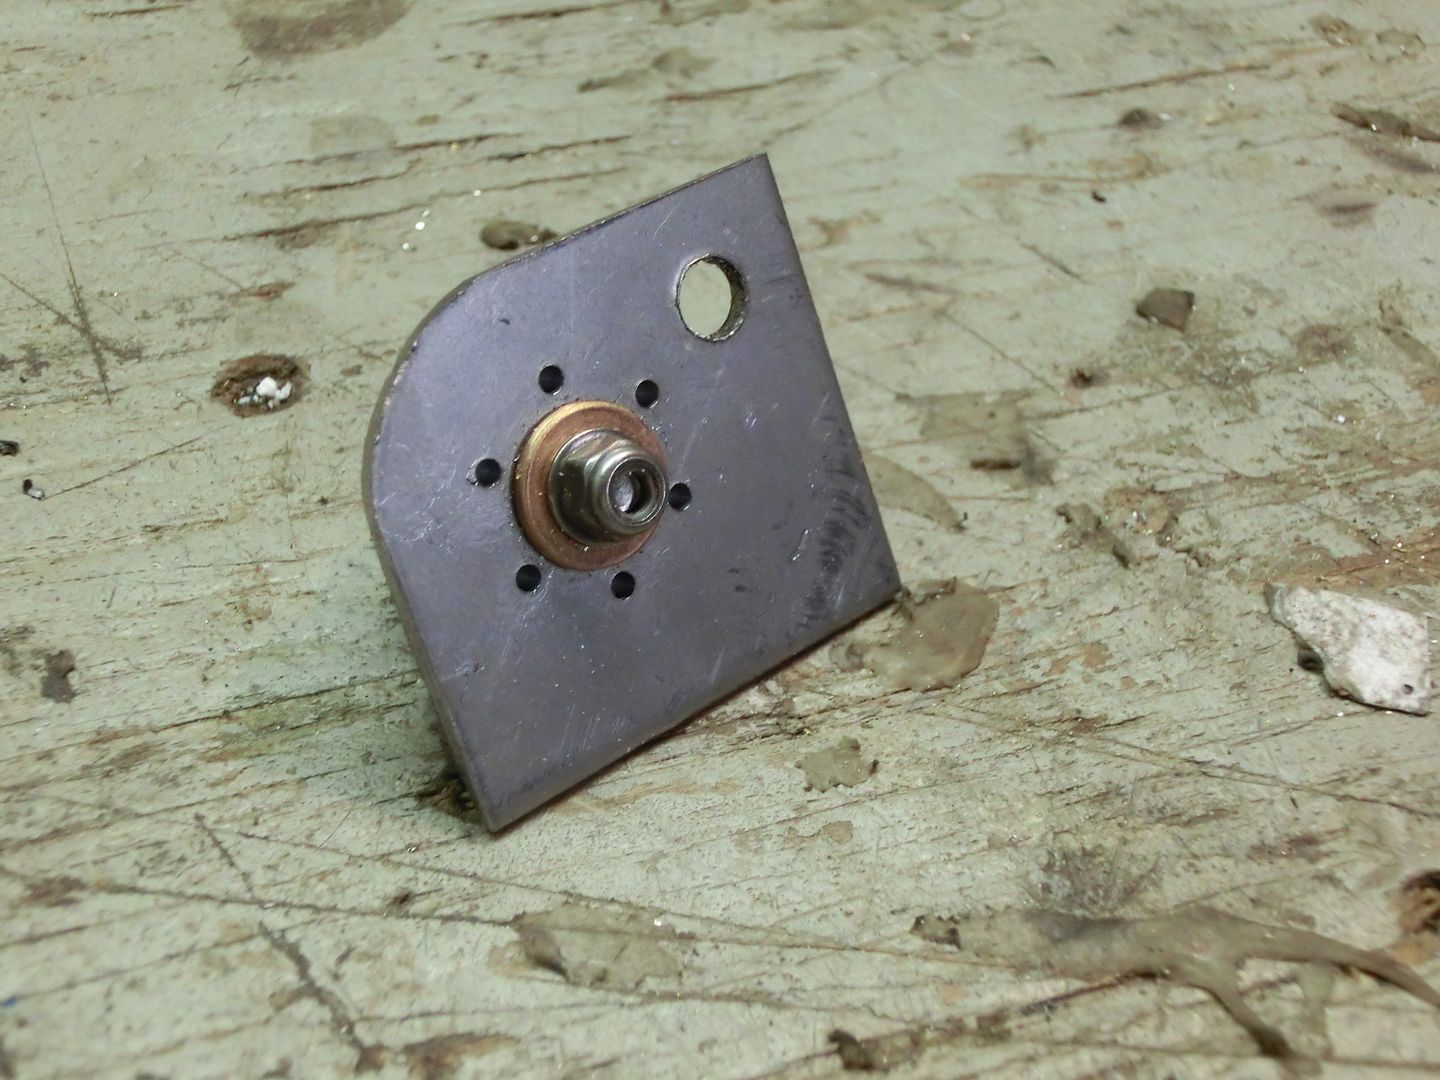 next the holes were tapped for 2MM in the gear. 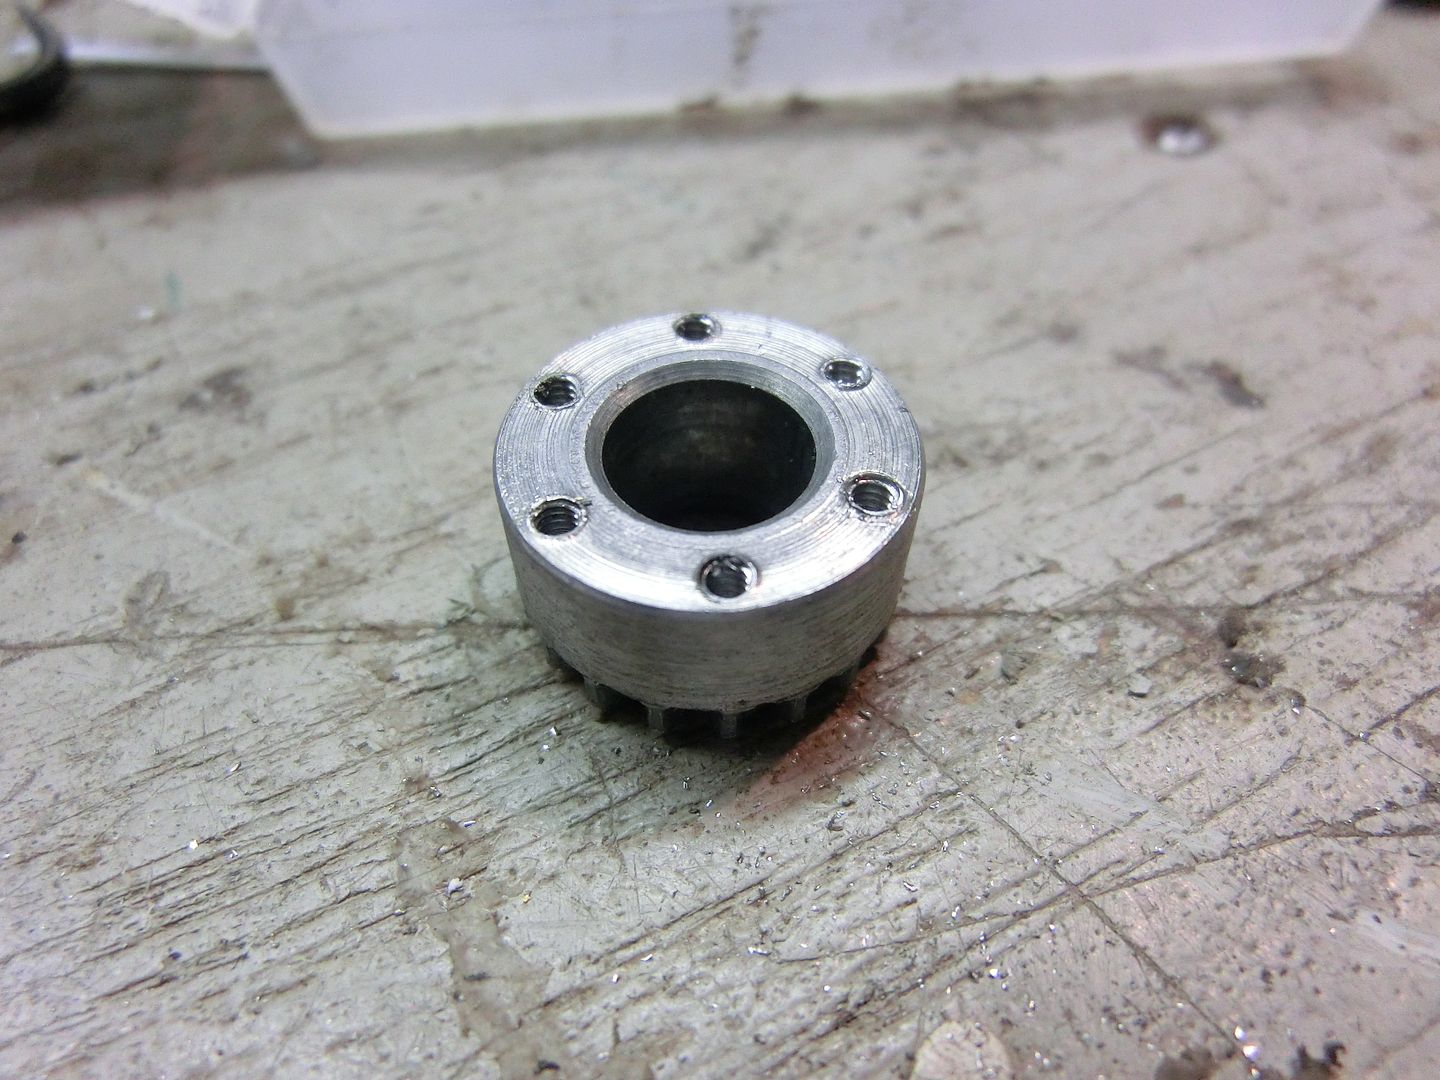 the holes in the plate were opened for clearance 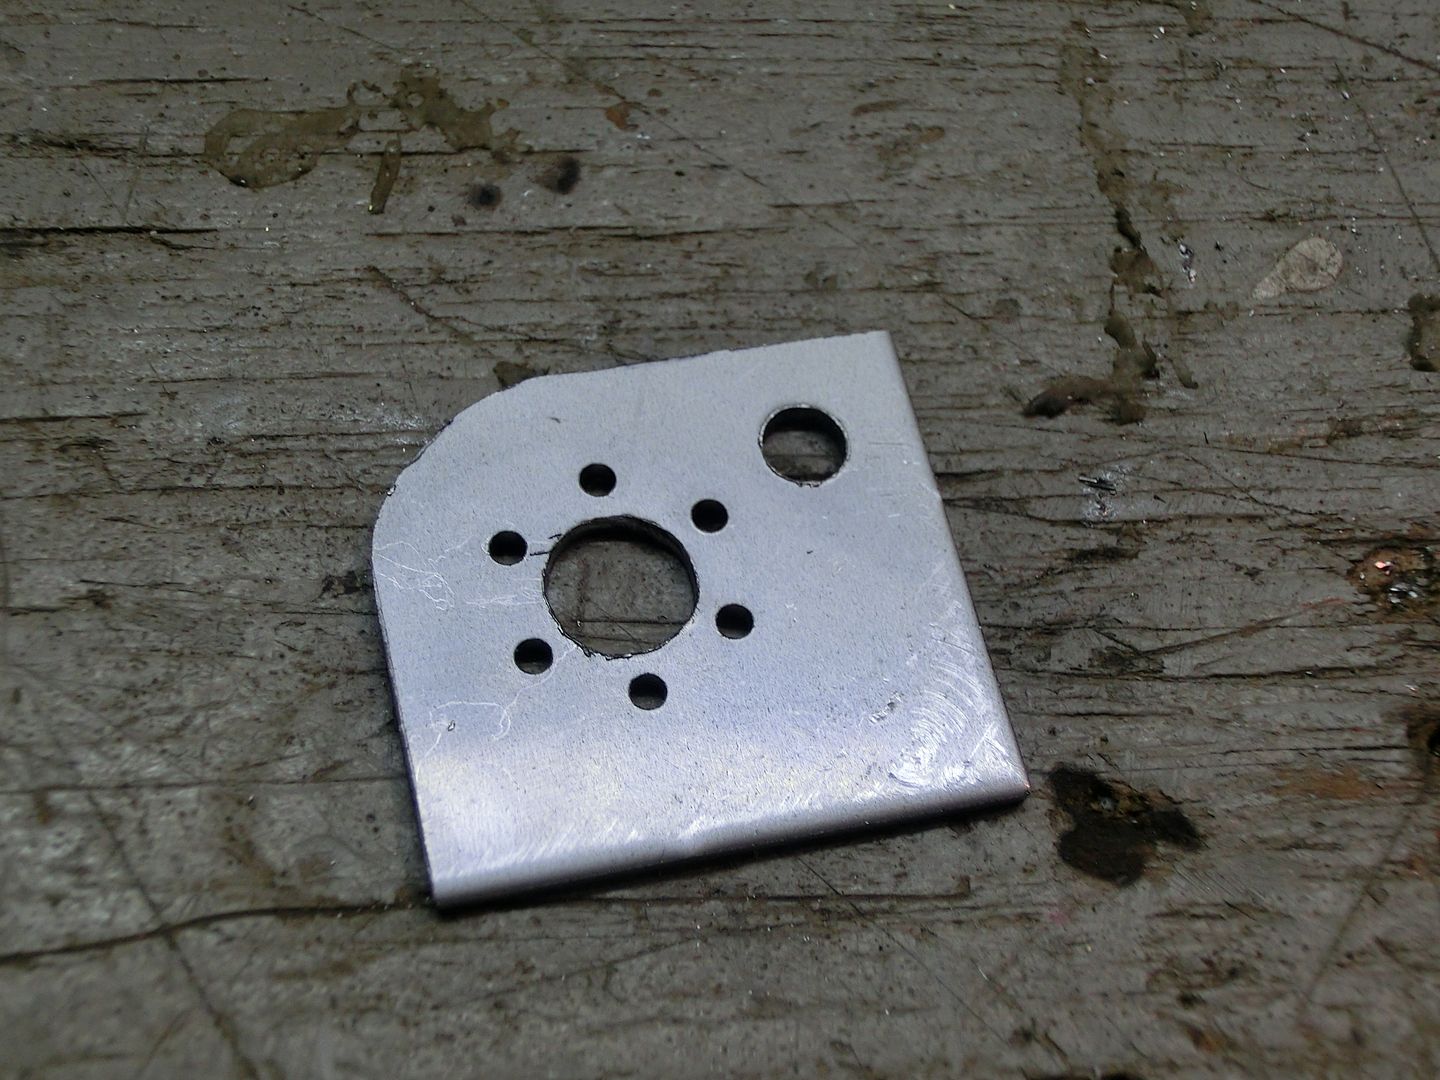 next i drove in the bushing for the slider and added the bearing 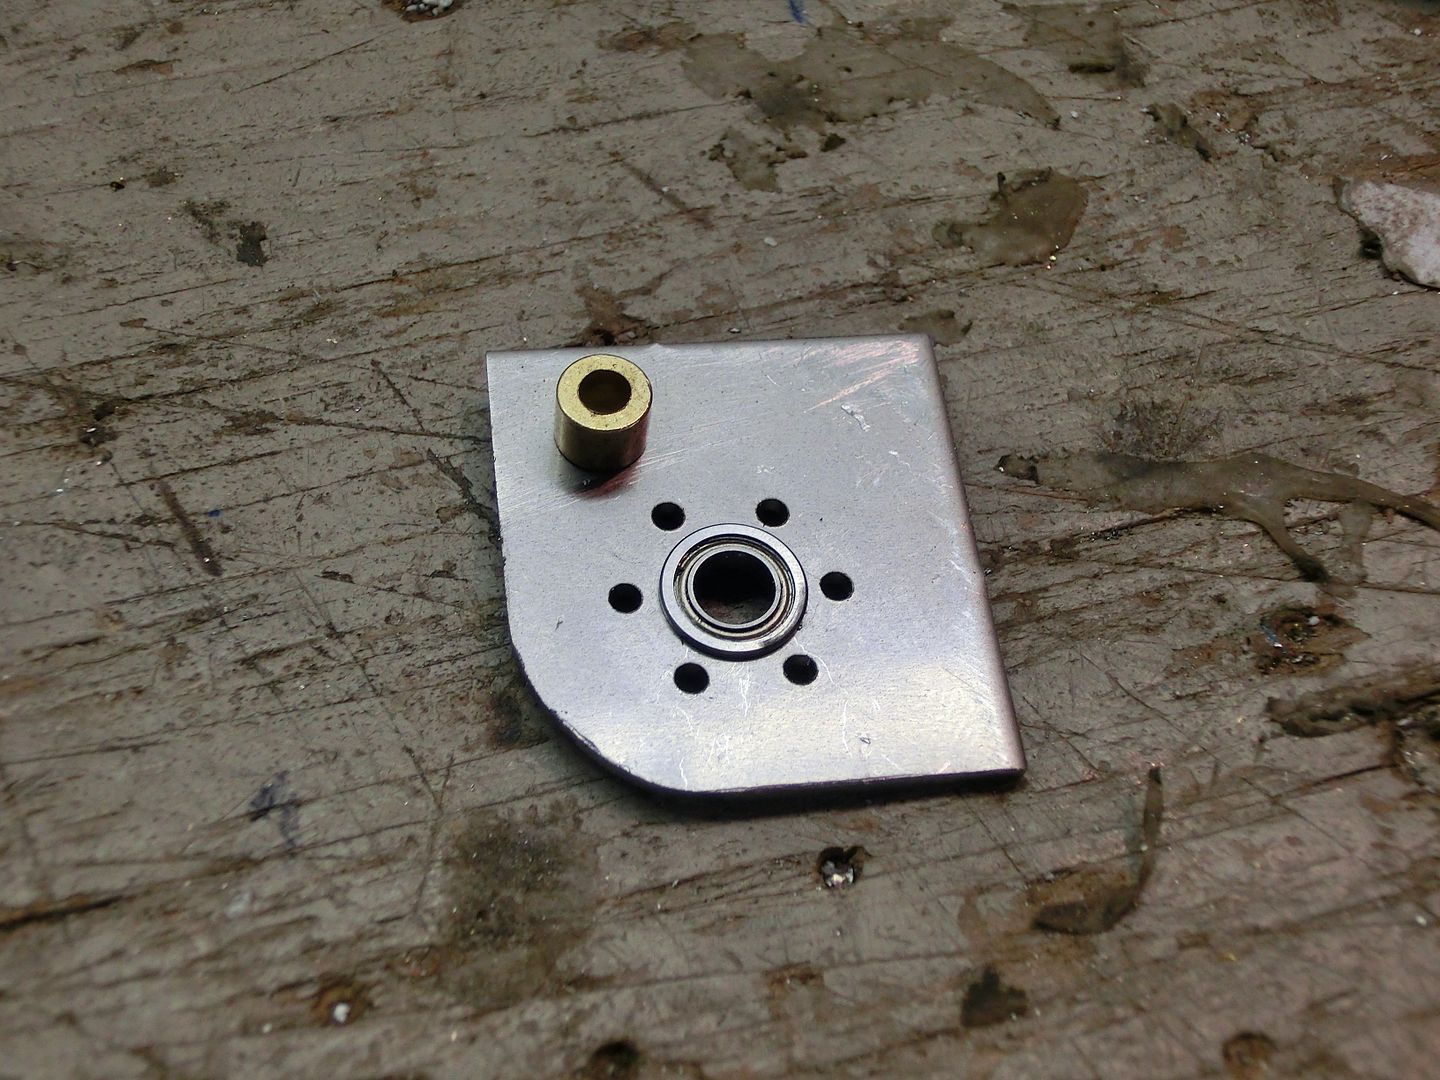 the assembly was screwed together. 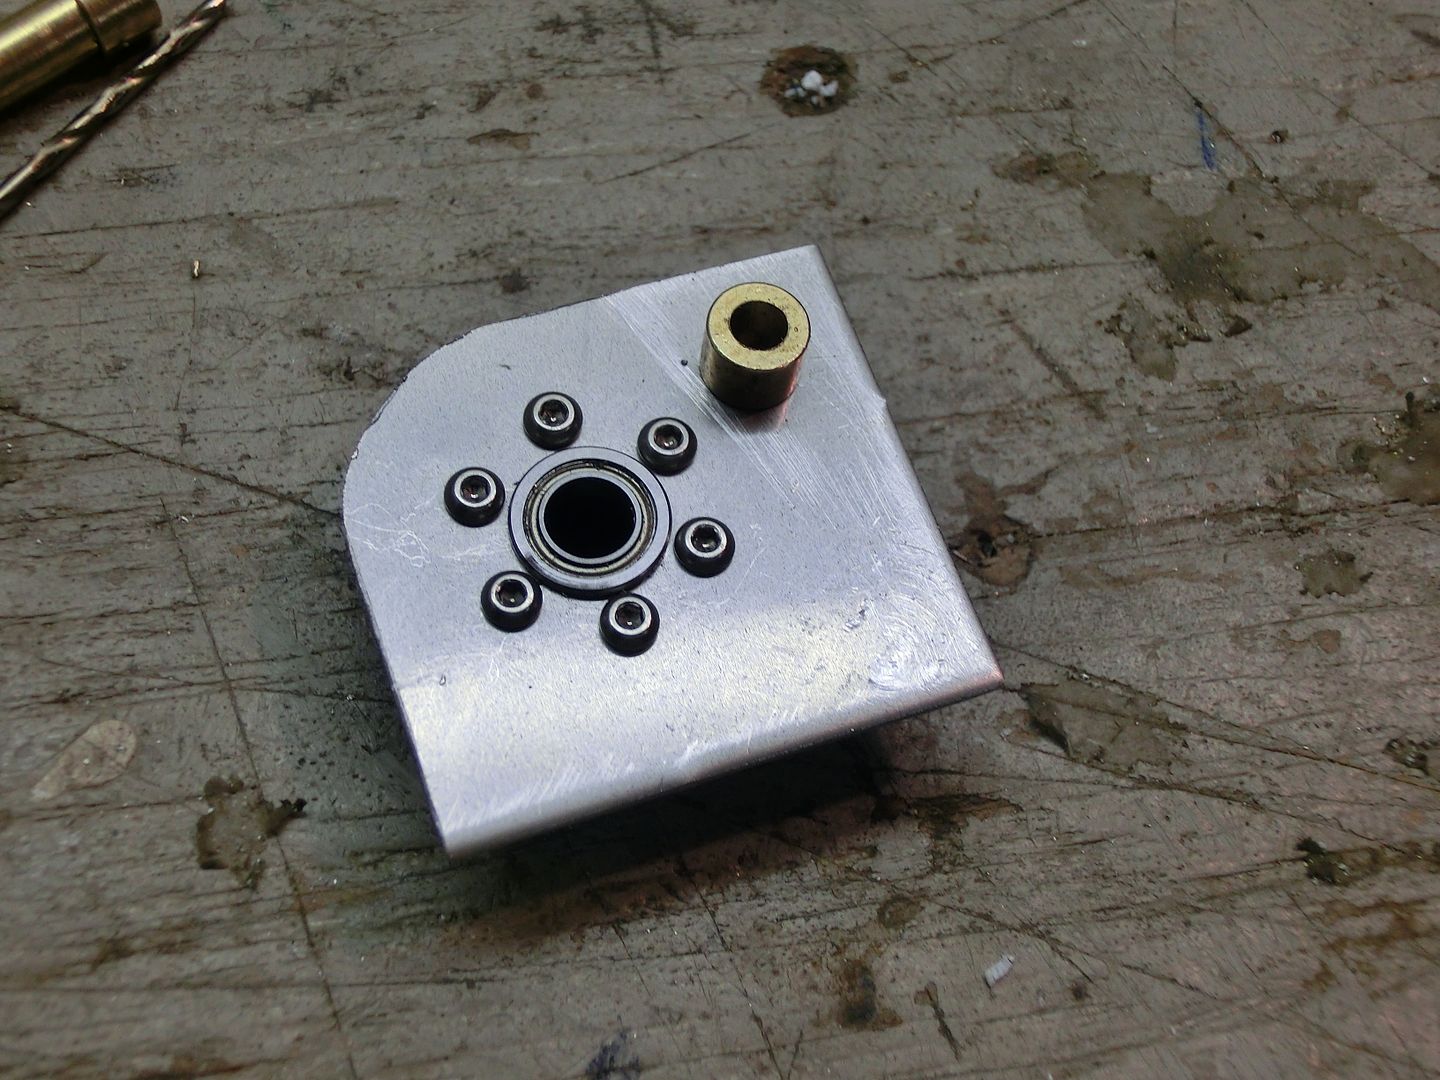 and here it is all assembled. The slider is now fixed to the shaft that in supported by 2 bushings and moved smooth as glass now. 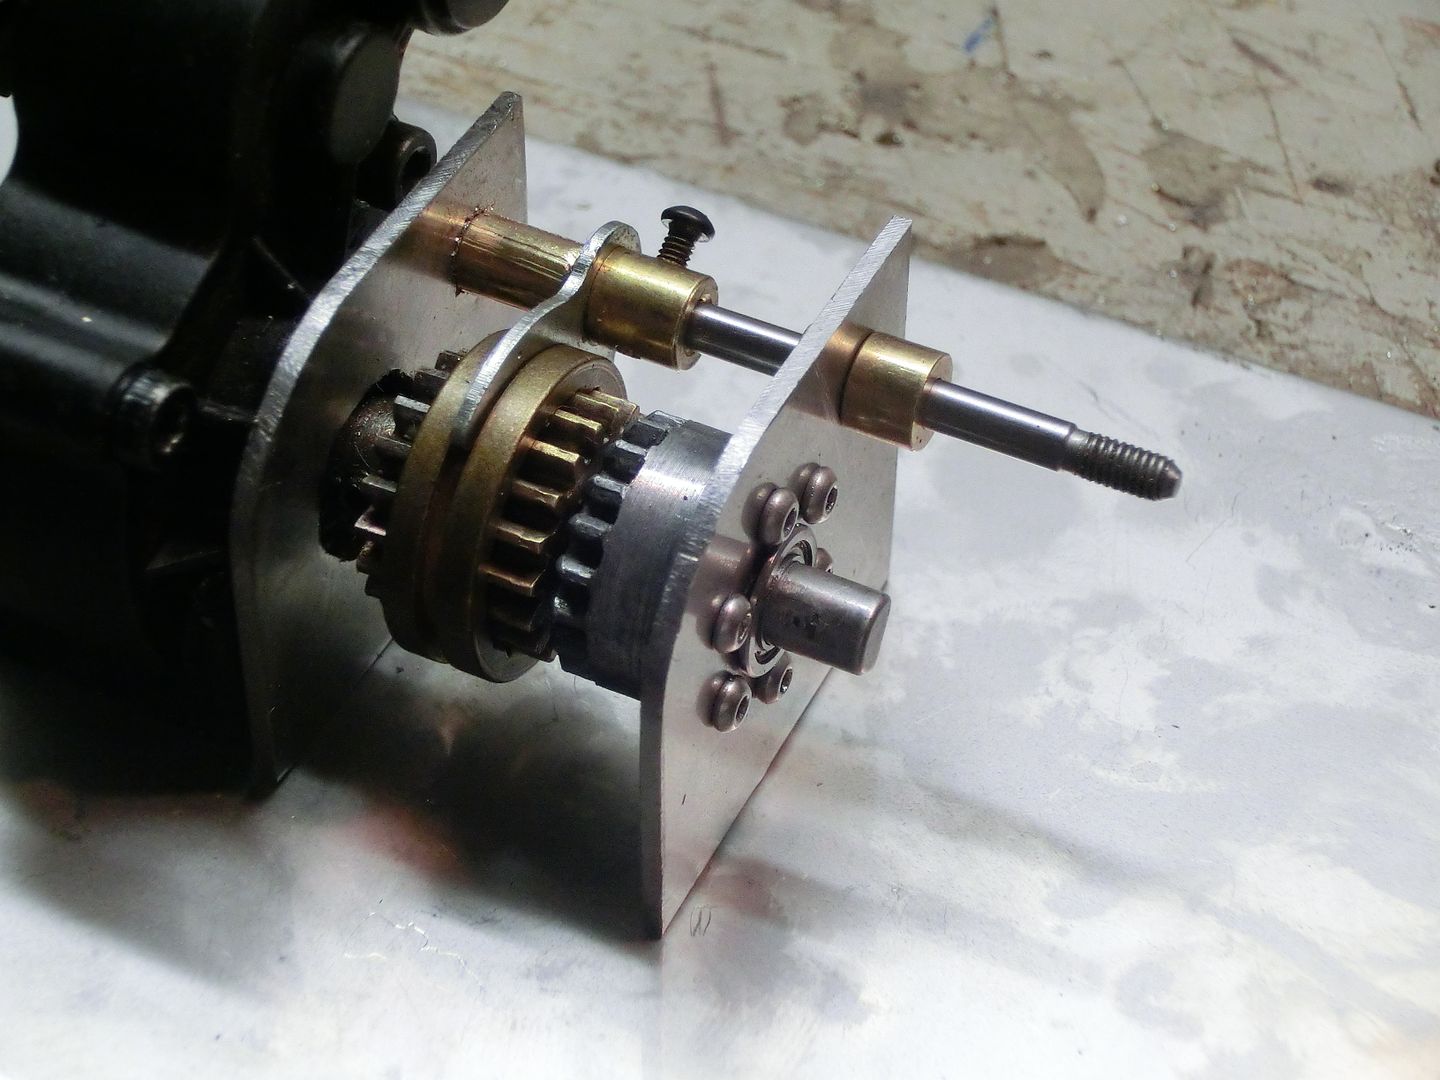 now all i need to do is attach it to the skid once i have it made. Thanks for playing along! |
| |  |
| | #12 |
| I wanna be Dave Join Date: Jan 2004 Location: Austin Texas
Posts: 3,866
|
Wow!!! Absolutely killer
|
| |  |
| | #13 |
| RCC Addict  Join Date: Aug 2005 Location: New Oxford PA
Posts: 1,290
|
Thanks! It was time to move on to the chassis First formed a bumper to match the grill then trimmed the frame and tacked it in place 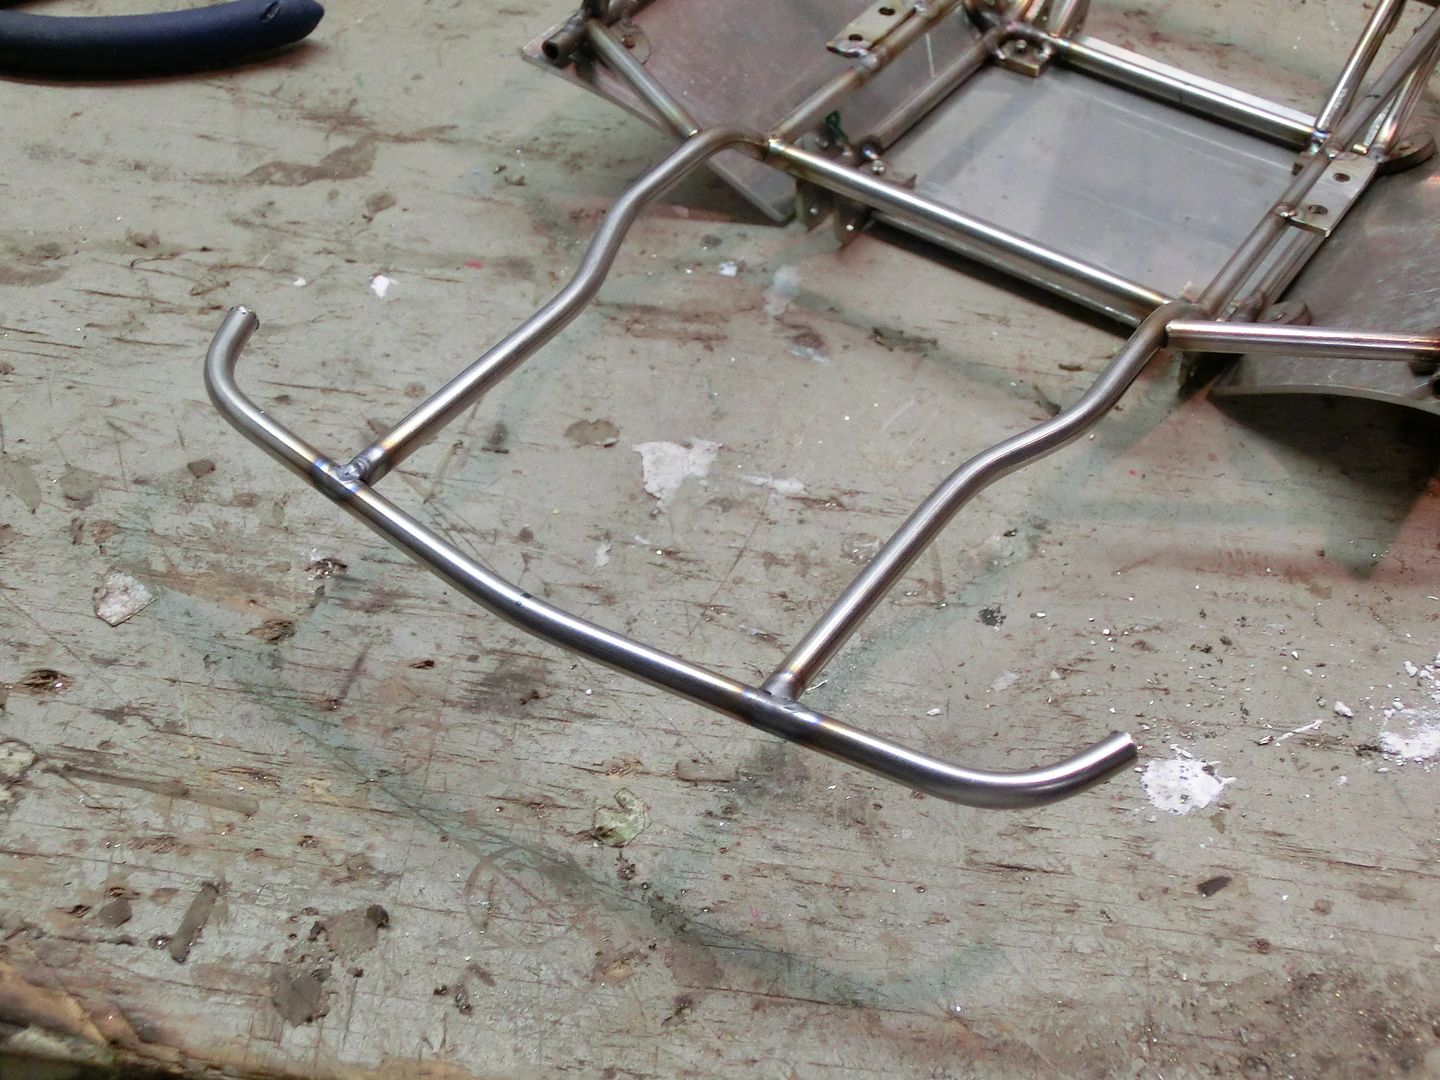 A quick test fit and everything looks good 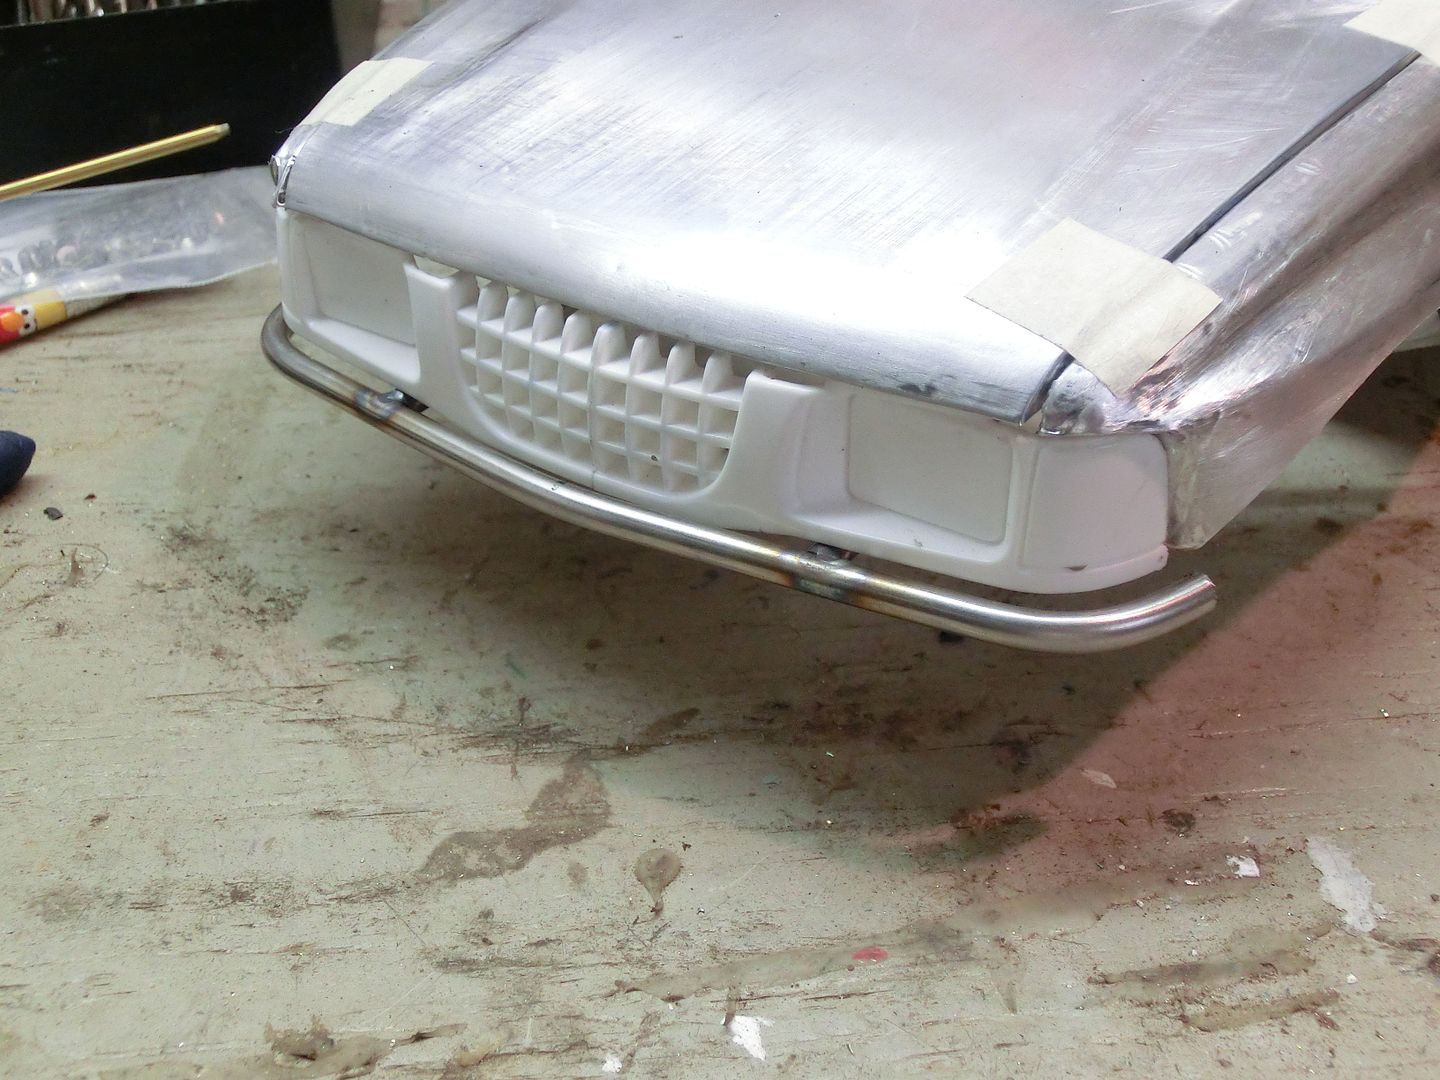 Then I made a hoop for the rear to support the body 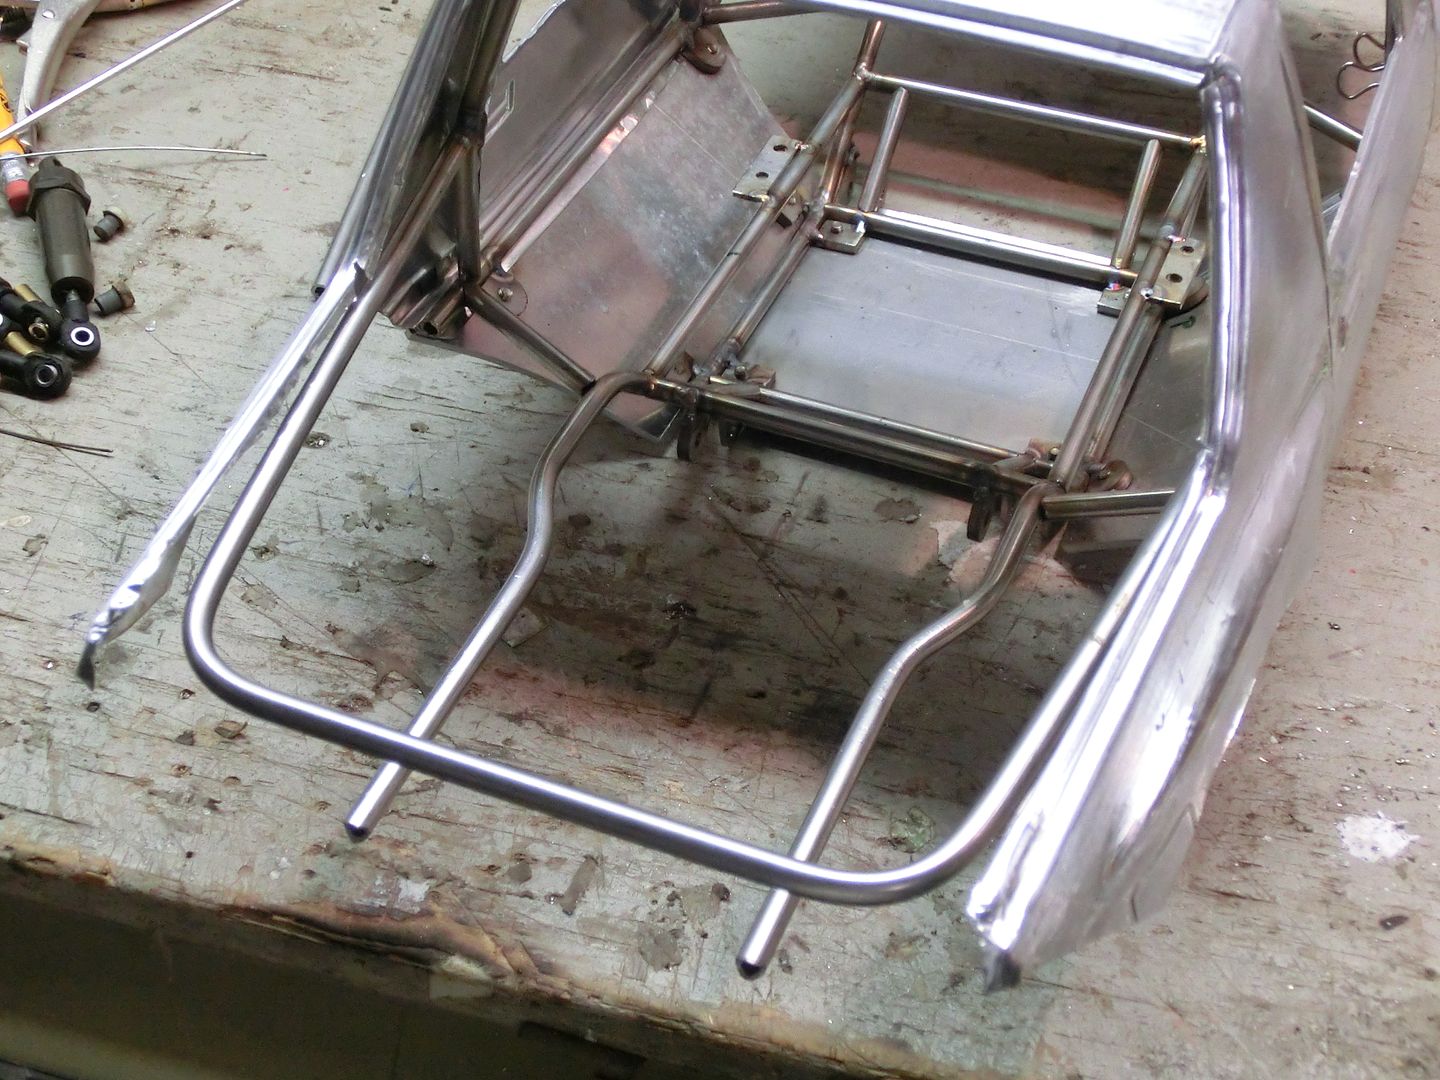 Then a hoop to mimic the tail pan 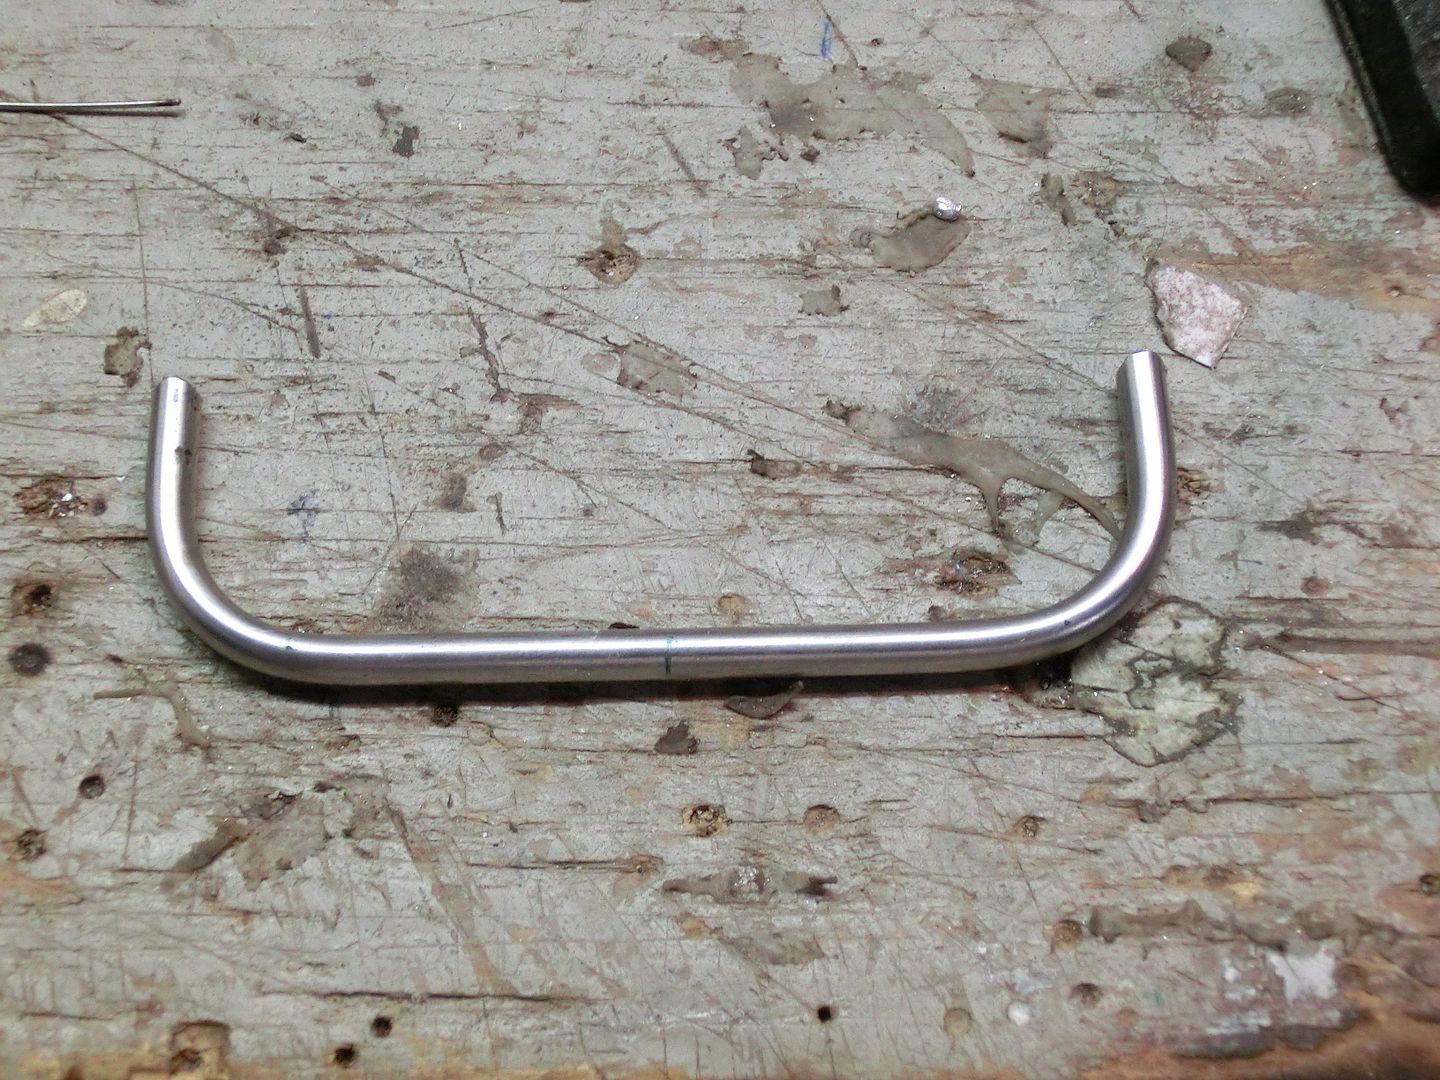 fits good 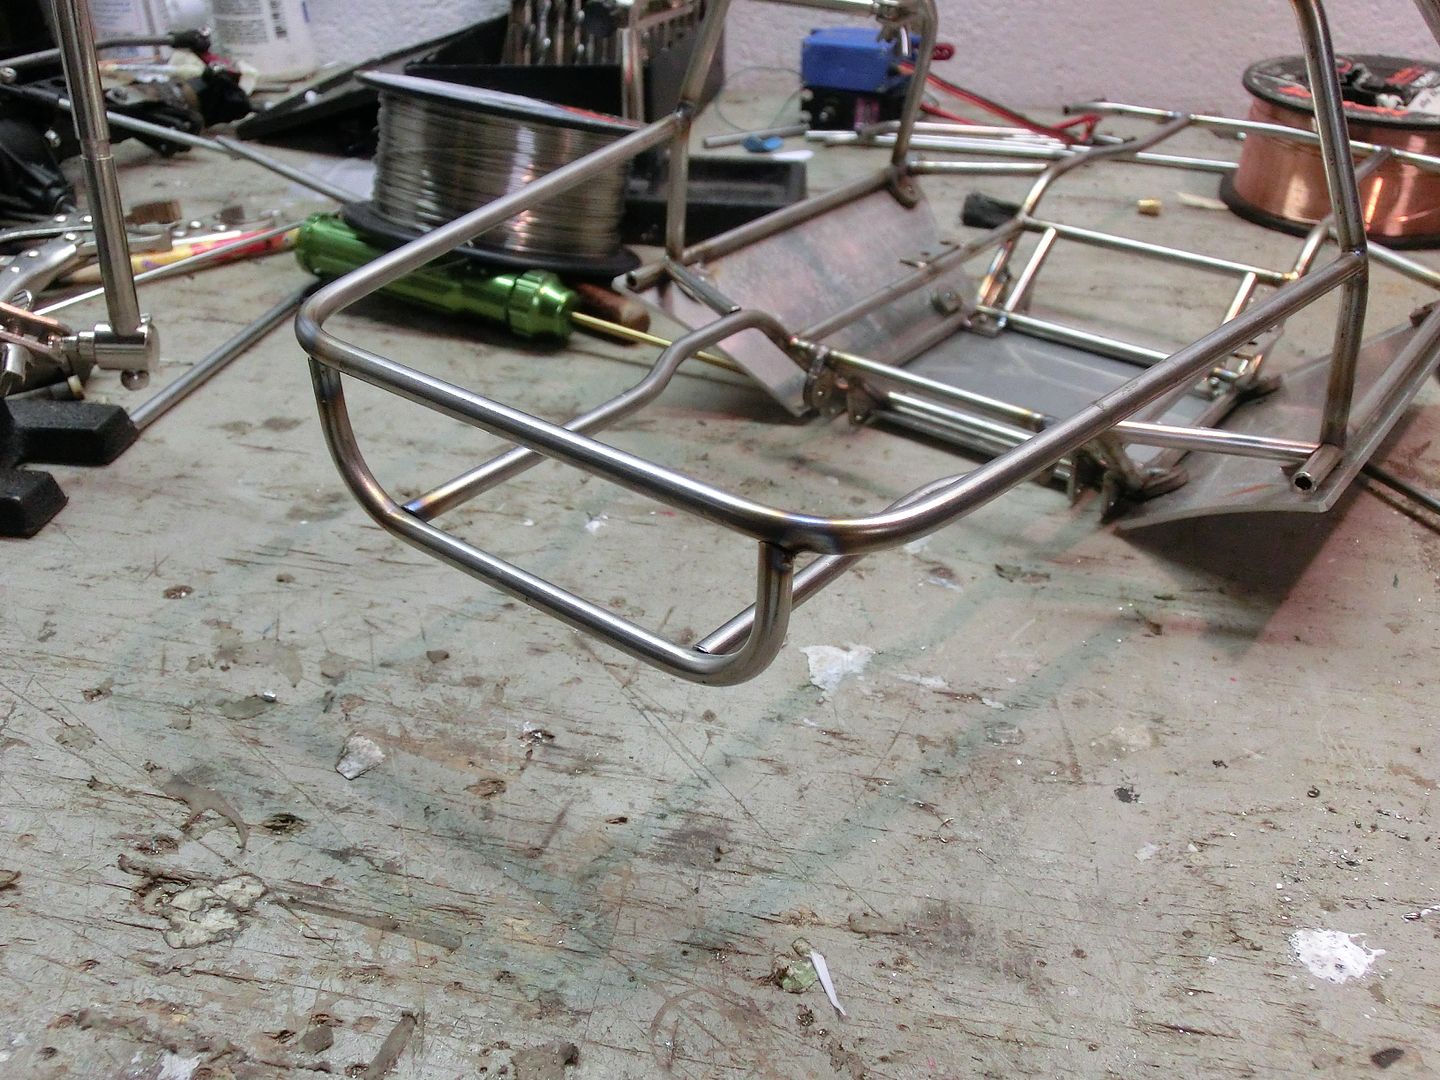 then came the hoop for the front fenders 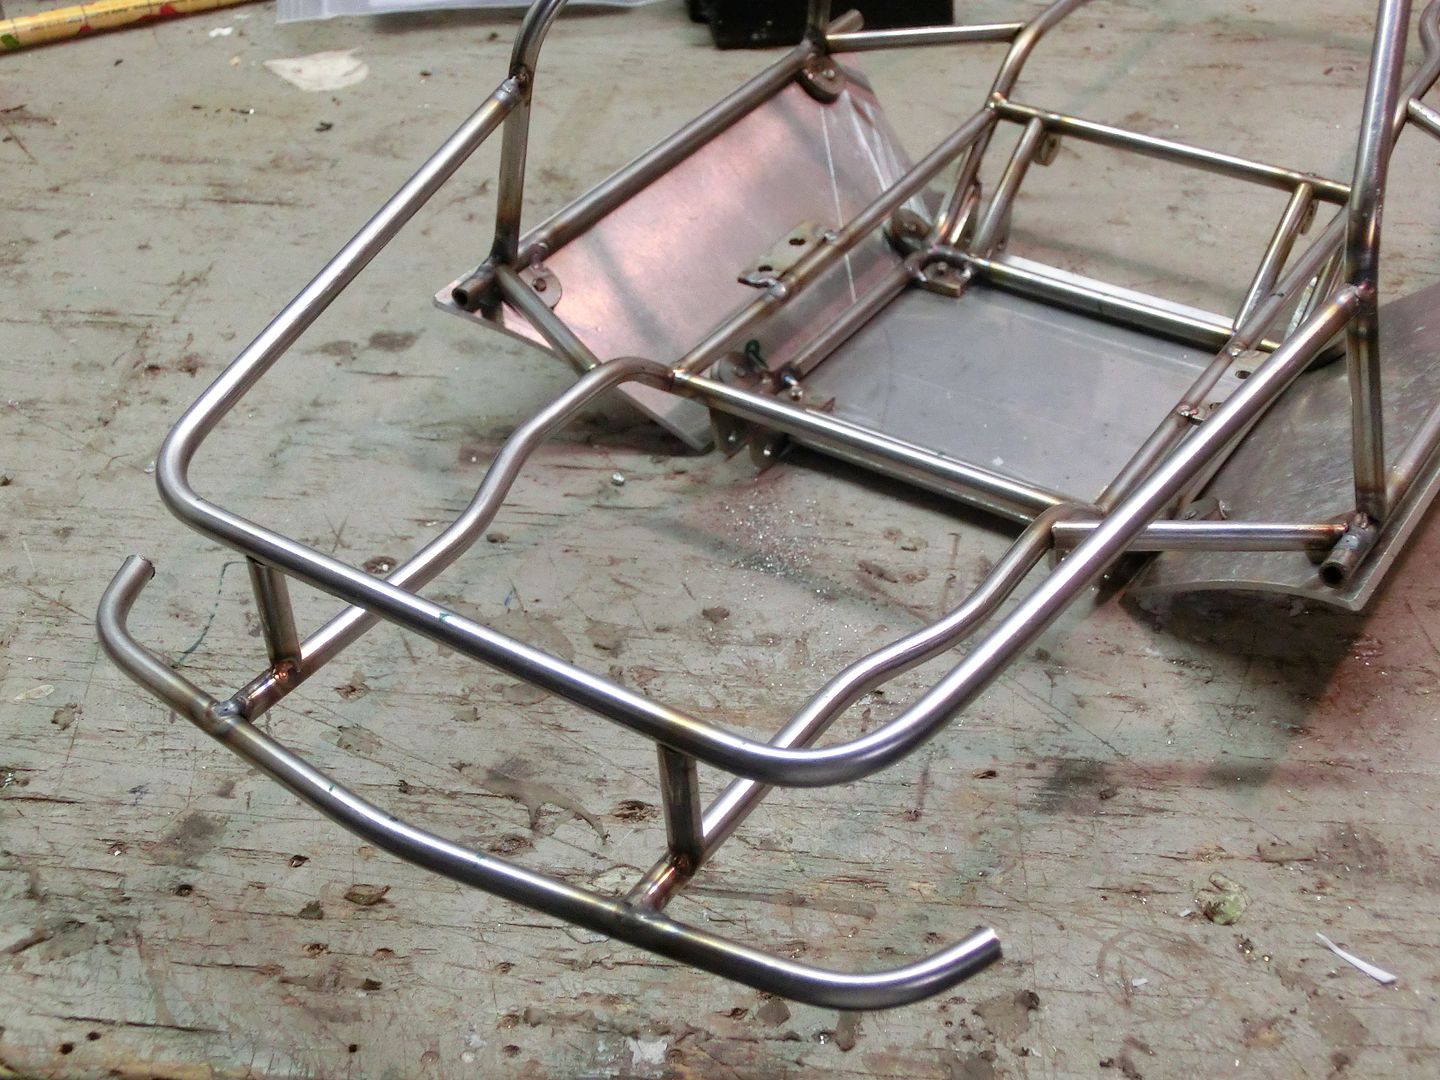 more test fitting 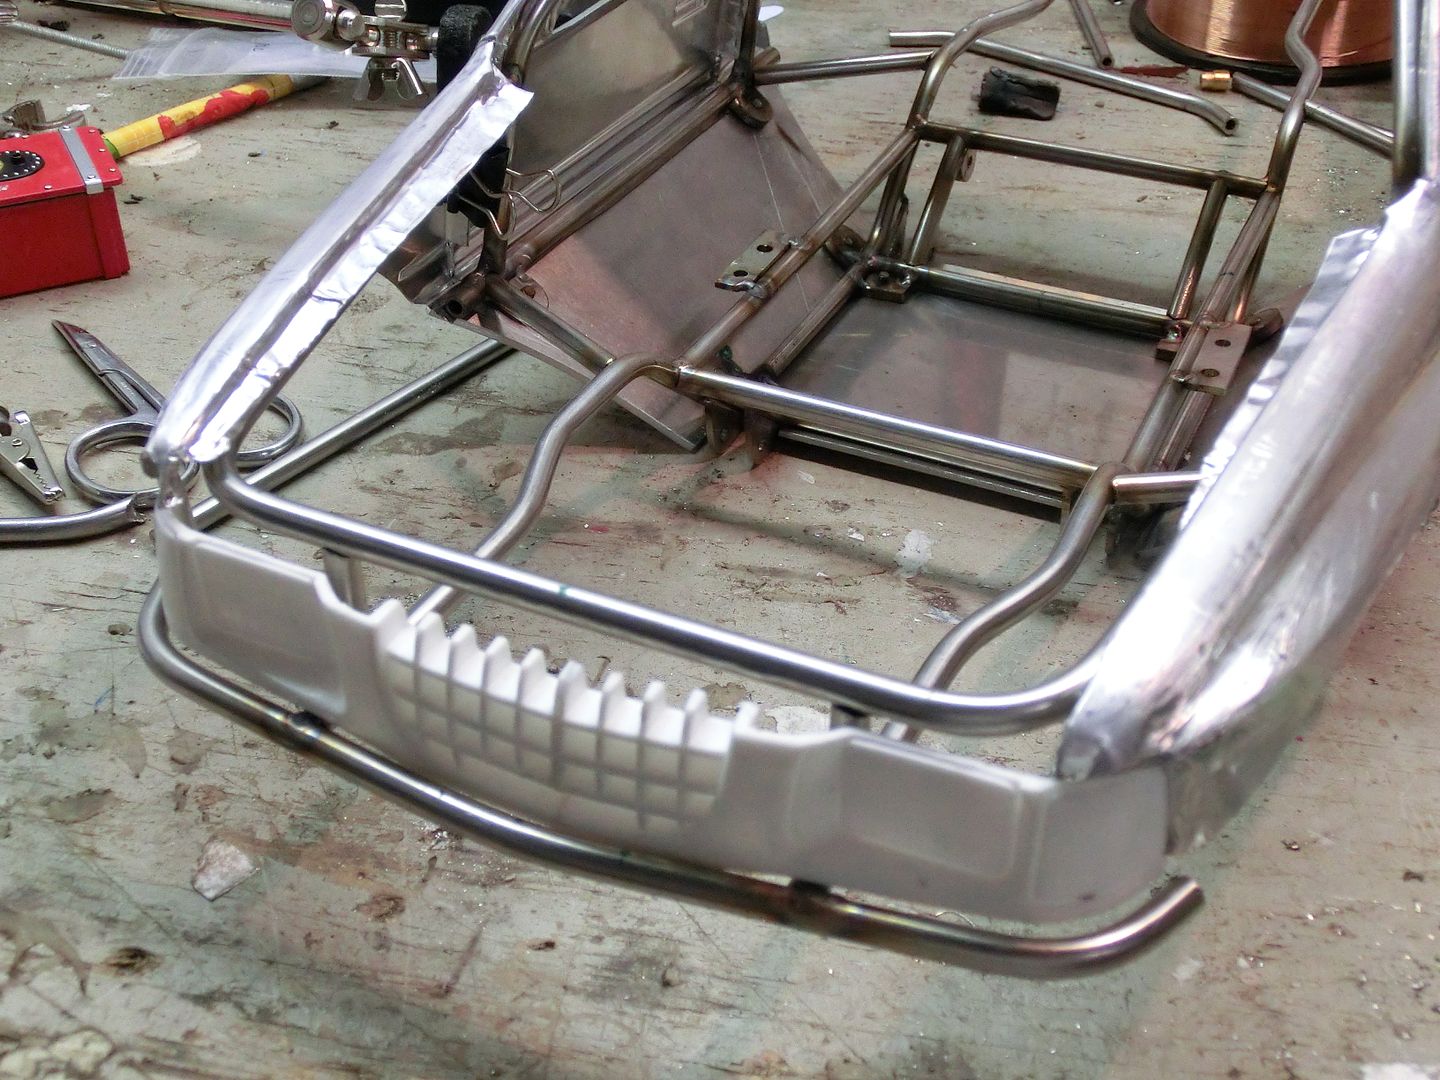 now I was ready for the steering. I didn't have room the put the servo behind the grill because what it where I plan on putting the GCM winch so I used the parts that I had mocked up on the axle with my class 3 Toyota build and added bell crank steering to the chassis. first I needed a mount for the bell crank 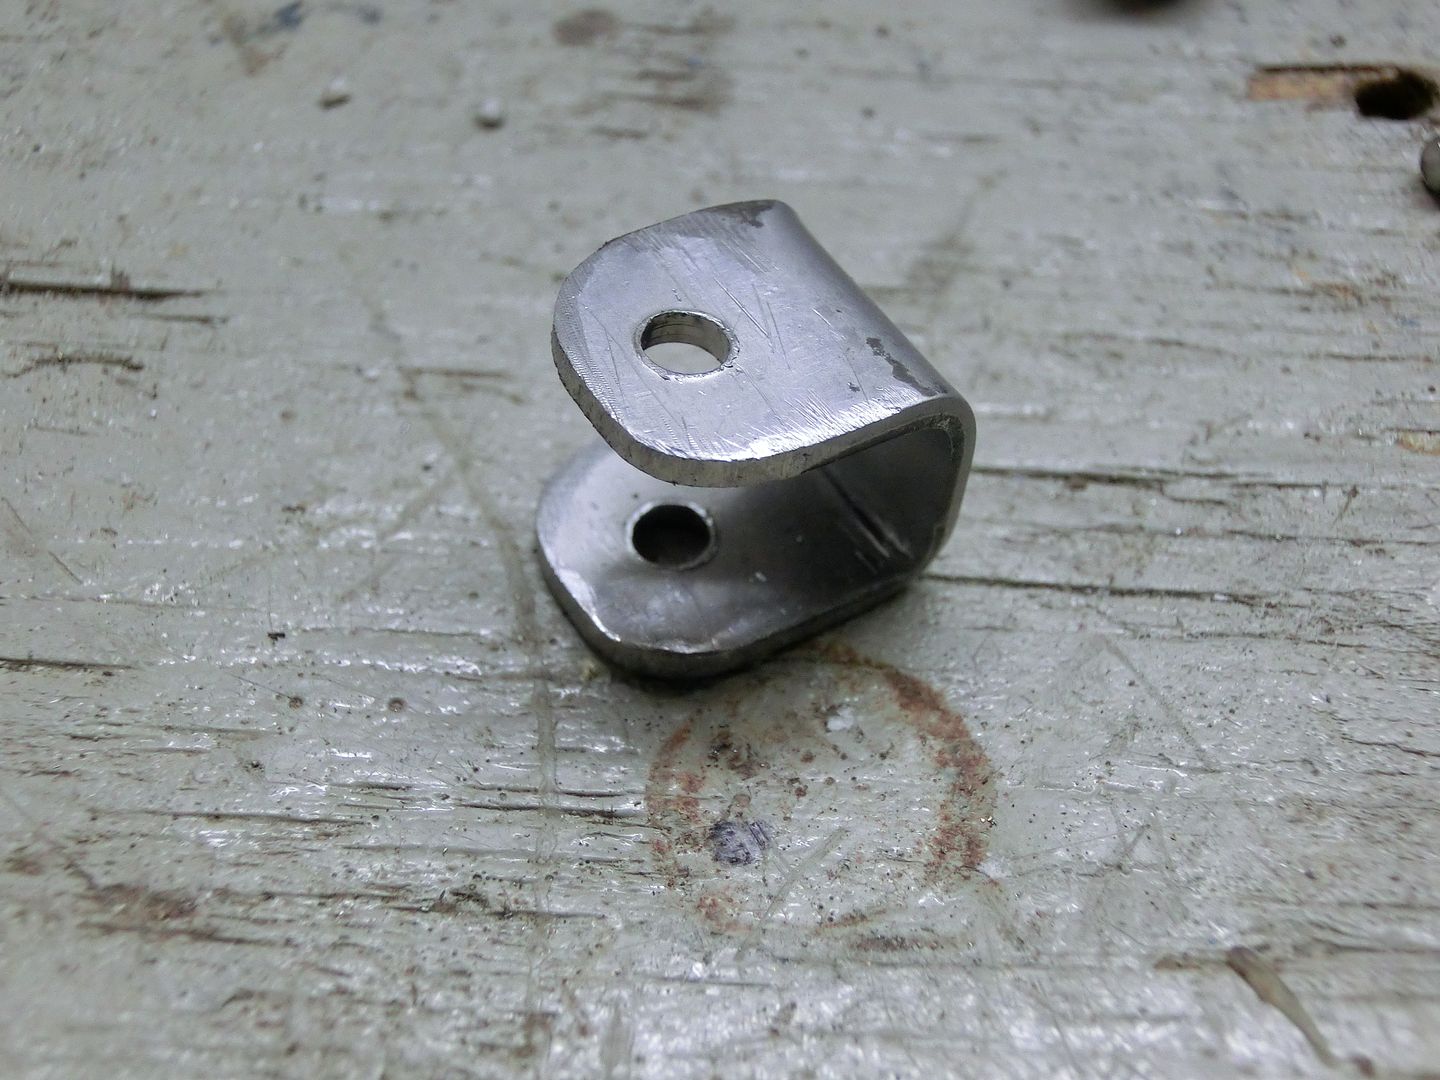 Then slid the bell crank in place 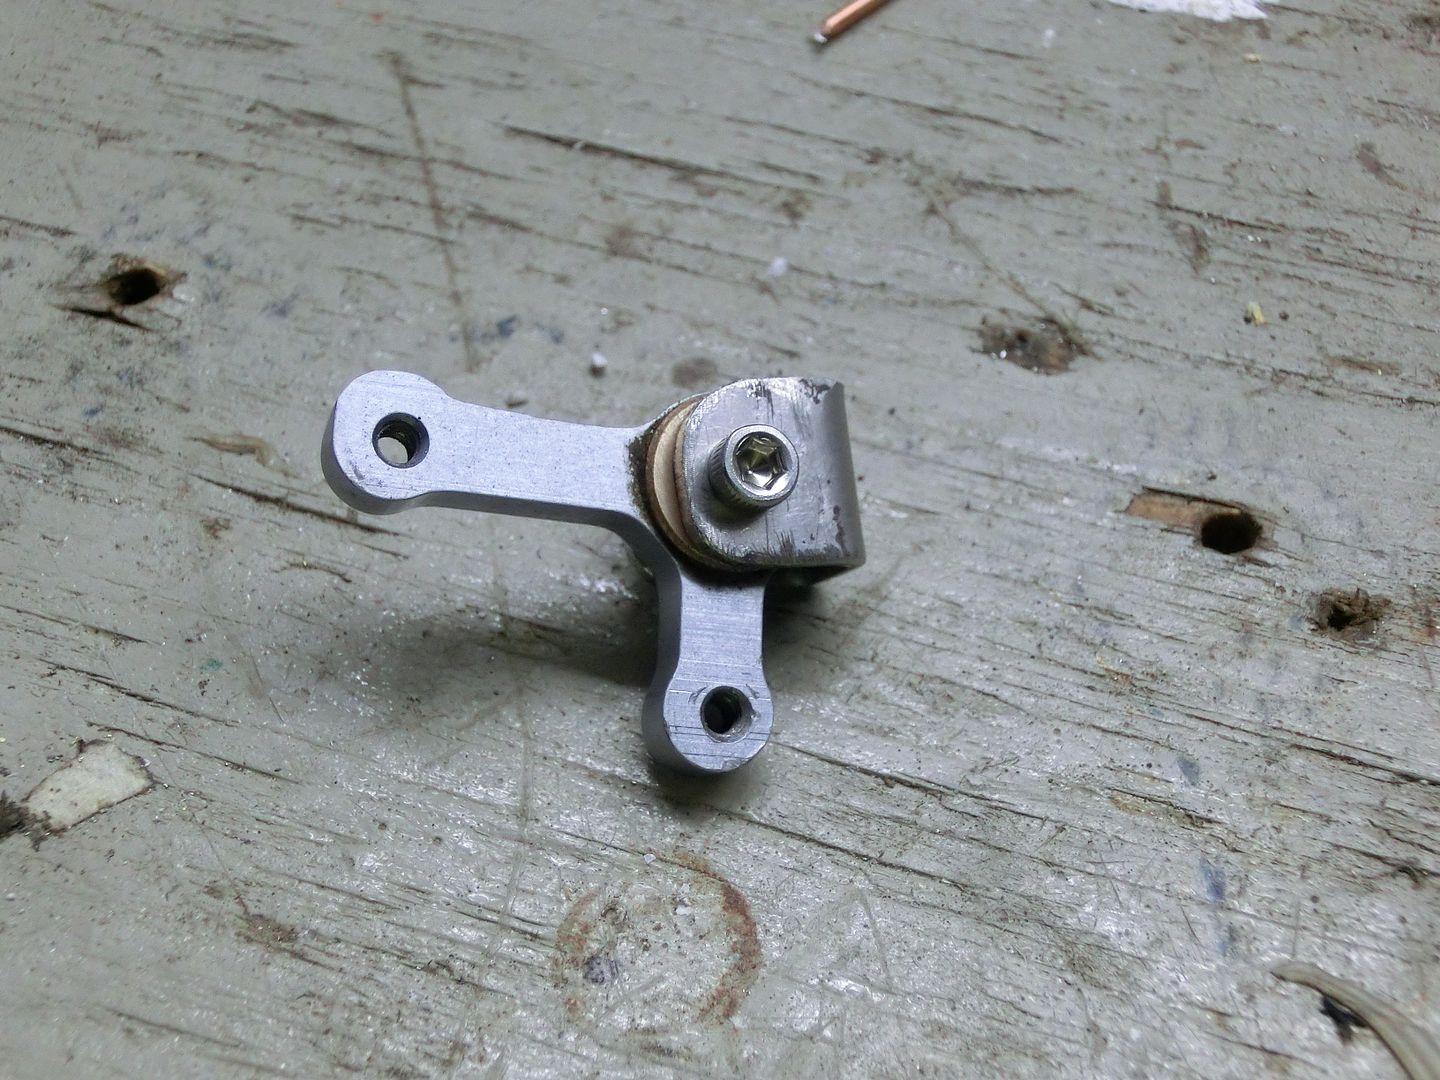 next the whole assembly was tacked to the chassis. 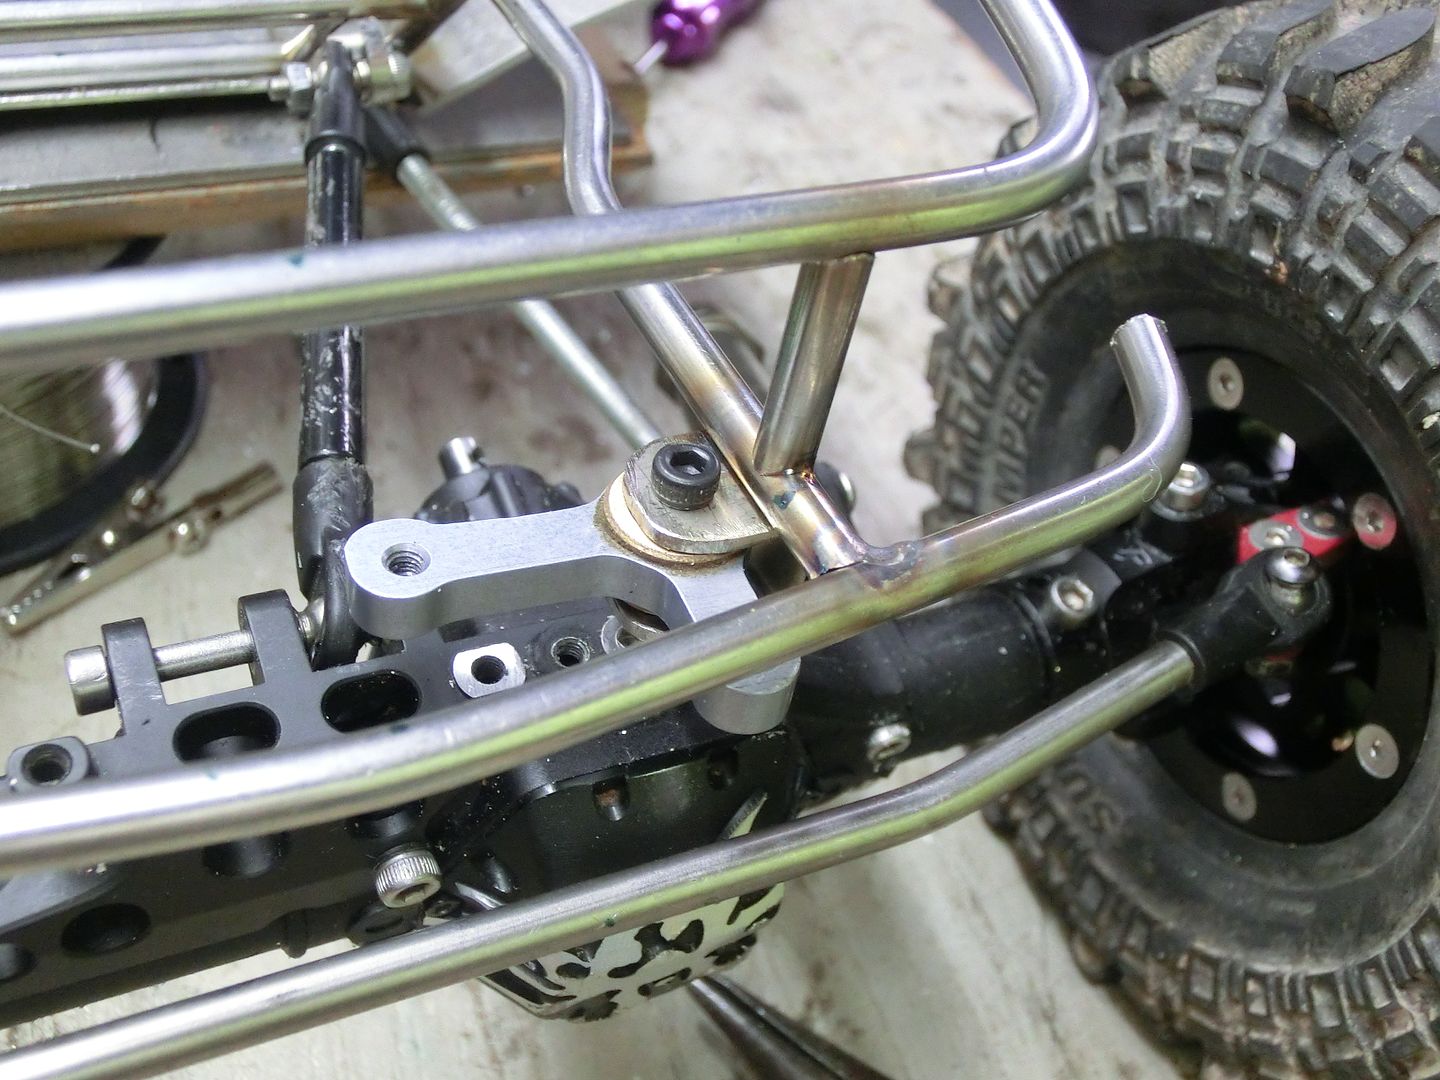 tie rod in place and fits good 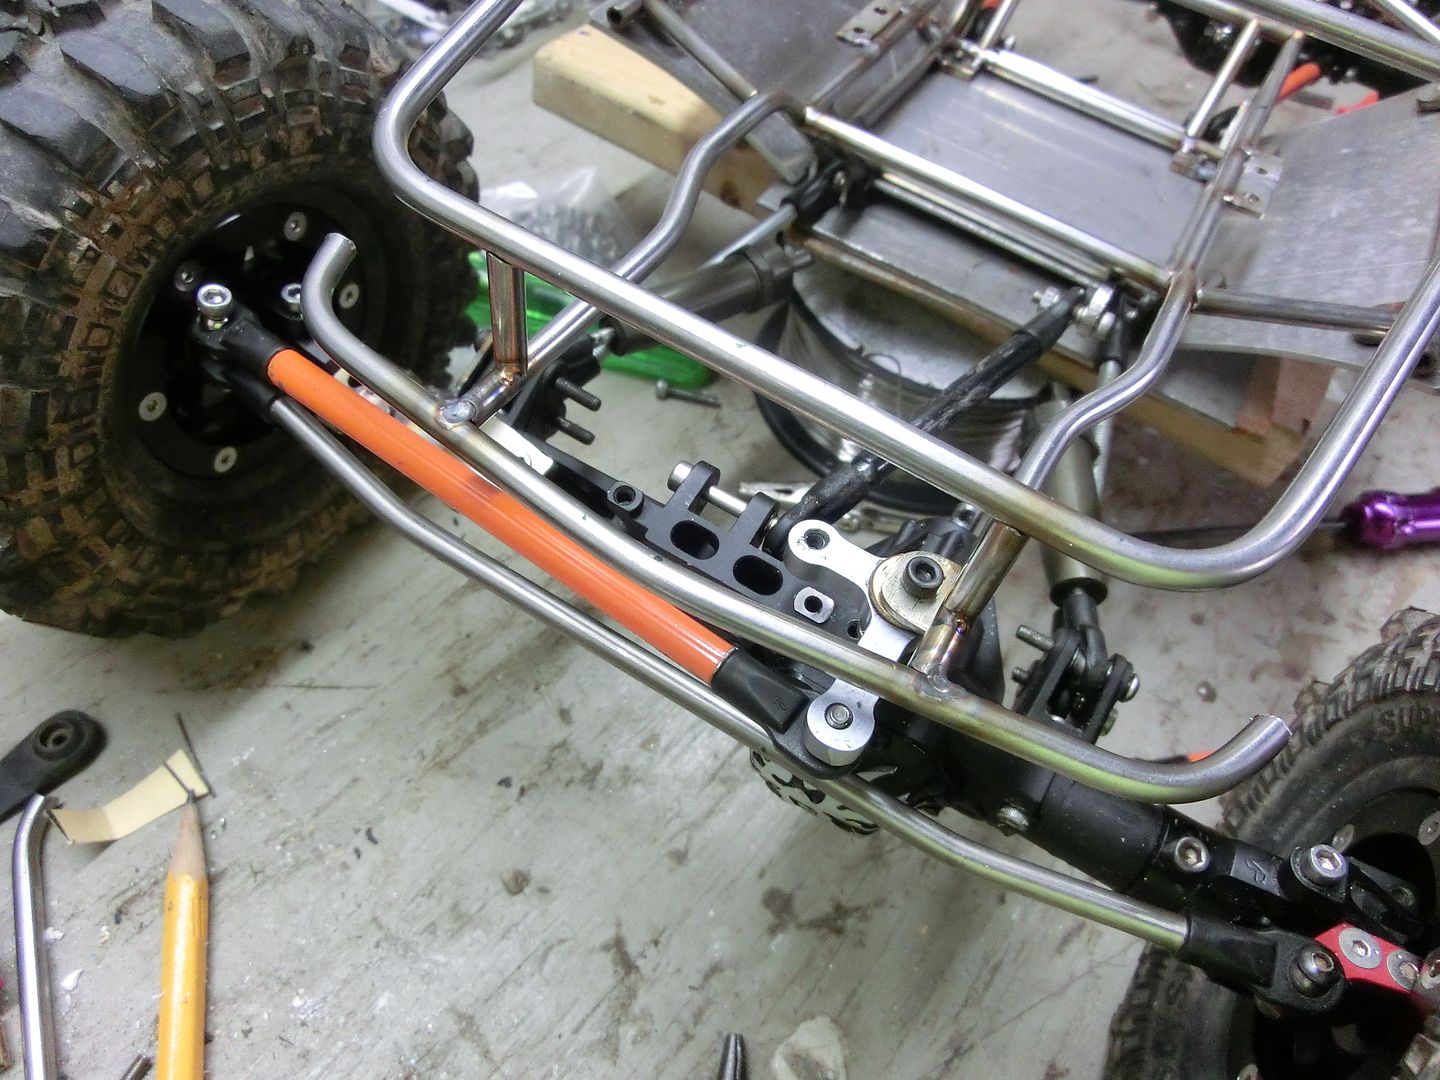 next I added a reinforcement bar 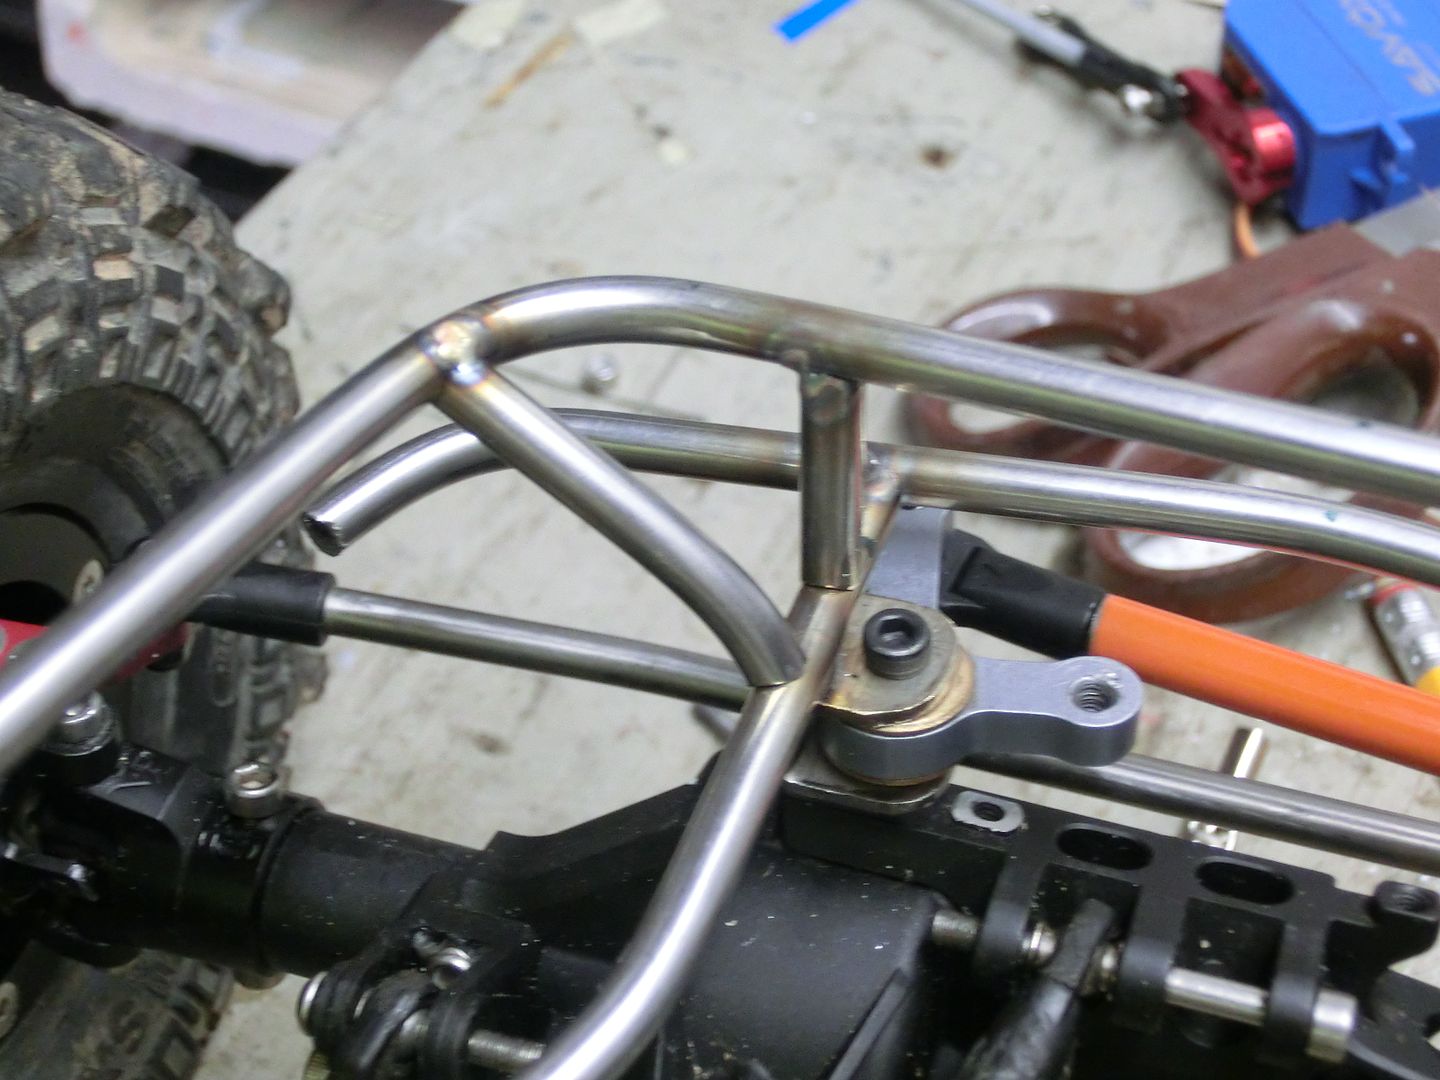 This gives me a place to add the track bar mount but first I needed a template 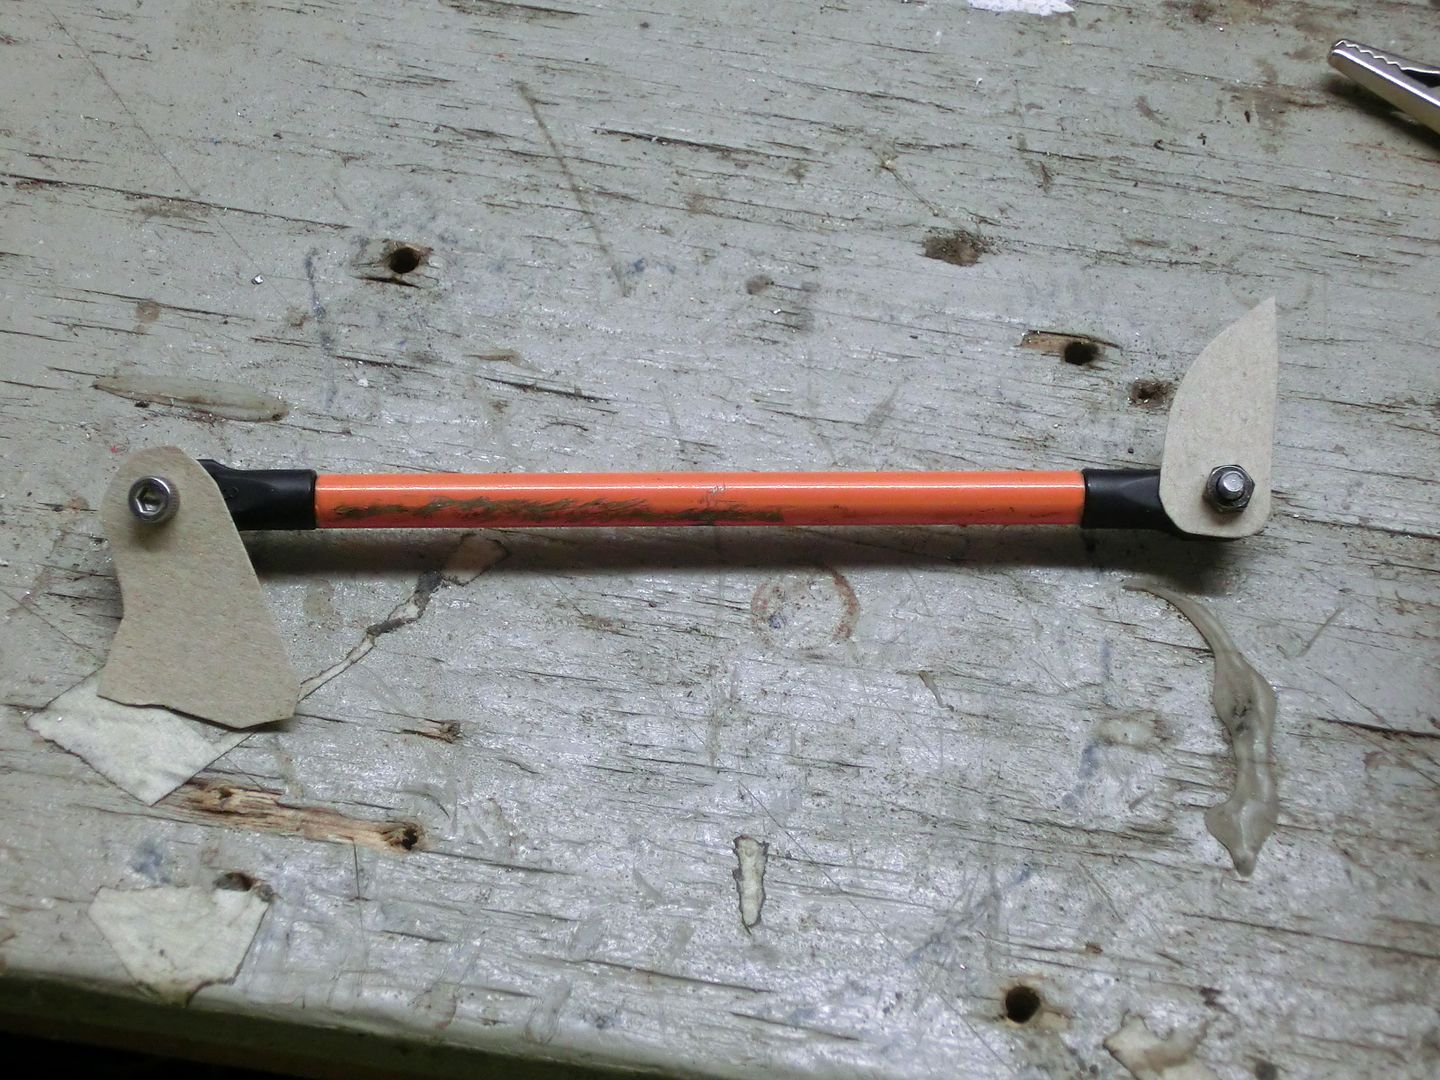 then cut them out of 12 Gauge stainless. 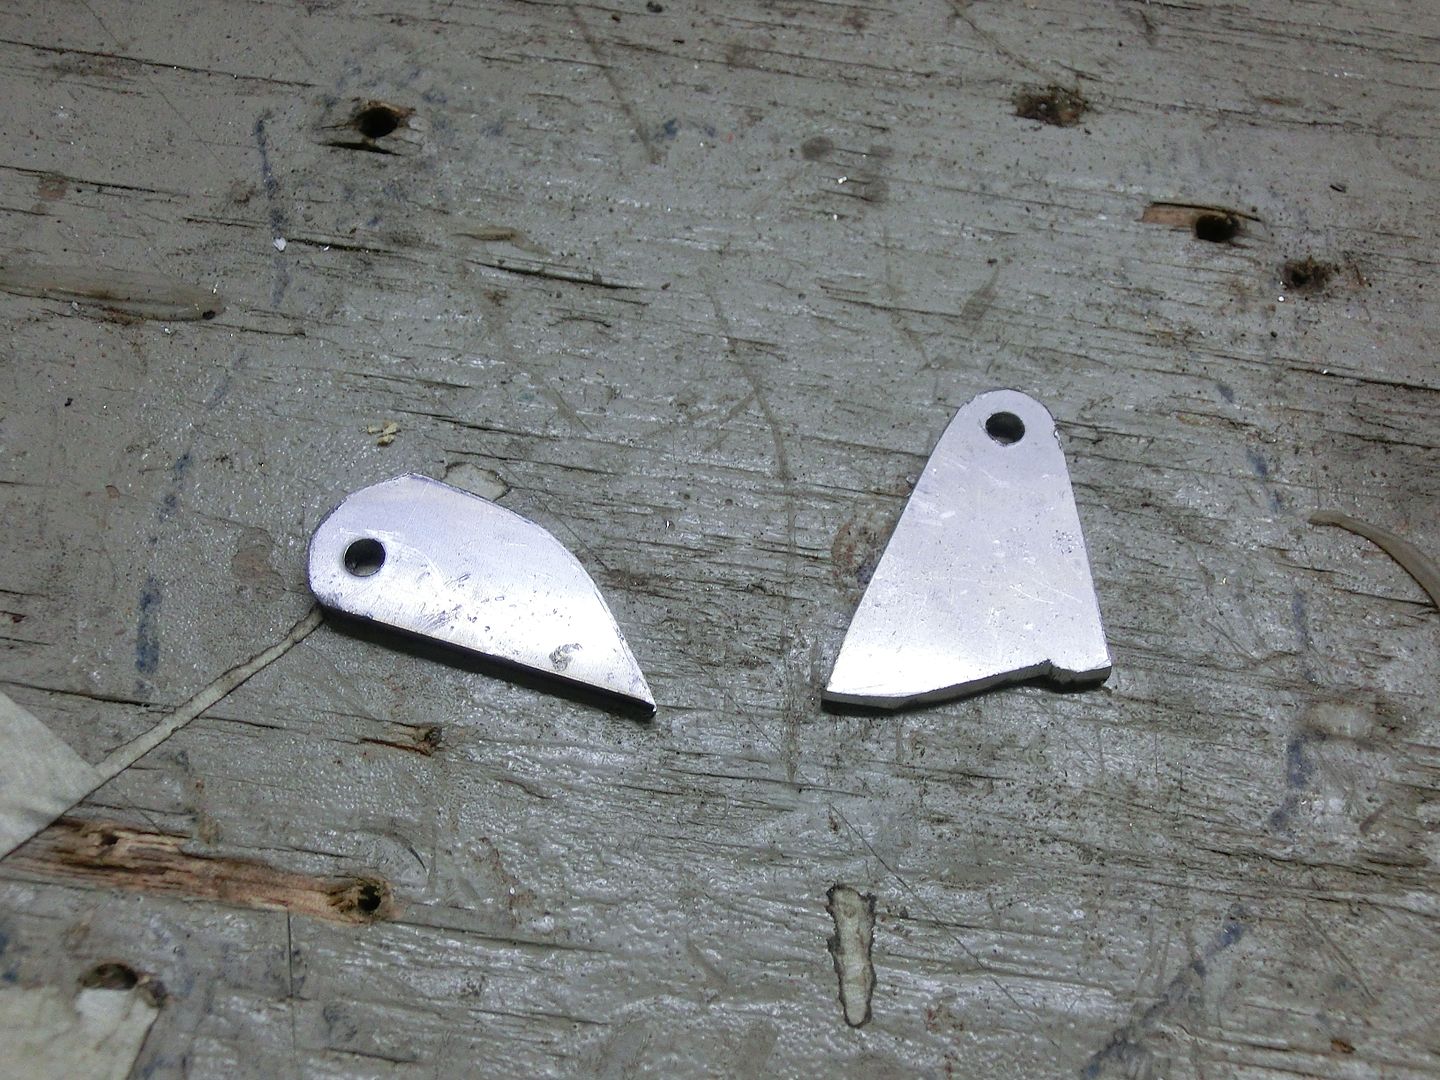 one gets added to the axle mount I made earlier 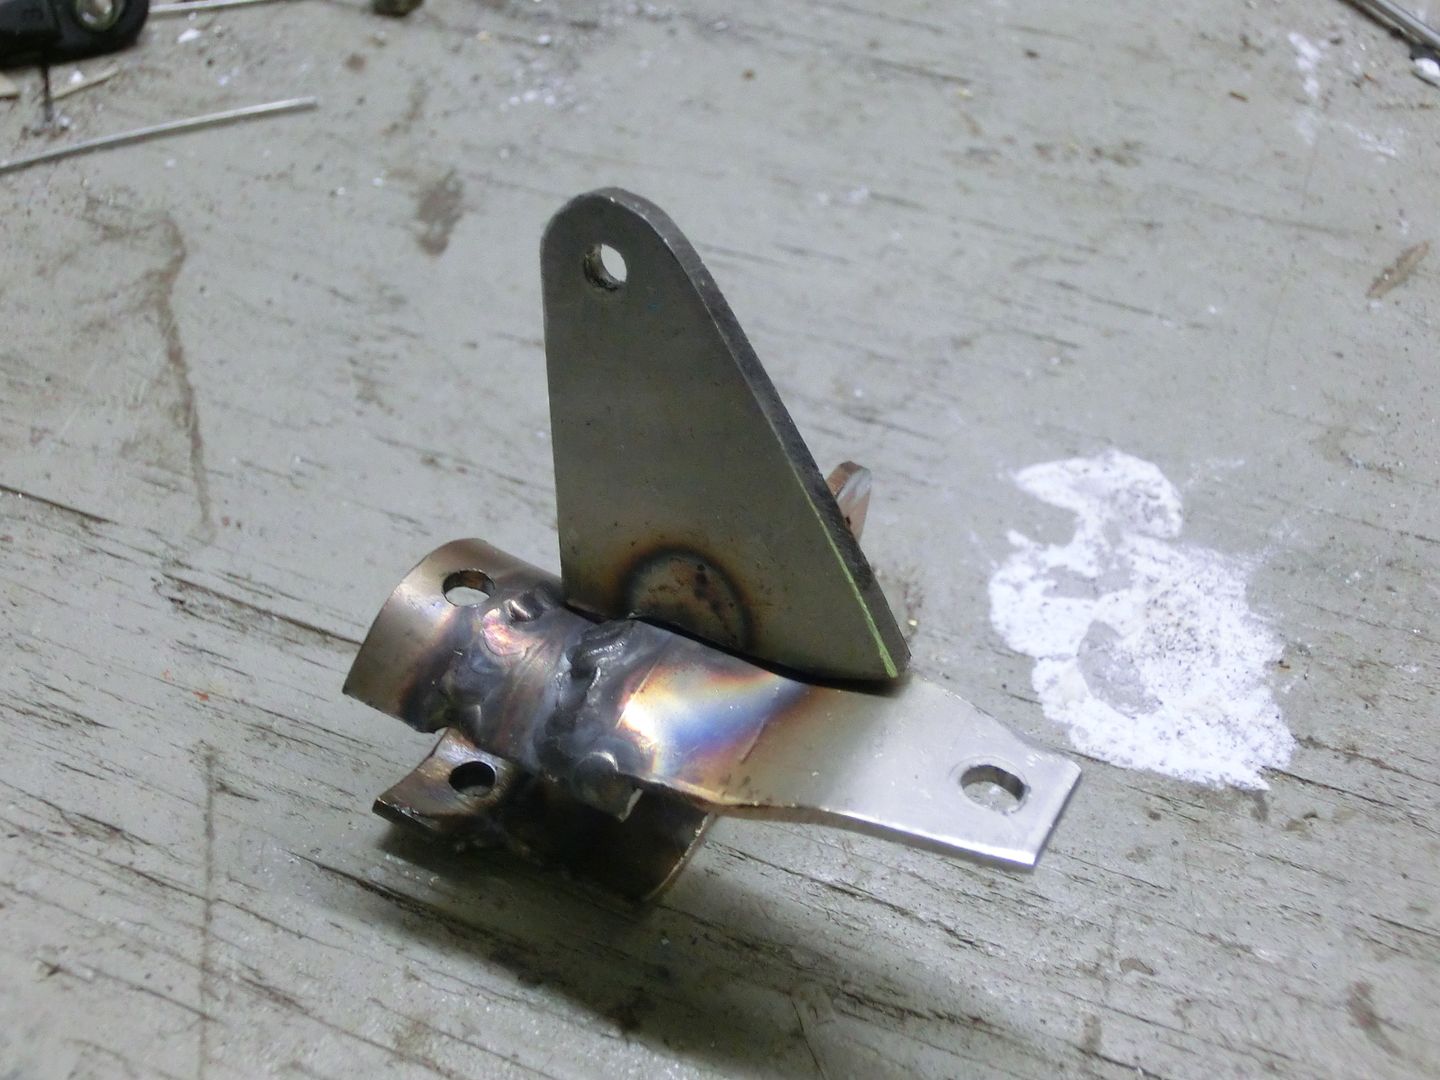 the other ties into the chassis and the steering mount 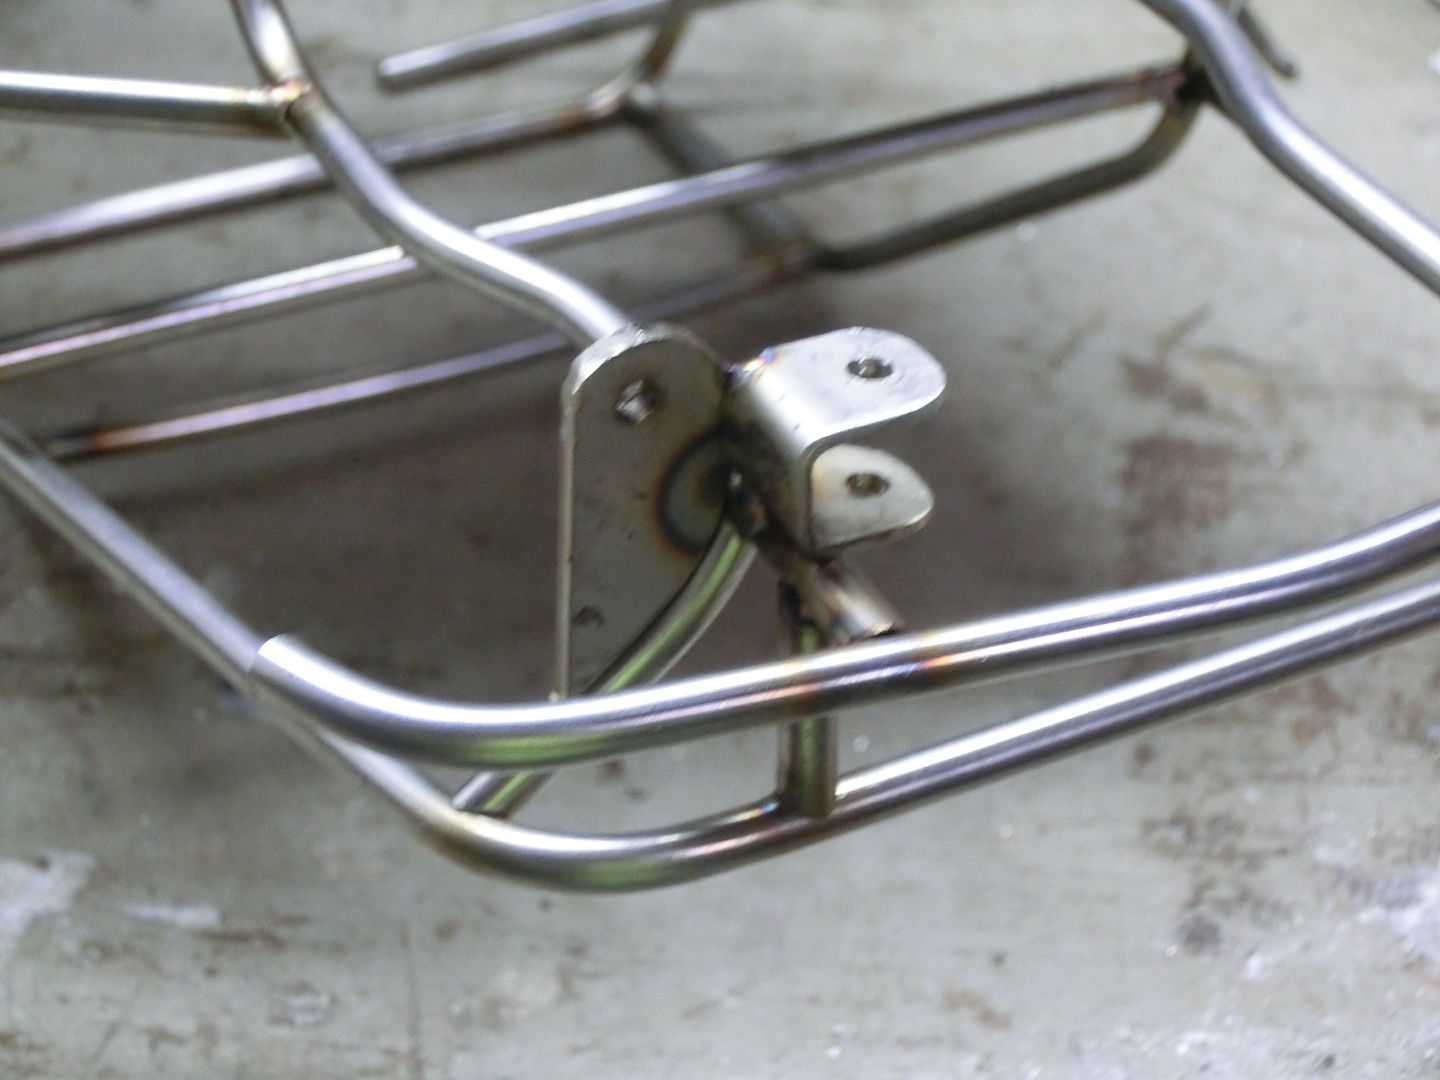 not it is all linked up 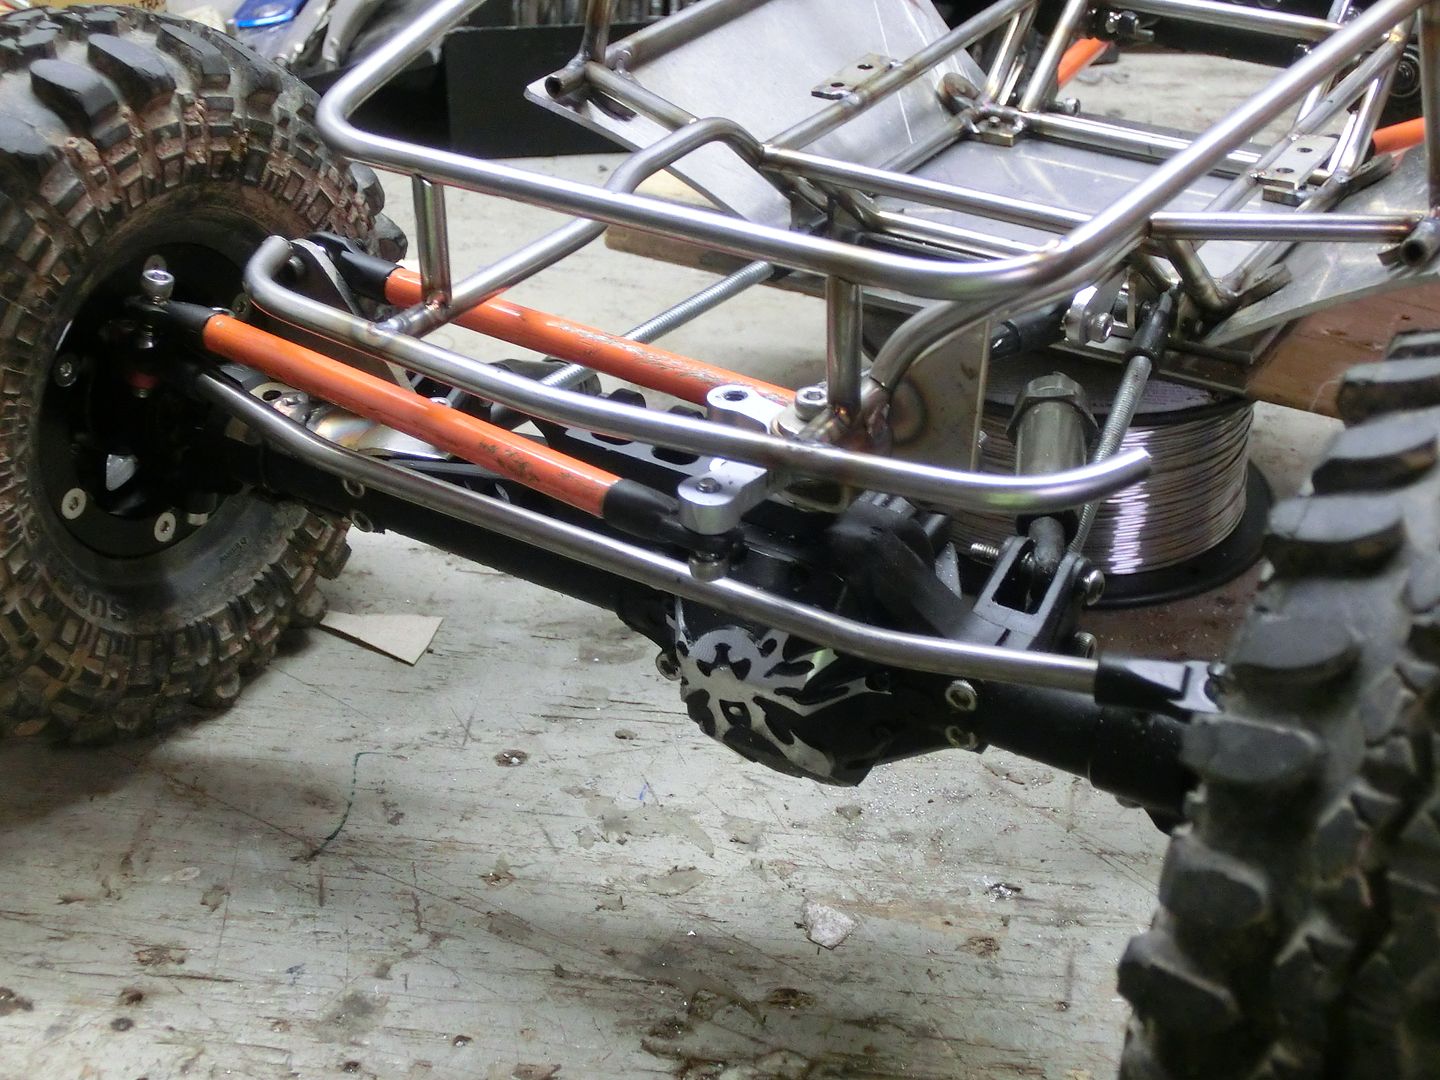 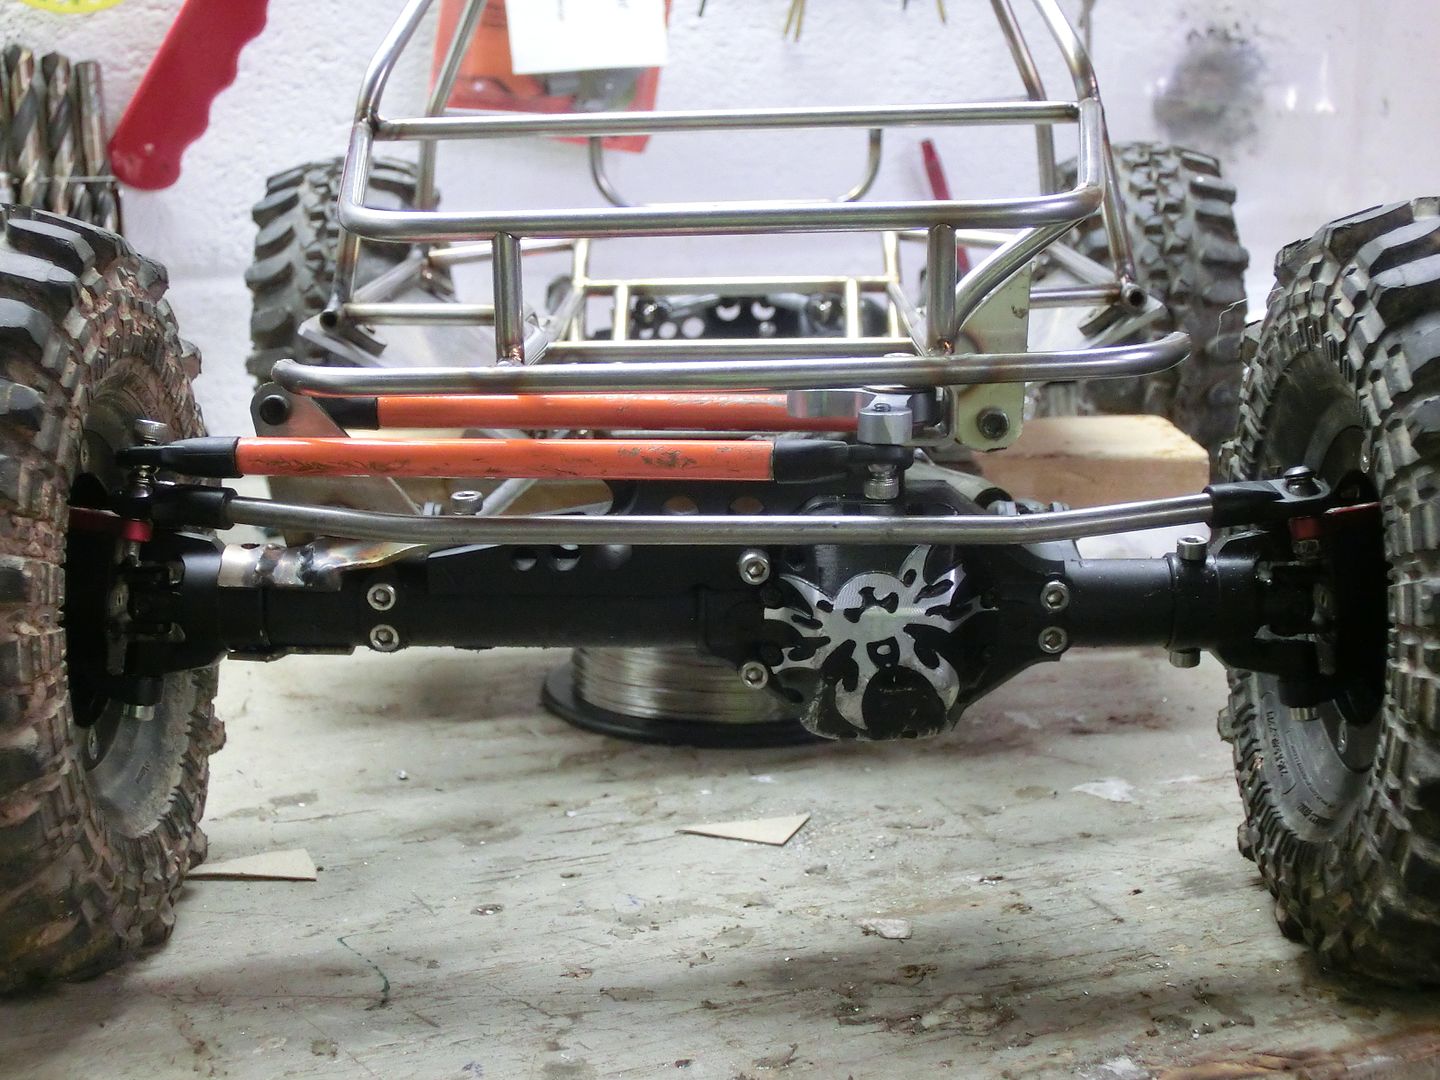 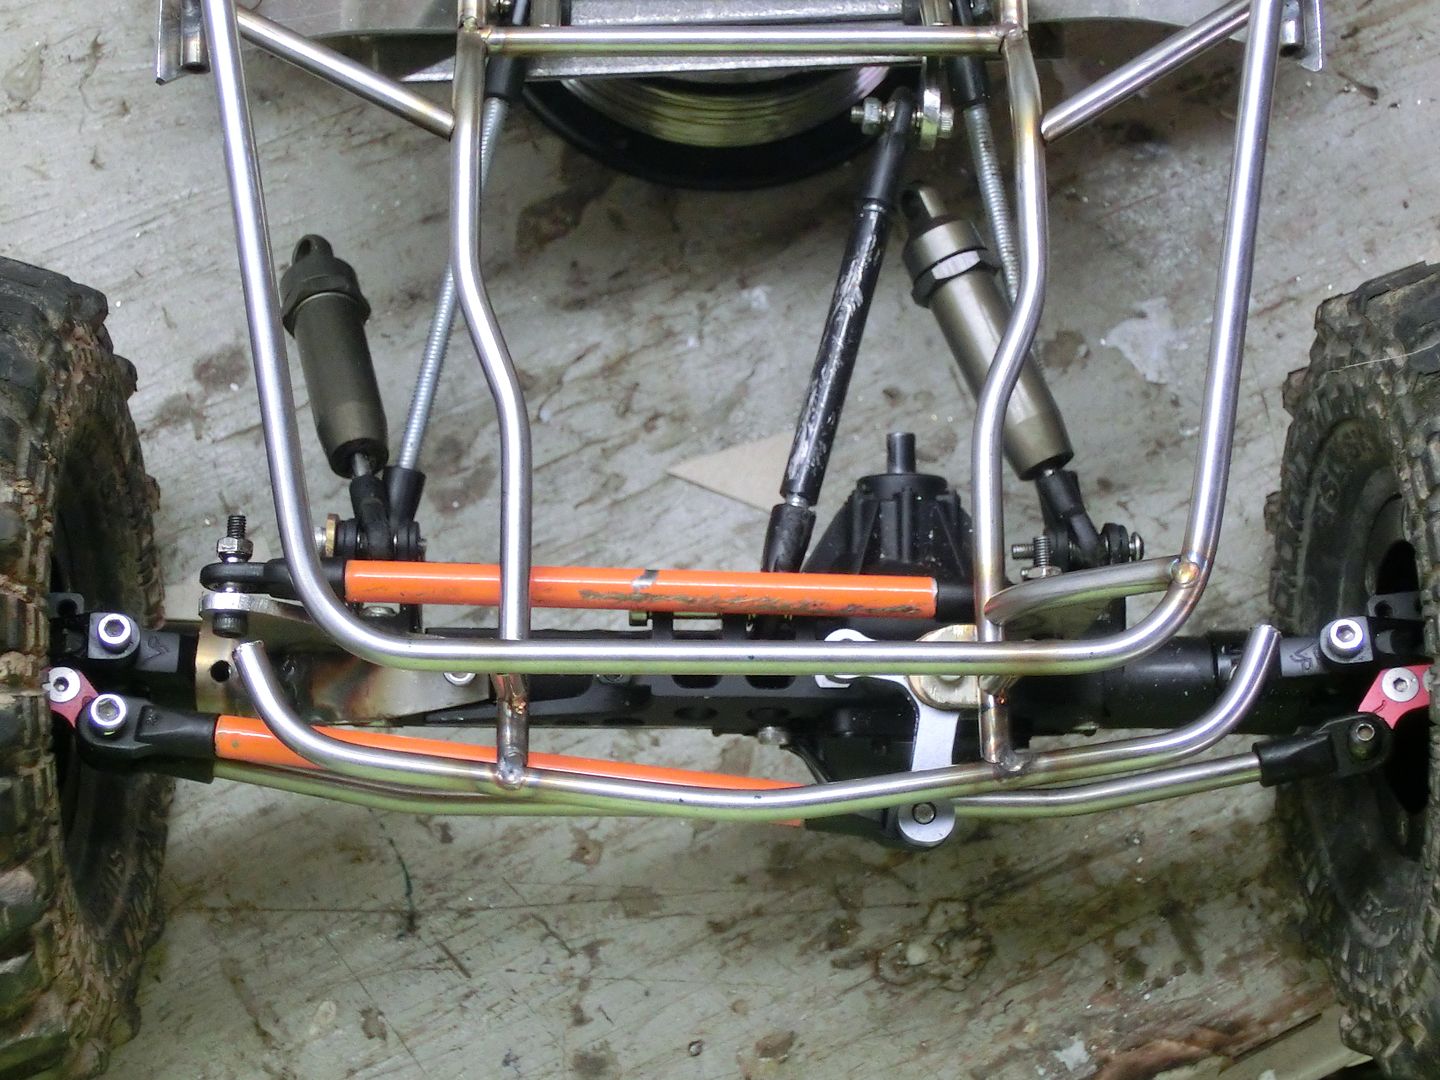 what's really cool is at fill lock the tires go around the bumper and only slightly contact the lower control arms 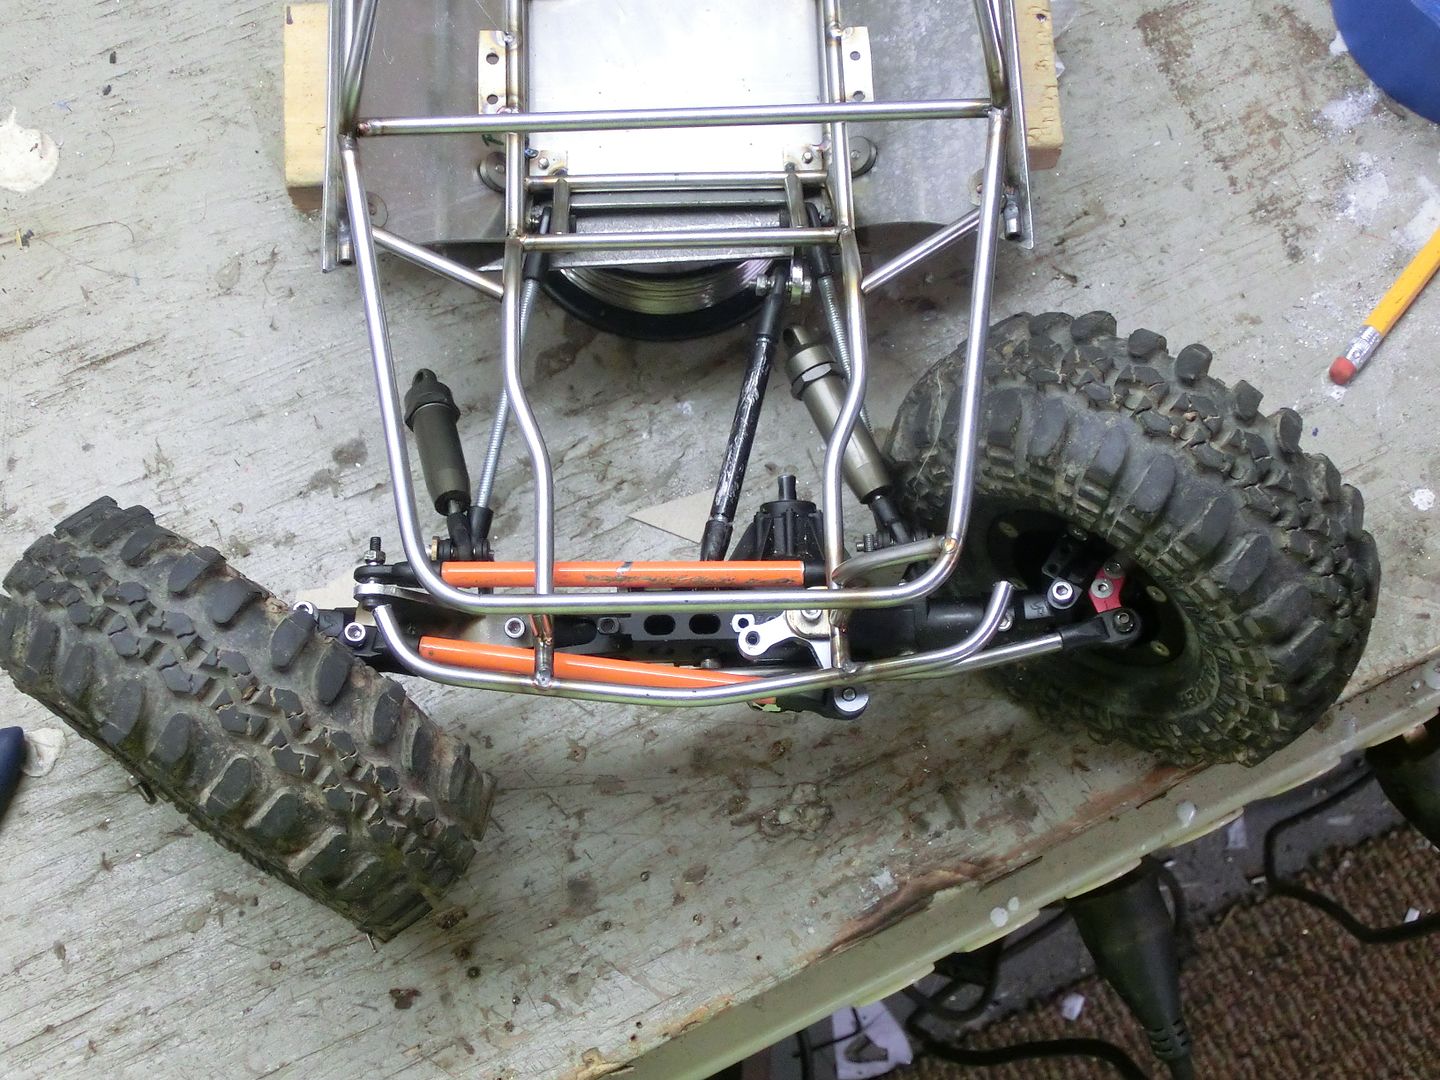 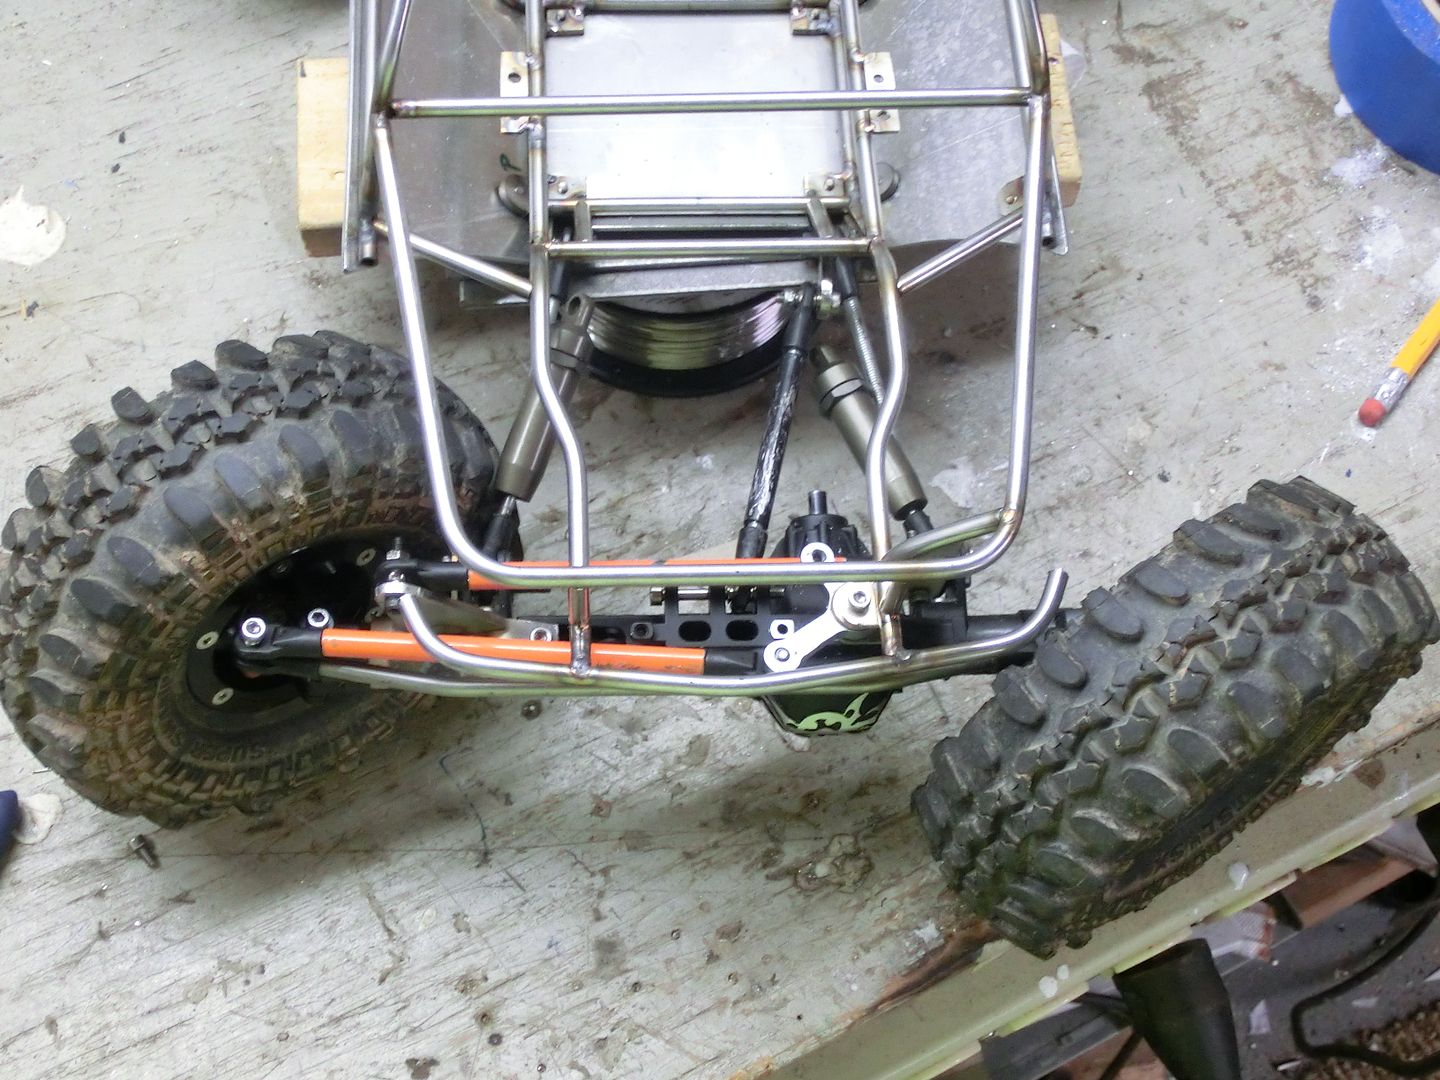 that's it for now! |
| |  |
| | #14 |
| I wanna be Dave Join Date: Oct 2007 Location: Castle Rock, WA
Posts: 8,785
|
I don't even know where to start. Wow. That dig unit is awesome. Glad to see someone else who is about where I am for their C3 ECSC build too. lol I see you are using the K3, any plans on waterproofing it? I just mockedup a bellcrank setup on my C3 but the link that would go from the bellcrank back to the servo has to be as long as the uppers and would be too long for my current chassis. But my bell crank would be on the axle. Tough to tell from your pictures, is your bell crank on the chassis? Looks to be that way. Edit, I see yours is 3-link, I was thinking of doing a 4-link bell crank setup, talking with Almighty Malach. ... Last edited by Szczerba; 08-13-2014 at 12:01 PM. |
| |  |
| | #15 | |
| RCC Addict  Join Date: Aug 2005 Location: New Oxford PA
Posts: 1,290
| Quote:
I'm actually further along then what i have posted. I still have a lot do do but I'm really close to having it ready to paint this weekend. I haven't really looked at it. really the only thing that would be affected is the gears. the motor will run submerged so long as it's clean. Mud might be a different story. I tried the bell crank set-up on the axle in my last build (see the link in the first post) it was ok but i could not get all the bump steering out. since i was starting from scratch i opted to just do a 3 link and put the bell crank on the frame. works like a charm now!  More progress. The next step on the steering consisted of making a mount for the servo. The chassis rails were too low and wide to mount it directly to so i made a raised mount starting with tube. 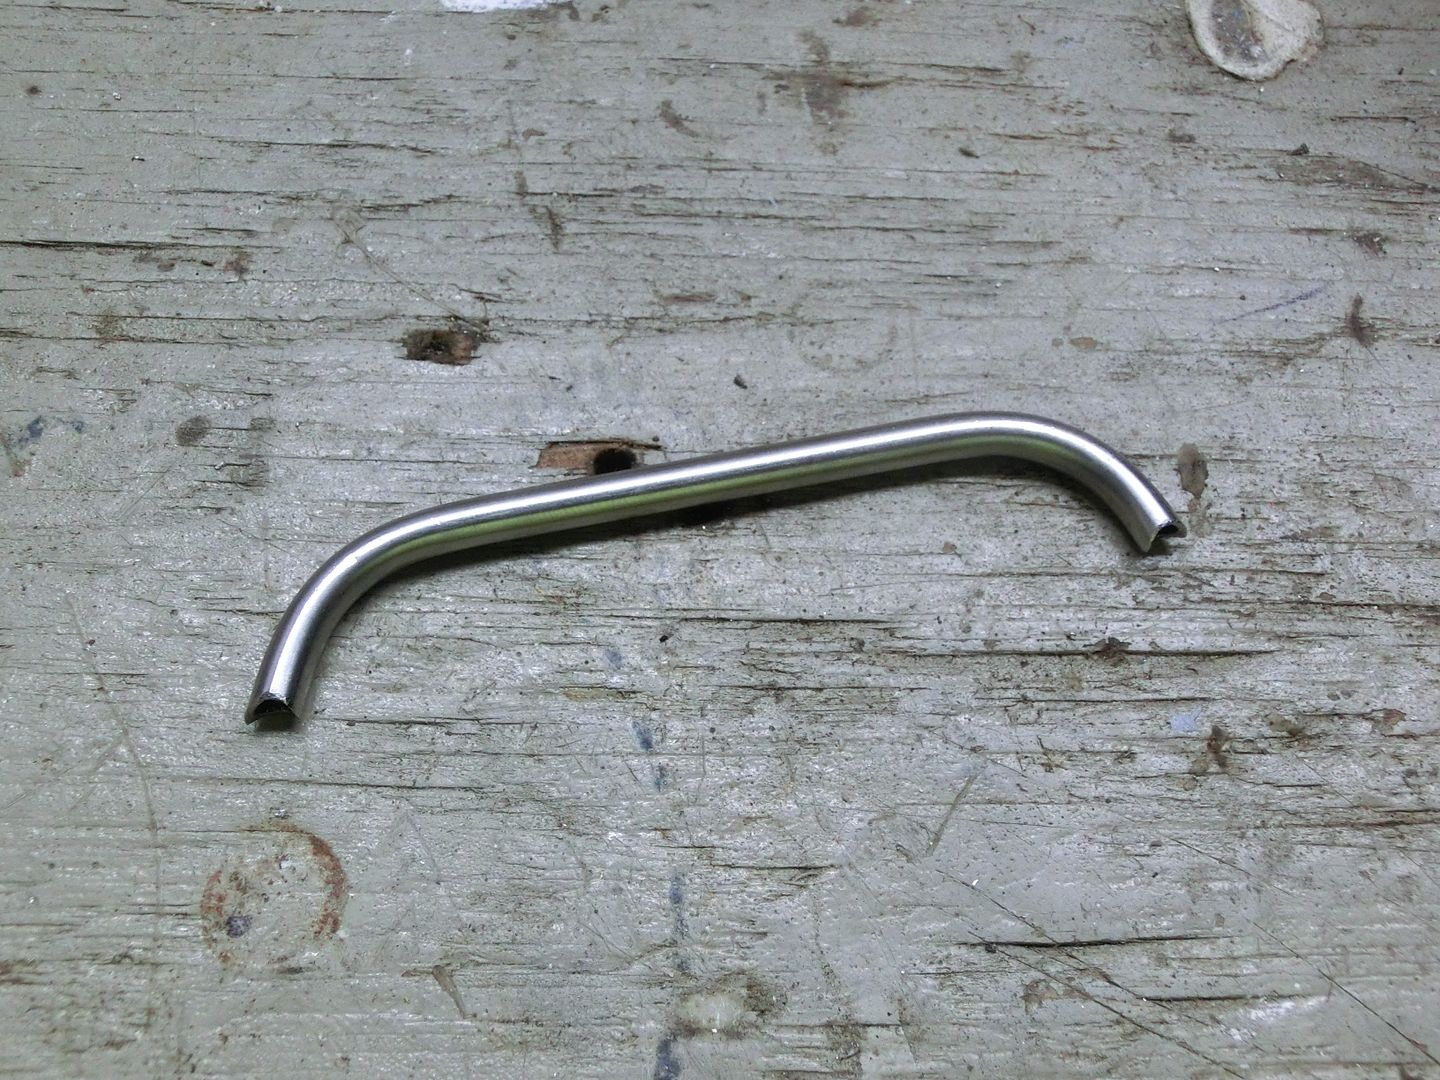 Then added tabs for the servo 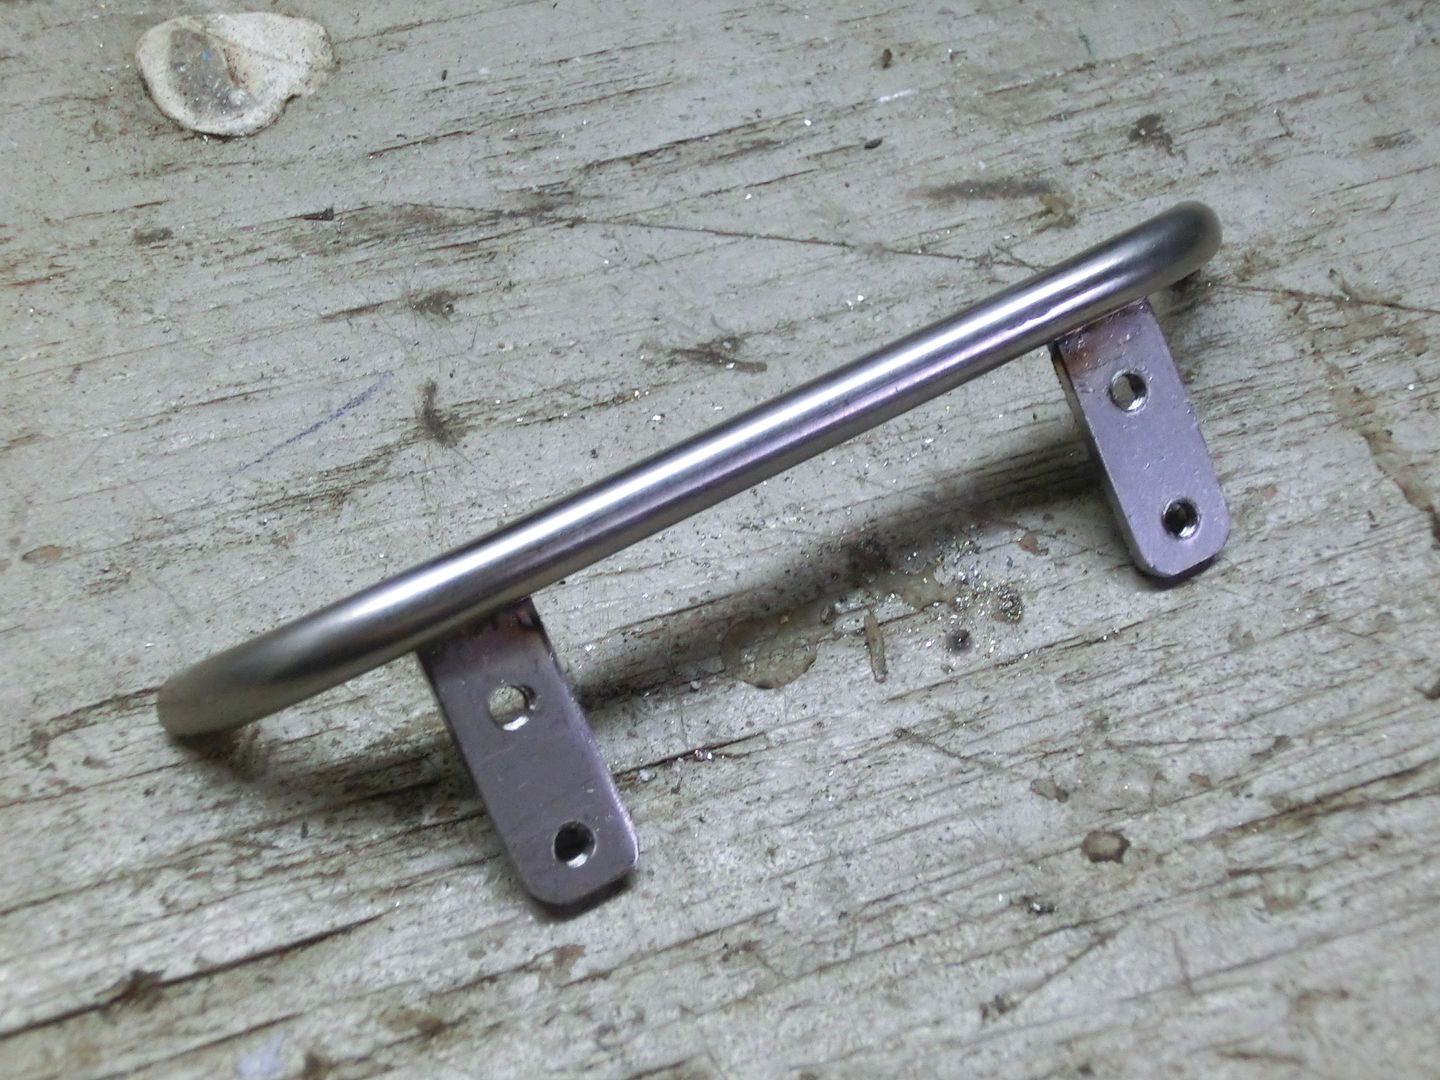 Next i tacked it to the chassis 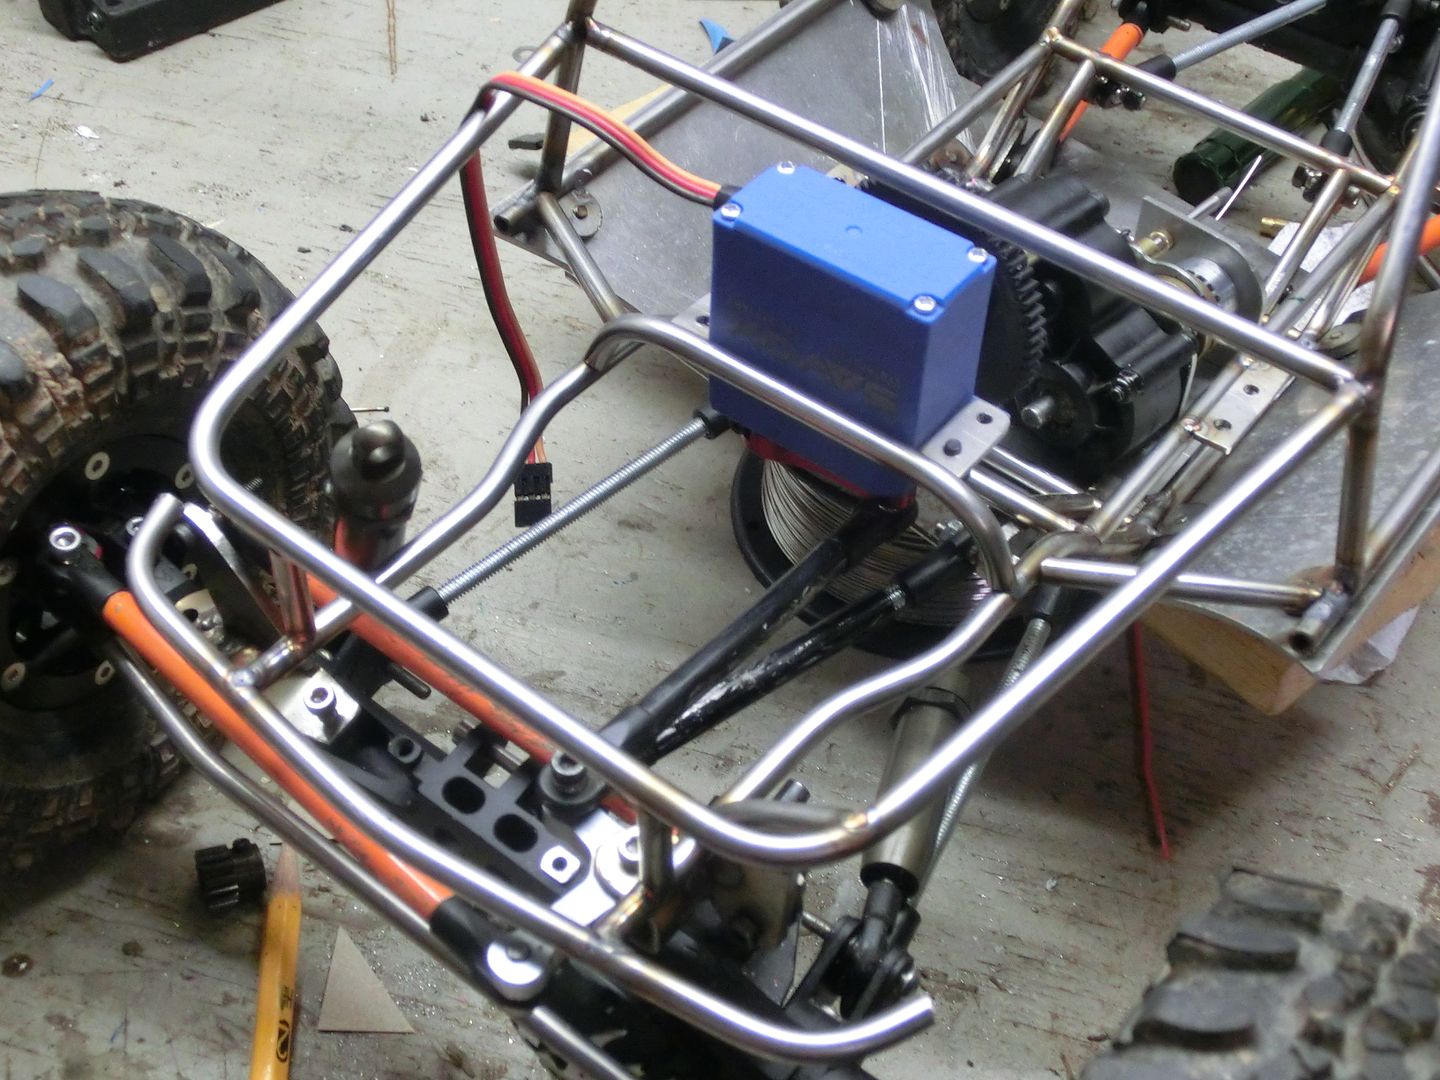 now it was time to mount the winch. I started with a tube that also serves as additional support for the track bar mount 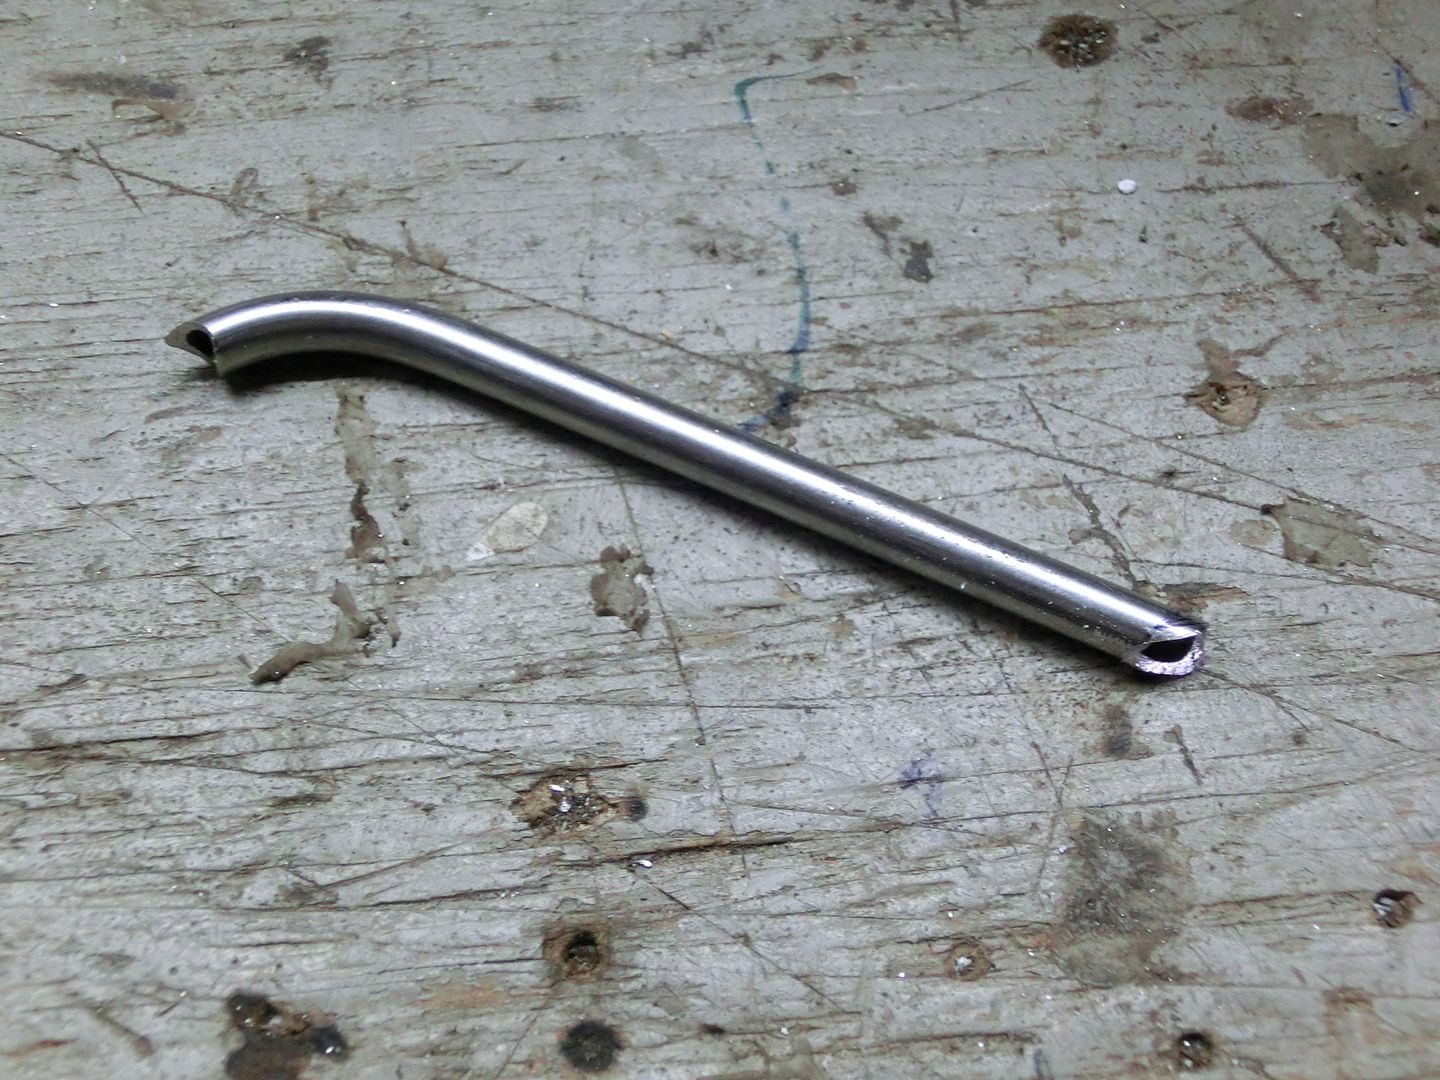 fit was good 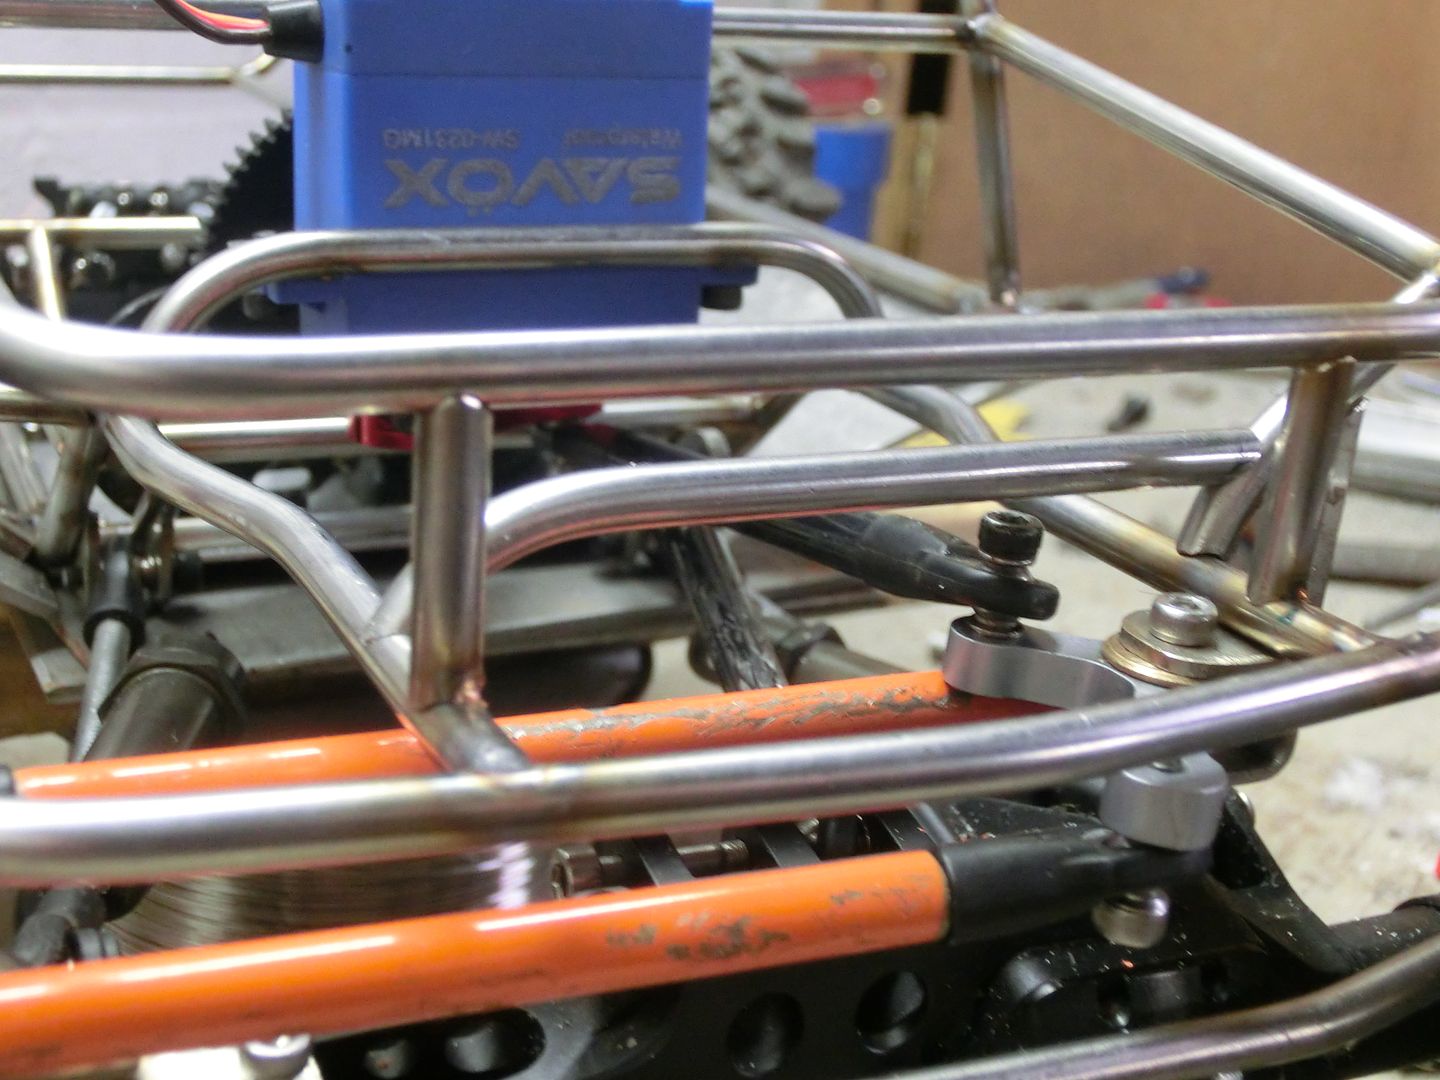 more tabs 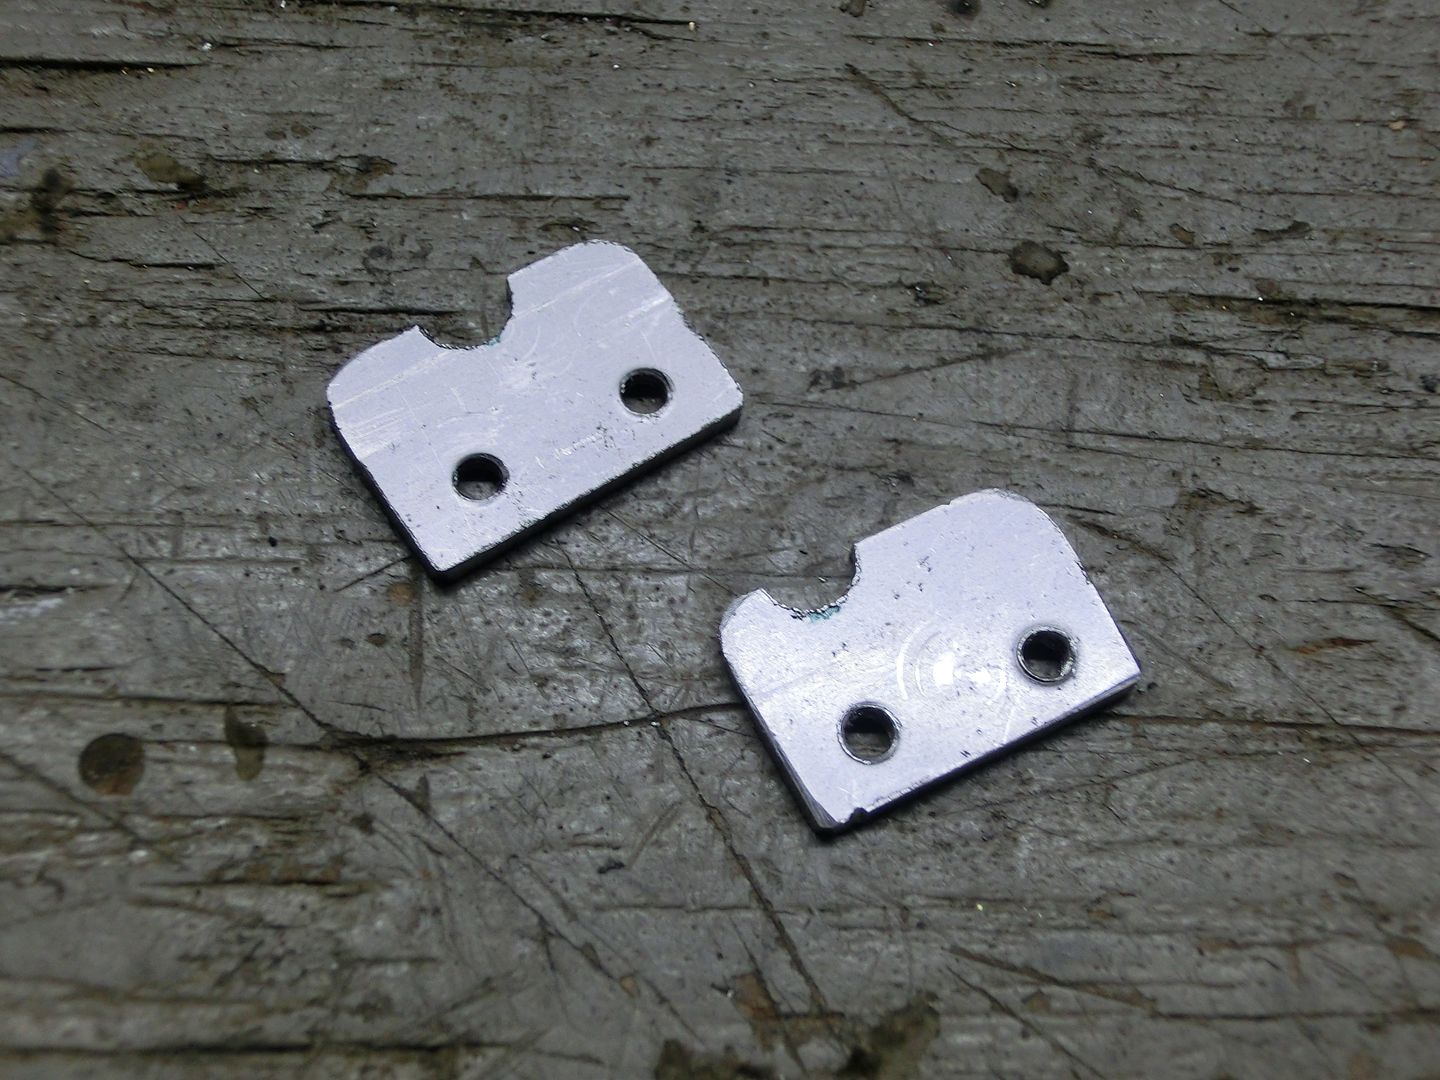 tacked in 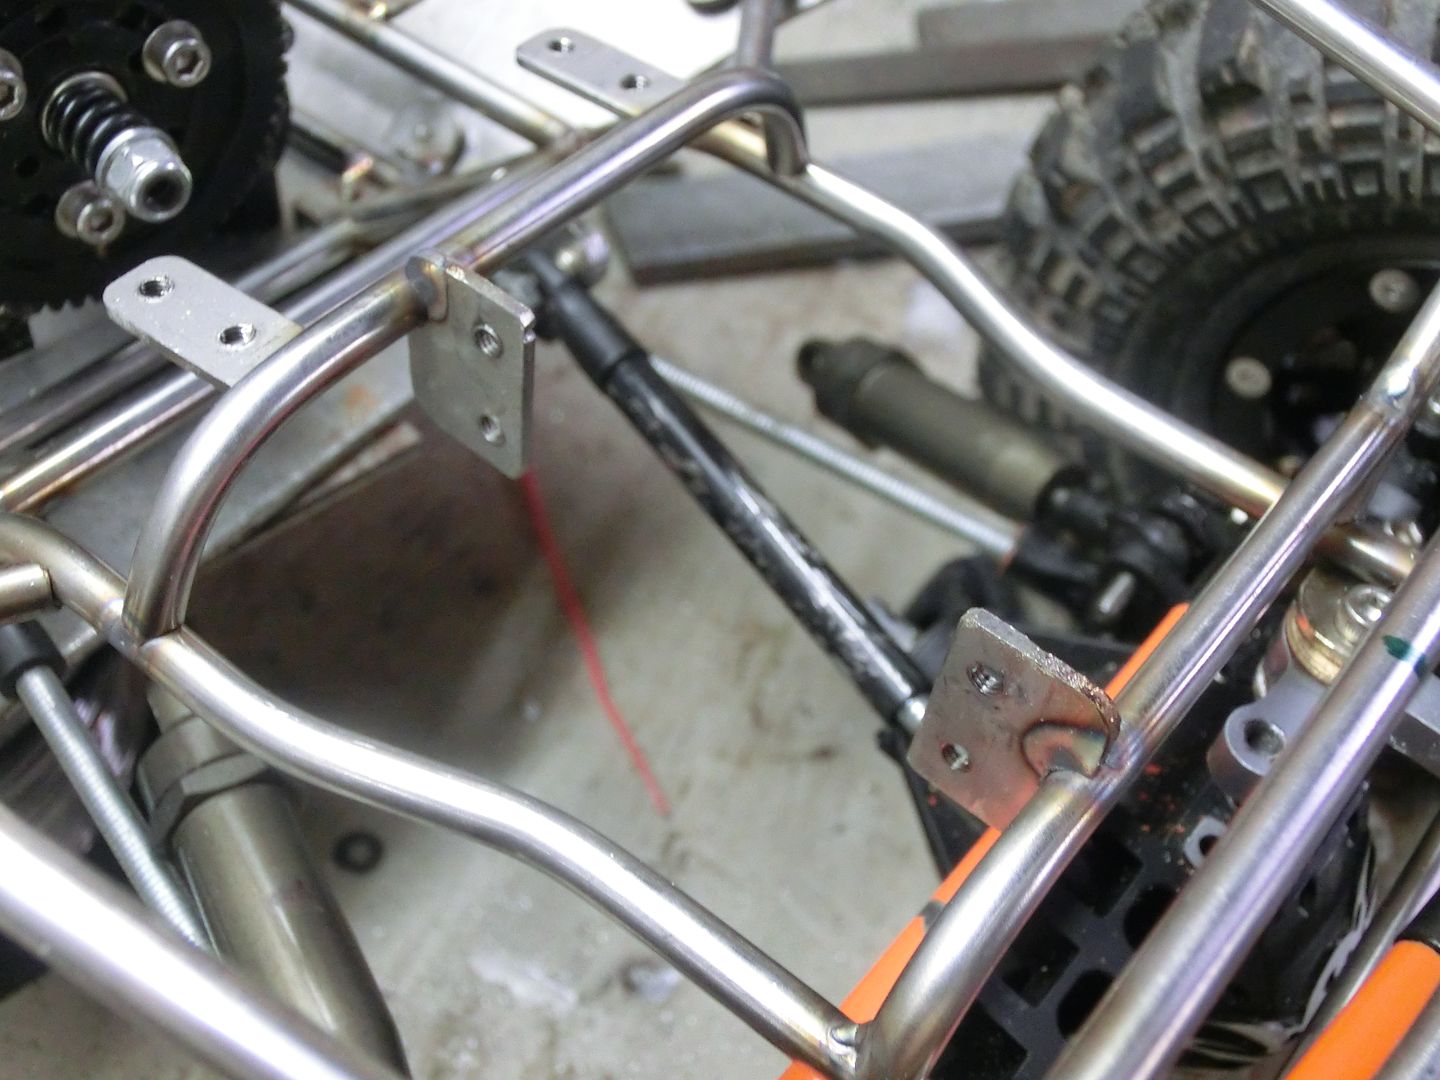 now i have a super fast and strong winch! 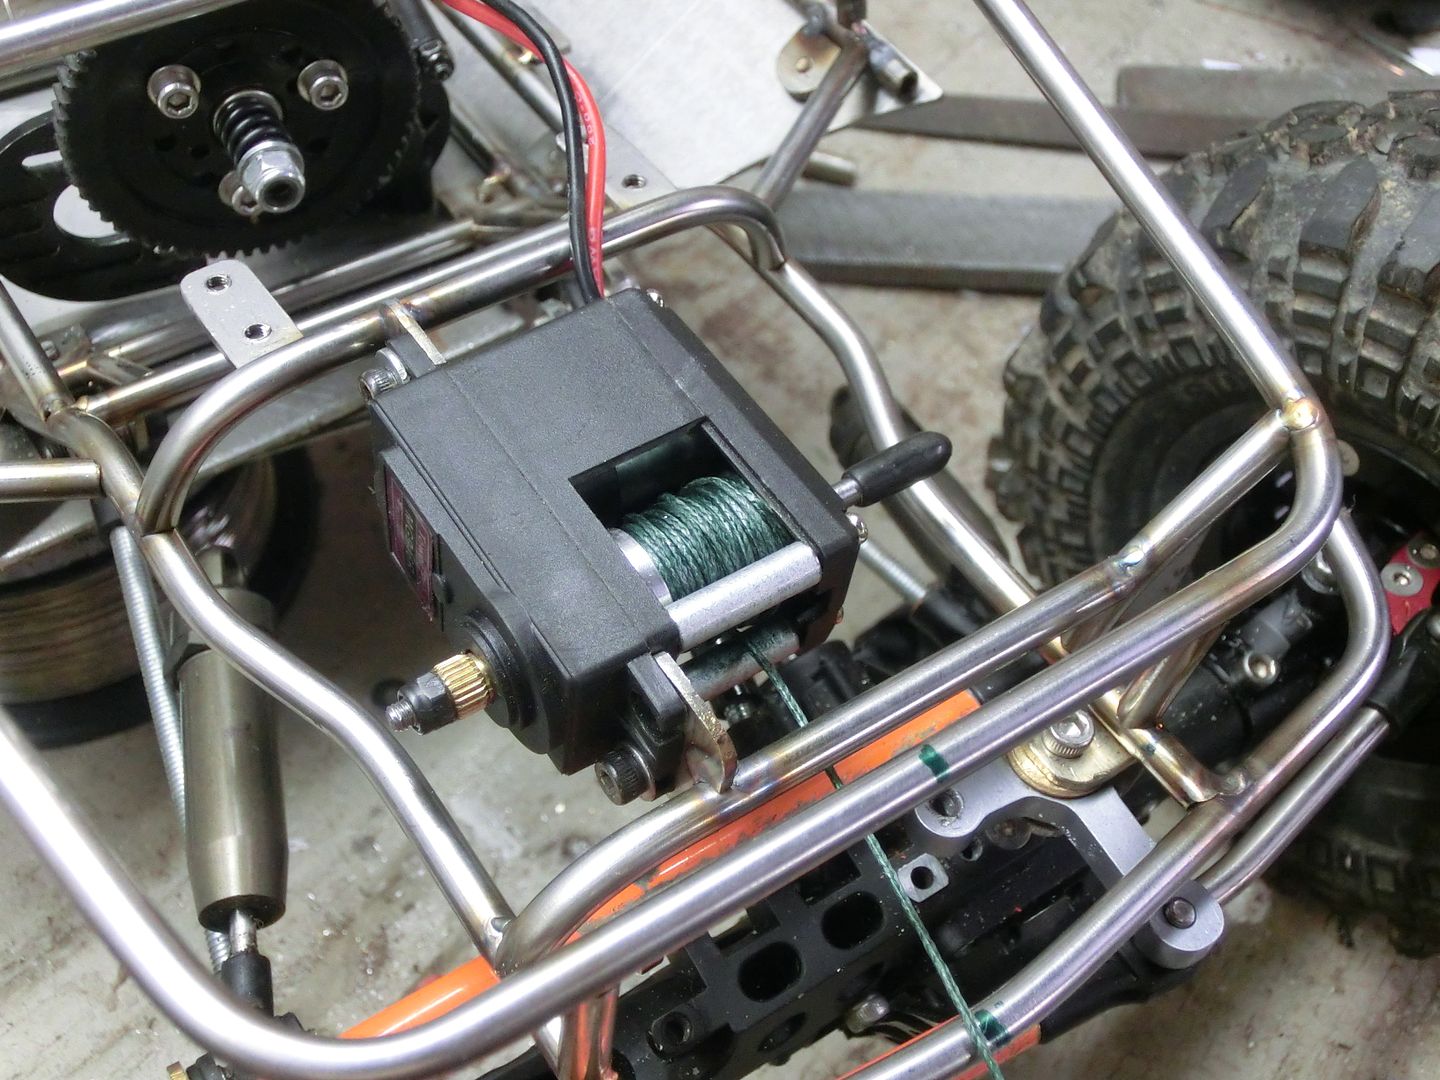 I plan on running the line through the grill like this. 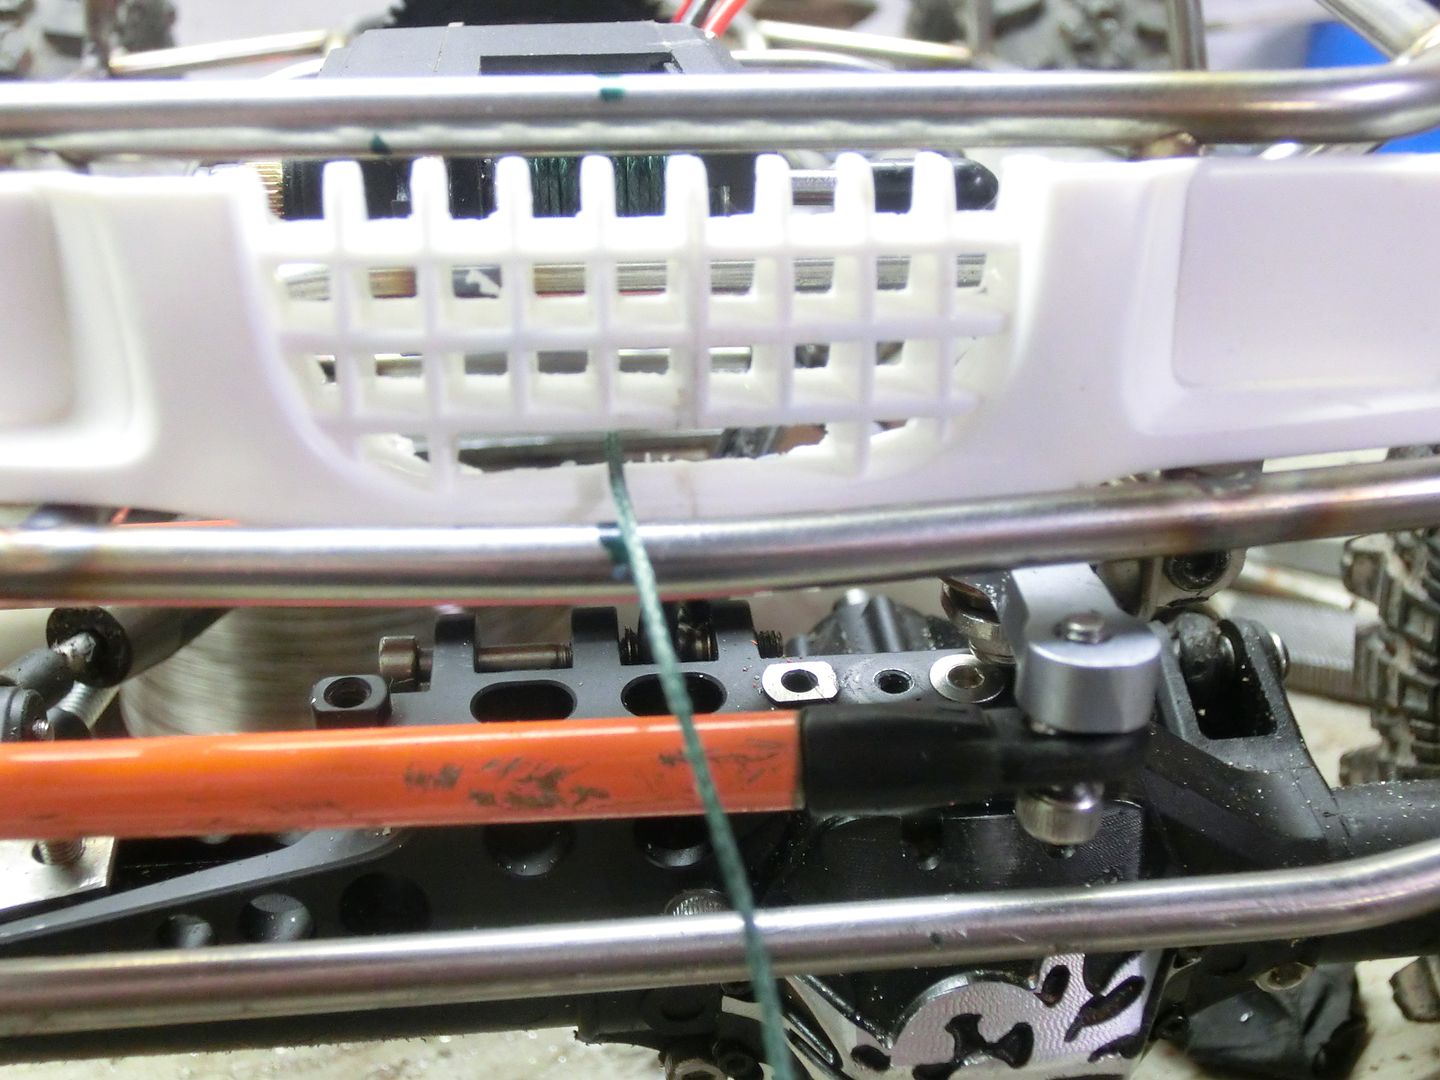 I'll add a farelead or something similar to the front bumper later. And i still have access to the release pin for the winch line 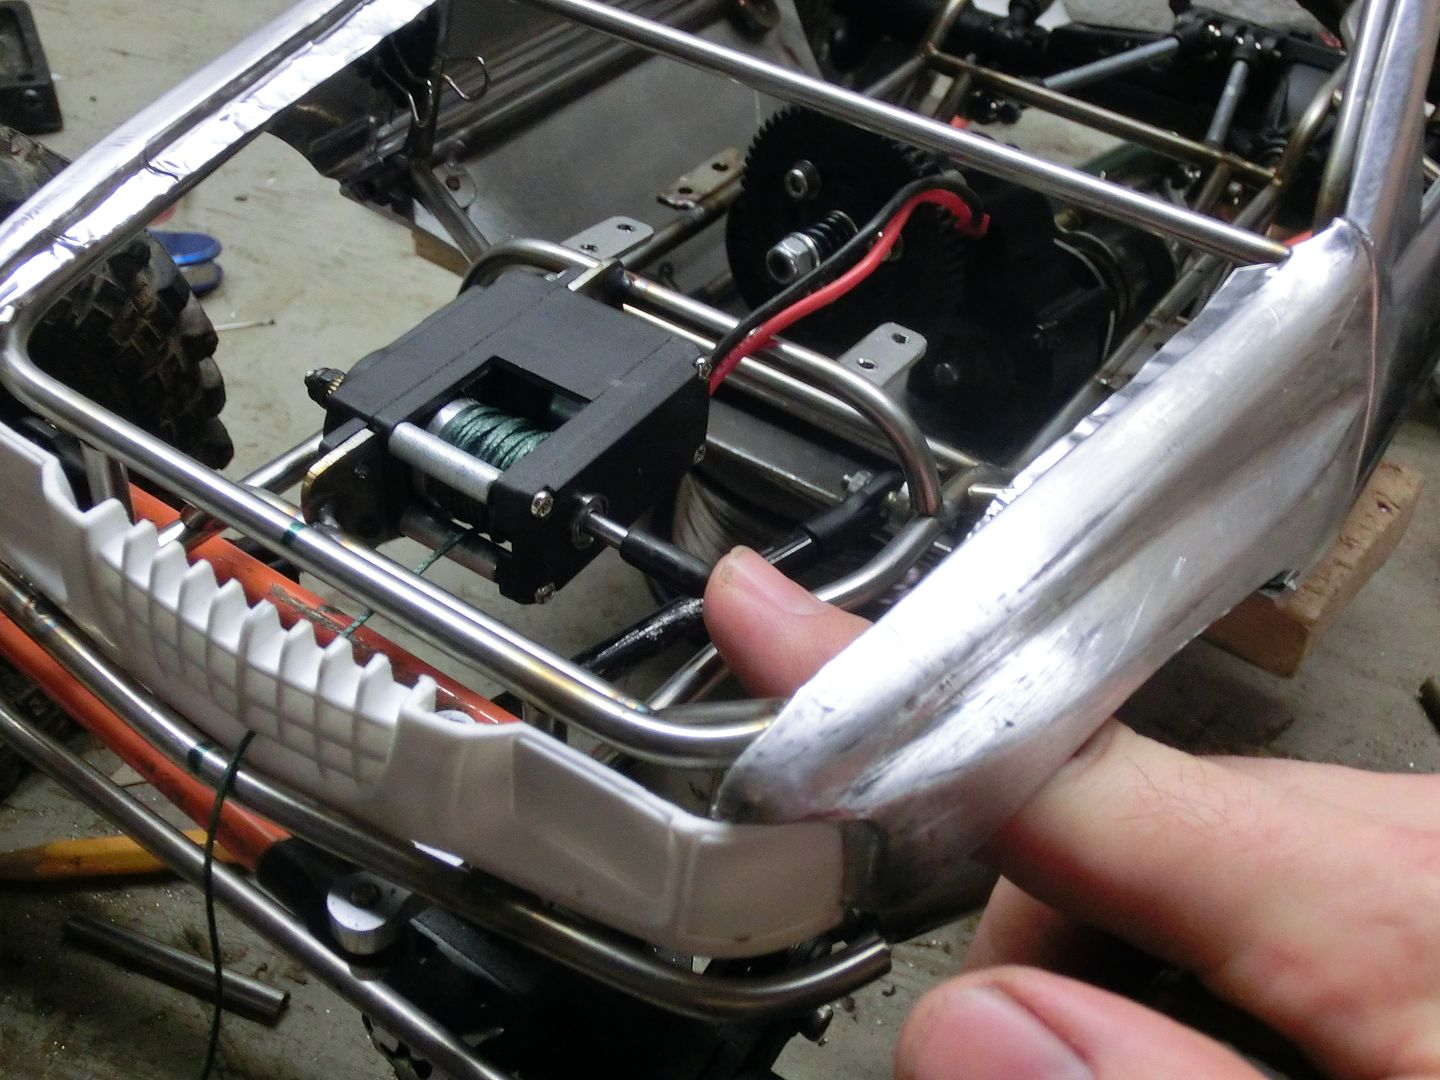 now it was time to get it on it's own 4 feet. I decided to run a simple tube from the frame to the fender bars 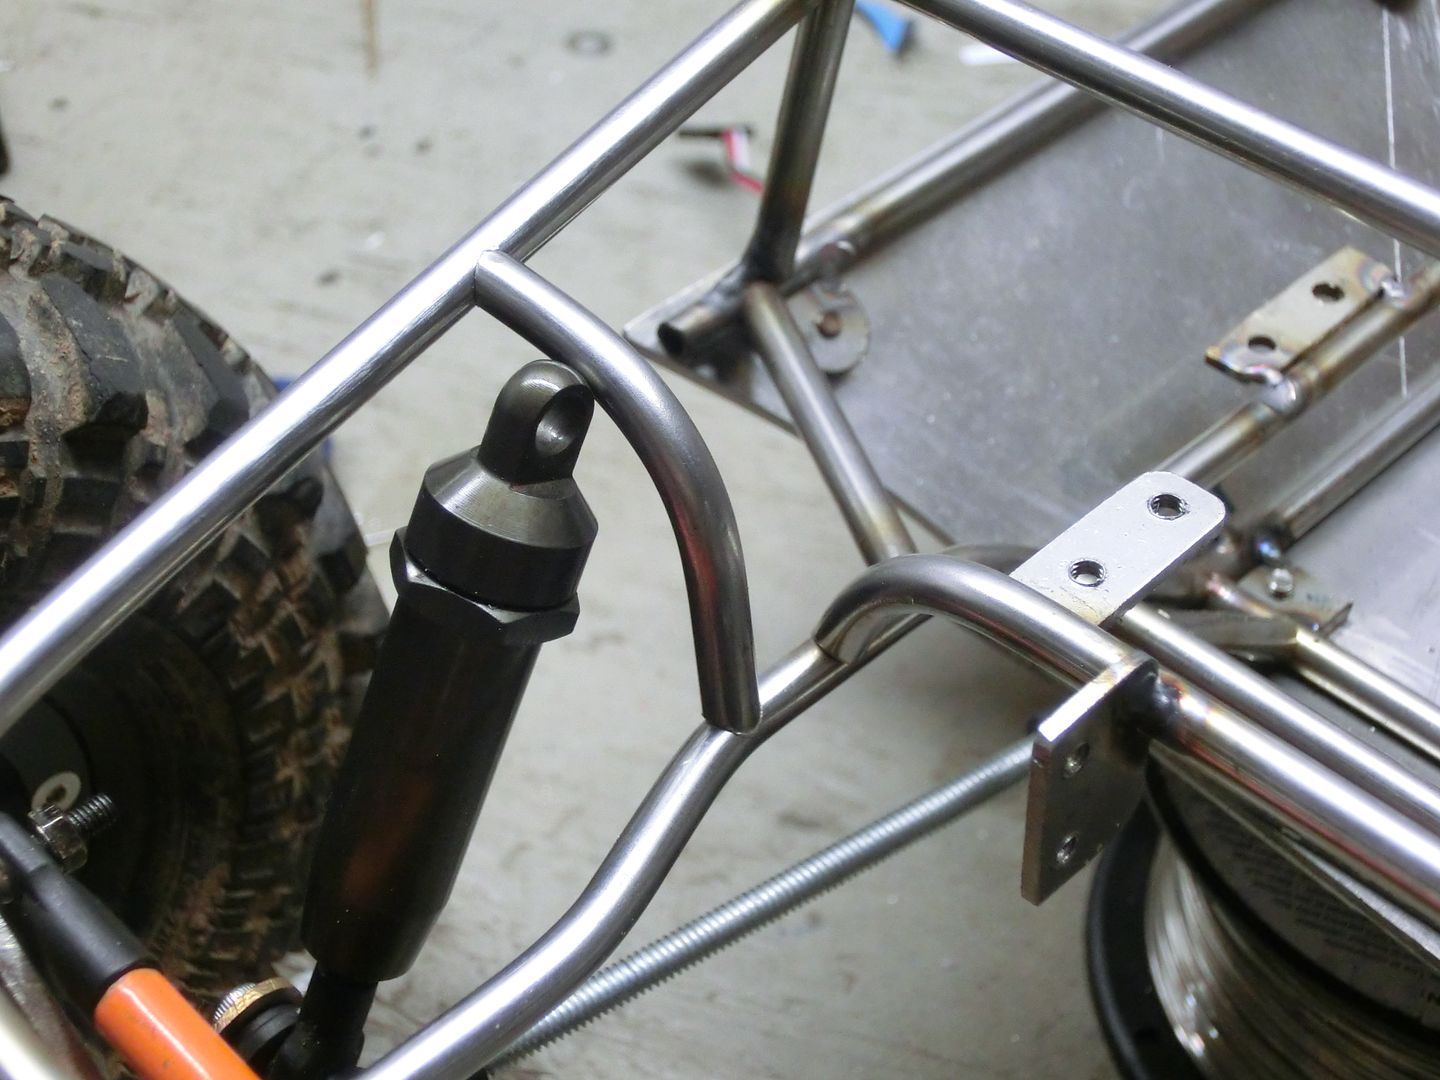 then i cut 8 of these 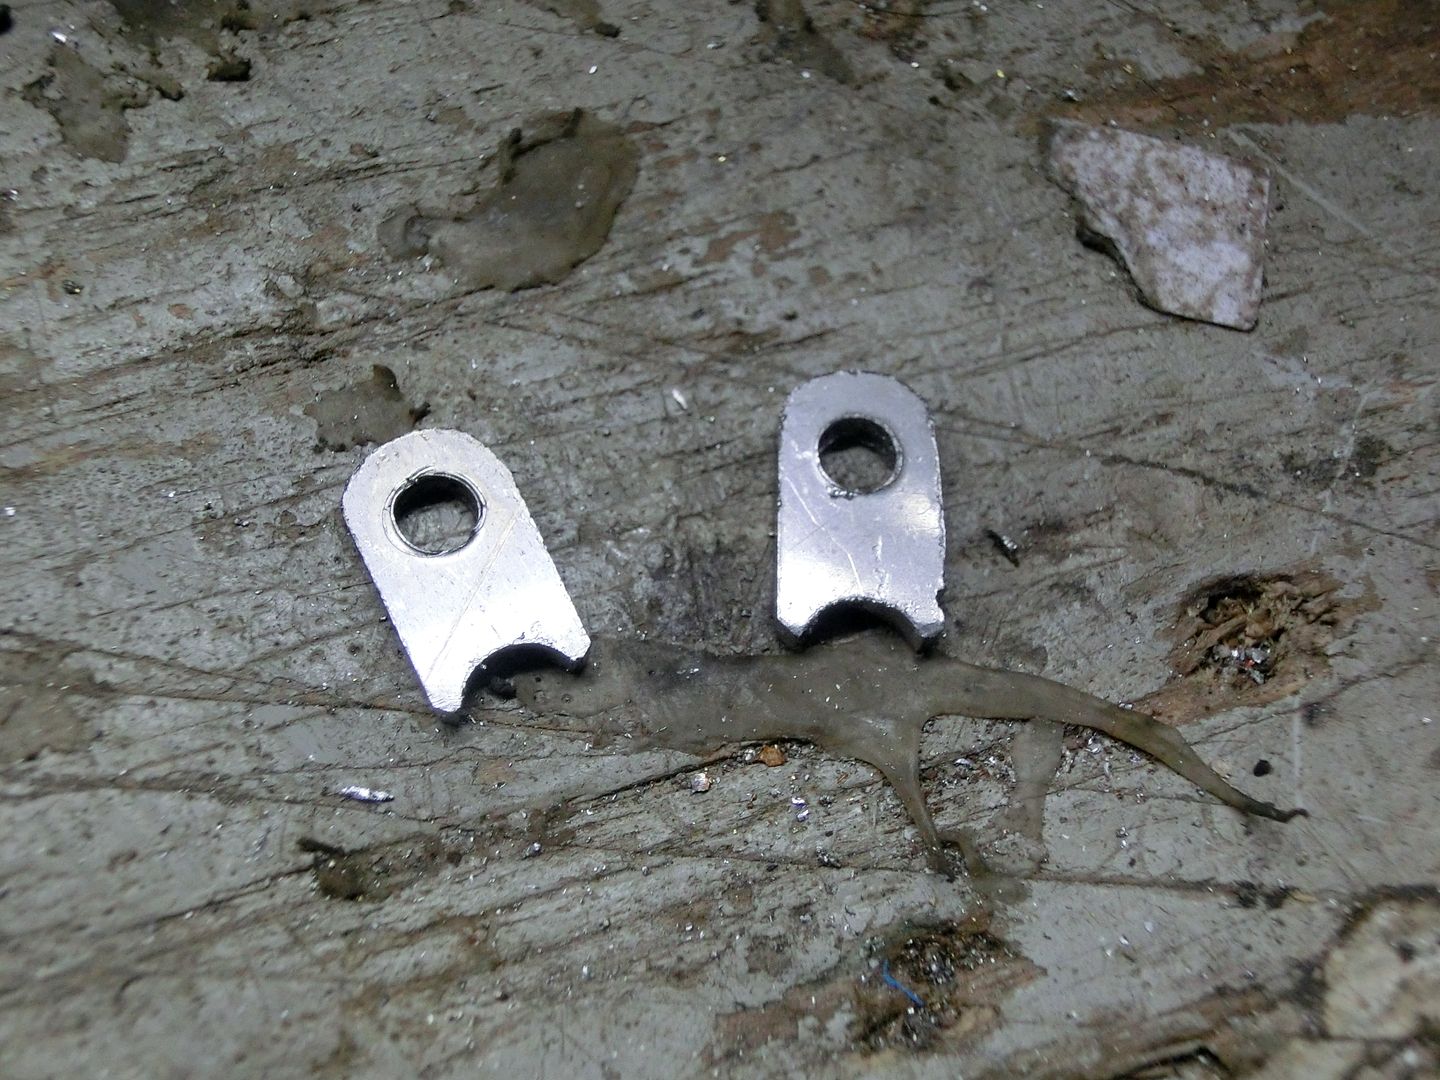 and tacked them to the chassis 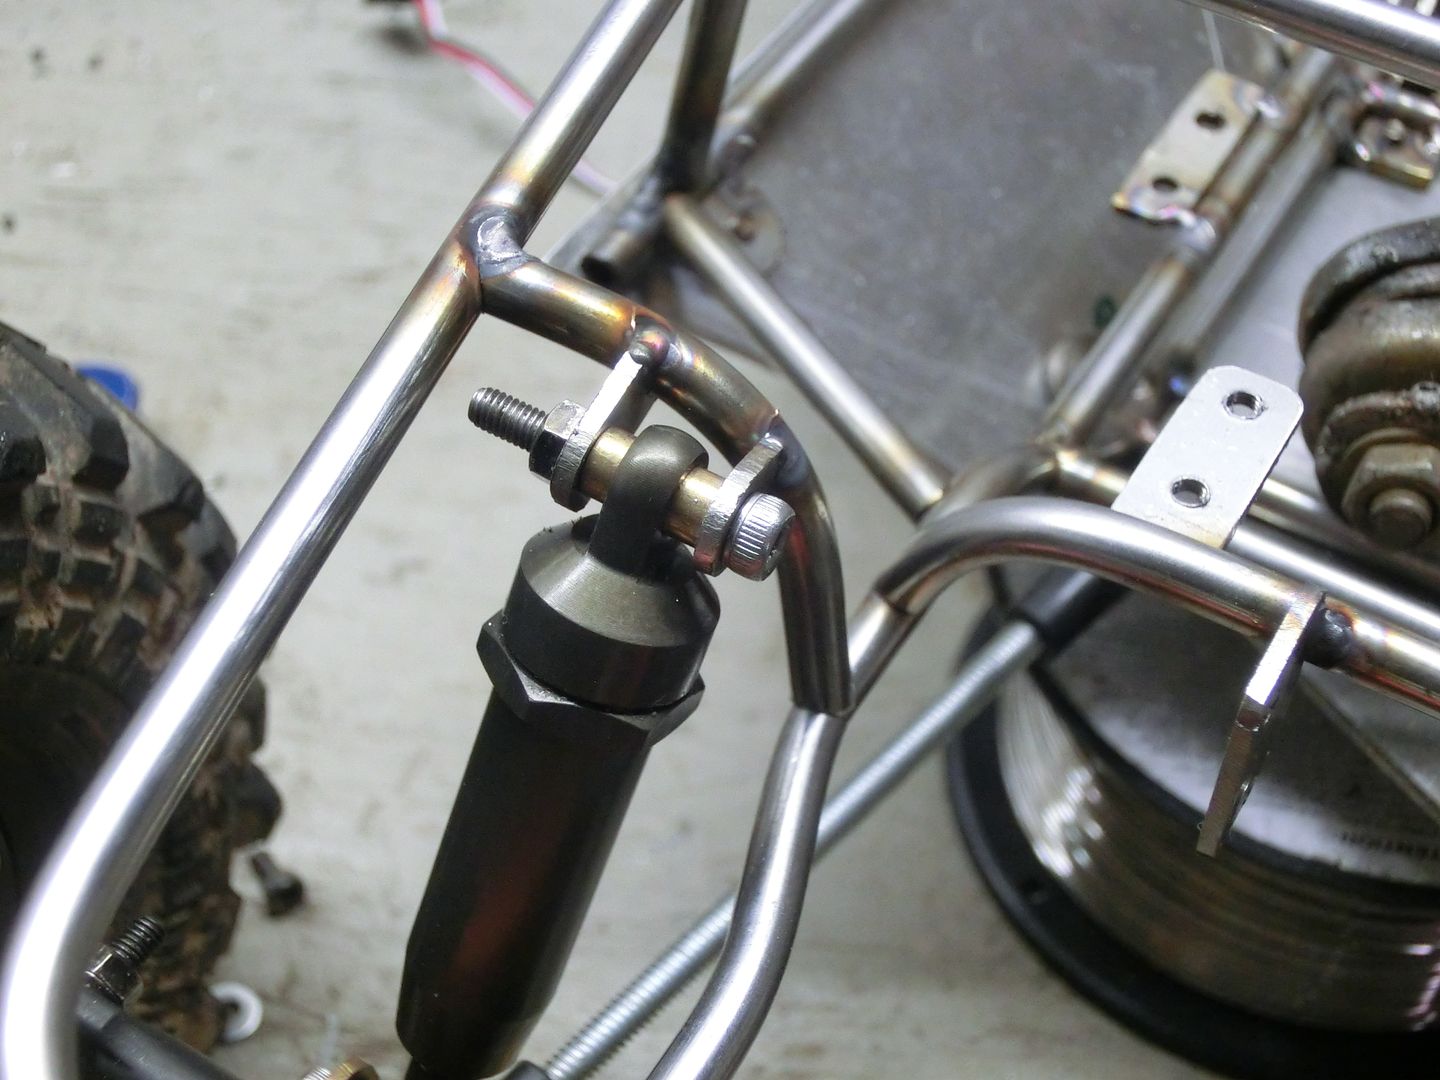 Then repeated the process in the rear 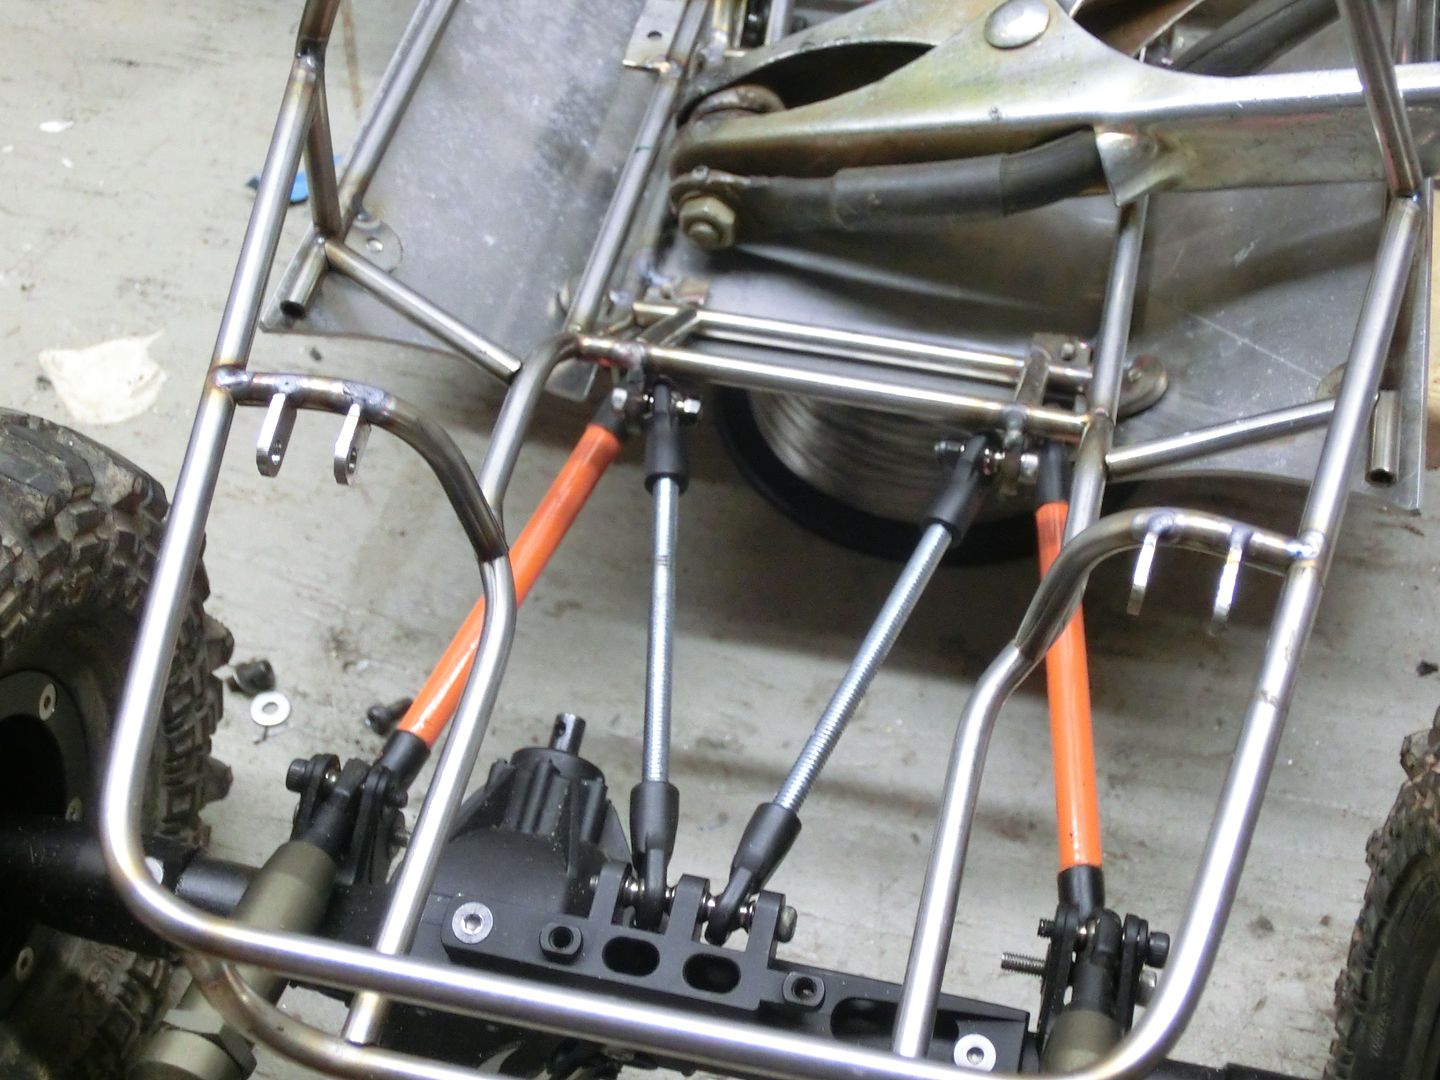 I decided to run with fuel tubing up top. I've used it in the past with pretty good success. Truthfully, the holes in these Losi shocks is to small for a Traxxas size pivot ball and i need more movement then with a plastic spacer. 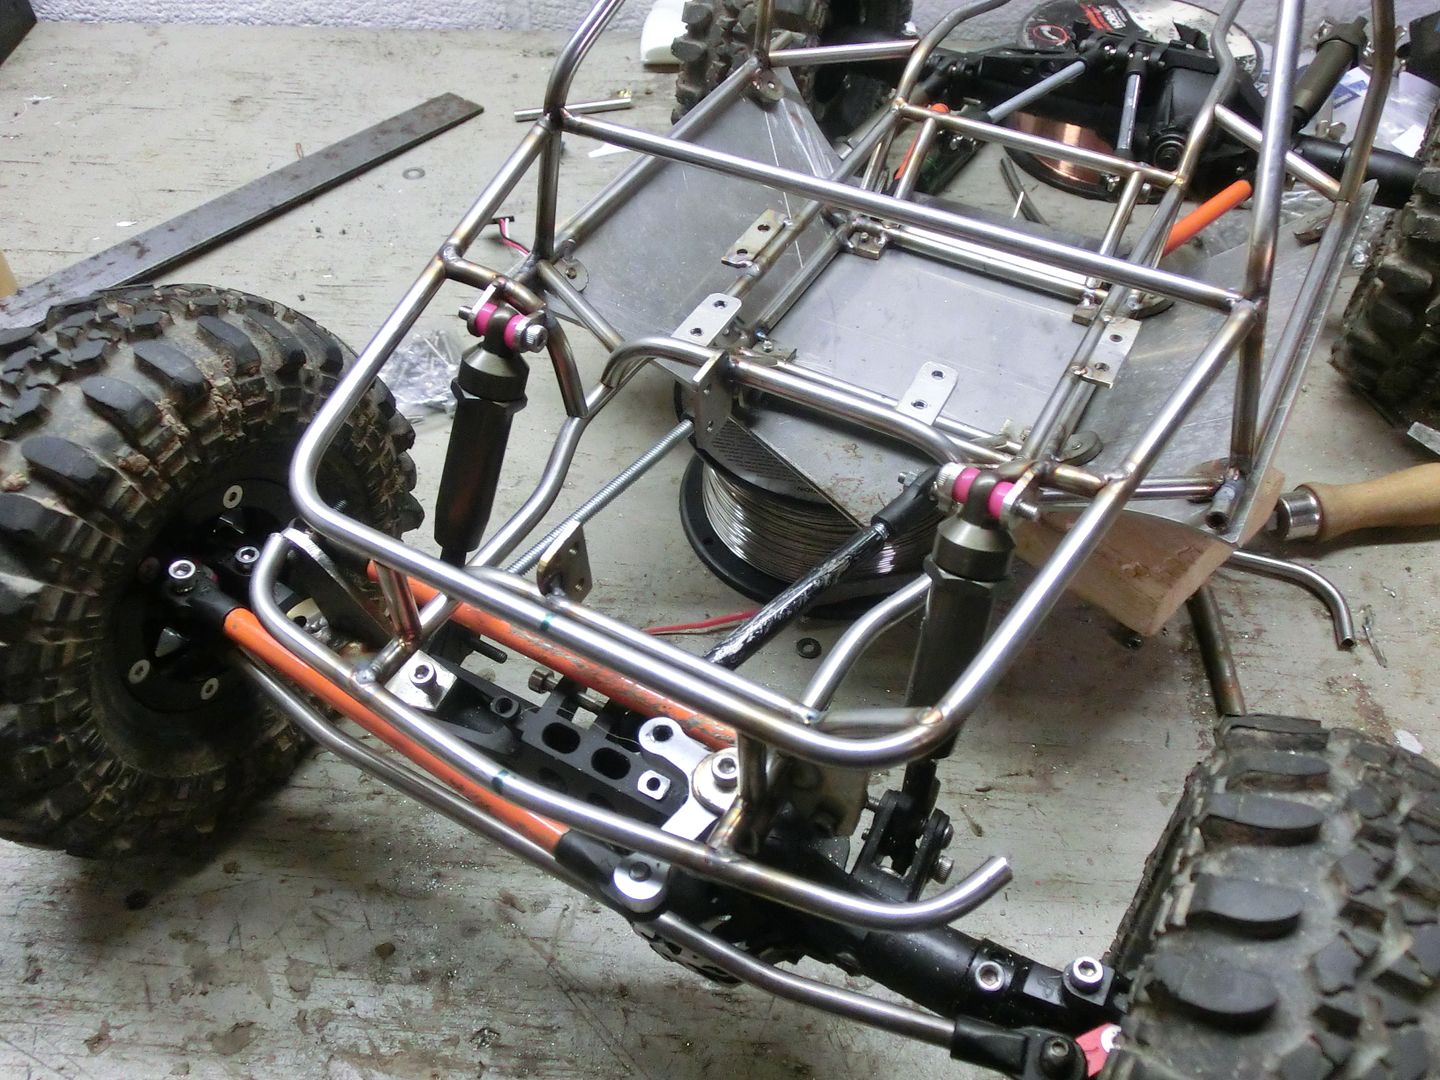 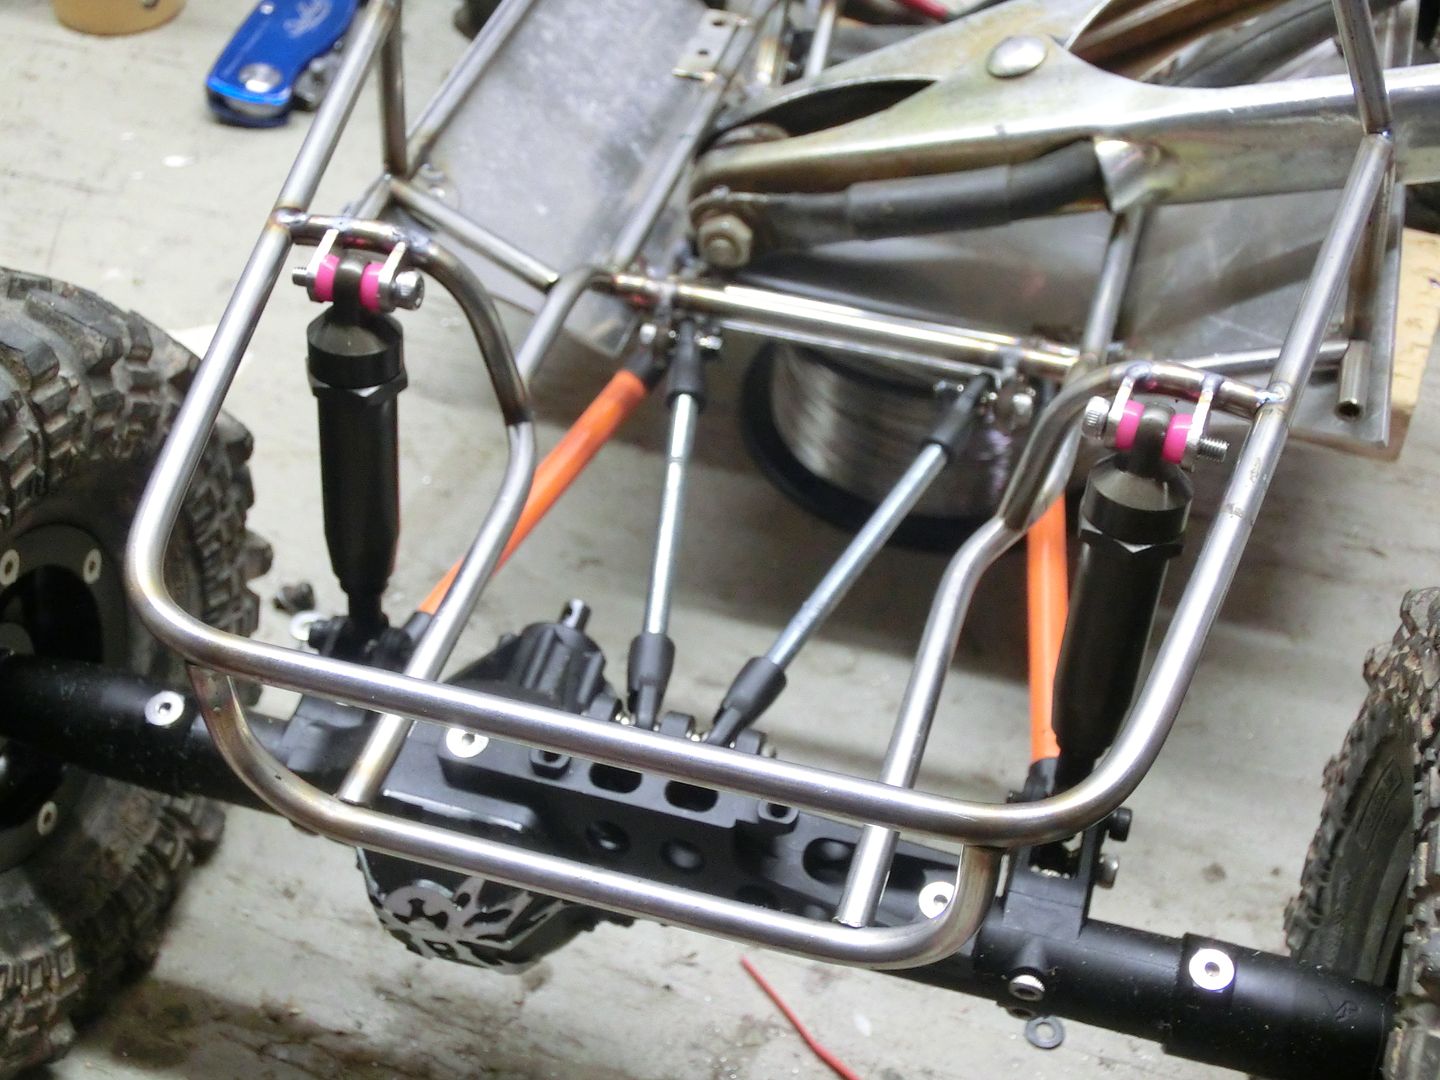 Yes i know it's pink but it's all i have at the moment. I'll pick up another color when i get time. and there it is standing on it's own! WOOT! :banana: 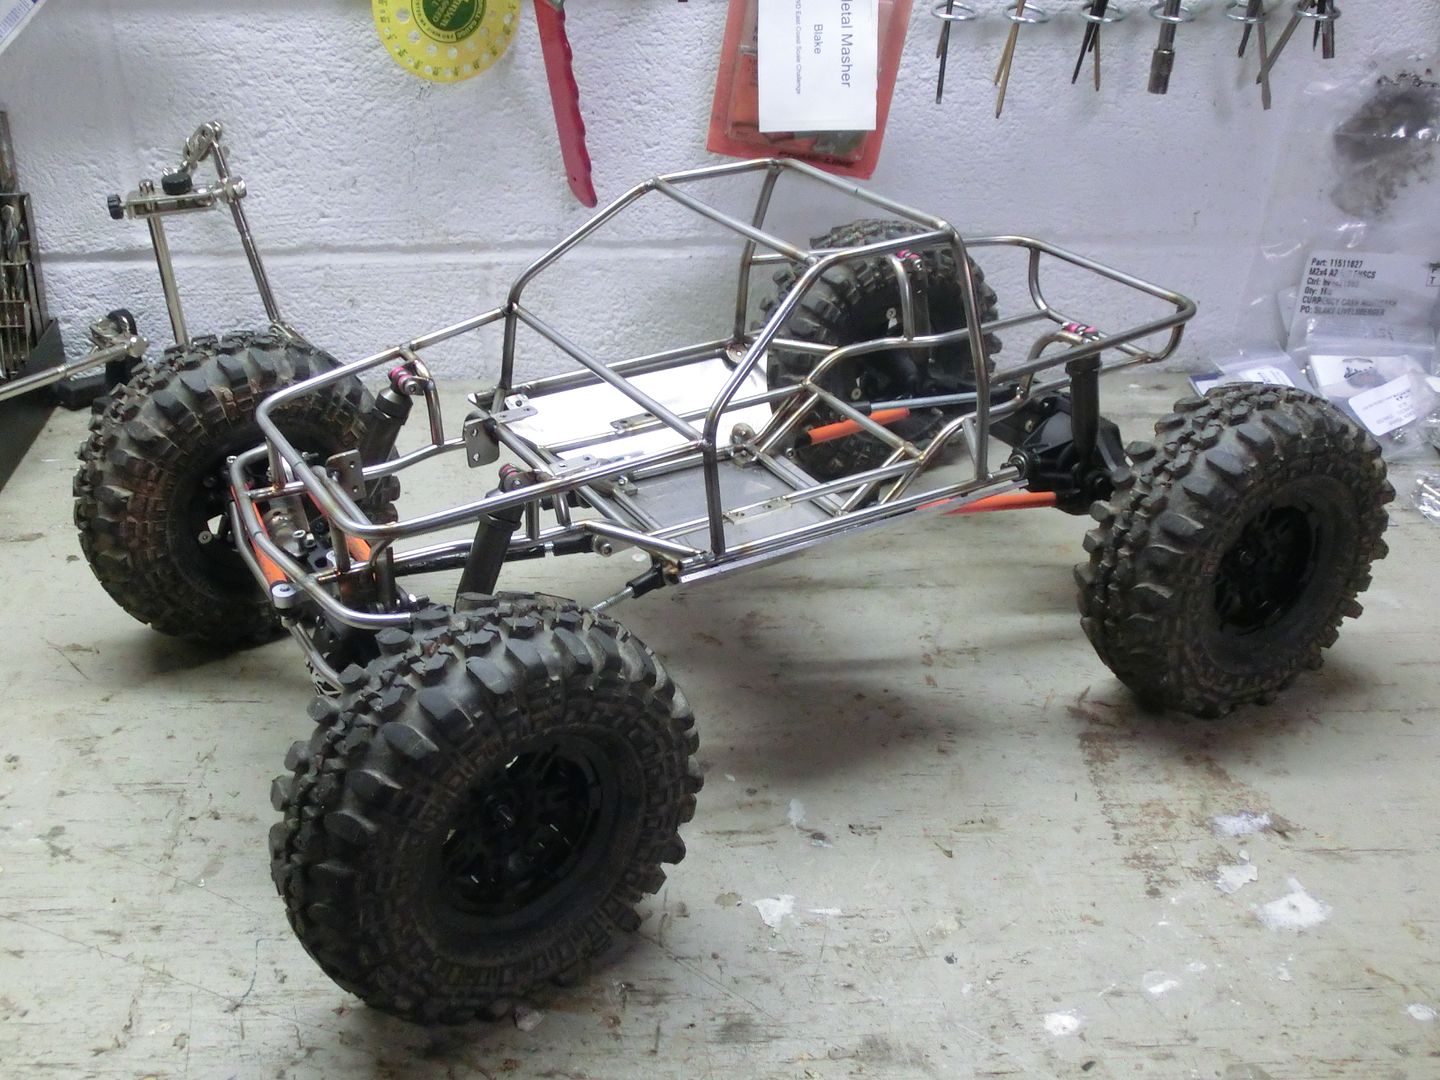 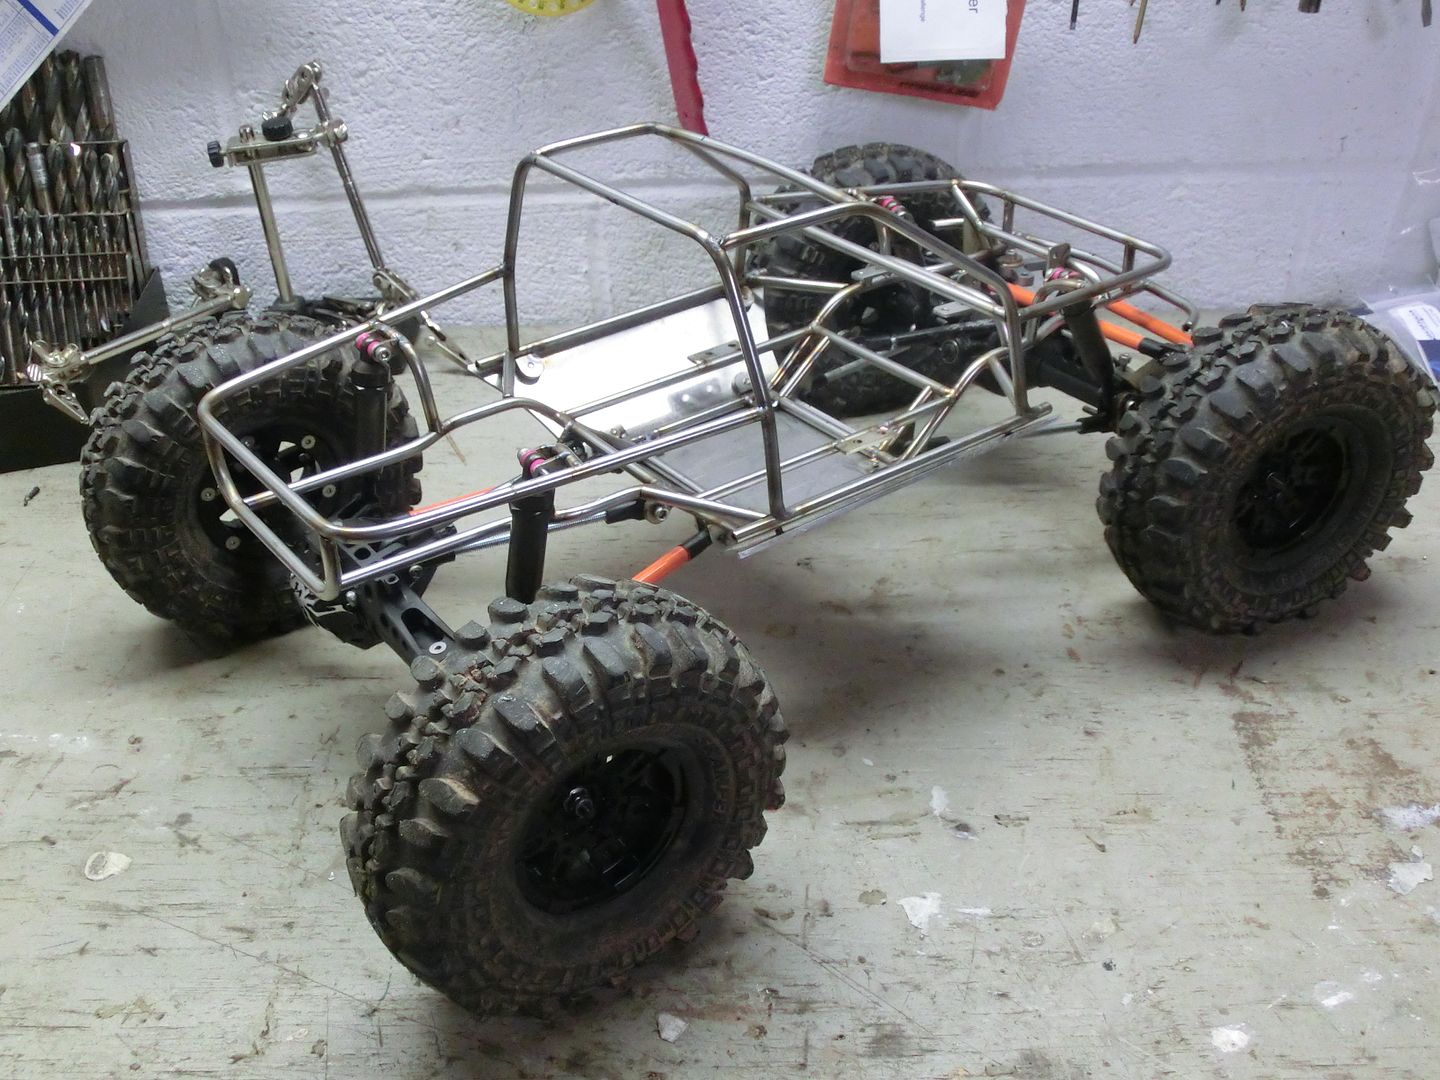 The flex is not crazy which it what i was shooting for. I've been learning to love less flex lately. 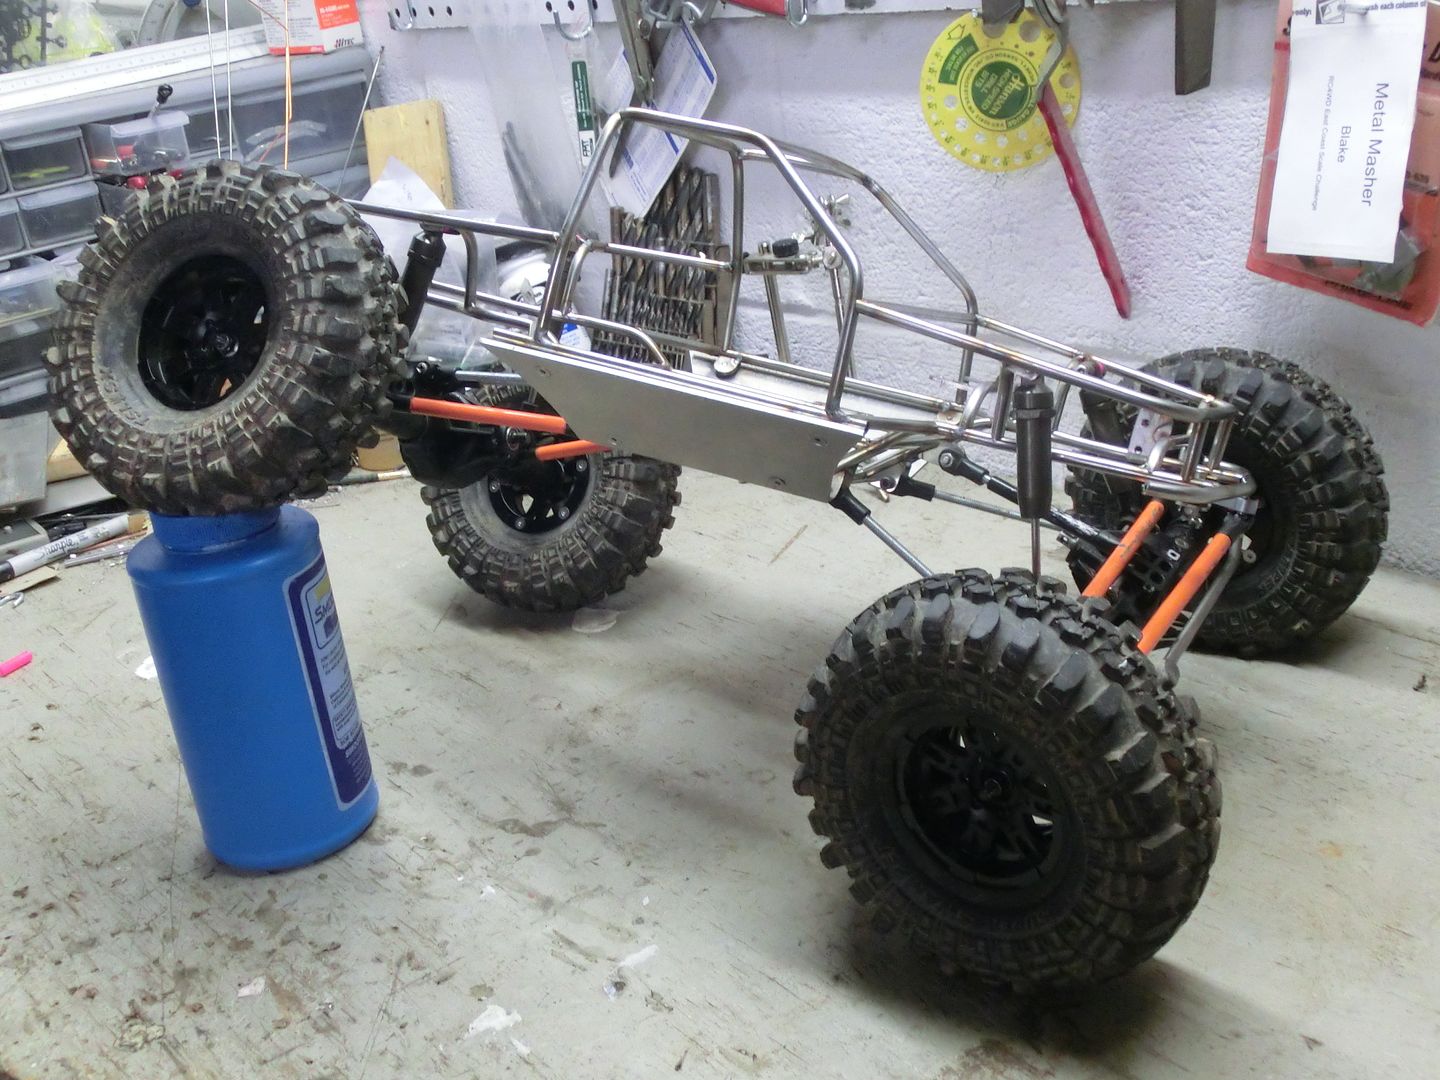 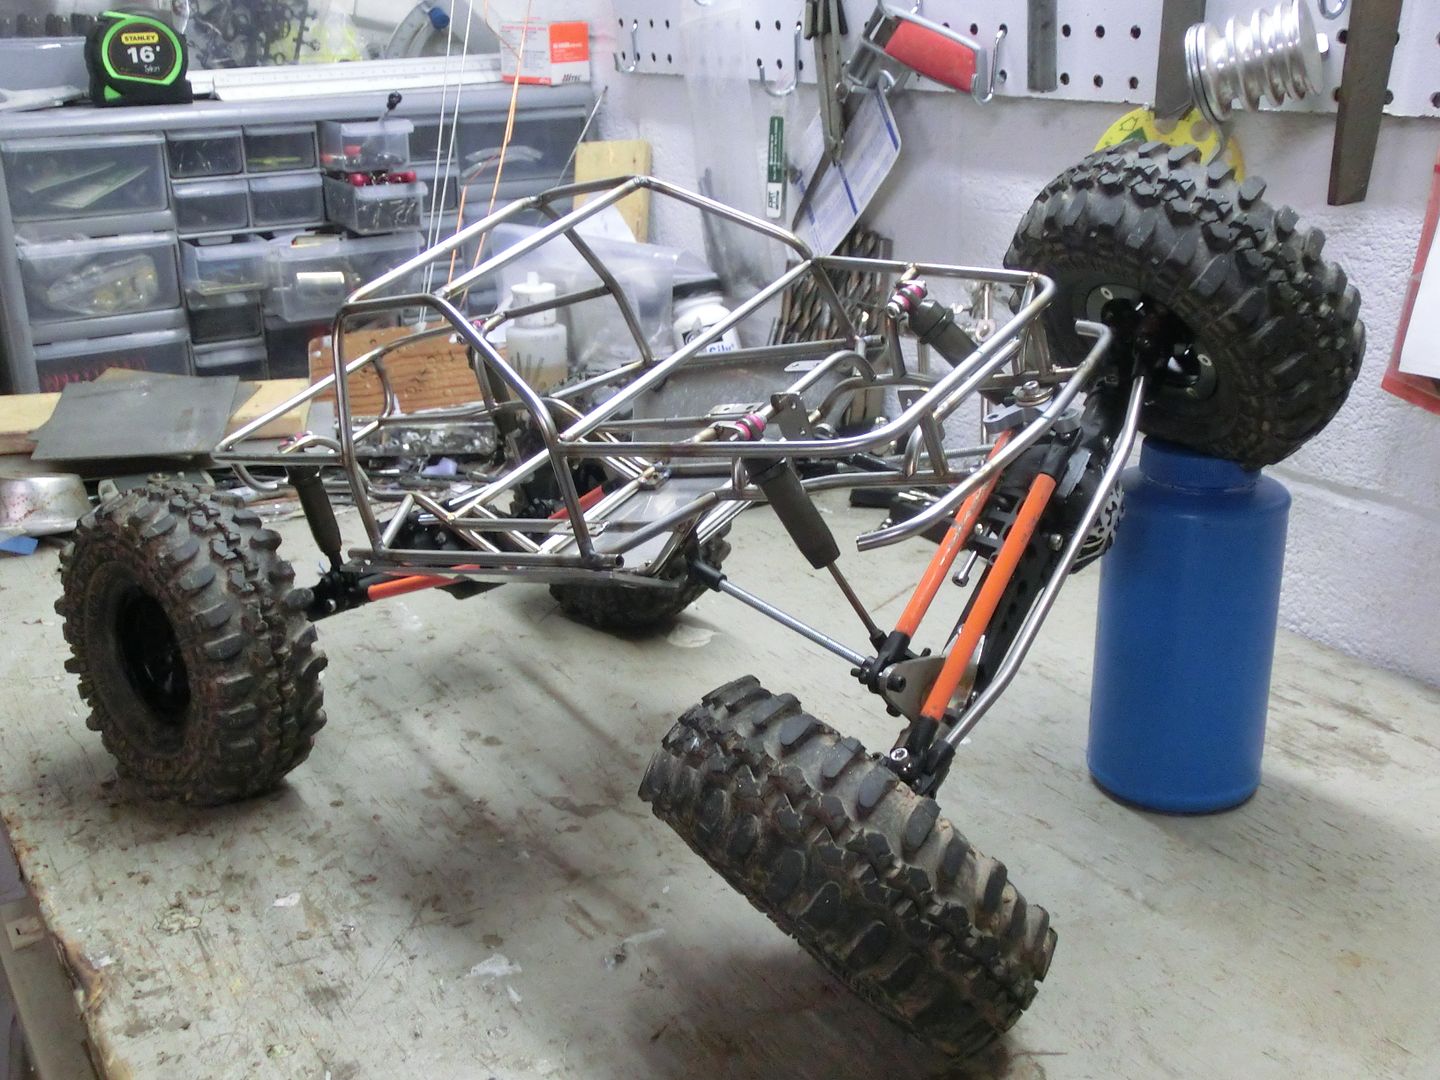 here it is with the body in place. The closer i get to finished the more i like this truck! 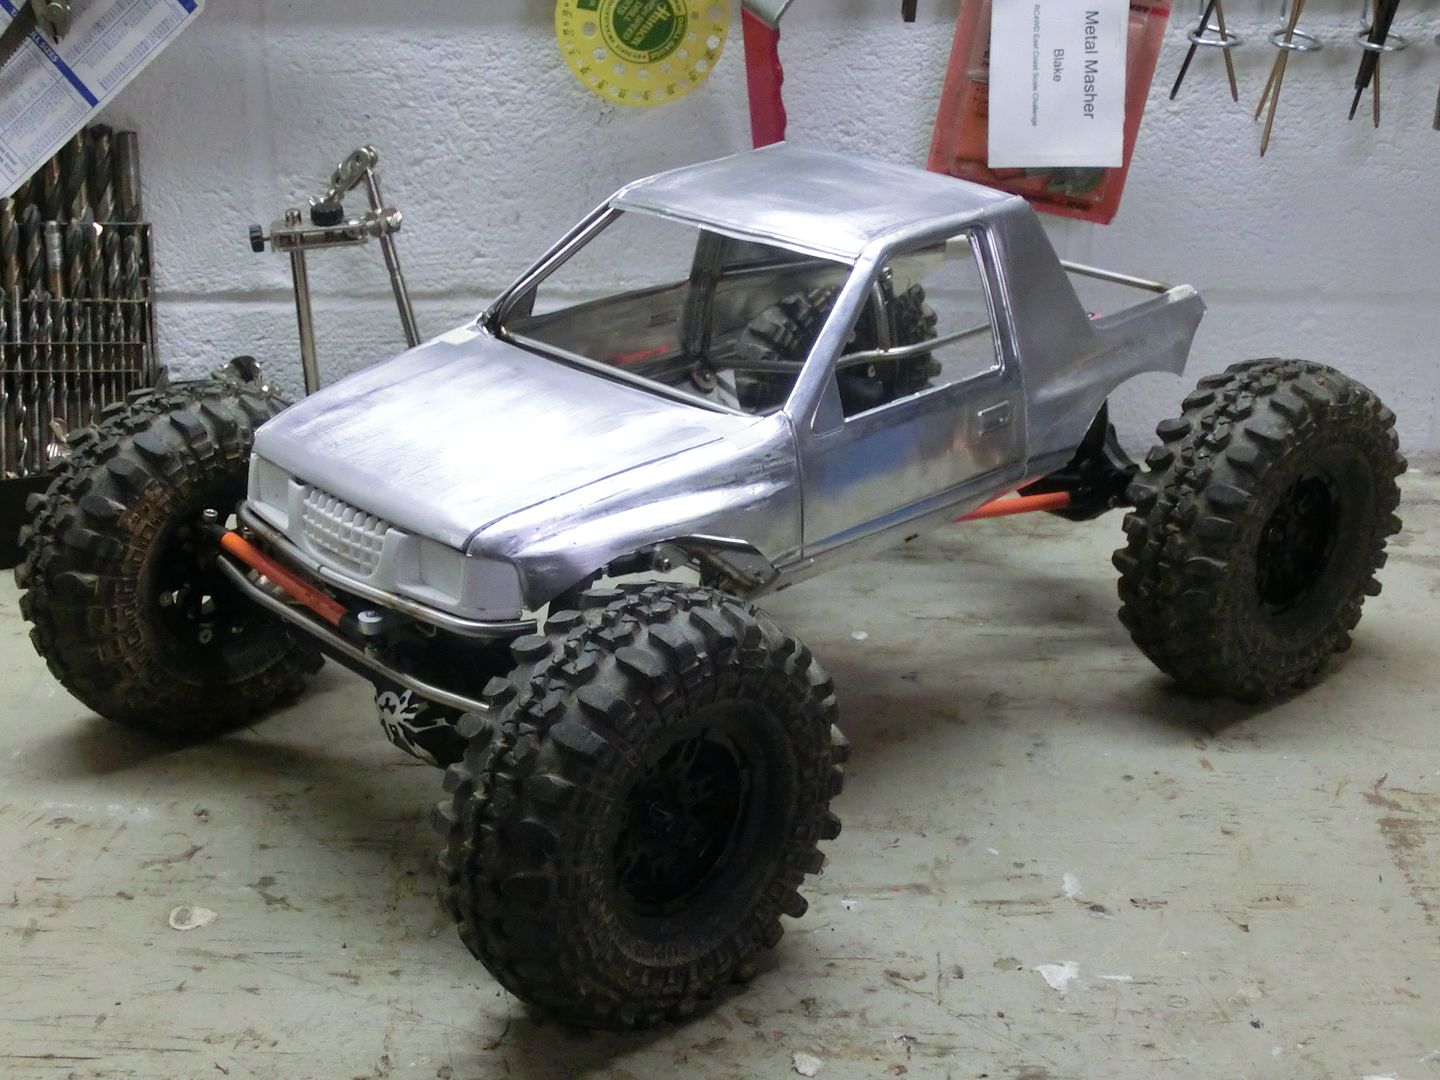 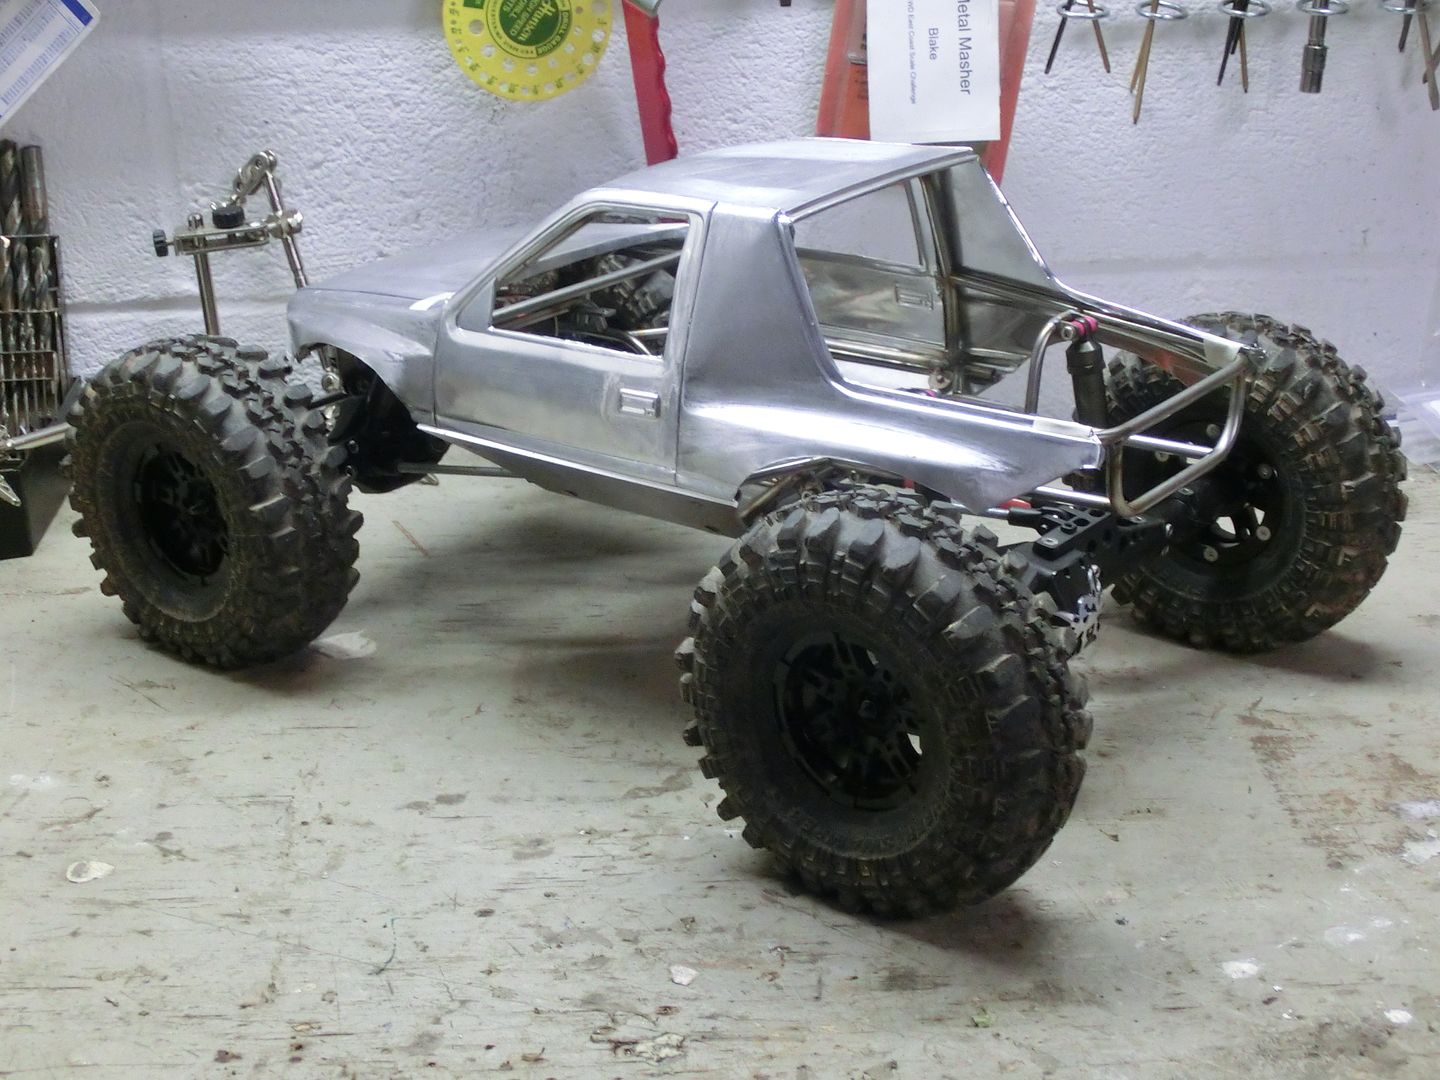 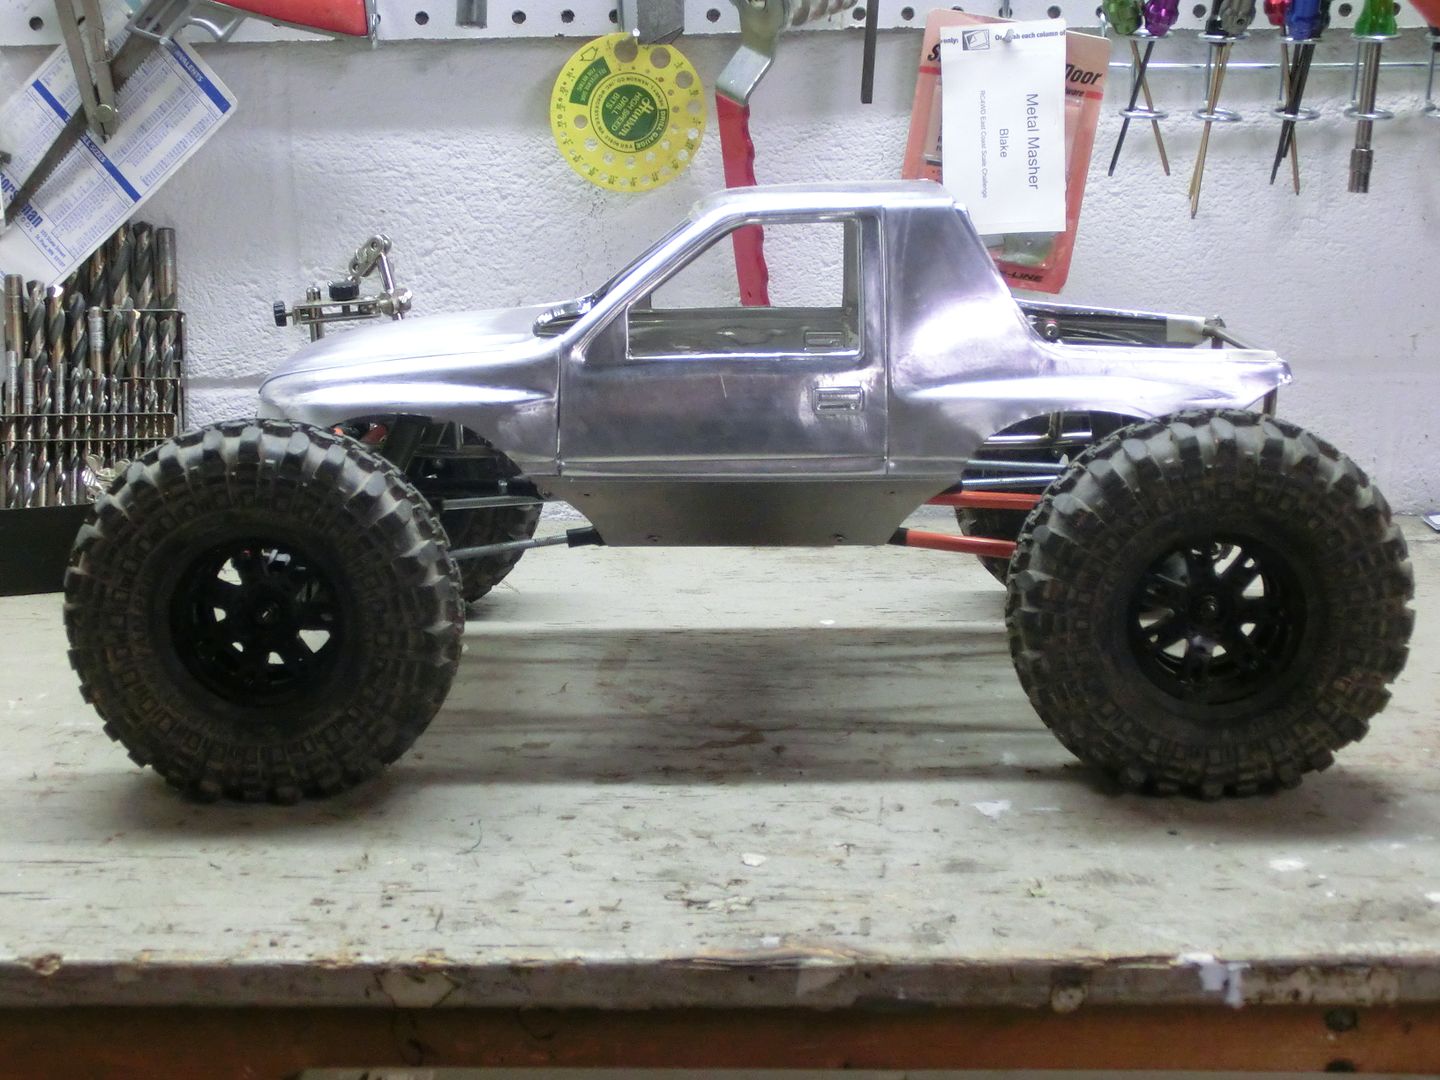 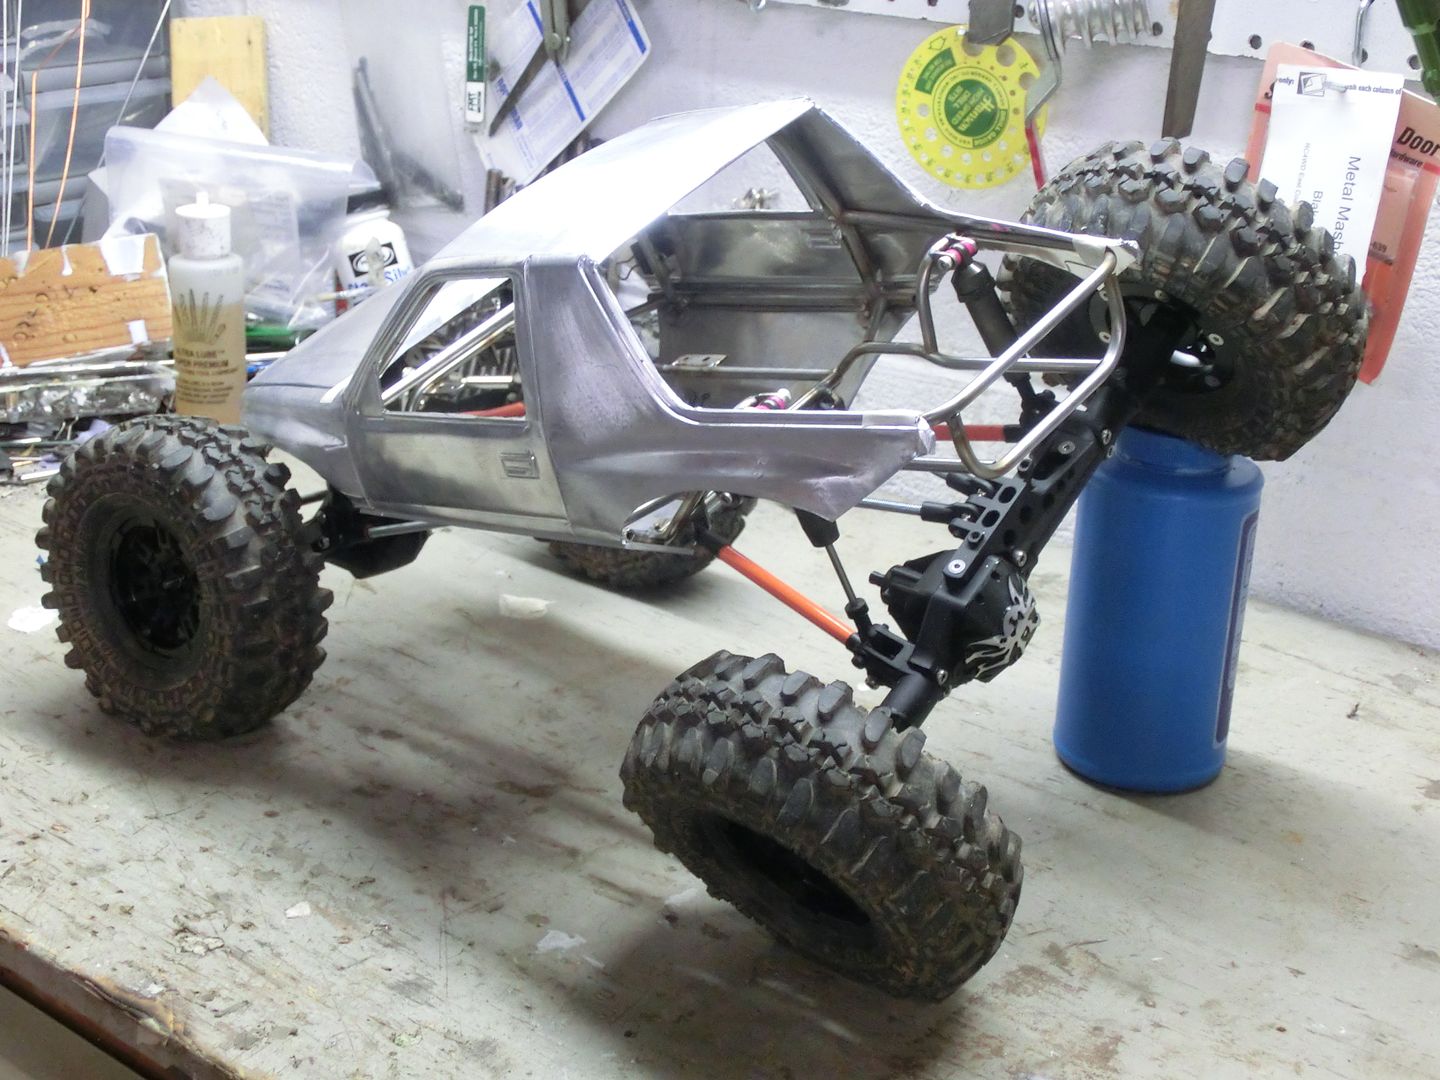 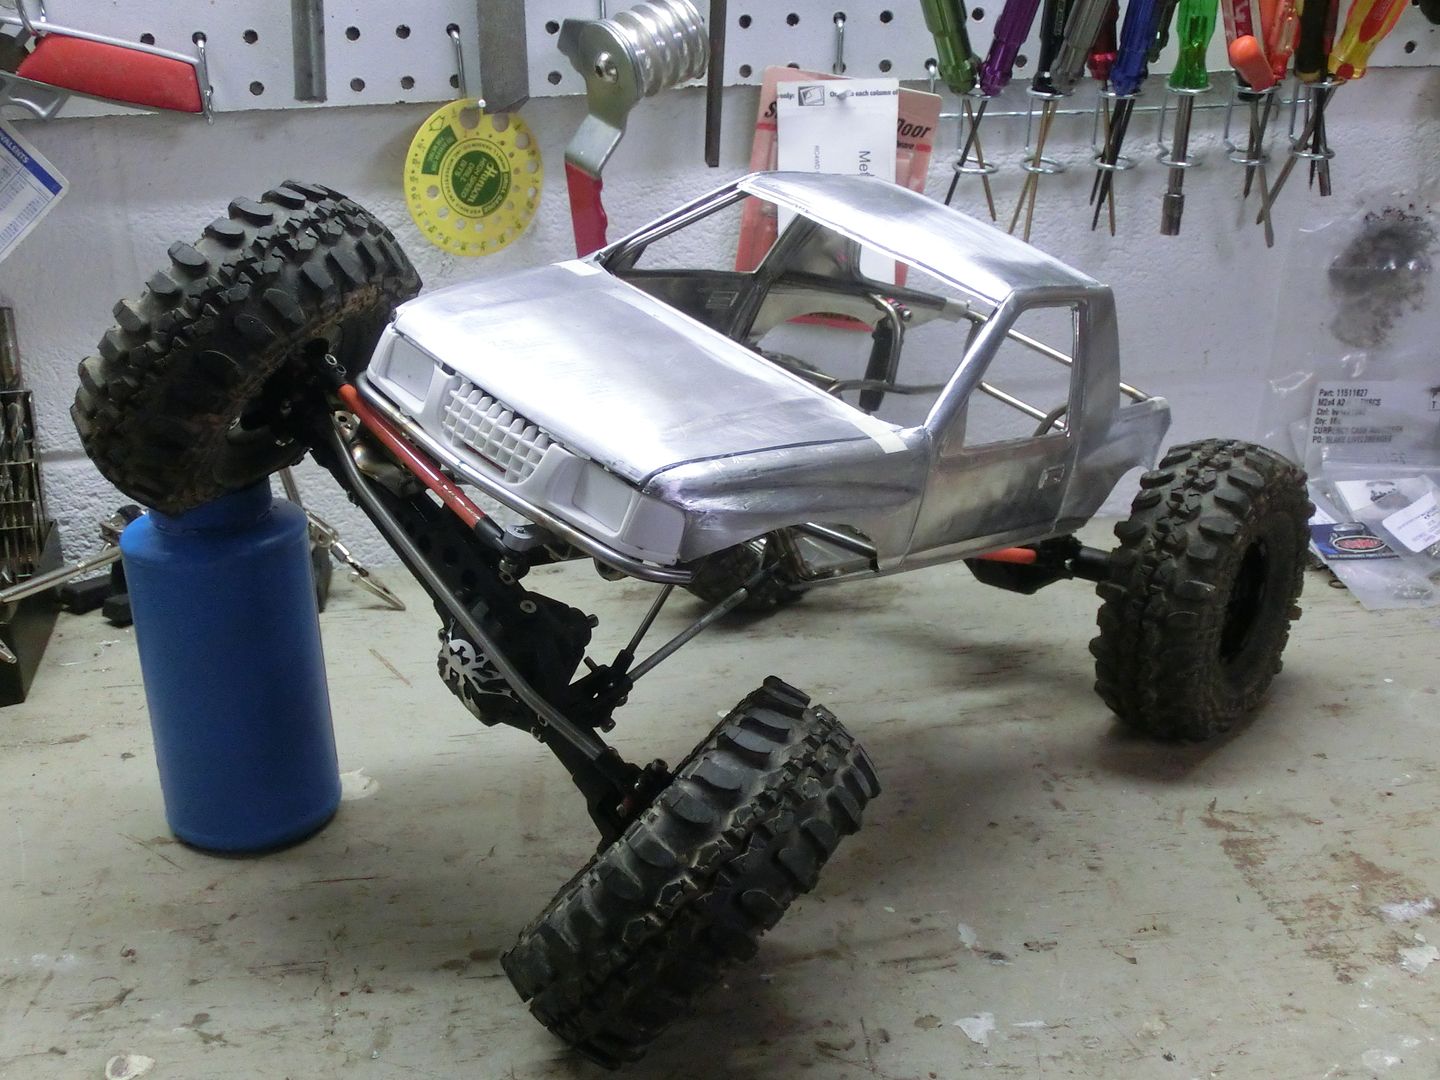 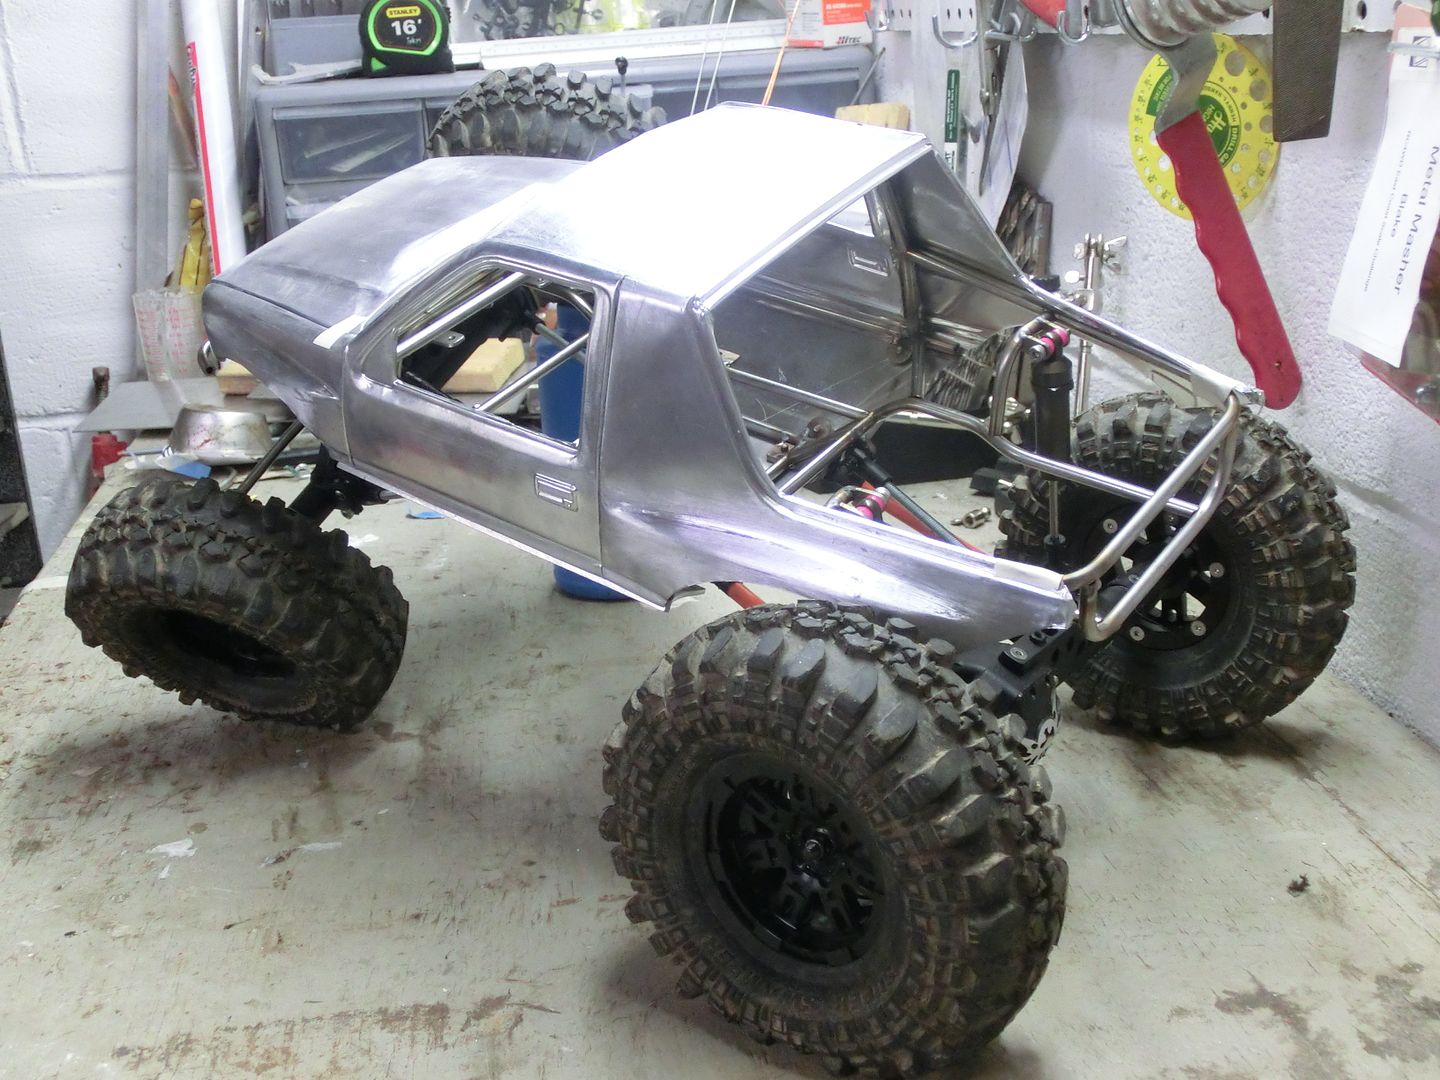 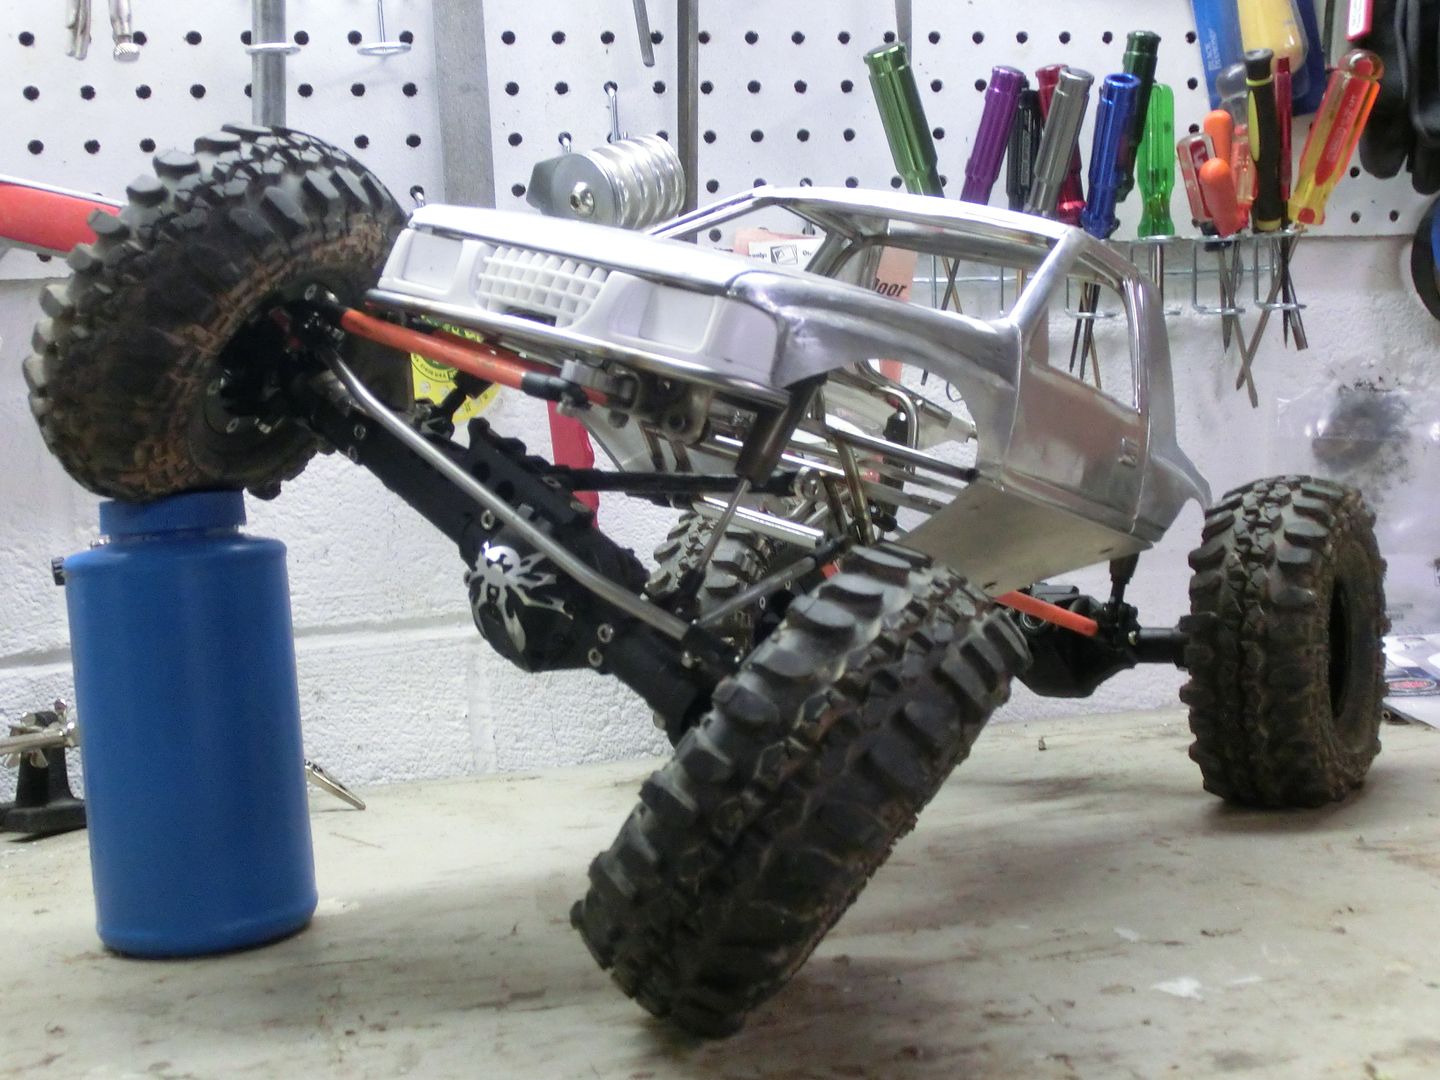 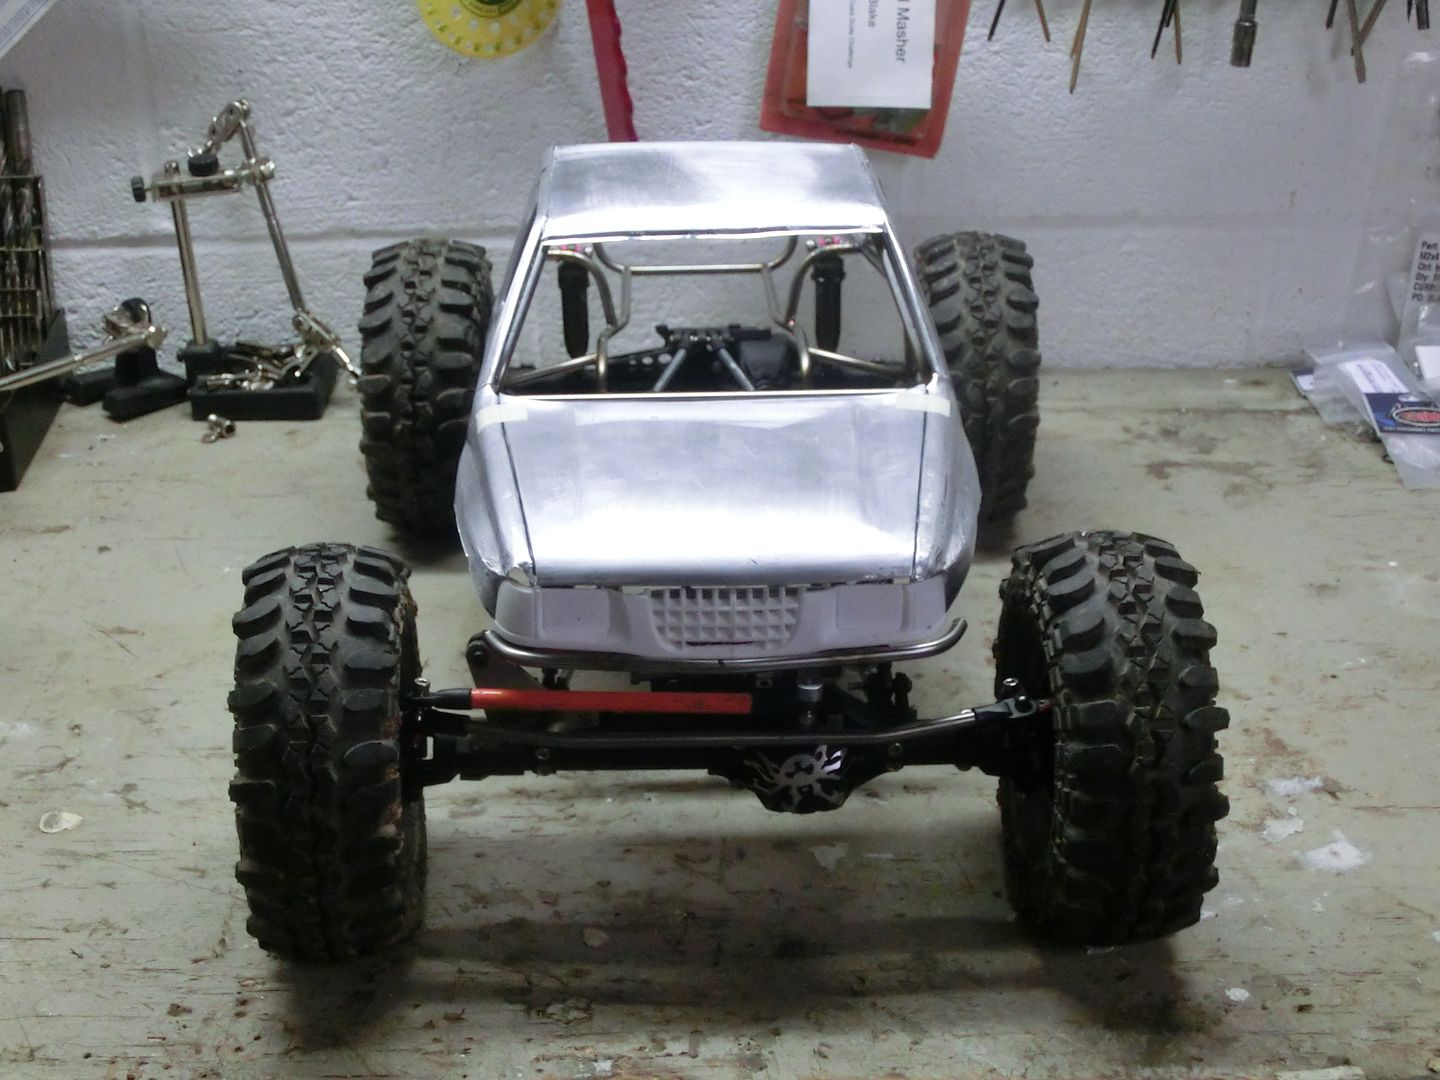 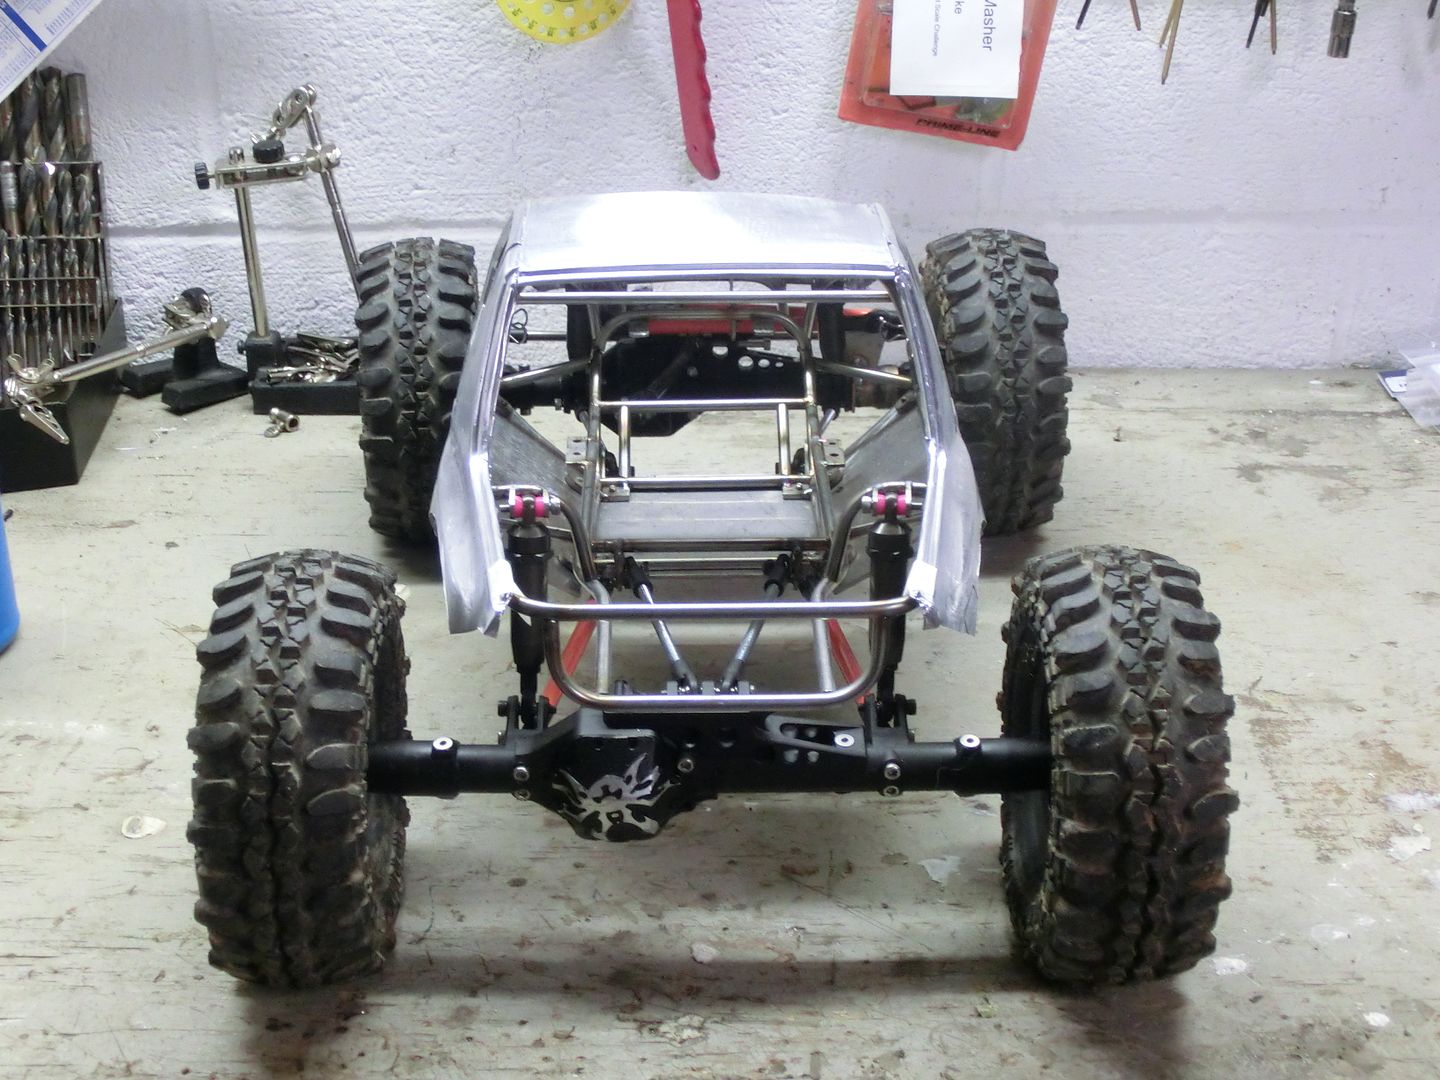 And the tires just clear the fenders at full lock. 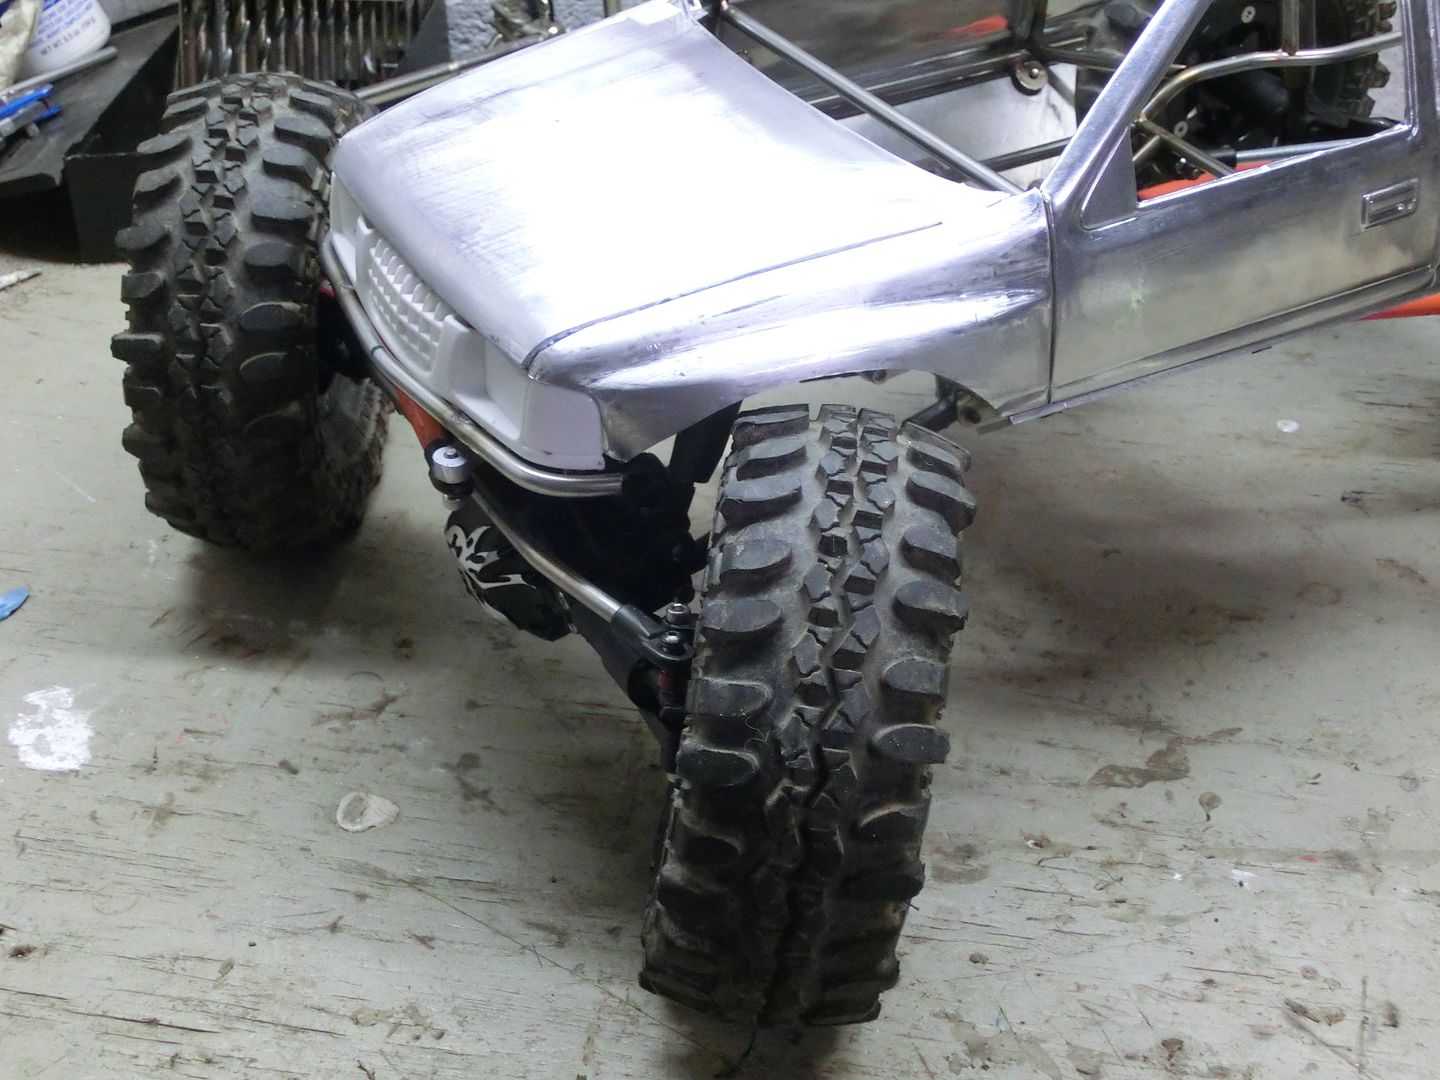 now when the suspension compresses is a different story. i may need to add some bump stops. I still have a long ways to go but i'm getting closer! | |
| |  |
| | #16 |
| Newbie Join Date: Jul 2013 Location: central valley
Posts: 32
|
Keeps getting better and better. Looks killer!
|
| |  |
| | #17 |
| Rock Crawler  Join Date: May 2012 Location: Washougal
Posts: 625
|
Just keeps getting better! I really like the steering set up, shock angles look nice too. Gonna be a performer I can already tell  Question, are you planning on running a beefier steering servo? Im thinking with the dig it can help with that a bit?.....just curious. If never had dig in scaler, looks fun. |
| |  |
| | #18 |
| RCC Addict Join Date: May 2008 Location: Southern,WV
Posts: 1,136
|
Why did you decide to cut the body almost in half from top to bottom? Why not run a full body?
|
| |  |
| | #19 |
| RCC Addict  Join Date: Aug 2005 Location: Oceano, CA
Posts: 1,154
| |
| |  |
| | #20 |
| Rock Crawler Join Date: Jun 2011 Location: Vancouver
Posts: 932
|
that's awesome!!! nice tube work!!!! |
| |  |
 |
 Class 3 Amego - Similar Threads
 | ||||
| Thread | Thread Starter | Forum | Replies | Last Post |
| USRCCA Class 1 - Super Class - Cut N Shut Tire Catalog | Nova's Ark | Crawler Innovations | 32 | 01-29-2023 05:10 AM |
| USRCCA Class 3 - 1.9 Class - Cut N Shut Tire Catalog | Nova's Ark | Crawler Innovations | 5 | 11-27-2011 10:52 AM |
| Colorado Comp #5...........Super Class and 2.2 Class Videos | BENDER | Videos! | 37 | 06-06-2007 07:46 PM |
| |