| |
 02-08-2010, 09:06 PM
| #1 |
| Newbie Join Date: Jan 2010 Location: Sequim, WA
Posts: 10
| I started this crawler because my friend on Whidbey Island introduced me to the hobby. I started with a scratch build two months ago with 3Racing parts. It is a fun crawler, but now it is now my wife’s rig. I wanted more… so I built a Vanquish Shafty. This site has been very helpful in figuring out how things work. I started this build from scratch using the following parts: Vanquish Products chassis Vanquish Products front 4 link plate Vanquish Products rear 4 link plate Vanquish Products Razors front/rear Vanquish Products 3 position dig Proline 8 shooter beadlocks Proline Hammer tires Proline Rockstar body Novak 55t motor Novak Rooster ESC Axial Locked axles Axial Locked Transmission Axial Pro Comp 72 – 103 shocks STRC silver links STRC silver transmission cover Traxxas rod ends MIP C drive shafts Spektrum DX3E Transmitter/Receiver 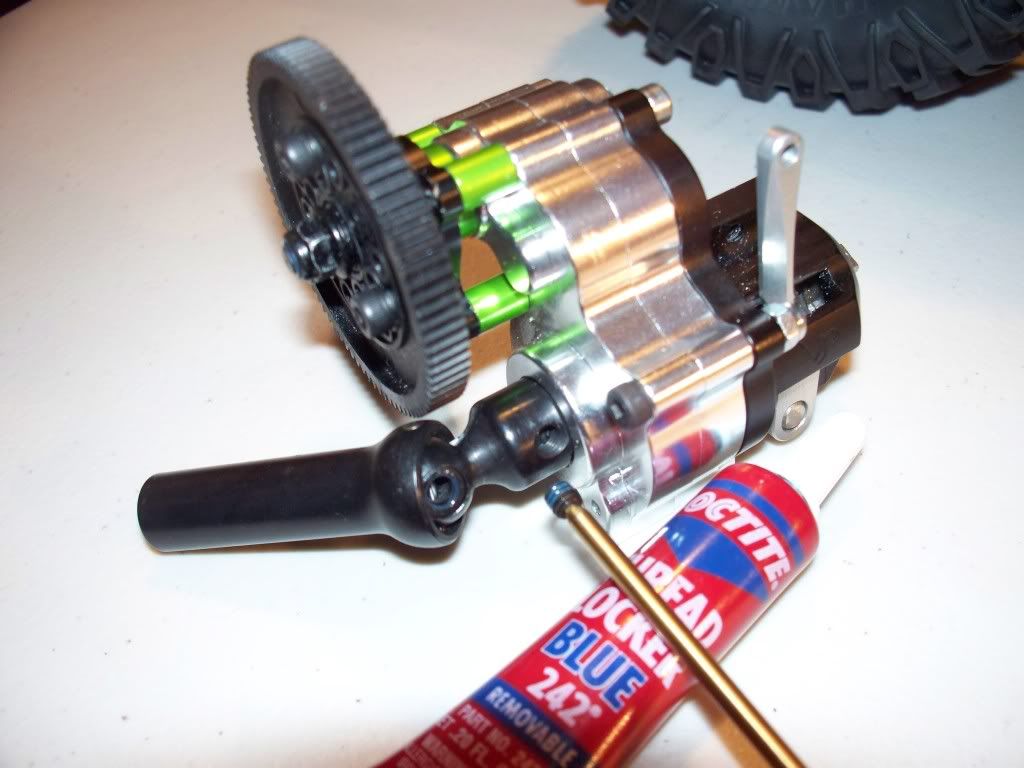 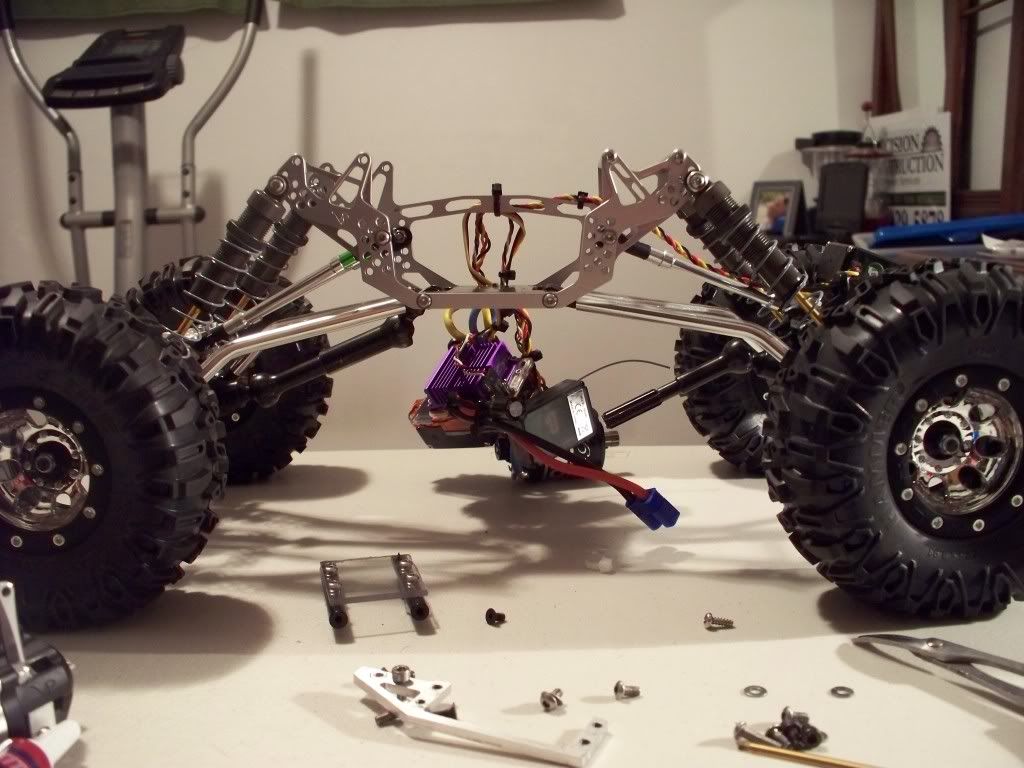 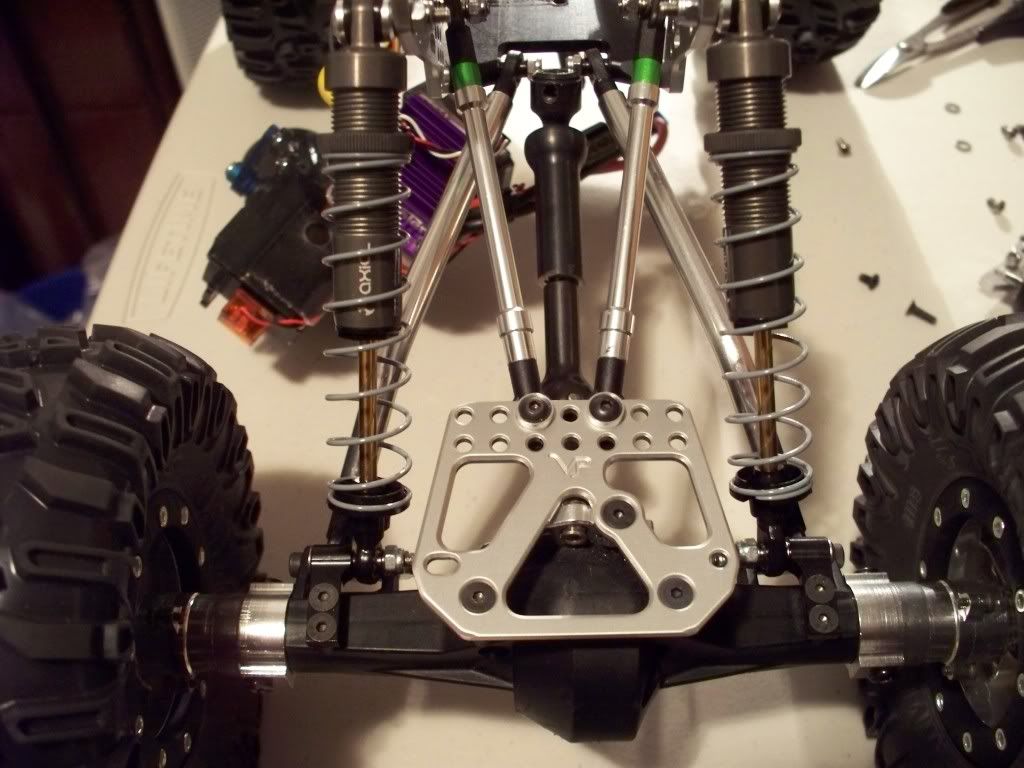 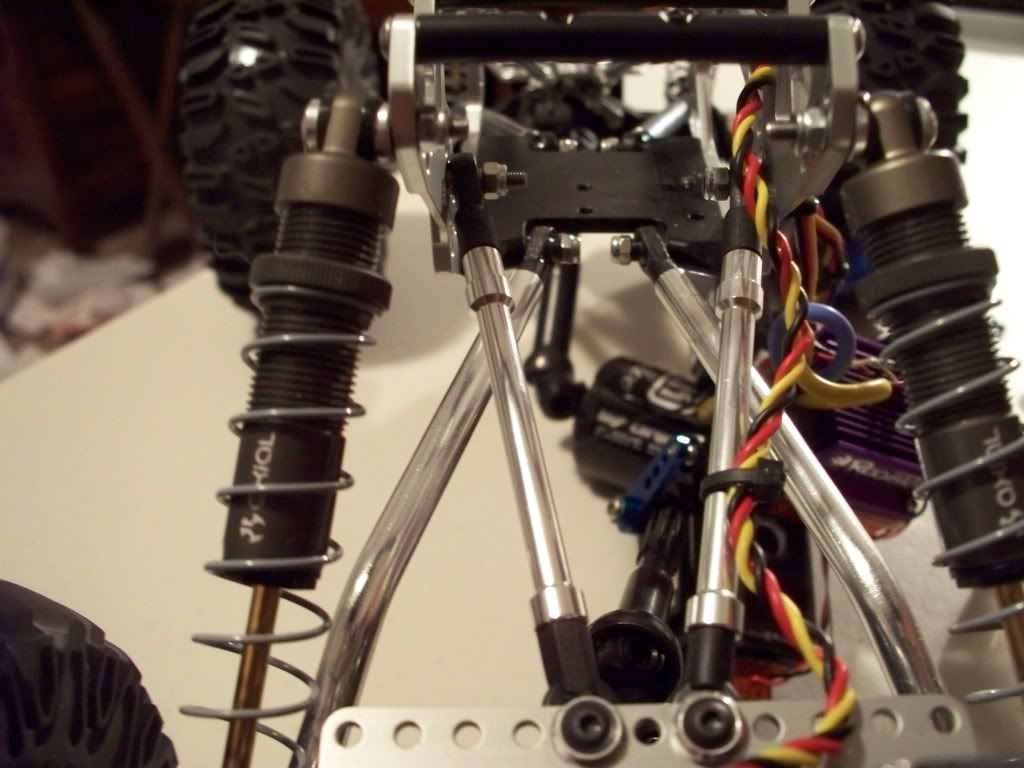 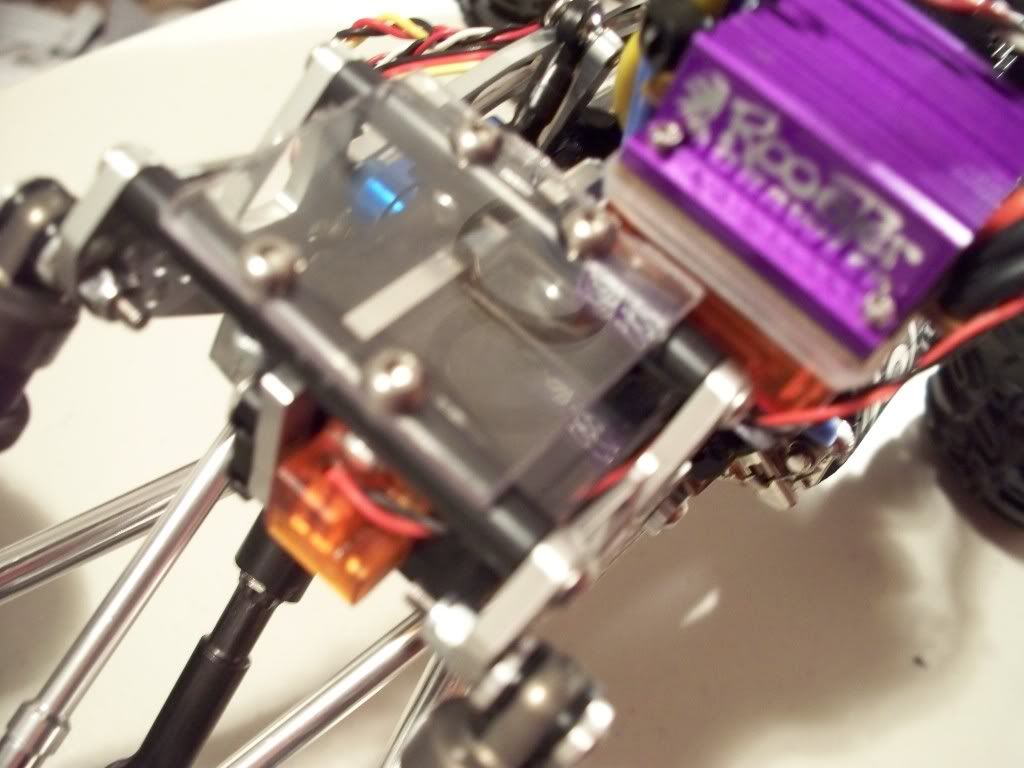 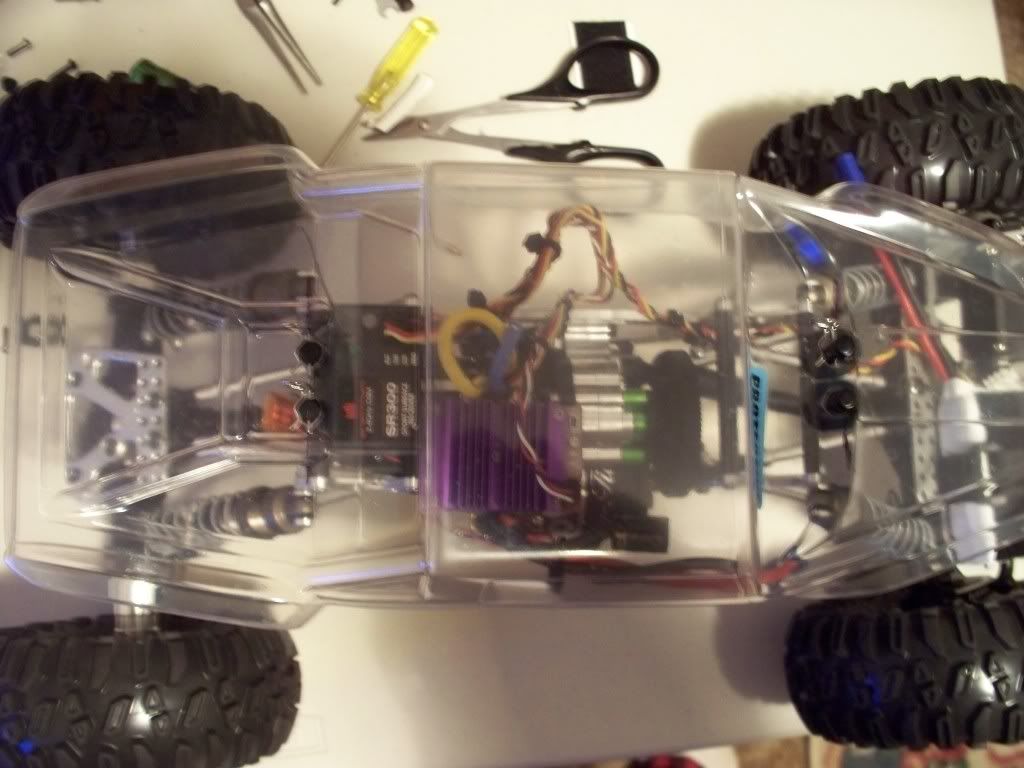 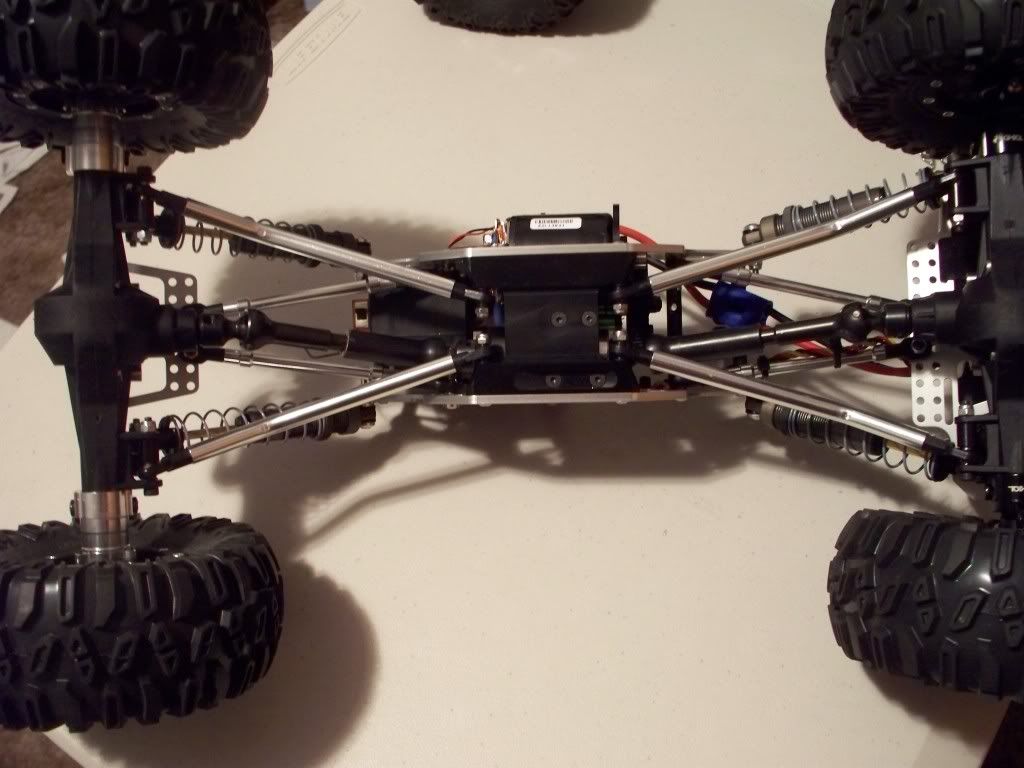  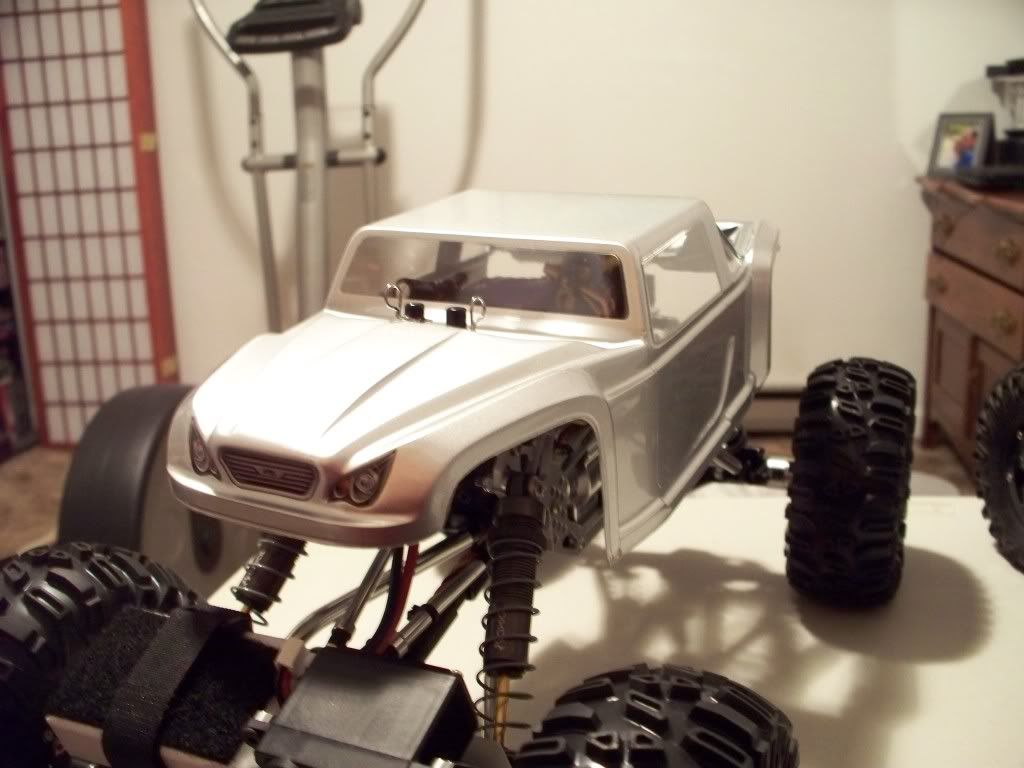 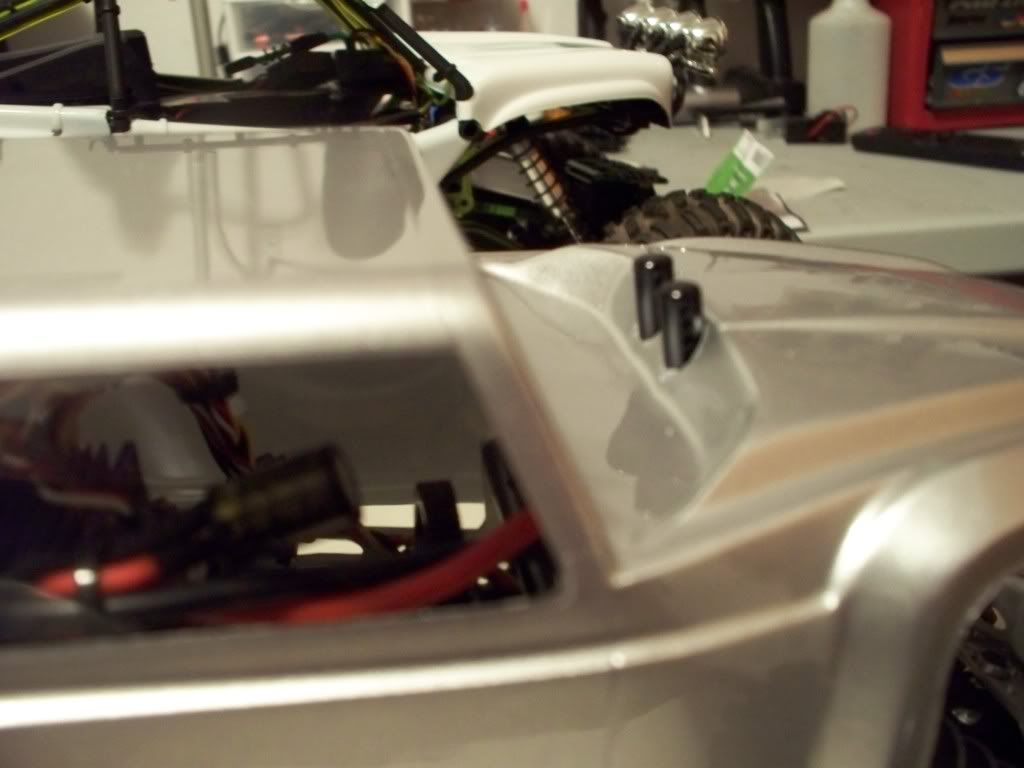 Last edited by Lookin4rock; 02-08-2010 at 10:42 PM. |

|  |
| Sponsored Links | |
| | |
|
02-09-2010, 04:01 AM
| #2 |
| I wanna be Dave Join Date: Sep 2009 Location: Nor Cal
Posts: 2,213
|
Great Rig!
|
|
| |
|
02-09-2010, 04:04 AM
| #3 |
| I wanna be Dave Join Date: Sep 2009 Location: Nor Cal
Posts: 2,213
|
Here's the build thread for my incision. Vanquish Products Incision Shafty Build Love mine. How are you liking yours? |
|
| |
|
02-09-2010, 04:05 AM
| #4 |
| I wanna be Dave Join Date: Sep 2009 Location: Nor Cal
Posts: 2,213
|
What is your wheelbase with those links?
|
|
| |
|
02-09-2010, 05:46 AM
| #5 |
| Newbie Join Date: Jan 2010 Location: Sequim, WA
Posts: 10
|
The wheel base is just under 12.5. The MIP shafts made it difficult to find a good spot to position the links. They are too big. That is why I had to put spacers on the upper links.
|
|
| |
|
02-09-2010, 03:45 PM
| #6 |
| Quarry Creeper Join Date: Oct 2009 Location: Wells VT.
Posts: 311
|
Looks like a nice chassis but I would try to get your belly clearance down some to lower your center of gravity.
|
|
| |
|
02-09-2010, 04:23 PM
| #7 |
| Newbie Join Date: Jan 2010 Location: Sequim, WA
Posts: 10
|
How do I lower the CG? Do I have to use internal springs in the shocks?
|
|
| |
|
02-09-2010, 04:56 PM
| #8 |
| Rock Crawler Join Date: Jul 2004 Location: Salt Lake
Posts: 684
|
Wow man, nice looking rig! You should consider lowering the belly. try mounting the shocks on the upper-most hole. That should make a difference. You could also raise the shock collars to let the truck sag a little bit. Good work! |
|
| |
|
02-09-2010, 04:57 PM
| #9 |
| 0 0   Join Date: Jul 2006 Location: FT. Thomas
Posts: 1,830
|
different shocks would be the best route.
|
|
| |
|
02-09-2010, 05:22 PM
| #10 |
| Pebble Pounder Join Date: Dec 2009 Location: oregon
Posts: 127
|
i got the same chassie my links are the outside of the chassie and i got the same shock i put them in top hole where the chassie brace is it brought my belly hieght to 2 7/8
|
|
| |
|
02-09-2010, 05:31 PM
| #11 |
| Quarry Creeper Join Date: Oct 2009 Location: Wells VT.
Posts: 311
|
try this, undo the upper shock mounts and place something under the belly so it is sitting between 2 1/2 and 2 3/4" then remove the preloads like was said. If your wheel base is to long at that height then you need to shorten your lower links to get back to 12 1/2 Now see if the shocks line up with any of the mounting points on the chassis at that height, if so you're good to go if not then try a shorter shock like Rom said. The reason for getting your cg lower is give better side hilling and vertical ability. The way it is set up now you could over big obstacles but as soon as you get a little off kilter you'll be on your side or on the lid. Hope it helps  edit: you could run internal springs under the piston in what is called a droop set up, this will basically let ride on the shock fully compressed and allow the axles to fall under or droop down when attacking obstacles. Do a search on droop set ups to get a better understanding. Last edited by mr.freeze; 02-09-2010 at 05:34 PM. |
|
| |
|
02-09-2010, 06:41 PM
| #12 |
| Newbie Join Date: Jan 2010 Location: Sequim, WA
Posts: 10
|
Thank you for the replies. I attached some more pictures of the corrected ride height. I think that I got it after a quick trip to the hardware store for longer 3mm stainless buttonheads. The ride height is now sitting at just a hair over 2 1/2 inches. I put spacers and longer bolts to keep it from rubbing the chassis. Any more tips or advice would be appreciated. Thanks again. 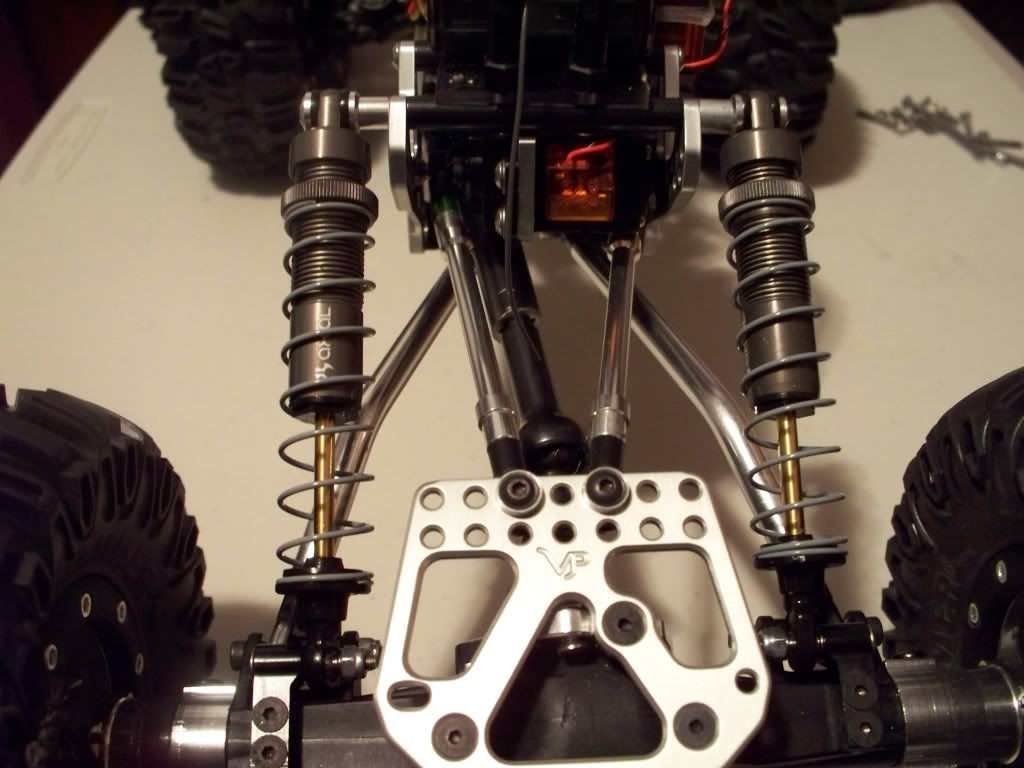 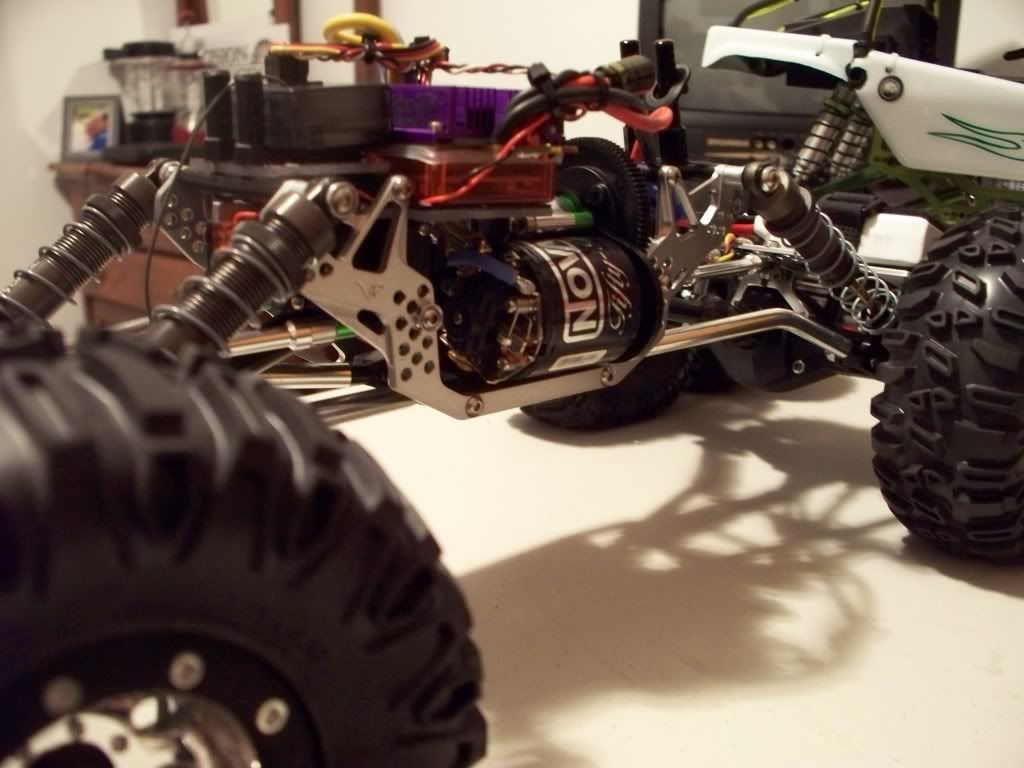 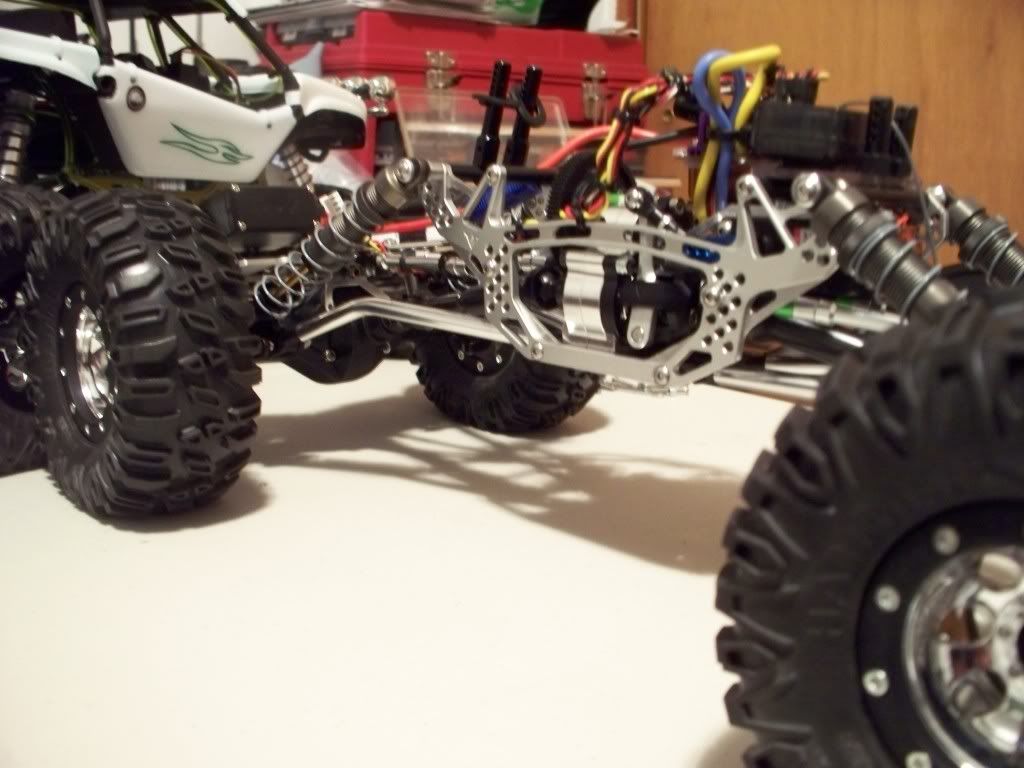 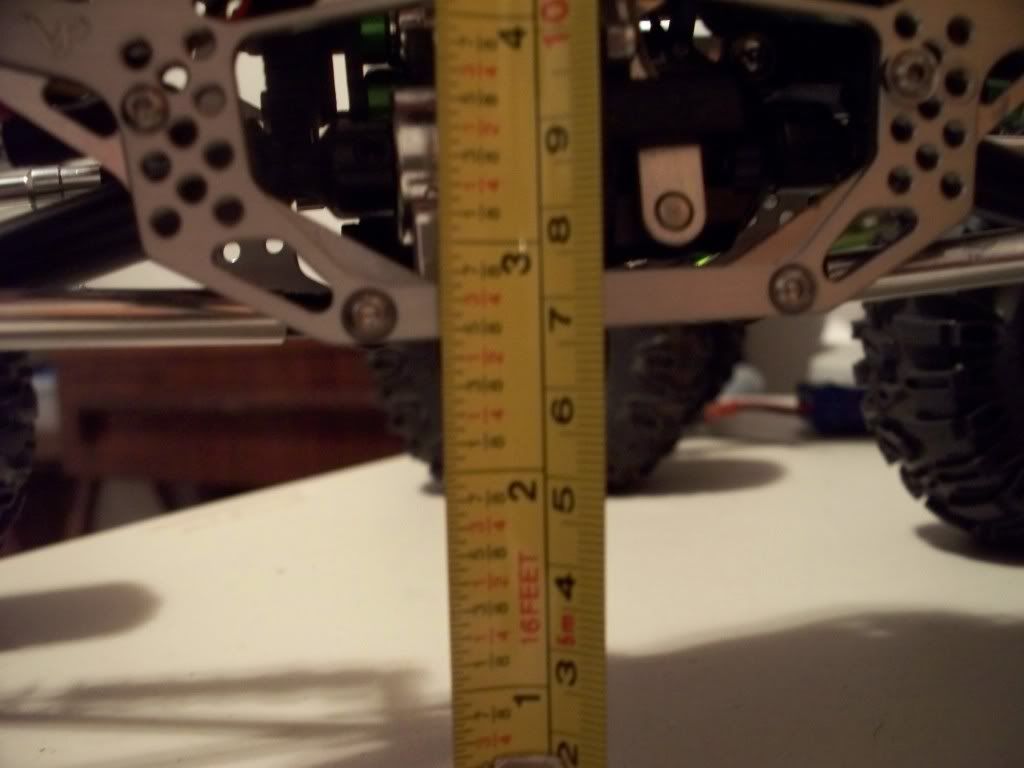 |
|
| |
|
02-09-2010, 06:46 PM
| #13 |
| 0 0 Join Date: Jul 2006 Location: FT. Thomas
Posts: 1,830
|
looks much better. i cant believe it lowered that much by moving the shock up just that little amount.
|
|
| |
|
02-09-2010, 06:53 PM
| #14 |
| Newbie Join Date: Jan 2010 Location: Sequim, WA
Posts: 10
|
It is looking lean and mean now. Thanks for the help.
|
|
| |
|
02-09-2010, 10:21 PM
| #15 |
| Rock Stacker Join Date: Mar 2009 Location: Granite Falls
Posts: 57
|
Get you a set of Rovers and you are ready to go. Looks Good!!
|
|
| |
|
02-09-2010, 10:35 PM
| #16 |
| Pebble Pounder Join Date: Dec 2009 Location: oregon
Posts: 127
|
you will get more room for your rear driveline if you put your links on the out side and it wont afect your ride hieght
Last edited by yfz350; 02-10-2010 at 08:16 PM. |
|
| |
|
02-09-2010, 11:54 PM
| #17 |
| Newbie Join Date: Jan 2010 Location: Gilbert AZ
Posts: 42
|
That looks really awesome |
|
| |
 |
| |


 Linear Mode


