| |
| |||||||
 |
| | LinkBack | Thread Tools | Display Modes |
 01-06-2010, 07:37 PM
| #1 |
| Rock Crawler Join Date: Apr 2006 Location: Folsom, CA
Posts: 620
|
I found out why my 645mg servo fit when I was putting my truck together and no one else here had theirs fit. Here is why On the top link of the front axle, right at the wishbone, I noticed the spherical joint had some front to back play in it. When I installed the servo, I pushed the top of the front axle back into this position... 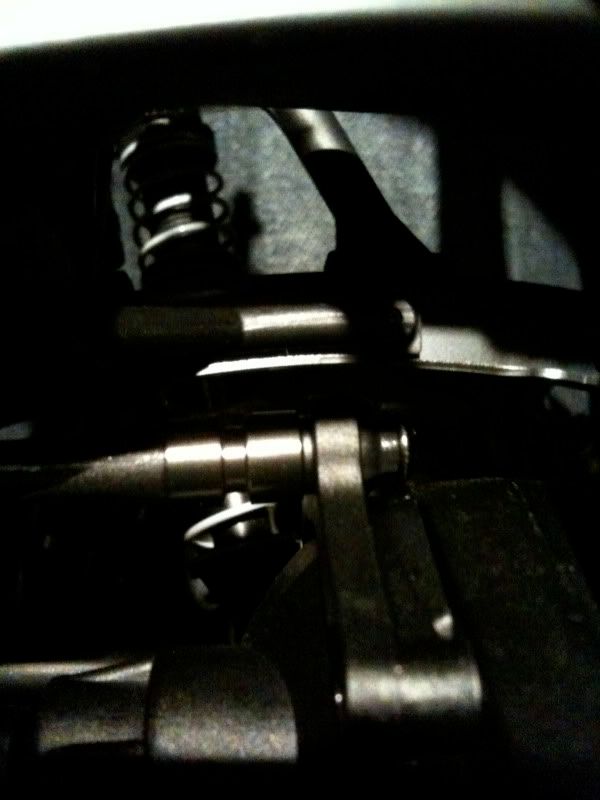 This position provides enough clearance for the servo horn to clear the crossmember. But I wanted to fix that as cheap as I could. I wanted this position... 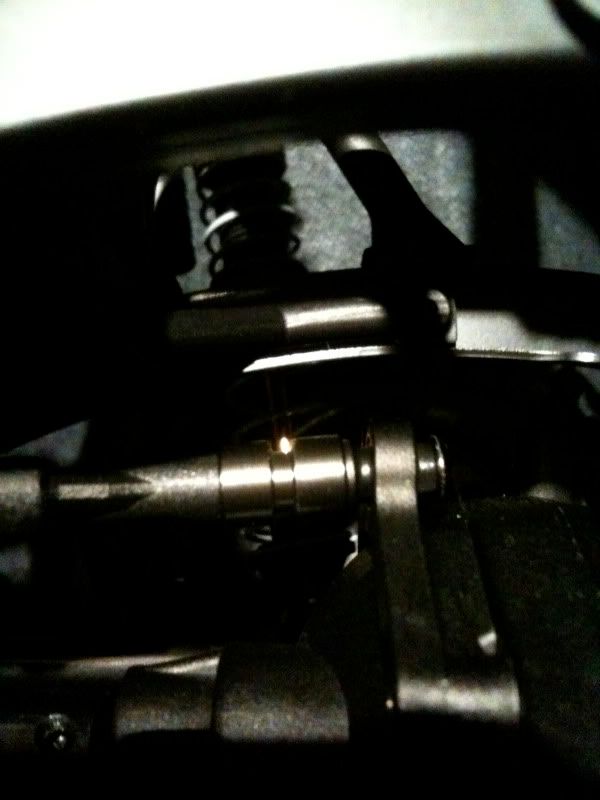 ...but without the servo horn to hit! So here is what I came up with; you don't have to remove the wishbone either 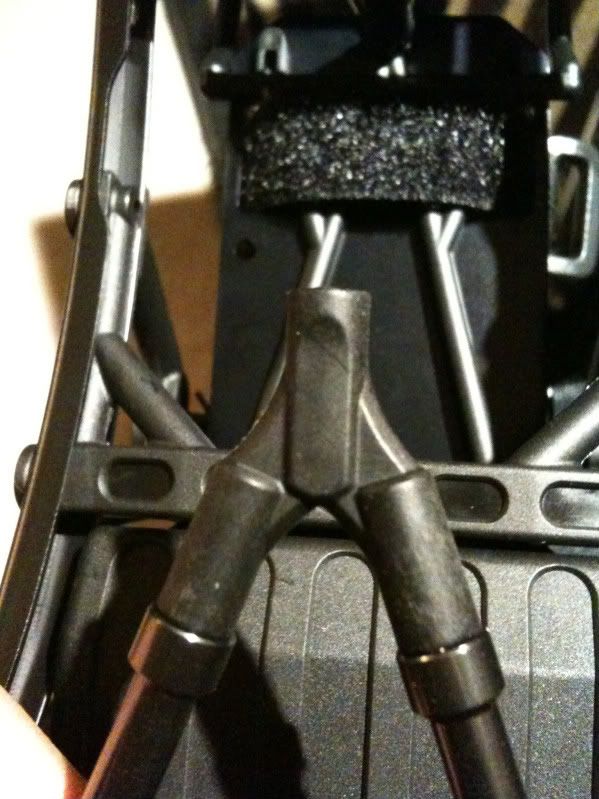 I cut the wishbone at the axle end right about at the peak of that curved area; maybe 1/16". I wouldn't recommend cutting/shaving more than that because I had to go back and install washers to get the clearances just right. This picture shows how much I cut off and how long the factory M3 screw is from the factory. I ended up shortening that screw 1/8" because I found it was a little too long from the factory. 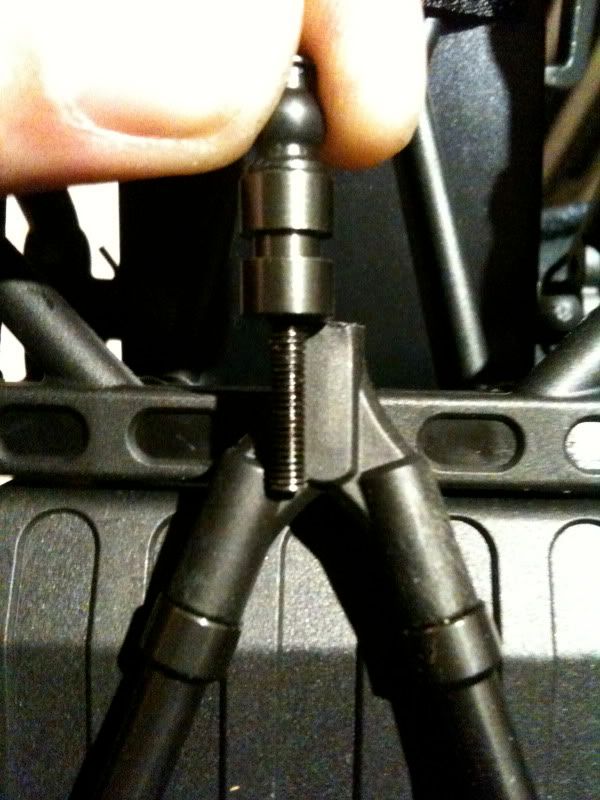 Here is the shortened M3 screw; I wouldn't recommend cutting these with side cutters because the threads get messed up easily. 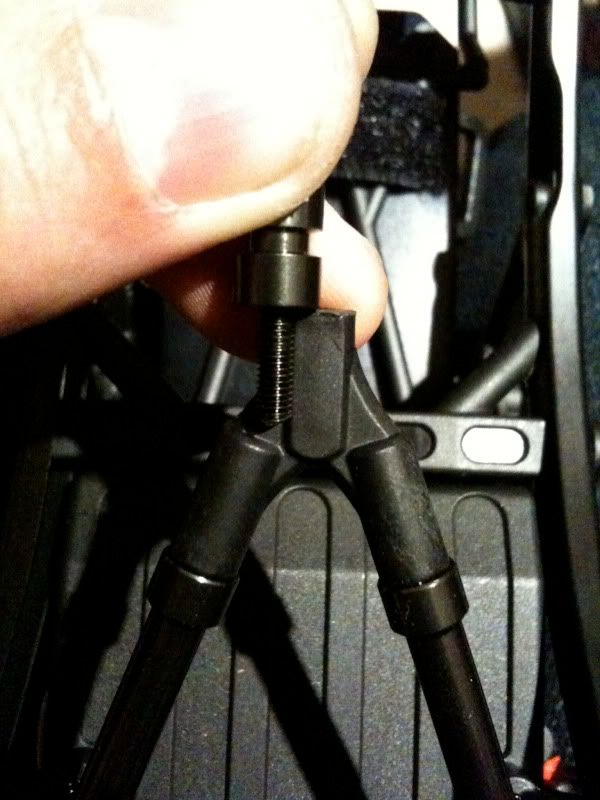 After I put the front end back together, I noticed I had a little too much clearance between the servo horn and crossmember. The pinion angle was a little worse as well. At this point, I determined the best plan of attack was to put some washers in between the wishbone and the small link spacer. Picked up some M3 washers from the hardware store for $1, installed 2 of them and kept the rest for spares. Now the servo horn just barely clears but it won't hit the crossmember ever again! Finished pictures... 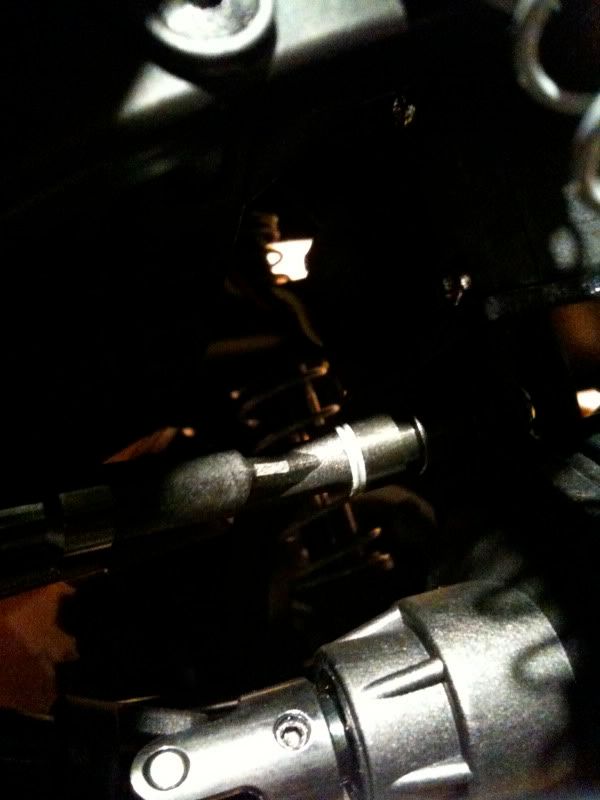 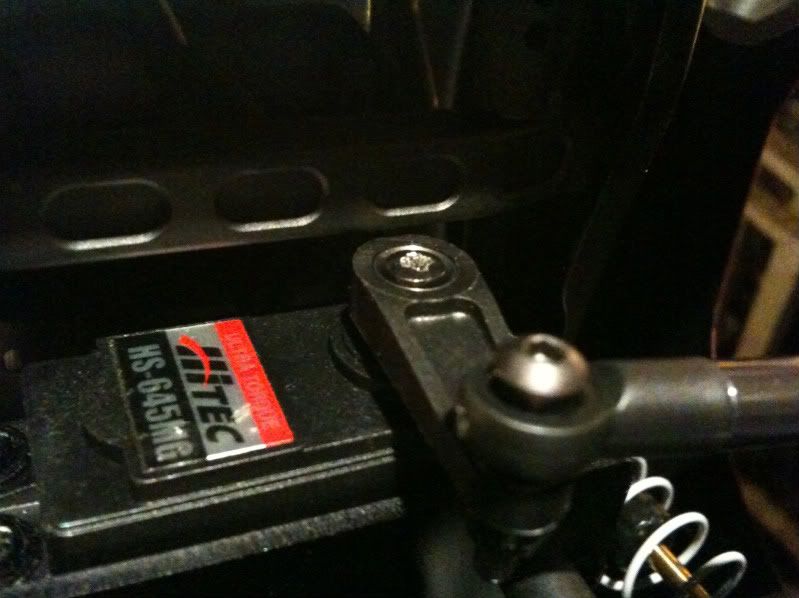 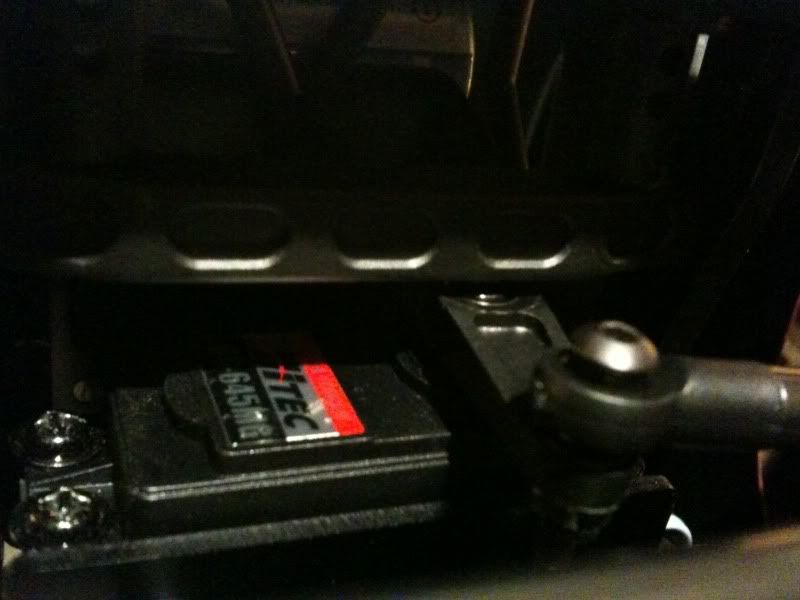 |

|  |
| Sponsored Links | |
| | |
|
01-06-2010, 07:57 PM
| #2 |
| Quarry Creeper Join Date: Jul 2008 Location: us
Posts: 391
|
ill tell ya what i did, just use the different mounting brackets in the kit, mine fits fine/ plenty of clearence
|
|
| |
|
01-06-2010, 08:11 PM
| #3 | |
| Rock Crawler Join Date: Apr 2006 Location: Folsom, CA
Posts: 620
| Quote:
| |
|
| |
|
01-07-2010, 05:27 AM
| #4 |
| Quarry Creeper Join Date: Nov 2007 Location: NH
Posts: 427
|
I don't know about the honch kits, but on the scx-10 (I'm sure the scx and honch kits are the same) instructions it shows the other servo mounts being used, not the ones that have two holes each. If you were to use the right parts there would probably be no problems.
|
|
| |
|
01-07-2010, 05:44 AM
| #5 | |
| Pebble Pounder Join Date: Oct 2009 Location: Chattanooga
Posts: 107
| Quote:
 | |
|
| |
|
01-07-2010, 08:51 AM
| #6 |
| On the lookout for Rocks   Join Date: Mar 2006 Location: Monroe, Louisiana
Posts: 3,711
|
You can just replace the 10mm spacer with something shorter and use short screw....don't have to cut anything I wasn't sure what the single holes servo mounts were for. If I remember correctly they were the same size has the double holed ones, but I could be wrong. |
|
| |
|
01-07-2010, 10:28 AM
| #7 | |
| Pebble Pounder Join Date: Oct 2009 Location: Chattanooga
Posts: 107
| Quote:
I am curious to see if axial comes up with a solution to this. Seems like an engineering flaw to me. Also seems as though they would have run in to it themselves. | |
|
| |
|
01-07-2010, 11:13 AM
| #8 |
| On the lookout for Rocks Join Date: Mar 2006 Location: Monroe, Louisiana
Posts: 3,711
|
I just looked at both servo mounts and they are exactly the same size, so the servo will sit in the exact same position.
|
|
| |
|
01-07-2010, 02:01 PM
| #9 |
| Rock Crawler Join Date: Apr 2008 Location: SO CAL
Posts: 579
|
I just took a dremel to it for about 20 seconds  |
|
| |
|
01-07-2010, 06:26 PM
| #10 |
| Trying to have Fun Again  Join Date: Apr 2006 Location: In your fridge stealing a beer
Posts: 2,923
|
I shaved my servo mounts enough to move th servo back some. And use different screws to mount the servo to the mount.
|
|
| |
|
01-07-2010, 06:53 PM
| #11 |
| Quarry Creeper Join Date: Jul 2008 Location: us
Posts: 391
| ok in the top right, you use the 2nd option servo mounts...but you reverse them from shown....it pics the servo slightly off the mount plate and moves it back a bit |
|
| |
|
01-07-2010, 07:38 PM
| #12 | |
| On the lookout for Rocks Join Date: Mar 2006 Location: Monroe, Louisiana
Posts: 3,711
| Quote:
| |
|
| |
|
01-08-2010, 06:09 AM
| #13 | |
| Quarry Creeper Join Date: Nov 2007 Location: NH
Posts: 427
| Quote:
| |
|
| |
|
01-08-2010, 08:04 AM
| #14 | |
| On the lookout for Rocks Join Date: Mar 2006 Location: Monroe, Louisiana
Posts: 3,711
| Quote:
  And this is if you flip the single hole one to move the servo back 4mm and it will raise the servo from the mounting plate about 4mm.  Having the servo mounted to the mounts with only two screws is fine, if the server is sitting flush with the servo plate. If you are running a high torque servo and when it torques, the plate will serve a purpose and kind of counteract it. With the servo being suspended there is a lot of pressure being put on the servo's 2 mounting tabs. It would be better if had 4 screws. I just an not sure what the purpose of the single hole servo mount is. | |
|
| |
|
01-26-2010, 08:09 PM
| #15 |
| Newbie Join Date: Nov 2009 Location: Malaysia
Posts: 9
|
i am running into the same problem as i am working on my scx10 honco kit now. i am running hitec 5990tg and from experience in my ax10, the plastic servo horns strips easily. so, if i were to use a metal horn, it will hit the crossmember. i was thinking of using some spare shocks that i have which are a little longer than the originals, do you think its a good idea?
|
|
| |
|
01-26-2010, 09:16 PM
| #16 |
| Rock Stacker Join Date: Jan 2010 Location: Canada
Posts: 56
|
I ran into this problem too. I got a metal servo arm that JUST clears, might just shave a little off the cross member. |
|
| |
|
01-27-2010, 06:41 AM
| #17 | |
| Rock Crawler Join Date: Mar 2007 Location: babylon, long island ny
Posts: 887
| Quote:
| |
|
| |
|
| |


 Linear Mode


