| |
| |||||||
 |
| | LinkBack | Thread Tools | Display Modes |
 07-13-2010, 10:59 PM
| #1 |
| Newbie Join Date: Sep 2009 Location: Milton
Posts: 15
| So, I've had my SCX10-TR for a year now and I'm getting bored with its limited capabilities for me now. I have done some great wheeling with the Goat, (thats what my kids call it) so much so that my real Jeep is getting ignored! I have been doing some reading and looking around and have some great plans for it. This is what it looks like now and it will look nothing like this when Im done. I could bore you with all the things I want to do to it, but I will show you as I get the project moving. So I hope you dont mind that I share this with you all! I love this community of crawlers and scalers and like being apart of it! Hope you like what I do and any suggestions are welcomed and encouraged! 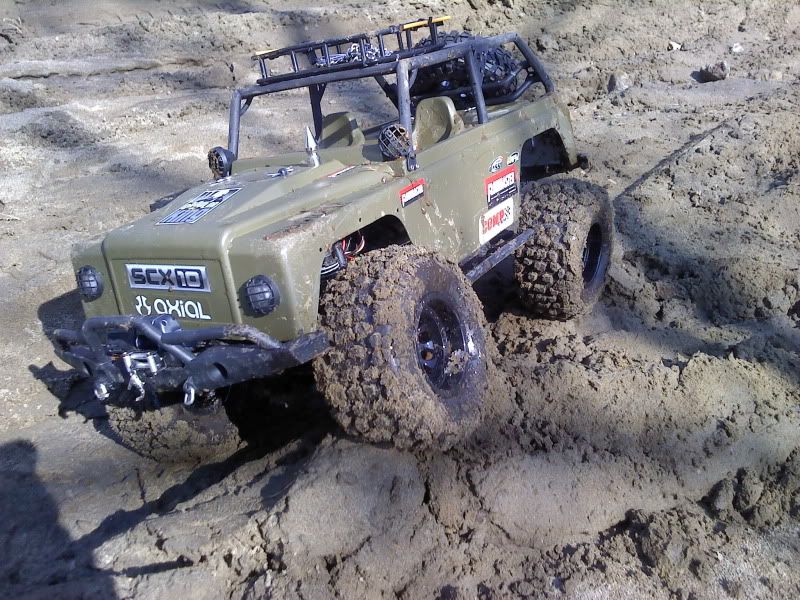 |

|  |
| Sponsored Links | |
| | |
|
07-14-2010, 12:57 AM
| #2 |
| RCC Addict Join Date: Jul 2009 Location: Ontherocks
Posts: 1,980
|
sweet man. cant wait to see what you come up with. The dingo body reminds me of a WW2 era VW "Thing" |
|
| |
|
07-14-2010, 02:32 AM
| #3 |
| Newbie Join Date: Sep 2009 Location: Milton
Posts: 15
|
Thanks, it's been fun thus far! That is very true, when you take the cage off it really looks like the thing.
|
|
| |
|
07-14-2010, 03:13 AM
| #4 |
| Newbie Join Date: Sep 2009 Location: Milton
Posts: 15
| *Disclaimer - All the tech pictures (from my phone) are for mock-up build only. I need to get all the measurements and all the parts fitted up then I will order the materials I need and make the good parts after it is finished. So the stuff you see is for mock only. So if it looks a little rough, this is why. * 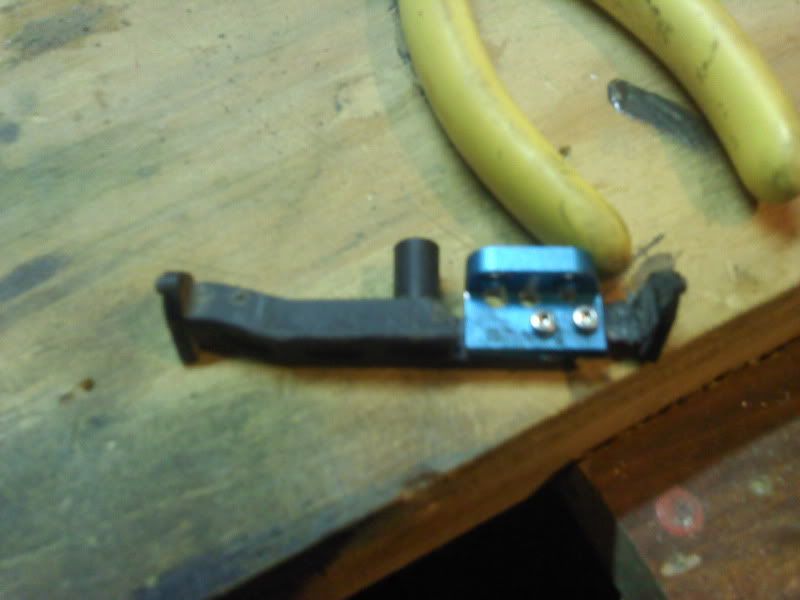 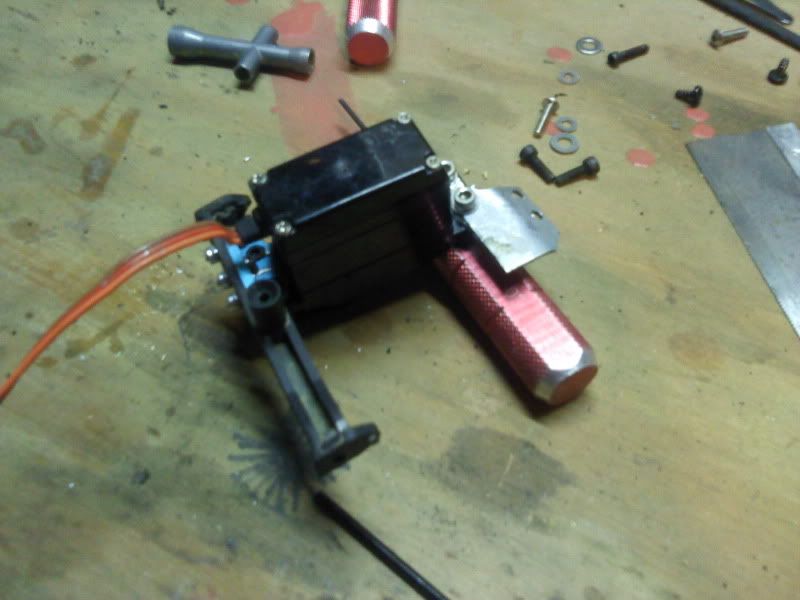 So the servo sits nicely in the frame rails now and angles down just the way I wanted it too. The servo arm is free and will make the links nice and level too. The optional battery mount still fits over the conversion! So thats a plus. 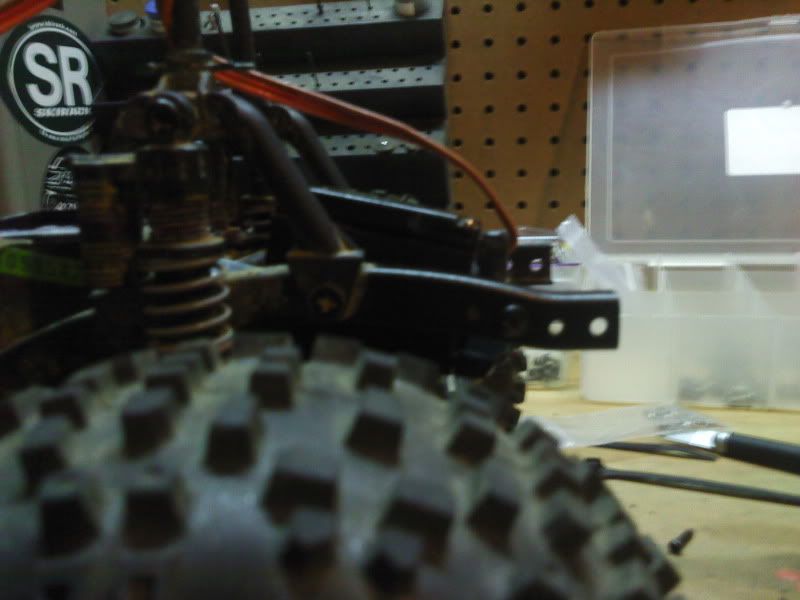 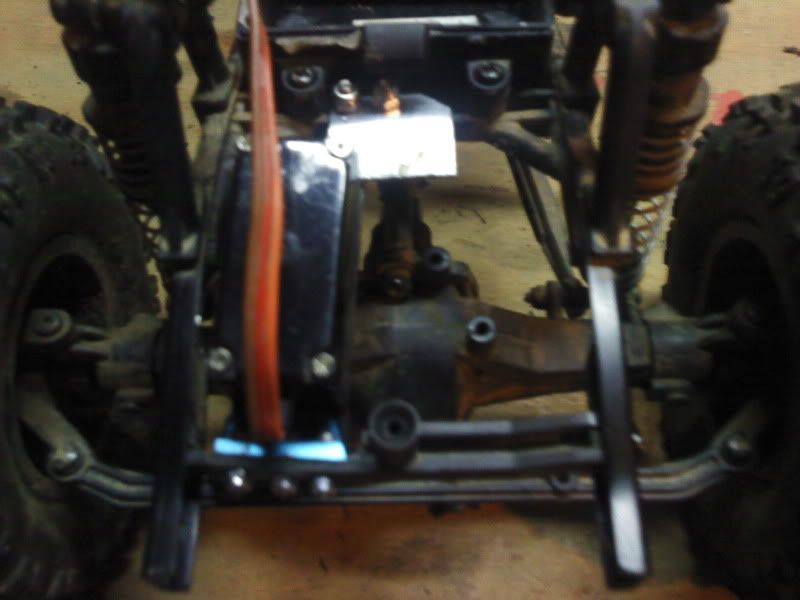  Next install will be all about the transmission and motor! See you soon! |
|
| |
|
| |


 Linear Mode


