| |
| |||||||
 |
| | LinkBack | Thread Tools | Display Modes |
 08-18-2010, 03:50 PM
| #1 |
| Quarry Creeper Join Date: Mar 2006 Location: ft. collins
Posts: 419
|
*Rebuild start on late page 2 This is my first build in quite some time and my first scaler. Buit it up stock to a roller and started modding as I read up on other builds on here. Props to Bender for some good ideas, and many others. I noticed my paint scheme is the same as another Tundra on this site, but I did not mean to copy, just what I had laying around for colors. Mods so far 4linked rear Stretched rear 1/4 inch boat sides aluminum rear lockouts Mods coming: Hand bros steering maybe tube sliders beefed up driveline aluminum shocks inner wheel wells Electronics; (still planning) I think i will be doing brushless equivelant to 30-35 turns. I want crawling torq and somw good wheelspeed - powered by 2200 3s lipo. My only question is have people been going to softer springs in the rear to drop down the rideheight. I seems like most rigs sit low in the front and high in the rear. Oh yea, and also has anyone done a good droop setup? again I am thinking i wouls like a lower ride height, especially when running the 1.9 tires. 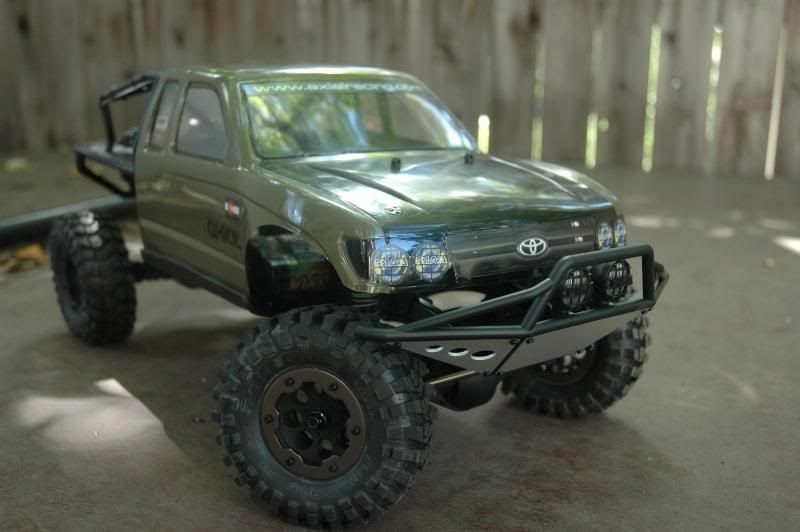 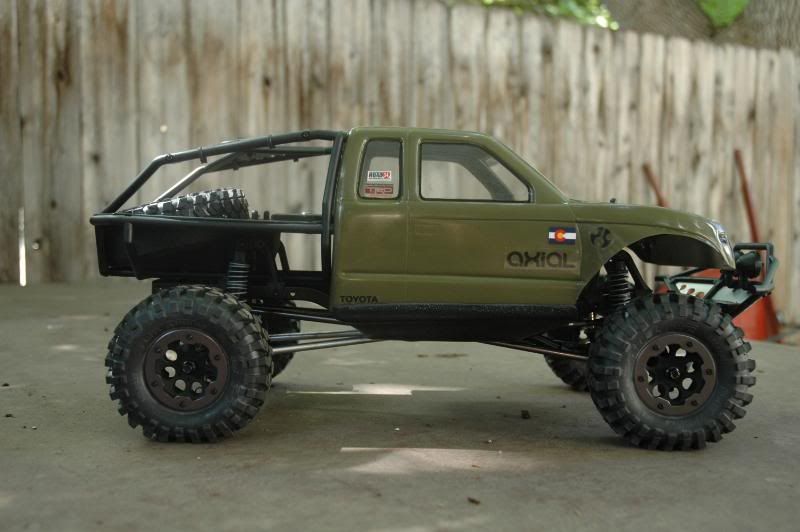 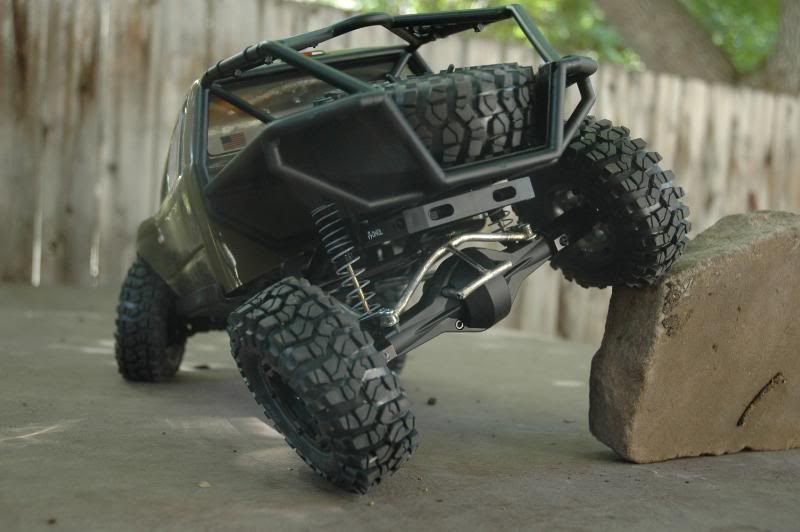 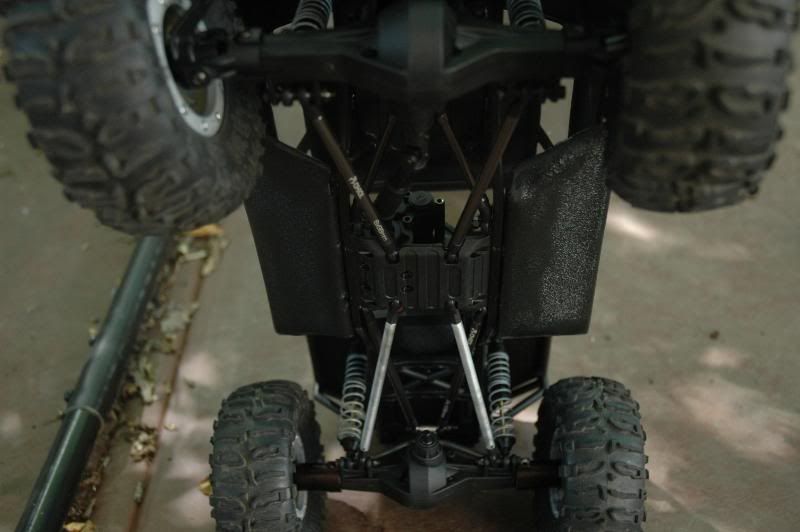 I like the look of the 2.2's - looks like a norway glacier rig 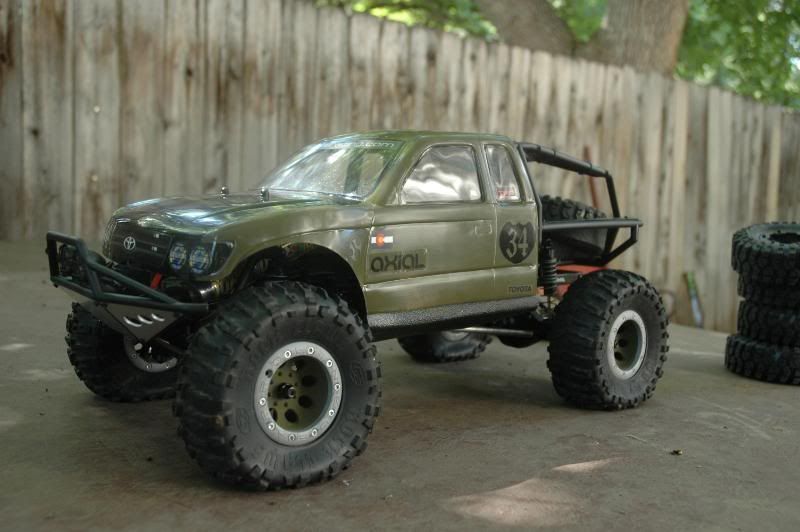 added weight to betthe back end lower 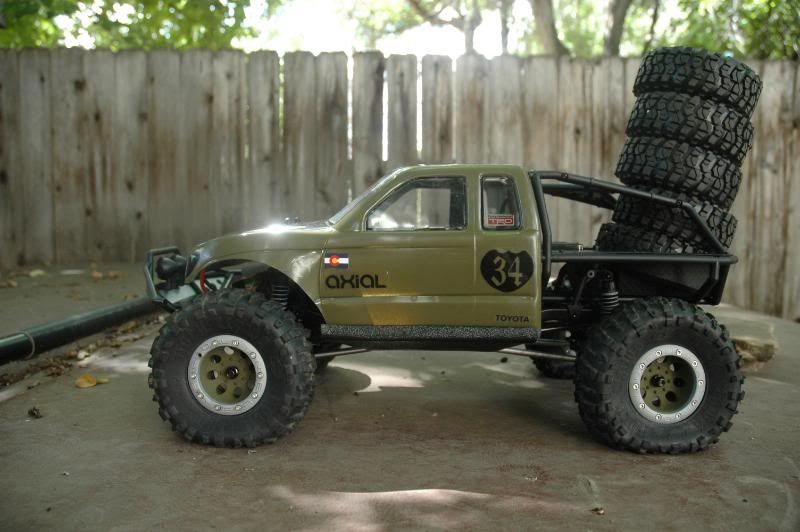 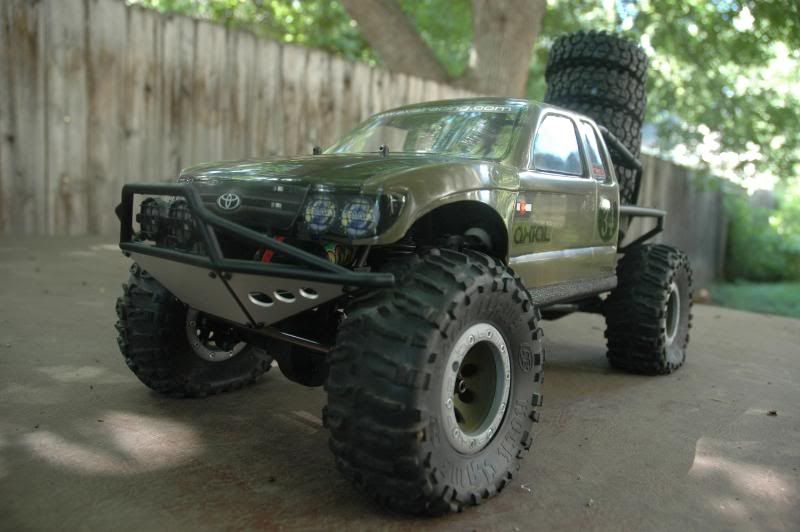 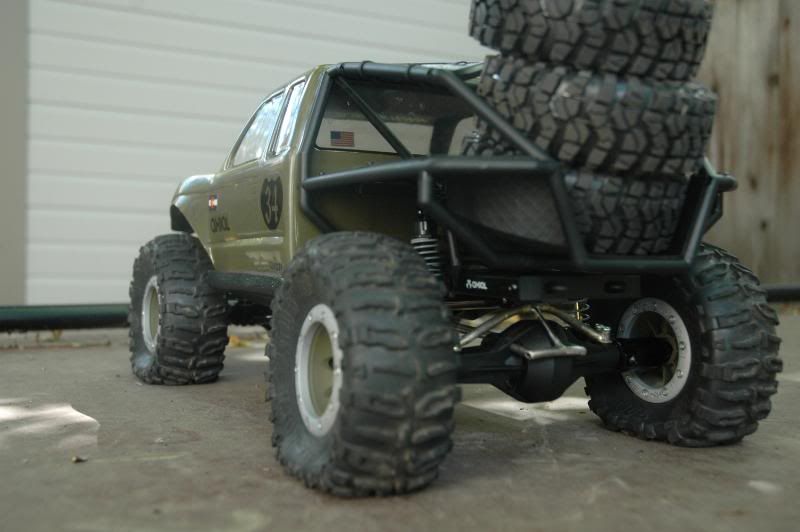 Thanks for looking. Any comments or suggestions welcome. I will update slowly as I get closer to having her up and running. Last edited by dystance; 06-04-2011 at 10:08 PM. |

|  |
| Sponsored Links | |
| | |
|
08-18-2010, 04:33 PM
| #2 |
| Rock Crawler Join Date: Jan 2007 Location: monson
Posts: 651
|
looks like you've got some good fab skill, nice 4-link mount. if you're short on cash and good with fabin, the kit has most of the stuff you need to make your own 3 link/panhard for the front. po' man 3-link but then again the hand bros kit is real nice and looks professional. Like the 2.2 look, thinking about something similar for my son's scx build. |
|
| |
|
08-18-2010, 05:25 PM
| #3 |
| Quarry Creeper Join Date: Mar 2006 Location: ft. collins
Posts: 419
|
Thanks for the comments. My fab skills are ok but my improvization skills are pretty good Nice steering setup by the way. |
|
| |
|
08-22-2010, 08:11 PM
| #4 |
| Quarry Creeper Join Date: Mar 2006 Location: ft. collins
Posts: 419
|
Some updates. Stretched the front links by 1/4 inch making the total stretch at 1/2 inch. Got the Hand Bros steering kit and have been at work getting the setup to work with the extended wheelbase and the extended travel ( i took the bumps out of the shocks. After reworking the steering I lost a bit of travel but still have a good deal more than it has with the bumps in. I had to do a new panhard bar bent to clear the pumpkin. I also reworked the tie rod and drag link to get maxinmum articulation without binking. The offset Axial rod ends are great, they really allow some options when dealing with link clearance issues. I like the kit but it takes quite a bit of tweaking if you have modified your stock suspension and link setup. I also made the wheel wells and they came out pretty nice. I am still trying to decide how to secure them to the frame. I am currently working on the Traxxas drive shaft upgrade but need to but a slightly smaller spur gear to clear the thicker drive shaft. 87 i think is stock and i think a 81 will work, I just need a tiny bit of room. I think that is it for now. Still thinking and saving for electronics. new panhard bar wraps pumpkin at full drivers side compression. 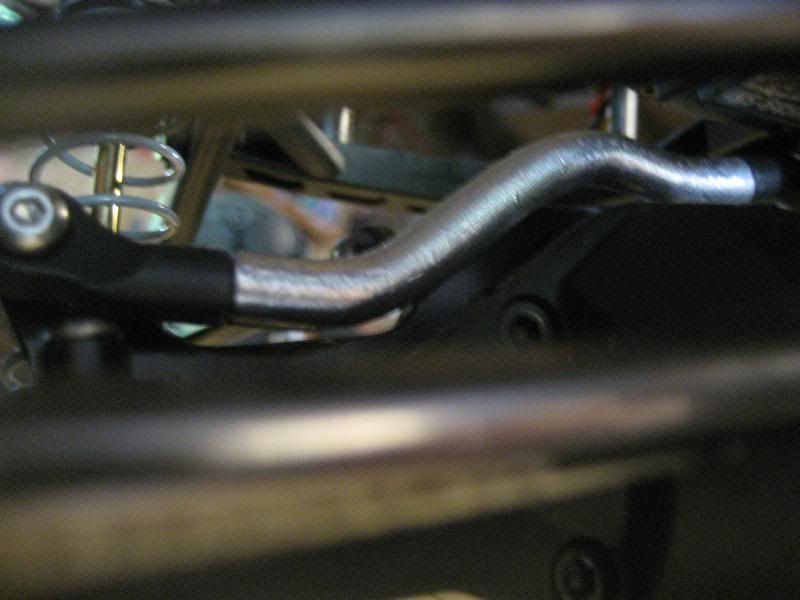 Steering links and frame close to hitting but not quite. 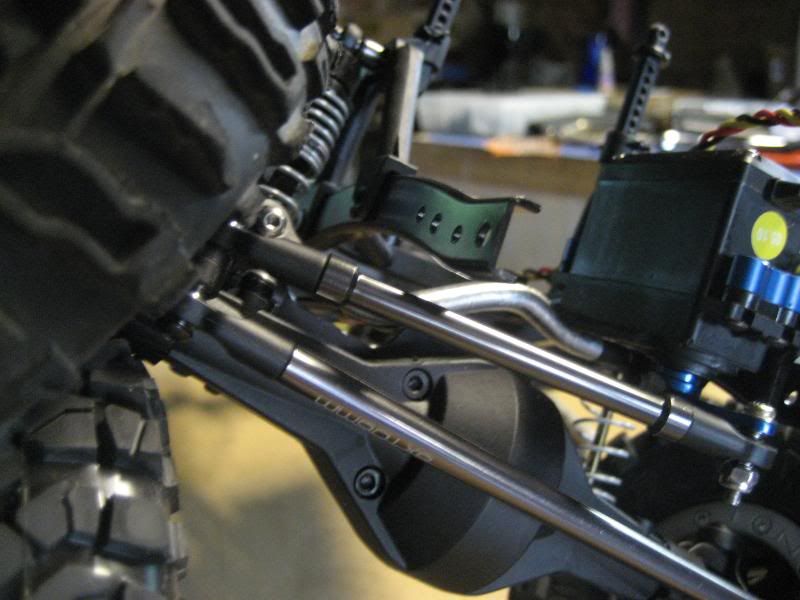 Servo horn close to hitting frame at full left throw. 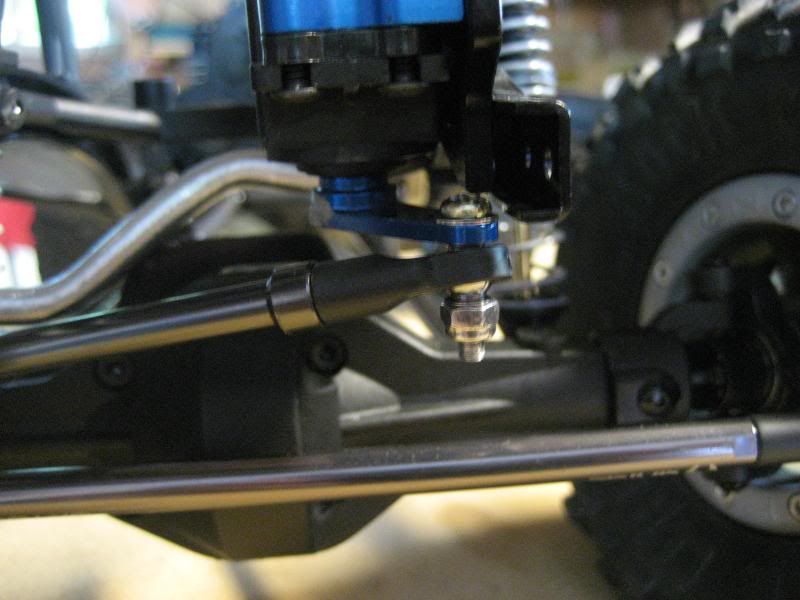 Links still tucked in fairly close 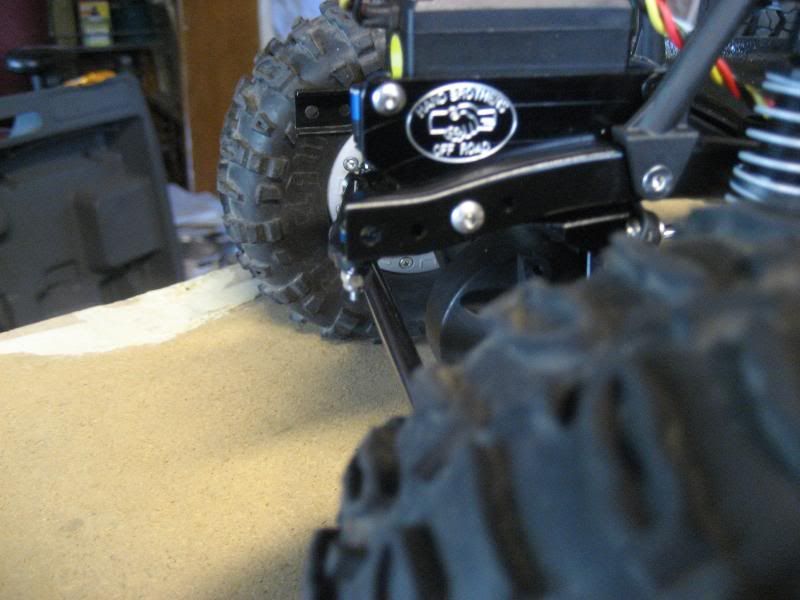 Good articulation with the 4 linked rear and the new steering set up. It actually is a bit more than it looks like because the picture is tilted. I think it is plenty. 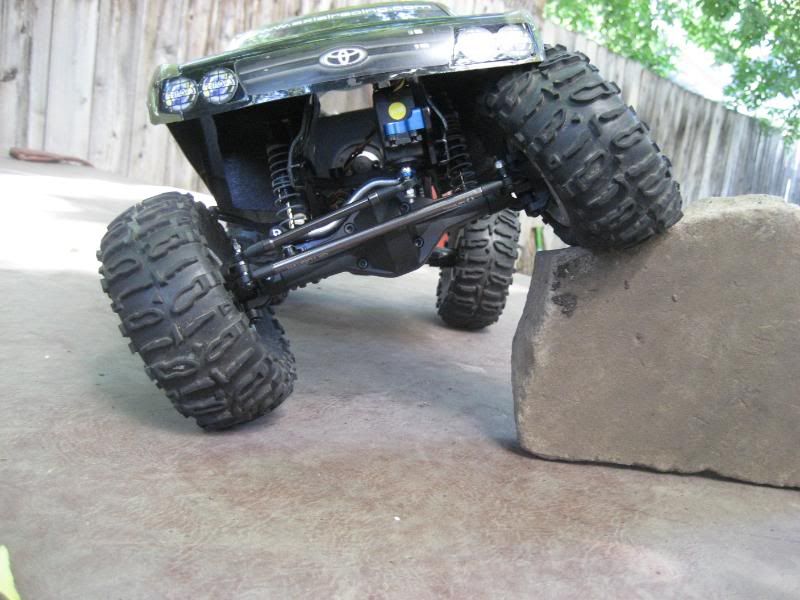 new wheel wells. 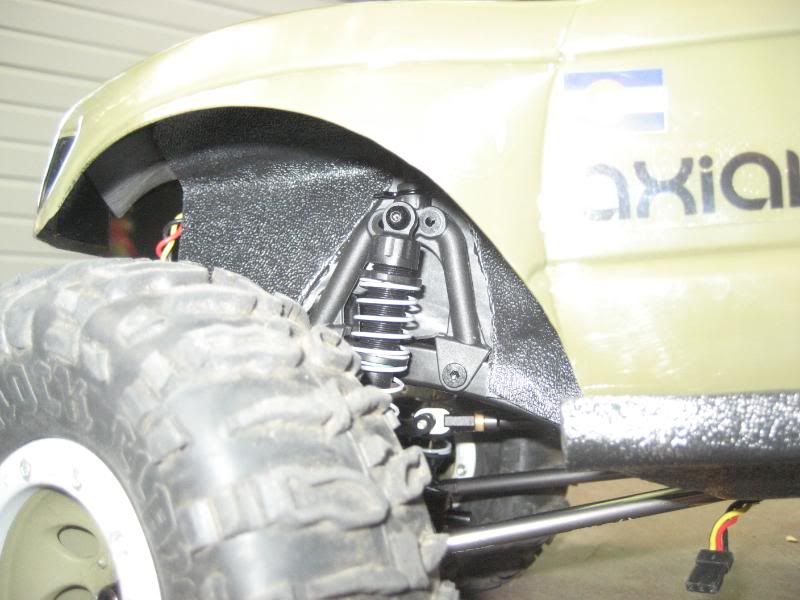 Looks so much better with the wells filled in 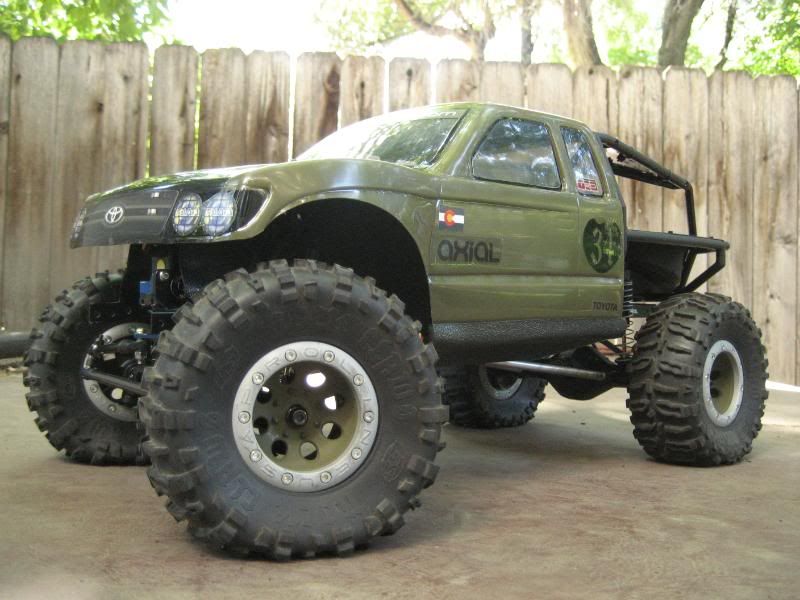 The underside 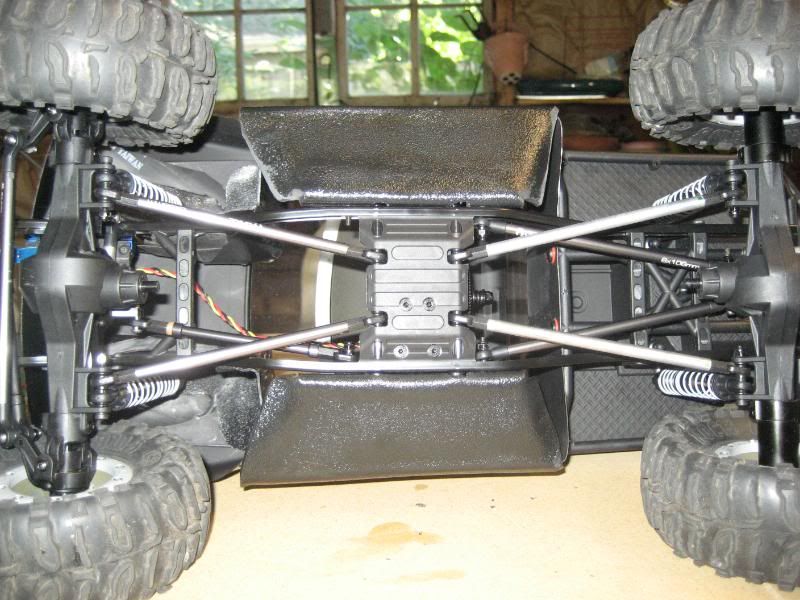 Left off the front bumper as I will be building a new one. Just started design and hope to get it done in a week or so. Last edited by dystance; 08-22-2010 at 08:23 PM. |
|
| |
|
08-22-2010, 08:33 PM
| #5 |
| Pebble Pounder Join Date: Sep 2008 Location: middle river
Posts: 171
|
what size lenght did you use for your panhard bar? btw looks good |
|
| |
|
08-22-2010, 10:56 PM
| #6 |
| Quarry Creeper Join Date: Mar 2006 Location: ft. collins
Posts: 419
|
Sorry I do not know the measurement offhand. It is the same size as the link used for the Hand Bros kit, which is one of the links from the 3-link that is left over from the conversion. Just curved to fit around the pumpkin and then cut to the same eye to eye length.
|
|
| |
|
08-23-2010, 10:53 PM
| #7 |
| Quarry Creeper Join Date: Mar 2006 Location: ft. collins
Posts: 419
|
I am hoping someone reads this and can give me some advise. Drivers side compressions is smooth and minimal axle steer. Passenger side full compression swings the axle eneough that the drivers side shock springs make contact with the frame. I have played with the panhard length thinking shortening would help, but it had minimal effect. Any thoughts???? Also have been playing with the steering setup and have studied other rigs on the site and I cannot figure out how they are not hitting the panhard on the pumpkin, not to mention the bolt at the drag link to servo connection. I had to put the servo with the horn to the front to clear everything at full articulation. I am wondering if all this is due to the removal of the shock bumpers. I am planning on limiting the shocks by about half of the origional size in the front only. Ths should just barely keep the drag link from hitting the frame at full bump. Other than the axle sway issue I am getting closer. I just picked up The Novak Goat setup so after the front bumper gets redone, I will get to wiring. |
|
| |
|
08-28-2010, 02:28 PM
| #8 |
| Quarry Creeper Join Date: Mar 2006 Location: ft. collins
Posts: 419
|
Been hard at work after getting past the steering issue. It sounds like the axle sway is just something I have to live with. I am going to space the shockmount out just a bit to make sure the shock springs do not contact the frame. I have the electronics 90% done, just waiting to get my battery so I can make sure it all fits as is. Today I am unveiling my first brazing attempt so be gentle. I made a new front bumper that was more minimal. It is not all cleaned up yet and there are a couple of real sloppy spots, but I figure it is ok for my first attempt. Definatley a bit crooked. I think it will still fit a winch if I get one. The approach angle is much better and it has more clearance if I use 2.2's.b It also protects the steering servo arm nicely. It also houses a fan that I am thinking I will run through the electronics area. Just a few more details and the inner fenders will be done and should tie all the front end together nicely. Here she is as of now. Comments both good and bad welcome. 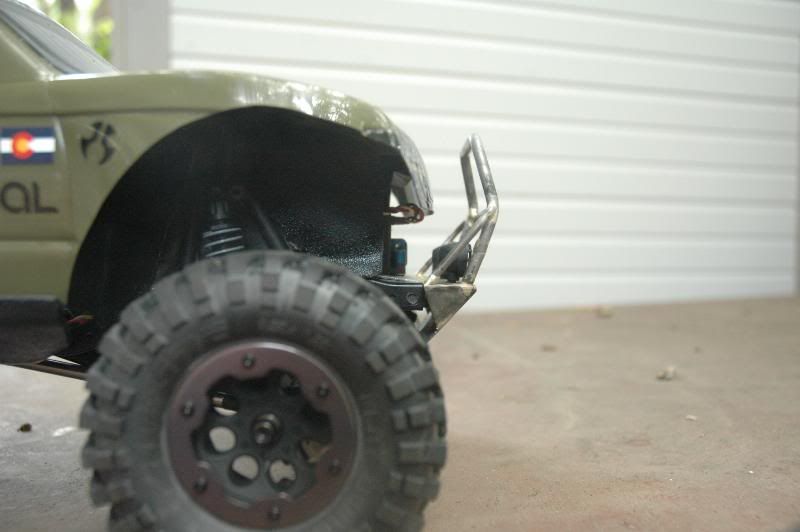 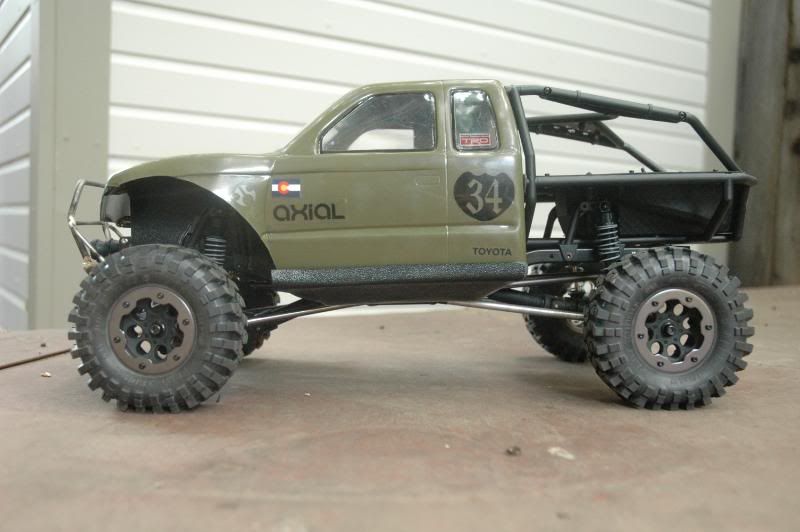 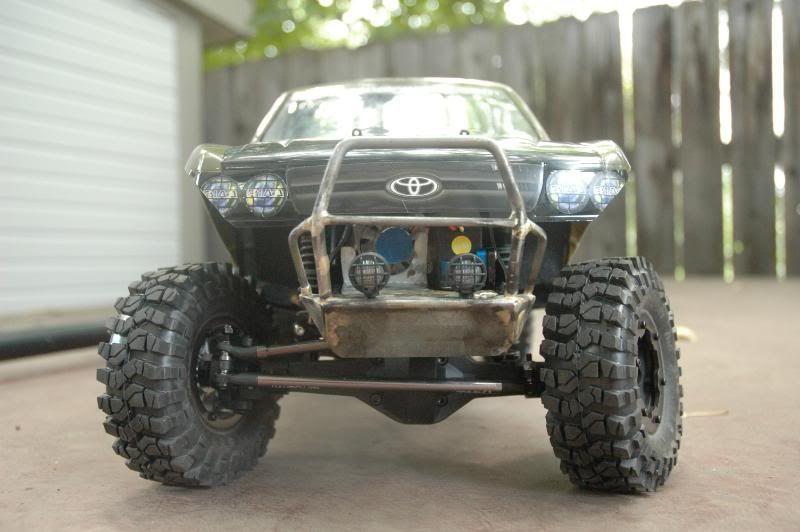 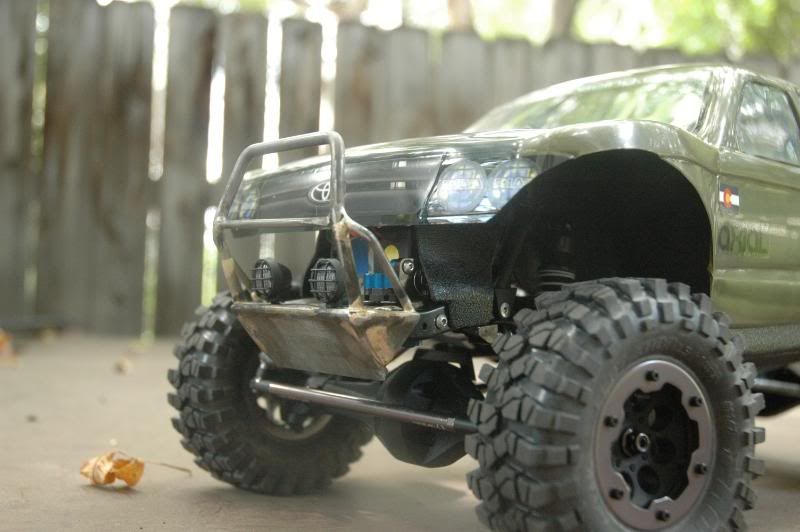 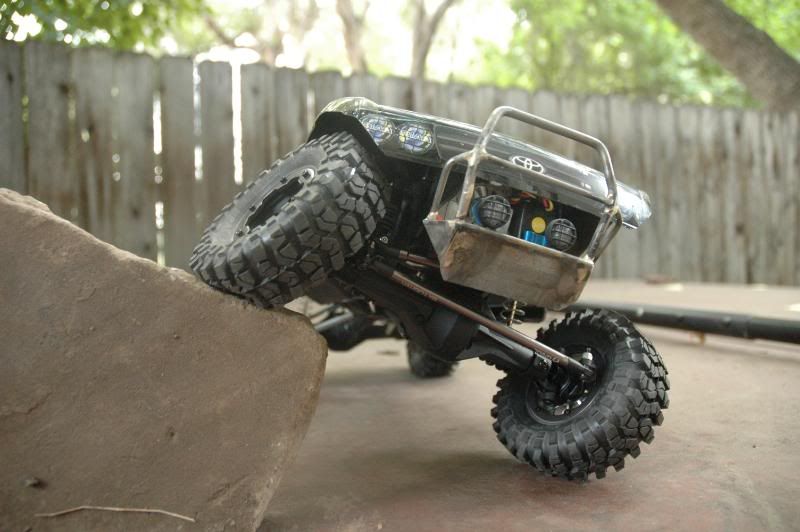 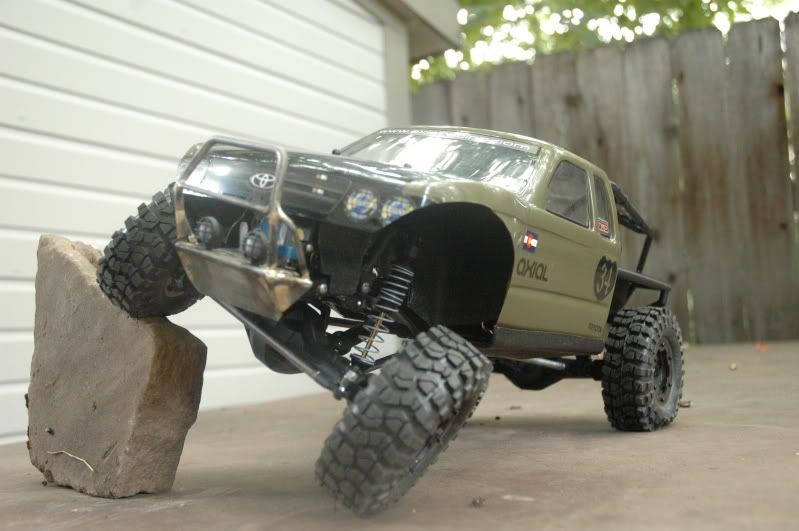 Last edited by dystance; 08-28-2010 at 02:31 PM. |
|
| |
|
08-28-2010, 03:15 PM
| #9 |
| Quarry Creeper Join Date: Apr 2010 Location: Los Angeles, 90201
Posts: 237
|
Dude you got one sweet looking honcho... apart from your front bumber sorry not a big fan of the bumber but other than that it looks Bitchin bro . . . I got one question & one question only... WHERE THE FUDGE ARE THE ACTION PICS.!!! Lol dude this built thread was started in 08-18-2010 . . . All these mods & no pics of your rig out on the dirt, sand, rocks, mud, anything.??? Not to sound like a Di#* but let's see this bad boy out on the dirt . . . You got a sweet TR man & massive articulation
|
|
| |
|
08-28-2010, 03:28 PM
| #10 |
| Pebble Pounder Join Date: Aug 2010 Location: claremont... for now
Posts: 105
|
what did you use for the inner wheel wells? looks good btw! |
|
| |
|
08-28-2010, 03:34 PM
| #11 |
| Quarry Creeper Join Date: Mar 2006 Location: ft. collins
Posts: 419
|
Wworking on getting it running |
|
| |
|
08-28-2010, 03:36 PM
| #12 |
| Quarry Creeper Join Date: Mar 2006 Location: ft. collins
Posts: 419
|
the inner wells are made from 1/16 abs plastic. It is healt moldable and easy to work with. I use rubber from bike tubes to seal the edges between the inner wells and body so the paint does not get rubbed by the hard plastic.
|
|
| |
|
08-28-2010, 03:41 PM
| #13 |
| Quarry Creeper Join Date: Jul 2010 Location: netherlands
Posts: 348
|
is ABS plastic the same as styrene ? great lookin honco. I love your front bumper, you should get a nice winch up there |
|
| |
|
08-28-2010, 04:52 PM
| #14 |
| Quarry Creeper Join Date: Mar 2006 Location: ft. collins
Posts: 419
|
Not sure if its the same, but i do not think so. This ABS is really tough stuff.
|
|
| |
|
08-29-2010, 02:46 AM
| #15 |
| Rock Stacker Join Date: Aug 2010 Location: Guam
Posts: 57
|
Nice work on the brazing. It's better than what I can do.
|
|
| |
|
09-07-2010, 02:40 PM
| #16 |
| Quarry Creeper Join Date: Mar 2006 Location: ft. collins
Posts: 419
|
quick update- Electronics are close, just a couple of connectors and I am also waiting on a charger (this is my first lipo setup). Just redid the electronics layout - all attached to one large mounting sheet that also encloses part of the chasis. With the bec and the capacitor(?) that are part of the Goat system, the layout is important. Mine is still a mess but it just needs to be tidied up and it should be fairly clean. I wanted all the electronics up front for weight distrobution. I did not do any waterproofing as I pretty much stay dry. Here she is as she sits now. A few details left, but the next shots should be on the rocks and running. 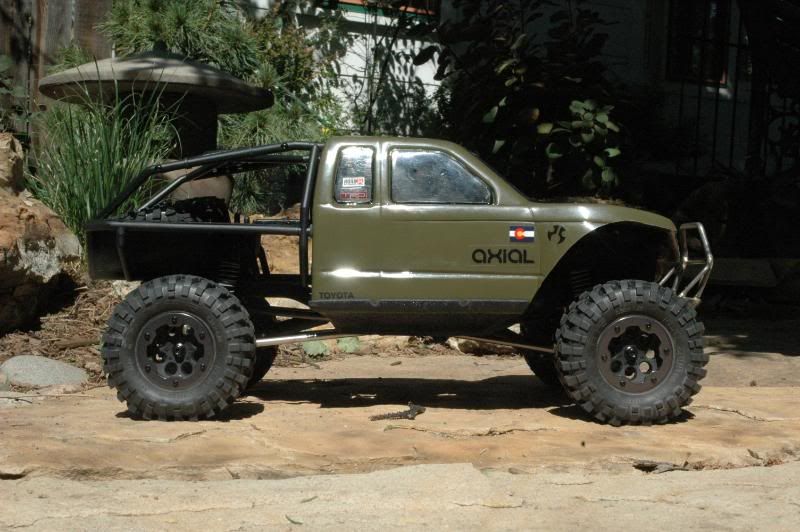 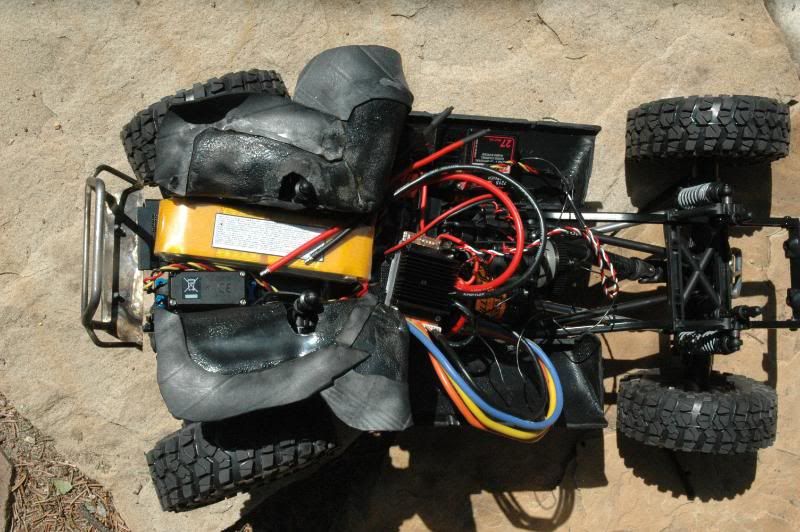 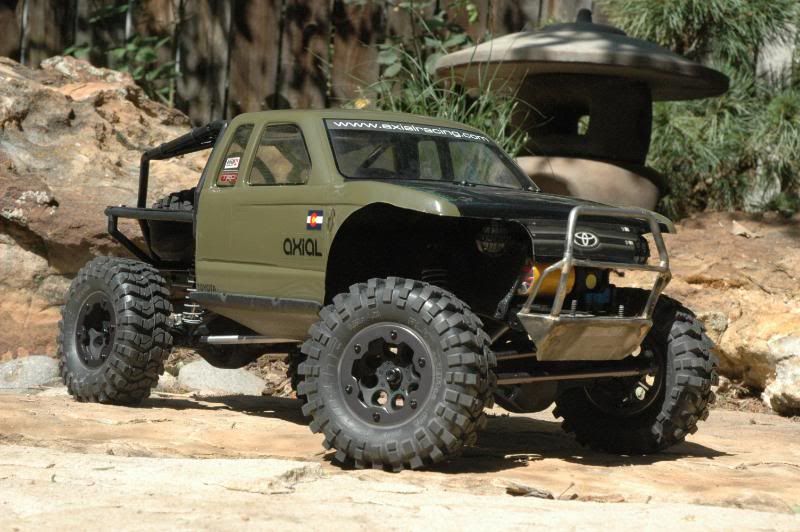 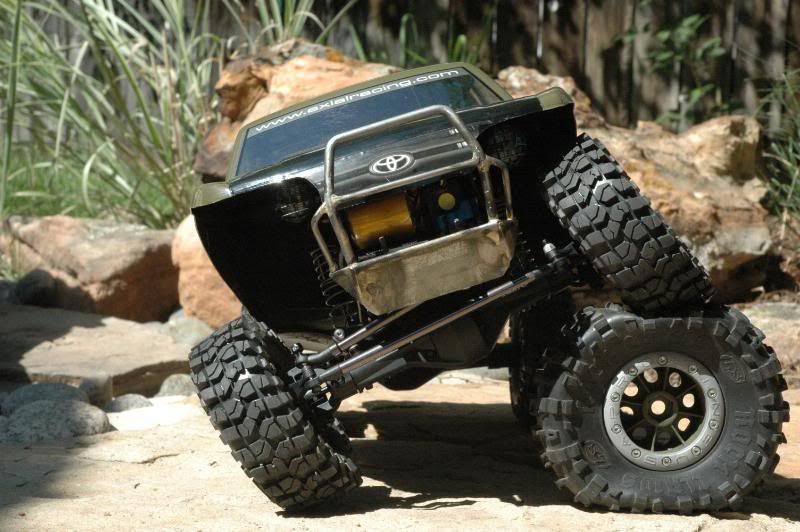 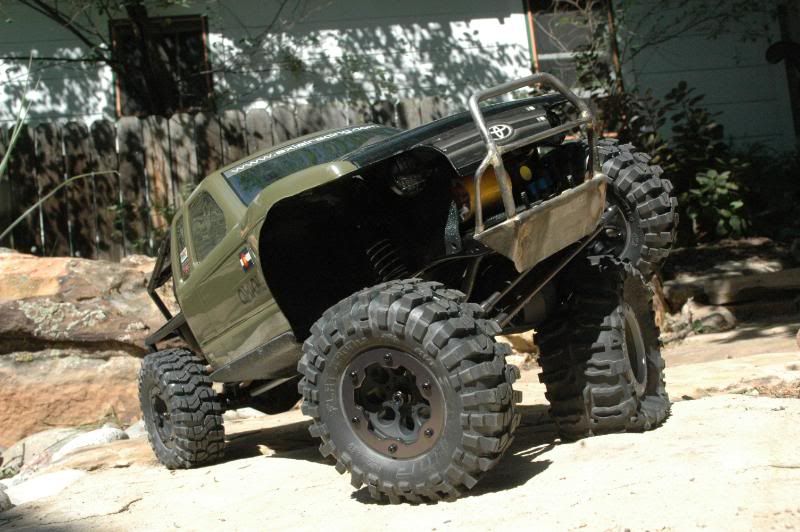 |
|
| |
|
09-08-2010, 08:23 AM
| #17 |
| RCC Addict Join Date: Apr 2007 Location: Murfreesboro
Posts: 1,537
|
Looks good...cant wait to see it up and runnin!!! I wanna switch to LiPo soon too. Matt |
|
| |
|
09-10-2010, 07:51 AM
| #18 |
| Quarry Creeper Join Date: Mar 2006 Location: ft. collins
Posts: 419
|
Finally got the rig out onto the rocks, and it has been worth the wait. This rig is really fun to drive. Good crawling and wheelspeed. Sidehilling was tought to get used to, as all I have driven in the past was comp rigs. Gonna redo the front bumper in the future and bring it even closer to the body. The boat sides are amazing. They keep the truck from hanging up on all the sharp rocks where I crawl. On to the pics. 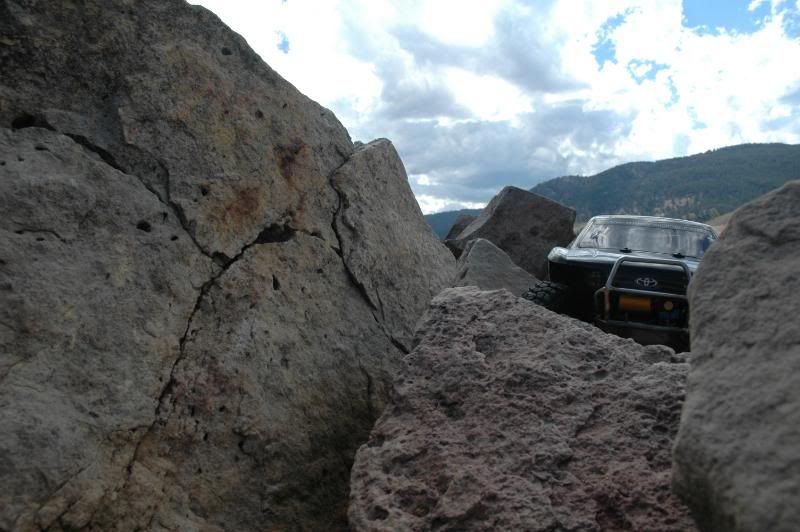 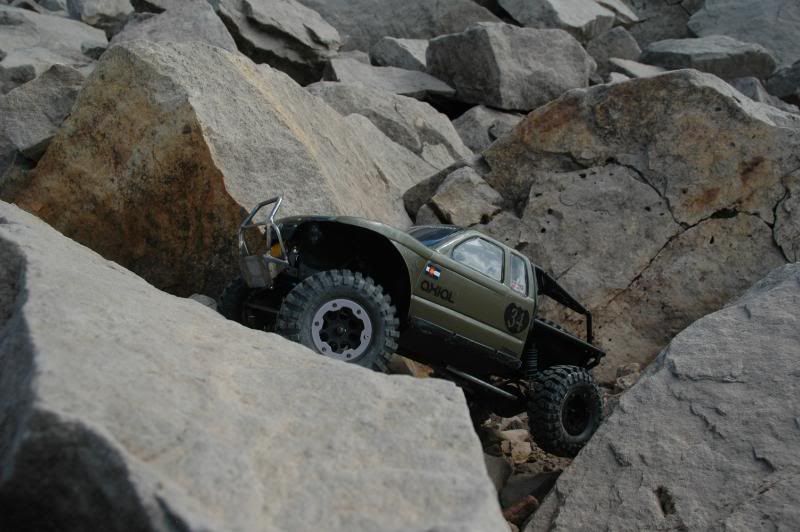 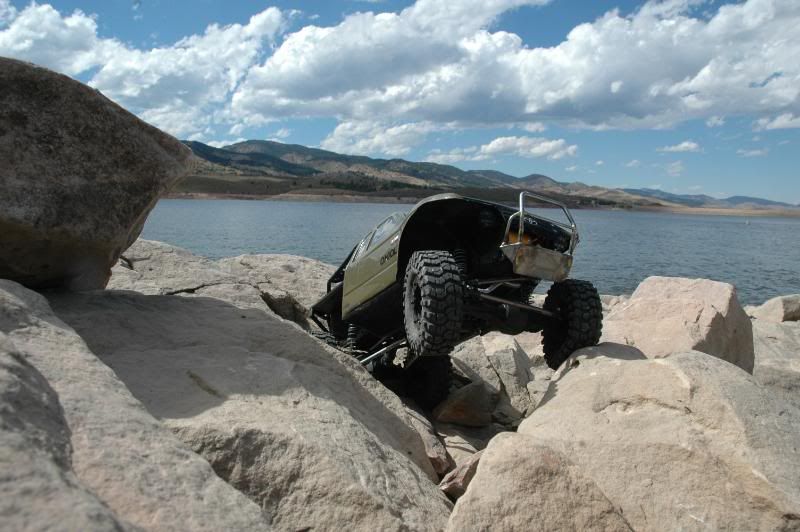 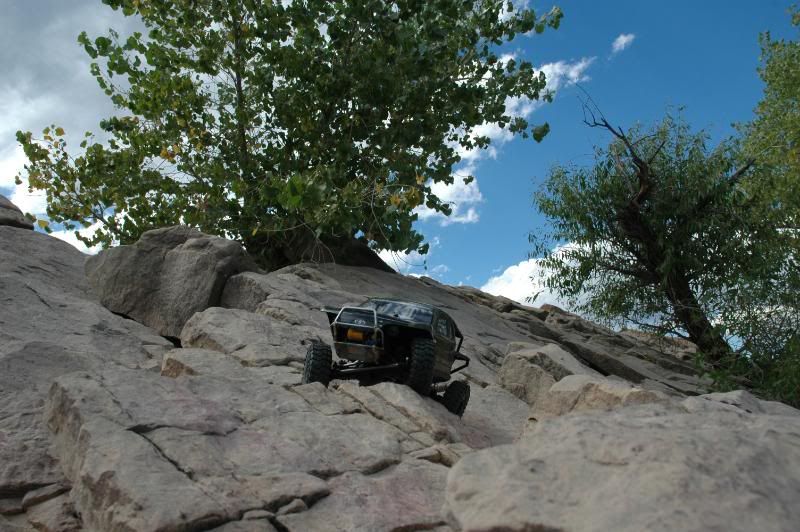 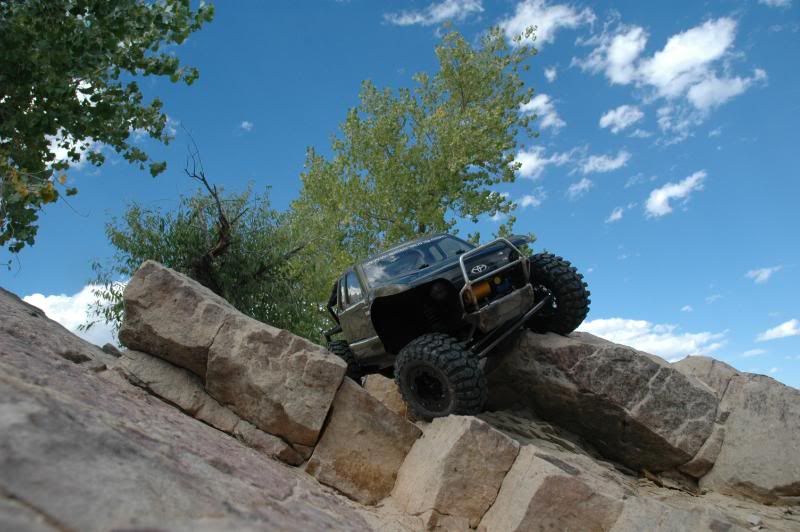 wheelspeed + crawling torque = fun 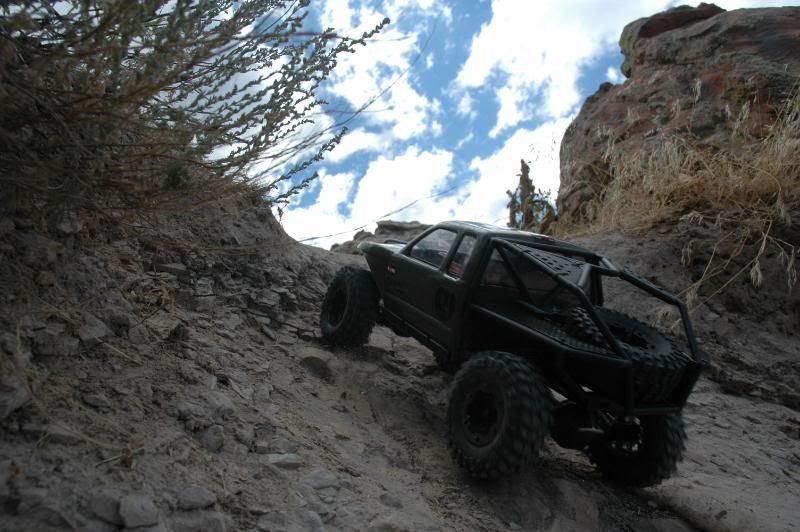 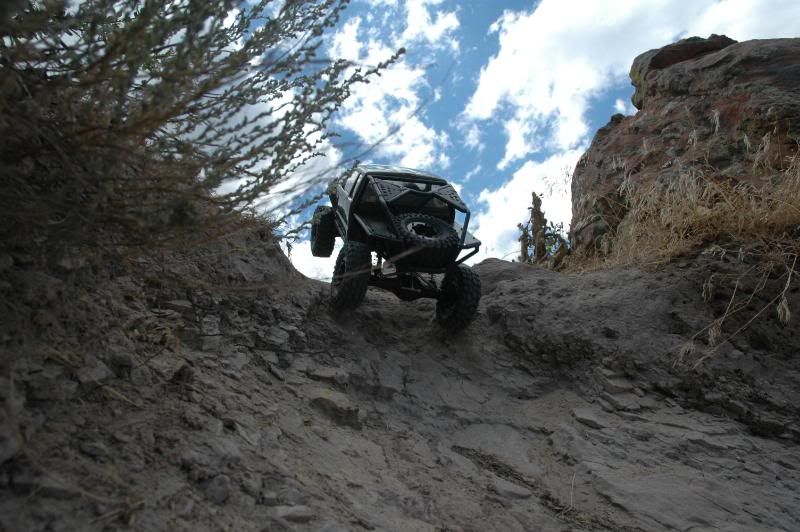 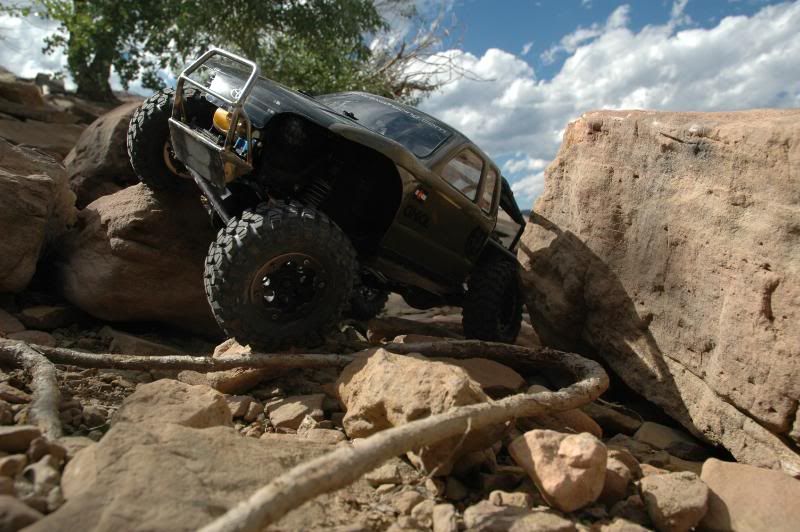 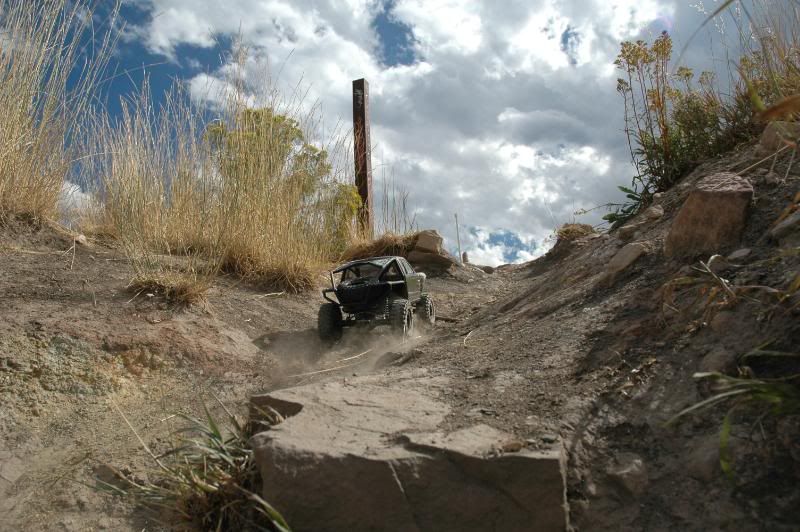 Thanks for looking! |
|
| |
|
09-10-2010, 05:20 PM
| #19 |
| Quarry Creeper Join Date: Mar 2006 Location: ft. collins
Posts: 419
|
Went out again today for the second day of testing and all seems well. The Goat motor setup seems to cog a bit and feels stuttery at times, no good on the egde of a drop. Overall though I am pretty happy with the setup. Ended up with the followings specs Novak Goat 3s, 21.5 motor, 2100 3c lipo, left over Hitek 645 servo Went to the 81 tooth spur gear to clear the Traxxas driveshaft and a 16 tooth pinion. Speed tops at around 10 mpg, and I might want a bit more. 12.75 in wheelbase. Hand Bros Steering and 3-link setup modified for more travel, 4-linked rear. I think that is about it for now. Found a great scale area that has a great mix of rock, sand, packed dirt, and crumbling micro shale. It is great for all around 4x4 action. Loving the wheel speed. Changes in the plans: working on new rear 4link truss for better frame clearance, gonna make a new cross menber at rear shock tower for better 4link clearance, aluminum axial shocks and ................... Definately impressed with the ability of this little scaler. As you can see the local terrain is pretty unforgiving and she has performed well and seems to be holding up to some good tumbles. more pics from today 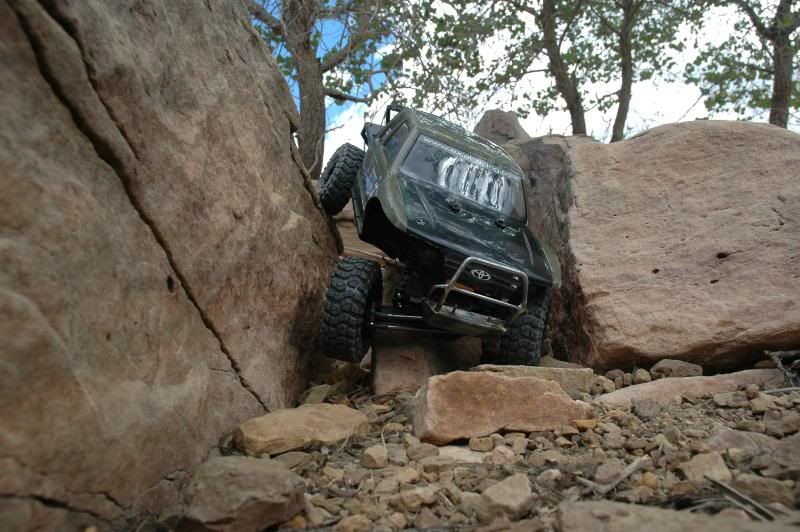 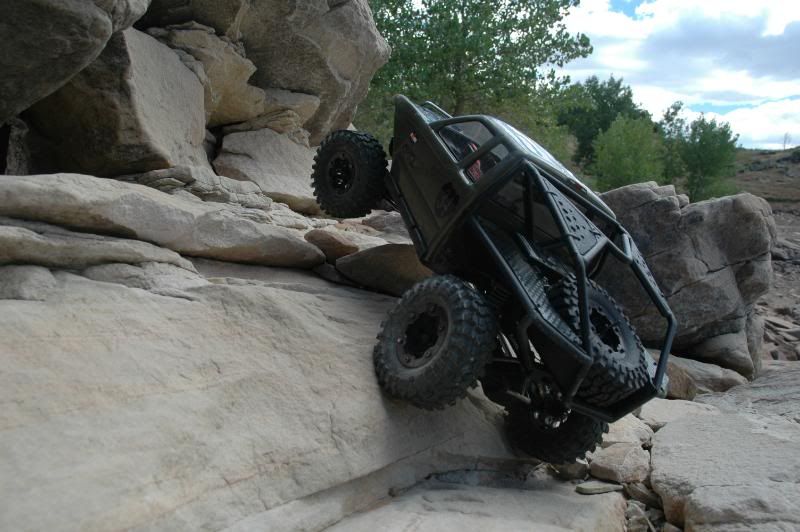 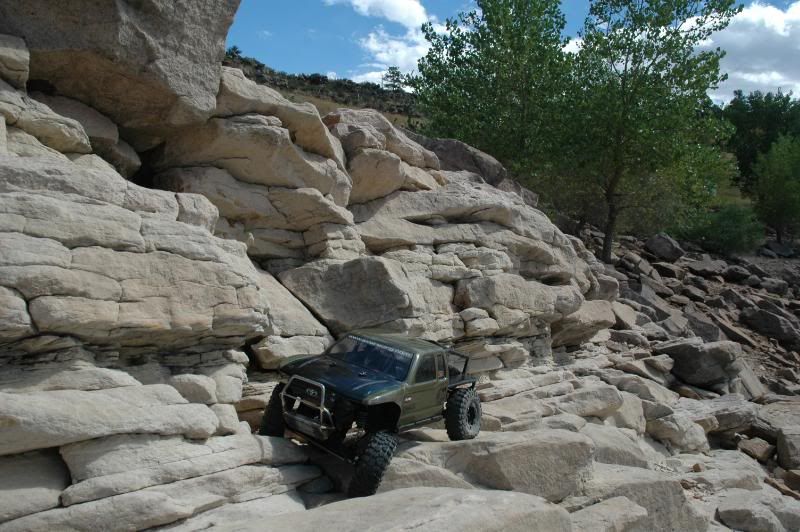 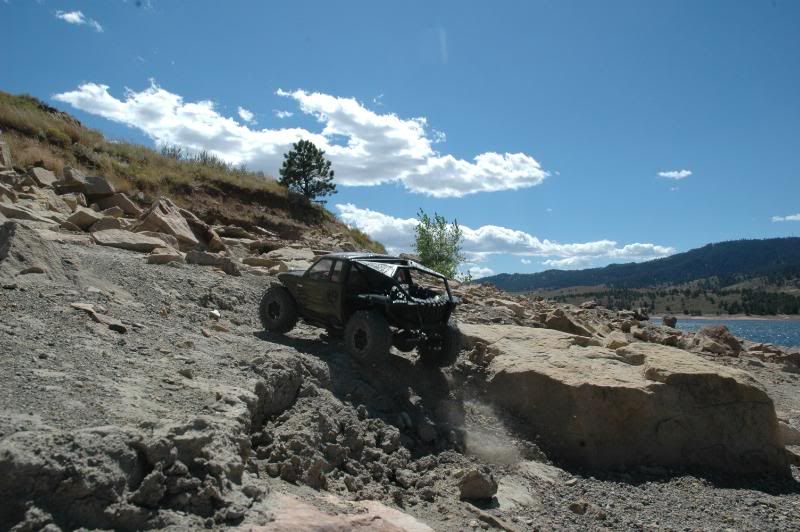 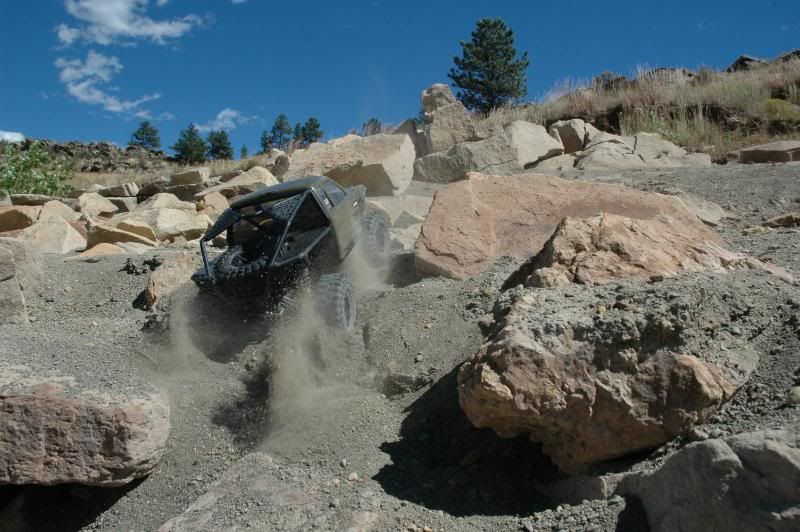 |
|
| |
|
09-10-2010, 06:51 PM
| #20 |
| RCC Addict Join Date: Aug 2010 Location: wherever paypal sais.
Posts: 1,740
|
thats sick bro keep up the good work
|
|
| |
|
| |


 Linear Mode


