| |
 09-29-2010, 04:28 PM
| #1 |
| Quarry Creeper Join Date: Aug 2007 Location: Go Broncos!!!!!!
Posts: 425
|
Hello everyone!  It's been quite a while since I've had a chance to actually sit down and get a project under way but finally I have a bit of time to get one going. For the longest time I've wanted to build another JK 4 door. I know there are alot of them but it's by far my favorite body so here goes...... It's been quite a while since I've had a chance to actually sit down and get a project under way but finally I have a bit of time to get one going. For the longest time I've wanted to build another JK 4 door. I know there are alot of them but it's by far my favorite body so here goes......I'm kind of backtracking a bit here since I already have the basic chassis modified and the body mounted. I still have a bunch of stuff left to do. 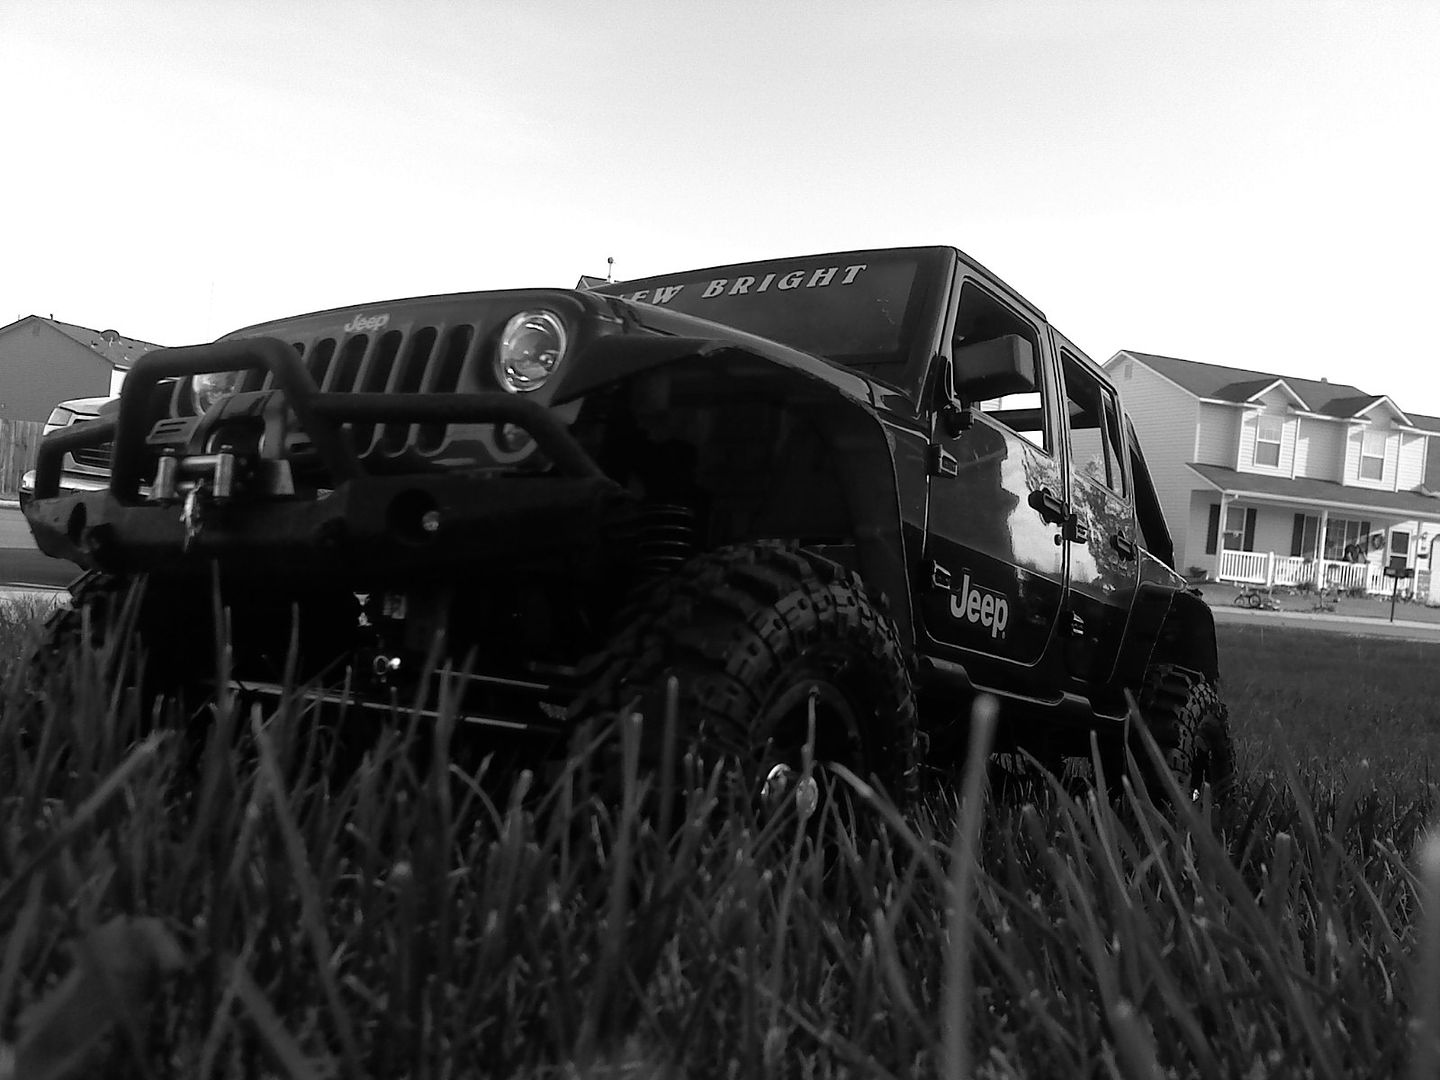 (Please excuse my cluttered work bench in this pic) I really like the way the SCX10 suspension works in the stock setup and I didn't want to extend the links further so I chose to extend the frame rails instead. I wanted some separation in the links as they project from the center of the chassis. I would actually like to move the links even further like the 1:1 JK's but that will be a later task possibly. For now the goal is to make something I can get running so I can enjoy some fall-crawling/scale-ing. 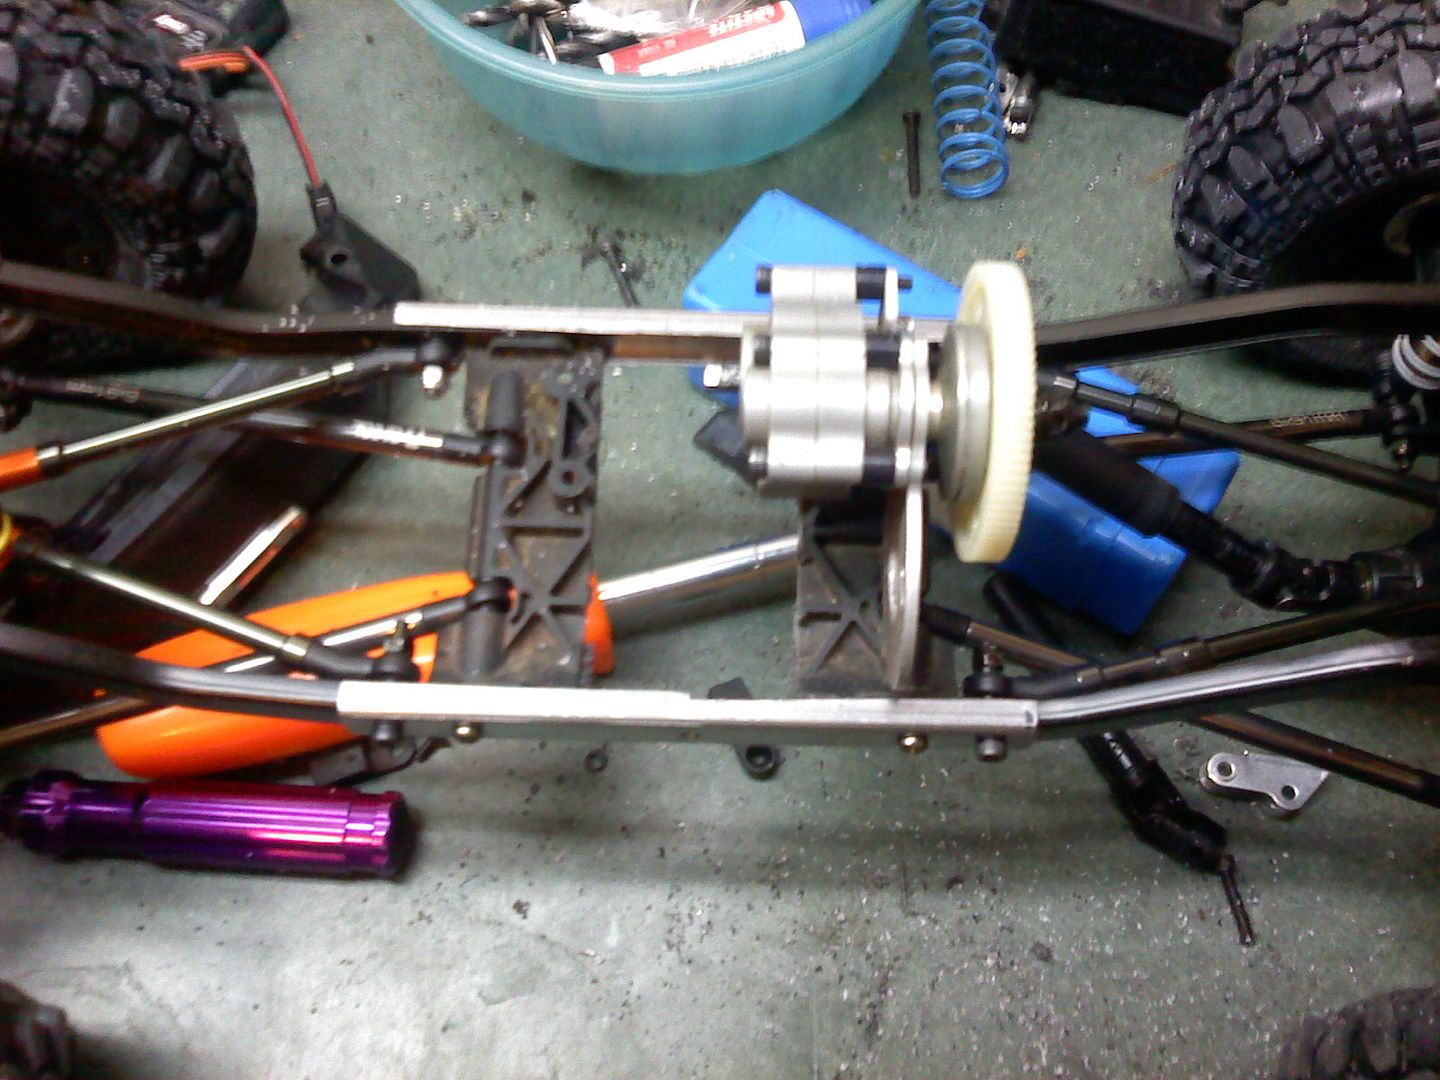 The usual "Flex" shot..... 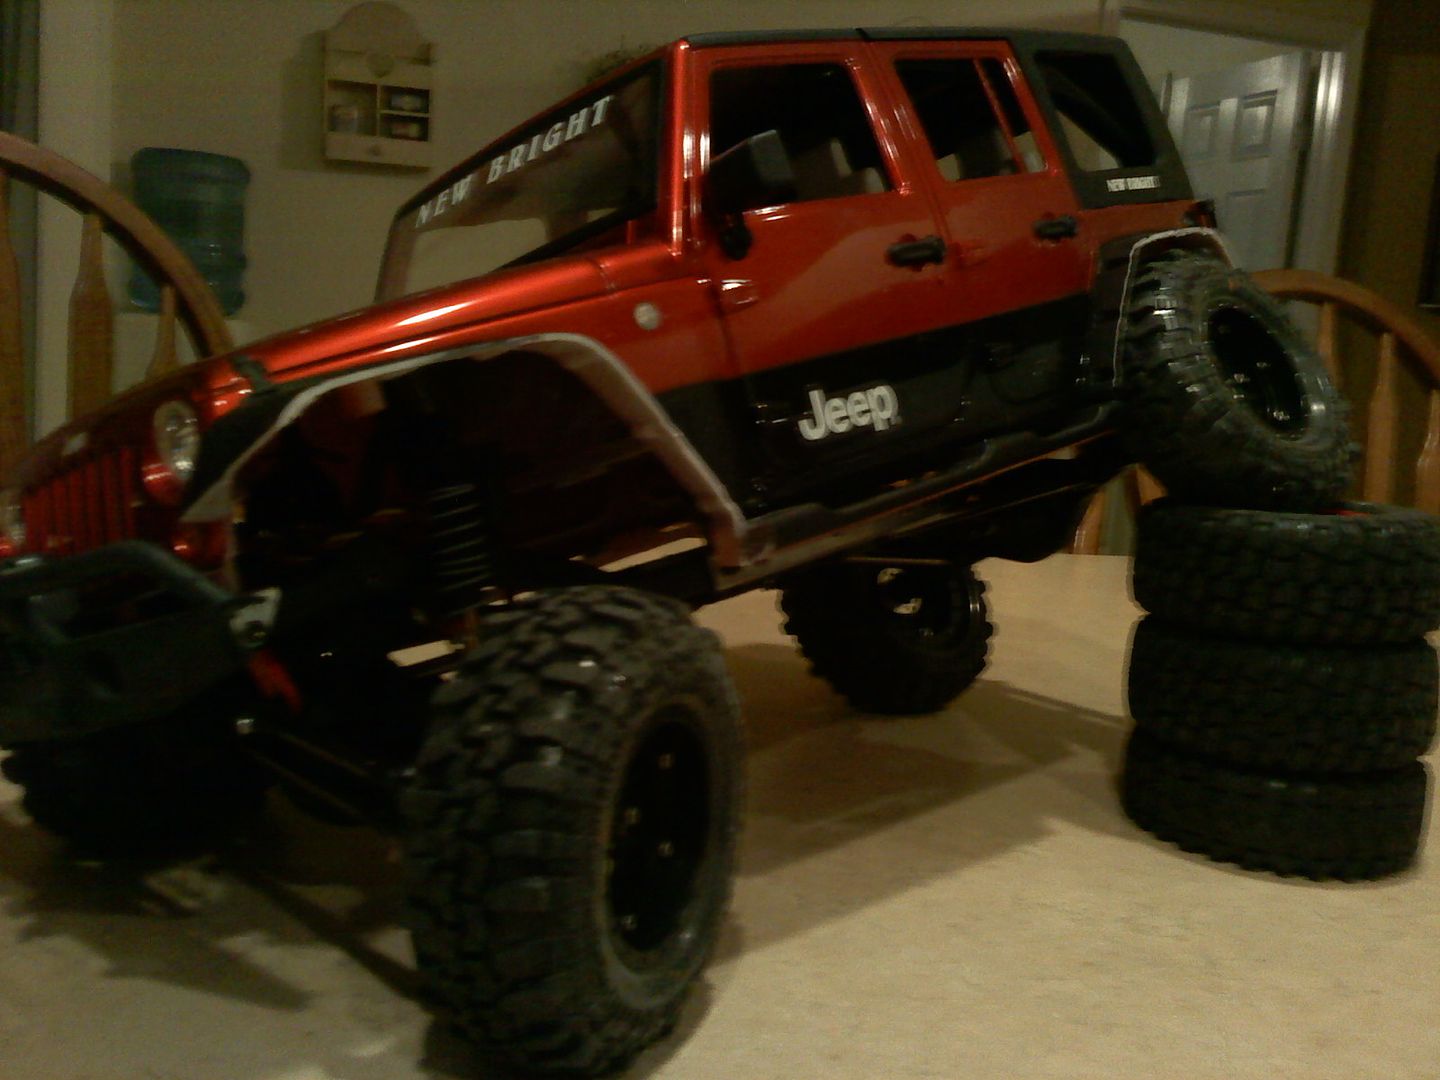 I made the frame extenders from some 1/2" square steel tubing I had laying around. I drilled out the needed mounting holes, cut the tubing in half, and milled out the center so it would fit over the orignal rails. more to come....... |

|  |
| Sponsored Links | |
| | |
|
09-29-2010, 05:36 PM
| #2 |
| Pebble Pounder Join Date: Sep 2009 Location: Rockport, TX
Posts: 188
|
Neat idea and looks alot better than the long link solution - what was the dimension between existing chassis rails - end 2 end? I got a body in the closet collecting dust |
|
| |
|
09-29-2010, 05:38 PM
| #3 |
| Pebble Pounder Join Date: Apr 2009 Location: Dallas
Posts: 107
|
Is that the 4-link in the rear? How tall are your body mounts? |
|
| |
|
10-06-2010, 06:25 PM
| #4 | ||
| Quarry Creeper Join Date: Aug 2007 Location: Go Broncos!!!!!!
Posts: 425
| Quote:
Quote:
| ||
|
| |
|
10-07-2010, 03:43 AM
| #5 |
| Rock Stacker Join Date: Sep 2010 Location: western mass
Posts: 77
|
just curious my friend where you get that jeep body?
|
|
| |
|
10-07-2010, 04:32 PM
| #6 | |
| RCC Addict Join Date: Jul 2009 Location: Dover, NH
Posts: 1,153
| Quote:
They used to be available at WalMart, RadioShack, Target etc. But that exact model is discontinued I believe. It just came back out with a slight change with mud added and a different color. But it seems to be the exact same. It would just take some work to get the silly mud stuff off. It is a cheapo rc that happens to have a very nice scale body on it made by "NewBright". You may be able to find one of the red and black ones around on ebay etc, or Radio Shacks seem to just be getting the new one. 1:8 JK back in stores... | |
|
| |
|
10-10-2010, 07:13 PM
| #7 |
| Newbie Join Date: Sep 2009 Location: st.louis
Posts: 19
|
i like the build! my dad has a jk and i read the forums all the time! im thinking about buying the proline body when it comes out to do a build like this!
|
|
| |
|
10-24-2010, 07:05 PM
| #8 | |||
| Quarry Creeper Join Date: Aug 2007 Location: Go Broncos!!!!!!
Posts: 425
| Quote:
 Quote:
| |||
|
| |
|
10-24-2010, 07:58 PM
| #9 |
| Quarry Creeper Join Date: Aug 2007 Location: Go Broncos!!!!!!
Posts: 425
|
A few pics to update: 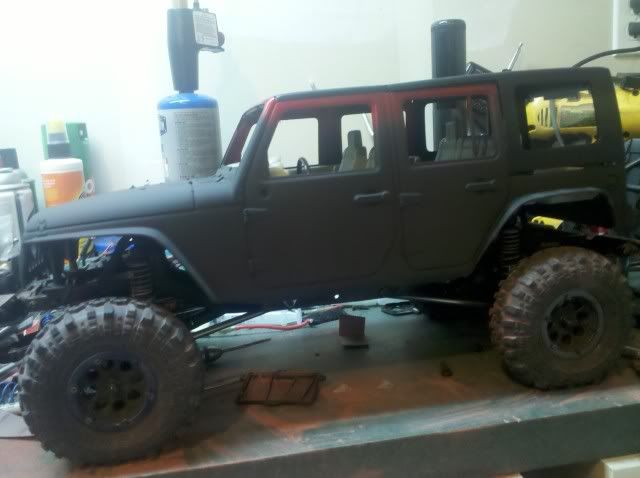 Here's how I attached the body to the frame rails. 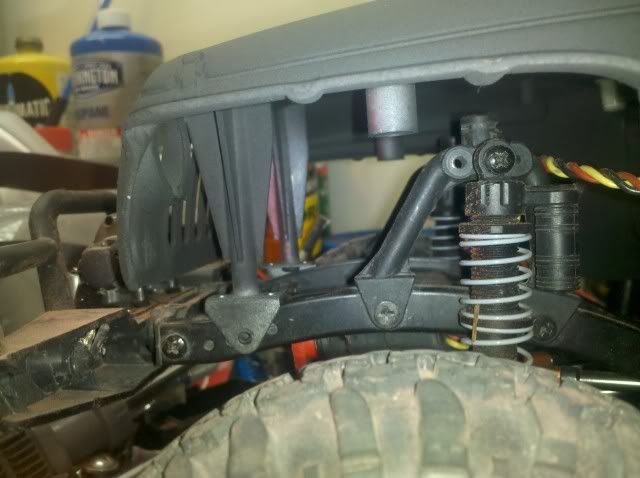 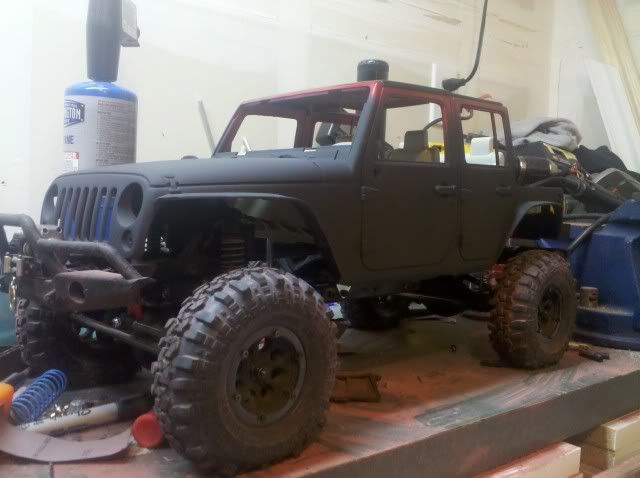 The goal here is to attach the interior to the frame rails and make some type of waterproof area for the electronics. 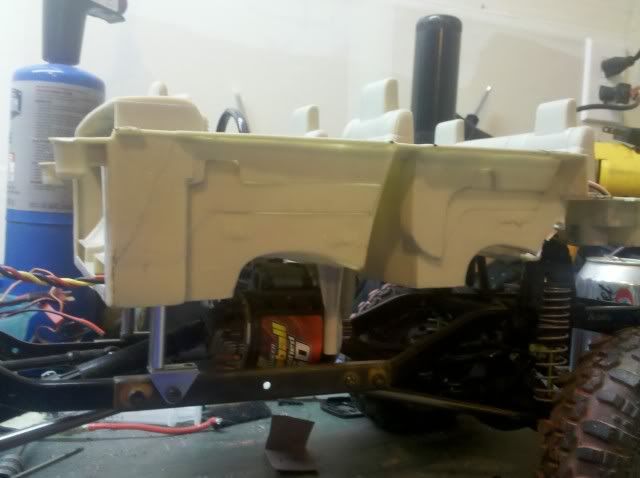 Here is how I attached the back part of the interior to the frame  |
|
| |
|
10-24-2010, 08:02 PM
| #10 |
| Quarry Creeper Join Date: Aug 2007 Location: Go Broncos!!!!!!
Posts: 425
|
I don't know if anyone has had any luck with this idea but I injected the tires with water. You can flick the tire sidewall and all you hear is a "thunk". The Proline TSL's are super soft so the added "fluid" weight helps them conform to anything. So far it's worked pretty good. |
|
| |
|
10-24-2010, 08:09 PM
| #11 |
| Quarry Creeper Join Date: Aug 2007 Location: Go Broncos!!!!!!
Posts: 425
|
I have a 12 year old son who does some awsome body/Bondo work!!! here is a sample. Thanks "B" 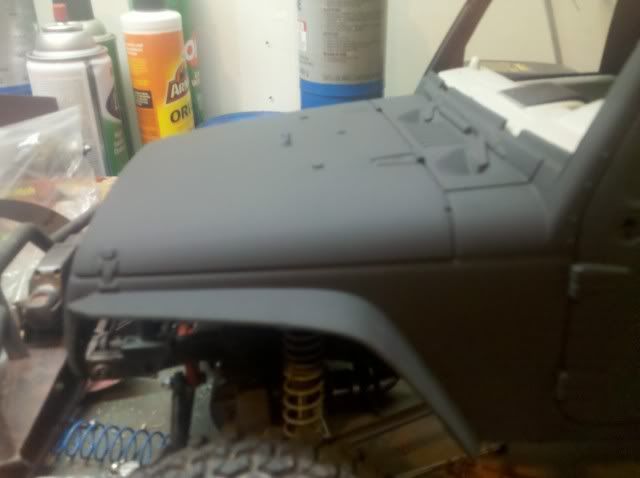 |
|
| |
|
10-25-2010, 10:34 AM
| #12 |
| Newbie Join Date: Oct 2010 Location: Brandon, MS
Posts: 16
|
Thats freaking awesome!!! Much better than the Proline body - so much more scale details. I just picked up a New Bright from Radiosnatch this morning. What type of primer did you use???     |
|
| |
|
10-25-2010, 11:20 AM
| #13 |
| RCC Addict Join Date: Feb 2006 Location: Bellflower, CA
Posts: 1,028
|
DAMN thats dirty! ha ha Im diggin the new paint scheme and wonder if the plastic is all molded black.
|
|
| |
|
10-25-2010, 11:40 AM
| #14 | |
| Newbie Join Date: Oct 2010 Location: Brandon, MS
Posts: 16
| Quote:
| |
|
| |
|
10-25-2010, 09:06 PM
| #15 |
| Quarry Creeper Join Date: Aug 2007 Location: Go Broncos!!!!!!
Posts: 425
|
I finally got some color on the body. I still have alot of detail work to do. 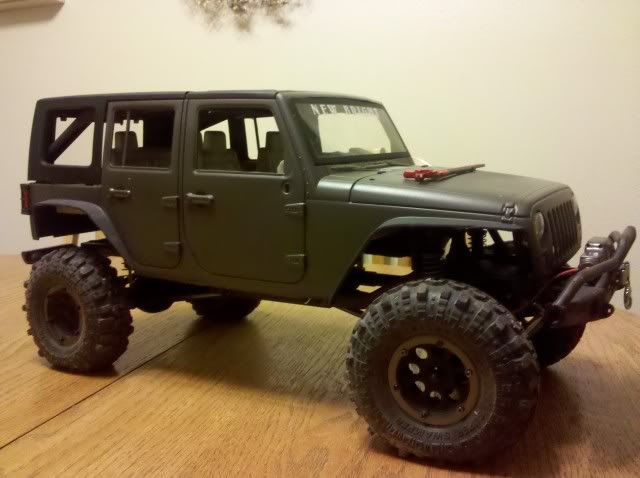 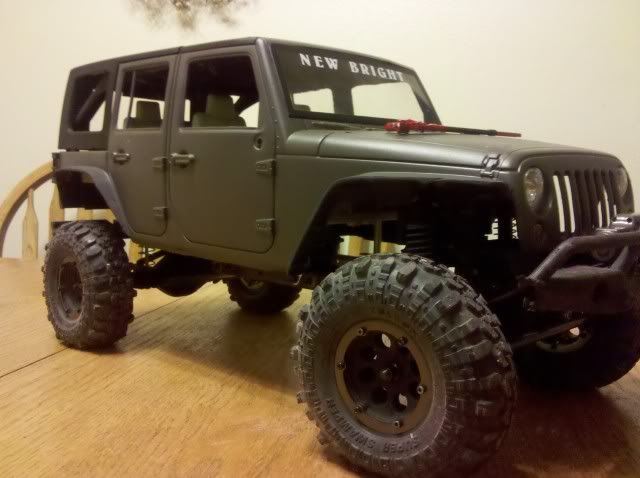 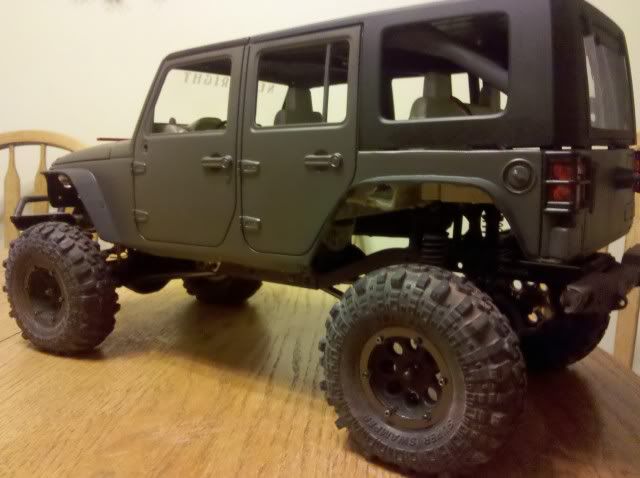 |
|
| |
|
10-26-2010, 12:28 PM
| #16 |
| Newbie Join Date: Oct 2010 Location: Brandon, MS
Posts: 16
|
Im diggin the OD green. I have to paint mine red to match my 1:1 Got mine sanded and primed. How did the bondo stick to the flares? I want to bondo the fenders then cut lilke you did.  |
|
| |
|
11-01-2010, 09:33 PM
| #17 |
| Quarry Creeper Join Date: Aug 2007 Location: Go Broncos!!!!!!
Posts: 425
|
I used glazing putty. The redish/orange stuff. It works good but be sure to use it sparingly. It attacked the plastic but not bad enough to deform it. I just let is sit for a couple days so it dried really good then handed the body to my son so he could sand the hell out of it. I'm pretty sure it stuck cuz I trimmed a bit more off the flares after the bondo work and nothing flaked/chipped off. |
|
| |
|
11-07-2010, 07:01 PM
| #18 |
| Quarry Creeper Join Date: Aug 2007 Location: Go Broncos!!!!!!
Posts: 425
|
My son and I painted the door handles and minor details today. I "scrapped" in one of those PL-C floor pans inside. The reason I say "scrapped" is because I had to cut it in half and trim the heck out of it to fit. My next rig will definately be a SCX10 with one of those XJ bodies and floor pan. here's a pic of our progress....(not much different other than the door handles etc )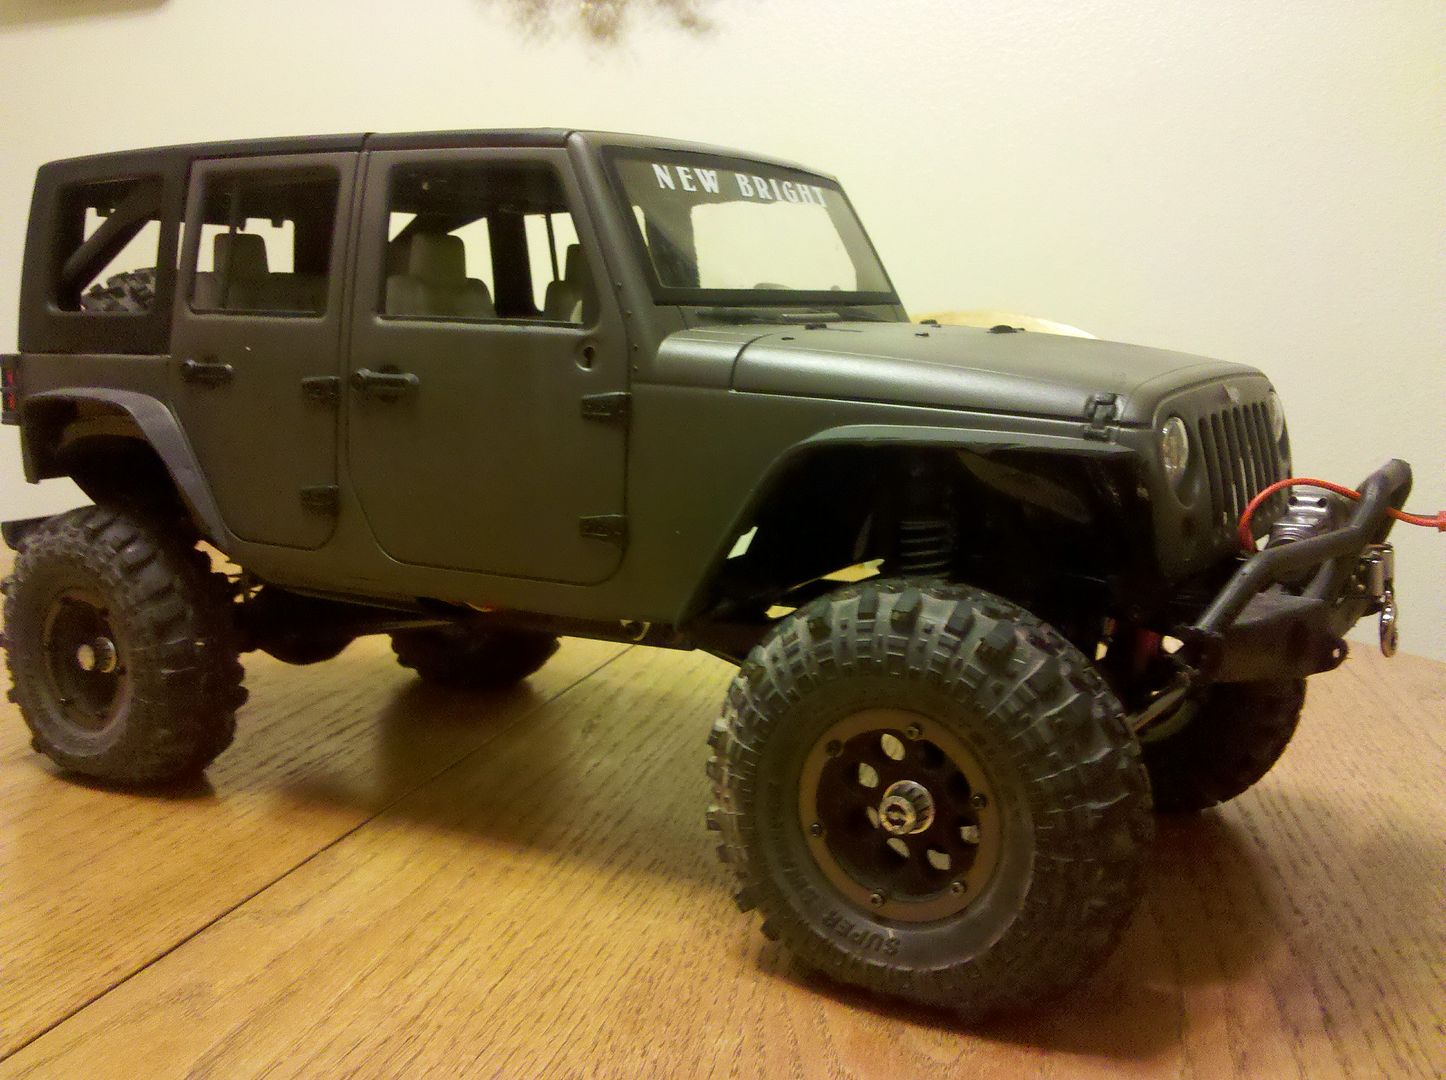 |
|
| |
|
11-07-2010, 07:36 PM
| #19 |
| Quarry Creeper Join Date: Oct 2009 Location: Hudson
Posts: 319
|
I'm really diggin' the looks of that! Keep up the good work and keep sharing progress pics. RIZ |
|
| |
|
11-09-2010, 08:16 PM
| #20 |
| I wanna be Dave Join Date: May 2010 Location: Stowe
Posts: 3,987
|
Getting ready to do the same thing. I need a picture of how your tranz is now mounted. I saw the other with the split skid plate. How did you fab up the center to bolt it up? Great job so far, this is the start of my winter project. Thanks John |
|
| |
 |
| |


 Linear Mode


