| |
| |||||||
 |
| | LinkBack | Thread Tools | Display Modes |
 07-21-2011, 01:16 PM
| #1 |
| RCC Addict Join Date: Jul 2011 Location: Orlando
Posts: 1,153
|
Updated with new Pics of the Body in last post. So here I am with a SCX10 Honcho and I have made a few changes to suspension and such.... Some of the wiser more knowledged members here advised I should just make this a build thread so thats what I did. I will keep updating the different mods and or parts I change and install in this thread. If anyone has any questions feel free to PM me with whatever. If you have advice or ideas or just know a better way.... PLEASE tell me. I embrace help and criticism. It will only help me understand the physics and characteristics of this vehicle and what Im trying to make it do. Thanks again to those who are and have been helping me. Those of you who subscribed to the other thread please delete and sub to this one instead. Well after my first try at making links with out using the hollow ball or pillow ball (which ever they are called) I realized that there was definately better movement with the Hollow Ball setup. So I ditched the fabbed links and made some new ones that are made the same way I made the Lower Links. I did the Lowers in Orange and the 4 Links in Yellow just trying to play around with colors. Im not sure which I like more. I think Im leaning torwards the Yellow but we will see. I also made new shock location plates for the rears to drop the shock mount a little, but I still have the stock locations available with out removing it. They are made out of PLexiglass. Oh well here are some pics, let me know what ya think and if there is any advice or hints please let em know. IM new to the scale crawler scene so any help is appreciated. Here are the pics....... 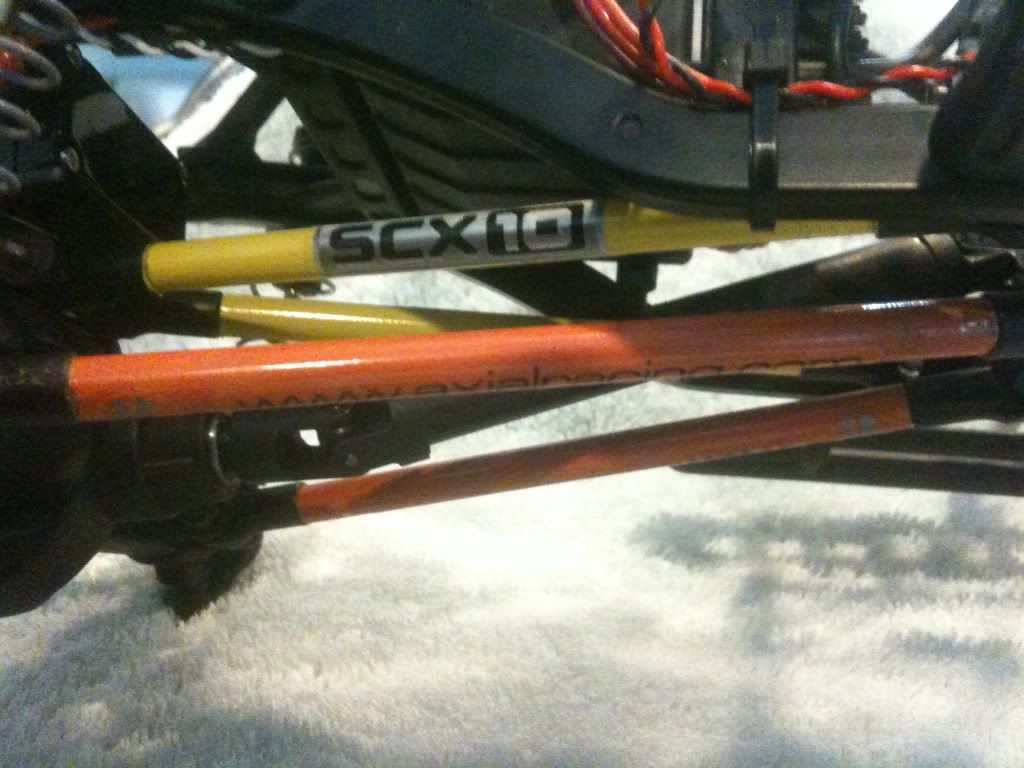 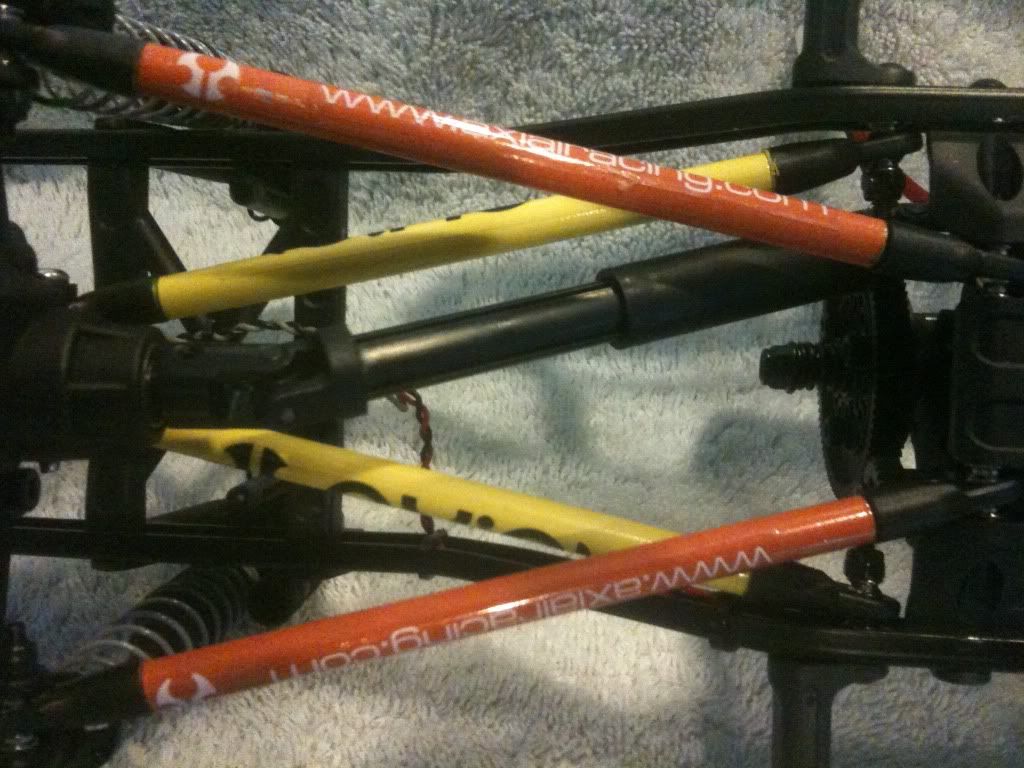 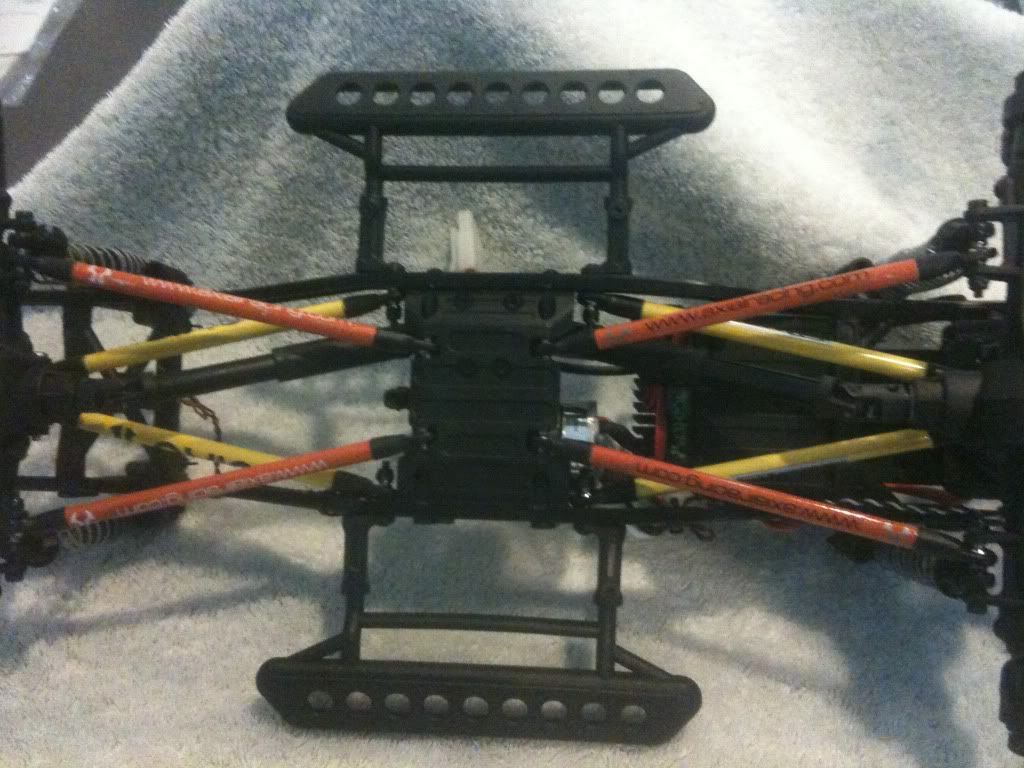 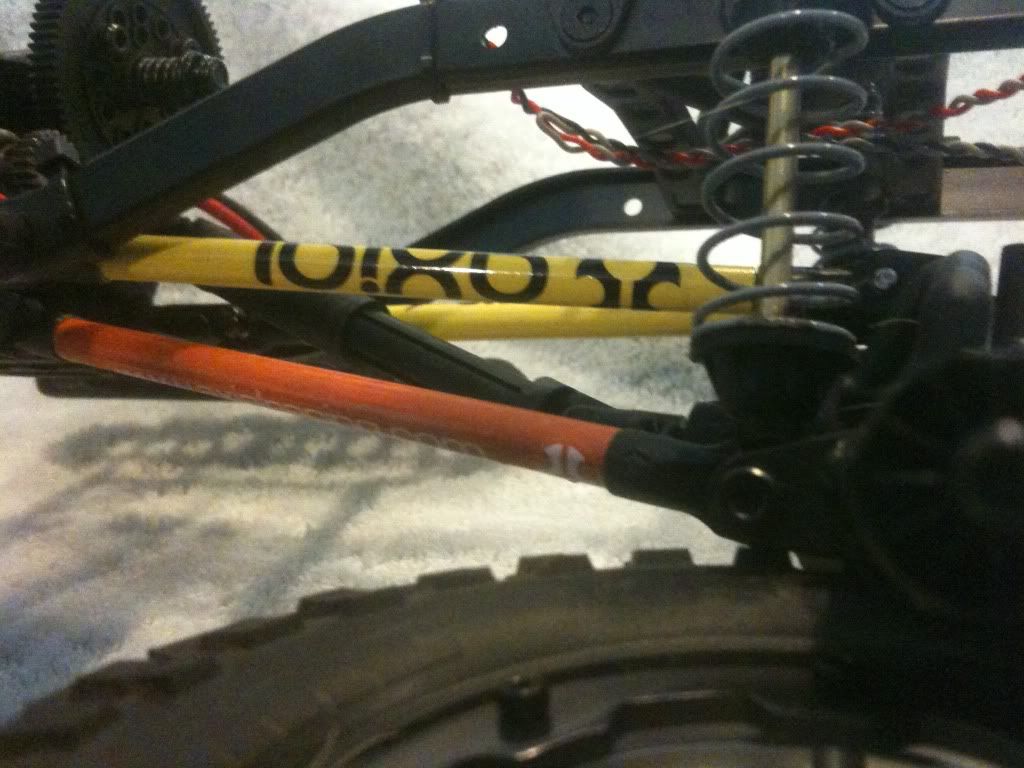 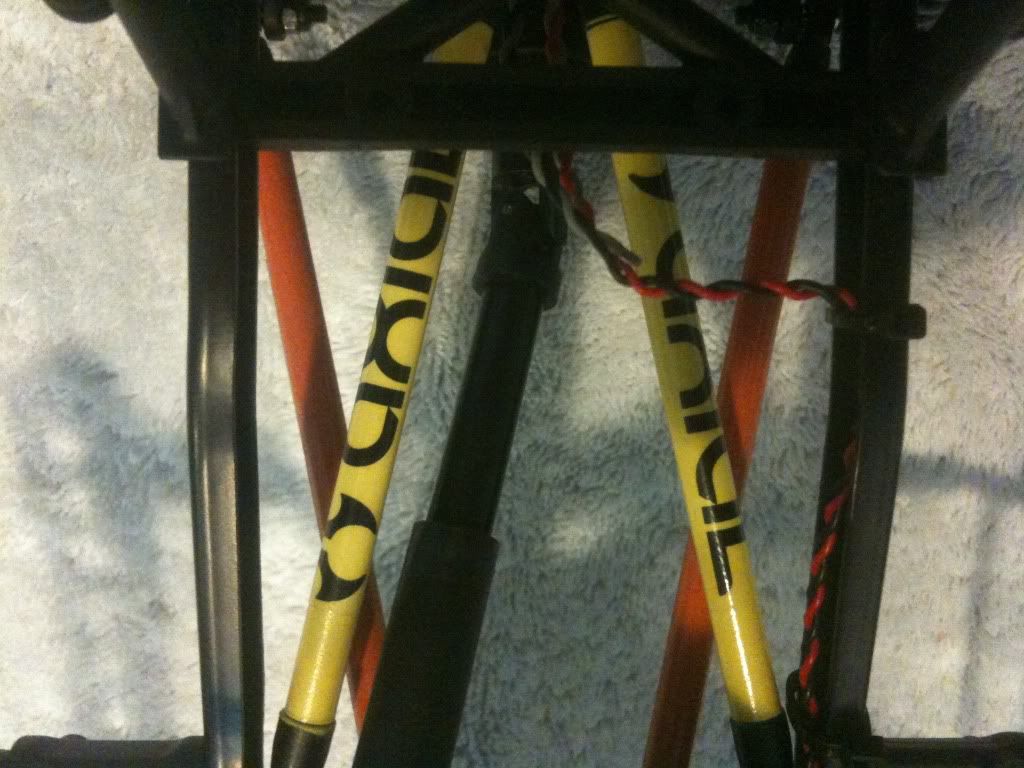 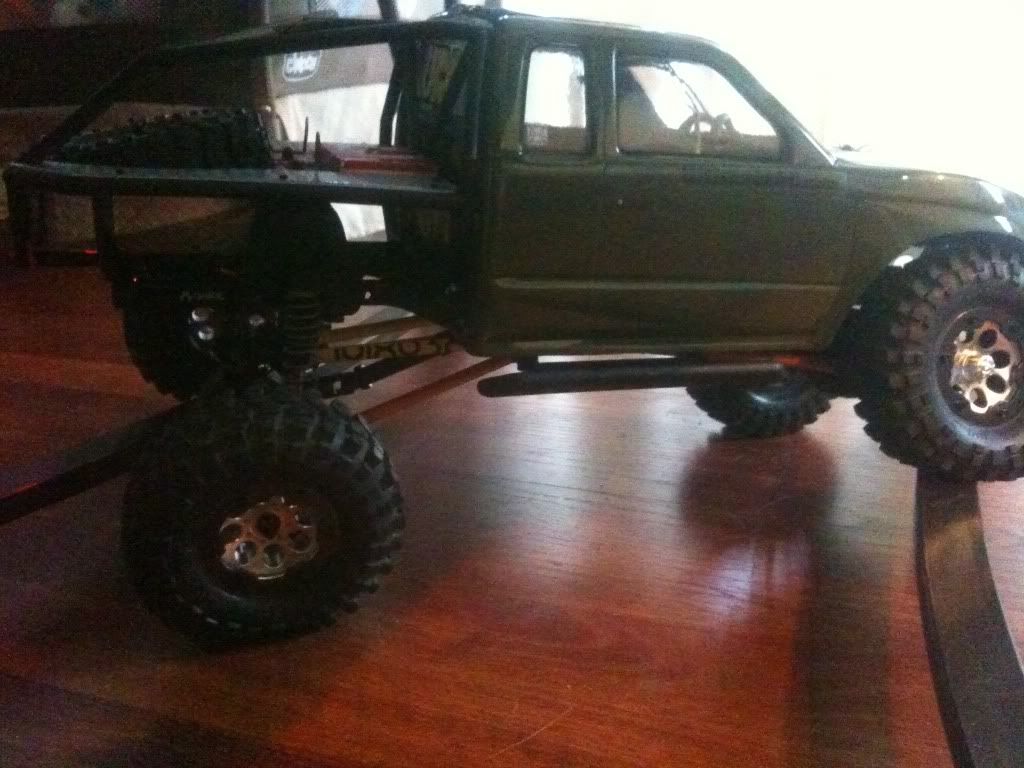 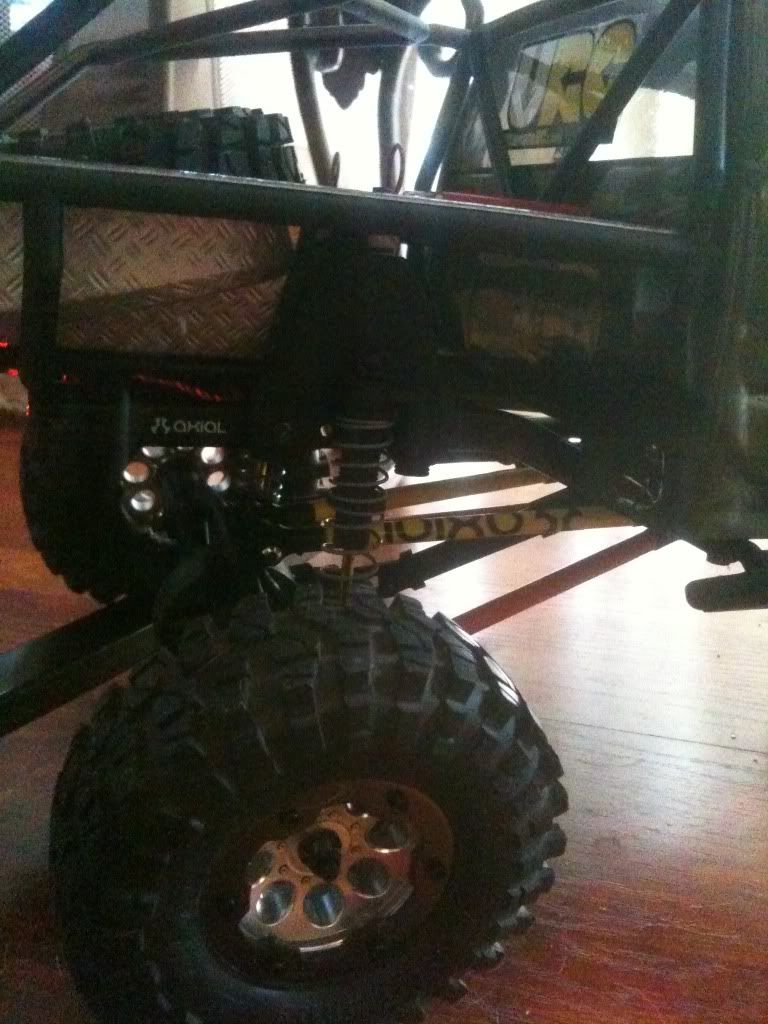 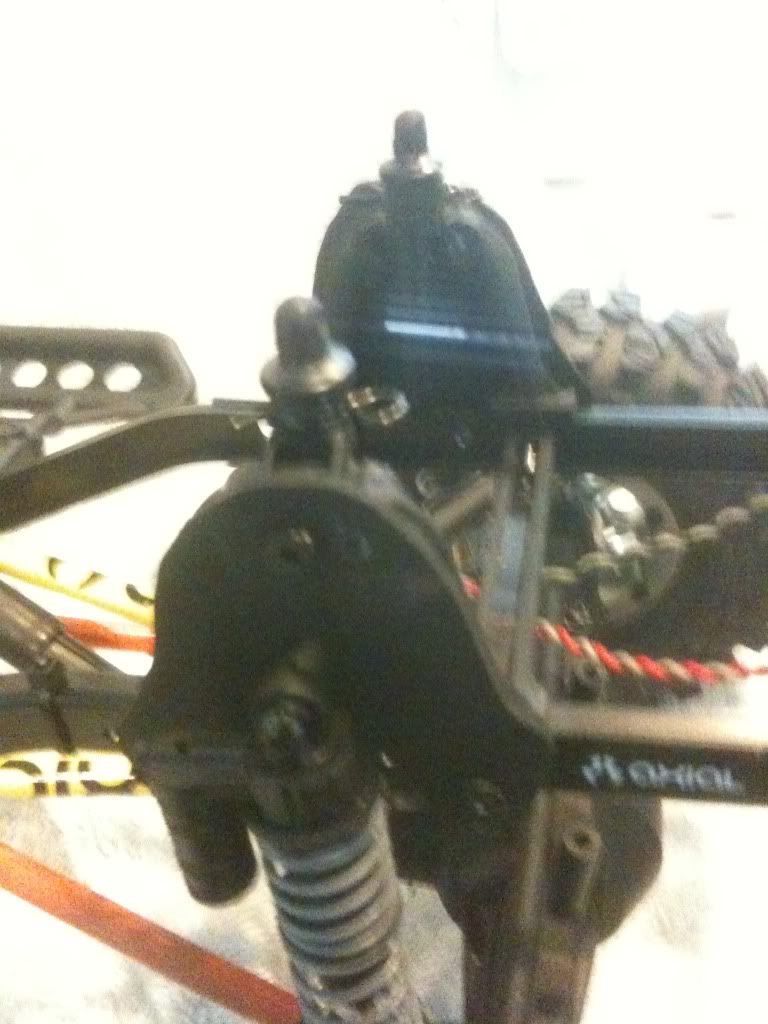 Last edited by AsILayDying; 08-08-2011 at 02:05 PM. Reason: Creatred a build thread from original post.... |

|  |
| Sponsored Links | |
| | |
|
07-21-2011, 03:56 PM
| #2 | |
| I wanna be Dave  Join Date: Jan 2006 Location: Corruptifornia
Posts: 12,107
| Quote:
 Subscribe to your own thread with instant email notification and you're good to go. Subscribe to your own thread with instant email notification and you're good to go.
Last edited by Natedog; 07-21-2011 at 09:50 PM. | |
|
| |
|
07-21-2011, 04:10 PM
| #3 |
| RCC Addict Join Date: Jul 2011 Location: Orlando
Posts: 1,153
|
Appreciate it, I will do that... Ill try to merge the two. Wonder if I can retitle the thread to "My Honcho Build Thread" so that I can do what you mentioned and keep it all running in one thread. Thanks
|
|
| |
|
07-21-2011, 04:51 PM
| #4 | |
| I wanna be Dave Join Date: May 2006 Location: FOUR 8 OH
Posts: 4,913
| Quote:
| |
|
| |
|
07-21-2011, 05:20 PM
| #5 | |
| Pebble Pounder Join Date: May 2011 Location: Bettendorf, IA
Posts: 199
| Quote:
| |
|
| |
|
07-21-2011, 05:23 PM
| #6 | |
| Pebble Pounder Join Date: May 2011 Location: Bettendorf, IA
Posts: 199
| Quote:
| |
|
| |
|
07-21-2011, 07:09 PM
| #7 |
| Newbie Join Date: Jun 2011 Location: Hills District, Sydney
Posts: 38
|
loving the yellow and orange links, with the axial written over them, nice look not being anodized, gives a brighter color. i like the yellow ones |
|
| |
|
07-21-2011, 09:51 PM
| #8 | ||
| I wanna be Dave Join Date: Jan 2006 Location: Corruptifornia
Posts: 12,107
| Quote:
 I like black or gunmetal grey links, but the yellow is better than orange. I like black or gunmetal grey links, but the yellow is better than orange.Quote:
Last edited by Natedog; 07-21-2011 at 09:53 PM. | ||
|
| |
|
07-22-2011, 11:12 AM
| #9 |
| RCC Addict Join Date: Jul 2011 Location: Orlando
Posts: 1,153
|
I just recieved my Axial Steering Links I got off eBay so I decided to install. I also realized that I needed to either do all Orange or do all Yellow for the color of the Lower Links and the 4 Links. It was clashing with each other. I decided to go with Yellow, they came out good and I think it cleans up the under body. I also sanded and cleaned up the used Steering link I bought and painted it Yellow as well. Things are definately coming along. This is before with the Orange and Yellow mix n' match. Now this is with them all painted Yellow (so much cleaner) 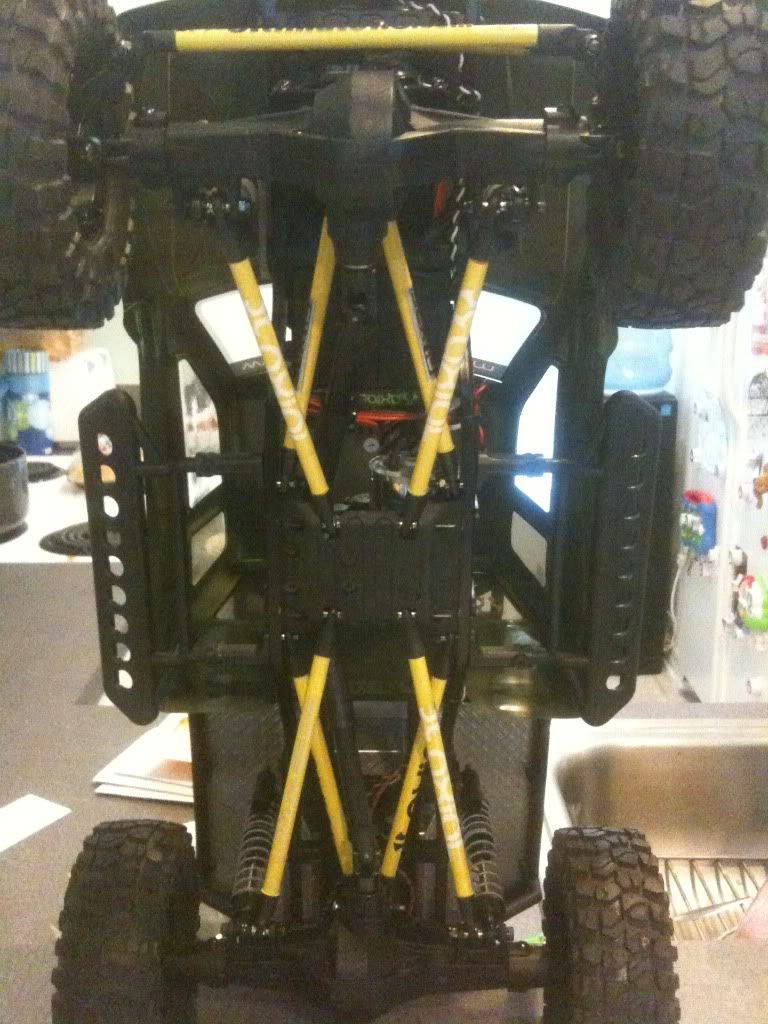 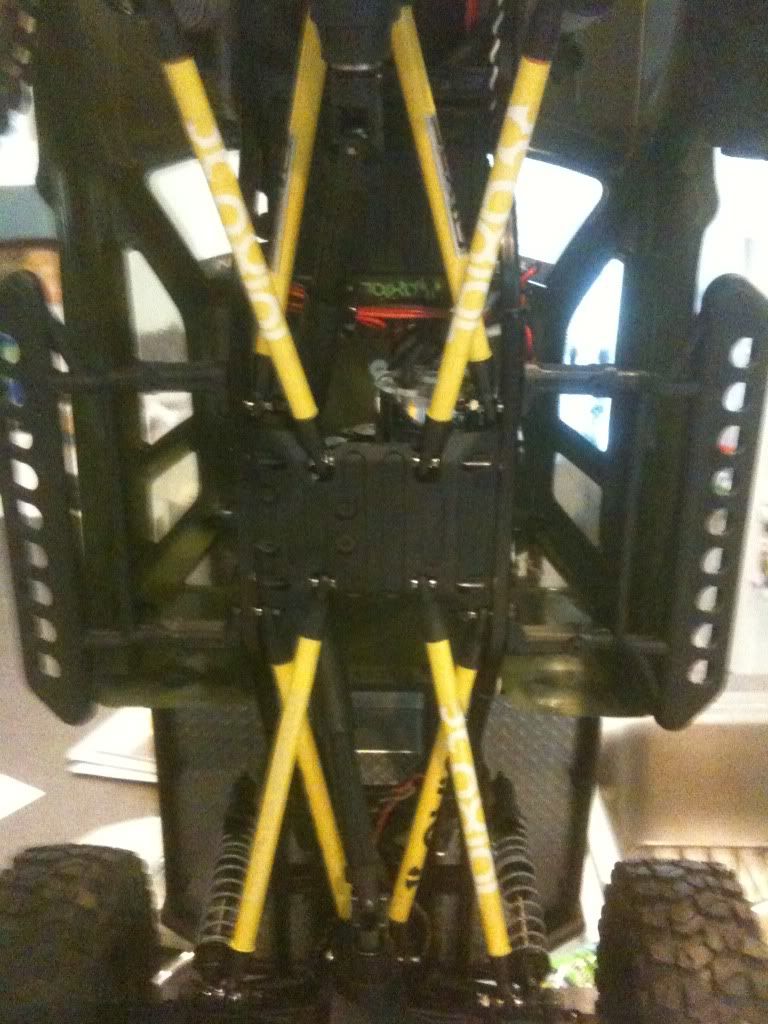 Here is the used Steering Link installed (its an AXIAL part, I didnt make this one ) 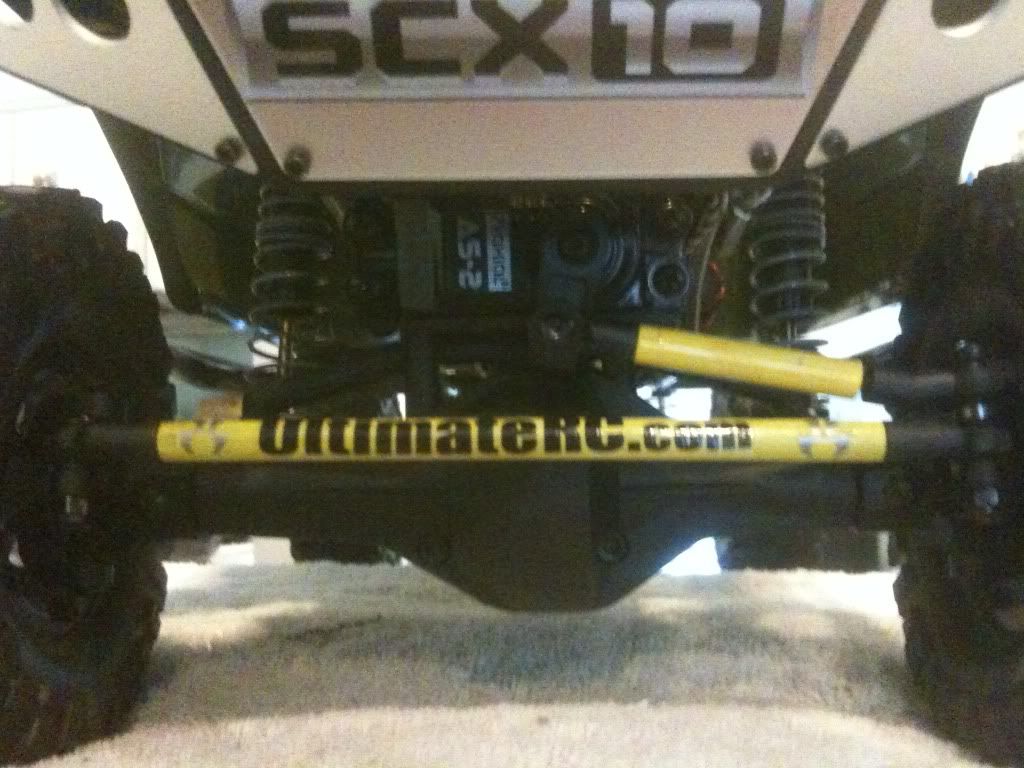 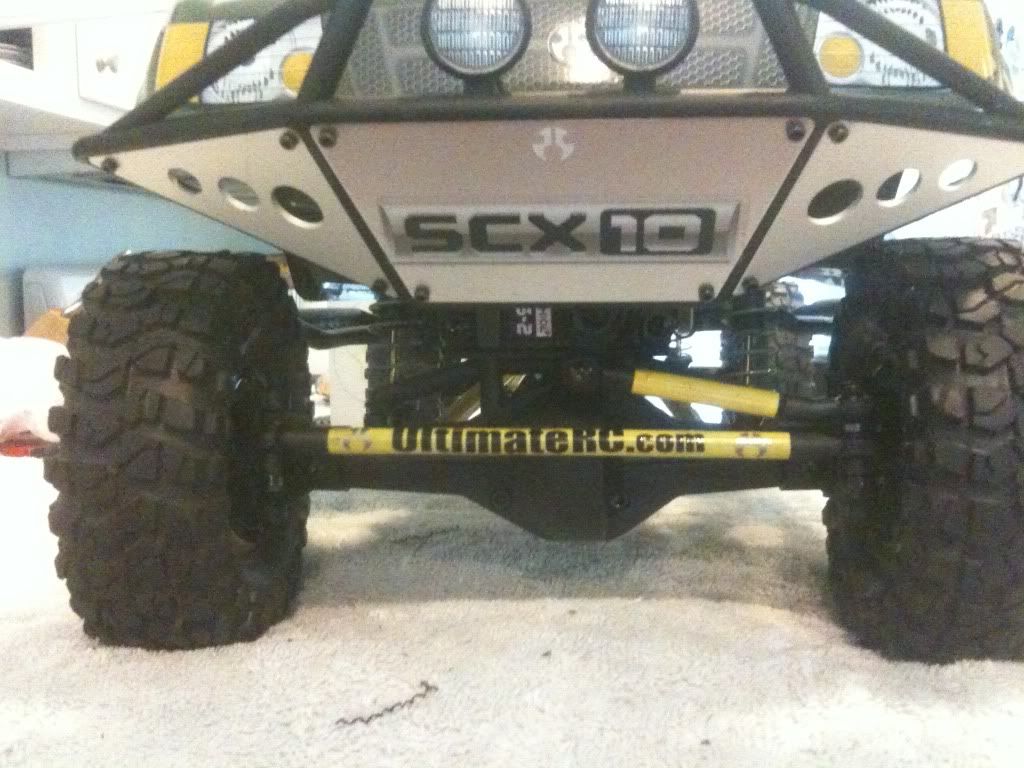 |
|
| |
|
08-08-2011, 03:15 PM
| #10 |
| RCC Addict Join Date: Jul 2011 Location: Orlando
Posts: 1,153
|
Well after a long weekend of beating the snot out of the Honcho I decided to hide the scratches and rough marks on the body. She got a facelift with some new paint. Here it is... looks a little tougher then she did before. This pic has the BlackWater logo on it, Ill get some more pics with that on it.  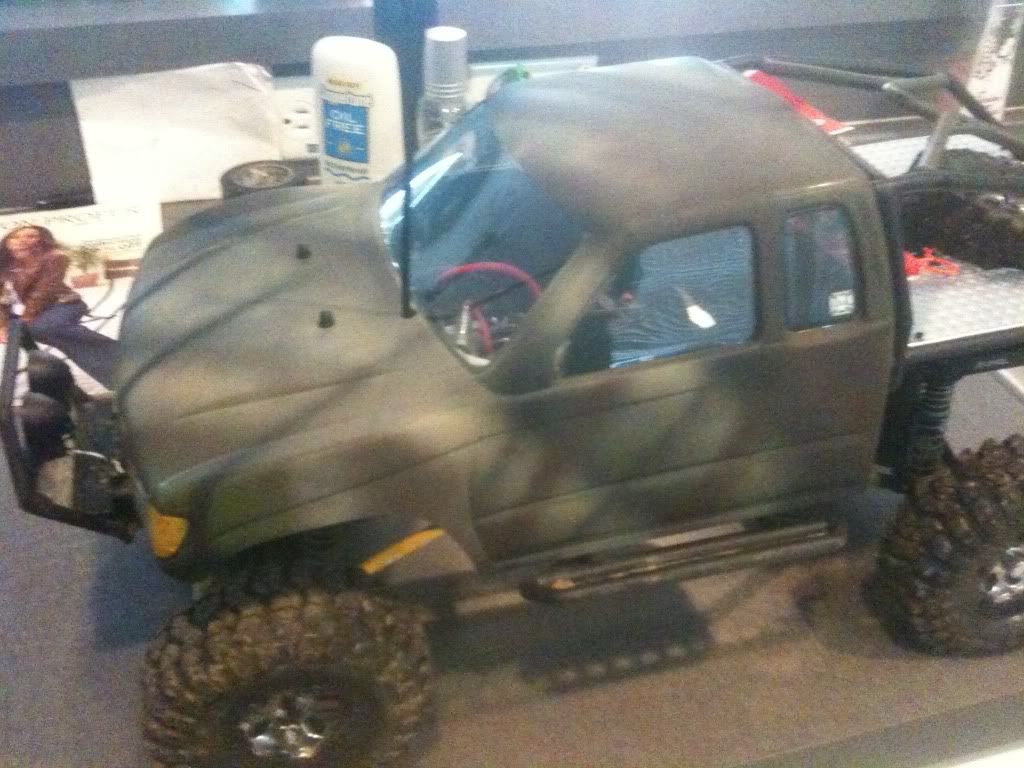 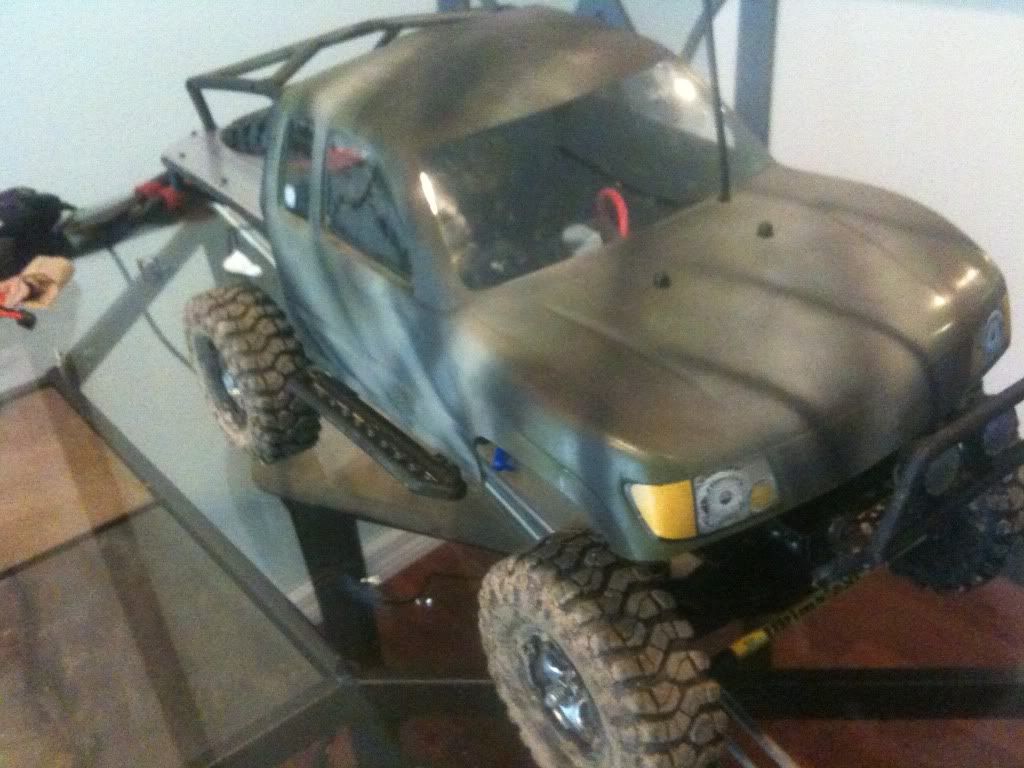 |
|
| |
|
08-08-2011, 03:25 PM
| #11 |
| Newbie Join Date: May 2011 Location: Southern, WV
Posts: 26
|
Nice paint job man
|
|
| |
|
08-08-2011, 03:29 PM
| #12 |
| Quarry Creeper Join Date: Feb 2011 Location: Austin
Posts: 414
|
Paint job looks great. Now paint the diamond plate bed flat black!!
|
|
| |
|
08-08-2011, 03:33 PM
| #13 |
| RCC Addict Join Date: Jul 2011 Location: Orlando
Posts: 1,153
|
Yep that was gonna be next but my son woke up from his nap so paint time was cut short. LOL, even though he wanted to help I declined the offer and let him paint the garbage can. It looks great. Seriously though Im happy with it, truck looks real rough and beater ready. No glossy finish to worry about. Thanks for the compliments guys. She appreciates a good compliment on her looks every now and then... |
|
| |
|
08-09-2011, 03:52 AM
| #14 |
| Newbie Join Date: Jun 2011 Location: Hills District, Sydney
Posts: 38
|
THat paint job looks awesome, might have to borrow that from you |
|
| |
|
08-09-2011, 09:49 AM
| #15 |
| RCC Addict Join Date: Jul 2011 Location: Orlando
Posts: 1,153
|
Well yesterday and today I had off from work so I was bored and after spending a ton on flying up north I didnt want to spend any money on parts for no reason. So I decided to paint the truck and take apart one of my son's toy r/c trucks and use the bumper. Its completely modified with my Honcho's Front Skid plate and light set. Nothing special just wanted to see what it would look like and kill some time. I need a hobby..... oh wait I have one thats too expensive, 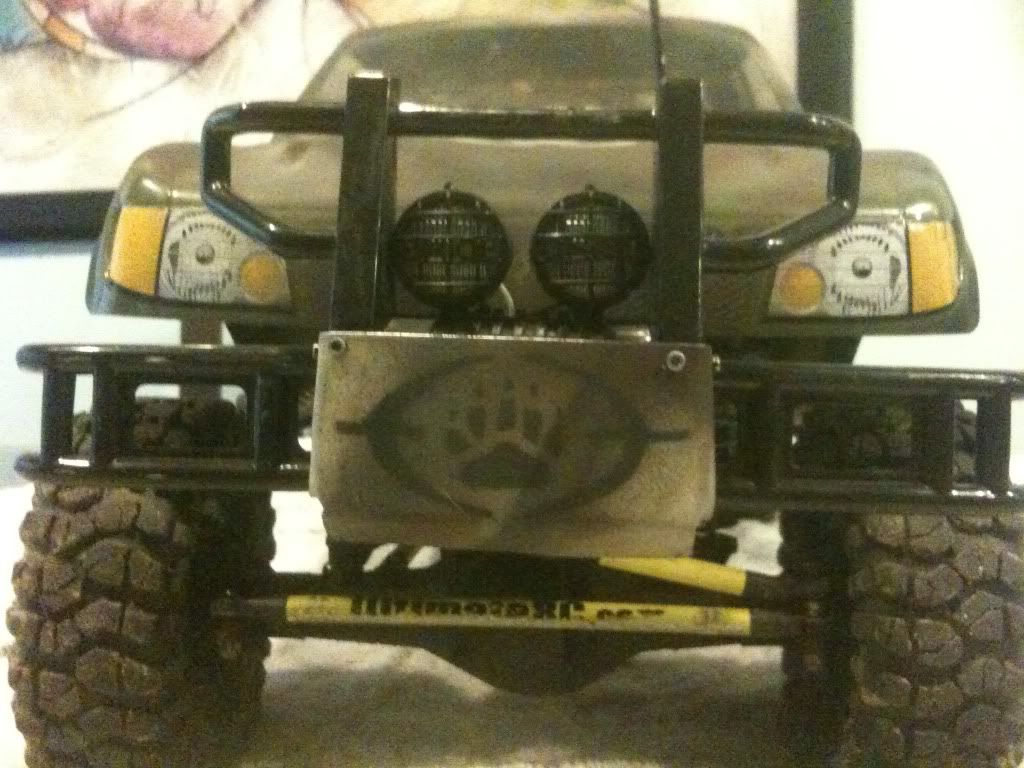 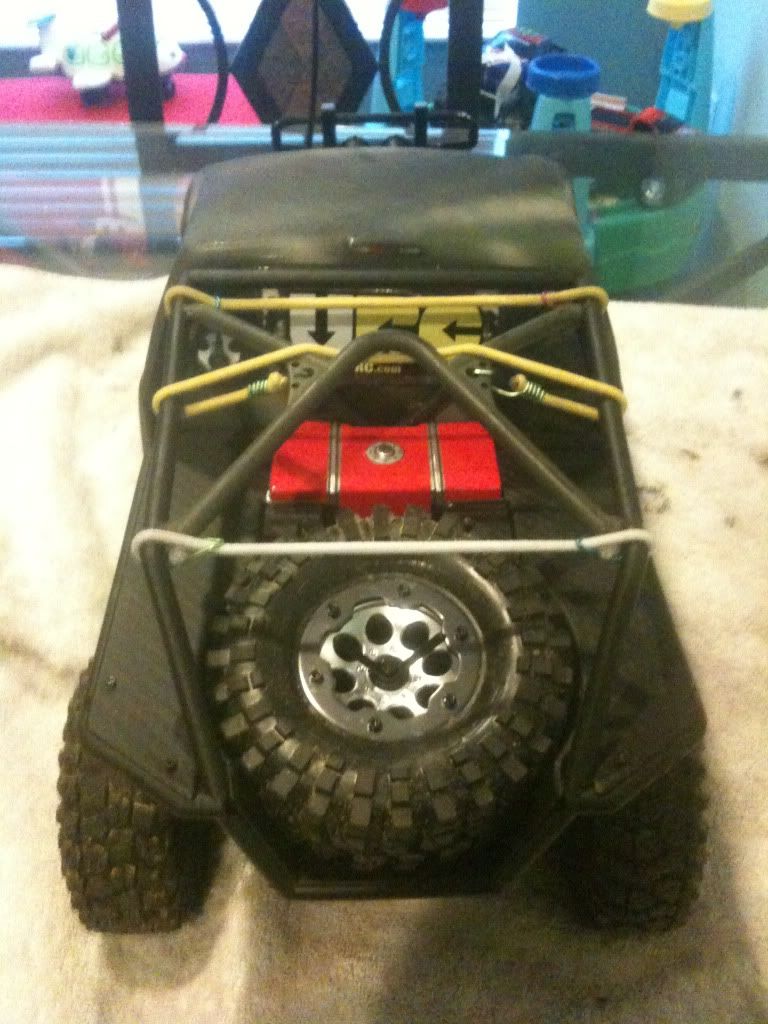 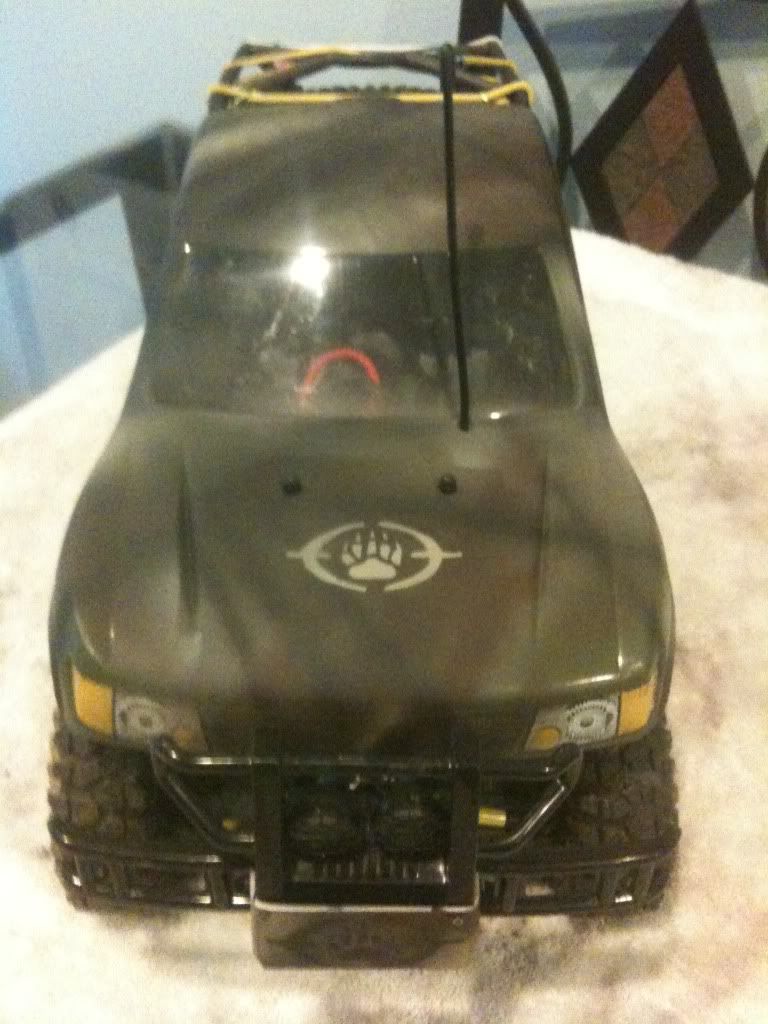 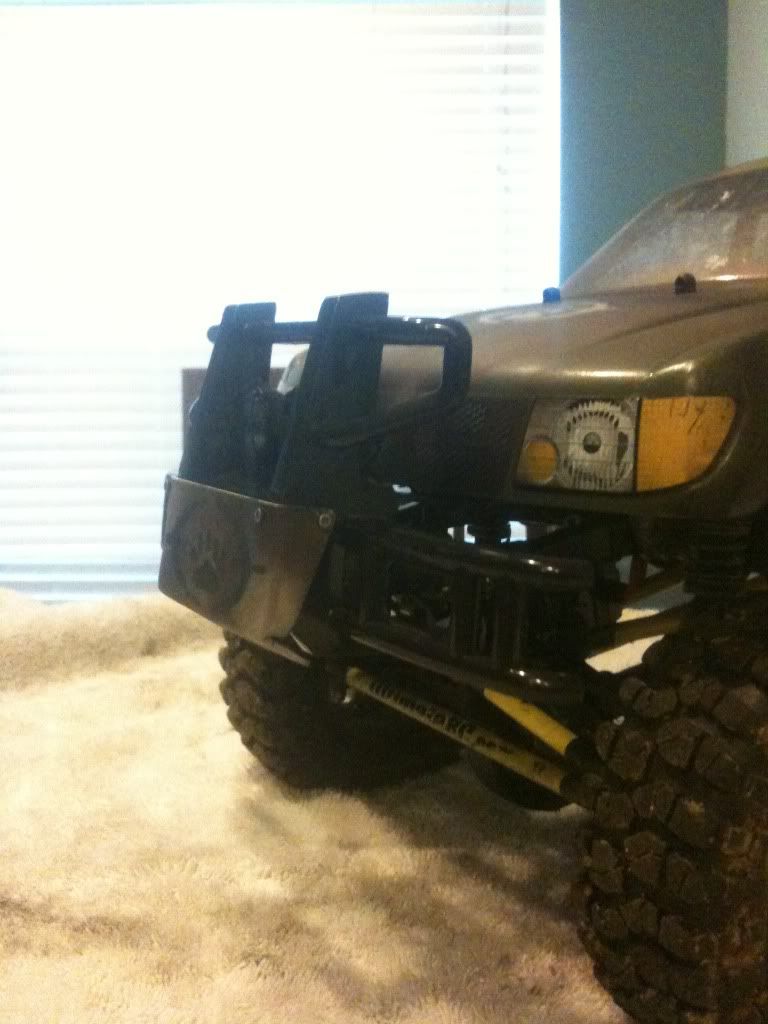 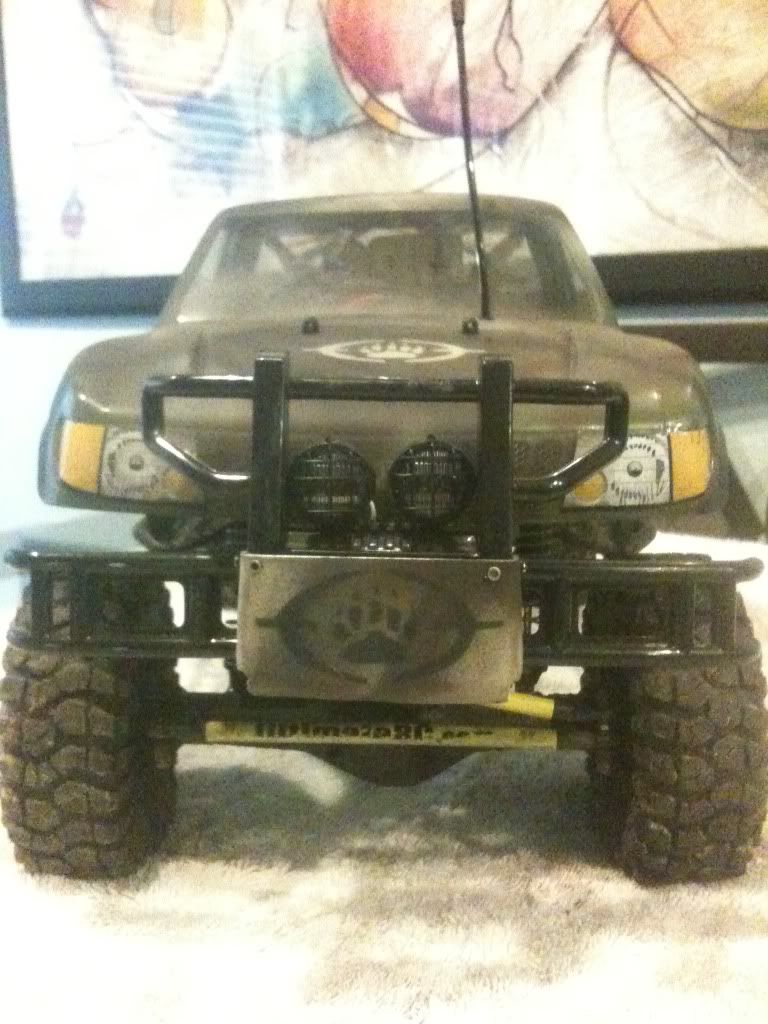 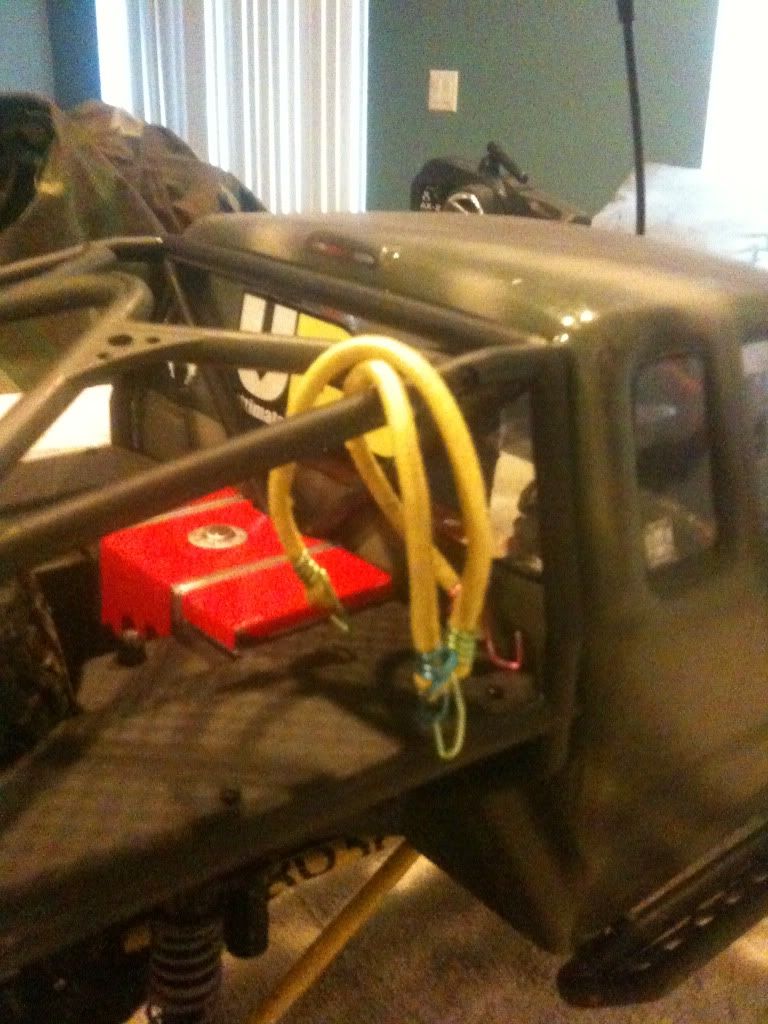 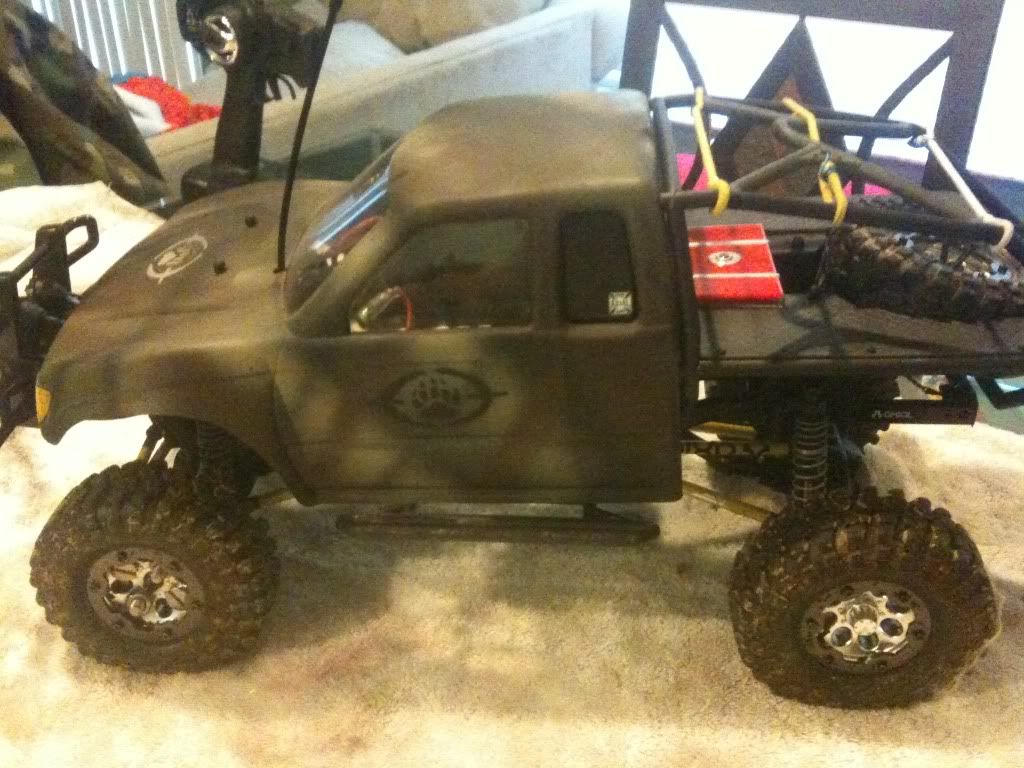 |
|
| |
|
08-09-2011, 10:04 AM
| #16 |
| Quarry Creeper Join Date: Feb 2011 Location: Austin
Posts: 414
|
Truck looks awesome!
|
|
| |
|
08-09-2011, 10:09 AM
| #17 |
| RCC Addict Join Date: Jul 2011 Location: Orlando
Posts: 1,153
|
Thanks a lot pebble pounder. Its always appreciated when someone compliments some hard work. |
|
| |
|
08-09-2011, 01:05 PM
| #18 |
| RCC Addict Join Date: Jul 2011 Location: Orlando
Posts: 1,153
|
Well I have been busy I guess. Cant leave the damn truck alone. Anyways I had to remove my Lower Links and the 4 Links to get proper measurements so I could make another set for another forum member. I decided to paint them and get rid of the bold yellow and camo the links as well. It blends better with the truck now. Couldnt have all the camo colors above the chasis and then these bright yellow links underneath. Just wouldnt mix right, IMO. Anyways here are the links camo'ed. 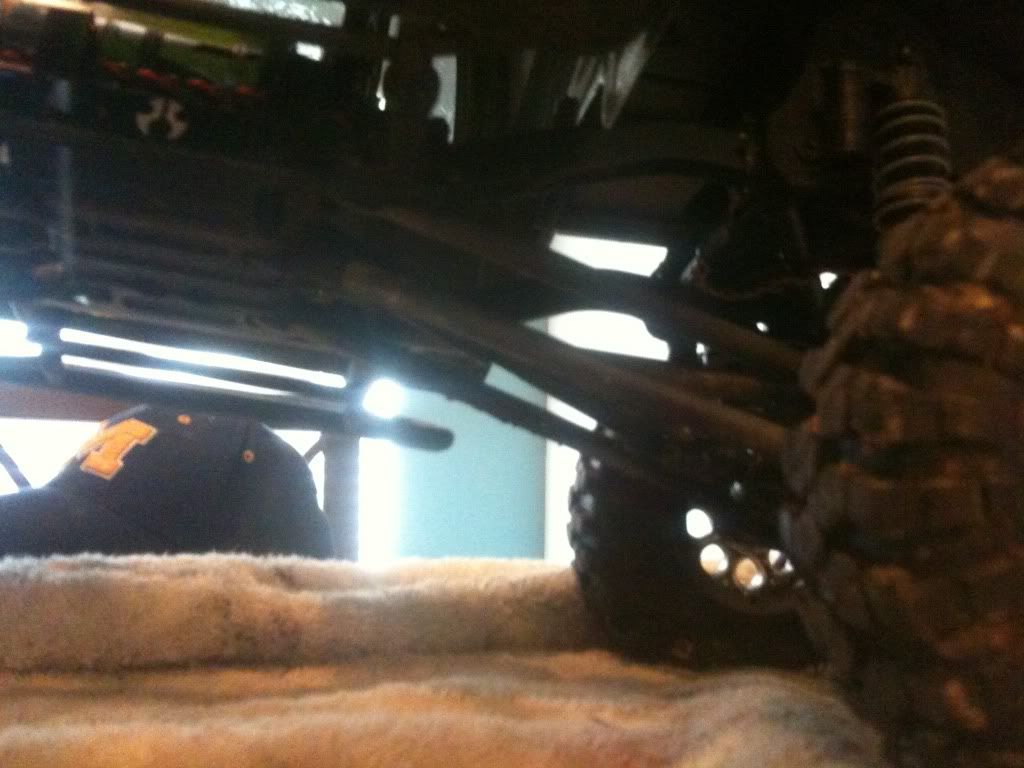 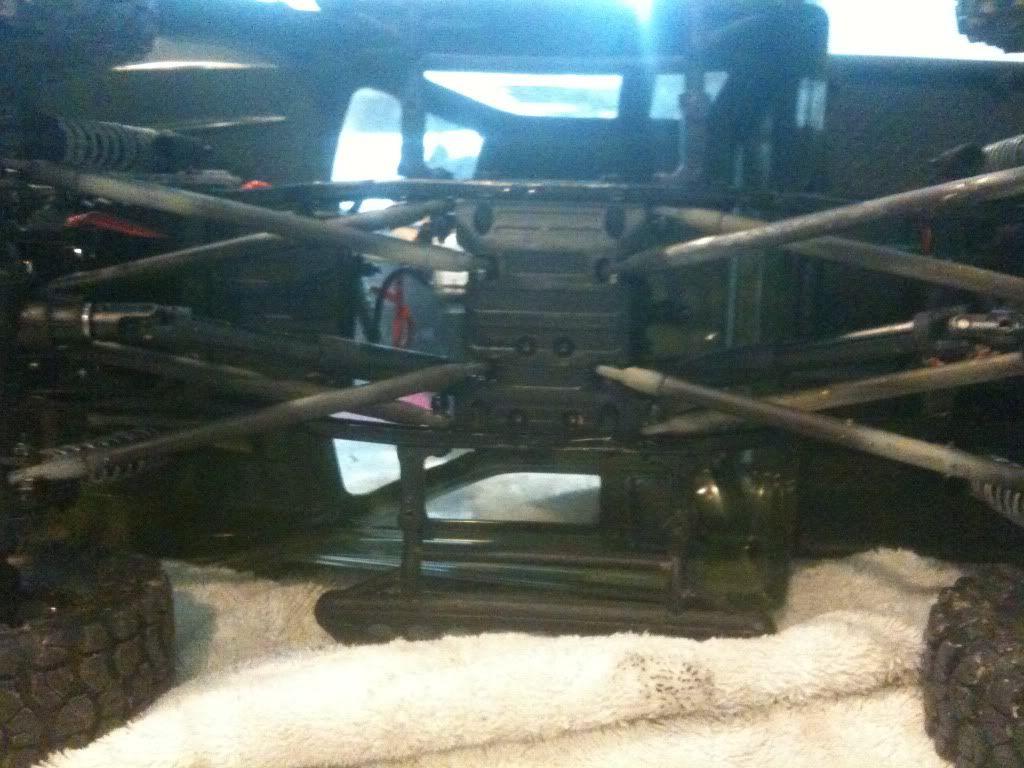 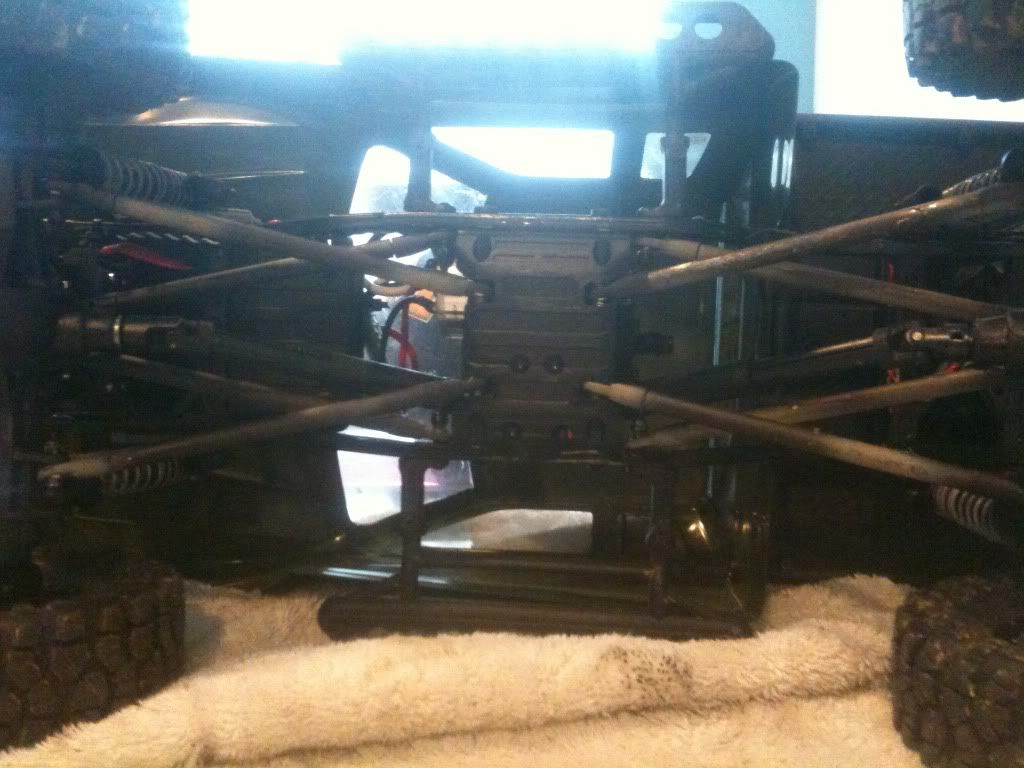 |
|
| |
|
| |


 Linear Mode


