| |||||||
Loading
 |
| | LinkBack | Thread Tools | Display Modes |
| |||||||
 |
| | LinkBack | Thread Tools | Display Modes |
| | #1 |
| Pebble Pounder  Join Date: Dec 2014 Location: Ontario Canada
Posts: 145
|
There is nothing special happening here. But I feel everyone should take time to check out my Dingo build because its mine and therefore it IS special. At least thats what my mom has told me all my life. For serous though, Its just a dingo. But its my 4th kit build in only 2 months. My first was a dingo that is now heavily upgraded. Then a G6, then a used basket case i put back together and now this. I also bought a deadbolt Ive been upgrading. But after the other trucks were all done I realized I now have 3 upgraded SCX10s and, due to 4 feet of snow here, havent even crawled with them once. I have no idea how a stock one should perform. Since i had all the stock electronics from my deadbolt laying around and a really nice discount code from tower I decided to build one last SCX10 and keep it completely stock. Nothing special to see here. But there is something VERY satisfying about opening a new RC box: 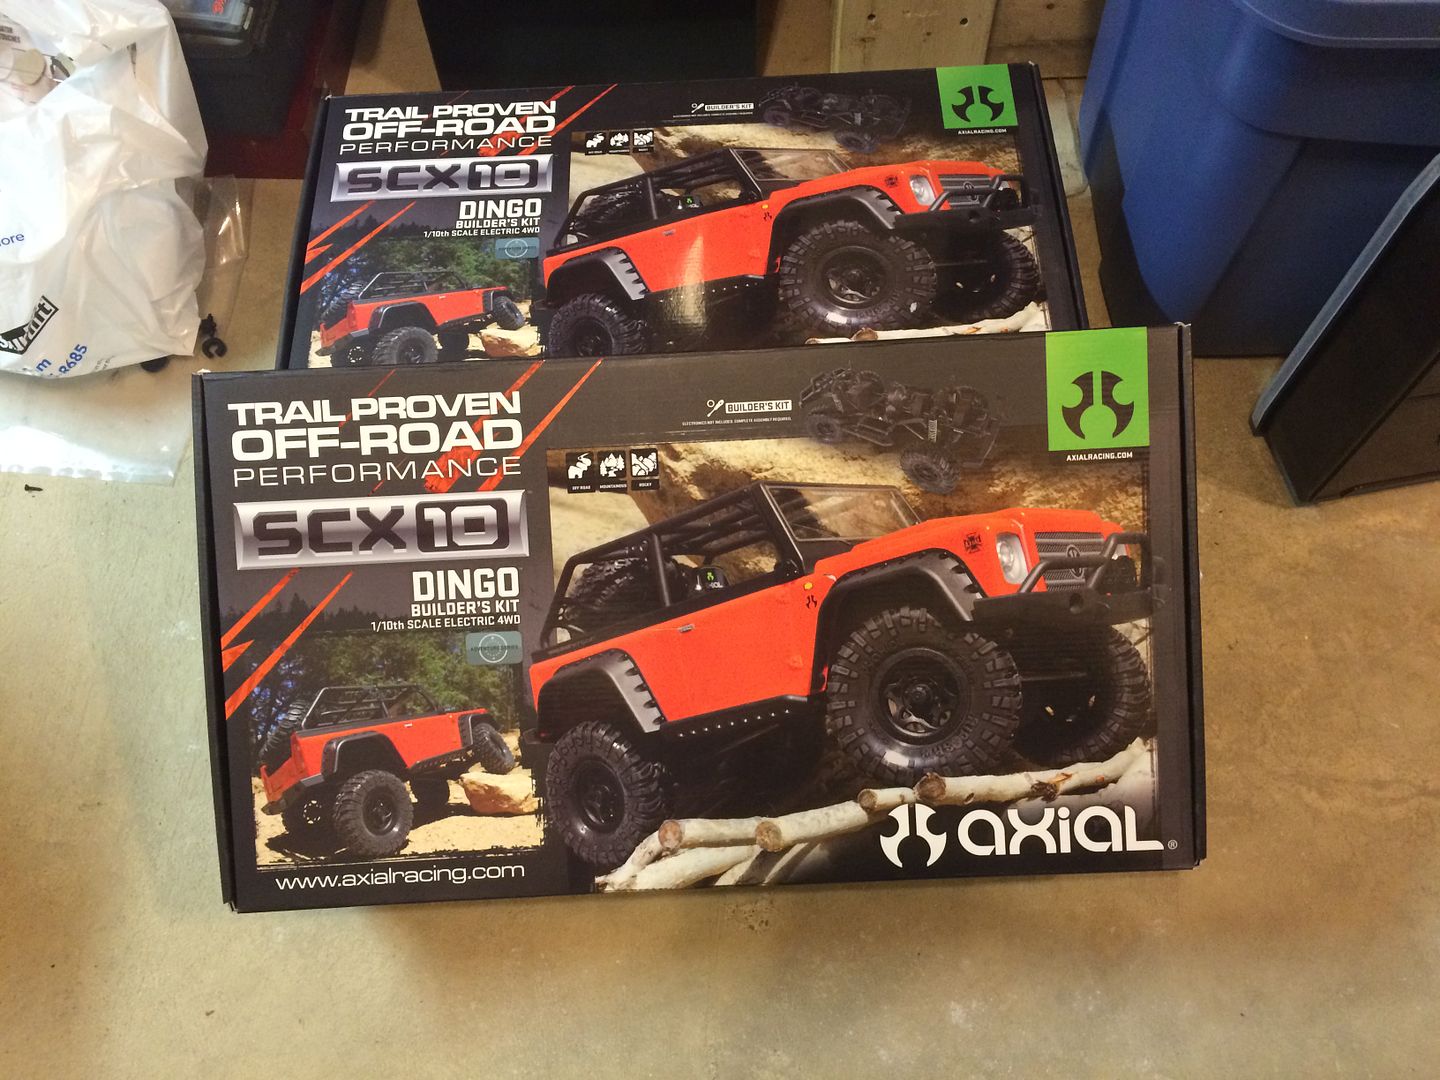  I didnt even give the first dingo body a chance when i built it. i just wrote it off as funny looking and uncool. Then I started checking out some dingo pics online and have found that with the right paint and details, its actually a pretty boss looking body. So, I put this body on the shelf with the others for now but have plans for it soon. (interestingly enough, I expected the Proline ram body to be the awesome one... and didnt like it when it was done) 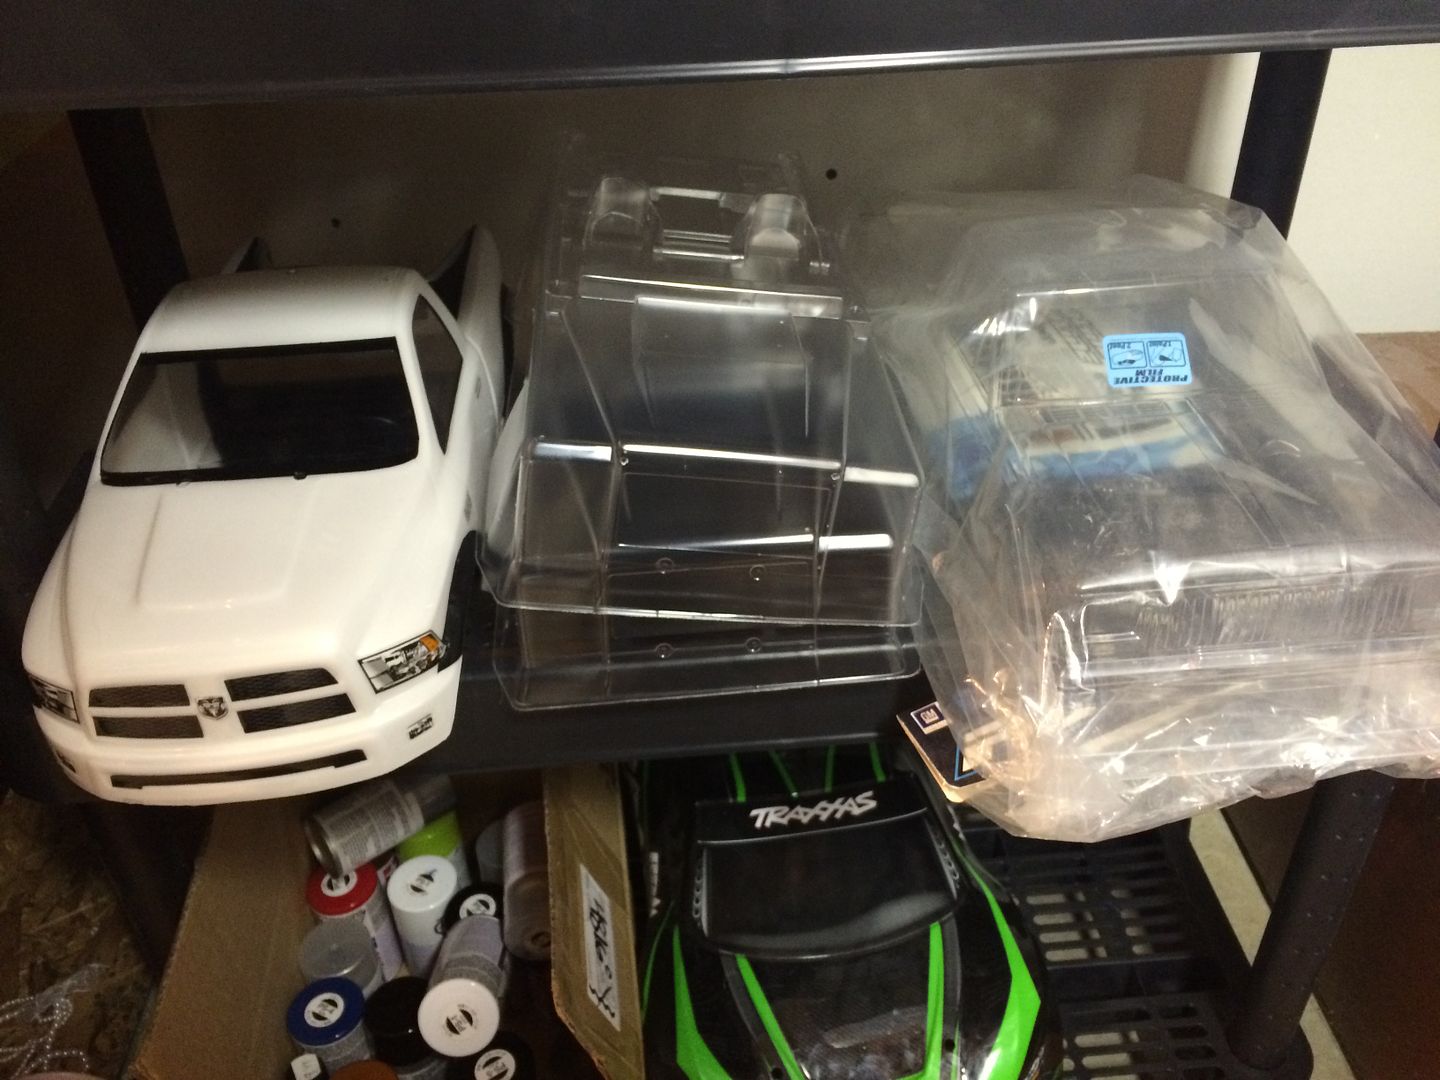 After about an hour and a half at the bench I ended up with the majority of the sub assemblies completed and any soldering I needed to do is finished... this is all the time consuming stuff. The actual chassis assembly is fairly quick and easy. Another hour and a half or so and i should be done. 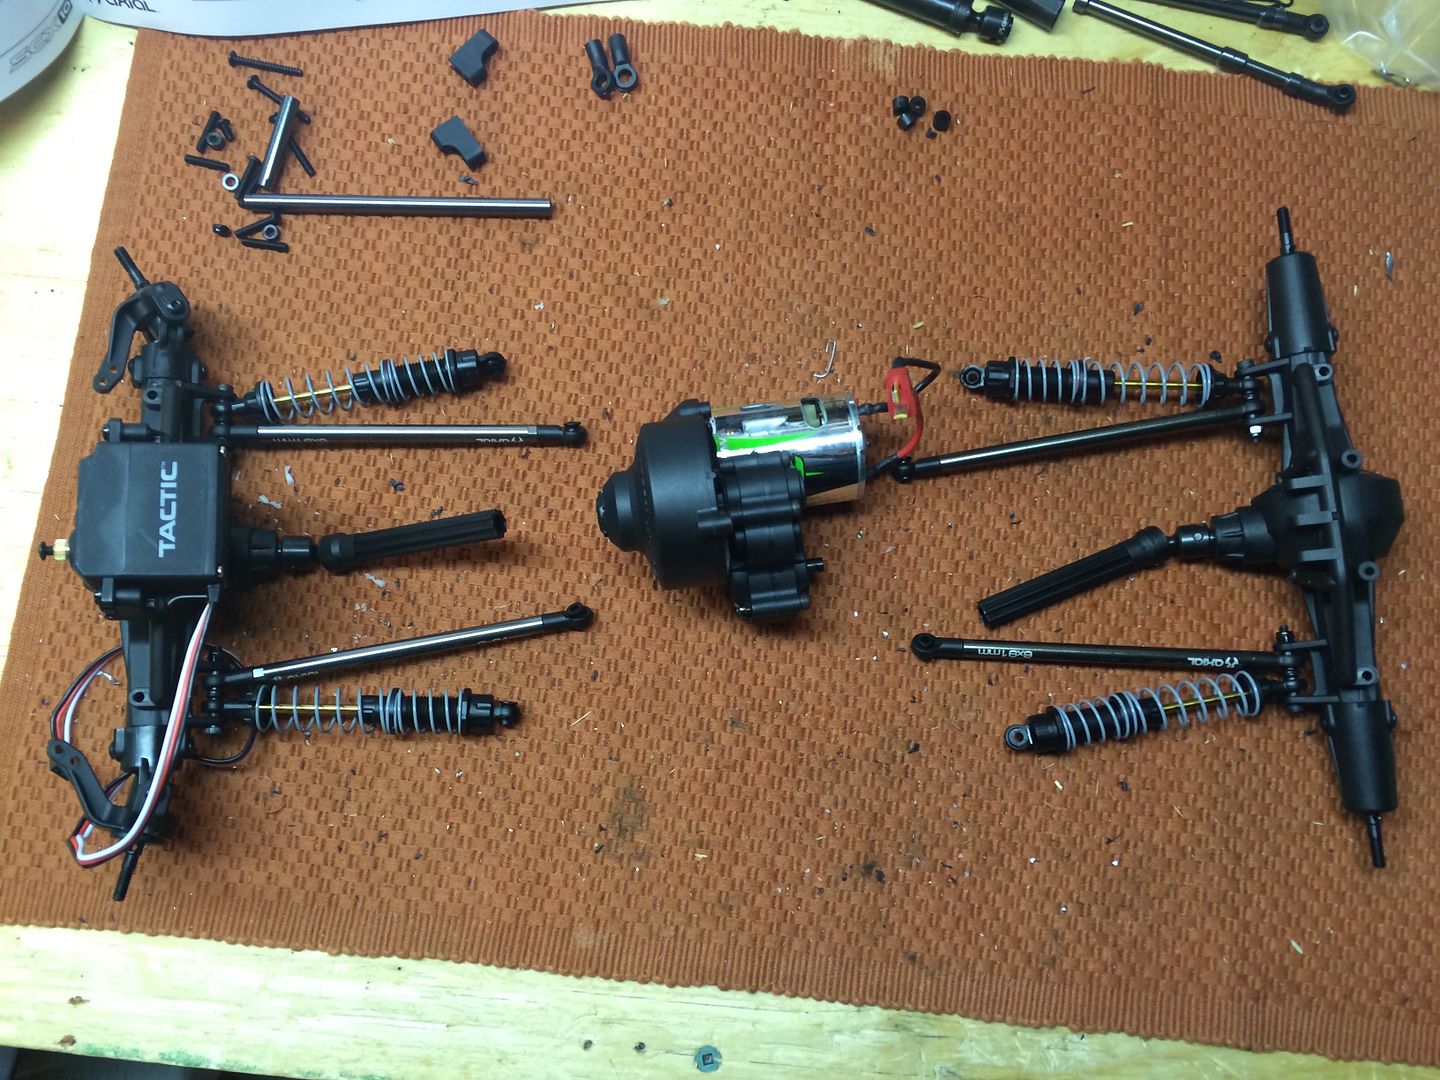 More updates to come. I have to seriously fight the urge to upgrade this truck as I move along. Im determined to keep it box stock with all stock RTR electronics (the than the radio... I only have a spare spektrum DX3E laying around so thats what I'm using). |
| |  |
| Sponsored Links | |
| | #2 |
| Newbie Join Date: Sep 2012 Location: Sherbrooke, Qc Canada
Posts: 34
|
It's great to see you posting here Pav! Your threads were/are very helpful, to me, and others over at the Traxxas forum. I have yet to buy a SCX10 but I'm planning on buying one in the near future, been lurking here for a while though. I'll be following this thread and any others that you post , as I'm sure they will be helpful in one way or an other. Cheers! |
| |  |
| | #3 |
| Pebble Pounder  Join Date: Dec 2014 Location: Ontario Canada
Posts: 145
|
Update #2 Finished up the chassis build tonight. Its all together and would be RTR except I need s servo extension. Everything else is done. Heres how things went: Chassis went together smoothly, I did this part by memory, no instructions. Its pretty straight forward. I put it together exactly as it should be stock.  Then I installed the front end. For some reason the shortest links on the parts tree for the 4 link were too long for the front end and once installed the axle was rotated WAY too far forward. Servo would clear the chassis brace or anything. So, I found a set of axial aluminum links from another build and used those up top, then put in some spacers on the bottom and the problem appears to be solved. Its not stock, but its the best answer I could come up with. I did NOT want to use the Y link for the upper and the kit includes both 4 link axle trusses. Oddly enough, despite all the parts being included, some of the hardware is not. ** Before you all tell me, I KNOW the front shock hoops are on the wrong sides. Thats been fixed now. 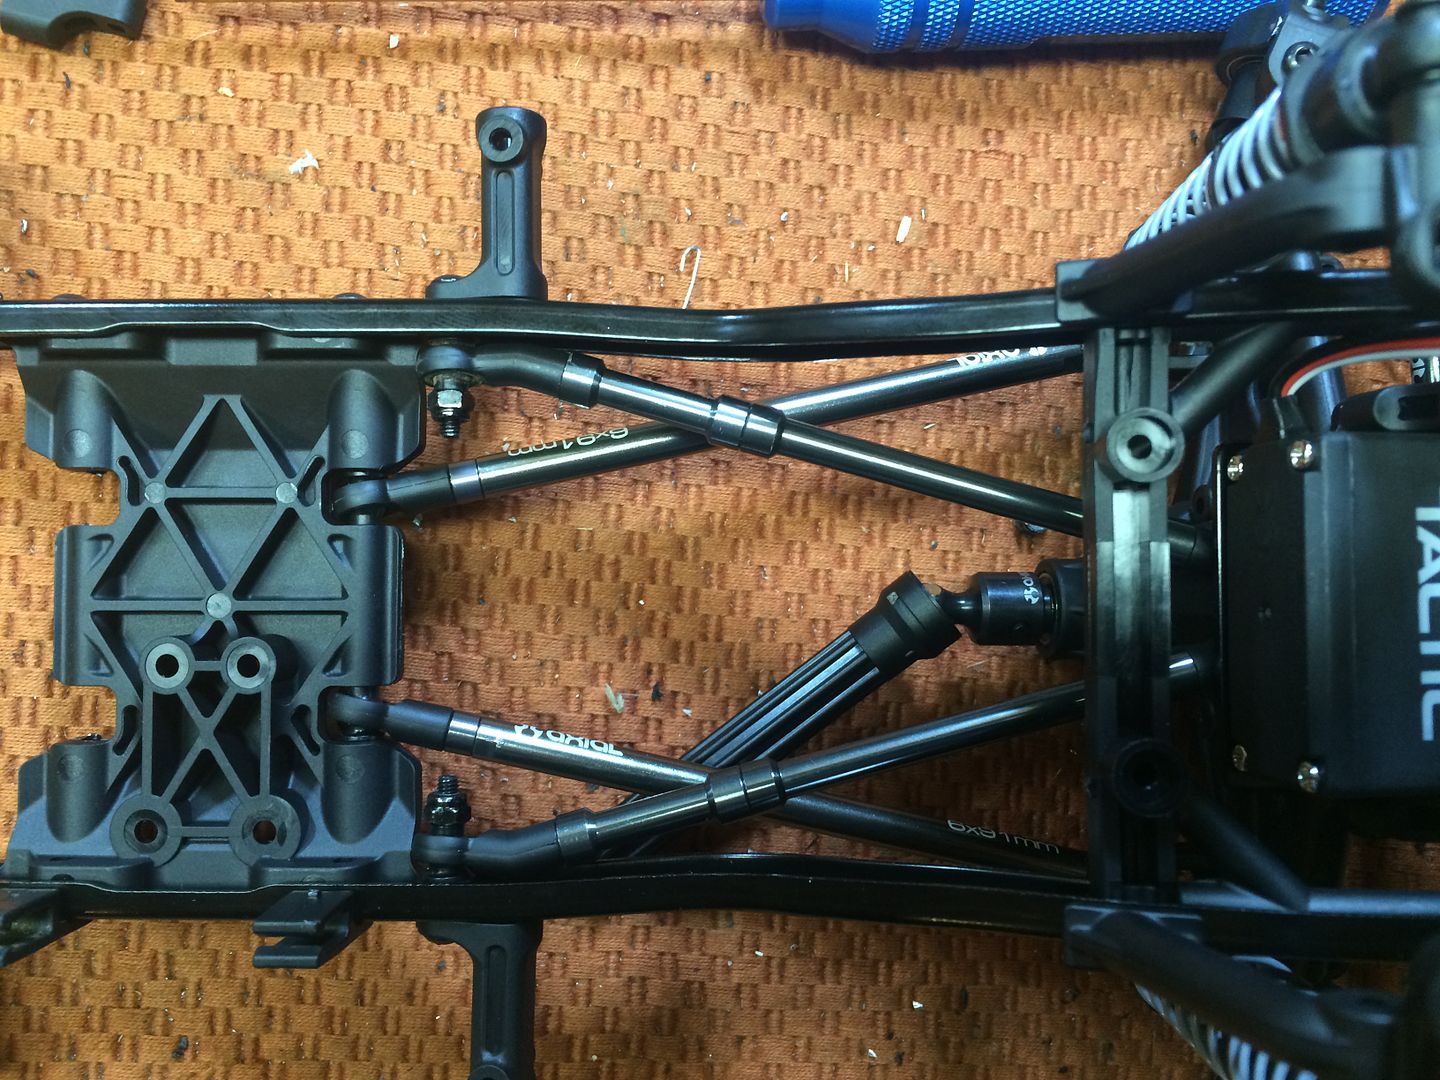 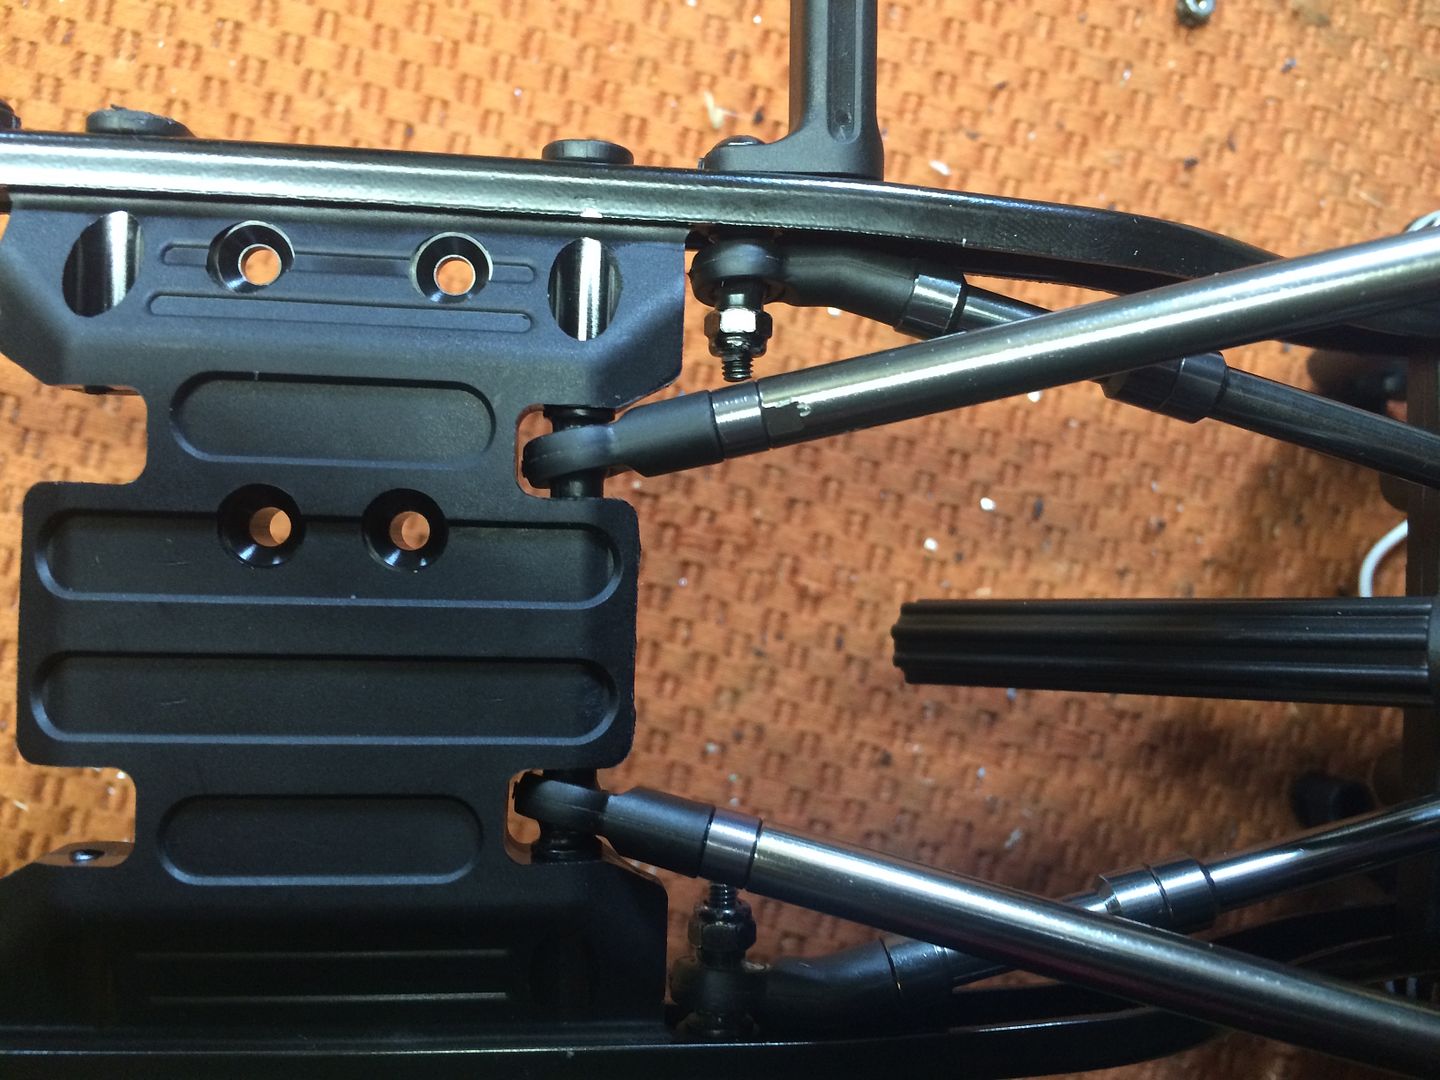  Rear went together with no surprises.  And all together with the bumpers its starting to look like a truck:  |
| |  |
| | #4 |
| Pebble Pounder  Join Date: Dec 2014 Location: Ontario Canada
Posts: 145
|
I really don't like the stock placement of the battery and I don't think the super high front mount option is a very good one either. So I devised yet another way to mount the battery in front of the transmission. Not sure if anyone has done it like this, but this uses all stock parts and requires only 4 holes to be drilled total. Its super easy and IMO looks pretty much factory. Heres what I did: I started with the stock battery plate, the 4 spare servo mounts and 4 short screws. These are not from the kit but I'm sure you could find something left over after a build that would work.  I installed the taller servo mounts into the hole in the chassis that would locate the little arms on the bottom of the stock RX box. They have to be very slightly drilled out so a screw will pass through freely 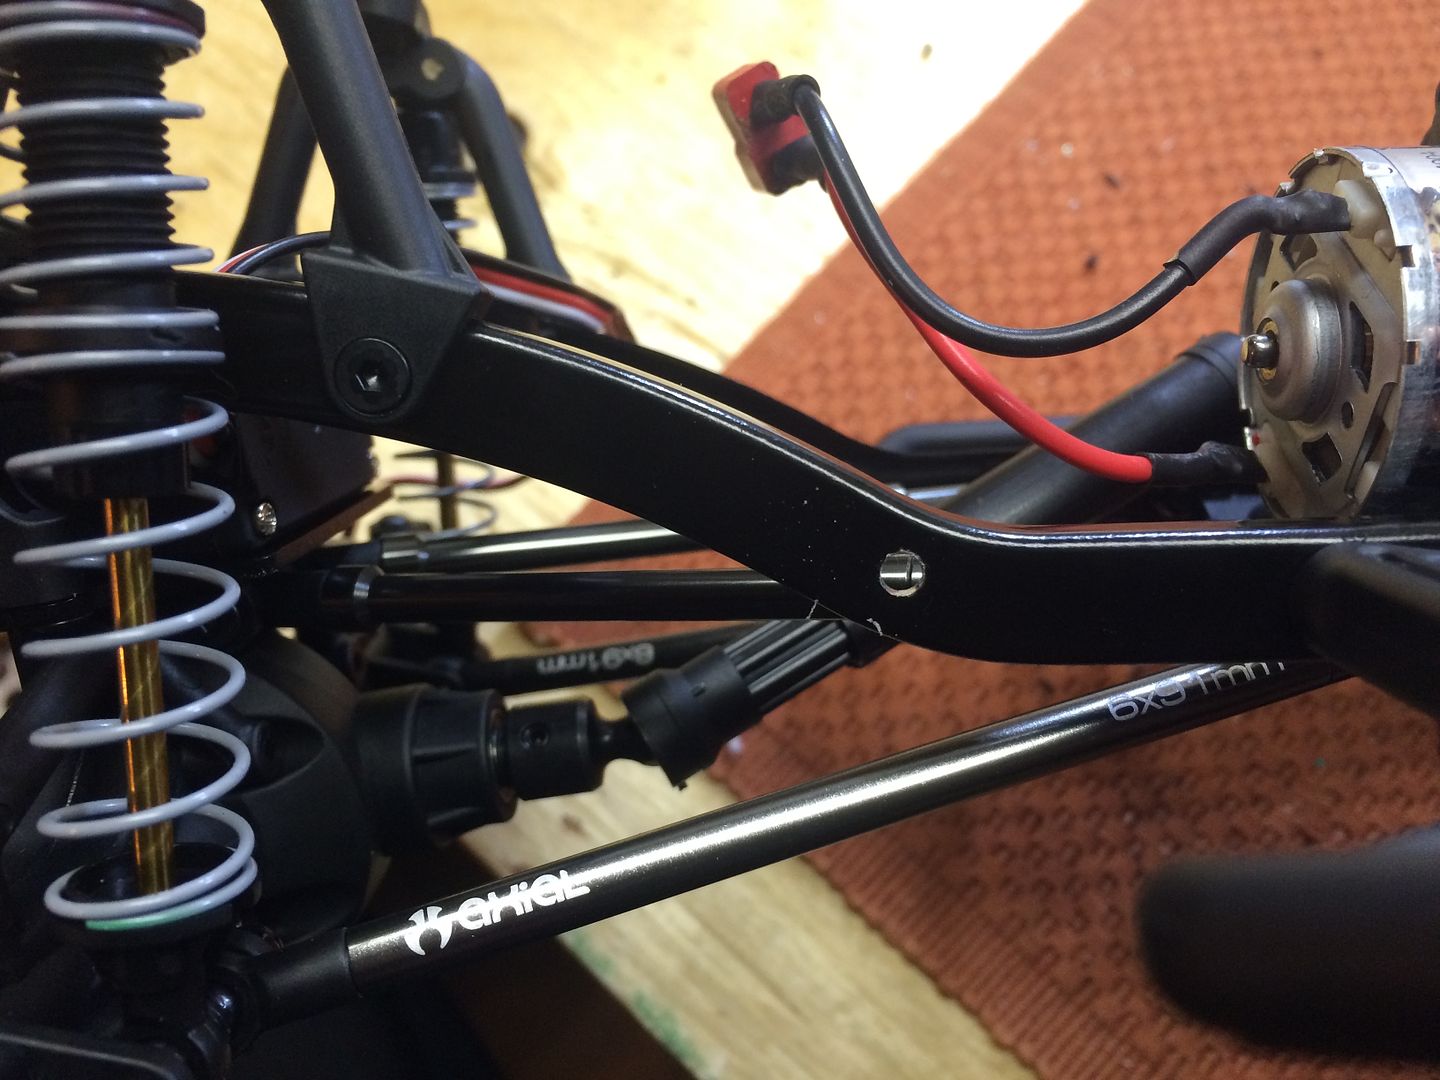 Install the taller servo mounts into this hole with the mount on the outside. Set the battery plate on the mount and position the 2nd servo mount on the chassis directly below the slots in the plate for the velcro battery straps. Drill out 2 holes in the chassis (on on each side) for the 2nd set of servo mounts:  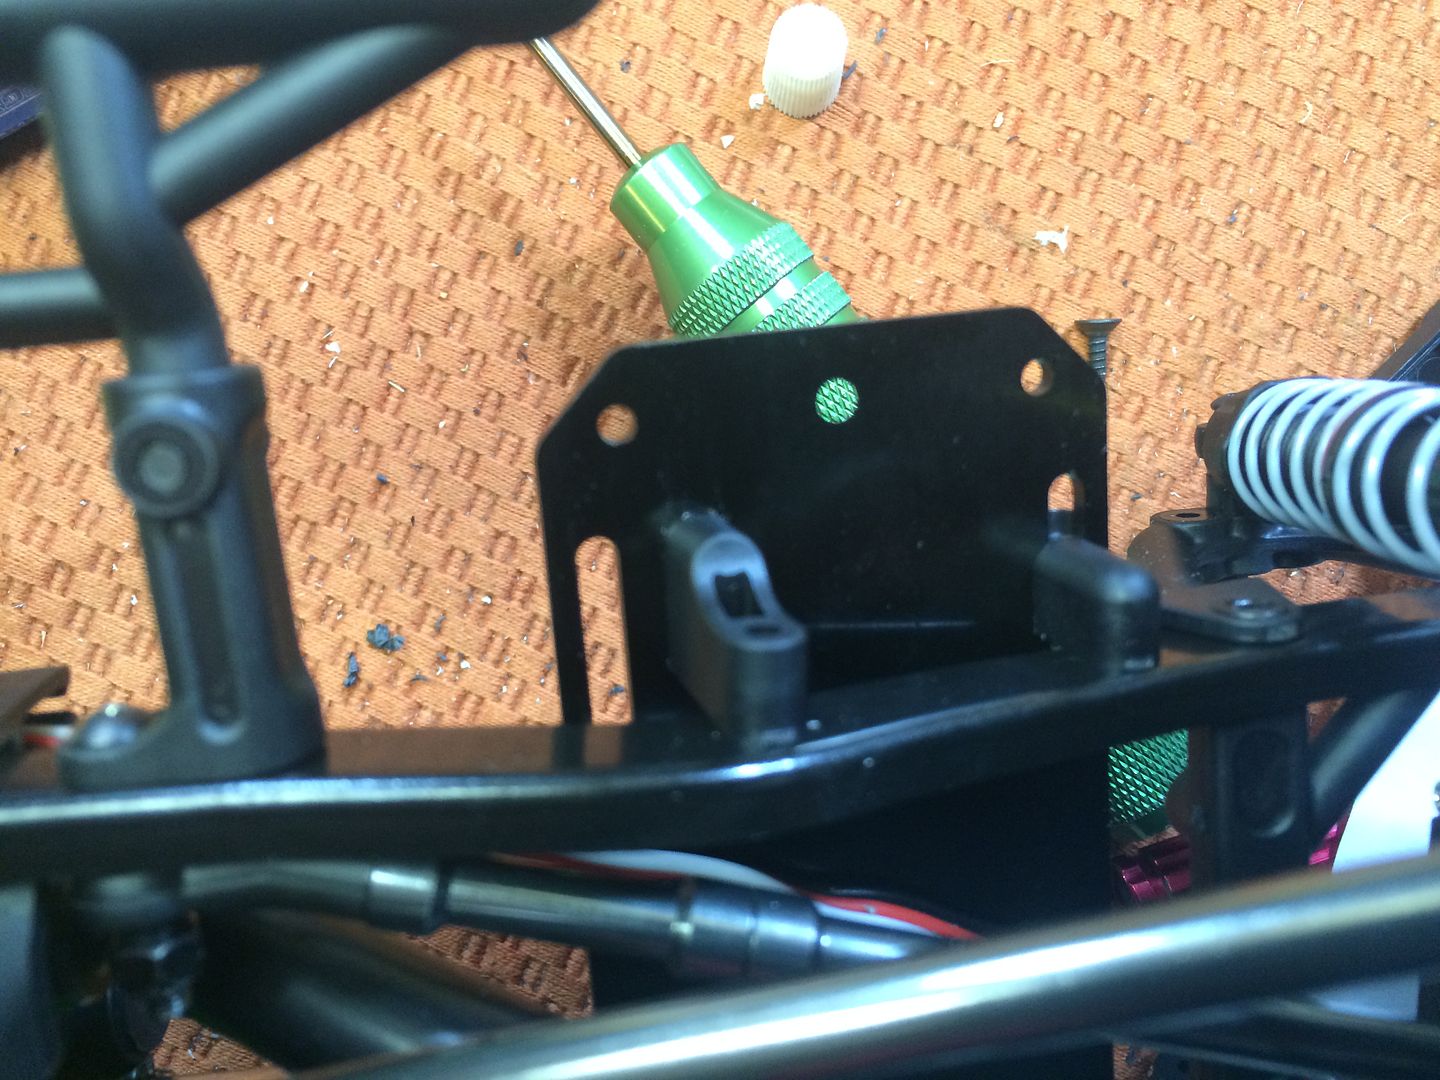 Finally, you need to drill 2 holes in the battery plate to fasten it to the lower 2 servo mounts. The upper mounts are fastened through the battery strap slots. I used left over body washers for mounting the roll cage on another truck but you could use pretty much anything and I'm guessing no washer would really be necessary. I just thought it looked cleaner.  From underneath... it looks very stock because it uses only stock parts. All the plastic matches so if you didnt know what you were looking at, you'd be hard pressed to tell it was a custom job. 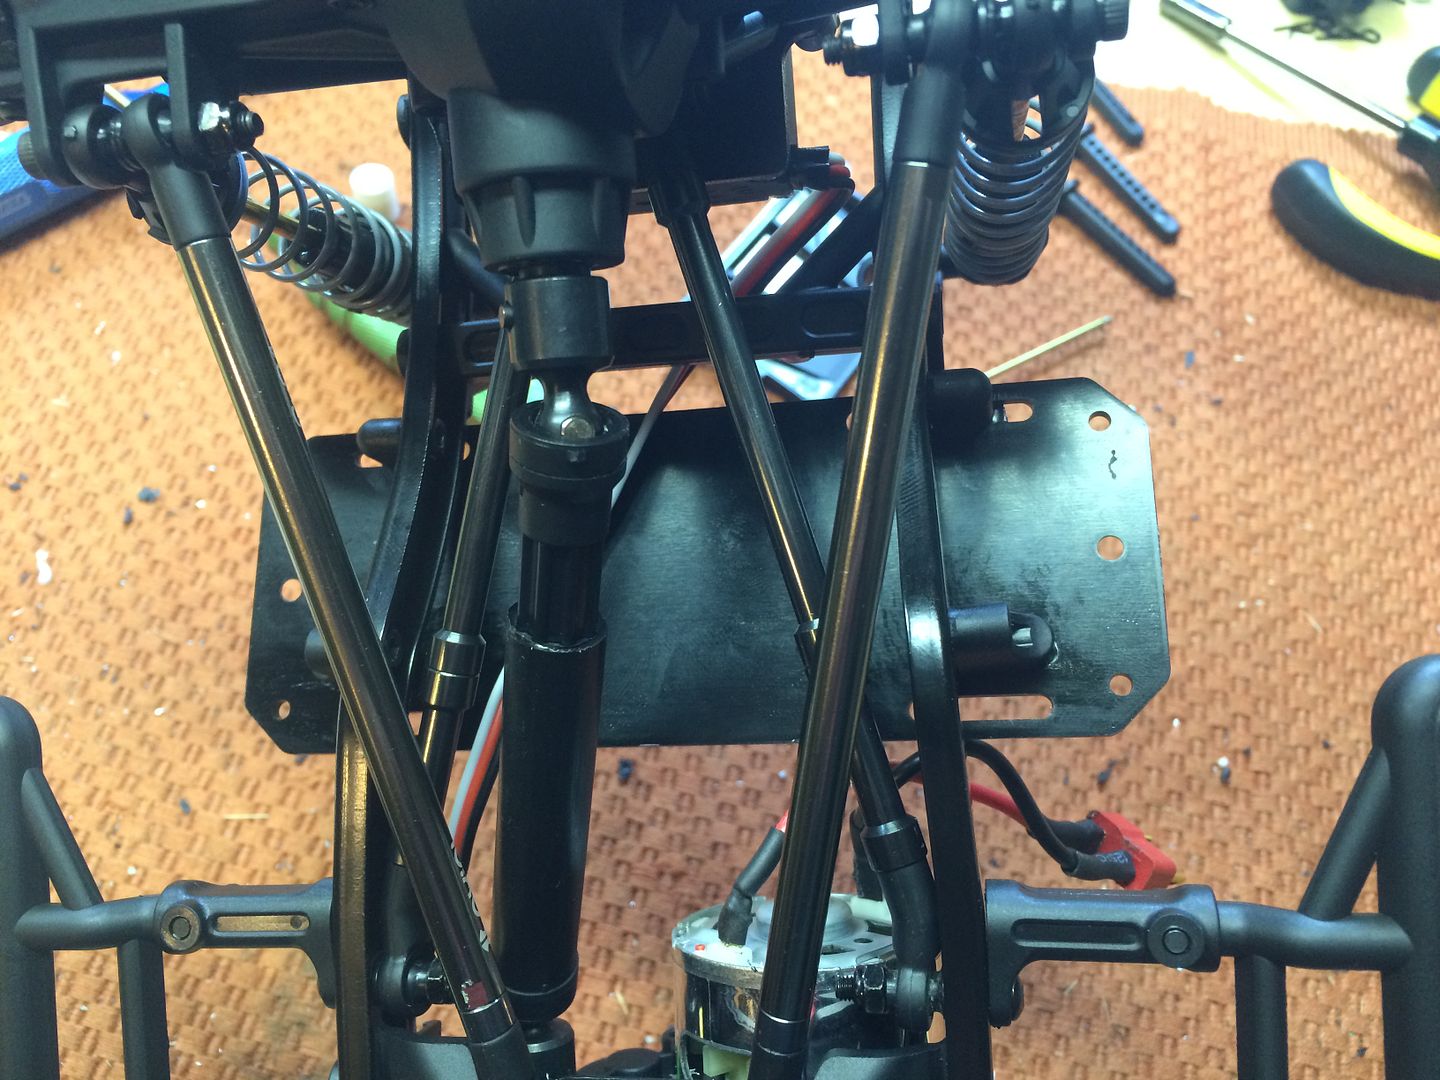 |
| |  |
| | #5 |
| Pebble Pounder  Join Date: Dec 2014 Location: Ontario Canada
Posts: 145
|
Now that the battery mount occupies the space the stock ESC/RX box was meant to go, I needed to relocated those. So, I swapped the rear X brace between the rear shock towers around 180 degrees so the little screw holes moulded in it were now at the back. I snipped the antenna mount off the side of the RX box and, using 2 long spacers and 2 long screws I found in a spare bag in the kit, I mounted the RX box directly between the rear shock towers with the ESC still attached. ONLY issue with this is that the lid is SUPER tight... but can still be removed if needed. AND, the servo wire is now too short. An extension will be needed.  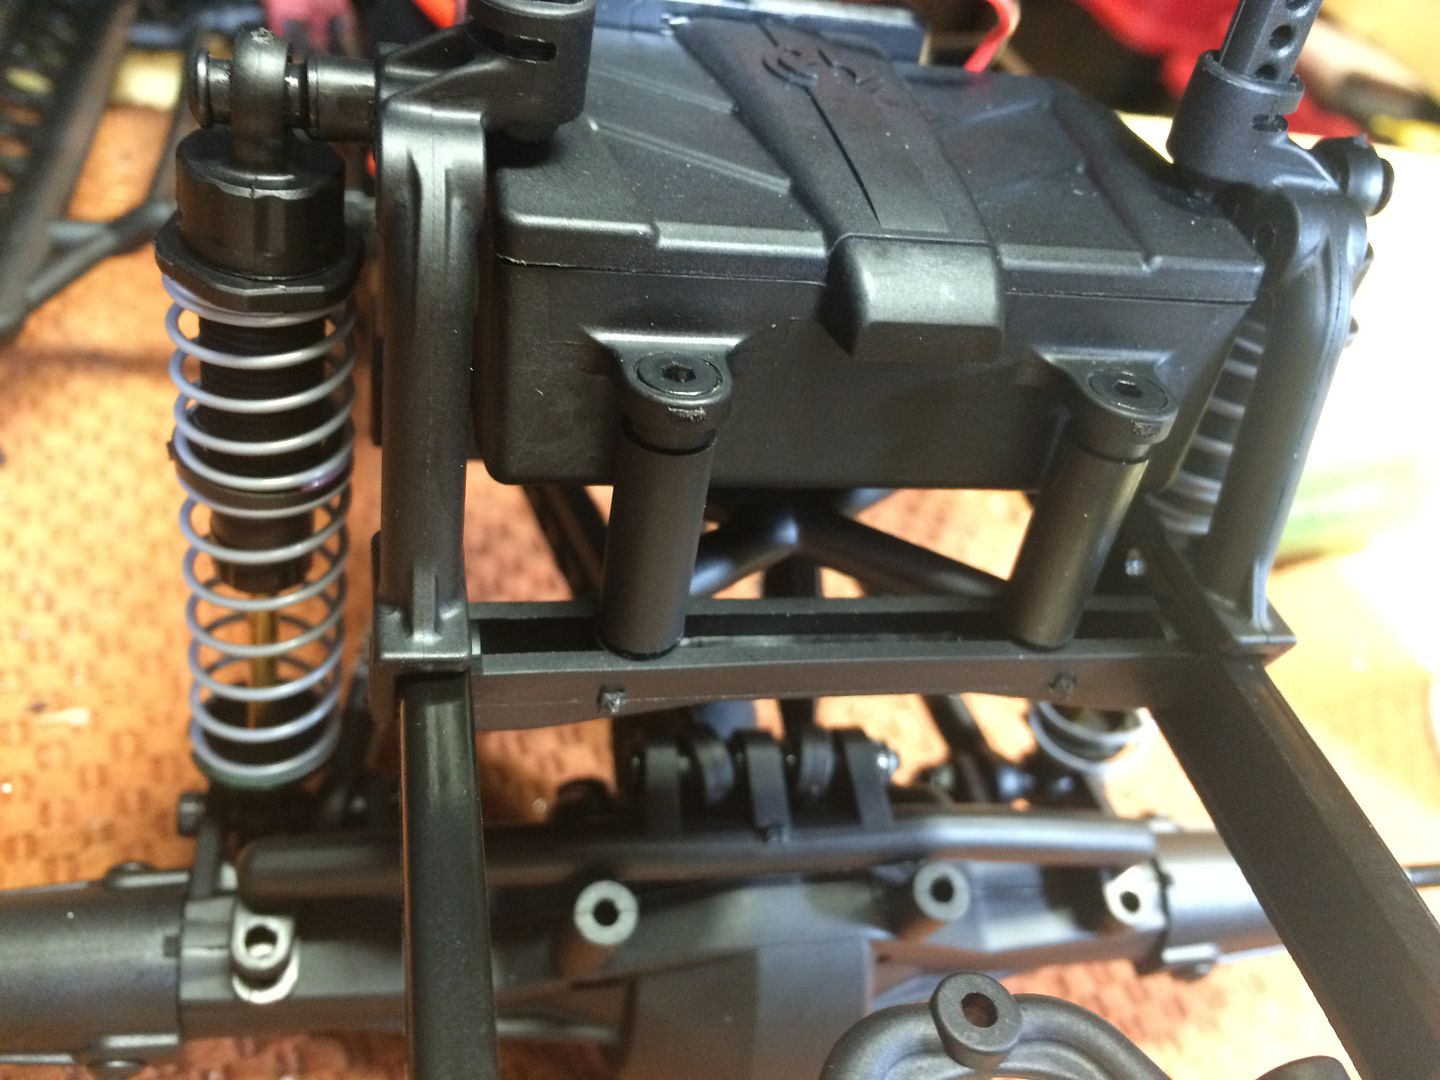 Finally, installed the wheels and tires (these are extras from my last dingo build, the tires that came with the kit will be going on some axial deadlocks) trimmed and mounted the body, adjusted the bumpers and built and mocked up the roll cage. This is all I had time for tonight. 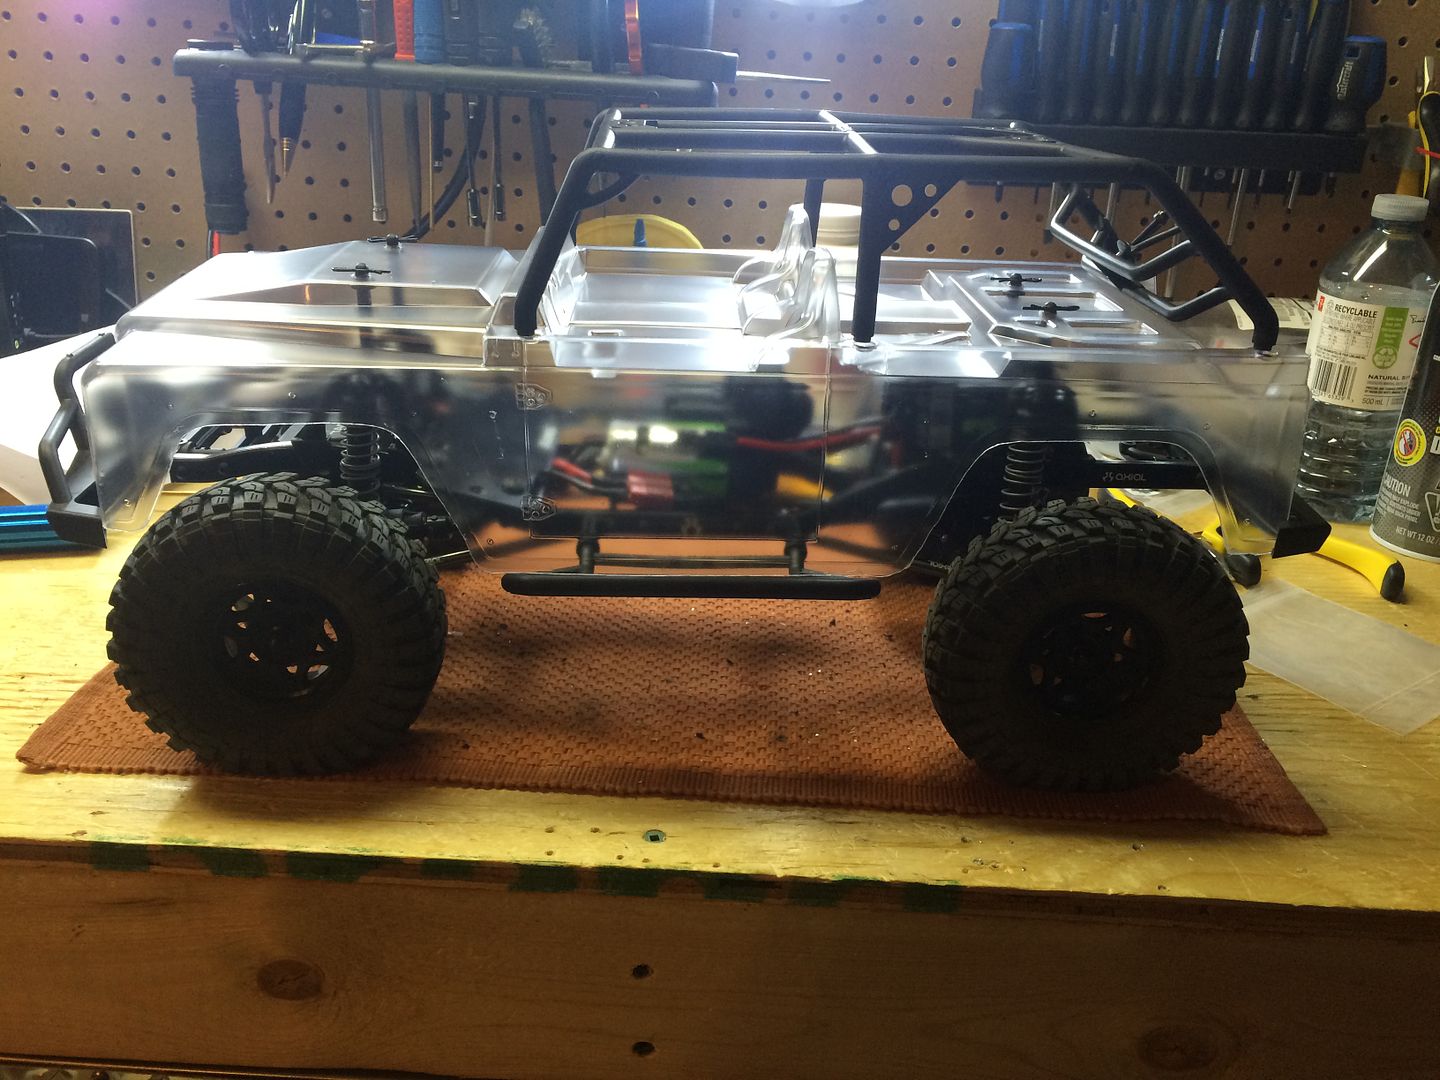  Not sure exactly what paint I'm going to use on this truck. My thoughts are either silver with a flat black interior and hood scoop, gun metal with a flat black interior and hood scoop or entirely flat black. I do plan to use the lexan light buckets that come with the kit and eventually install some LEDS in the body and in the buckets on the front bumper. But that will be it. No fancy light bars are planned at the moment. Parting shot on the shelf with the rest of my SCX10 fleet.  Quick summary of how stock the build ended up being: Non stock parts (or parts that are not included with the kit): -front upper links -Some hardware for the 4 link install -2 spacers for the rear RX box mount (though I think those ARE on a parts tree somewhere, I just used them from my parts box) -Servo lead extension Non stock layout items: -Front 4 link geometry -Front battery setup -Rear RX/ESC setup |
| |  |
| | #6 |
| Pebble Pounder  Join Date: Dec 2014 Location: Ontario Canada
Posts: 145
|
Well the plan not to include lights on this build went out the window. Once I got the body, cage and windshield all pre-installed I realized the leftover light bar from my rigid light bar kit (the longest of the light bars) will actually fit on this truck. Its way too wide for a standard G6 jeep or deadbolt... or even my cherokee or F250... but its a pretty darn good fit on the dingo. I happened to have a spare 8 LED light string and HO controller sitting around too. So, this build gets the light bar and I'm going to either instal lights in the actual headlight buckets on the body or the pods on the bumper. Havent decided yet. Also got around to putting on the Axial beadlocks with the stock Ripsaws. They look pretty good and I think I've decided on an all black paint scheme for this truck. Im going to do a bit more detail on the 2nd dingo body I have. But for now, this body will be all black. 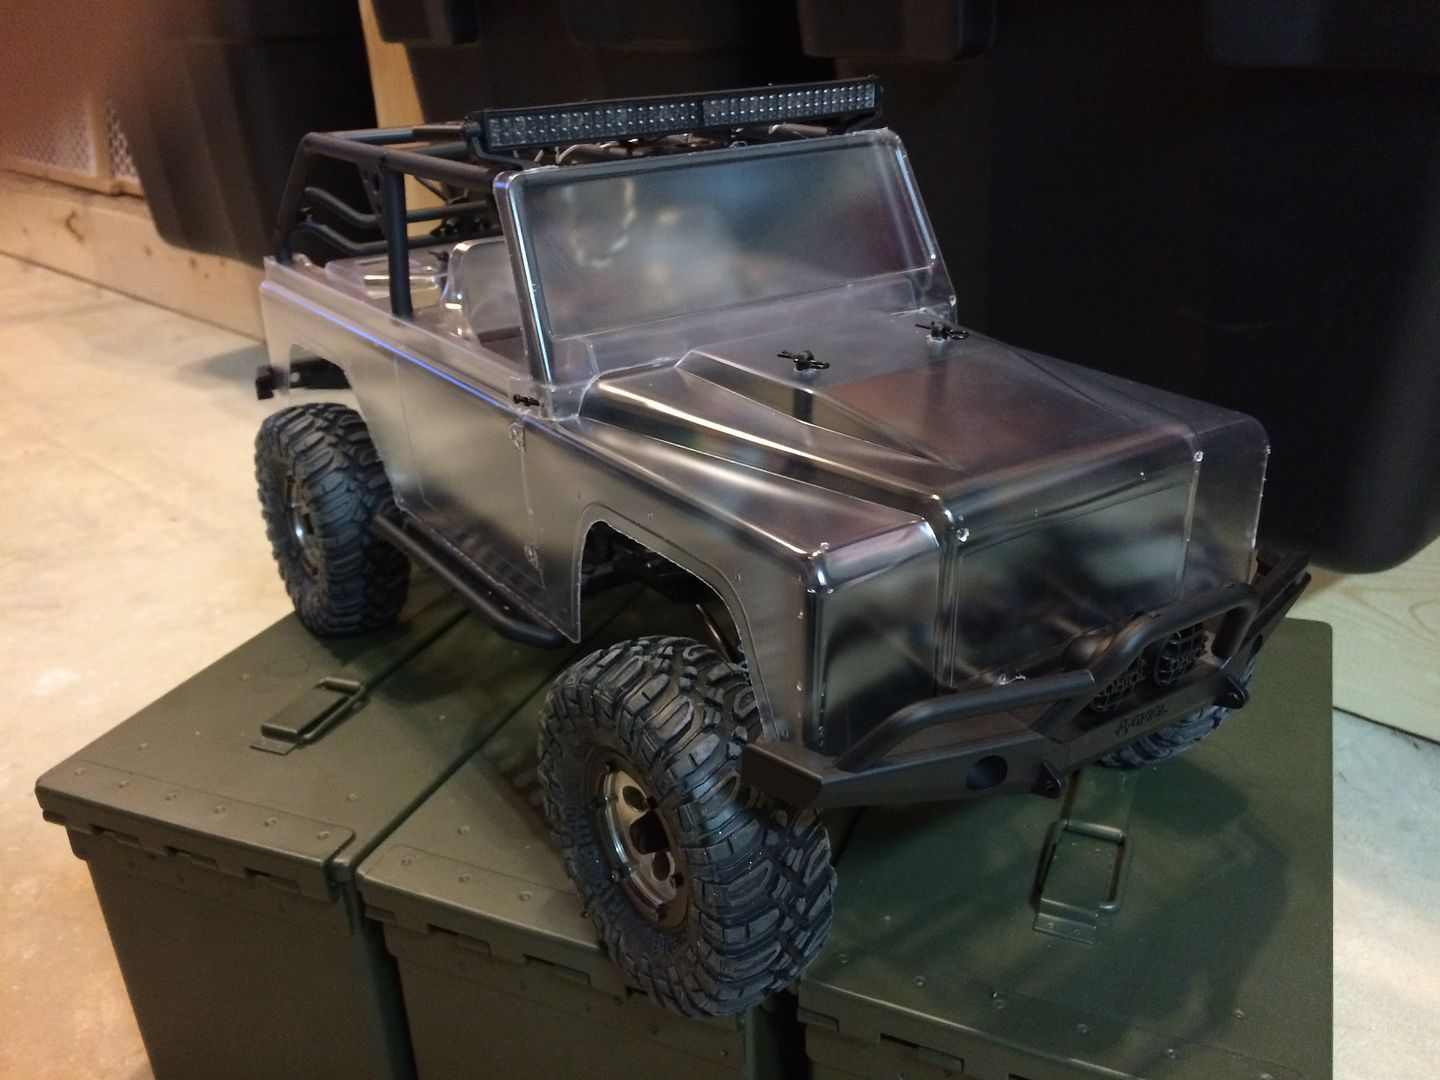 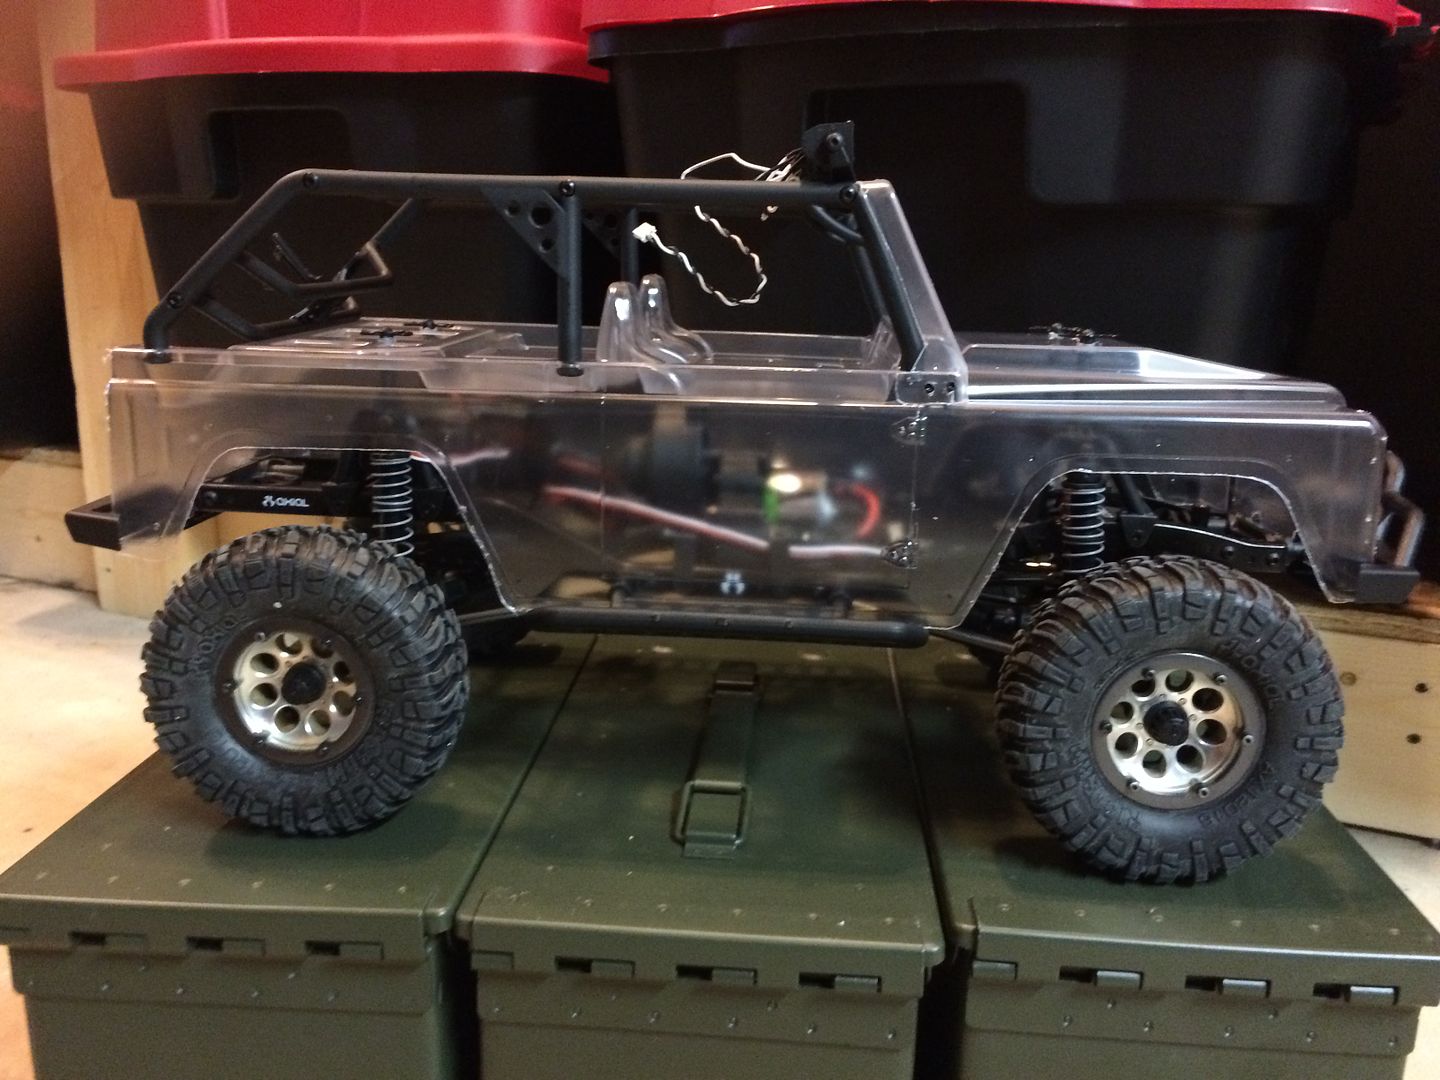 f f
|
| |  |
| | #7 |
| Quarry Creeper Join Date: May 2011 Location: scituate RI
Posts: 269
|
Nice build pave and so you know your old summit is still going strong it's my daughters favorite rc.
|
| |  |
| | #8 |
| Quarry Creeper Join Date: May 2014 Location: Burlington, ON Canada
Posts: 327
|
Where in Ontario are you?
|
| |  |
| | #9 |
| Pebble Pounder  Join Date: Dec 2014 Location: Ontario Canada
Posts: 145
|
Thanks Ribaja... I miss that truck. I know the SCX10 wont be a replacement and ill end up with another summit sooner than later. Godspeed999, Im in minden... haliburton county. About an hour and a half north of barrie. |
| |  |
| | #10 |
| Rock Stacker Join Date: Jan 2015 Location: Alabama
Posts: 60
|
Nice collection you've got going there!
|
| |  |
| | #11 | |
| Rock Crawler Join Date: Jan 2014 Location: Granite Falls, WA
Posts: 568
| Quote:
 | |
| |  |
| | #12 |
| Pebble Pounder  Join Date: Dec 2014 Location: Ontario Canada
Posts: 145
|
FINALLY got around to painting the Dingo body and I like it more than ever now. Its a tough looking truck. I don't have alot of time right now so I went with a simple, all flat black paint scheme. I have a 2nd dingo body I'm going to paint up some time in the future with a more intricate scheme. Got the cage and windshield mounted up and the fenders on also. When its all said and done, this body makes this truck quite large. Compared to the deadbolt this truck looks huge. I had to run the Ripsaw tires because they are smaller in diameter than the trepadors. The trepadors rub really bad, even with the body posts at their highest and the body trimmed right to the edge of the fenders. The Ripsaws actually only rub a tiny bit.  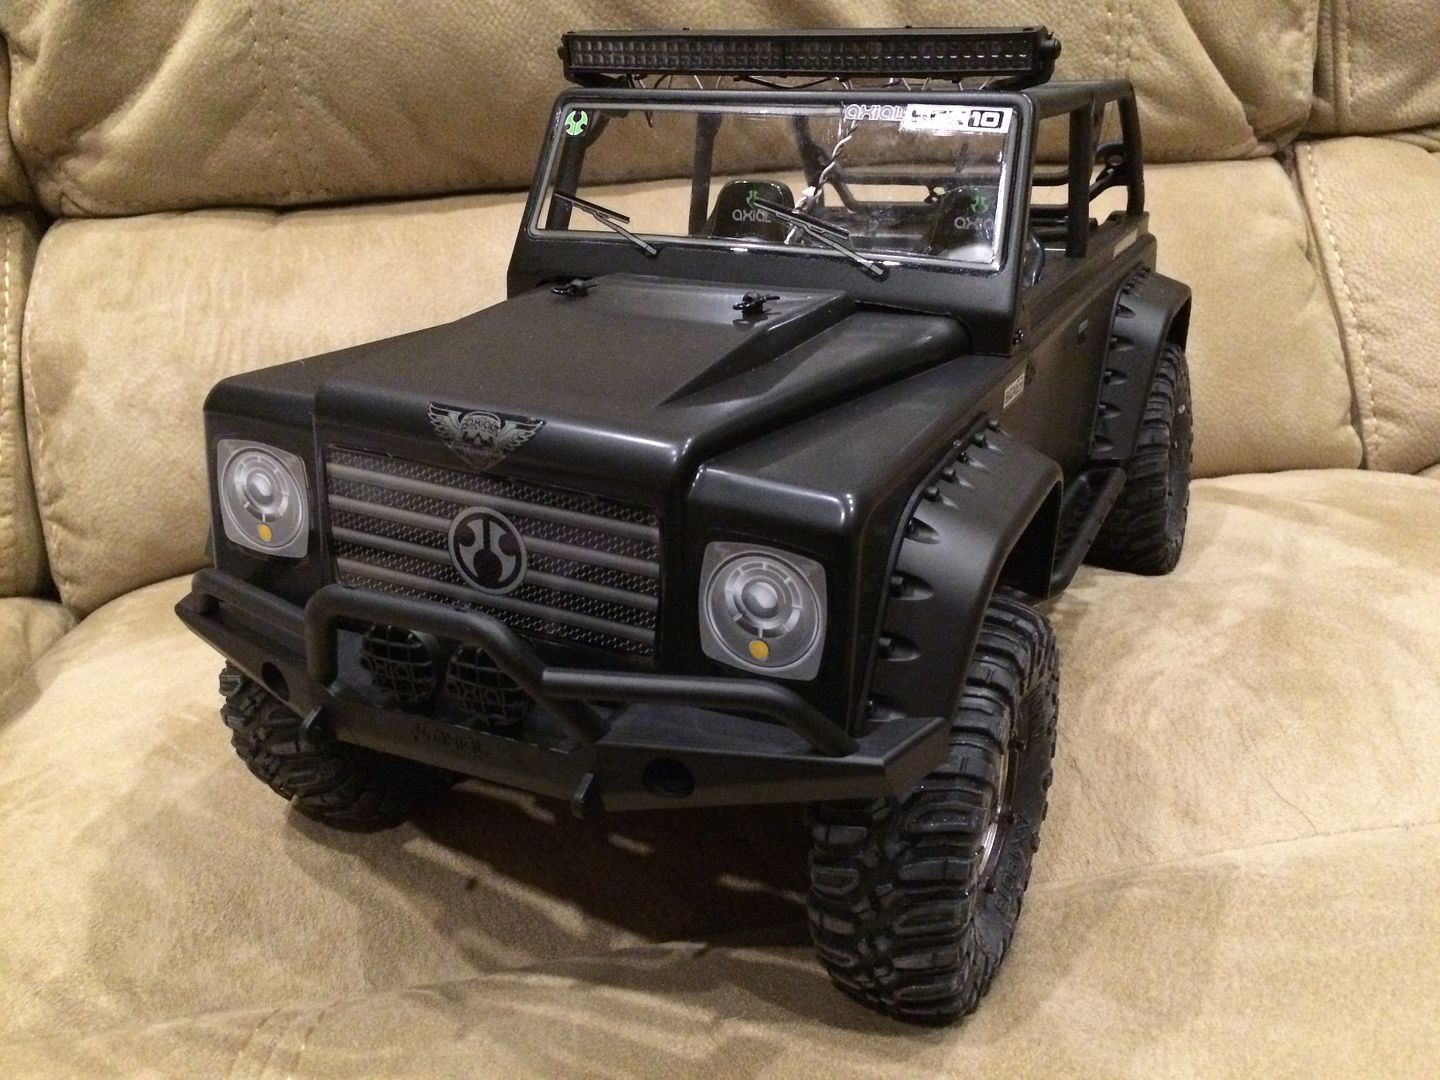   Next step is to get the wiring for the light bar sorted out. Looks pretty bad right now with the wires hanging out but once its all buttoned up it should look really good... and it definitely provides adequate light for general evening runs. Last edited by Pavmentsurfer; 03-07-2015 at 10:11 PM. |
| |  |
| | #13 |
| Quarry Creeper  Join Date: Nov 2014 Location: Northwest Arkansas
Posts: 217
|
That body looks great. I didn't care for the red/orange color on the box when we were looking at kits. Good looking rig.
|
| |  |
| | #14 |
| Pebble Pounder Join Date: Feb 2015 Location: Carson Valley
Posts: 137
|
I did the exact same thing for the battery mount!!! Except I used the rear slots for the rear mounts and put the screws through the Velcro straps so it'll hold the battery.
|
| |  |
| | #15 |
| Pebble Pounder  Join Date: Dec 2014 Location: Ontario Canada
Posts: 145
|
Thats a good idea. The way I have it now the straps go through the bottom slot and just wrap around the top of the plate and over the battery. Once they are tight, they aren't going anywhere. But they can be floppy when your trying to do them up. Ive noticed a tiny bit of contact with the tires at full flex and full steering... not enough to really worry about. But it does happen with this setup. Ive got a set of metal gears to go in the trans... that'll be the last thing I do to this truck. I want to keep it as stock as possible.
|
| |  |
| | #16 |
| Newbie Join Date: Jan 2009 Location: Denver
Posts: 2
|
Nice build, thought you were going to leave it all stock?? LoL i do the same thing. Do your front tires rub on the battery plate or battery when the truck is articulated? |
| |  |
| | #17 |
| Newbie Join Date: Feb 2015 Location: CO
Posts: 24
|
looks so much better black!!
|
| |  |
 |
 Paves Dingo build. You better check it out or else. - Similar Threads
 | ||||
| Thread | Thread Starter | Forum | Replies | Last Post |
| Paves Cherokee, G6 and F250 parts builds... my first time. | Pavmentsurfer | Axial SCX-10 | 6 | 02-15-2015 08:31 AM |
| Check out my Dingo grille | WickedCrawler | Paint and Body | 9 | 10-31-2011 03:03 PM |
| Check out my new Dingo Grill | PinchFlat | Axial SCX-10 | 21 | 01-29-2011 06:44 PM |
| My MOONBUGGY build! Check it out! | Mr. Burpsalot | General Crawlers | 15 | 05-01-2008 09:08 AM |
| |