| |
| |||||||
 |
| | LinkBack | Thread Tools | Display Modes |
 10-15-2010, 01:01 PM
| #81 |
| Rock Stacker Join Date: Apr 2010 Location: Portland/Vancouver
Posts: 77
|
For the indoor stuff I'm using two 300w strobes, (with modeling lights) (The fixtures contain both bulbs). I have some static lights I can add as well, but everywhere I read it's difficult to combine the static with the strobes without spending hours afterwards trying to correct the color. Have you used both at the same time with any luck? I saw the thread where you showed your light box for the characters, what color/type bulbs did you use in your lights for that? Were they standard bulbs and you controlled the color by the panels you shown them through? Last edited by Shot-N-The Dark; 10-15-2010 at 01:05 PM. |

|  |
| Sponsored Links | |
| | |
|
10-19-2010, 01:01 PM
| #82 |
| ~THE SCALE SHOP~ Join Date: Apr 2006 Location: KILLEEN TX
Posts: 10,056
|
took a few shots of Audrey with my 330SC last night, came out decent so i thought id share. finally listened to pink's advice and turned the camera vertical. worked well for the subject. i did fight saturation a bit, with her being so tan, and the sun so low it was really hard not getting her too orange. pink would that filter help this problem as well?         |
|
| |
|
10-19-2010, 04:56 PM
| #83 |
| Rock Stacker  Join Date: Jul 2007 Location: West Branch, MI
Posts: 56
|
A polarizing filter would help make the blue sky pop from the white clouds (contrast), as well as reduce some of the reflections on both her skin and the plane's reflective monocoat. One major drawback to a polarizing filter is that you will have to lower your aperture about two stops because a polarizing filter does not allow as much light onto the sensor. In a low light situation such as this, that may prove to be difficult. On to the pictures... Very hard to criticize this set, but I would advise to be careful about "cutting" things off. In a few instances you're cropping a little close, in my opinion, to the edge of the subject, without leaving any "breathing" room. A nose cone cut off, a tail cut off, a leg cut off--to name a few. Let the elements around the subject frame the image, not the subject frame itself (if that makes sense). As well, you can always crop in a photo editing software, so don't be afraid to shoot a little wider and narrow it down later. It's a lot easier to subtract from an image than to add something that isn't there. The second to last photo is my favorite. Good spacing around the tips of the wings and the tail, and the legs are ended at a good joint. I like.  Cheers, Kyle |
|
| |
|
10-20-2010, 02:28 PM
| #84 | |
| RCC Addict Join Date: Aug 2006 Location: trying to find out what a TVuPer is.....
Posts: 1,851
| Quote:
 audrey330sc7 copy by Matt Francosky, on Flickr Literally 2 minutes in Photoshop Elements. Quick select her skin, adjust color, remove orange, click save. p!nk | |
|
| |
|
10-20-2010, 08:24 PM
| #85 | |
| RCC Addict Join Date: Aug 2006 Location: trying to find out what a TVuPer is.....
Posts: 1,851
| Quote:
Without getting into reflectors and other light modifiers there really is little that can be done in camera with color cast skin tones due to sun light. As I posted above, it is a simple fix in post process. Also, are you shooting in RAW? This will help you out tremendously when dicking around with color and exposure in post. Here are some of my shots from this weekend.... "Norris Mist"  Norris Lake 2010 058ww by Matt Francosky, on Flickr "One Hundred and Six" 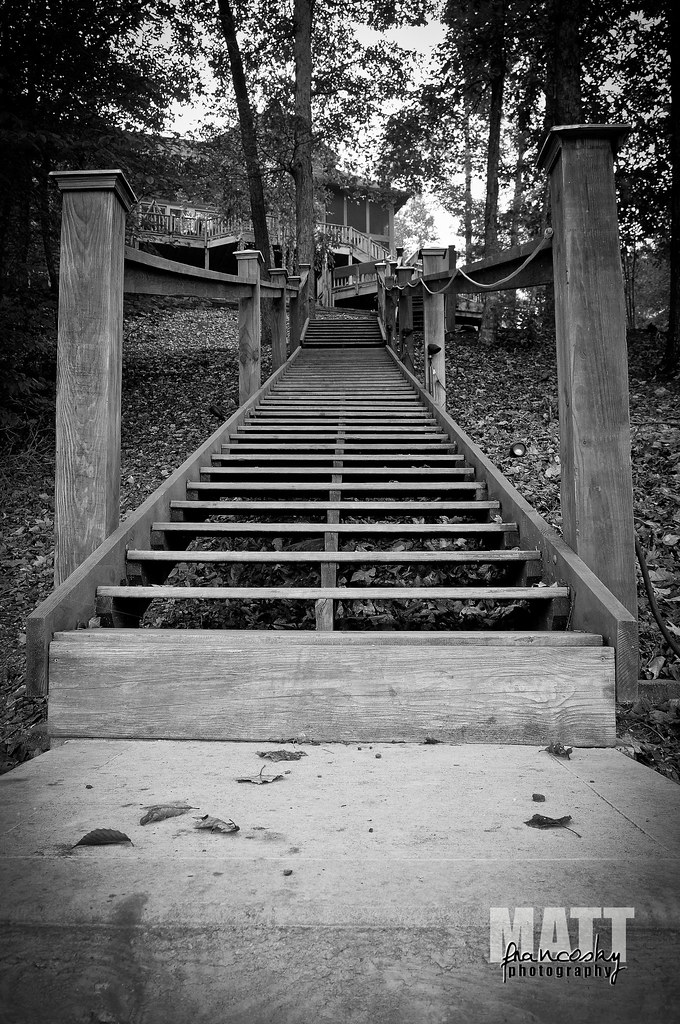 Norris Lake 2010 494ww by Matt Francosky, on Flickr "Off the Deck" 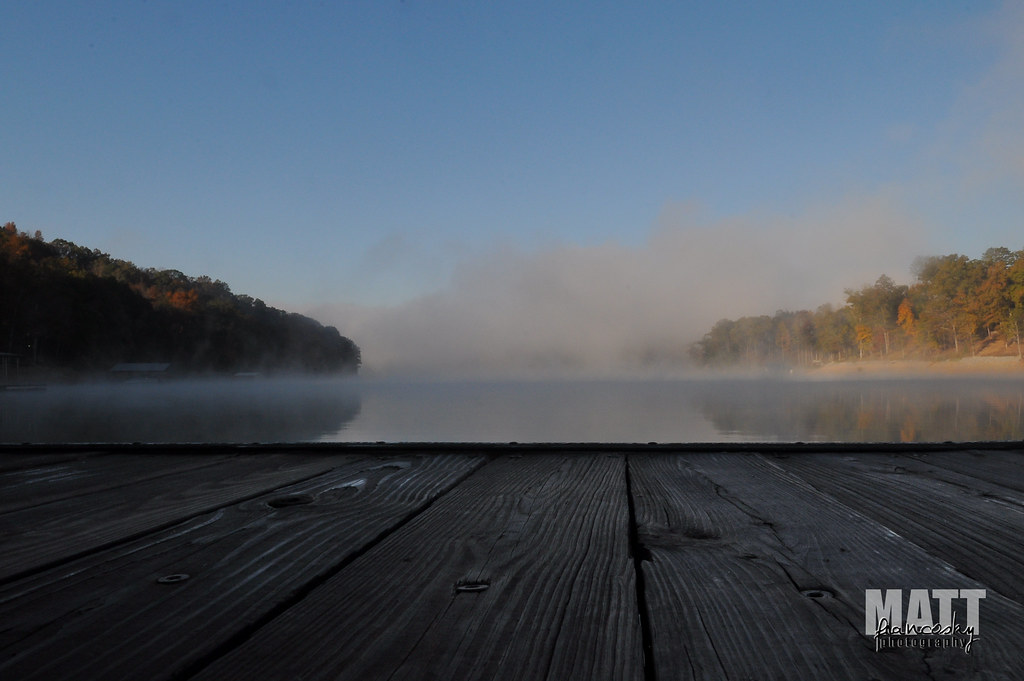 Norris Lake 2010 071ww by Matt Francosky, on Flickr p!nK | |
|
| |
|
10-20-2010, 08:57 PM
| #86 |
| Rock Stacker Join Date: Sep 2010 Location: Bradford,Ontario.. Canada
Posts: 60
|
Some great advice here, I shoot professionally and am a canon man myself. My current line is 1D mark3 ( Primary ) 5D mark2 ( back up and wedding lens ) and 7D for my every day walk around kit. My two lens of choice which i typically always have on and use are the 70-200 2.8 ( With 1.4 TC in pocket ) and 17-40. Your best bet is to shoot anything and everything.. Save your money and buy the best that you can afford, never settle for something your not sure on... If you have to wait longer to get what you really need then do it.. If need be rent, pay the few bucks for a weekend to rent a lens to see if it does what you want, if it will end up being something you would actually use. When it all boils down to it, the camera is just a tool... If you don't have the basic foundations and abilities does not matter if you have a $500 or a $50,000 camera you will get the same results!        |
|
| |
|
| |


 Linear Mode


