| |
| |||||||
 |
| | LinkBack | Thread Tools | Display Modes |
 07-08-2008, 03:33 AM
| #1 |
| MWRCA'er 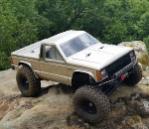 Join Date: Apr 2004 Location: Machesney Park IL
Posts: 3,995
|
I jumped on the bandwagon and bought one of these. My old TLT rig was starting to show it's age. There are several reasons I went to these axles. No torque twist, low COG, high clearance, and bomb proof. The price may seem killer at first but once you sum up the fact that there isn't any plastic to snap or costly upgrades to buy it's totally worth it. I'm making a TCS style stick chassis. The chassis design is perfect for the rip rap we have in the midwest. High clearance, very perdictable and flexy. I'm not adapting a TCS product but creating one from scratch. This will allow me to get the truck exactly as I want. Plans: 55t lathe motors Sidewinder ESC Electric dig switches 5955tg Custom Eritex beadlocks Losi Rock Carvers Nomadio react Custom Parts are coming in daily... 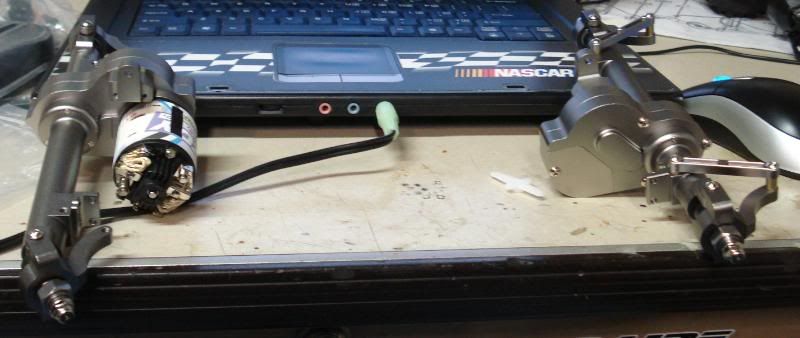 Did the basic clock to get motor clearance. 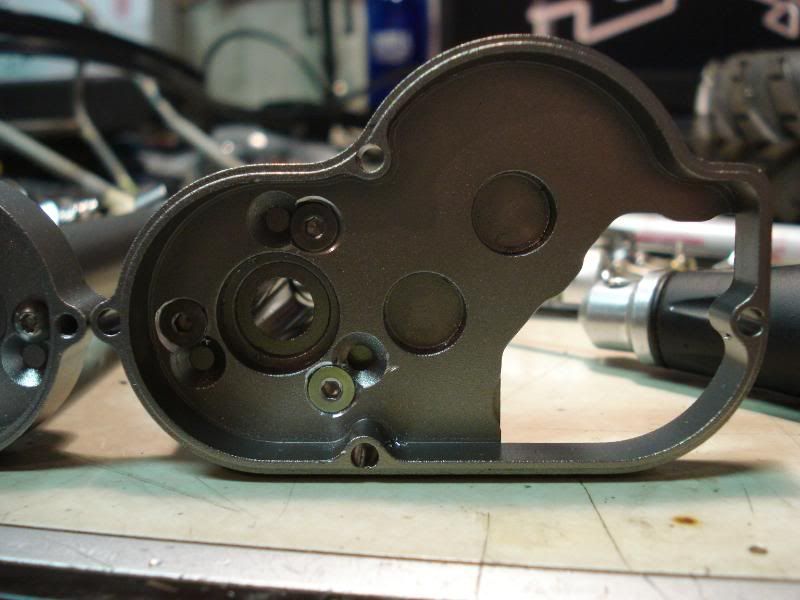 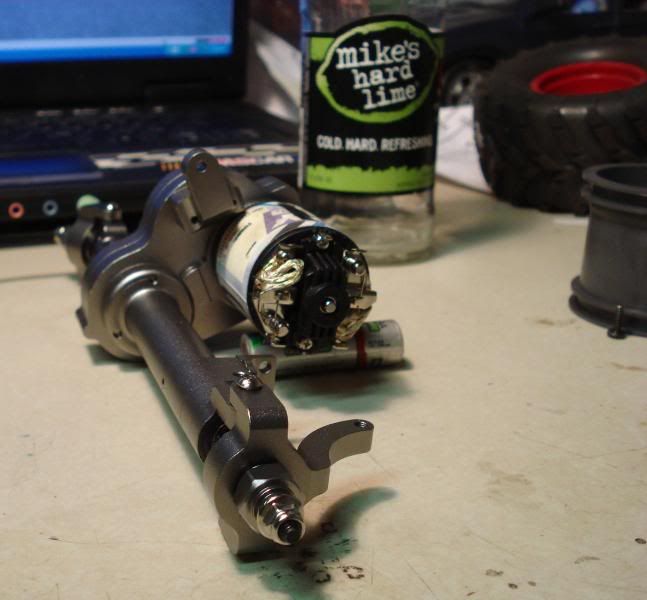 Rig needs to be complete by August 7th for a MN comp. |

|  |
| Sponsored Links | |
| | |
|
07-08-2008, 04:30 PM
| #2 |
| Rock Crawler  Join Date: Jan 2006 Location: PNW!!!
Posts: 747
|
Another team member on board  Once you go Berg you may never go back!! |
|
| |
|
07-08-2008, 08:37 PM
| #3 |
| RCC Addict Join Date: Feb 2005 Location: Minneapolis
Posts: 1,496
|
Got lemonade? Will be interesting to see your rig when you come to MN. Hoping to get a closer look at it then. I have a stick chassis sitting around that I am not using. |
|
| |
|
07-08-2008, 08:54 PM
| #4 |
| varcor.org  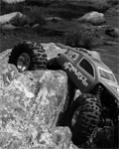 Join Date: Aug 2005 Location: 757
Posts: 1,073
|
another happy team member!!!
|
|
| |
|
07-08-2008, 09:22 PM
| #5 | |
| Im Brandon   Join Date: Feb 2005 Location: Colfax, CA
Posts: 8,156
| Quote:
Your going to love it man, it doesn't get any better | |
|
| |
|
07-08-2008, 09:52 PM
| #6 |
| DOOH!!! Join Date: Feb 2007 Location: AZ
Posts: 2,105
|
Sweet!! Can't wait to see it in stick form... |
|
| |
|
07-10-2008, 03:21 AM
| #7 |
| MWRCA'er Join Date: Apr 2004 Location: Machesney Park IL
Posts: 3,995
|
Locked the rear out, yes I made them myself on my mill similar to nluv's design. NO I WILL NOT MAKE YOU SOME. |
|
| |
|
07-10-2008, 08:18 AM
| #8 |
| Im Brandon Join Date: Feb 2005 Location: Colfax, CA
Posts: 8,156
|
Lock outs look awesome! I cant take any credit for that design though, that was the creator who came up with that idea |
|
| |
|
07-10-2008, 11:05 AM
| #9 | |
| I wanna be Dave  Join Date: Feb 2005 Location: Burnsville
Posts: 3,096
| Quote:
Could you tell us the ID and OD for the tubing you used? And where you got it would be great. I would like to make my own. Thanks | |
|
| |
|
07-10-2008, 11:05 AM
| #10 |
| I wanna be Dave Join Date: May 2007 Location: Taylors Falls just hanging with the MNRCRC crew.
Posts: 7,843
|
The stick chassis design is the most appealing to me for these axles. It will be interesting watching your build.
|
|
| |
|
07-11-2008, 03:49 AM
| #11 | |
| MWRCA'er Join Date: Apr 2004 Location: Machesney Park IL
Posts: 3,995
| Quote:
Didn't get much stuff made up today. Started on the Heim joint mounts. Need to head to the hardware store and pickup a few drills and taps to mount them up. 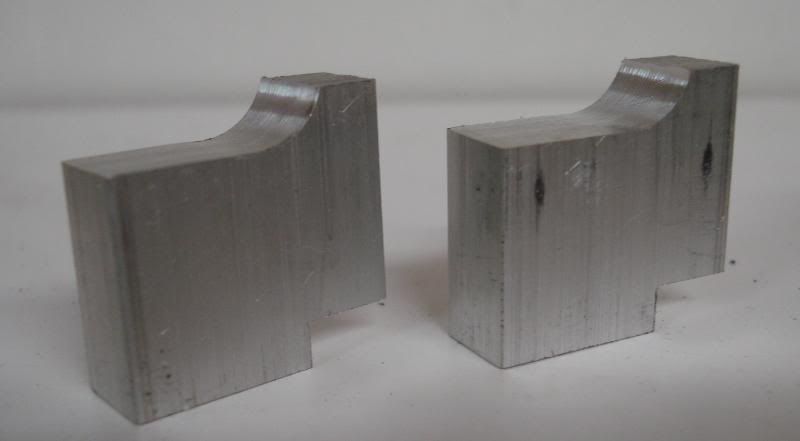 The heims will thread into this piece once I get it drilled and tapped. 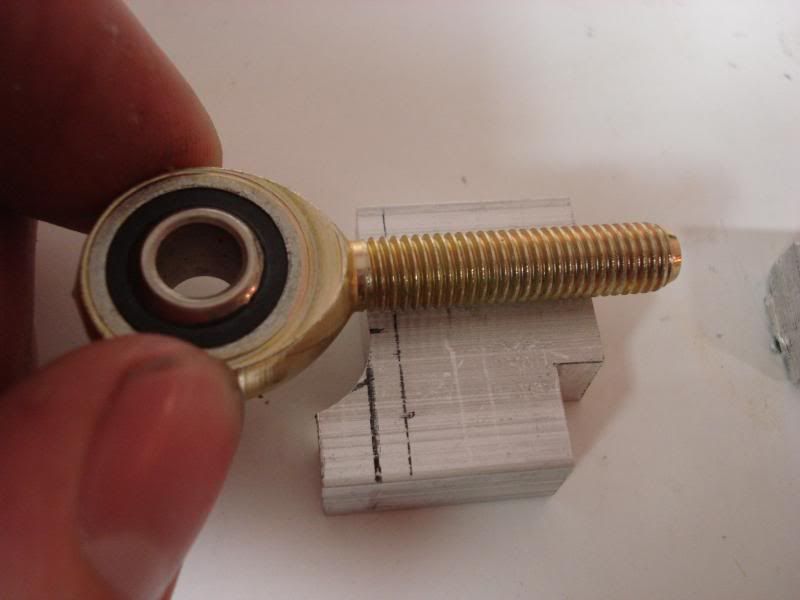 Then the whole unit will be bolted here. One of the original holes and a hole drilled through the case will hold it firmly. I want the back bone nearly resting on the motors to keep the COG in check. 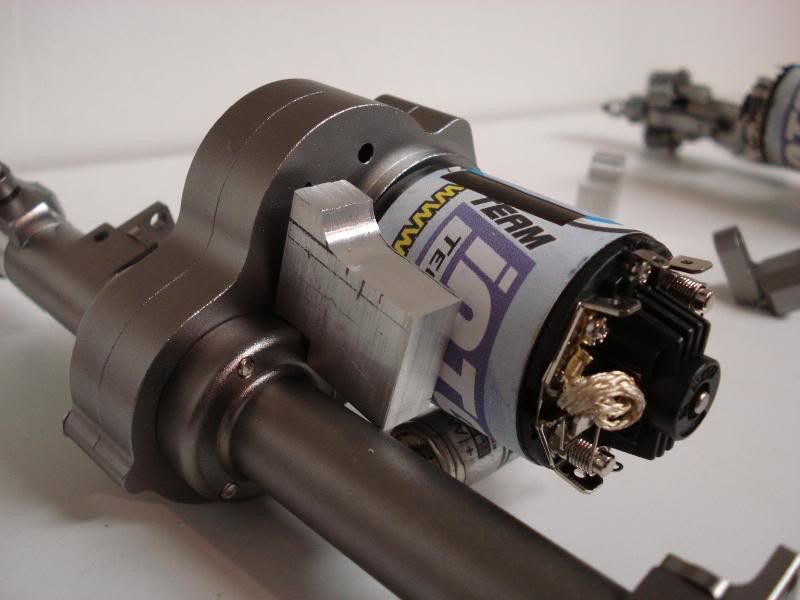 Went with some 1/4 steel heims. I've used the Delrin versions before on my clod, just wasn't satisfied with the strength. So although these maybe heavier they won't snap off. The small size is also a major plus. Back bone is .438 diameter hollow tube. 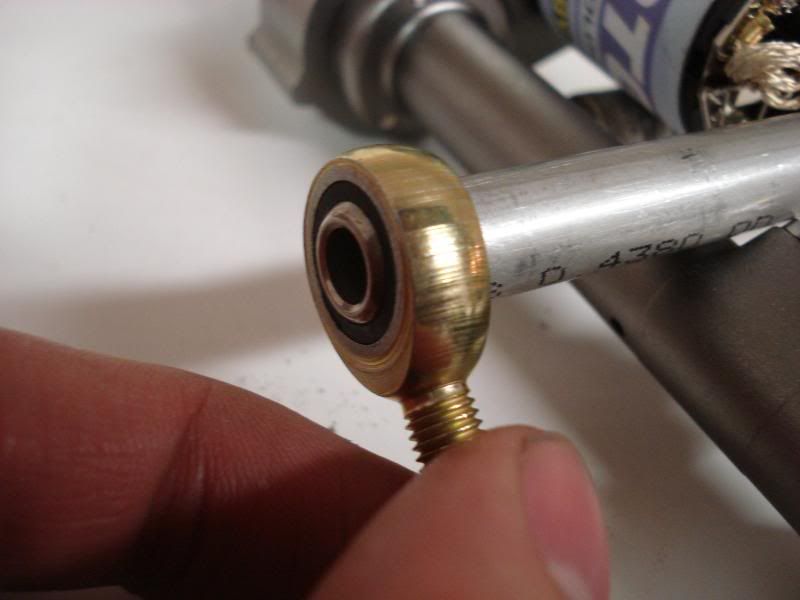 CedRc hooked me up with some used axial links I might just use them rather then fab some it would probably go good with the Team RCC green theme. It's going to have good center clearance, remember I still have to bolt the tires up. The back bone is super light and being that there are only 2 shocks COG will still be where it should be. 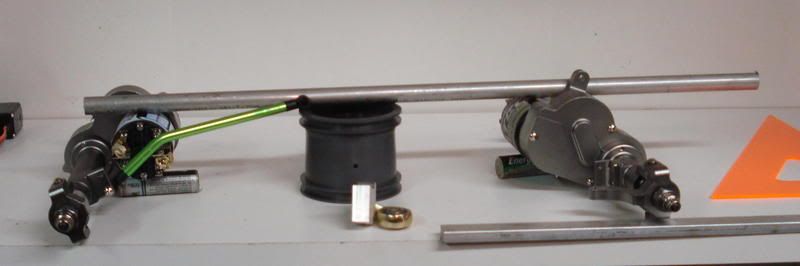 | |
|
| |
|
07-11-2008, 06:08 AM
| #12 |
| varcor.org Join Date: Aug 2005 Location: 757
Posts: 1,073
|
nice job!!! so you'll have mine ready to ship next week... LOL
|
|
| |
|
07-12-2008, 09:01 AM
| #13 |
| Rock Crawler Join Date: Sep 2007 Location: 42N 88.02W
Posts: 639
|
Awesome build man I can't wait to see this rig in action, these Berg axles got me thinkin...... there's just so many advantages over shaft driven rigs.
|
|
| |
|
07-17-2008, 12:45 PM
| #14 |
| Rock Stacker Join Date: Jun 2005 Location: Decatur, IL
Posts: 69
|
I was just thinking awhile back, 'bout one of these days someone is gonna build a 2.2 stick, like a mini clod thingy, that really works, and kicks ass all over the place...then I thought "Ben will probably do it first". Looks like I was right on the money. |
|
| |
|
07-18-2008, 06:01 PM
| #15 |
| Pebble Pounder Join Date: Apr 2008 Location: Fort Wayne
Posts: 115
|
Looking pretty good man. I myself am working on a stick setup with Berg axles. I haven't started a thread yet. I personally had some trouble finding a good position for the servo. I ended up mounting it up on it's face. I'd like to see what you come up with. I'm still buttoning things up. Drop me a PM if you want to chat specifics. BEn |
|
| |
|
07-18-2008, 07:42 PM
| #16 |
| Rock Crawler Join Date: Aug 2007 Location: Orlando
Posts: 512
|
sweet build, axles on the chassis look great |
|
| |
|
07-19-2008, 12:29 AM
| #17 |
| MWRCA'er Join Date: Apr 2004 Location: Machesney Park IL
Posts: 3,995
|
Thanks for the comments there guys. Here is is how the rig sits at this moment. 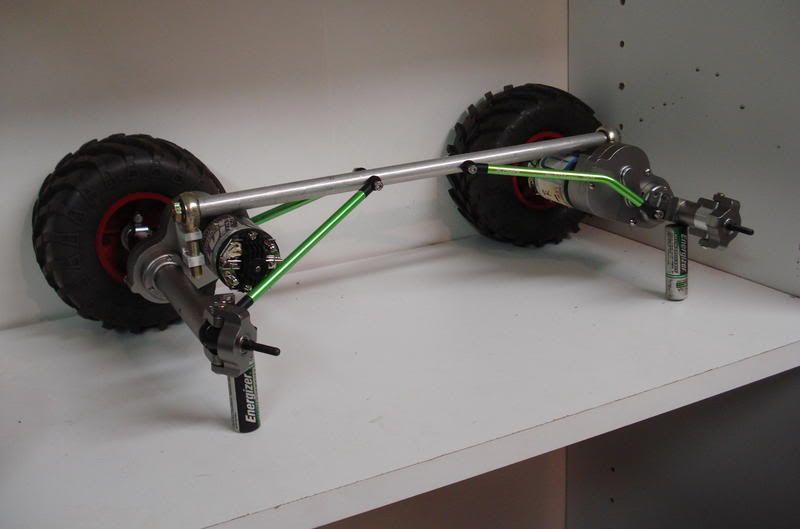 Clearance seems just right not to tall not to low. Bone sits right at the top edge of the wheels. 3 3/4 clearance with mashers. Already ordered up a set of bent links for the front to match the rear. Looks goofy with the straight links. 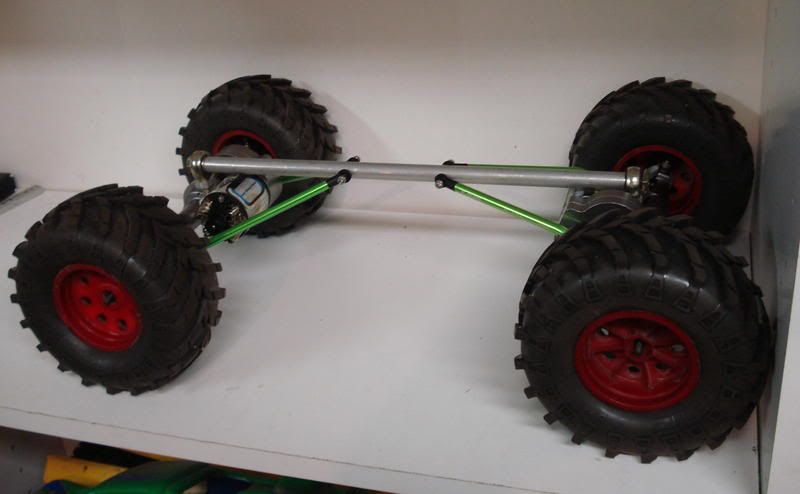 It's very hard with the limited room to find places for everything while not at the sacrifice of a high center of gravity. I feel BTA would be a hugely welcomed thing here in the midwest but if I have to raise the servo way the heck up maybe not. I'm having issues with servo placement do to the clocked axles, motor seems smack dab right in the way. I've been brain storming for several hours on placement of different parts of the truck. It's really just a game of rob peter pay paul, I've got so much mildly heavy stuff with really no where to keep it all properly low. If I put the servo low then I have it hanging out the front. If I put the servo high then the shocks and other gear has to be high as well. It might get down to weighing parts and determining where they go. I want this thing to climb like no other while still being at home on rip rap. I have a bunch of things ordered and am currently sort of stalled for parts. Custom 6 spoke Eritex beadlocks - Need for mock up and steering clearance. 25 amp snap switches - Needed for building up the dig unit. Batteries - Small 1500mah lipos coming from china gonna be a while. Body - can't decide? Tires - aiming for Rock Carvers but if they are not availble by august I'll go with panthers. |
|
| |
|
07-19-2008, 01:13 AM
| #18 |
| I wanna be Dave Join Date: Jan 2006 Location: Henderson/Las Vegas, NV
Posts: 5,032
|
looks good! i cant wait to get a set of bergs someday.
|
|
| |
|
07-19-2008, 03:33 AM
| #19 |
| Pebble Pounder Join Date: Jul 2008 Location: Australia
Posts: 151
|
Looks really good man I have a full berg kit on the way to Australia and i also plan on doing my own stick chassis, I'm thinking of using the aluminium servo mounts that are made for 450 size heli tail servos as the shockarms, it will save drilling more holes in the bone. How strong does the bone need to be? (tube wall thickness i mean) I guess if it's too thin it could bend! I have alot to learn as my only experience with rc crawlers is a scorpion i built a few months ago but i have lots of ideas for my new berg/stick to compete with the tubed dig equipt axials that flood the 2.2 comps over here in OZ, These bergs will be everywhere soon, there are ppl running clods in 2.2 here but they have a few probs with clearance under the pumpkin! I look forward to the rest of your build |
|
| |
|
07-26-2008, 04:41 AM
| #20 |
| MWRCA'er Join Date: Apr 2004 Location: Machesney Park IL
Posts: 3,995
|
Well my tube is 11mm OD, 2mm wall, 7.55mm ID seems ridged as it's pretty short. Anyways for the rest of you here is some progress. Made the easiest dig unit I've ever made seriously. Two long screws two switches and a mini servo assemble, that was it. 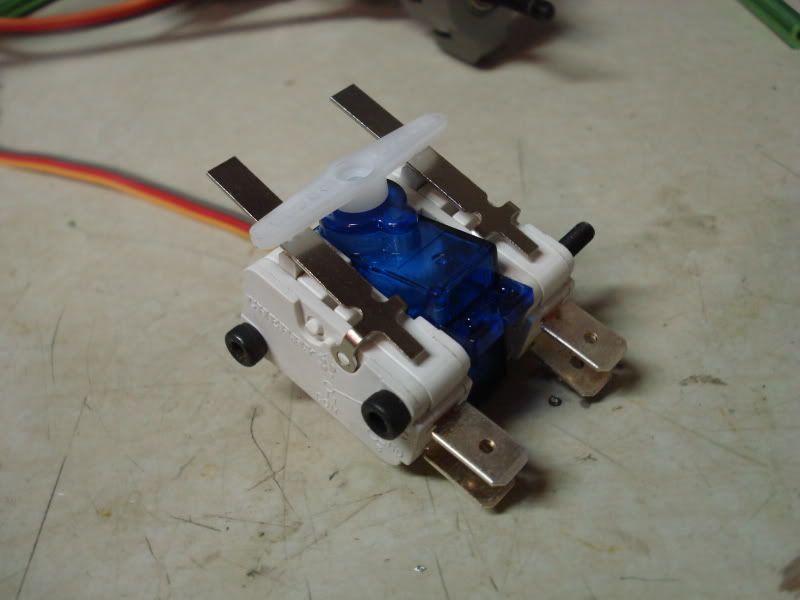 After spending so little time on the dig itself, I had plenty of time to work on the mount. 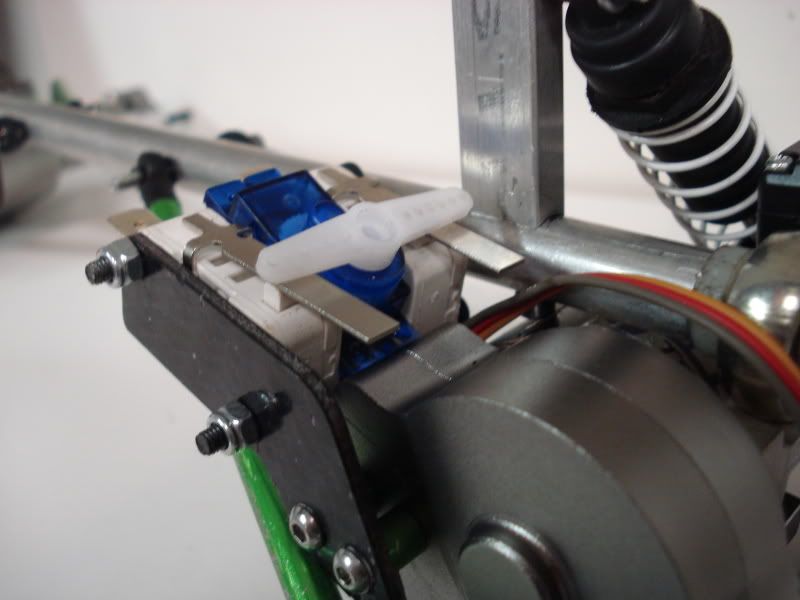 Still slug low in the chassis and out of the way. Don't worry I'll trim that cantilever narrower when I get a chance. I'm thinking it will have to pop through the hood, we'll see. 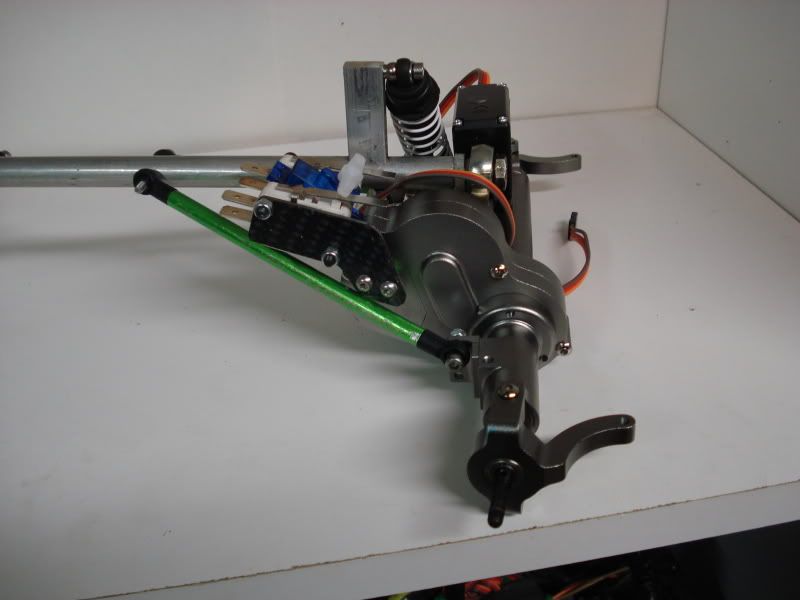 Mounted the front servo some what. I still have to finish the mount on the other side of the case. The idea here was to have a good clean approach angle. The only way to acheive it with clocked axles was to flip the servo up like that. 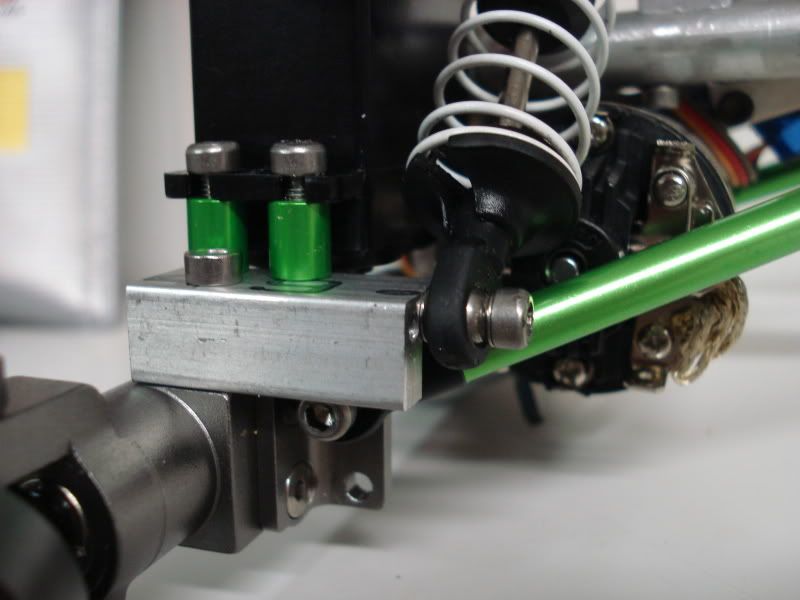 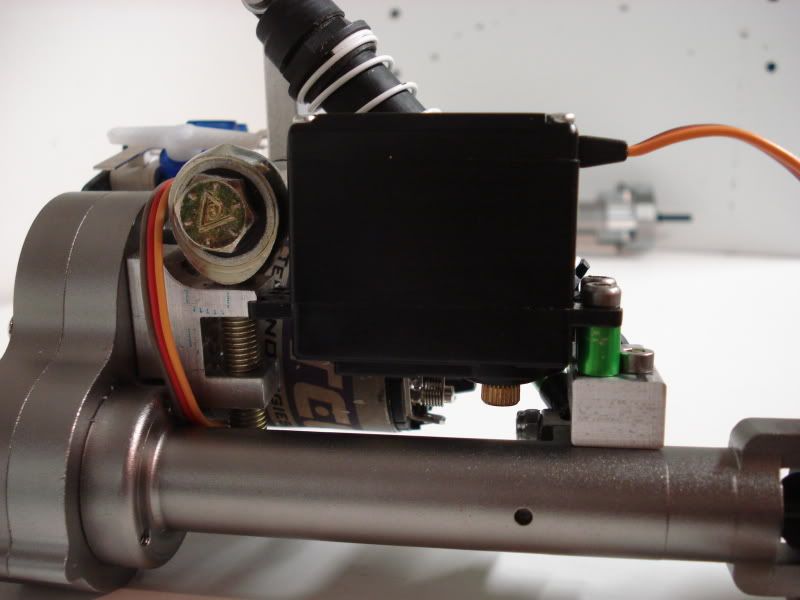 Decided to keep the straight links out front as it allows me to mount the electronics lower. Also changed up the axle mounting points to reduce the axle sway. It now has like near zero axle sway which was what I was shooting for. 3C Lipo is going on the right rear tube so everything else is going on the front to keep the truck balanced. 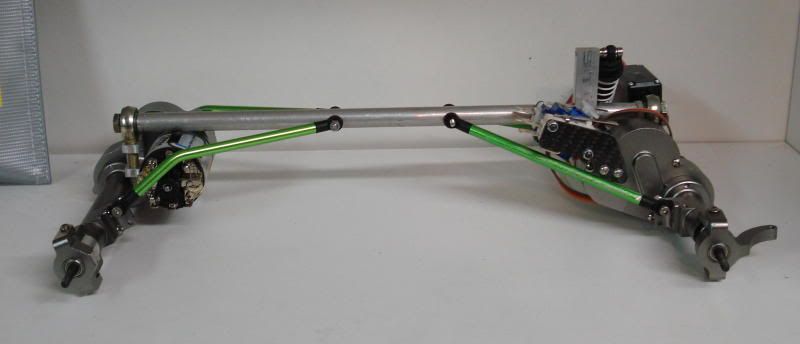 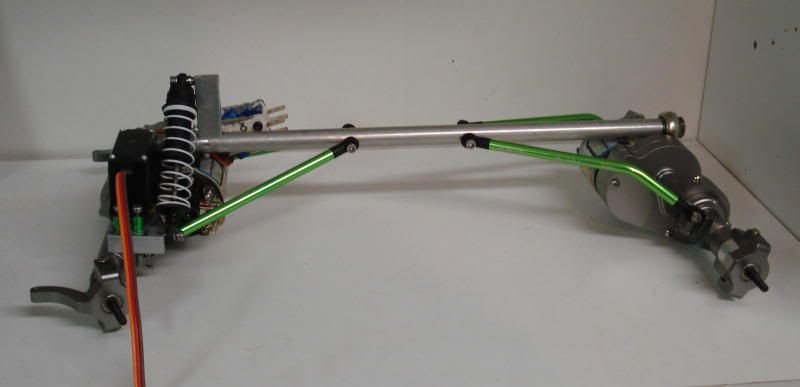 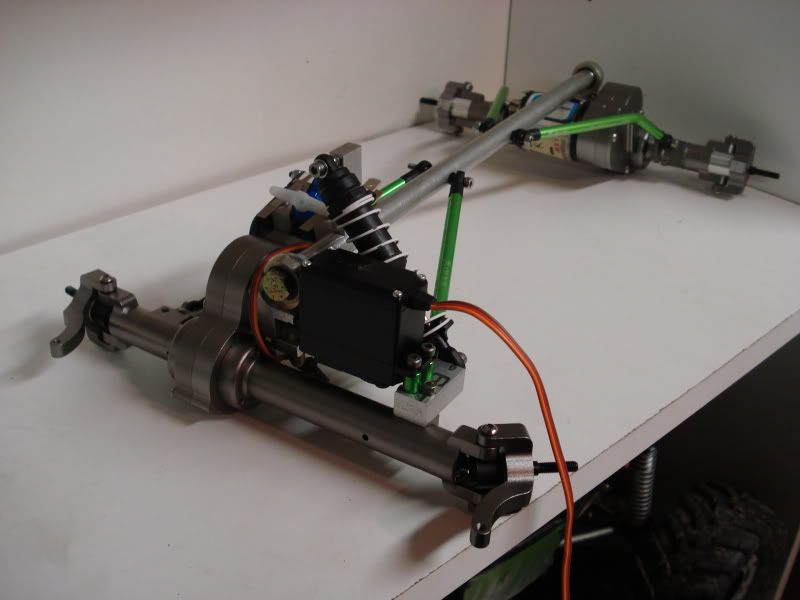 Last edited by Mnster; 07-26-2008 at 05:05 AM. |
|
| |
|
| |


 Linear Mode


