| |
| |||||||
 |
| | LinkBack | Thread Tools | Display Modes |
 08-23-2008, 08:01 PM
| #1 |
| '08 2.2 National Champ  Join Date: Nov 2006 Location: UTRCRC
Posts: 5,585
|
I've been running my Reign Widemouth Chaos Berg for a while now and have been super happy with it. I knew it could be better though, especially in the center of gravity area. It was also bothering me that it seemed kind of sloppily done. Plus my kid has been getting pretty good and after seeing how much better he drove my berg I decided it was time to pass my first one onto him and start over. Here's the specs Widemouth Chassis, ano black DNA wheels with Panther Cougar tires HPI Shocks Tekin FXR ESC Hitec TG servo Castle BEC JP's RC's Warrior Motors Dual dig switch Goals Get COG much lower Figure out steering so that I don't snag anymore Panther tires and can use a standard steering linkage Mount servo lower Get more articulation than my last rig Make it clean  First pic, much more to come 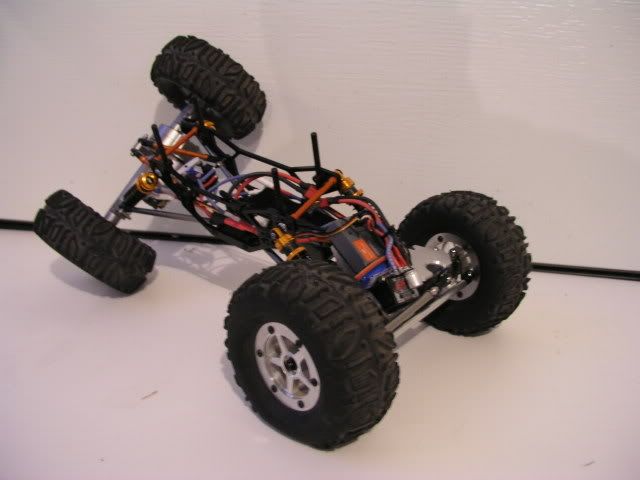 Last edited by Just Zach; 08-24-2008 at 08:01 AM. |

|  |
| Sponsored Links | |
| | |
|
08-23-2008, 08:54 PM
| #2 |
| I wanna be Dave Join Date: May 2007 Location: Taylors Falls just hanging with the MNRCRC crew.
Posts: 7,843
|
Dam Zach I feel like I just got held back in 6th grade |
|
| |
|
08-23-2008, 10:10 PM
| #3 |
| '08 2.2 National Champ Join Date: Nov 2006 Location: UTRCRC
Posts: 5,585
|
I know, I have problems but I'm alright with it. First thing was steering. I wanted the servo lower so I took a little bit from Kaetwo and added a bit of my own. The plate is an Axial battery tray. I cut it up and drilled and tapped the axle tube. Its really thick so it works well. I extended it out a bit to hit the hole on the top of the axle for more strength. Then I took a Reign Servo Crown and used that to secure and protect the servo. I bolted directly to the arm and the crown pinches everything down and in place. Overall it dropped things about 1/4". Not a ton but everything makes a difference.  |
|
| |
|
08-23-2008, 10:17 PM
| #4 |
| '08 2.2 National Champ Join Date: Nov 2006 Location: UTRCRC
Posts: 5,585
|
Next I wanted to attack the problem of the tires getting caught and torn on the knuckles. I've heard of things like vasoline and such but I hate to get anything on the tires that would reduce traction. So I cut about 1/4" off the knuckle arms, drilled and tapped new holes, and used the angled rod ends from and Axial to push the steering link back out so it would clear the gear box. Everything worked out perfectly, I doubt there is any way that the tires could grab now and the steering gets full throw with both wheels unlike my old setup. Oh yeah, upper steering link will be replaced, its all I could do for now.  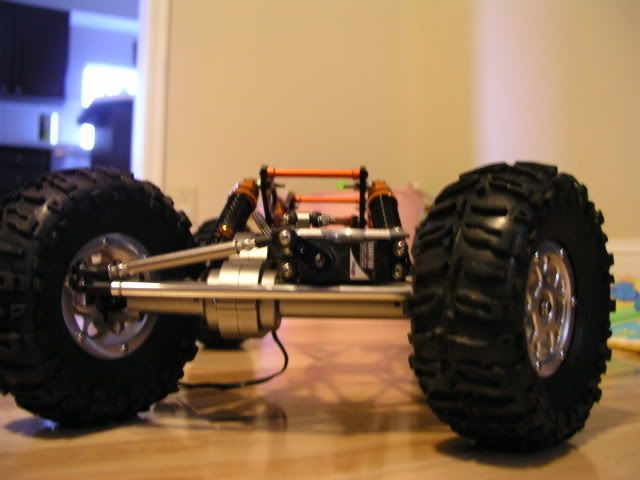 Last edited by Just Zach; 08-23-2008 at 10:19 PM. |
|
| |
|
08-23-2008, 10:22 PM
| #5 |
| '08 2.2 National Champ Join Date: Nov 2006 Location: UTRCRC
Posts: 5,585
|
Next was to get the dig switch mounted. While I was screwing the Dig-a-ma-jig together I noticed that I could screw two longer screws from the links into it and it would hold it really well. Easy and very strong mount. I also bullet plugged everything so I am going to make a spare just in case something fries. 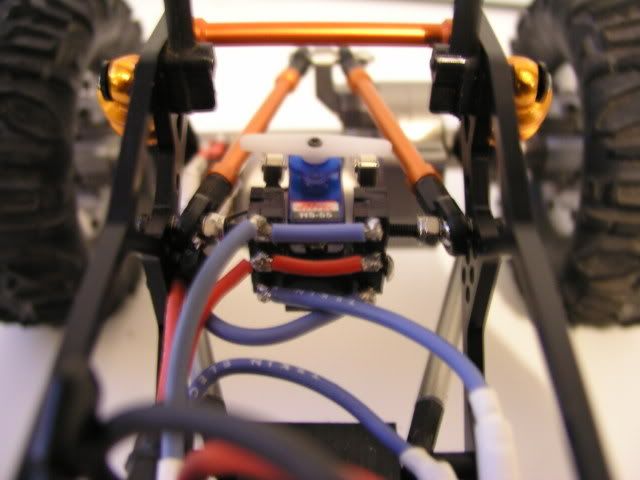 |
|
| |
|
08-23-2008, 10:27 PM
| #6 |
| '08 2.2 National Champ Join Date: Nov 2006 Location: UTRCRC
Posts: 5,585
|
My little quick and dirty electronics tray. Just a piece of angled aluminum ground down to clear the axle tube and mounted into the gear case. It was supposed to be a battery tray but it stuck up just a little too high so it turned into an electronics tray. Forward and low though 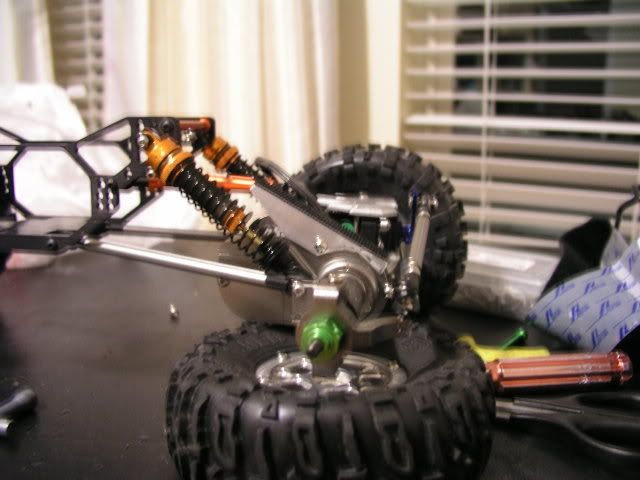 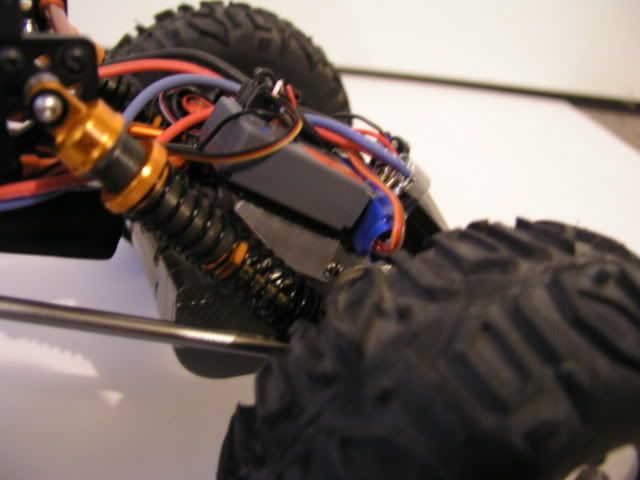 |
|
| |
|
08-23-2008, 10:31 PM
| #7 |
| '08 2.2 National Champ Join Date: Nov 2006 Location: UTRCRC
Posts: 5,585
|
I forgot about links, it worked out really easy. I used the stock links from the Enroute kit for the lower with Traxxas rod ends. Ends up perfectly at a hair under 12.5" Then the upper links I picked up a set of 55mm Axial Links for the front upper and 60mm for the rear to clock the motor up some.
|
|
| |
|
08-23-2008, 10:47 PM
| #8 |
| '08 2.2 National Champ Join Date: Nov 2006 Location: UTRCRC
Posts: 5,585
|
I know its kind of hard to see but the battery is mounted underneith the front upper links. Its a Maxamps 1550 3s, it just barely fits there but it keep the weight very low and as forward as possible. 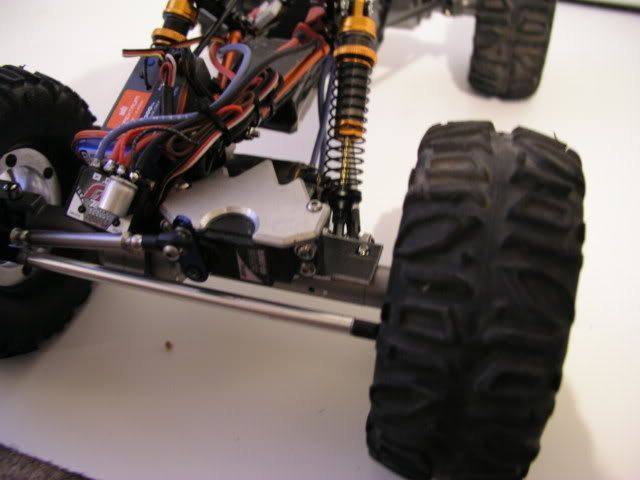 |
|
| |
|
08-23-2008, 10:49 PM
| #9 |
| '08 2.2 National Champ Join Date: Nov 2006 Location: UTRCRC
Posts: 5,585
|
This won't be the body I run, just a test fit so I haven't cut the body posts yet. Looks pretty good though. 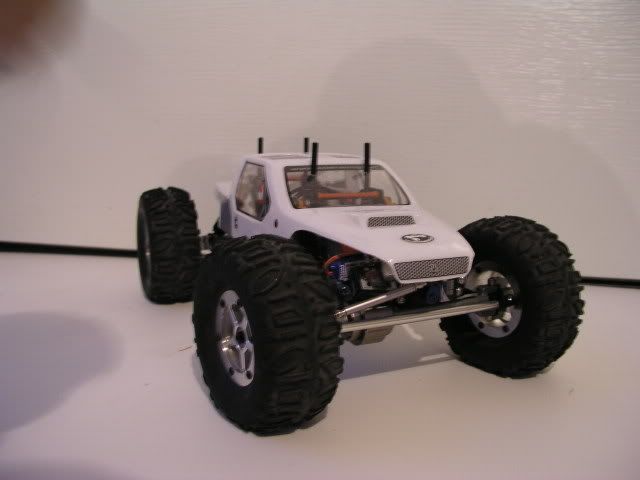 |
|
| |
|
08-23-2008, 11:01 PM
| #10 |
| Quarry Creeper  Join Date: Dec 2007 Location: #
Posts: 216
|
looks very well thought out and you did everything so clean. i really like how you mounted the servo. lets see some action shots.
|
|
| |
|
08-23-2008, 11:05 PM
| #11 |
| '08 2.2 National Champ Join Date: Nov 2006 Location: UTRCRC
Posts: 5,585
|
Thanks, action shots coming tomorrow. I'm going to go run in on my test course in the morning.
|
|
| |
|
08-23-2008, 11:20 PM
| #12 |
| I wanna be Dave Join Date: Jan 2006 Location: Henderson/Las Vegas, NV
Posts: 5,032
|
so zach which HPI shocks are those?
|
|
| |
|
08-24-2008, 06:24 AM
| #13 | |
| '08 2.2 National Champ Join Date: Nov 2006 Location: UTRCRC
Posts: 5,585
| Quote:
http://www.hpiracing.com/products/en/87252/ | |
|
| |
|
08-24-2008, 06:30 AM
| #14 |
| '08 2.2 National Champ Join Date: Nov 2006 Location: UTRCRC
Posts: 5,585
|
Ok, since I can't sleep anymore, here are some action shots. This is my front yard crawler course, and its not easy!  A couple of articulation shots 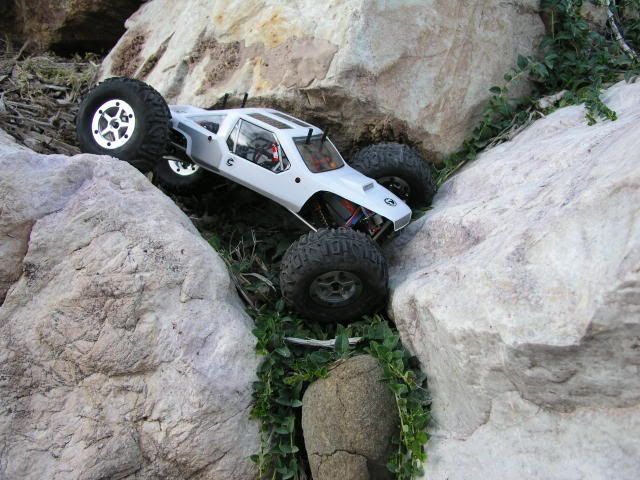 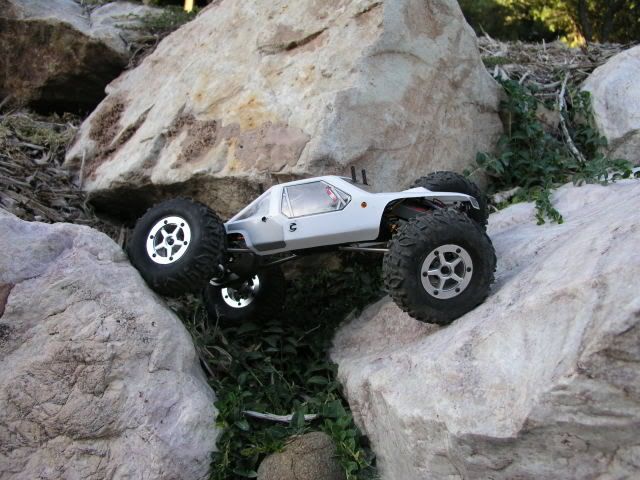 And the cliffhanger, I've only made it 4 times now, but I made it the first time with this one 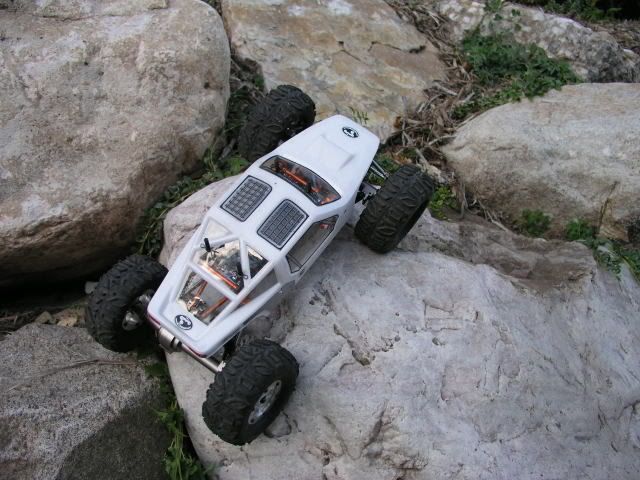  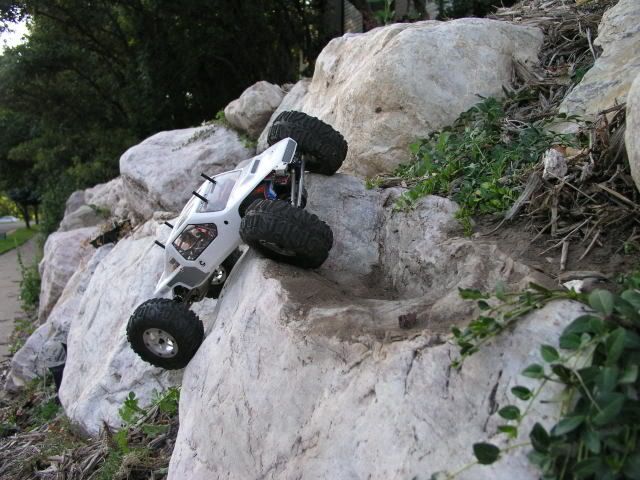 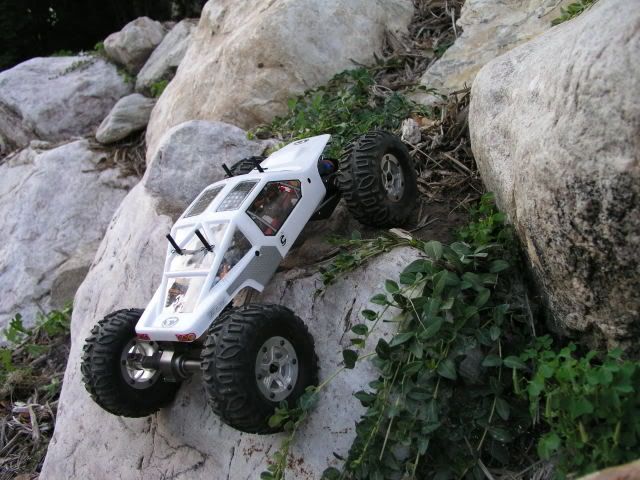 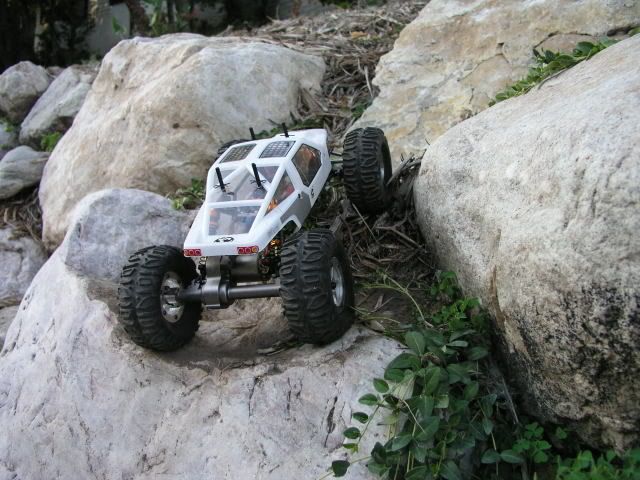 |
|
| |
|
08-24-2008, 07:56 AM
| #15 |
| I wanna be Dave  Join Date: Apr 2005 Location: Vegas
Posts: 7,172
|
You could of just run an F1 spoiler and your center of gravity would have been about 2" underground.
|
|
| |
|
08-24-2008, 07:59 AM
| #16 | |
| '08 2.2 National Champ Join Date: Nov 2006 Location: UTRCRC
Posts: 5,585
| Quote:
| |
|
| |
|
08-24-2008, 08:45 AM
| #17 |
| I wanna be Dave Join Date: May 2007 Location: Taylors Falls just hanging with the MNRCRC crew.
Posts: 7,843
|
Man the new rig sure covers all the issues, love the Dig-m-a-jig it's so clean. The XC-1 is a very good body choice. I hope the new rig delivers great results for you.
|
|
| |
|
08-24-2008, 10:01 AM
| #18 |
| RCC Addict  Join Date: Oct 2005 Location: Trussville, AL
Posts: 1,762
|
rig looks good. I like the idea of using bullet connectors and making a spare Im gonna have to do that when i get my new chassis in for a rebuild
|
|
| |
|
08-24-2008, 10:02 AM
| #19 | |
| '08 2.2 National Champ Join Date: Nov 2006 Location: UTRCRC
Posts: 5,585
| Quote:
| |
|
| |
|
08-25-2008, 08:41 PM
| #20 |
| '08 2.2 National Champ Join Date: Nov 2006 Location: UTRCRC
Posts: 5,585
|
I got what will most likely be my Nationals body. I'm pretty much ready to go and luckily this one just feels like an upgraded version of may last one so there isn't much to get use to. 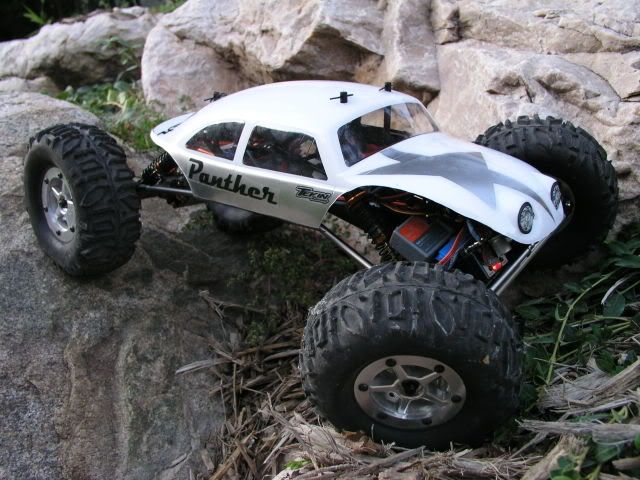 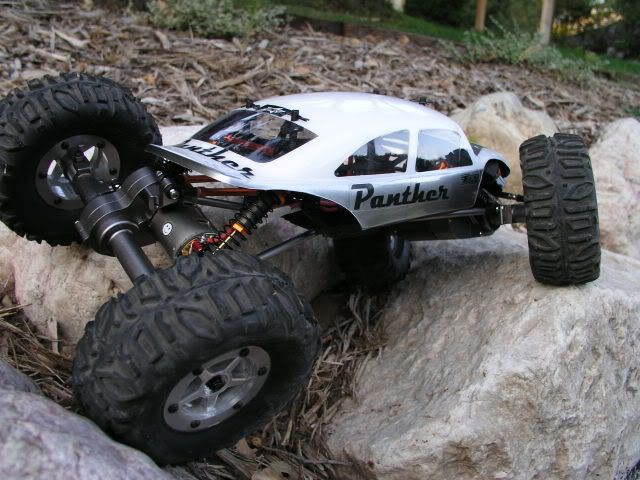 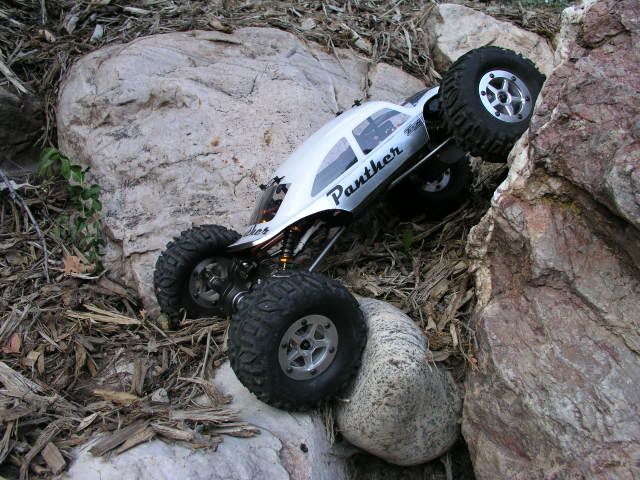 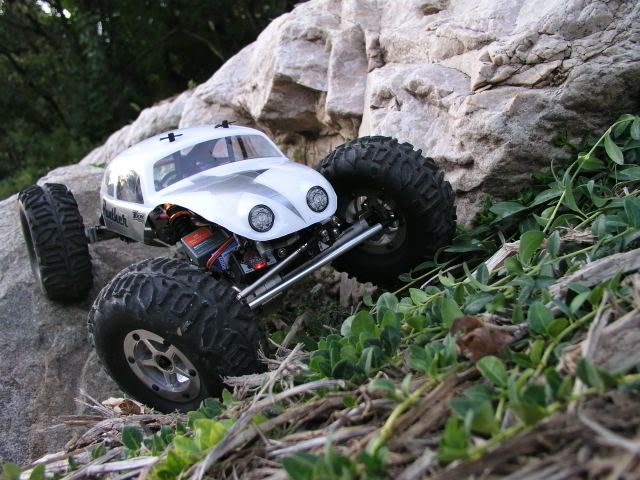 |
|
| |
|
| |


 Linear Mode


