| |
 04-13-2009, 08:34 PM
| #1 |
| Pebble Pounder Join Date: Dec 2006 Location: college station
Posts: 119
|
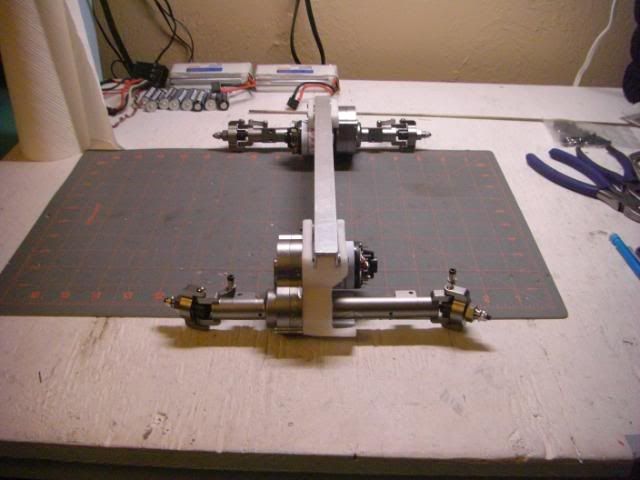
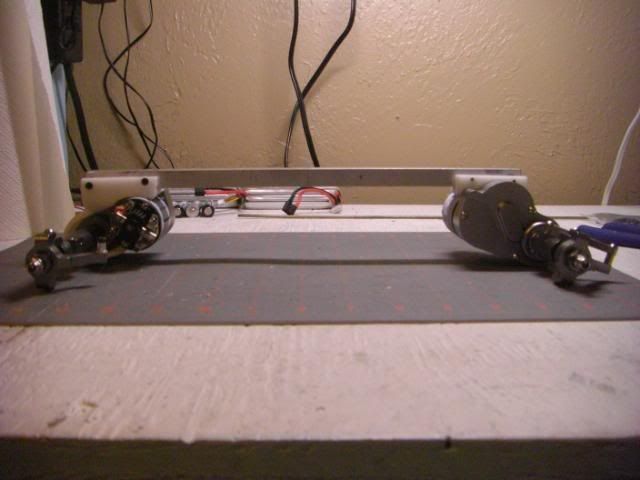
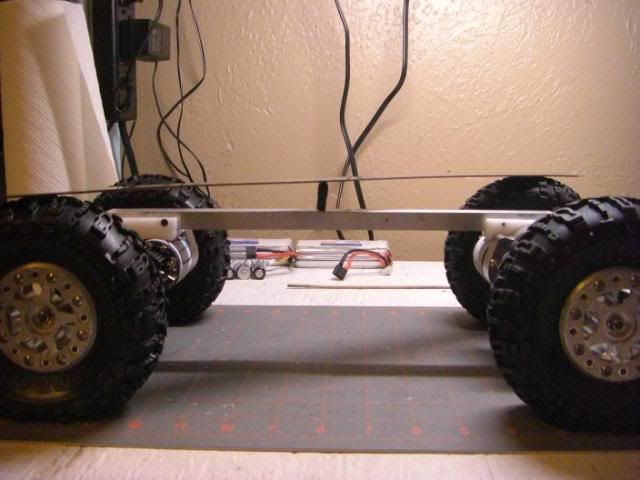
Got some axles and parts. Using some small parts and aluminum I have laying around here. Now, please note this is similar to the clod chassis made by a vendor here, but this is nowhere near the quality that that appropriate vendor here would come up with. And so it begins... Chassis blank. Tuning holes to come later. Also need to find some 3/4" material to replace the stock upper link bracket with a beefy multi-hole mount for the backbone. 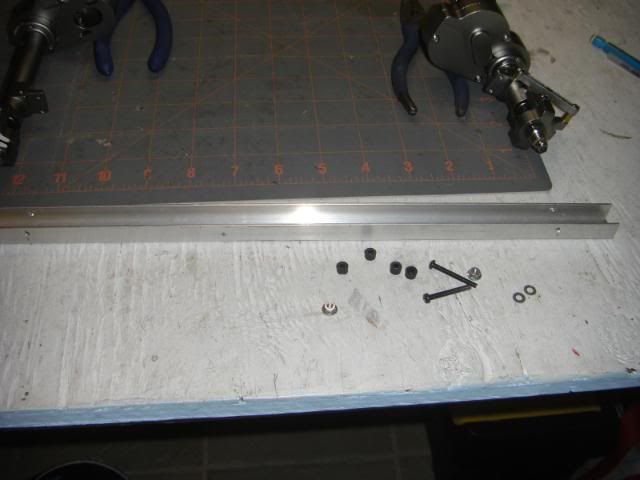 Have to drill thru the outer screw hole. 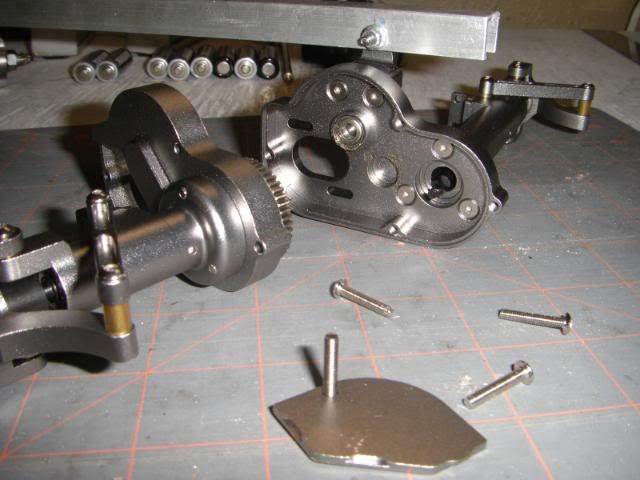 See.  Backbone mounted for now. As stated above, need to find some thick material to make a real mount with multiple attachment points.  This should be replaced with a turnbuckle. You can adjust the clocking of the front and rear axles using this (but it changes the WB as well). 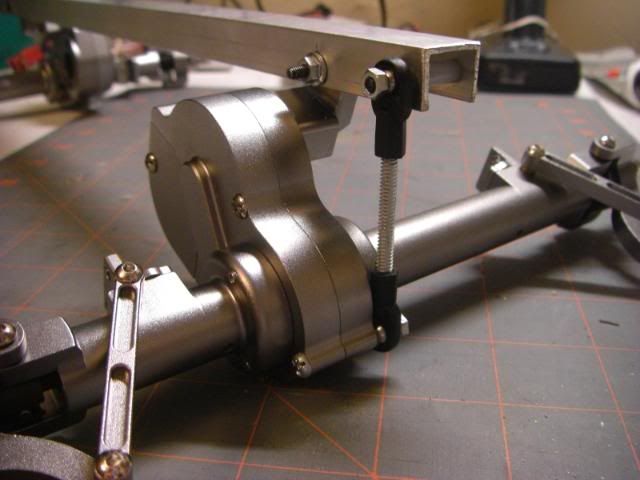 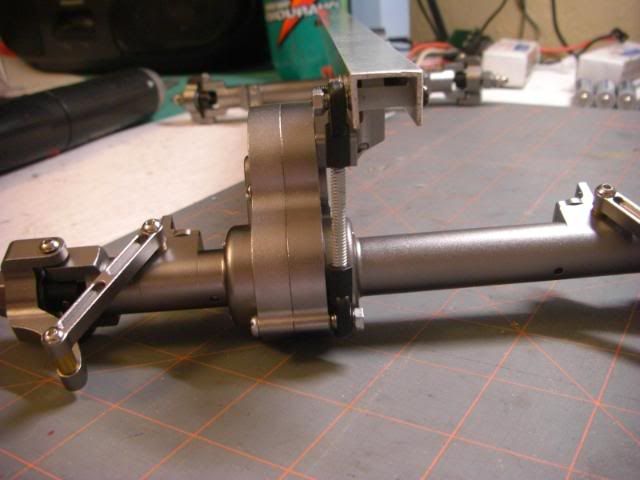 Side... 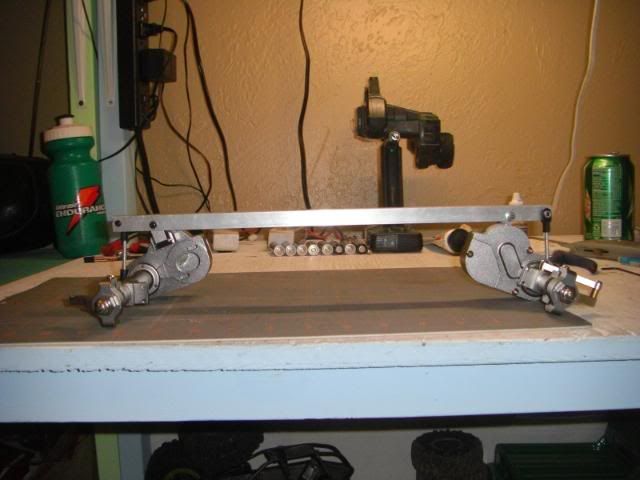 Clearance without tires. This was my after-work project today. Thinking about just getting it running and then building some better parts (real backbone mount and replace stabilizer with turnbuckle). What I have is 55T motors (want 45Ts), 13T pinions, JConcepts body, Mayhem 7s, and lots of stuff I could scavenge off my clod torsion. Last edited by papasnachez; 04-13-2009 at 08:37 PM. |

|  |
| Sponsored Links | |
| | |
|
04-14-2009, 07:19 AM
| #2 |
| Pebble Pounder Join Date: Dec 2006 Location: college station
Posts: 119
|
R2J, I'm going to be improving this design hopefully. I know the chassis rage is all about chassis' similar to your new ones, but I am faithful to the torsion cane style. I'm thinking the backbone mount will be easy once I get some 3/4" material. The berg case is great in that it has the two screws for the link mount already, and I want the mount to fit up into the channel and probably be about 1.5" or so long so I can put 2 spaced out screws and ditch this one screw with spacer thing I have going on now. |
|
| |
|
04-14-2009, 07:59 AM
| #3 |
| Quarry Creeper Join Date: Oct 2008 Location: Southern Illinois
Posts: 225
|
Nice work! Keep us up to date!
|
|
| |
|
04-14-2009, 08:27 AM
| #4 | |
| Pebble Pounder Join Date: Dec 2006 Location: college station
Posts: 119
| Quote:
I have also learned to not "finish" the project until the end, for example, don't spend time rounding the edges the first go around, and then end up scrapping it for another design. So it will only look better as we go. | |
|
| |
|
04-22-2009, 08:01 PM
| #5 |
| Pebble Pounder Join Date: Dec 2006 Location: college station
Posts: 119
|
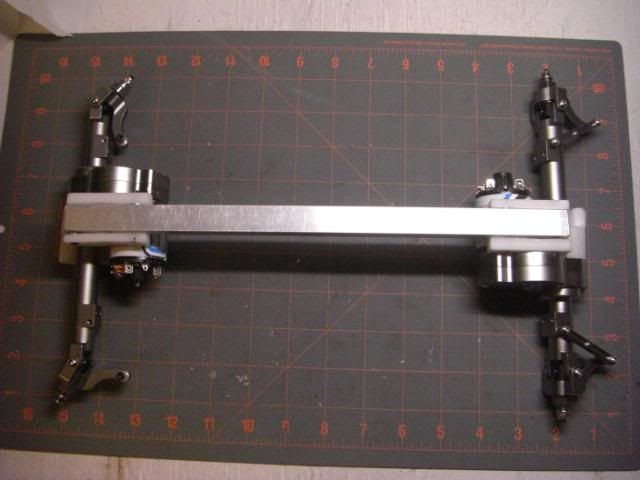
New delrin backbone mounts. Now I need to take it off and clean it up.The slots are for the u-channel to fit with the opening downward. It is opposite of the traditional way and I will probably have to cover it up with something thin and slick. But I wanted the pivot point as low as possible to reduce axle swing. 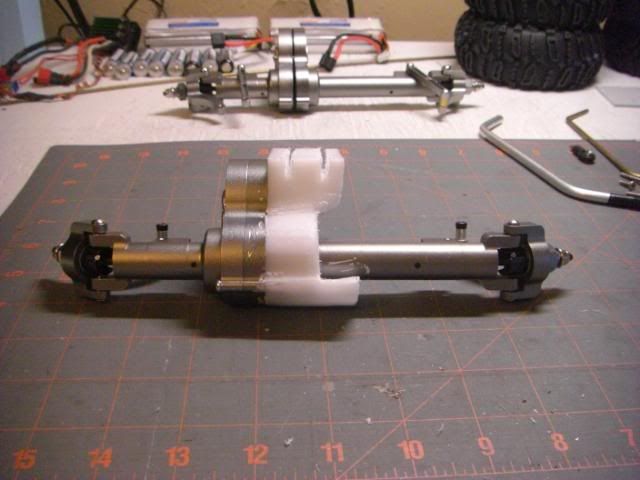 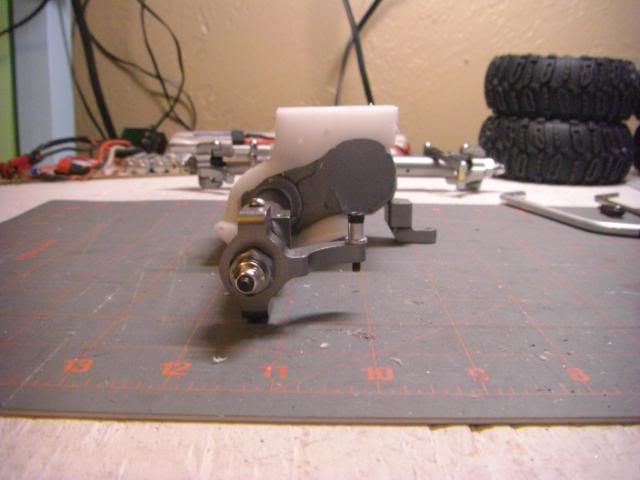 Steering I'm working on. 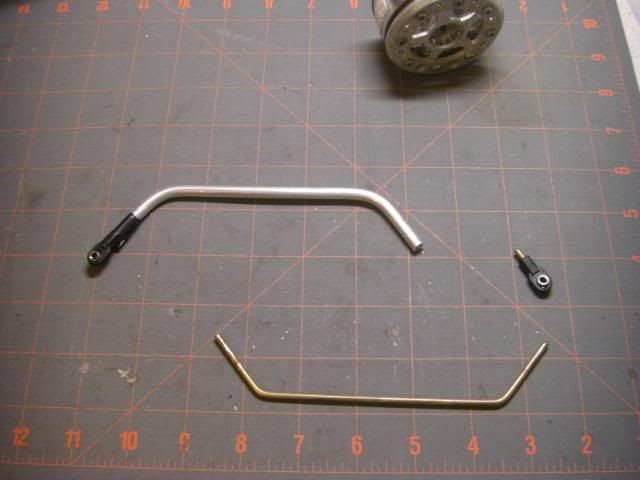 Tire choice 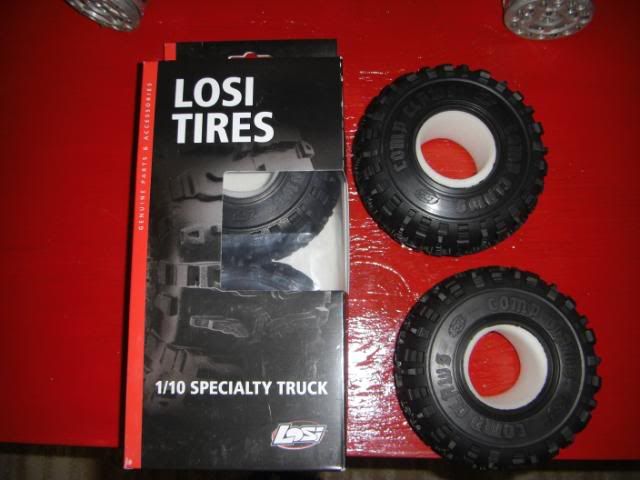 |
|
| |
|
04-22-2009, 08:09 PM
| #6 |
| Quarry Creeper Join Date: Oct 2008 Location: Madera
Posts: 325
|
You're on a roll- don't stop now!
|
|
| |
|
04-23-2009, 07:53 AM
| #7 |
| Pebble Pounder Join Date: Dec 2006 Location: college station
Posts: 119
|
I'm still wondering if the center chunk there that fits inside the channel actually helps or if I should cut it out completely and run the u-channel facing up like normal. The way it is now I can run screws all the way though horizontally and it is like a double shear set-up. Also on a separate note, the delrin wraps around underneath and covers the gap that is usually between the axle tube and motor. |
|
| |
|
04-25-2009, 12:27 AM
| #8 |
| Pebble Pounder Join Date: Dec 2006 Location: college station
Posts: 119
|     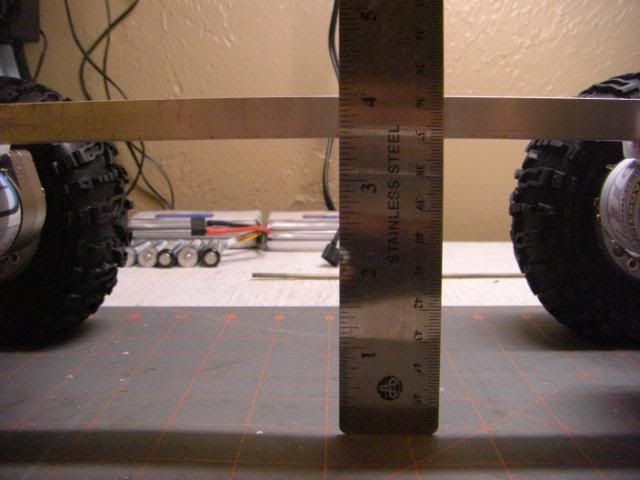 Not as much clearance as I would have liked. Wanted over 3.5". This is just under. I do have rovers I could put on for more height though. As you can see the chassis is way below the tops of those tires which aren't even 5" tall. Hope you can see the traxxas rod end and ruler for reference. |
|
| |
|
04-25-2009, 02:14 AM
| #9 |
| RCC Addict Join Date: Dec 2005 Location: Tucson
Posts: 1,190
|
Do some HB rover's or PL chisel's there 5.5". And the losi are 5.2" tall
|
|
| |
|
04-25-2009, 06:00 AM
| #10 |
| Pebble Pounder Join Date: Apr 2008 Location: Fort Wayne
Posts: 115
|
Looks good man. The torsion type setup seems to be hanging on in subtle variations and hybrids. Make it work, and kick ass with something different.  |
|
| |
|
04-25-2009, 12:54 PM
| #11 | |
| Pebble Pounder Join Date: Dec 2006 Location: college station
Posts: 119
| Quote:
Yeah, I've got some rovers. I want to try these tires though. Yeah the losi's say 5.2" tall but mounted on these wheels with stock foams they were just shy of 5". And as it sits with just the unfinished vehicle weight on them they measure 4.75". | |
|
| |
|
07-24-2009, 08:13 PM
| #12 |
| Pebble Pounder Join Date: Dec 2006 Location: college station
Posts: 119
|
Finished second in our first season of the year (Texas RC Offroad). Some more pics I never posted... Steering (and tons of it) 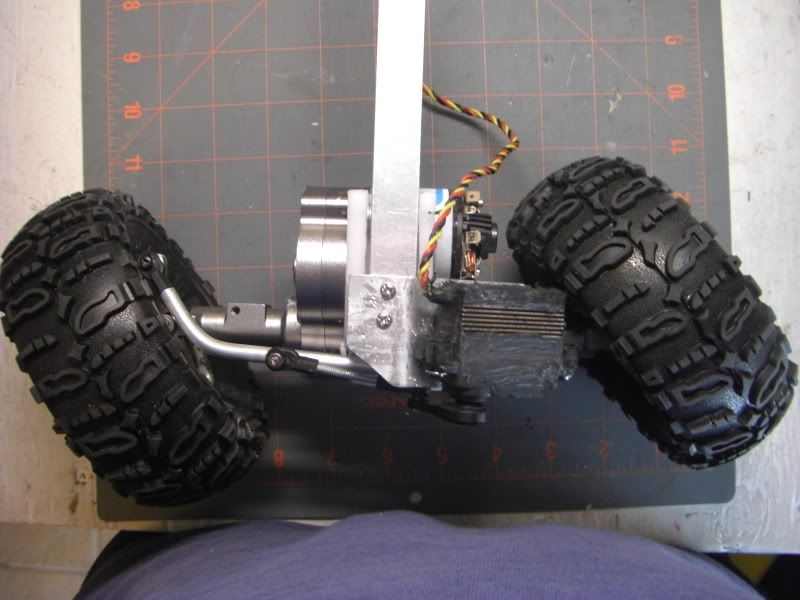 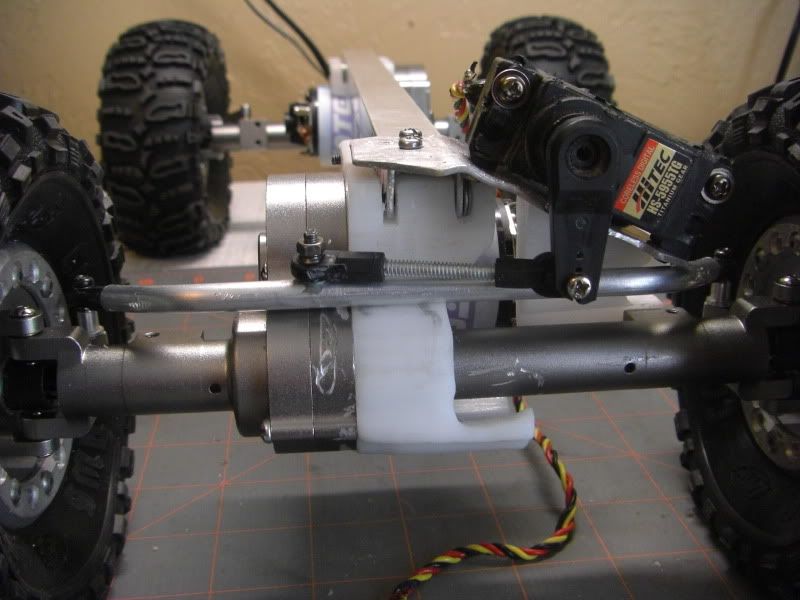 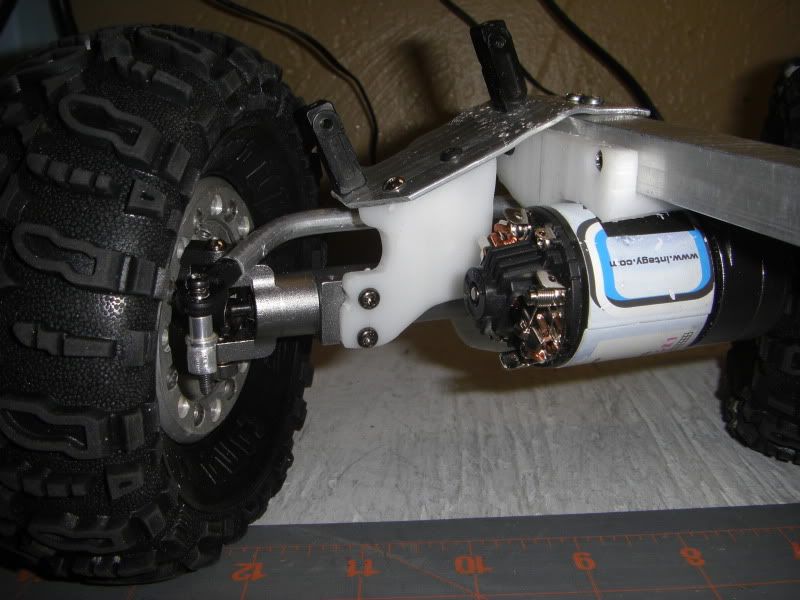 Rear axle plate  Last comp 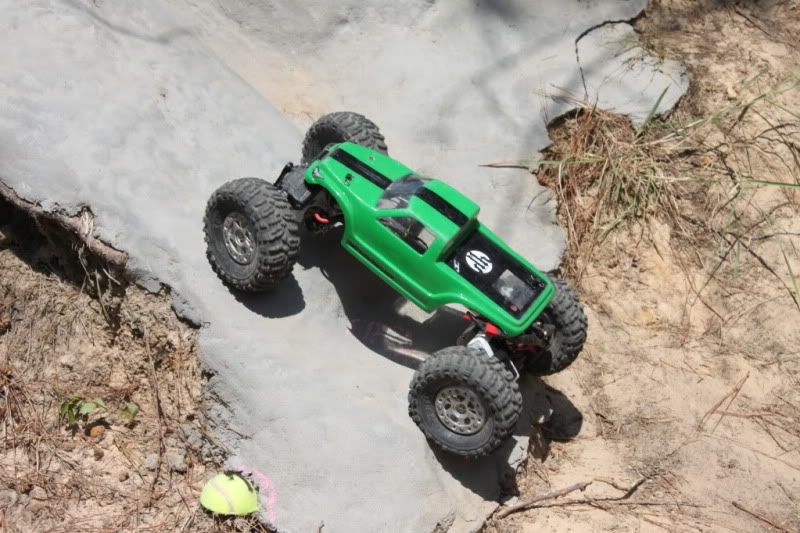 Last edited by papasnachez; 07-24-2009 at 08:20 PM. |
|
| |
|
08-30-2009, 08:08 AM
| #13 |
| I wanna be Dave Join Date: Oct 2008 Location: I miss Rowdy
Posts: 2,238
|
So, how is the progress of this crawler coming along?? Still using the stick chassis?? I'm really debating on trying one of these chassis for the indoor winter series. The look like they could be really stable and predictable. But just would not articulate as smoothly as a full suspension setup.
|
|
| |
|
08-31-2009, 07:58 AM
| #14 |
| Pebble Pounder Join Date: Dec 2006 Location: college station
Posts: 119
|
Well, I've ben using this thing for about 3 months. I'm bad about not updating my threads. I tend to build more and post less. Anyways... Still running this chassis. Works good. - Steering is insane, no links or shocks to get in the way. - Backbone is mounted pretty low, so the axle swing is not that bad, NOT like a clod with 5" center clearance. - This is NOT a stick type chassis...those have shocks - I still need common upgrades like rear lockouts and axial stubs, but it works great as I drive pretty light. - Overall most weight is on axles. Only thing on chassis is receiver and dig switches. |
|
| |
|
09-01-2009, 06:10 PM
| #15 |
| Pebble Pounder Join Date: Dec 2006 Location: college station
Posts: 119
|
Some picture updates from some past comps. 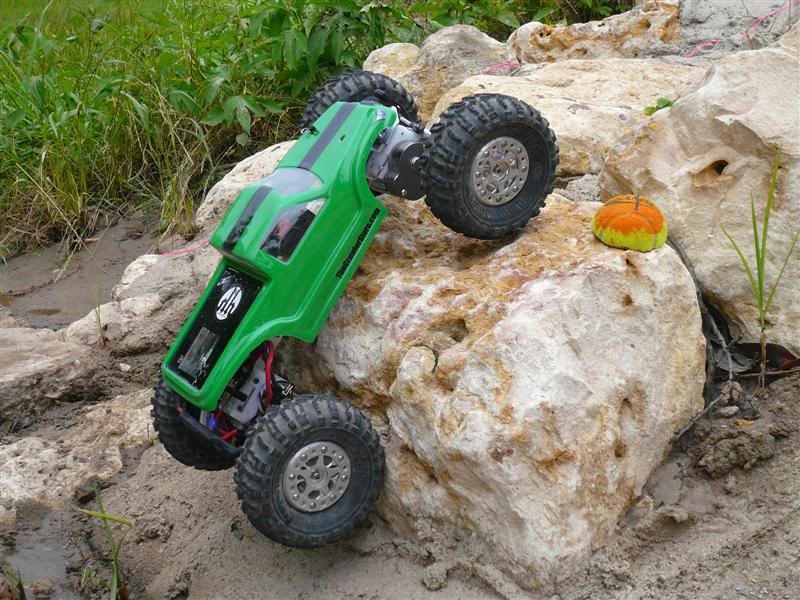  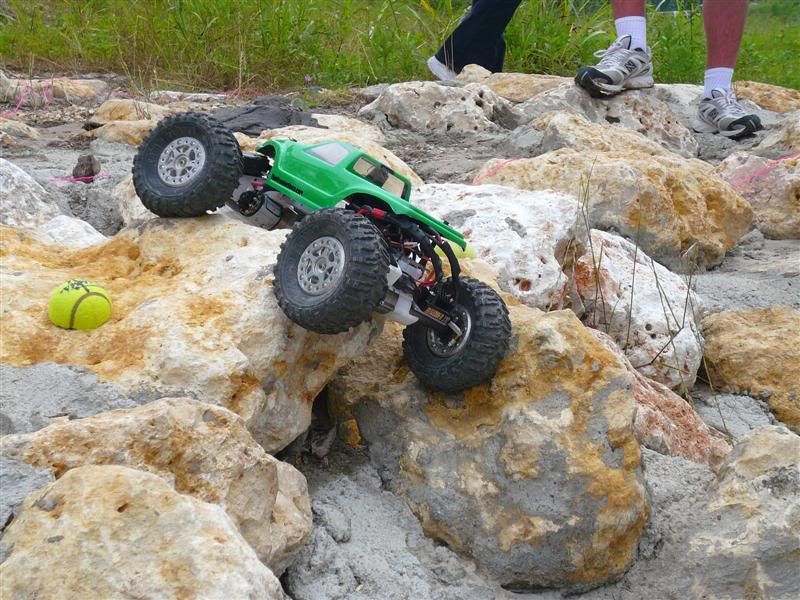 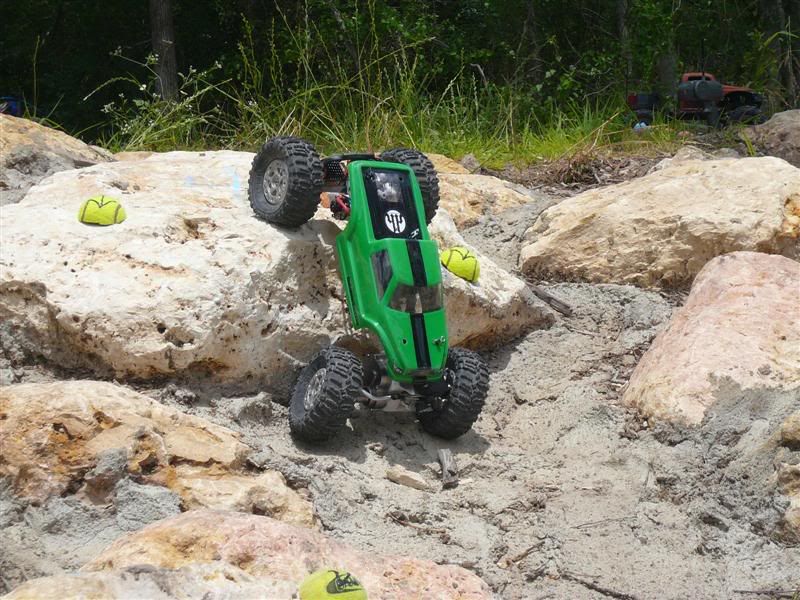 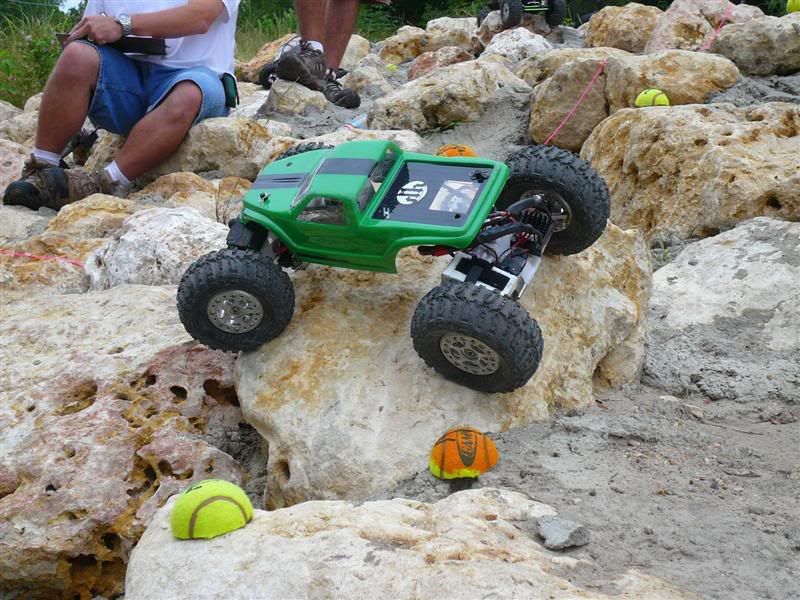 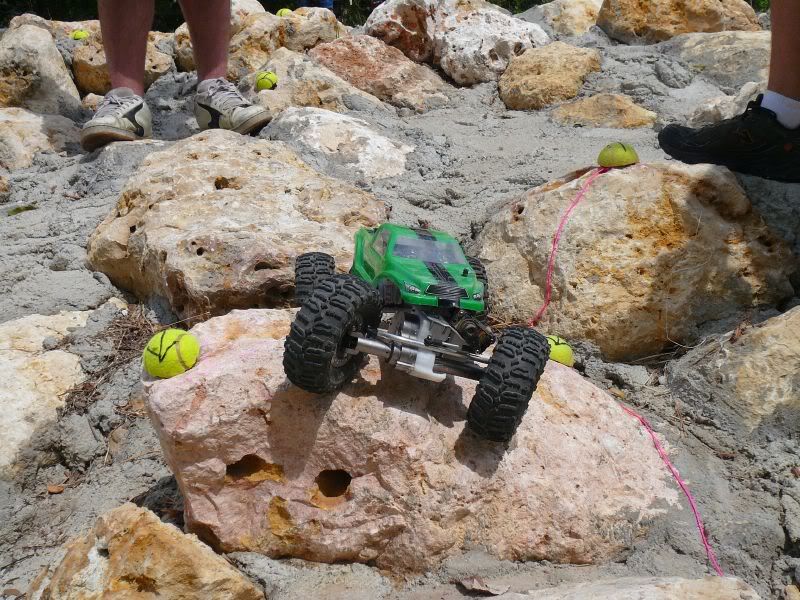 |
|
| |
 |
| |


 Linear Mode


