| |
| |||||||
 |
| | LinkBack | Thread Tools | Display Modes |
 09-19-2011, 04:20 PM
| #1 |
| Fan of wheelspeed Join Date: Jun 2011 Location: Southern IN
Posts: 3,369
|
I started out with a flipped wheely king. I picked up a VXL 3S b/l setup from dkchance along with it. 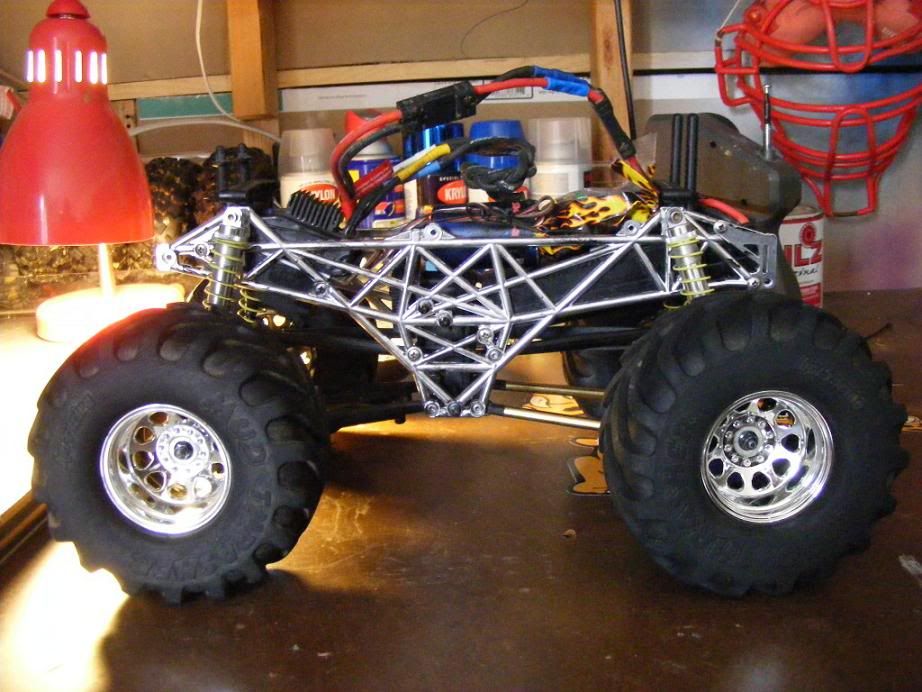 Yeah, I had it all cleaned, stripped and mocked up ready to go. I got my brass front links stripped and polished up to a golden luster to go with the color scheme I'm shooting for. I made rear lockouts from PVC. There is to much resistance in the steering for any servos to work. Everything was bending and the wheels weren't turning, so I made new steering linkage from cutting board and used a metal link from a donor. 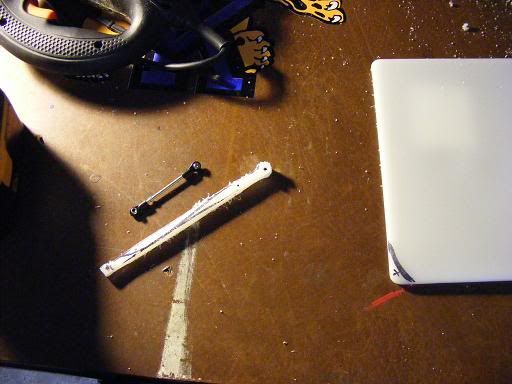 It still had to much flex and would just barely move the wheels. So I tore it all apart. I drew the game plan for the lower chassis. I used the WK wheel/tire setup for clearance. 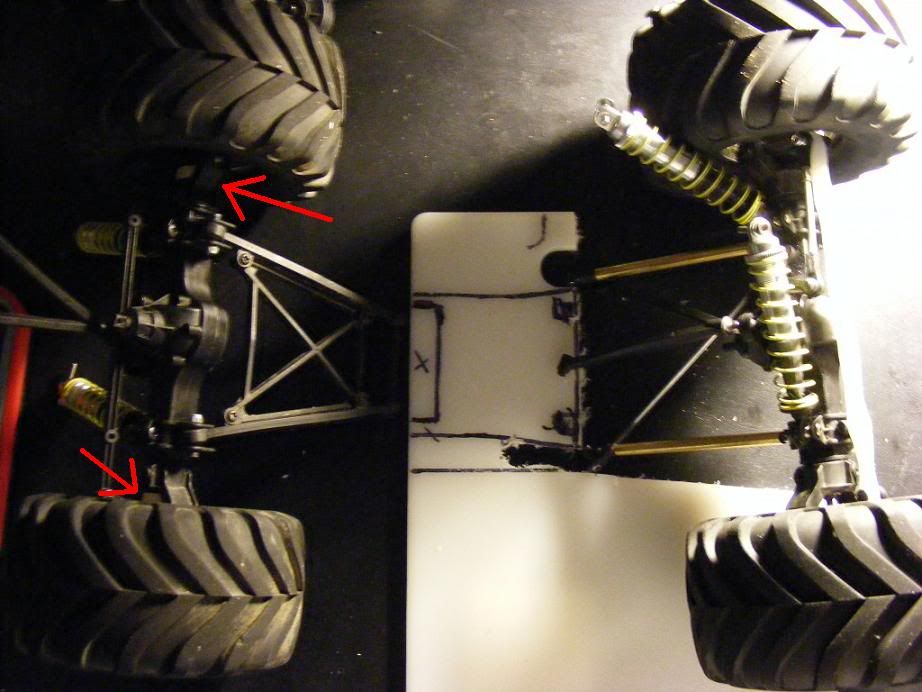 Here is the finished mock up for the lower chassis. 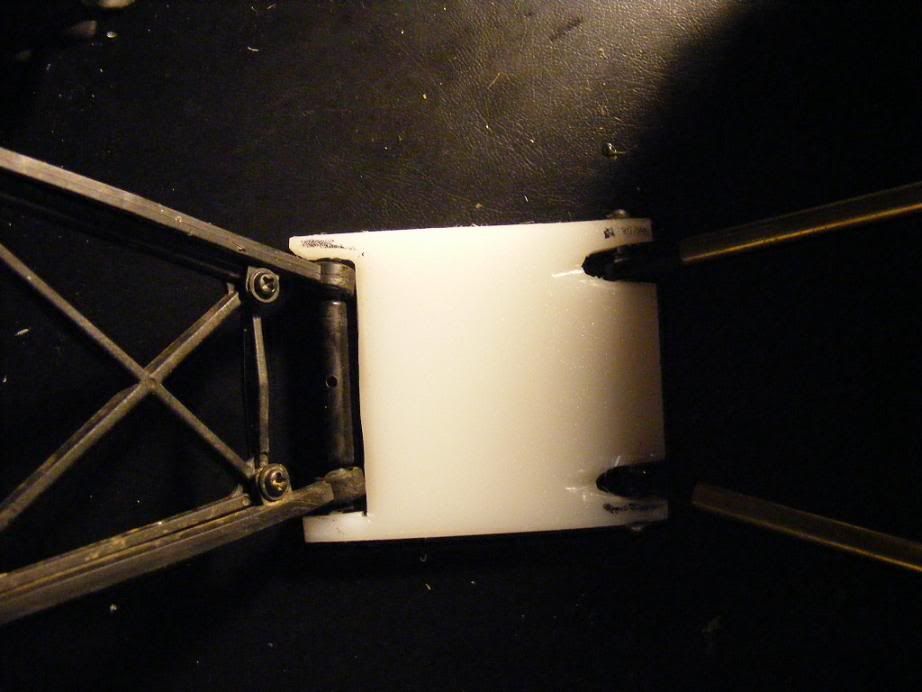 I've got some 2.2 Sand Paws comin as soon as dude ships em out. My alloy gears should be in today or tommorow for the wk trans, and my driveshafts are comin soon too. I started this out as being a scale attempt for the "Money Pit" racer I remembered as a kid. It'll still be named the Money Pit, but It's going to be a full on custom chassis in the end....I hope, lol. I picked up a template for the chassis and servo mount on here, so that's next on the list. |

|  |
| Sponsored Links | |
| | |
|
09-20-2011, 08:00 AM
| #2 |
| Fan of wheelspeed Join Date: Jun 2011 Location: Southern IN
Posts: 3,369
|
i worked on the steering and servo mount last night and mocked up the upper chassis as well. I used a peice of aluminum that's almost as thick as a license plate and cut out the template I got from Harley. After getting the bends and all right, I went ahead and mounted up my upper link as well because the screw to install it is behind the new location for the servo. I then added a little two sided tape to the bottom of the servo, and made some mounts for it out of cutting board. I had to put the servo over the diff housing due to the location of my shocks. 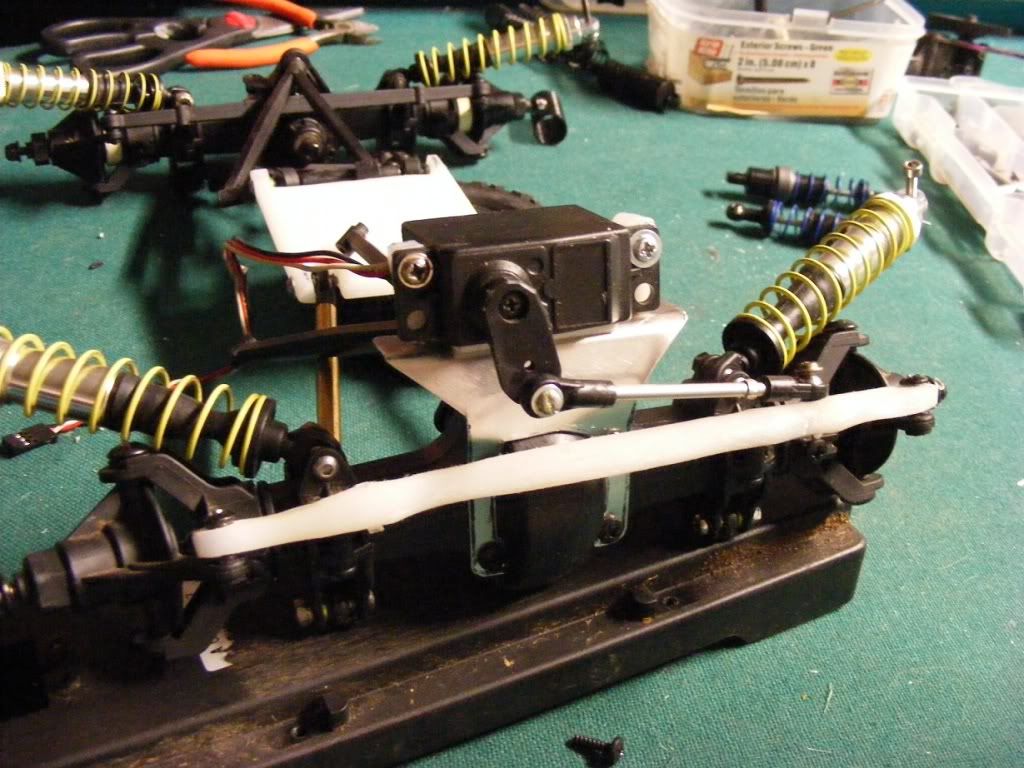 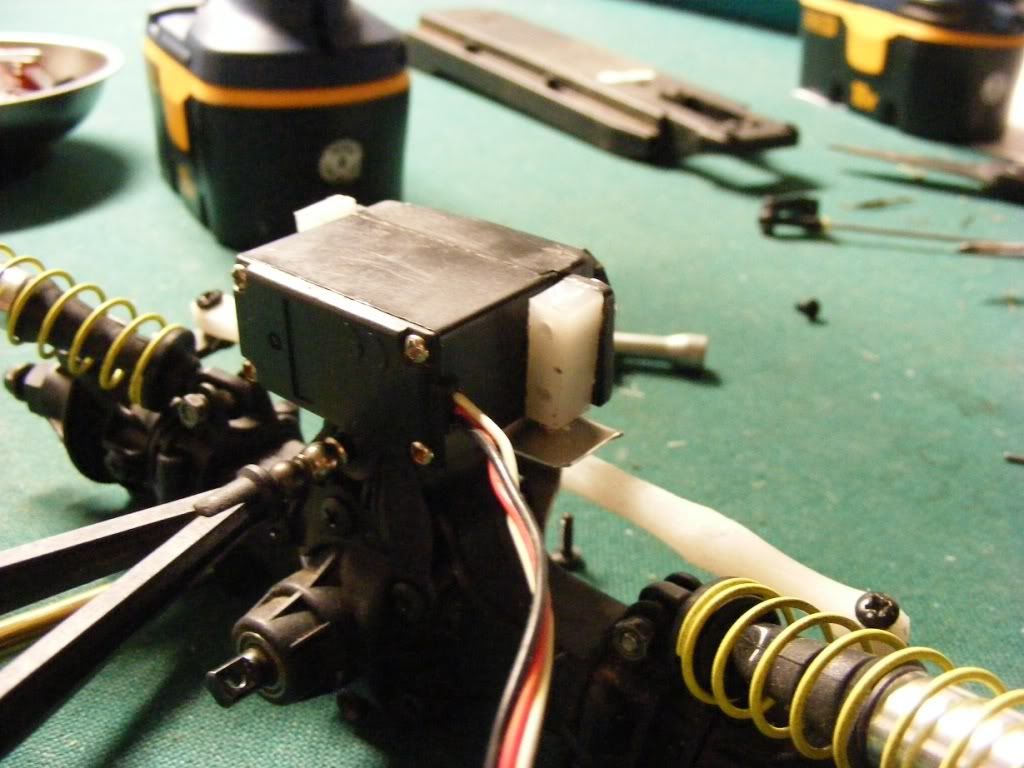 I'm sitting at about a 13" w.b. and without tires and around 1.5" sprung ground clearance. I figure at full droop I should be at about 1-1.5" or so. 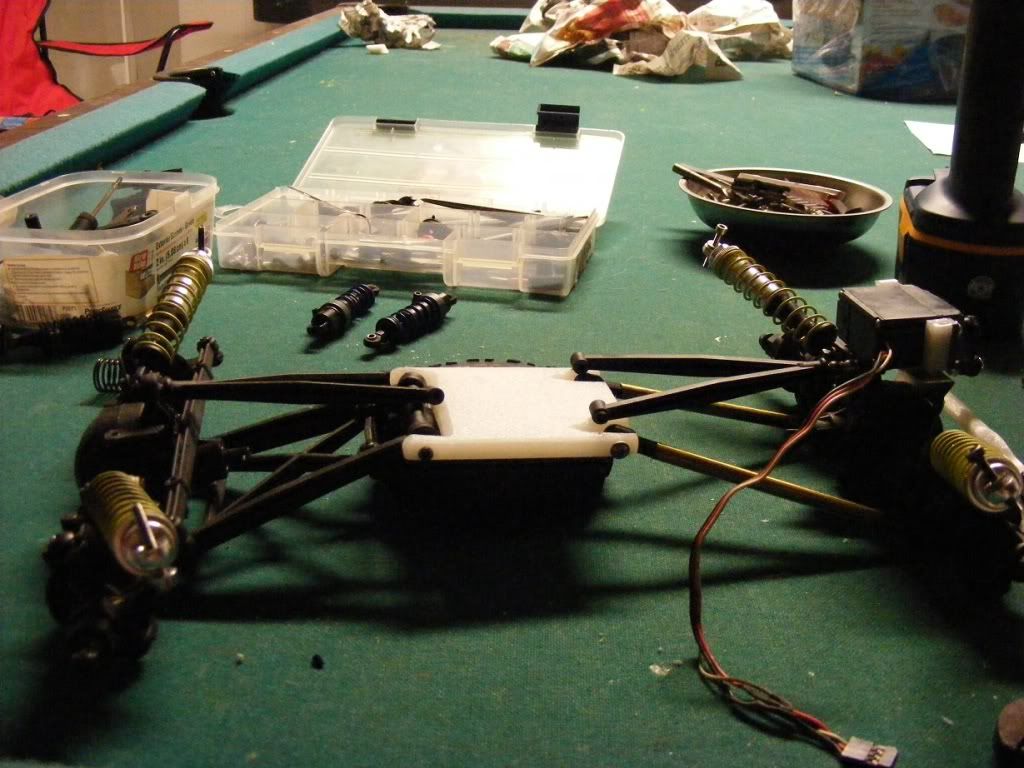 The tough part is going to be mounting the trans and upper chassis. I have to mount the trans in the area traced on my lower chassis. So I'll trim that out with my spiral saw, put some upright supports on either side of it so they in turn tie in with the U/C as well. 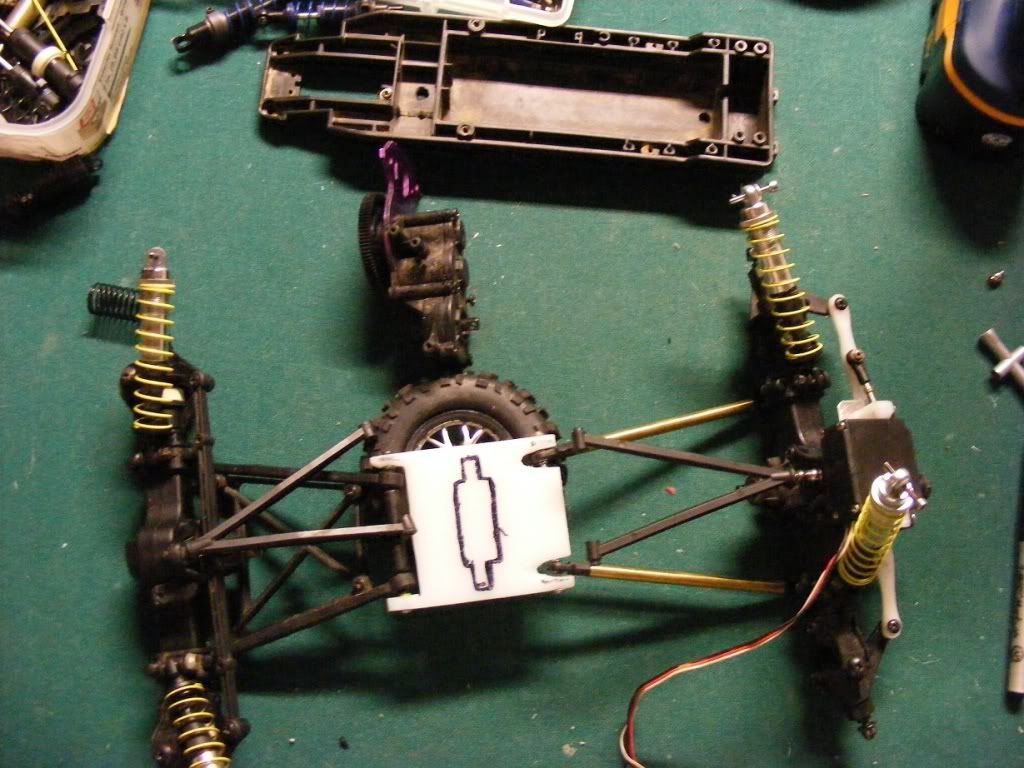 I'm using a old Pede tray as my U/C because it has a battery tray already and its shifted towards the front as well. This will help with my weight distribution and it also gives me somewhere to mount my electronics and shocks with almost infinite hole positions for angle adjustment. I'll probably trim out a section from the front of the pede chassis (what will then be the back of the rig) to allow the motor to set in place. I have to trim it all out so it sets as low as possible to achieve the lowest c.o.g. possible for this setup. Now the question is, what do I use for yokes to match up with the WK trans? I'm figuring on T-Maxx shafts. Any help would be greatly appreciated. Last edited by Hoosierdady; 09-20-2011 at 12:44 PM. |
|
| |
|
09-21-2011, 07:37 AM
| #3 |
| Fan of wheelspeed Join Date: Jun 2011 Location: Southern IN
Posts: 3,369
|
It's starting to take shape. I don't however like the overall shape it has right now, and I'm not really sure what I'm gonna do about it. I'll probably keep on track and see what it turns out to look like. I have a chassis design I like, and I may use these side peices as a template for my holes on the new chassis, who knows. But enough talk, here it is.   Inside view of the trans/motor mount. I'm trying to keep the cog as low as possible. With the width I have now I can trim the excess edges off the Pede chassis and just utilize the battery tray. It all measures up and I think it's going to turn out right as far as the geometry of the links and shafts. But I need to keep apearance in mind while I'm designing these side plates. I Think I may just go pick up a new cutting board from Walmart. I kinda like this chassis design, but where the heck do I put the battery?  |
|
| |
|
09-21-2011, 10:34 AM
| #4 |
| Newbie Join Date: Aug 2010 Location: Worcester
Posts: 27
|
That's a crawler chassis design, so ideally the batteries would go on the axles for lower COG. What you can do is redesign the template a bit to accomodate a space for the battery. Just a suggestion.
|
|
| |
|
09-21-2011, 01:02 PM
| #5 | |
| Fan of wheelspeed Join Date: Jun 2011 Location: Southern IN
Posts: 3,369
| Quote:
| |
|
| |
|
09-23-2011, 07:24 AM
| #6 |
| Fan of wheelspeed Join Date: Jun 2011 Location: Southern IN
Posts: 3,369
|
Here's the new chassis. The w.b. is right at 12". It looks and works alot better. It's only RWD as of now because I still haven't got my drive shafts and the extra yokes I ordered aren't in yet for me to make a front shaft. The front diff is locked, the rear is open. I like the new look WAY better than the old chassis, but I still think I want a body for it. If nothing else, maybe it'll help protect some of the parts from the elements. But enough talk, here she is. This little booger is pretty dang quick for just being RWD. I think the battery pack almost out weights the entire rig. 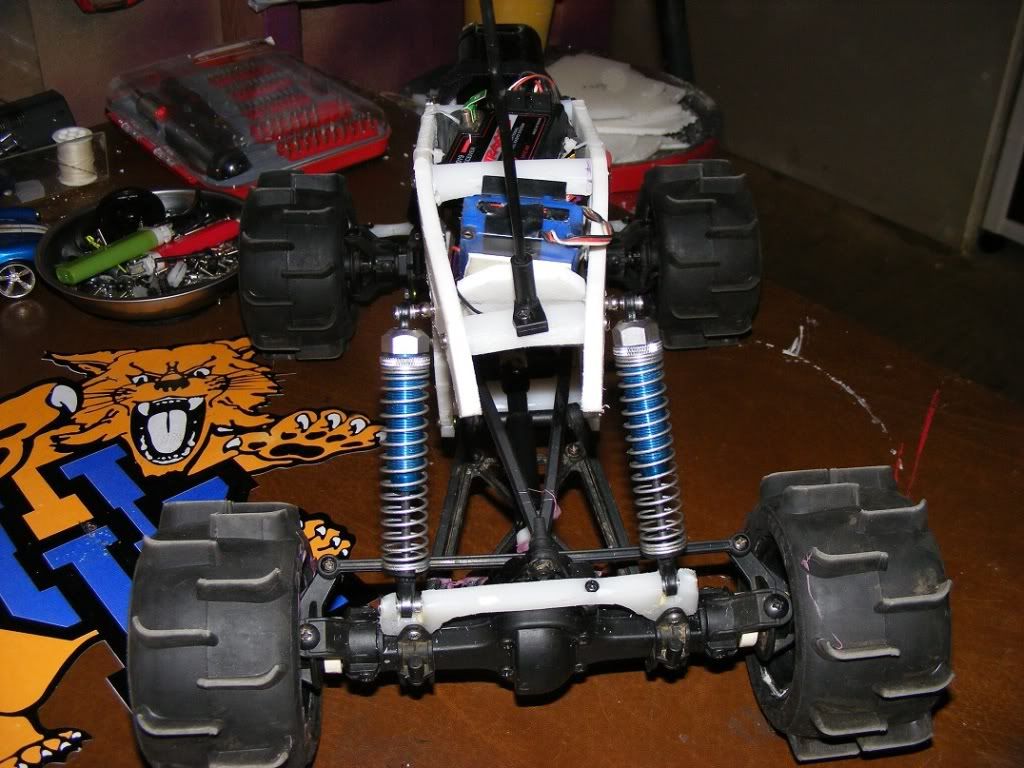 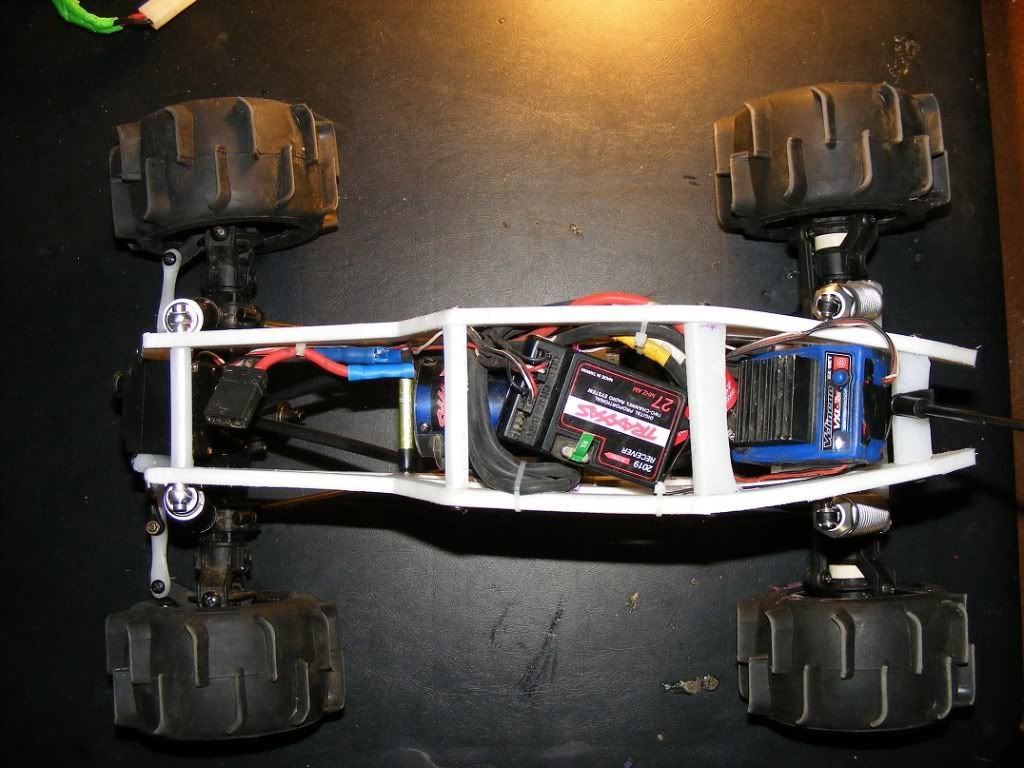 I saved the best pics for last. Here's what she looks like now. Almost like a extreme make over, FOFF edition. Without batt pack 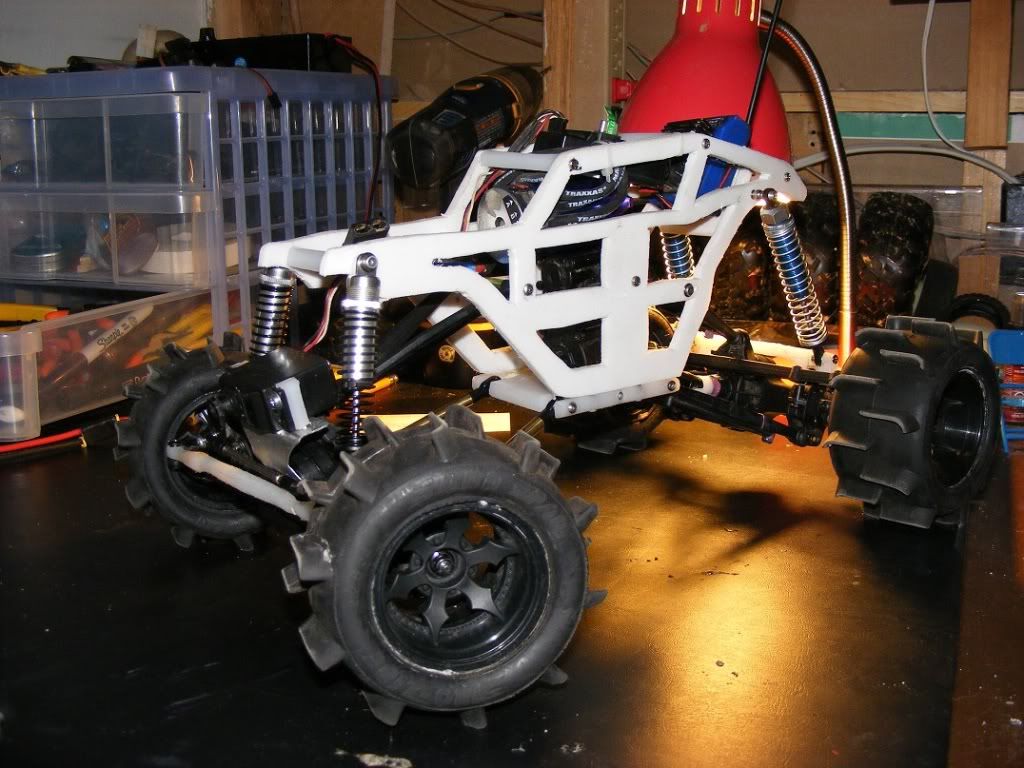 Heres one with it installed. 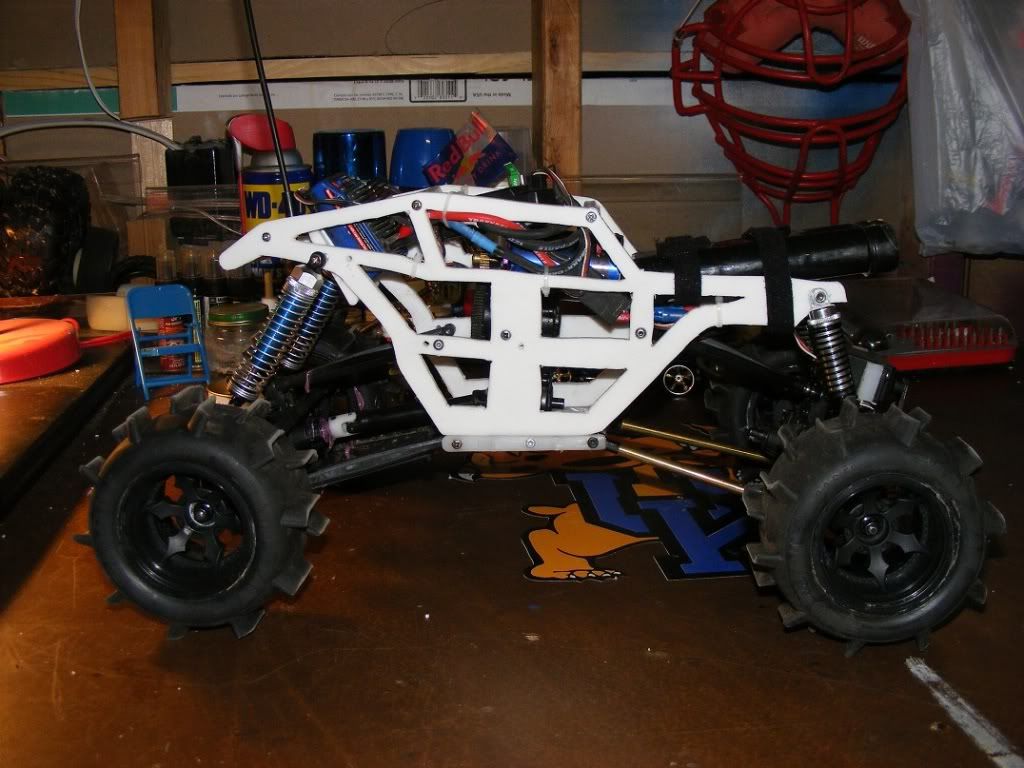 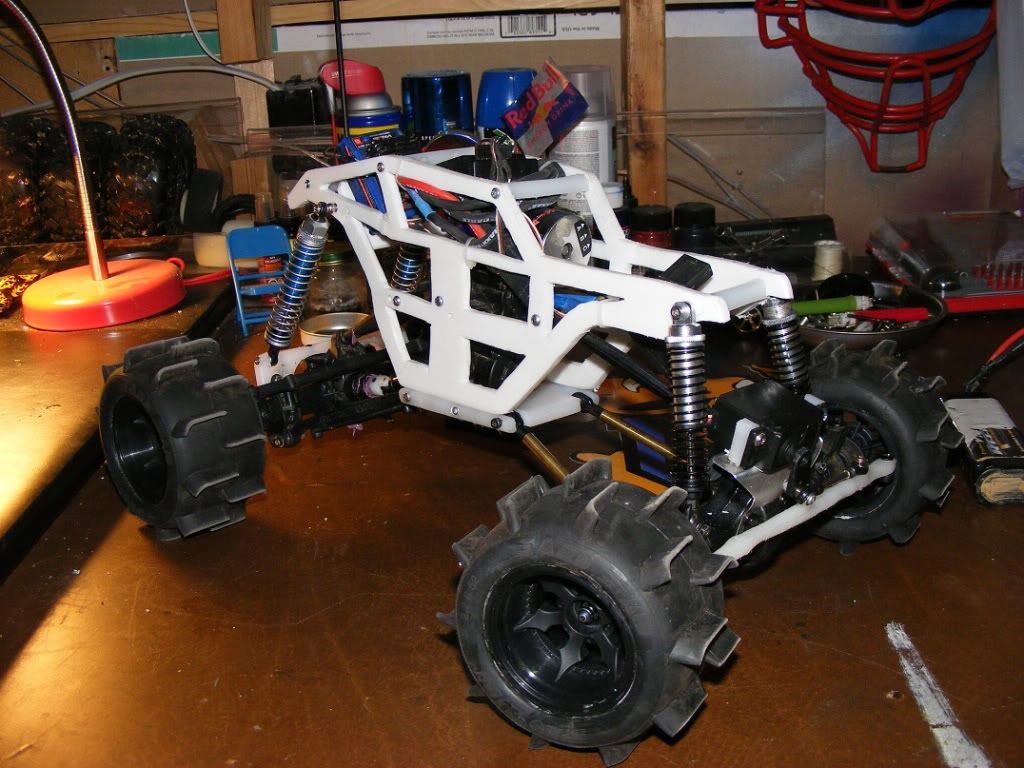 So what do you think? I'm working on getting some shorter shocks to drop it down a little more. But overall it seems fast. I've yet to get it outside and open it up though. Last edited by Hoosierdady; 09-23-2011 at 08:55 AM. |
|
| |
|
09-23-2011, 09:52 AM
| #7 |
| Rock Crawler   Join Date: Feb 2006 Location: sunny acres
Posts: 621
|
Looks like it should be fairly light. Personally I'd concentrate on getting everything a lot lower, electronics, ride height etc.
|
|
| |
|
09-23-2011, 12:06 PM
| #8 |
| Fan of wheelspeed Join Date: Jun 2011 Location: Southern IN
Posts: 3,369
|
I'm limited on lowering the elec. The only option I have is to clock the motor mount and widen the chassis. This is the first custom chassis I've ever done front to rear. Alot of trial and error. I've found some shorter shocks, that'll lower ride height by almost a inch. The main thing is the batt pack. The NIHM is so big and takes up to much space. The paperwork says it'll handle a little over 11v on lipo. With that being said, I have a couple questions. 1) Will my 3S VXL ESC handle a 9.6v 2000 mah pack? 2) Any recomendations as to what pinion/gear I should be running? Right now I have a 90/18 setup I think. It'll be doing more mudding, loose gravel and snow more than sand. |
|
| |
|
09-23-2011, 01:51 PM
| #9 | |
| Rock Crawler Join Date: Feb 2006 Location: sunny acres
Posts: 621
| Quote:
Shorter shocks will help or you can limit the ones you have internally with fuel tubing. Try laying them down some more. 3S VXL will handle that 9.6 no problem. I run 56/14 32p with a Reedy 3200 on 3s w/o heat issues. | |
|
| |
|
09-23-2011, 03:09 PM
| #10 | |
| Fan of wheelspeed Join Date: Jun 2011 Location: Southern IN
Posts: 3,369
| Quote:
| |
|
| |
|
09-24-2011, 06:32 AM
| #11 |
| Fan of wheelspeed Join Date: Jun 2011 Location: Southern IN
Posts: 3,369
|
I moved the rear link so it was on a more horizontal plane with the ground, changed out the shocks on the front and rear and moved my front links about a 1/4" further out. It drop my ground clearance to 2" and 1" on droop. 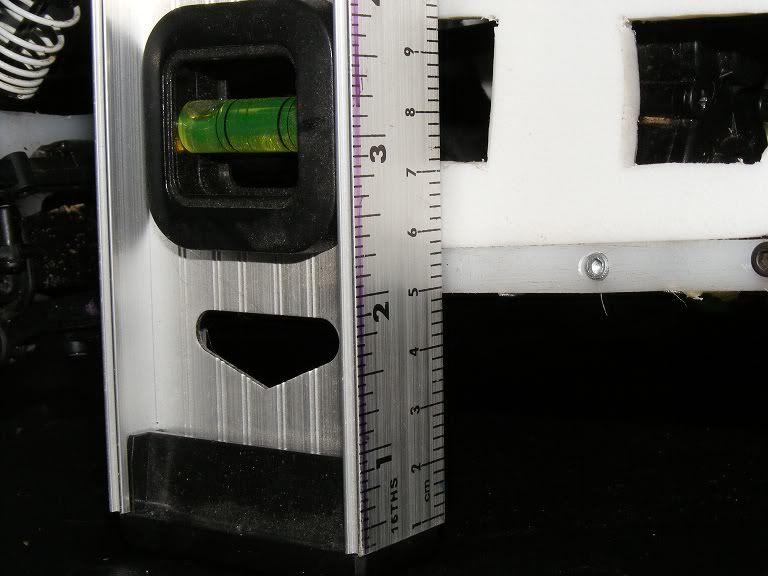 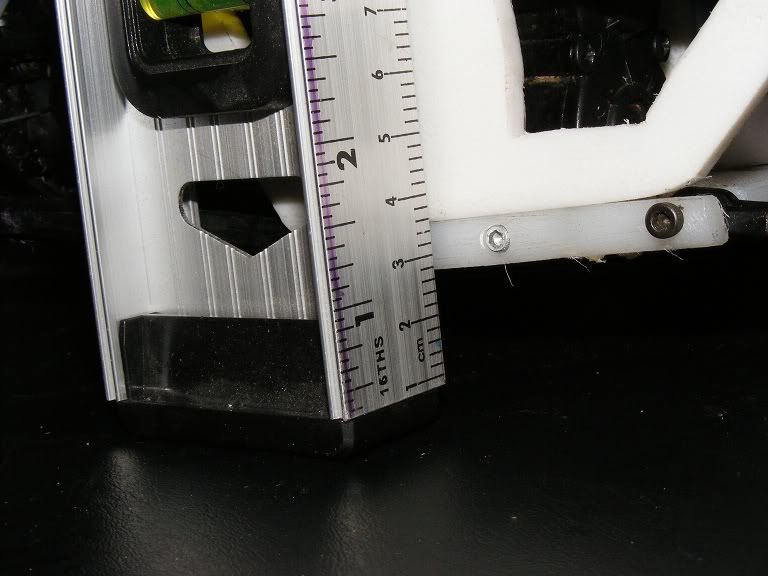 I drove it around for a little tonight, and it seems to hook up better and handle alot better. Can't wait to see what it does with 4wd. But here's a after shot.  and with the temporary body for bashing around in the mud and what not. Until I get a better one it's really all I got. 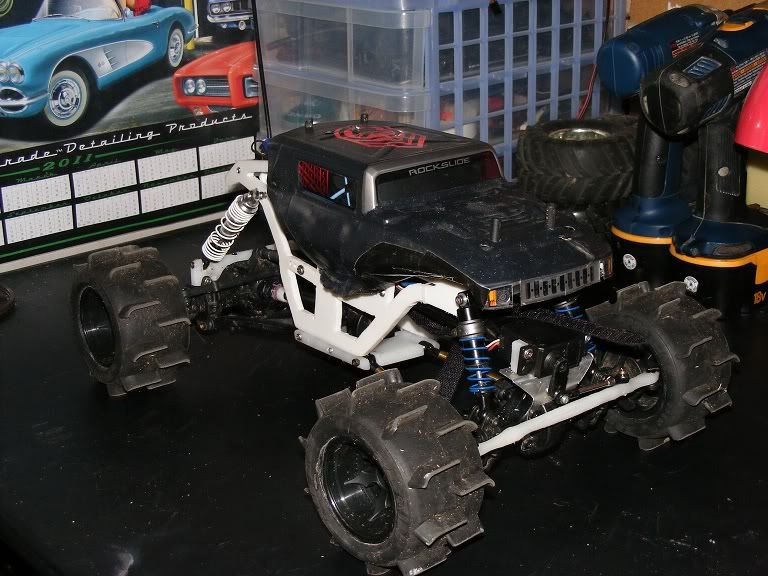 I had to see what it looked like with my scale Jeep. 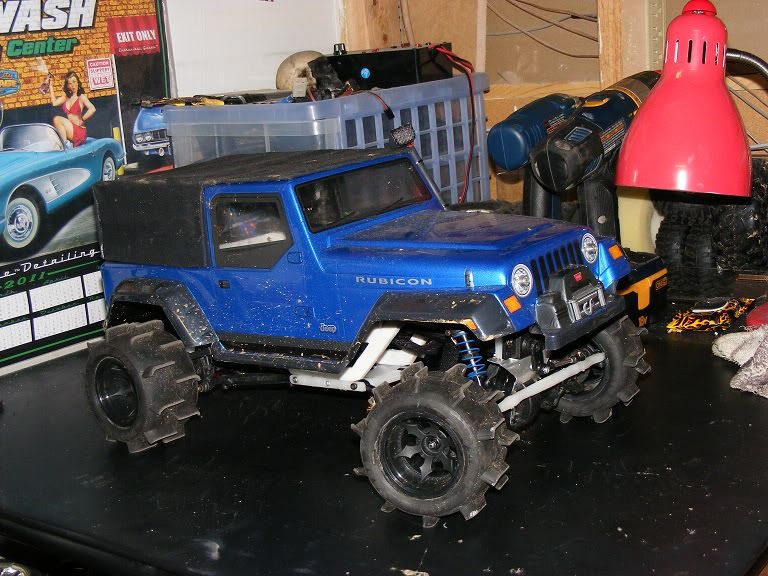 |
|
| |
|
09-24-2011, 08:23 AM
| #12 |
| Rock Crawler Join Date: Feb 2006 Location: sunny acres
Posts: 621
|
Hell's yeah! Way better.  |
|
| |
|
09-24-2011, 09:28 AM
| #13 | |
| Fan of wheelspeed Join Date: Jun 2011 Location: Southern IN
Posts: 3,369
| Quote:
| |
|
| |
|
09-24-2011, 10:36 AM
| #14 |
| Rock Crawler Join Date: Feb 2006 Location: sunny acres
Posts: 621
|
So far so good. I'd like to go Maxx shaft in the front as well but there's no room.
|
|
| |
|
09-24-2011, 03:46 PM
| #15 | |
| Fan of wheelspeed Join Date: Jun 2011 Location: Southern IN
Posts: 3,369
| Quote:
| |
|
| |
|
09-29-2011, 09:41 PM
| #16 |
| Fan of wheelspeed Join Date: Jun 2011 Location: Southern IN
Posts: 3,369
| |
|
| |
|
10-08-2011, 07:14 AM
| #17 |
| Fan of wheelspeed Join Date: Jun 2011 Location: Southern IN
Posts: 3,369
|
I managed to break the rear lower chassis on a jump the other day, broke two teeth off in the rear diff, and then after fixing the rear chassis I snapped the front portion of the chassis in two by hitting a fire pit upon take off. So a new lower chassis is in order. I'm thinking about making it wider to accomodate turning the motor/trans on it's side, and moving the battery to the other side to offset the weight. I figure this will get my electronics and weight as low as possible. I was thinking something like a Rustler/Bandit lower chassis plate. Any ideas are welcome. Here's a sneak peak of the new body I just got from Nate over on RCBashers. My wife and kids are trying to get me to do flower power, Herbie the love bug...some ole' hippie type sh!t....it aint happenin. So far it has ghost flames and it's getting the Metal Mulisha Sargeant emblem on the roof. I have some Pactra Chamelion paint coming soon.  |
|
| |
|
10-08-2011, 09:17 AM
| #18 |
| Quarry Creeper Join Date: Mar 2004 Location: Central NY
Posts: 387
|
That bug body looks nearly perfect. |
|
| |
|
10-08-2011, 07:21 PM
| #19 |
| Rock Stacker Join Date: Jun 2011 Location: In the Reptile Shack
Posts: 82
|
Definently put the tranny on its side... Also you might want to invest in a Stampede tranny or an ax10
|
|
| |
|
10-09-2011, 03:23 PM
| #20 |
| Fan of wheelspeed Join Date: Jun 2011 Location: Southern IN
Posts: 3,369
|
I've got a locked Pede tranny for it, but it still has the stock gears. I have to get some HD gears for it and the rear diff. I completely stripped out the rear diff today. It's toast. The front spins like crazy and the rear clicks and spins some. So I'm putting it up until I get my gears to keep from ruining the front diff. The shell is going to be Pactra Kryptonite Gold flip flop with ghost flames. I have a Metal Mulisha sargeant decal coming too. I'm going to put it on the roof and leave the reverse clear. I want to do the roof black and the rest Kryptonite. I'm still up in the air on that. One of my bigger problems is finding somewhere around where I live to run it in the sand and up hills. Right now it's seeing more dirt and gravel than anything. But heres some pics of the progress so far. 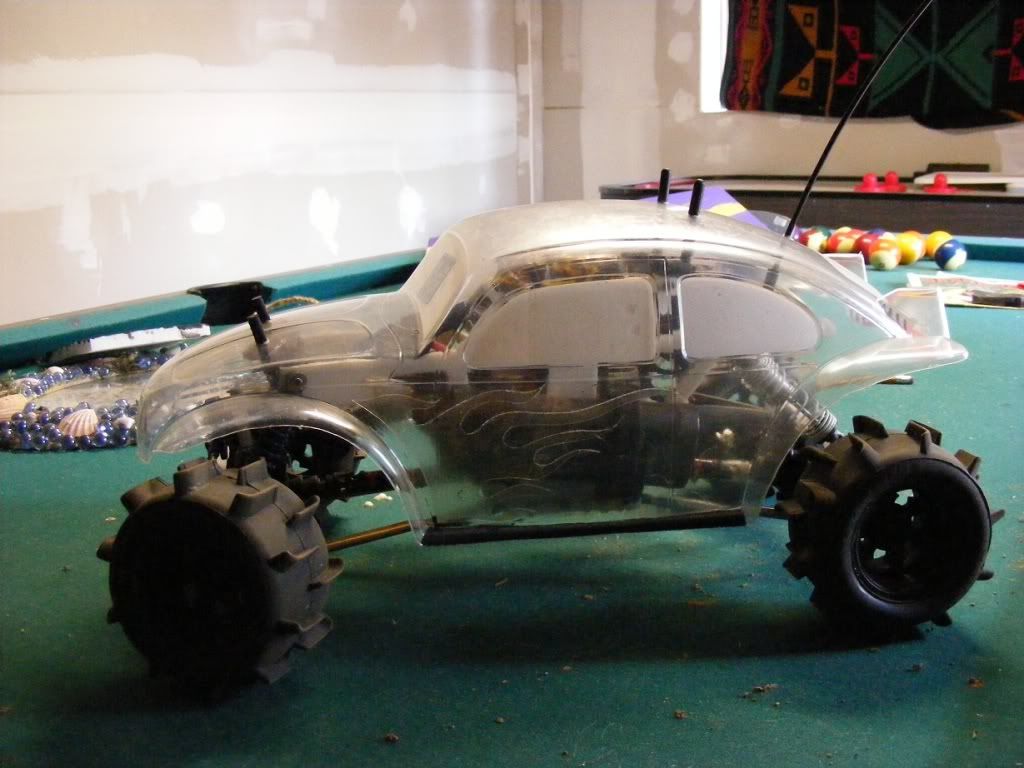 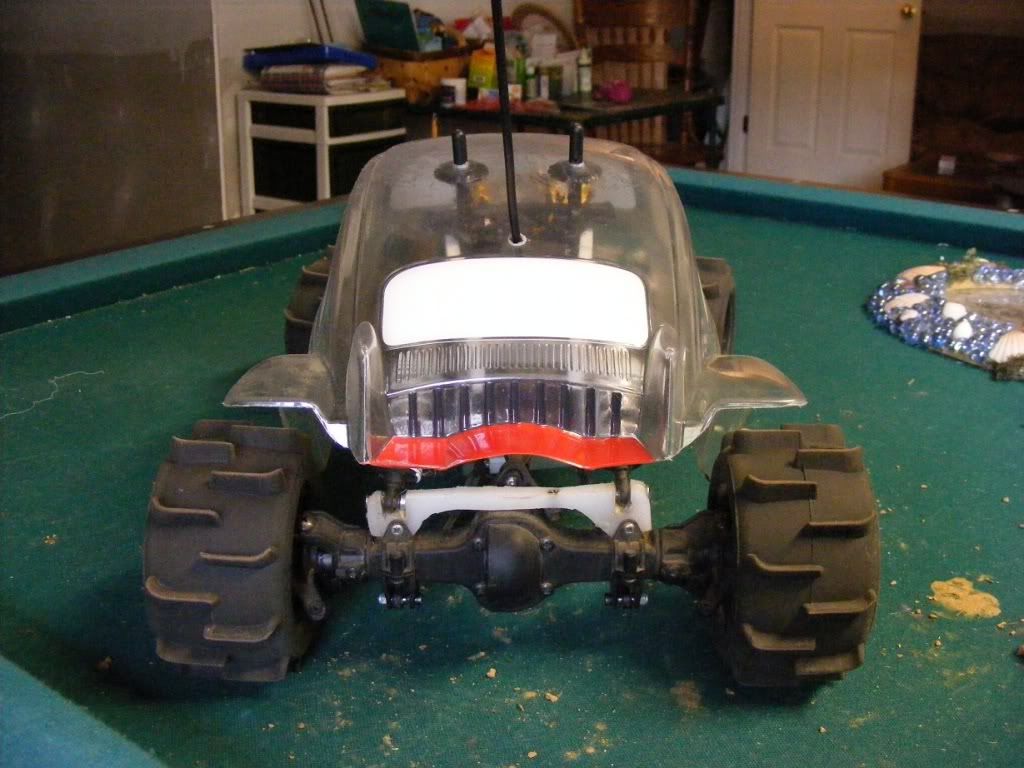 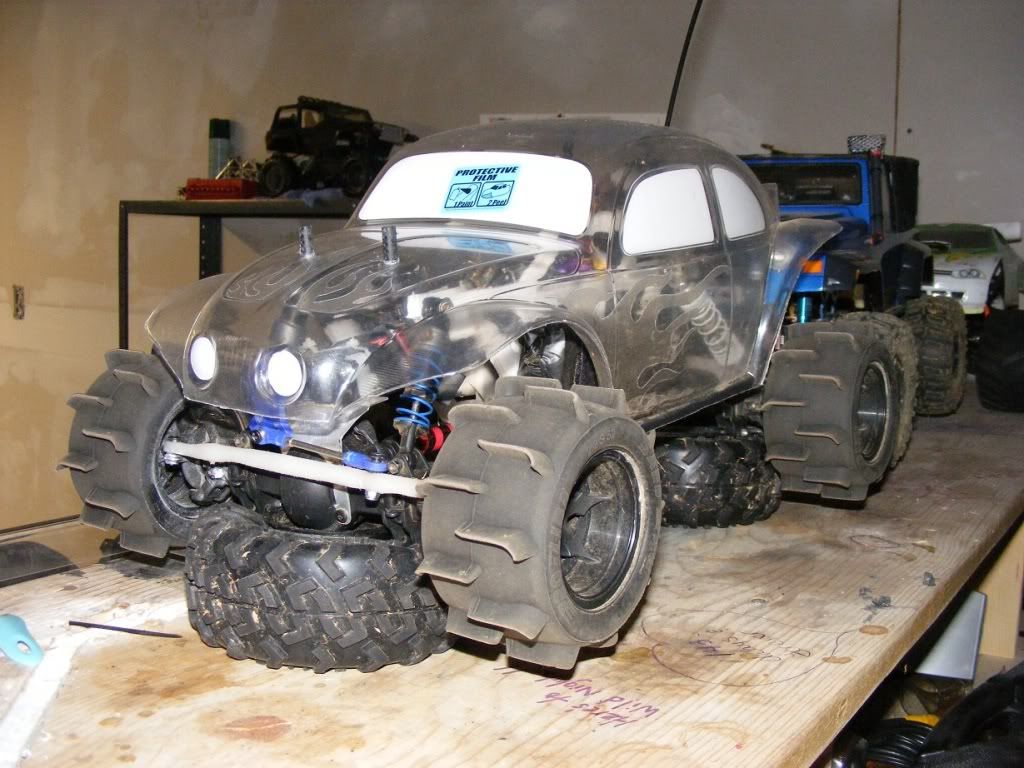 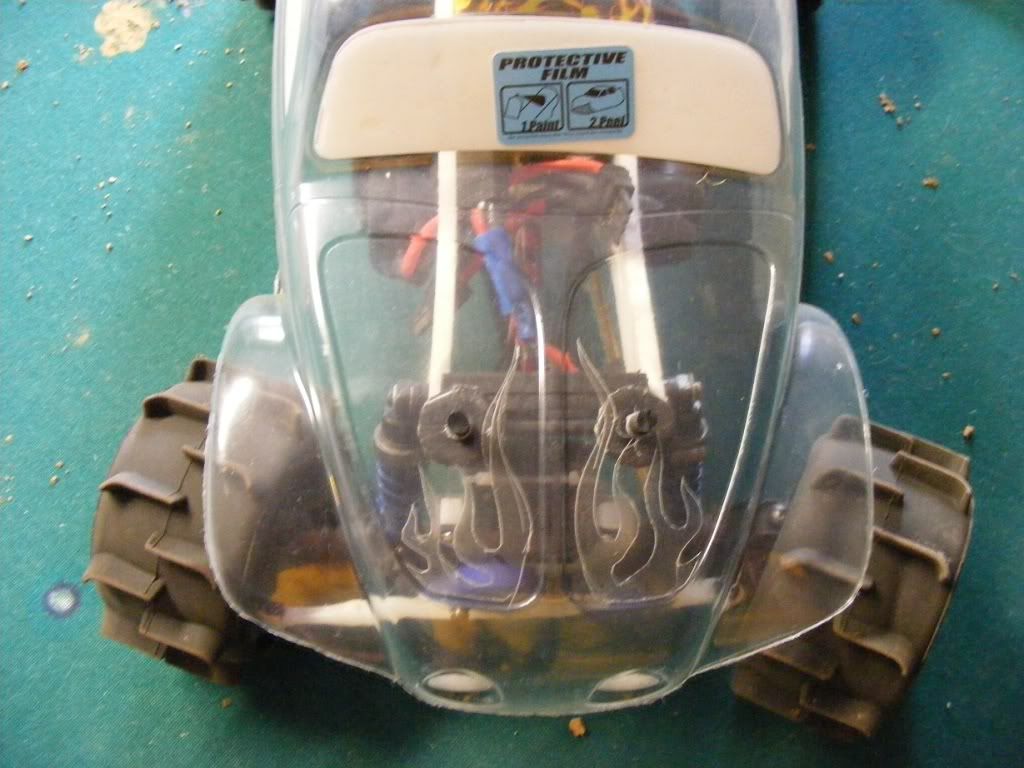 |
|
| |
|
| |


 Linear Mode


