| |
 04-30-2010, 12:29 AM
| #1 |
| Quarry Creeper Join Date: Dec 2007 Location: H.B.
Posts: 432
|
Another SoCal 1/6 Willys. I"m a ford guy so I'm going to change the grill to match the GPW and get rid of the Willys on the back. So I got a pretty good deal on a G.I. Joe Willys from the bay recently and got started working on it right away. With the donor rig in the background...  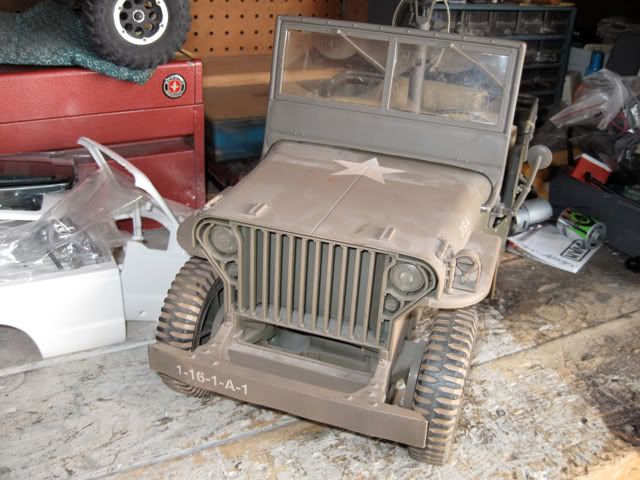 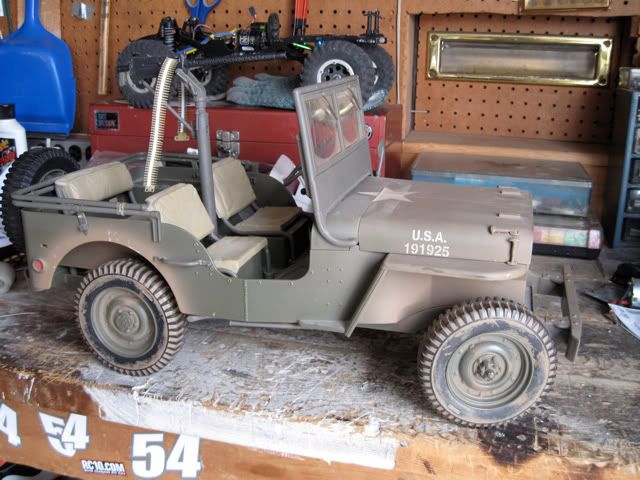 ___________ Tonight, I wanted to at least get the axles, links and shocks setup. I didn't do the best job taking progress pictures, but I'll post what I have. First off, I need to thank Chris (Durajeep) for the Joe (Nacho) who wasn't very please with the cluster fawk that is the work space we have. 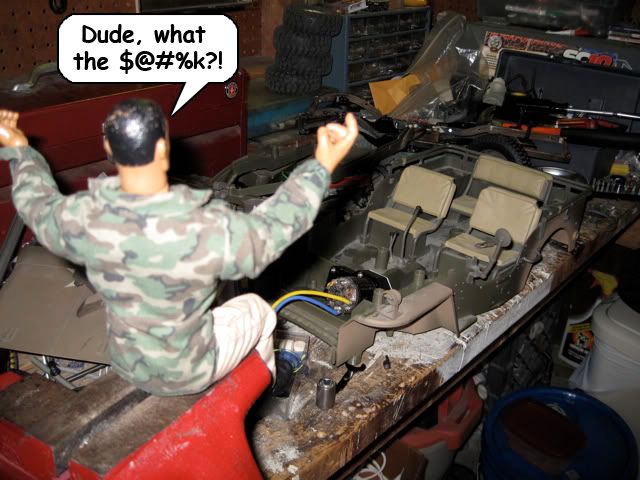 R2 with 55t. 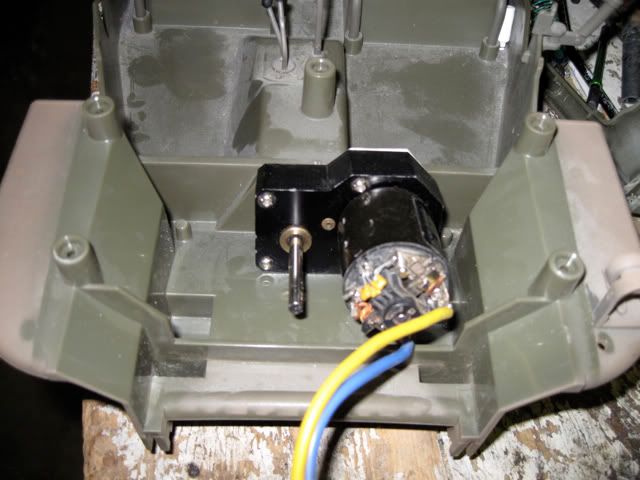 Nacho threw it on some "jack stands" put the narrowed pede wheels and Moabs on for mock up to set the ride height.  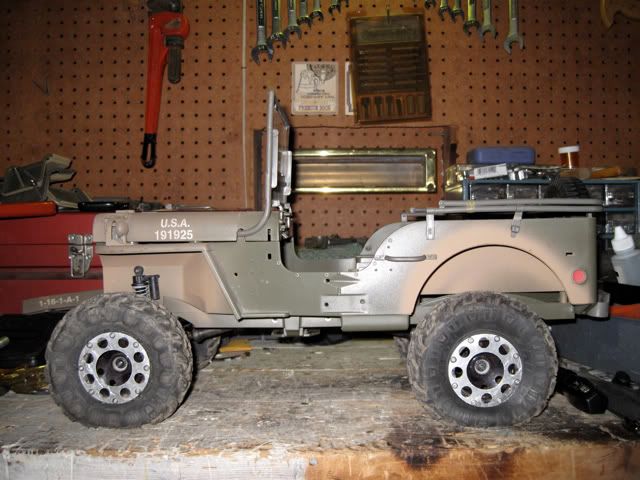 SCX shocks front and rear. 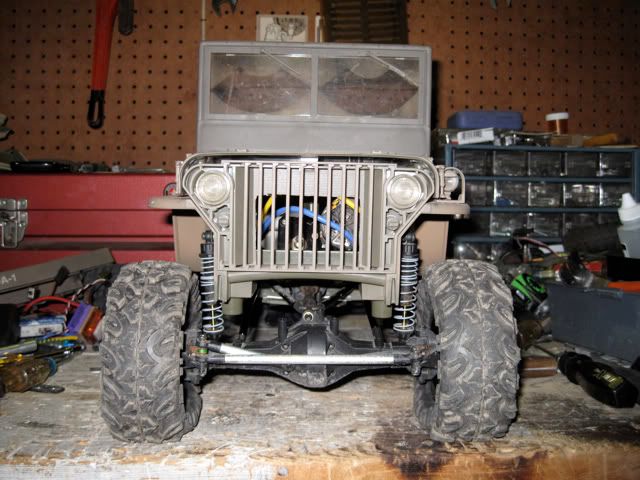 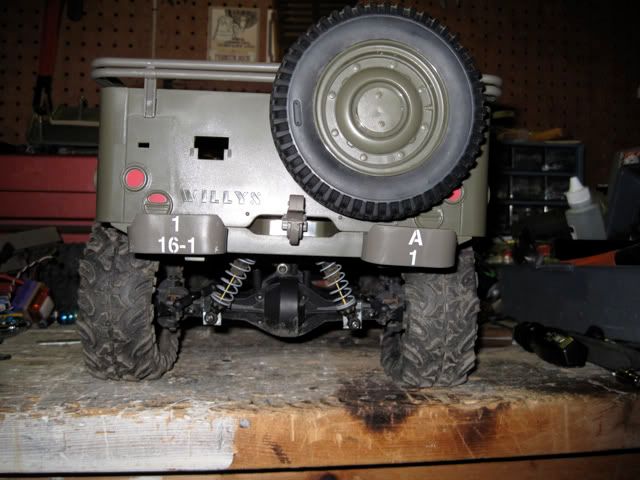 Used the very bottom part of a stock AX-10 side rail for the upper mount.  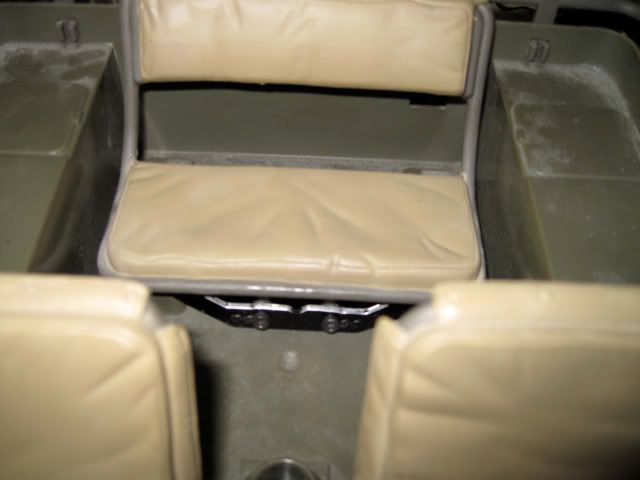 Link setup. We'll see if this works, or if I'll need to change it up at all. 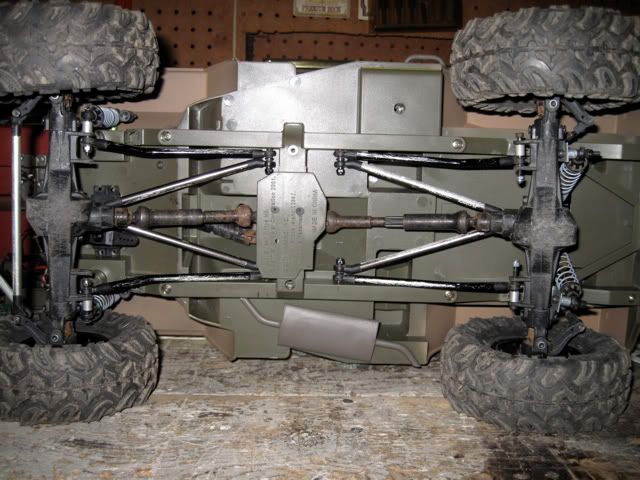 Axial trans as the t-case. 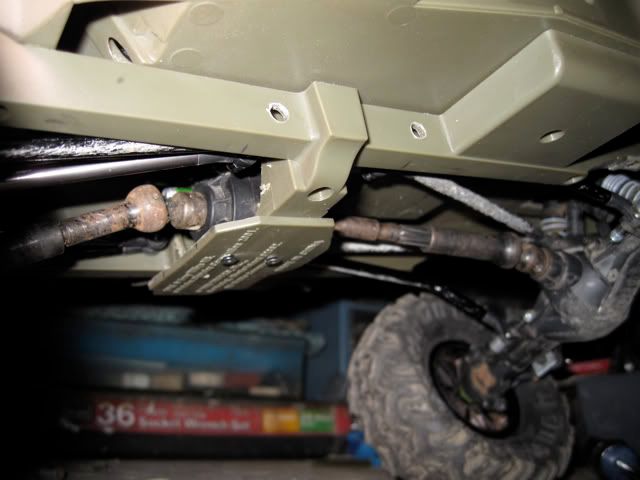 On to the mandatory flex shots. 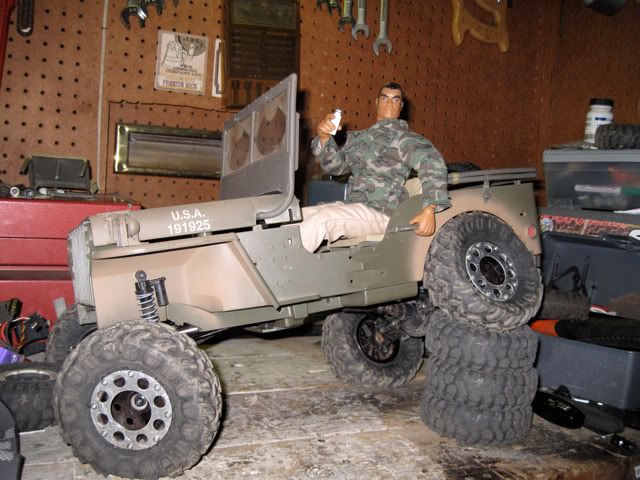 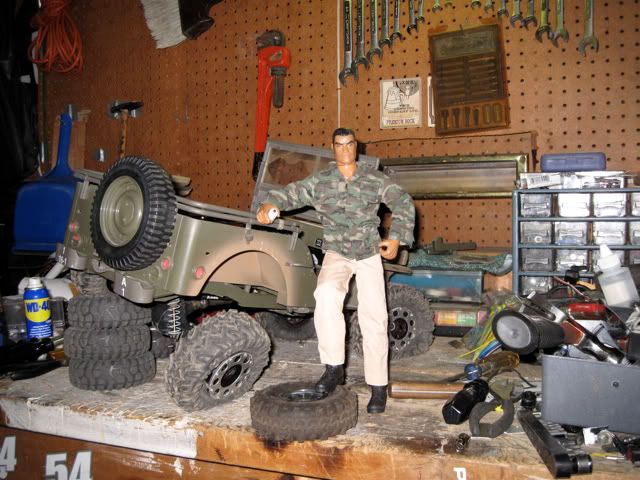 I don't have a servo hooked up yet, but I wanted to see how it went. 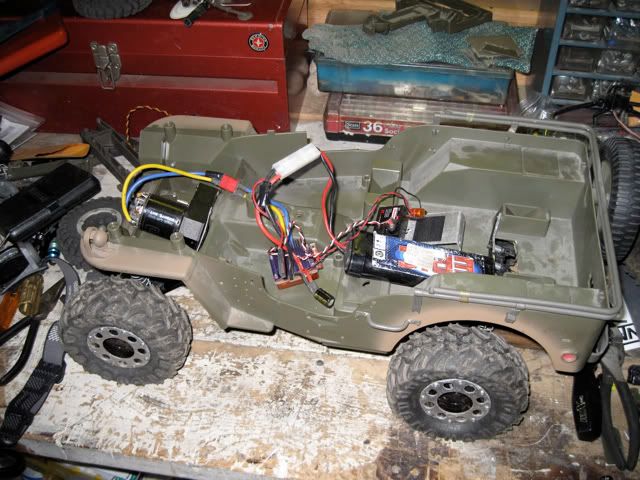 The R2 is fawking loud, so I'll probably get another axial for up front (Chris Next to the F-350. (HUGE) 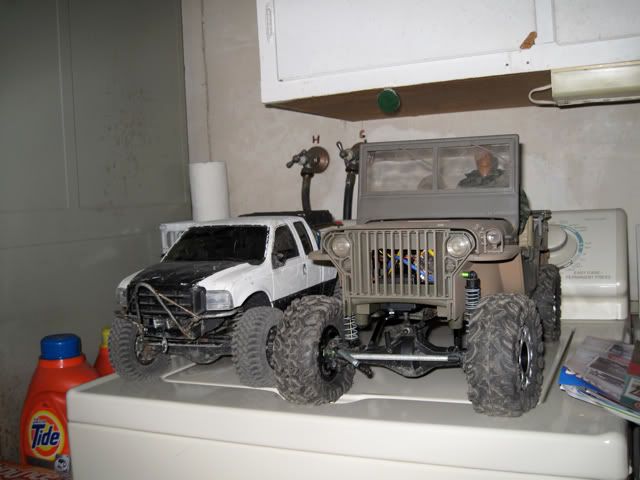 I either need to get some wideners for the axles, or trade these Axials for some WK axles. Hopefully I'll have some time this weekend to work on it some more. I'm going to be messing around in photoshop tonight to figure out a cage design. Last edited by FROADER; 04-30-2010 at 12:32 AM. |

|  |
| Sponsored Links | |
| | |
|
04-30-2010, 12:40 AM
| #2 |
| Newbie Join Date: Apr 2010 Location: Modesto
Posts: 29
|
two great lookin rigs... can't wait to see how the willy's turns out.
|
|
| |
|
05-01-2010, 02:06 AM
| #3 |
| Quarry Creeper Join Date: Dec 2007 Location: H.B.
Posts: 432
|
Thanks, msustp! Update for you. New wheels came in today! You'll see one in the pics. Well I hope this looks OK and that it's all straight, because I decided to bend some tube for the cage after going to the bar. Newcastle drafts are goood... :trink26: I'll have to check up on my work in the morning. I have pictures of almost everyone's Wil, Jeeps, and I didn't want to have the same cage as anyone. I messed around with it in photoshop last night and this is what I came up with. The main tube is 1/4" with the windshield and roof triangle bars being 3/16". I'm going to get some more 1/8" rod for the "gussets" and "oh shit" handles and so far I think I'm happy with it. Again, I'll need to check my work in the morning. The main pillar is B with halos going to the front and rear. Then A and C are supporting those. 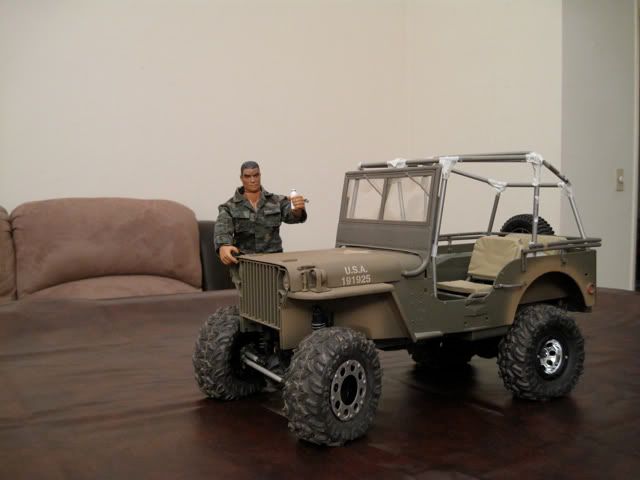 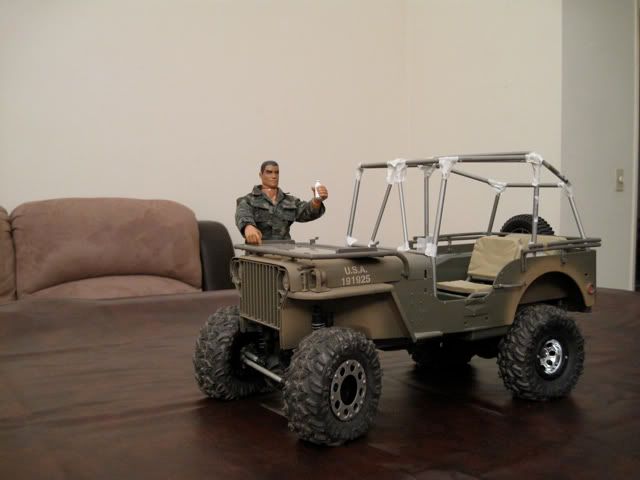  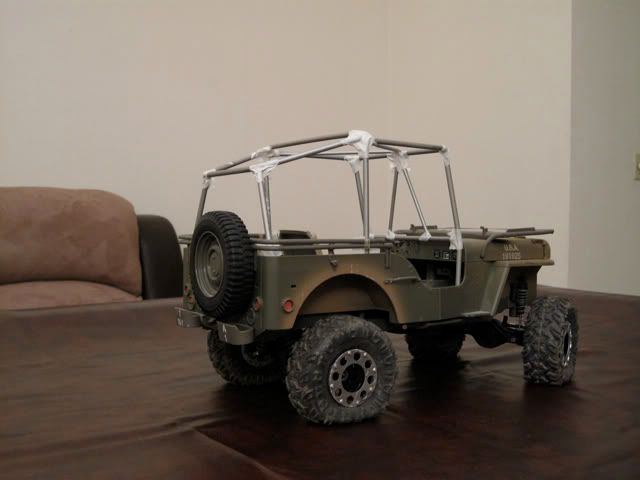 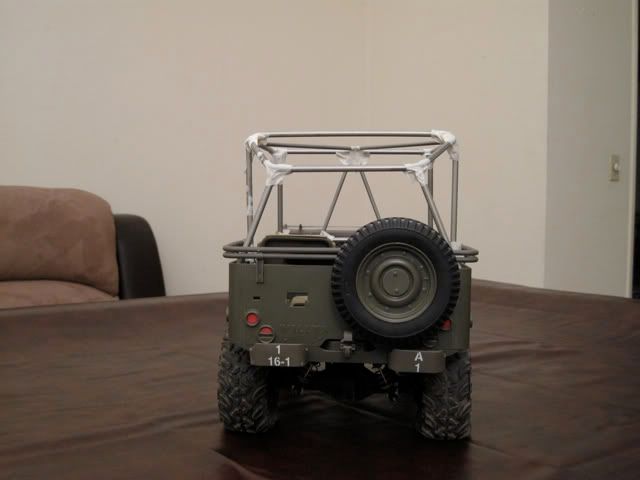 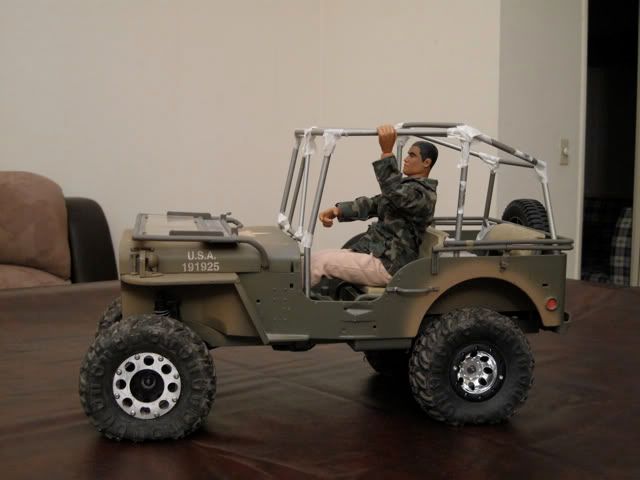 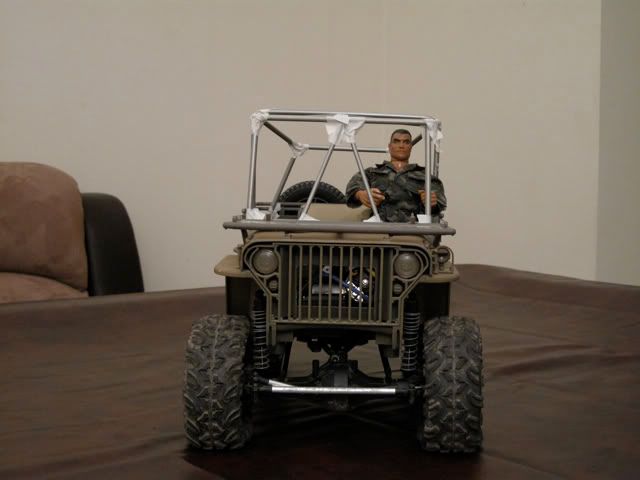 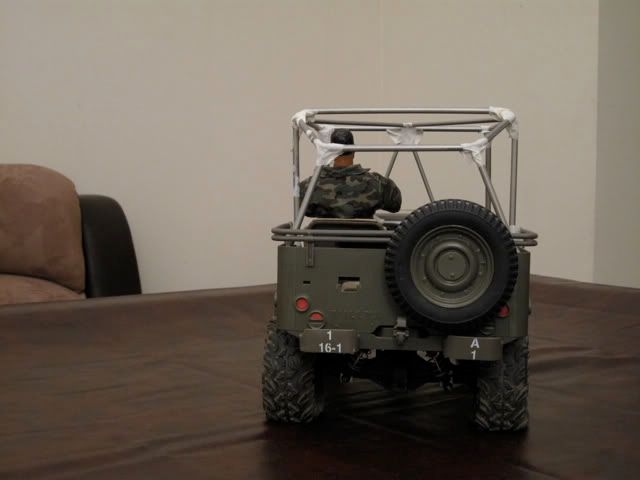 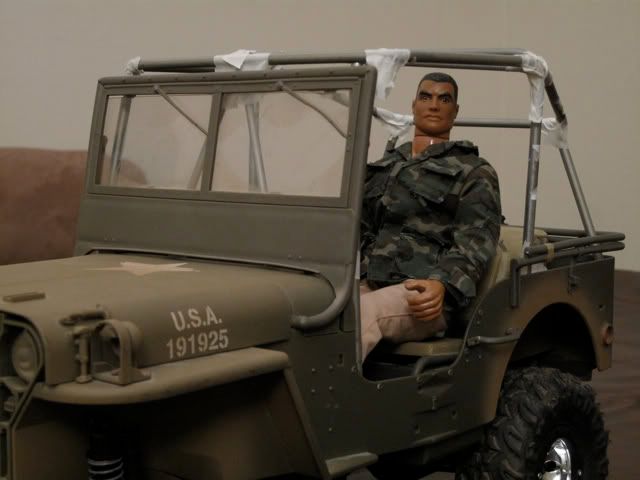  There are still a few things I need to finish it, but I ran out of tube. I forgot how big this thing is, so it took more than I expected. I'm keeping the windshield (until it breaks I guess) so that's why the A pillars are as tall as they are. Any opinions or suggestions are welcome! |
|
| |
|
05-01-2010, 07:11 AM
| #4 |
| RCC Addict Join Date: Apr 2009 Location: United States of the Offended
Posts: 1,184
|
I think the cage turned out fantastic!!  |
|
| |
|
05-01-2010, 10:56 AM
| #5 |
| Newbie Join Date: Apr 2010 Location: Modesto
Posts: 29
|
x2..really adds to the scale look of the vehicle
|
|
| |
|
05-01-2010, 11:22 AM
| #6 |
| I wanna be Dave  Join Date: Sep 2007 Location: San Tan Valley
Posts: 4,267
|
Nice find Colin, these things are bad a$$!! Should be a blast to drive at CDM once it's all done! |
|
| |
|
05-02-2010, 09:45 PM
| #7 |
| Quarry Creeper Join Date: Dec 2007 Location: H.B.
Posts: 432
|
Thanks, Brian! I can't wait to get this thing done and on the trails. Well I got an axial for under the hood to replace the R2 I didn't have any brazing rod and all of the Welding Supply places were closed today. Home Depot didn't have any of the flux coated rods in stock (at 2 stores) either so, I didn't get as much work done this weekend as I wanted. So I cut the hood finally, got the trans and servo (645 for now) mounted and that's about it. I have the trans over so far so the spur is in the middle of the grill. I'm going to paint a fan on it like I've seen a few others do. If I don't, I'll move it over some, then put a cpu fan (like Chris mentioned today), and hook it up so it actually works. 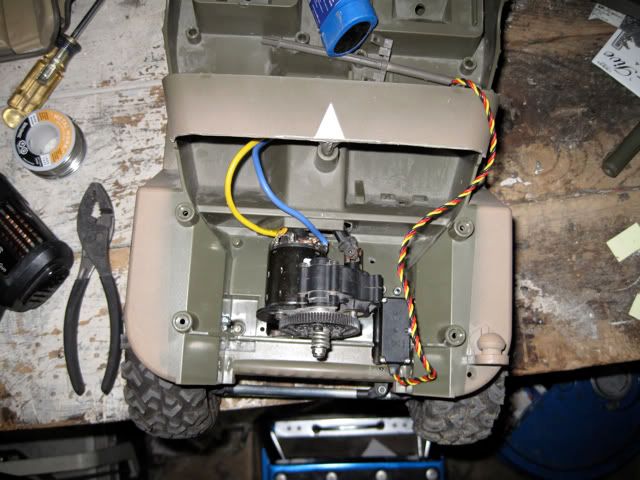 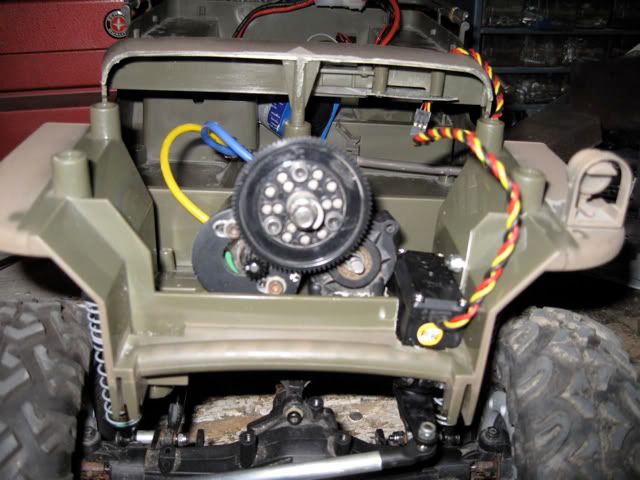 |
|
| |
|
05-03-2010, 08:54 AM
| #8 |
| RCP CRAWLERS  Join Date: Nov 2007 Location: Upland CA
Posts: 1,541
|
looks great
|
|
| |
|
05-04-2010, 02:35 PM
| #9 |
| Quarry Creeper Join Date: Dec 2007 Location: H.B.
Posts: 432
|
Thanks, Dave! Got the stay silv after work last night and started brazing. I still have some to do which I should have time to do tonight. 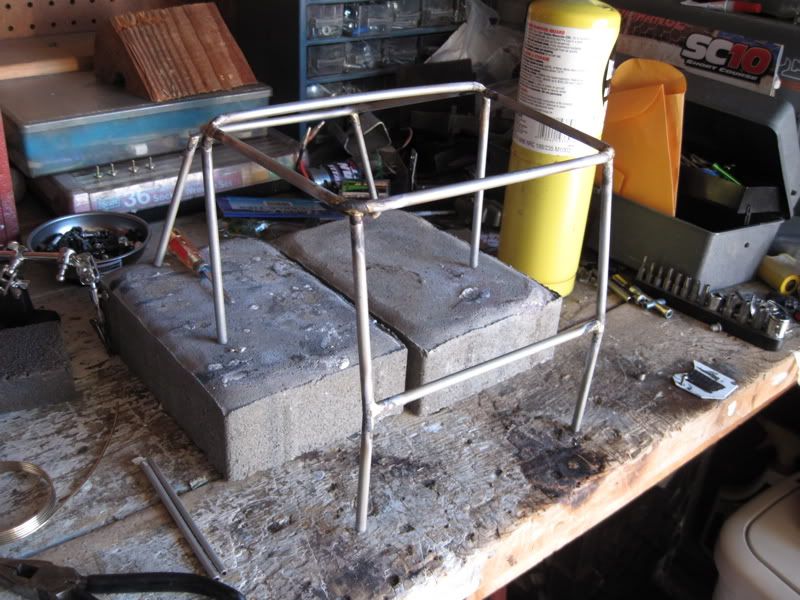 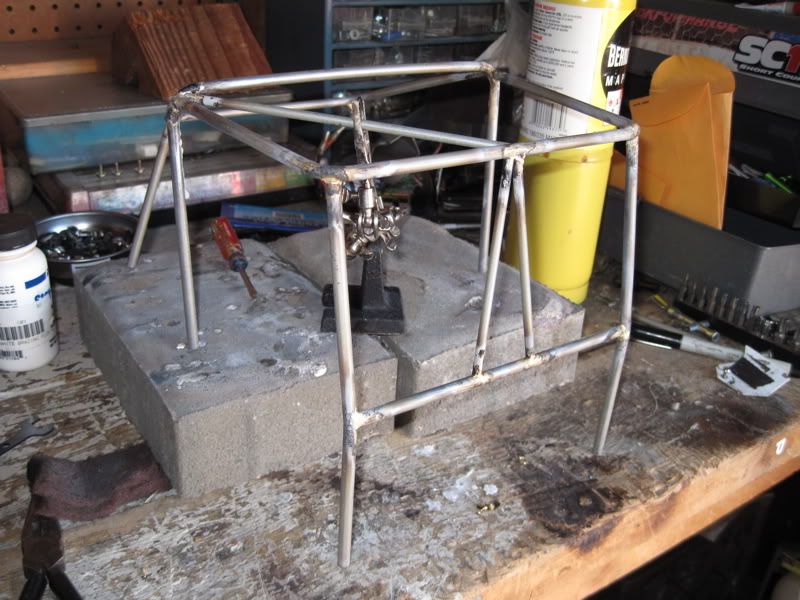 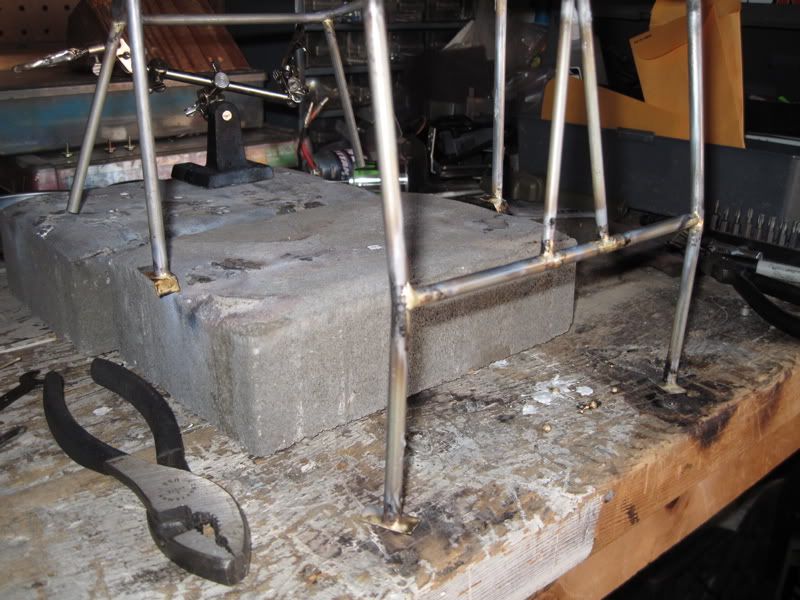 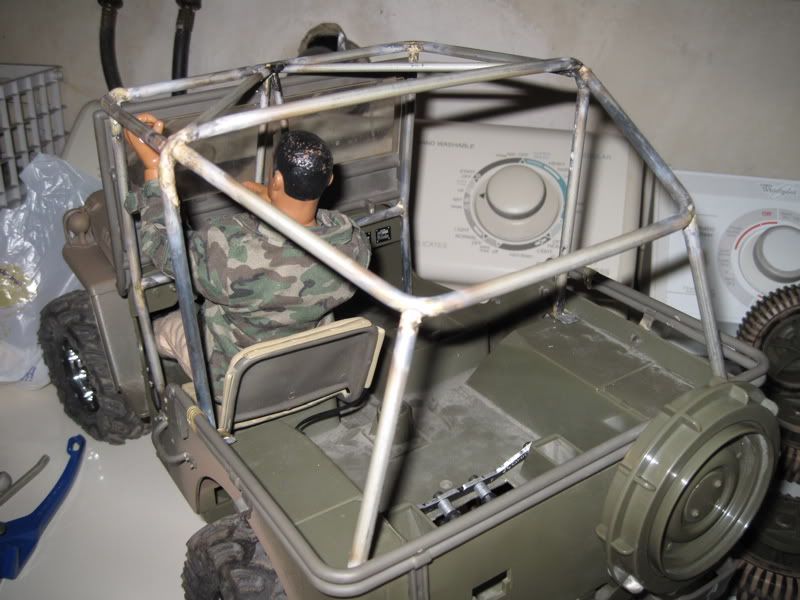 |
|
| |
|
05-04-2010, 03:08 PM
| #10 |
| I wanna be Dave Join Date: Sep 2007 Location: San Tan Valley
Posts: 4,267
|
Looks killer Colin! You planning on adding some gussets to the cage? |
|
| |
|
05-04-2010, 04:05 PM
| #11 |
| Quarry Creeper Join Date: Dec 2007 Location: H.B.
Posts: 432
|
Yeah, that's the plan tonight. I got interrupted last night before I could get as much done as I wanted.
|
|
| |
|
05-04-2010, 04:32 PM
| #12 |
| Rock Stacker Join Date: Jan 2010 Location: Hollywood, CA
Posts: 77
|
This thing is awesome, nice work Colin
|
|
| |
|
05-04-2010, 05:19 PM
| #13 |
| Pebble Pounder Join Date: Apr 2010 Location: Peoria,AZ
Posts: 166
|
i want one of these so bad, great job so far
|
|
| |
|
05-04-2010, 07:08 PM
| #14 |
| RCC Addict Join Date: Jan 2010 Location: Barboursville, WV
Posts: 1,448
| tell Joe to get out of the truck. there's no steering wheel, he's just going to screw something up. |
|
| |
|
05-05-2010, 01:14 AM
| #15 | |||
| Quarry Creeper Join Date: Dec 2007 Location: H.B.
Posts: 432
| Quote:
Quote:
Quote:
_______________ It's getting there... I mounted a "functional" spare and the cage is all brazed up and mounted. I still suck at brazing (and my 3rd hand's roach clips are toast now), but after I get at it with a grinder to clean it up and paint it, it shouldn't look too bad. 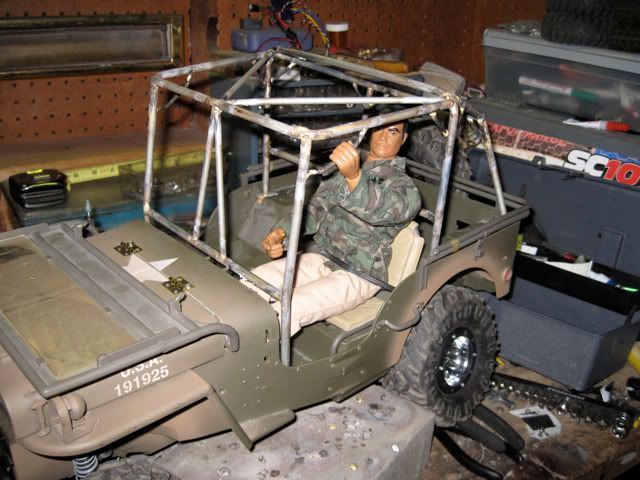 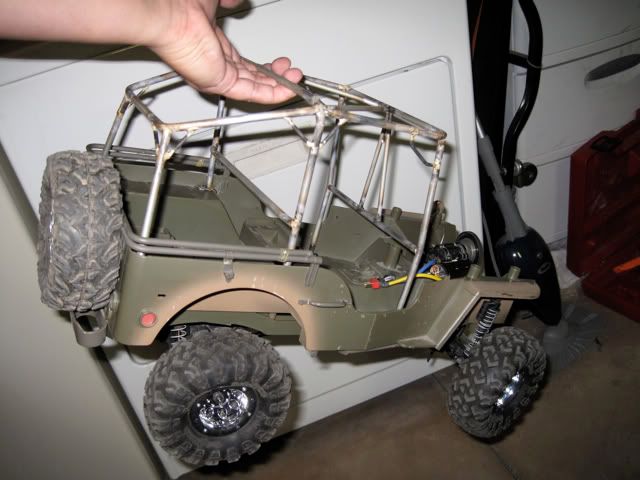 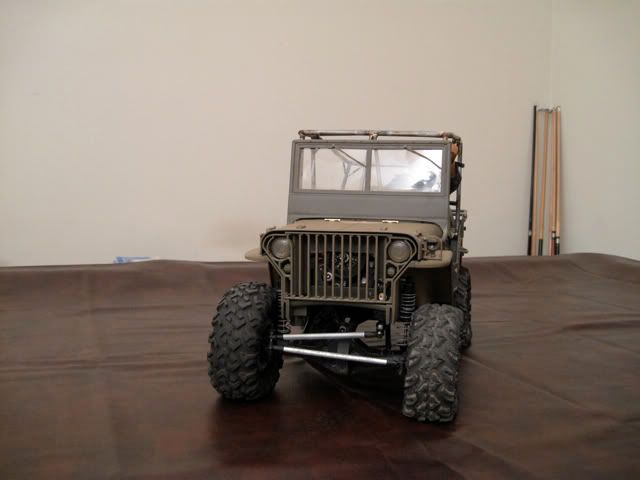  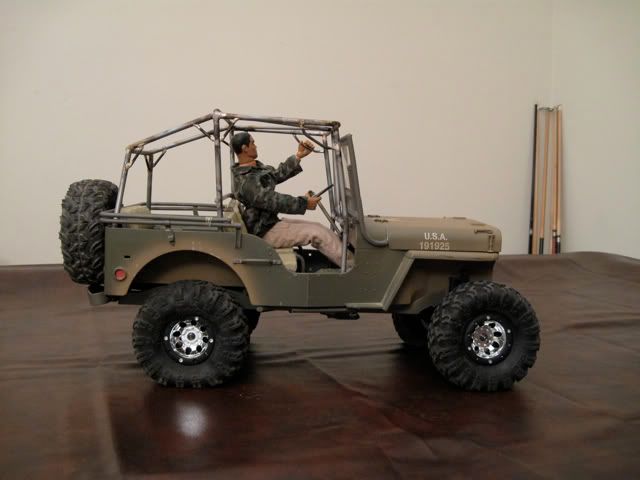 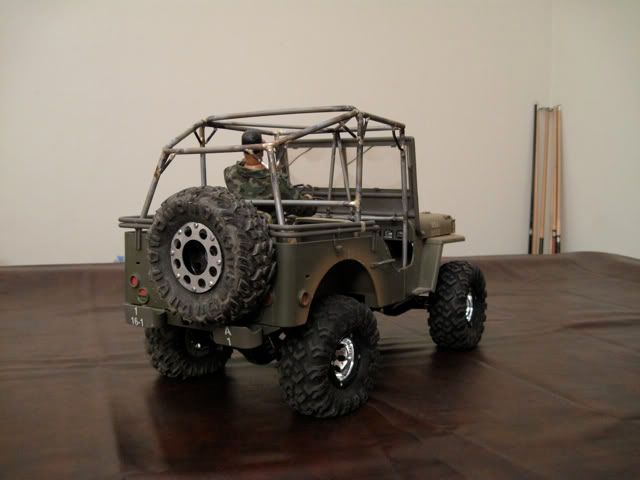 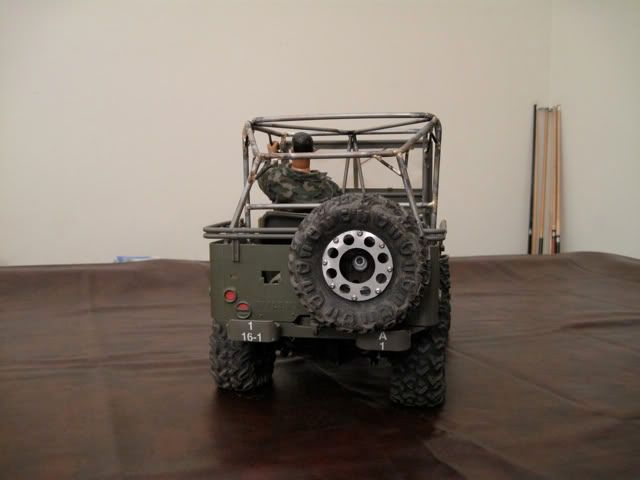 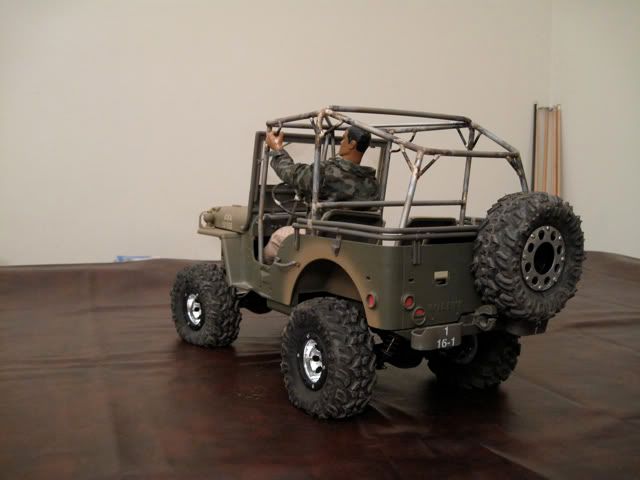 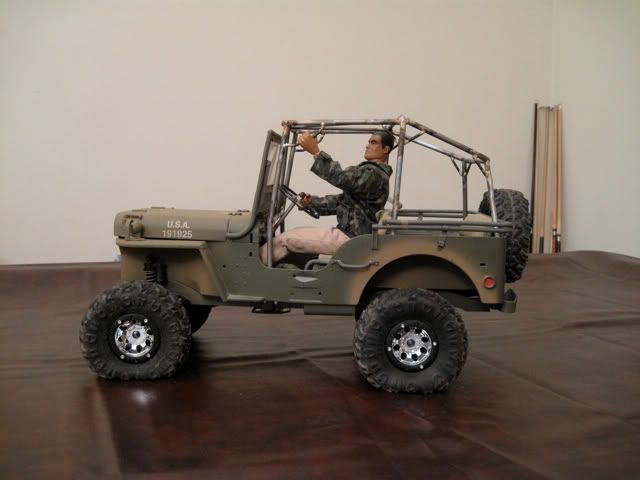 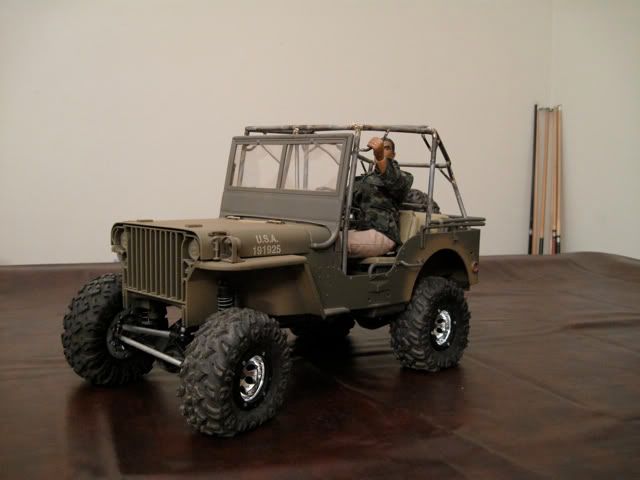 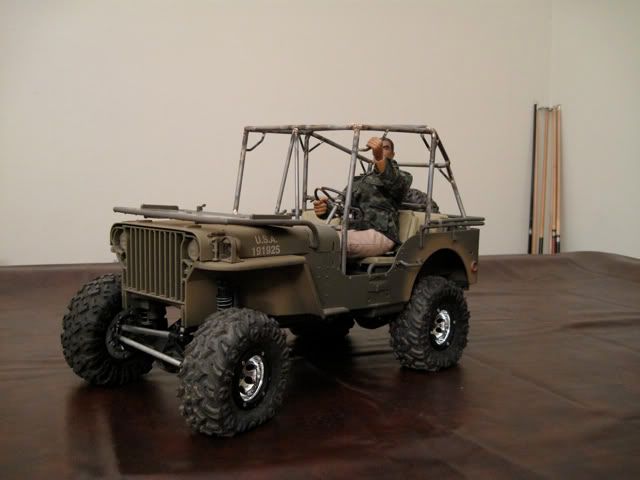 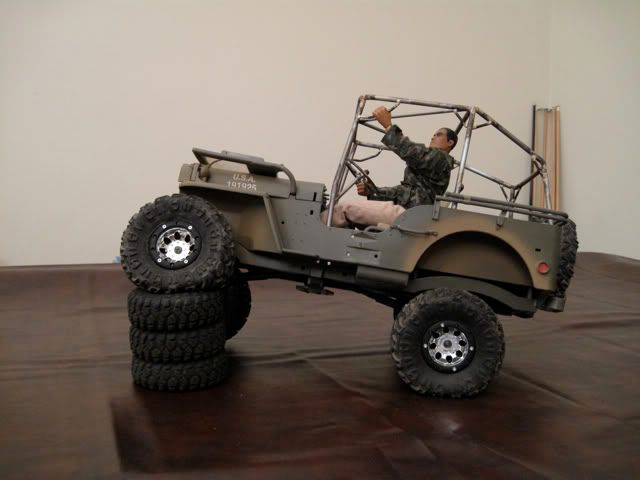 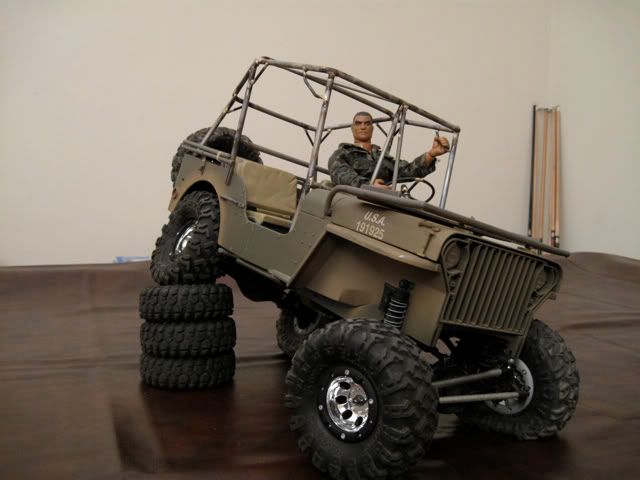 Also made the steering wheel and column. I just need to cut the bottom of the shaft and it should be good to go. 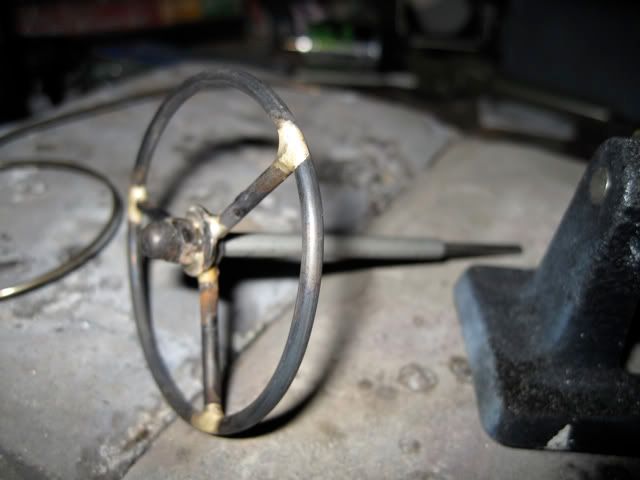 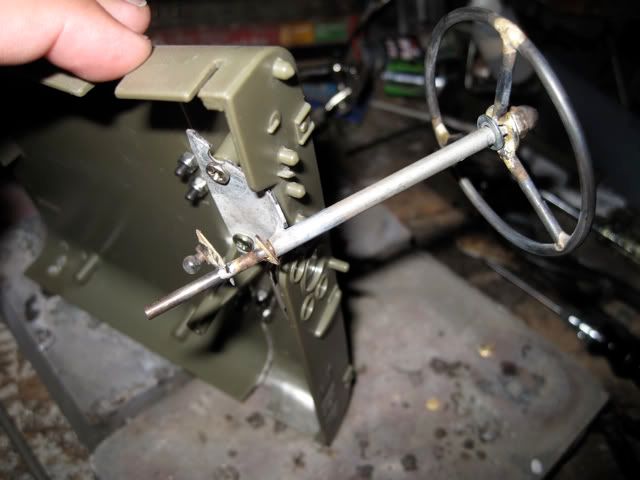 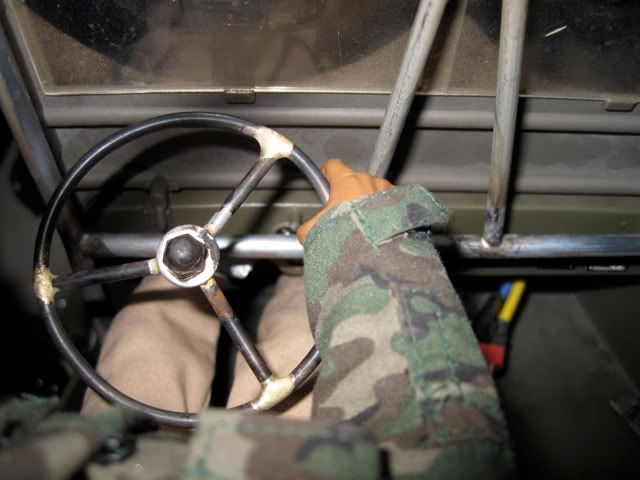 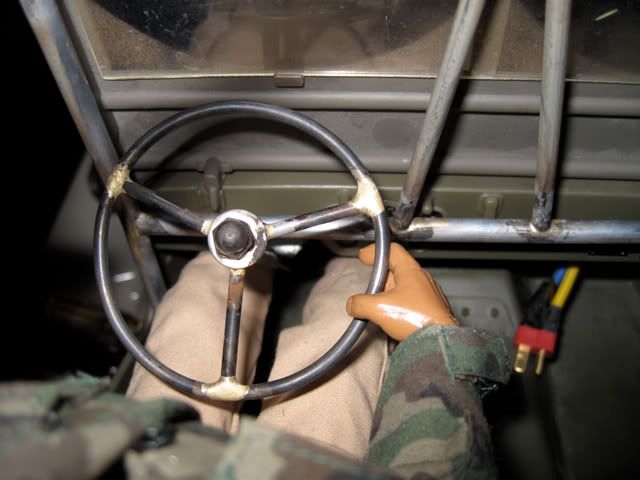 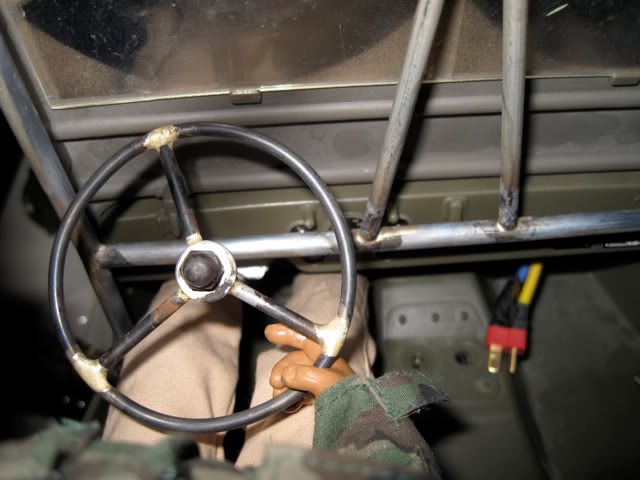 If you didn't notice in the above pics, I got the hood hinged up too. 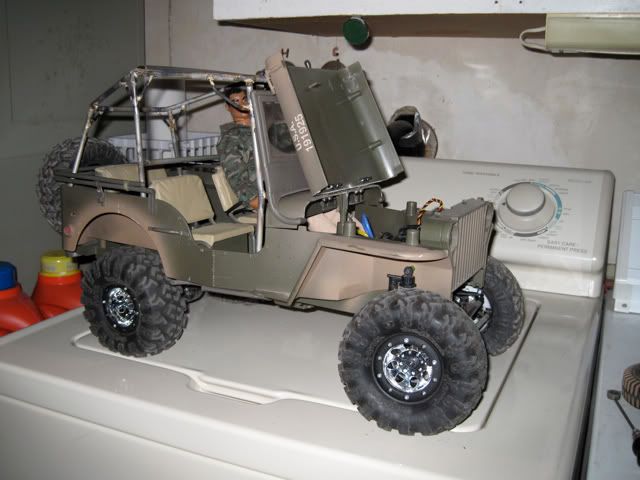 It's almost time to break it down and paint, so I can get everything mounted under the hood and start driving this thing. | |||
|
| |
|
05-05-2010, 10:51 AM
| #16 |
| RCP CRAWLERS Join Date: Nov 2007 Location: Upland CA
Posts: 1,541
|
what color are you painting? we have in SoCal civilian mode: red...green...silver....teal (silver will be done this week) (teal will be the next build) the best paint we found... so far is the plastic spray paint at home depot looking good |
|
| |
|
05-05-2010, 10:52 AM
| #17 |
| I wanna be Dave Join Date: Sep 2007 Location: San Tan Valley
Posts: 4,267
|
Man this thing is sweet! Great job on the tube work! Just noticed in one of the side shots that your rear wheels are a bit off with the wheel wells? Nothing a small spacer couldn't fix. |
|
| |
|
05-05-2010, 11:24 AM
| #18 | ||
| Quarry Creeper Join Date: Dec 2007 Location: H.B.
Posts: 432
| Quote:
I saw that thread on SoCal  Quote:
Yeah, I noticed it after I drove it the first time. That little bit really make a difference in performance! It will be fixed with a spacer. | ||
|
| |
|
05-05-2010, 11:58 AM
| #19 |
| I wanna be Dave Join Date: Sep 2007 Location: San Tan Valley
Posts: 4,267
|
Yeah i had the same problem when I built my first JK and your right, it does make a difference in performance.
|
|
| |
|
05-09-2010, 09:48 AM
| #20 |
| Quarry Creeper Join Date: Dec 2007 Location: H.B.
Posts: 432
|
Update. Perfect weather for painting yesterday, so it's 90% done. I just need to touch up some parts and get out the brush to get the details that aren't detachable. I'm pretty happy with how it came out, so far. 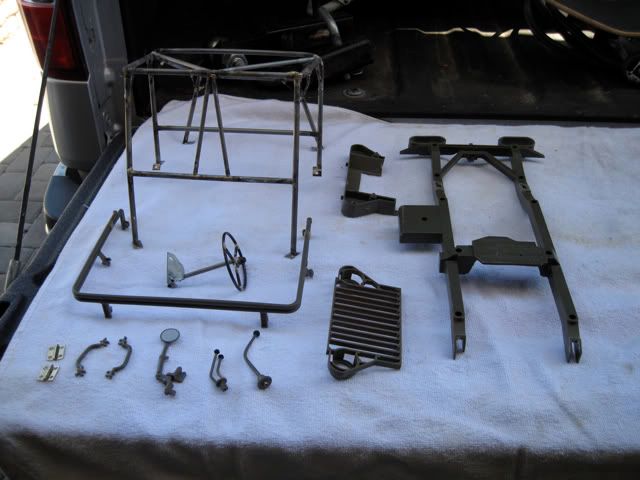 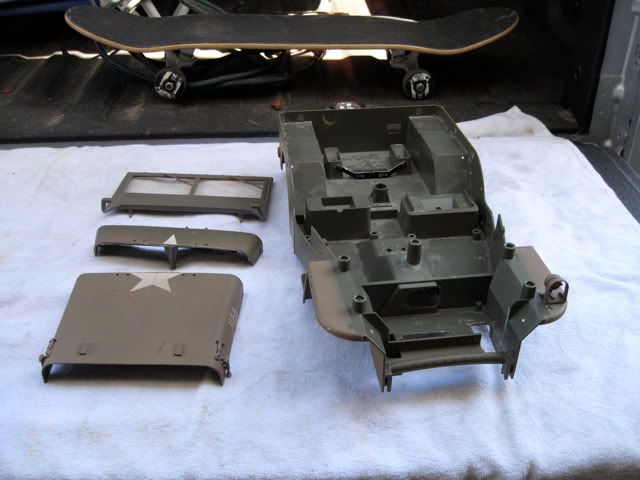 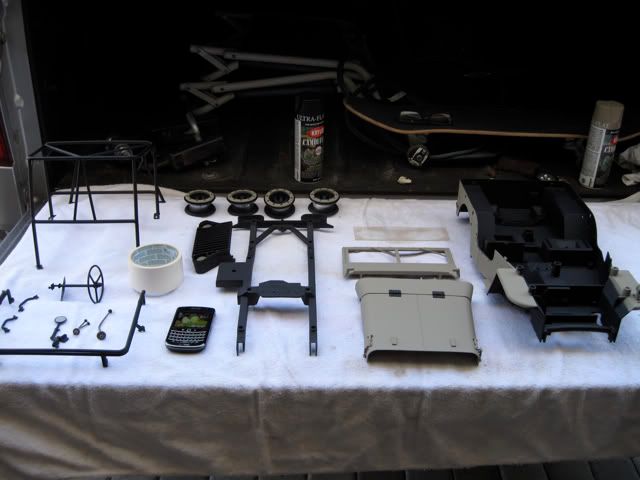 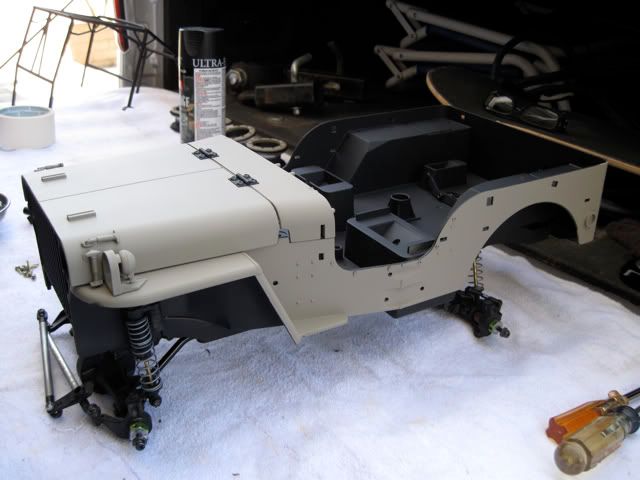 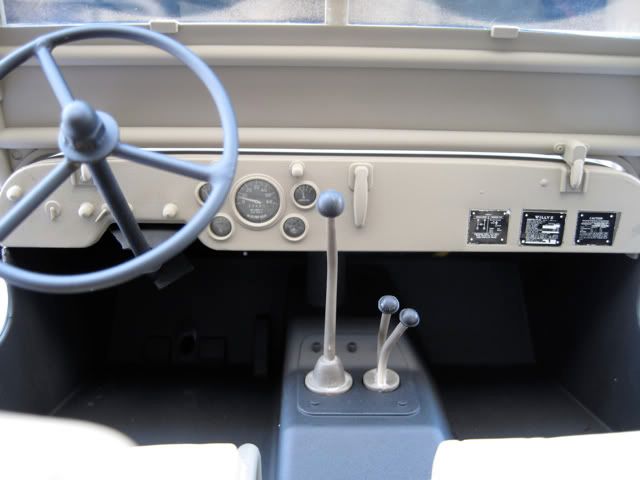 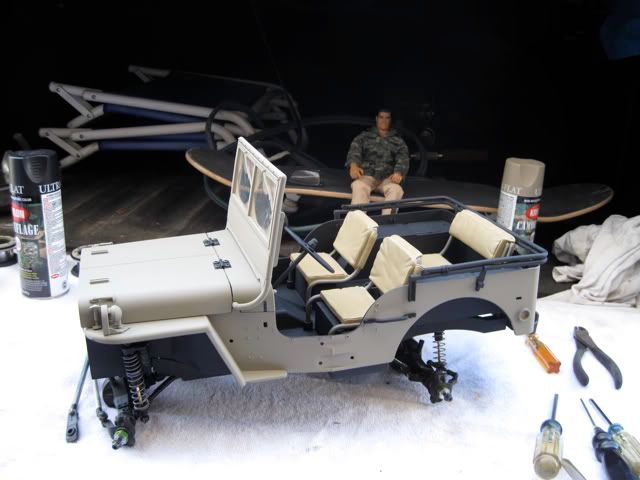 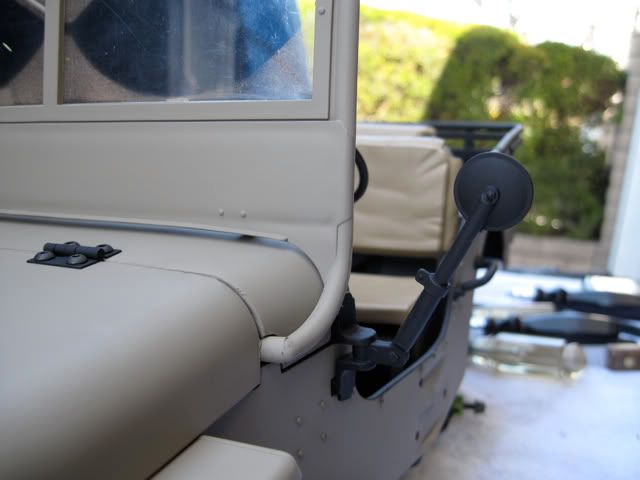 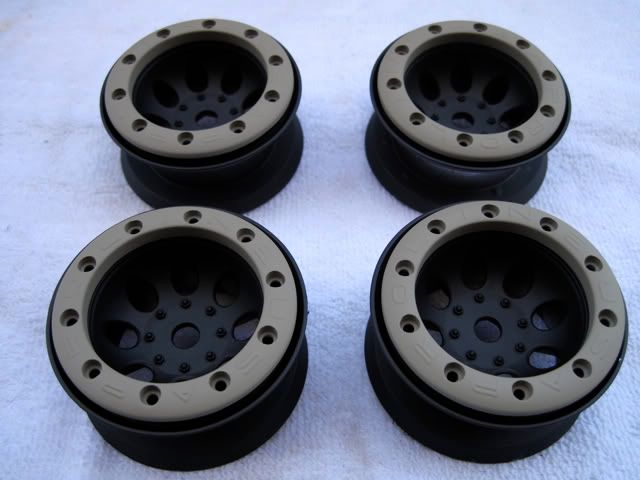 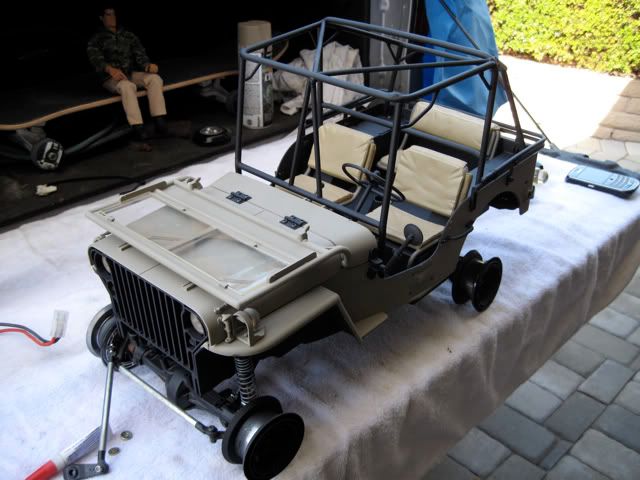 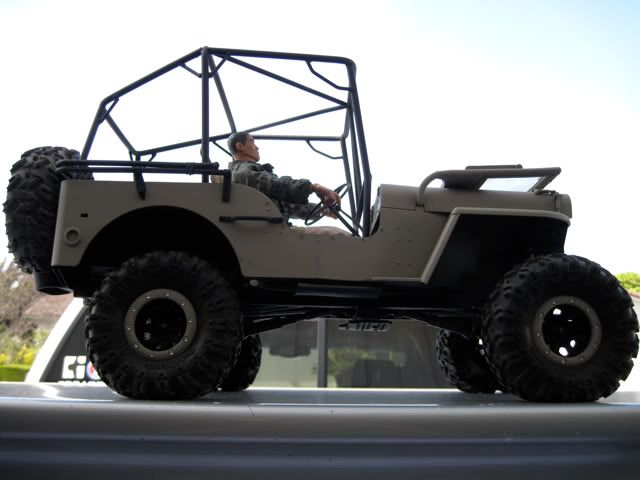 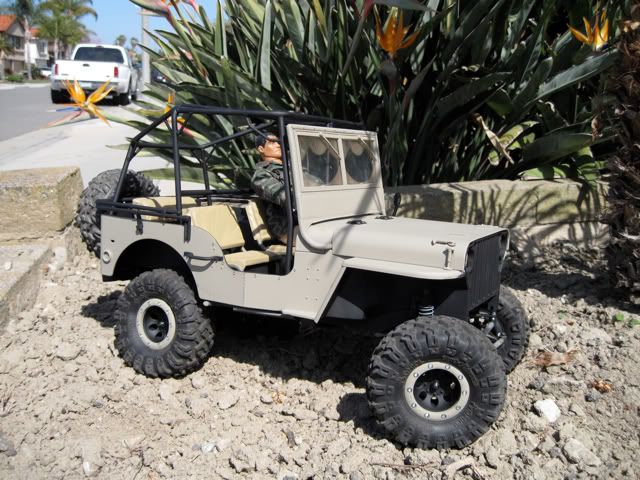 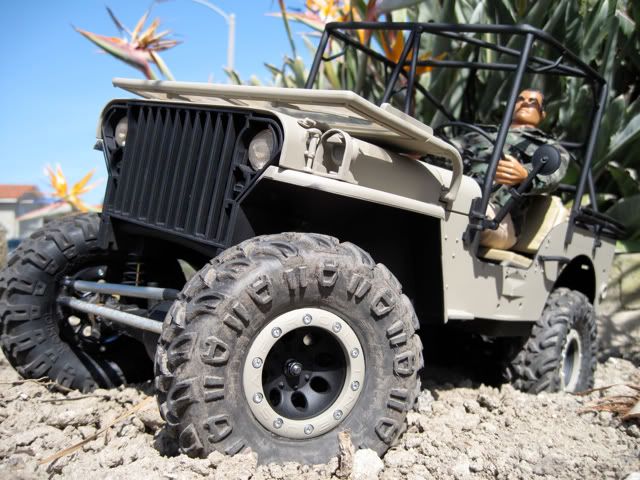 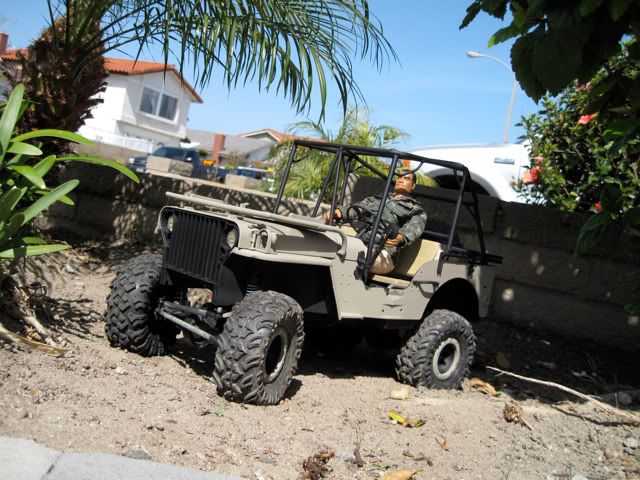 The tires I ordered got lost in the mail, so I placed an order for some at RPP yesterday. Now... To do list: • Finish painting details. Photoshop the hood black to see if I want to do that or not. • Wait for my Junfac wideners to install. • Wait for my tires to install / weight the wheels. • Make a battery mount like Dave (ZoSo)... My dumbass forgot about this one. • Get some lights hooked up. • Hook up the steering servo. • Make a front bumper. I'm getting anxious to drive this thing! |
|
| |
 |
| |


 Linear Mode


