| |
 09-05-2008, 07:04 PM
| #1 |
| Who's your Daddy-0! Join Date: Mar 2008 Location: Augusta
Posts: 5,009
|
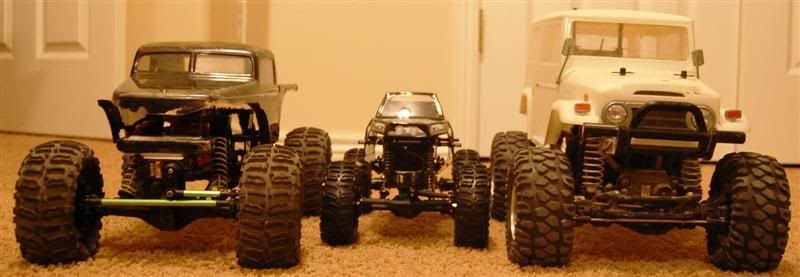
I'll start with mine.....Putting a Yota body on and some new rubber and rims. Body is a great fit. It will need a little trim but its all good.  This IS NOT a chit-chat thread. This topic is for pictures/descriptions of your Losi MRC. Post once and if you want to post multiple pictures do so in ONE POST. If you want to comment on someone's rig this isn't the place. This is a picture archive of various setups. -JIA Last edited by JasonInAugusta; 09-13-2008 at 09:59 PM. |

|  |
| Sponsored Links | |
| | |
|
09-05-2008, 08:45 PM
| #2 |
| Newbie Join Date: Jul 2005 Location: Springville, UT
Posts: 44
|  |
|
| |
|
09-06-2008, 05:21 PM
| #3 |
| Like a boss...   Join Date: Feb 2008 Location: NorCal
Posts: 1,008
|
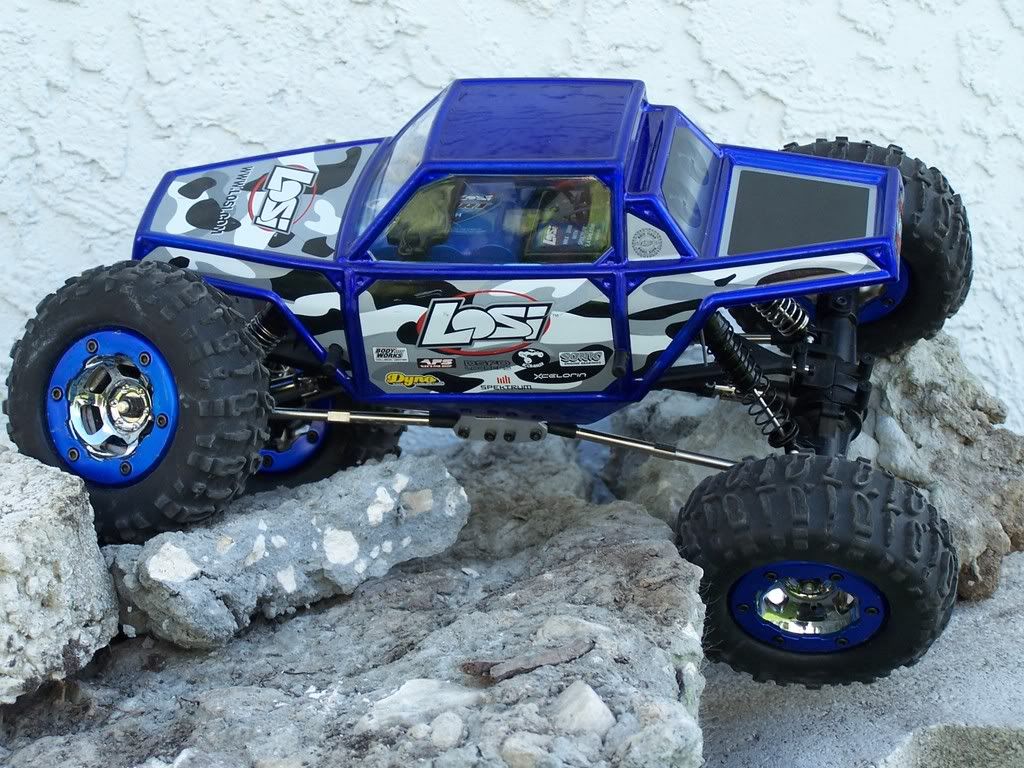
Here's mine -   |
|
| |
|
09-07-2008, 10:55 PM
| #4 |
| Newbie Join Date: Sep 2008 Location: San Jose
Posts: 28
|
just got mine 4 hours ago. haha 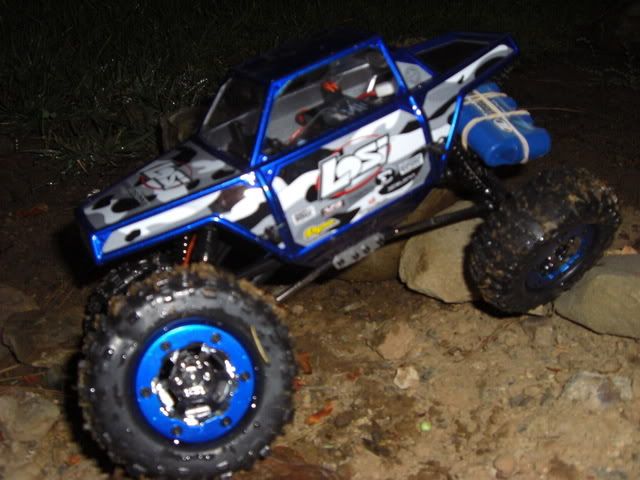 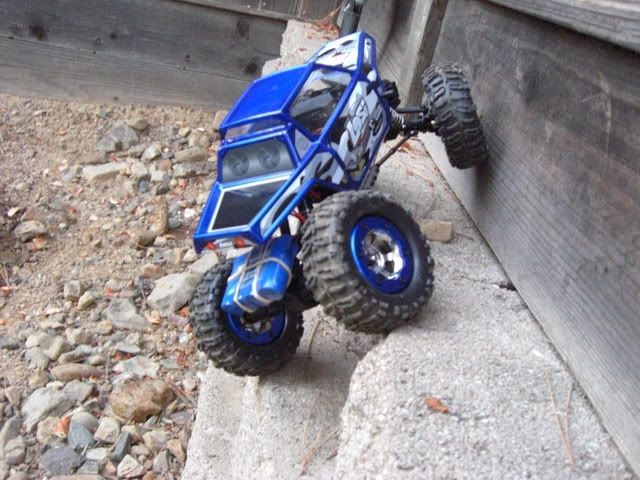 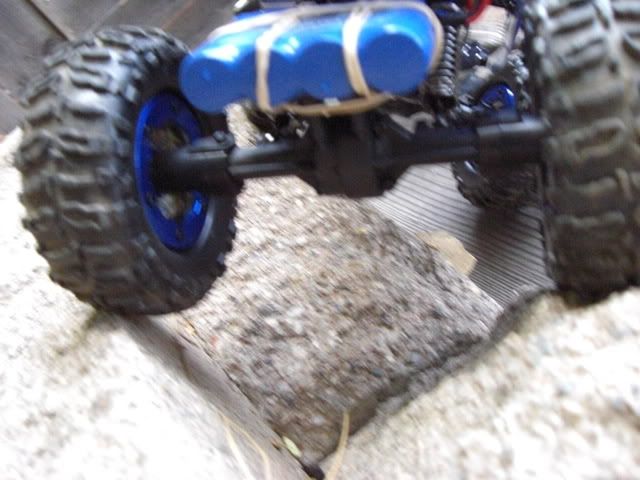 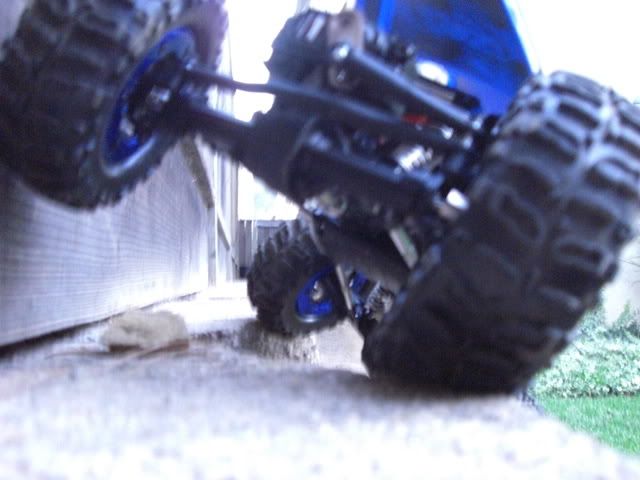 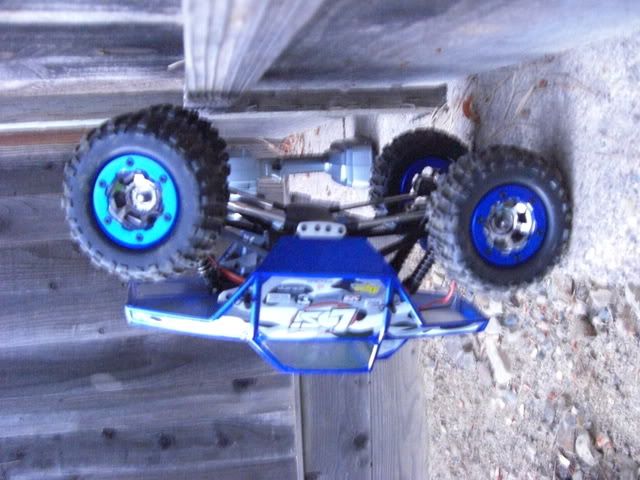 Last edited by driftin2crawlin; 09-08-2008 at 04:44 PM. |
|
| |
|
09-08-2008, 03:25 PM
| #5 |
| I wanna be Dave Join Date: Apr 2007 Location: We-Go, Chi-Town, Ill
Posts: 2,550
|
Got the chance to mod mine this morning! 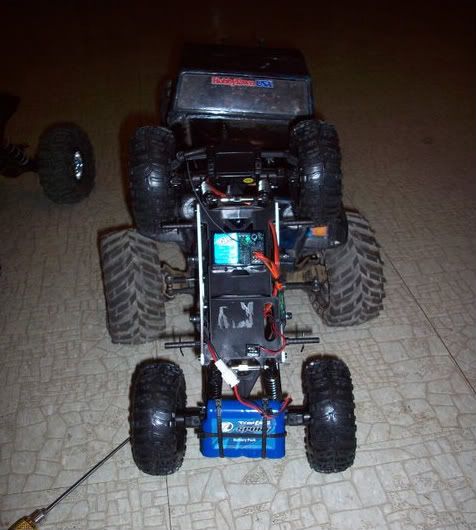 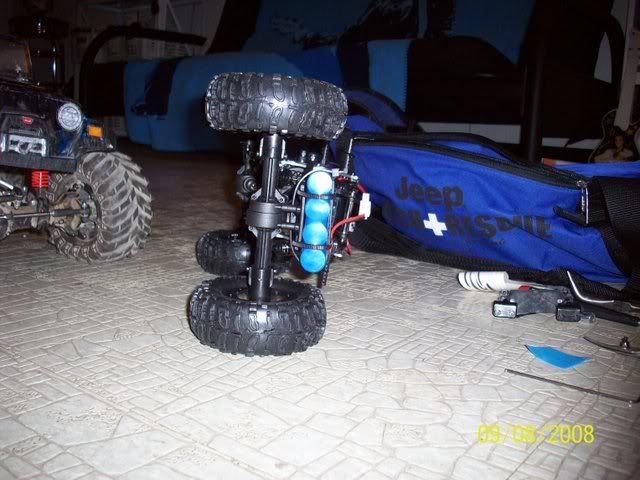 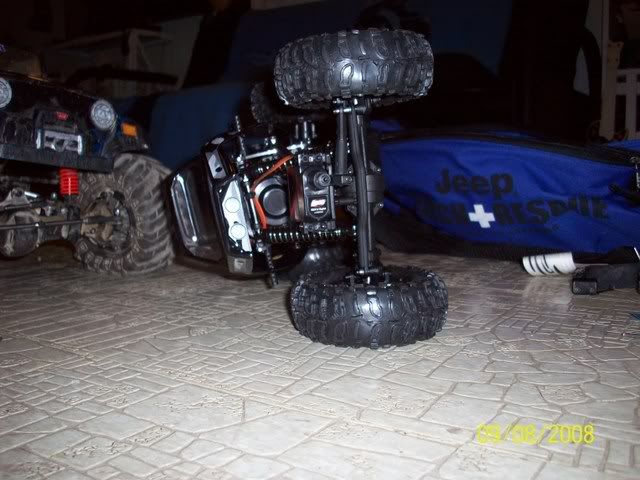 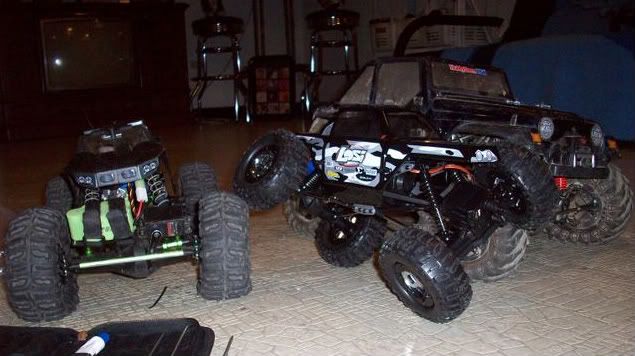 Got a quick vid downloading now too. |
|
| |
|
09-08-2008, 04:58 PM
| #6 |
| Quarry Creeper Join Date: Feb 2008 Location: Weddington
Posts: 253
|   |
|
| |
|
09-08-2008, 11:48 PM
| #7 |
| Rock Crawler Join Date: Feb 2007 Location: In A Nut Shell
Posts: 626
|
here's mine  |
|
| |
|
09-09-2008, 05:19 PM
| #8 |
| Newbie Join Date: Jul 2007 Location: Ft Worth
Posts: 25
|
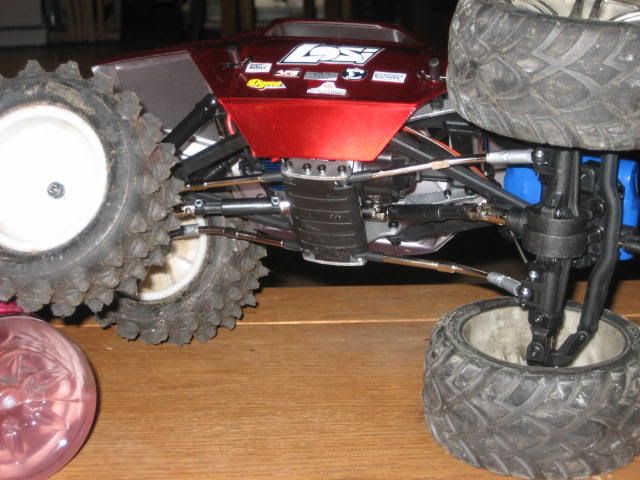
First day drooped it, or should I say slammed it.  Added mounting plate to triangular area of upper links.Lipo batt relocate to front upper links, rx relocate to rear upper links, and esc relocate to rear axle servo plate, batt tray mod (cut most of it away, just left the ends for shock mounts and spacer between chassis plates), and wheel weight (2 oz in each front, 1.5 oz in each rear). Gotta get better shocks. For now i took off all springs and put 1 spring from a ink pen inside right rear shock around shaft. This got rid of nearly all torque twist. Its amazing how much these mods improve perforance. Drilled new holes in body to lower 1/2 inch.  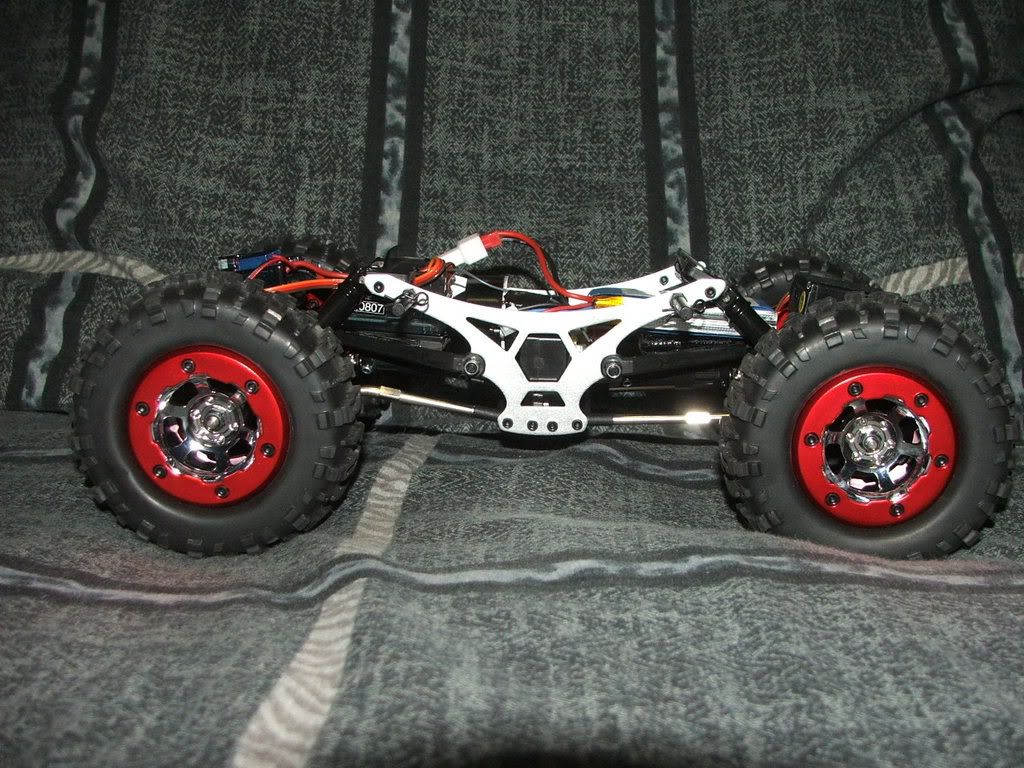 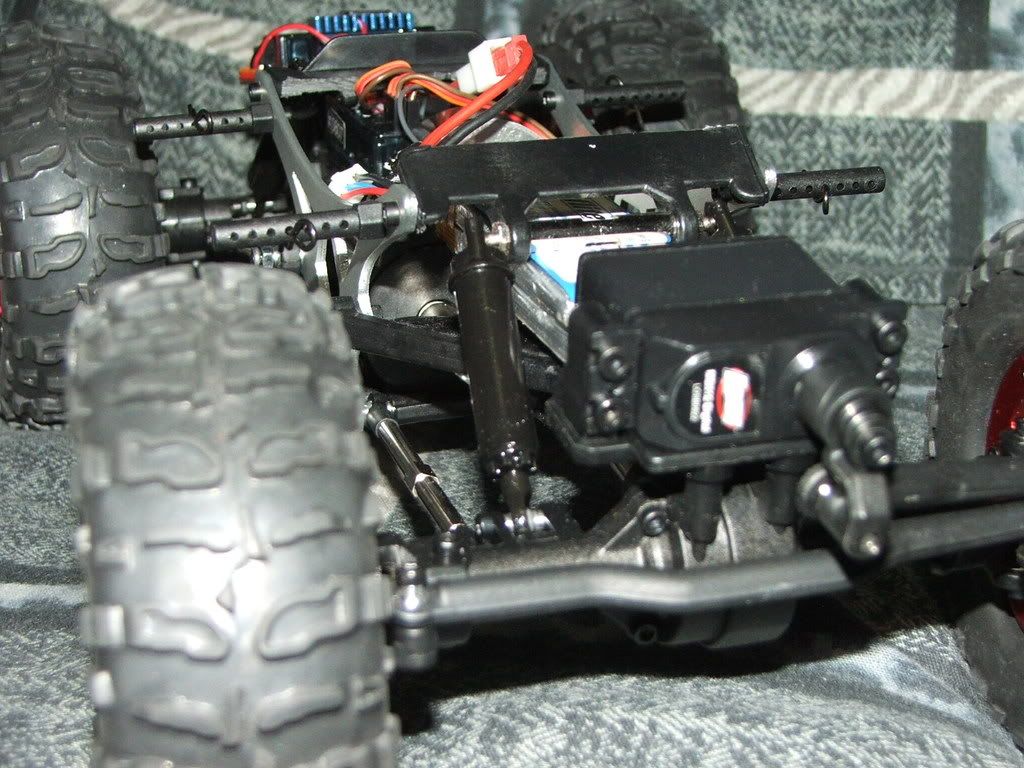 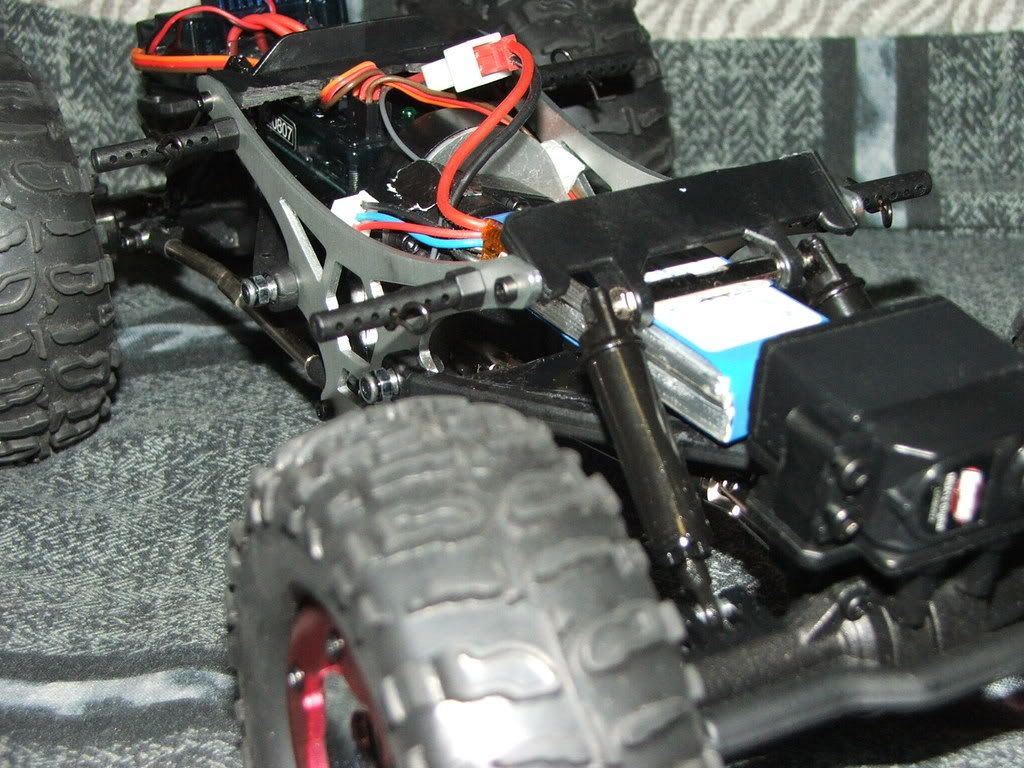 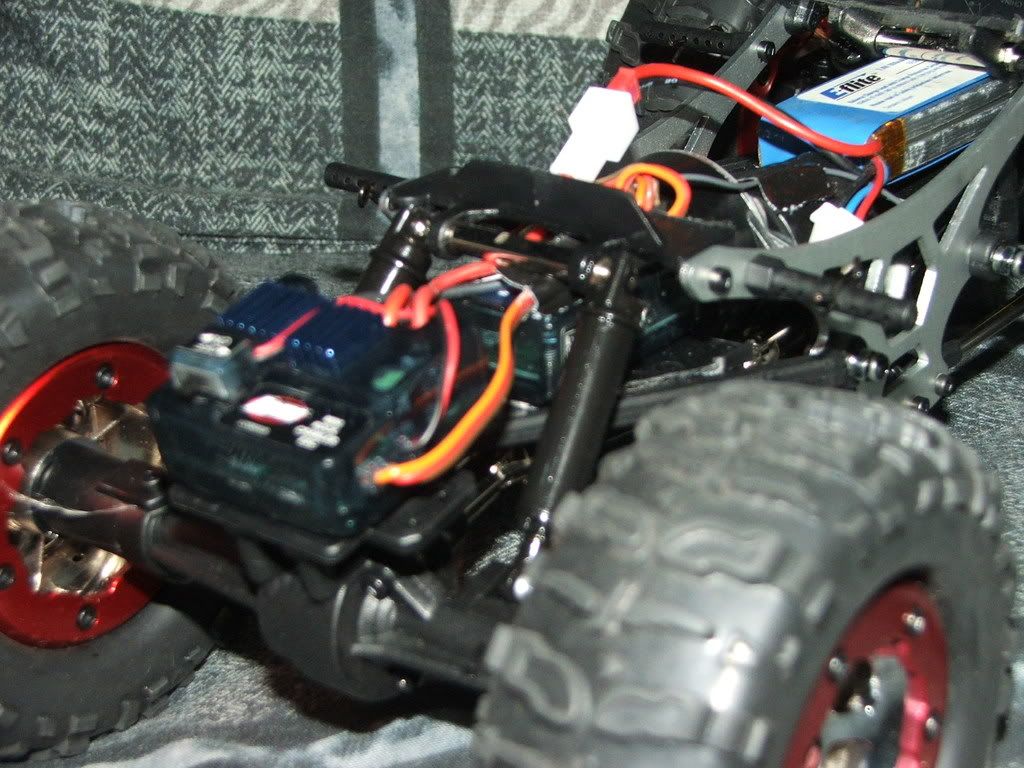 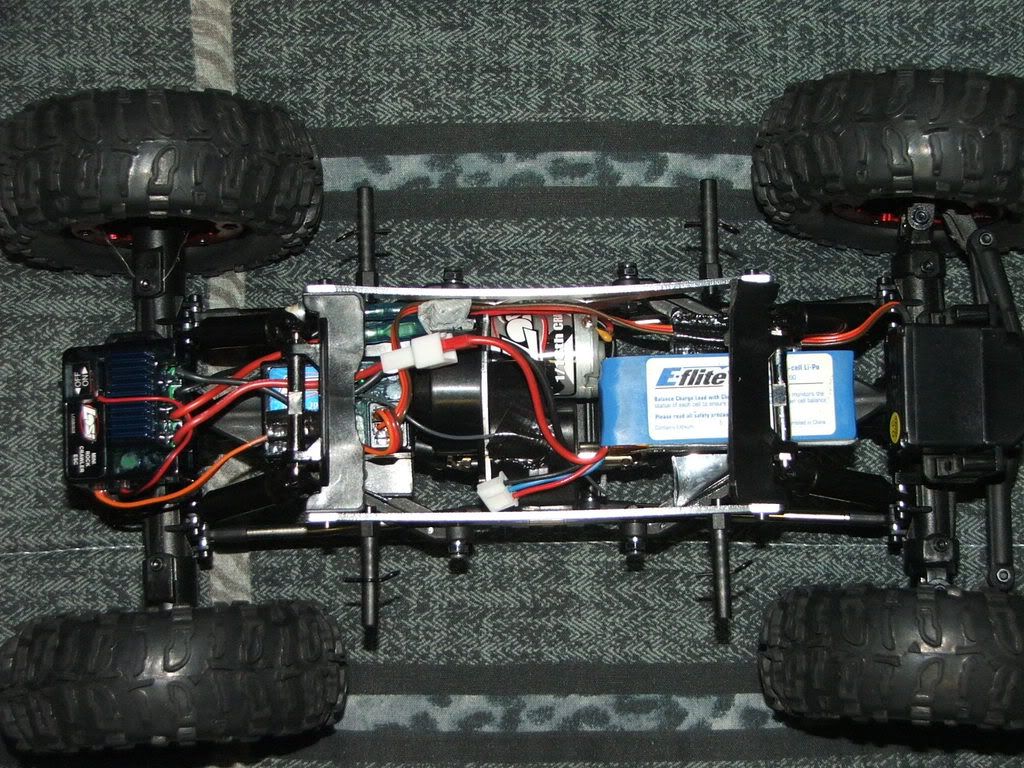 Last edited by turner3123; 09-15-2008 at 11:18 PM. |
|
| |
|
09-09-2008, 06:17 PM
| #9 |
| Pebble Pounder Join Date: Aug 2008 Location: orlando
Posts: 135
|  |
|
| |
|
09-10-2008, 06:10 PM
| #10 |
| RCC Addict Join Date: Oct 2007 Location: Kennewick, Washington
Posts: 1,382
|
The wife likes the drag brake.....gives her time to study her line. 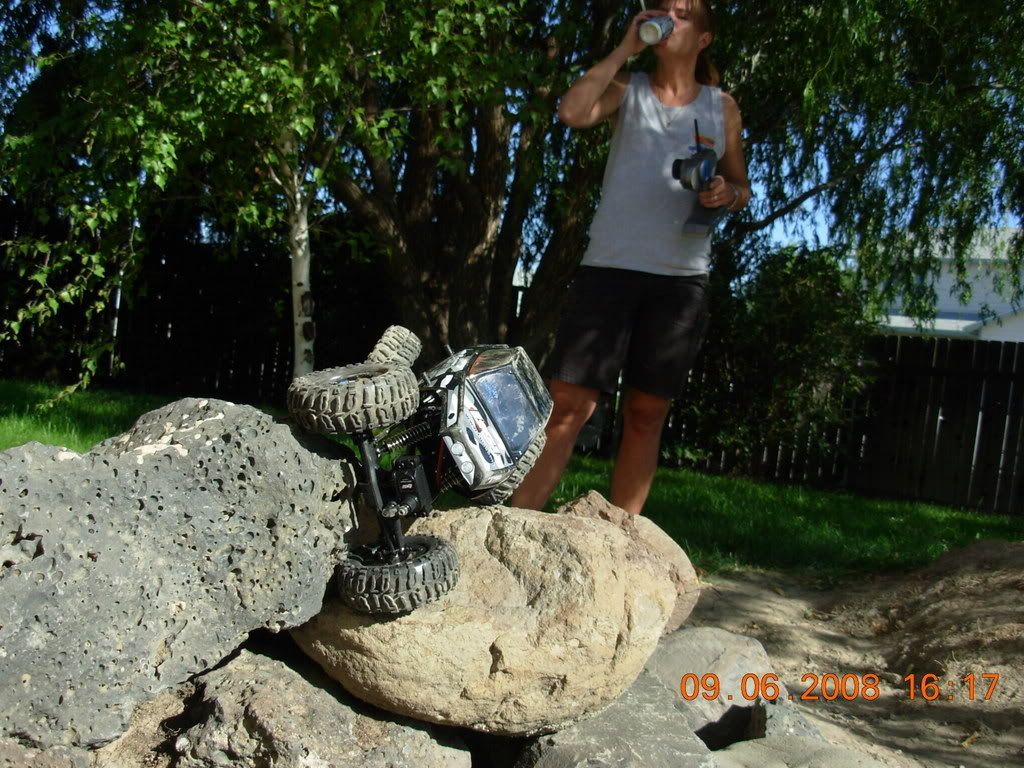 |
|
| |
|
09-12-2008, 03:18 PM
| #11 |
| Newbie Join Date: Aug 2008 Location: France
Posts: 4
|
Hi, My Losi MRC beside my Tamiya CR-01 ! I think I'm the first in France who have this little Crawler...  |
|
| |
|
09-13-2008, 10:38 PM
| #12 |
| Newbie Join Date: Sep 2008 Location: San Diego
Posts: 9
|
Here's one of our our test mules man this lil crawler is fun Last edited by Team DP; 09-13-2008 at 10:45 PM. |
|
| |
|
09-14-2008, 06:15 PM
| #13 |
| Pebble Pounder Join Date: Sep 2008 Location: Encinitas
Posts: 134
|
Here is a shot of my crawler with some new stickers. It was very easy to pull the old ones off. They all came off without tearing into pieces. Not much residue was left behind. This is in the home of Isamu, he is a Bearded dragon.
|
|
| |
|
09-14-2008, 10:58 PM
| #14 |
| Quarry Creeper Join Date: Apr 2008 Location: Fondy, WI
Posts: 498
|
i went with a "police theme" to match the rest of my squadron of crawlers.  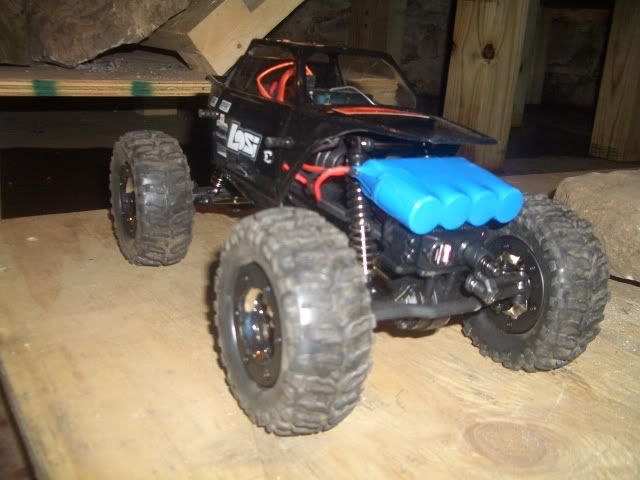  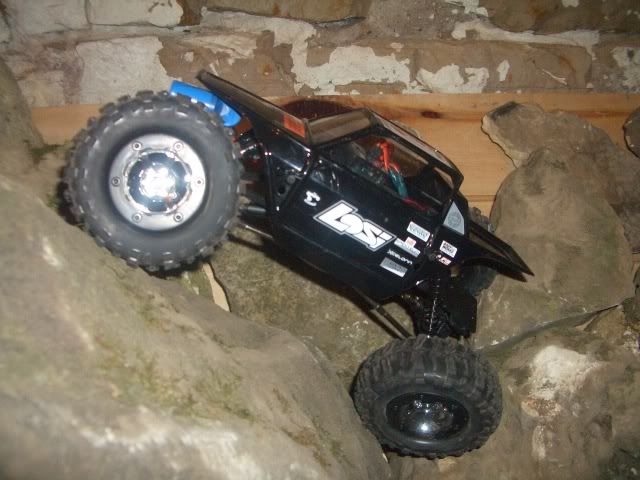 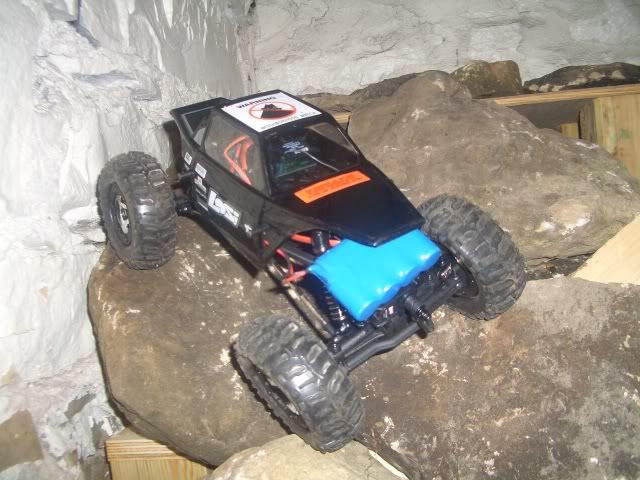 |
|
| |
|
09-15-2008, 09:40 AM
| #15 |
| Quarry Creeper  Join Date: Jul 2006 Location: Ontario, NY
Posts: 254
|
Here's mine.. Usual mods and TLT body   |
|
| |
|
09-17-2008, 04:53 PM
| #16 |
| Pebble Pounder Join Date: Aug 2008 Location: orlando
Posts: 135
|
after changes...working on the backyard rocks 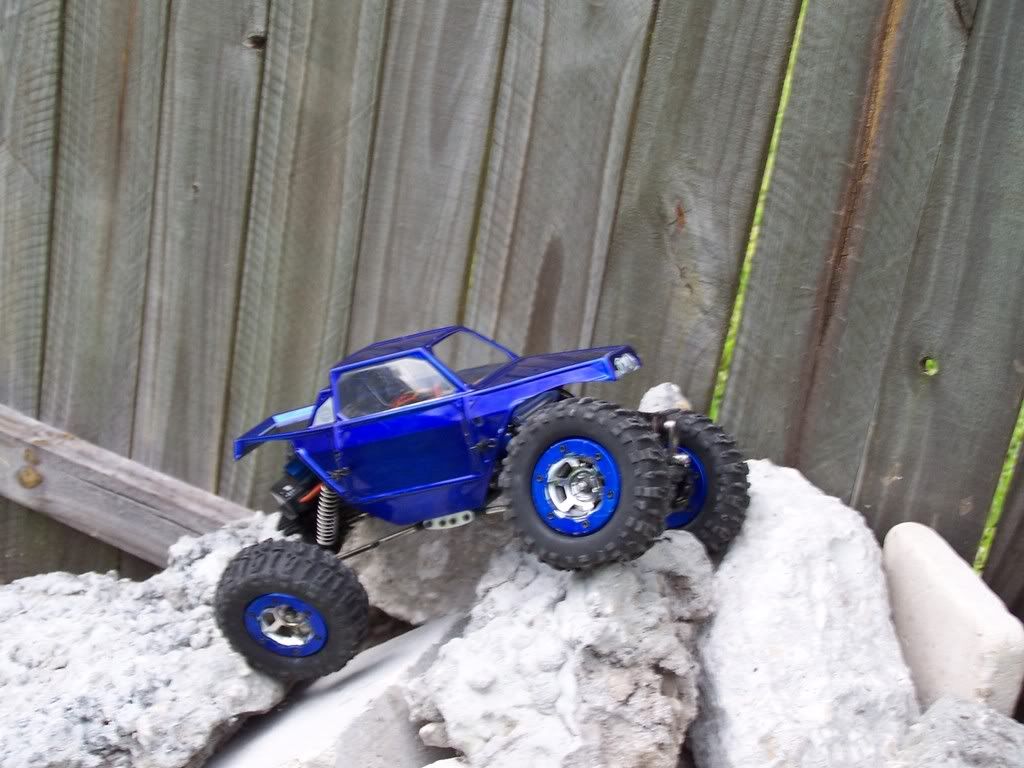  Last edited by badger; 09-20-2008 at 12:21 AM. Reason: added pic from second post. |
|
| |
|
09-20-2008, 12:20 AM
| #17 |
| Diggin' the new SCX10 II!   Join Date: Mar 2004 Location: Norcal
Posts: 11,402
|
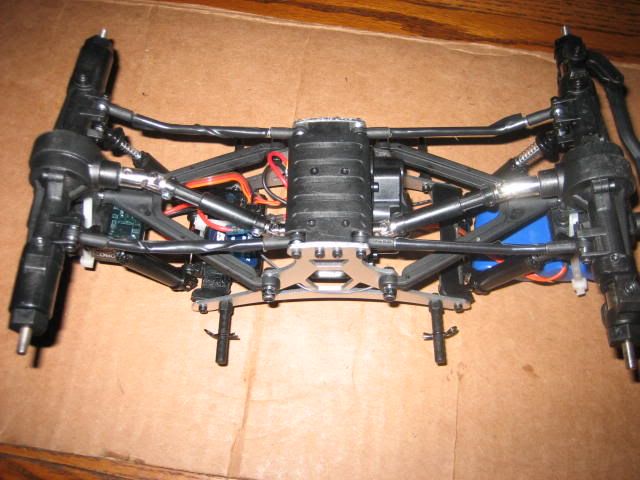
Here is the first round of mods done.
The mods worked very well, especially the new micro servo. I drove the modded rig for about an hour today and the servo never even got warm and had plenty of power to moved the weighted wheels and tires.         |
|
| |
|
09-20-2008, 10:08 PM
| #18 |
| Pebble Pounder Join Date: Mar 2008 Location: Pittsburgh
Posts: 118
|
Just picked mine up today. Went in for a new motor and walked out with this instead. Tossed this old Tonka body on just for fun. May try to figure out a way to mount it.  |
|
| |
|
09-21-2008, 09:17 PM
| #19 |
| Newbie Join Date: Sep 2008 Location: Maple Valley
Posts: 10
|    Finally got some pics up. The tires are from my Jato and have little rub. This is an old set up as I have not taken any new pics but it was pen springs, no lead, bent lowers, first stock, then all thread, batt on front servo, cut top plate, relocated receiver to rear shock perch. The improvments were great. Now I have a two spring no oil shock set up with 3/4oz wrapped around the top of the fronts and 7/8oz on the rears. I then flipped the shocks, putting the weight on the axle. Will post more pics soon Last edited by 666; 09-26-2008 at 07:33 PM. Reason: fix pics |
|
| |
|
09-23-2008, 09:52 AM
| #20 |
| Newbie Join Date: Aug 2008 Location: Pasadena
Posts: 35
| Last edited by RJMajestic; 09-23-2008 at 09:55 AM. |
|
| |
 |
| |


 Linear Mode


