| |
| |||||||
 |
| | LinkBack | Thread Tools | Display Modes |
 12-18-2009, 08:35 PM
| #1 |
| Quarry Creeper Join Date: Dec 2009 Location: Long Island
Posts: 262
|
Going to take a few weeks or so to do this, getting a very large blizzard(yeah for Long Island this early, its crazy) this weekend so can't get my aluminum. Tried using Google Sketchup to design a chassis, first time using it, failed completely. Had a good friend from a different forum make up a chassis design for me. Seems about right, made it 8.5" just how I need it. Gonna show some mock ups of it, he made it so the included model kit chassis will work possibly so I can go extra scale with it all. First crawler so first time ever doing a scaler. Got my kit the other day, Kevin VanDam's ProFish Chevy Silverado 1500 and came with a little 1/64 truck. Box was beat up but everyting inside was good and the box was sealed. As can be seen in the mock ups, it was much larger than the stock chassis. Going to fab it up out of 1mm aluminum, gotta line it up so i can mark off the holes on the paper cutout before I do anything. Going to show the box, some mock ups, as progression went on and the plan for the chassis. Any suggestions. Styrene, derlin or aluminum? Also for paint, I got black metallic(supposed to use gloss but metallic I prefer) and clearcoat, going for that look on the 1/64 and how it is supposed to because it looks cool 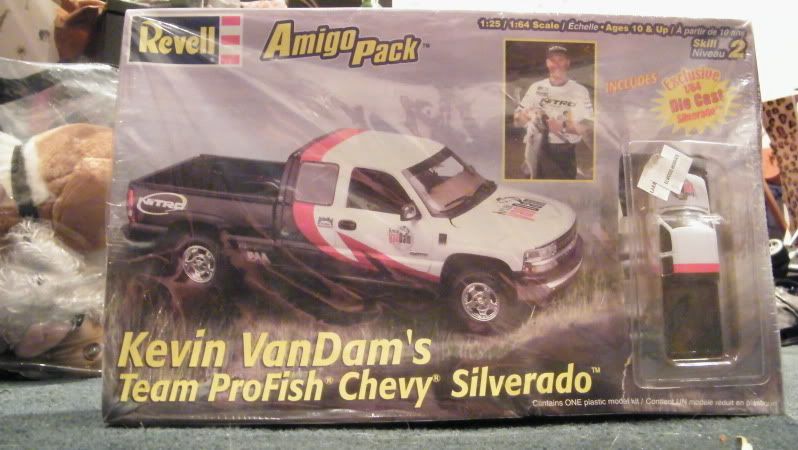 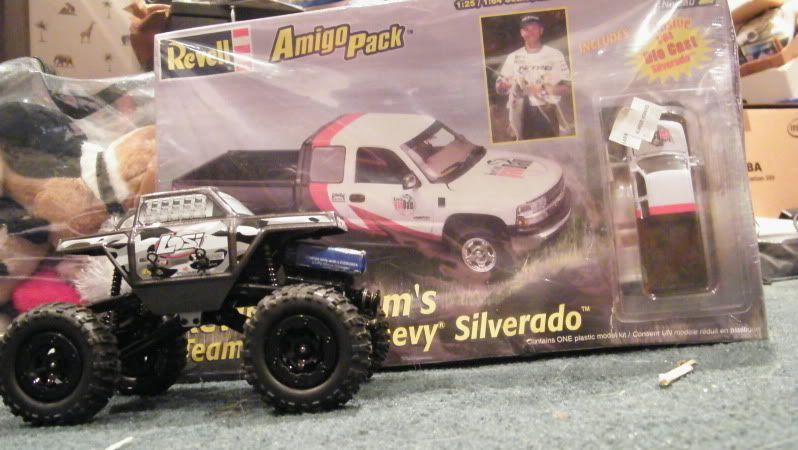 What it should look like in the end 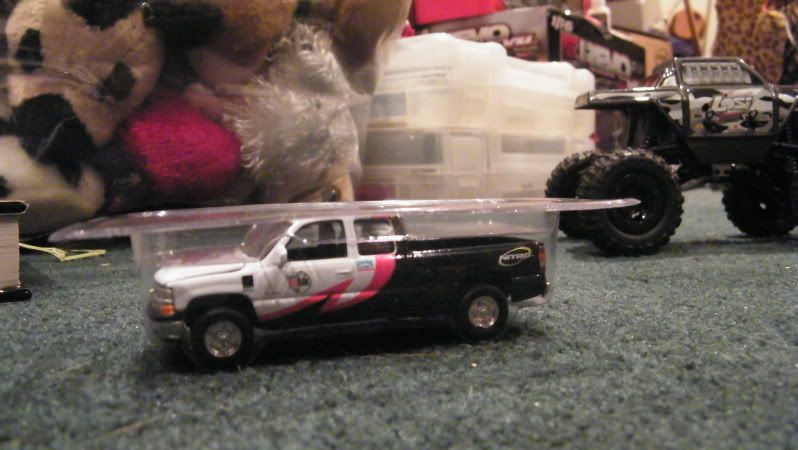 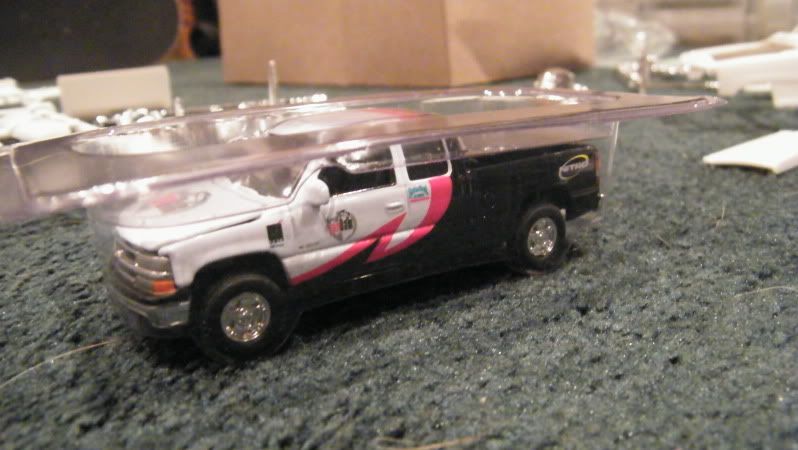 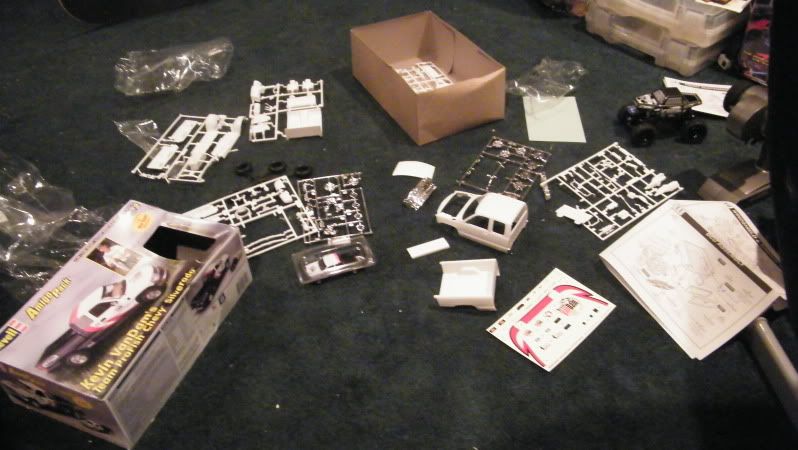 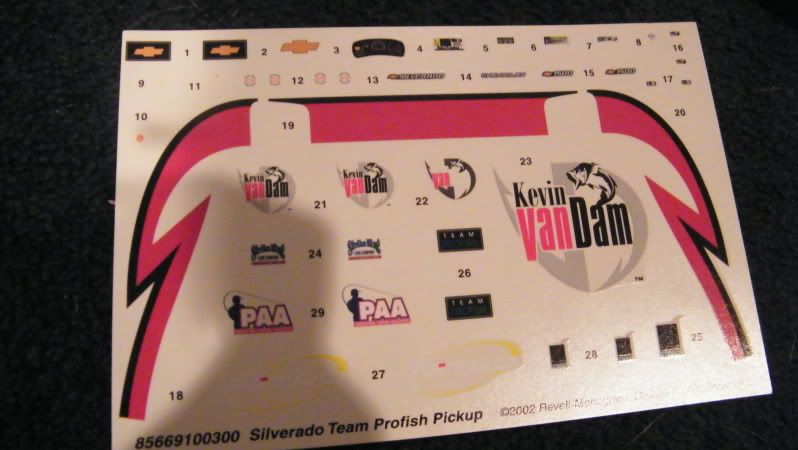 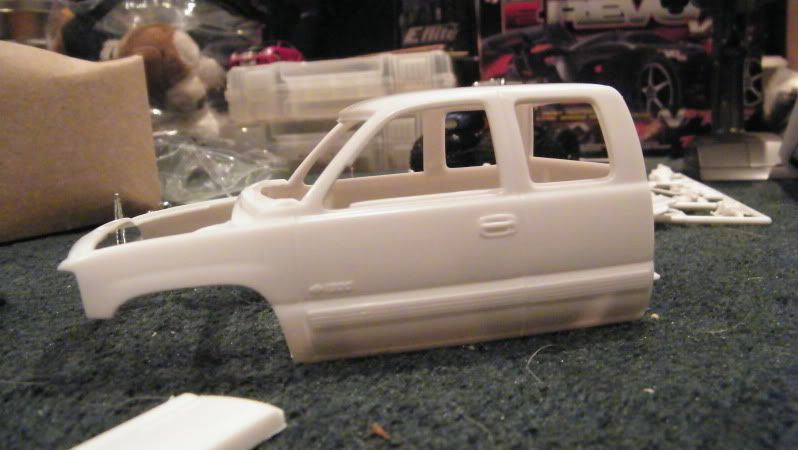 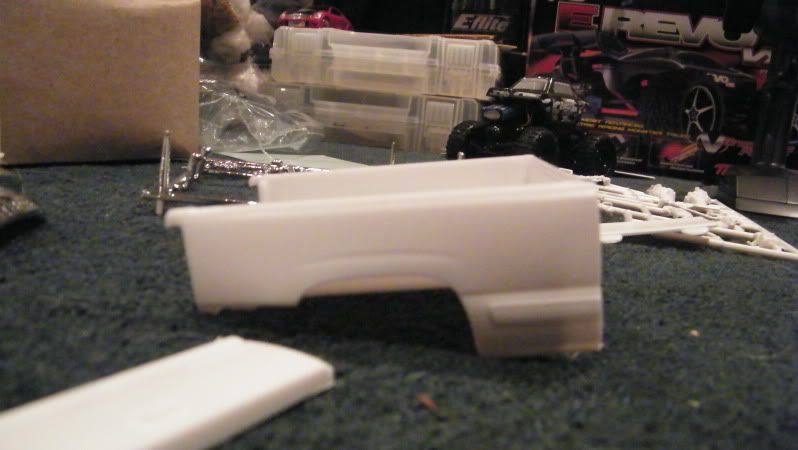 Now for the mock ups 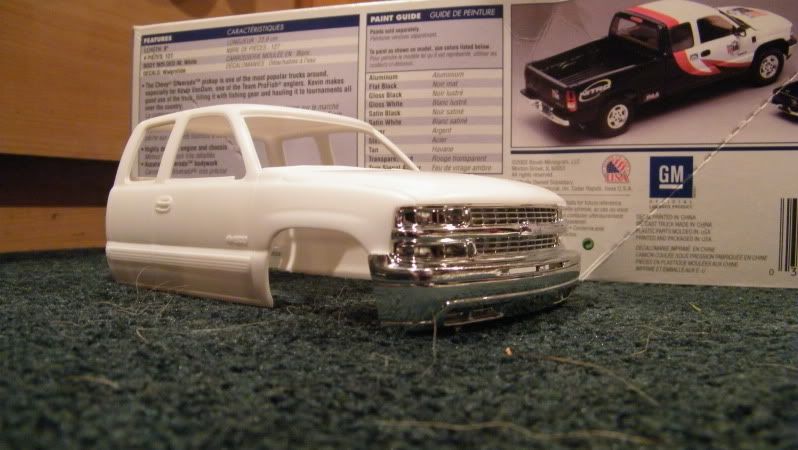 Ones where chassis is shown is just the base for the chassis design, just to show the length etc..the final chassis will be 8.5" in the end approximately. I need ideas for how to extend the shaft and the rear links though, front will stay roughly the same. I have this really good superglue that has 2 steps for really fast dry time, was gonna glue some shafts together to go the length I need, holds my Nitro Stampede plastic chassis together. Any other ideas? Also with the links, much appreciated. 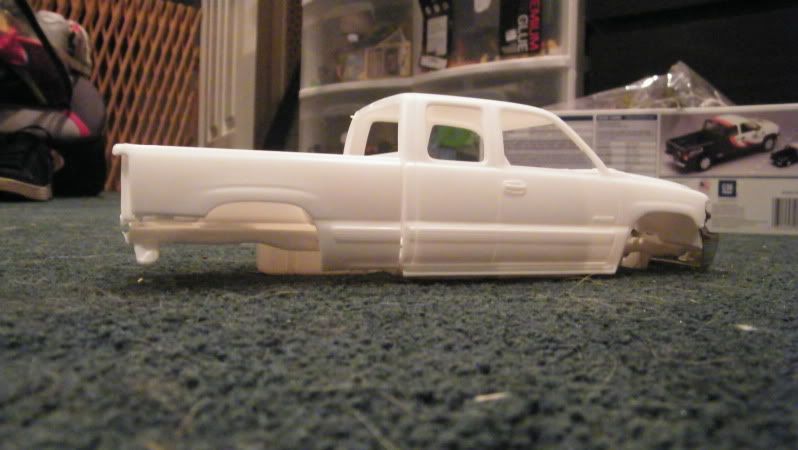 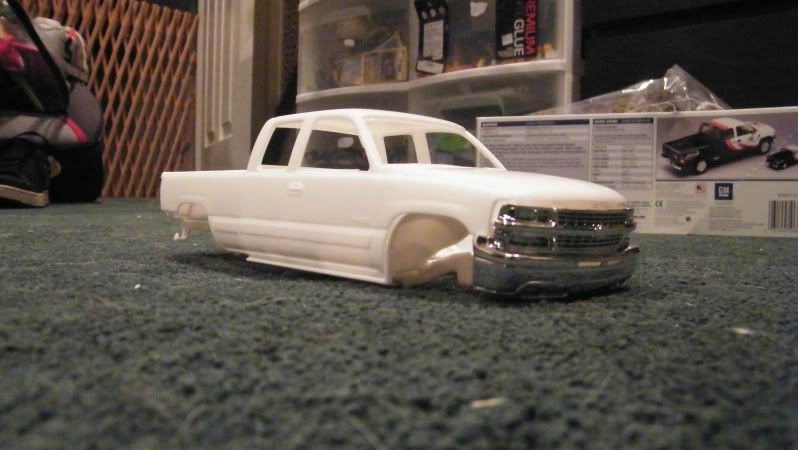 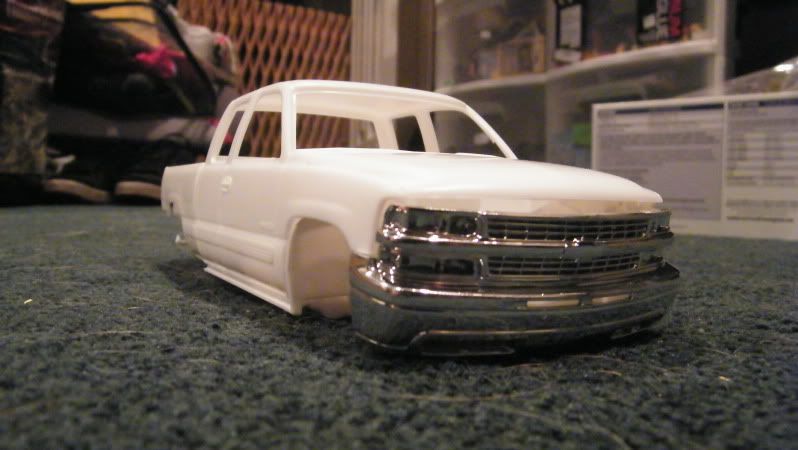 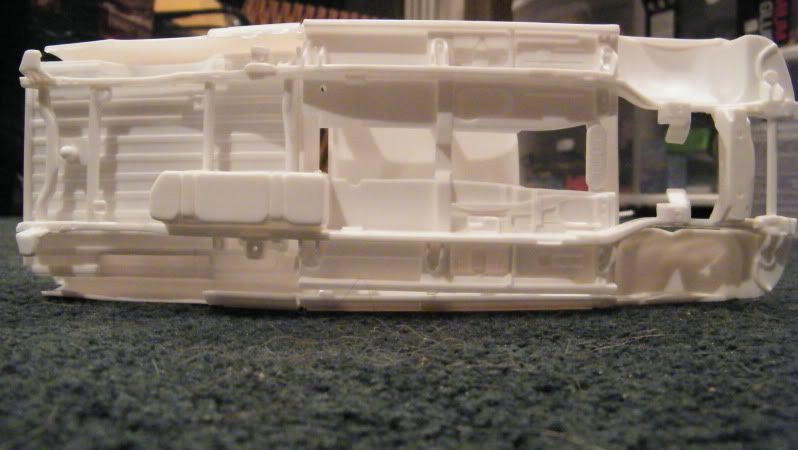 Below, just to show the size difference. 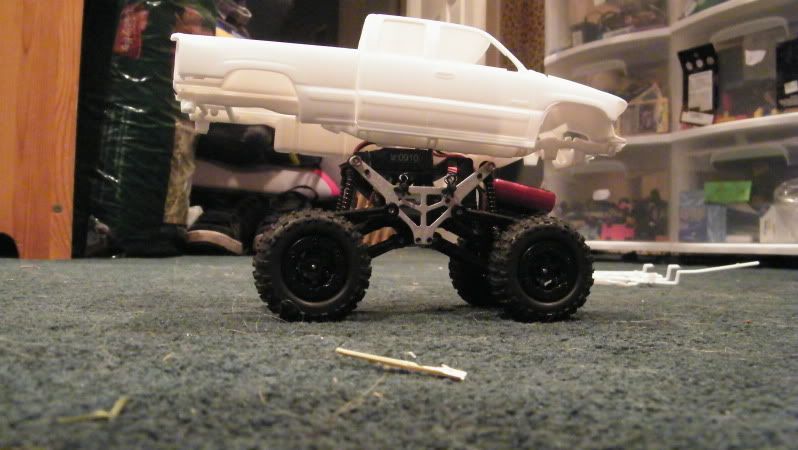 How the battery will be mounted on the actual chassis 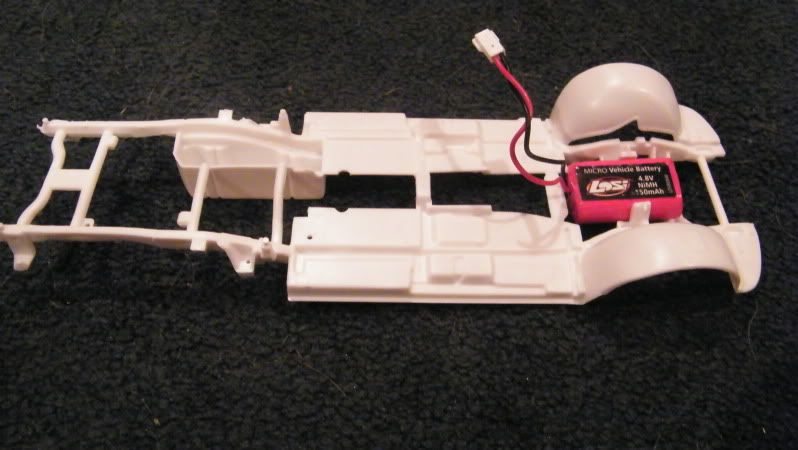 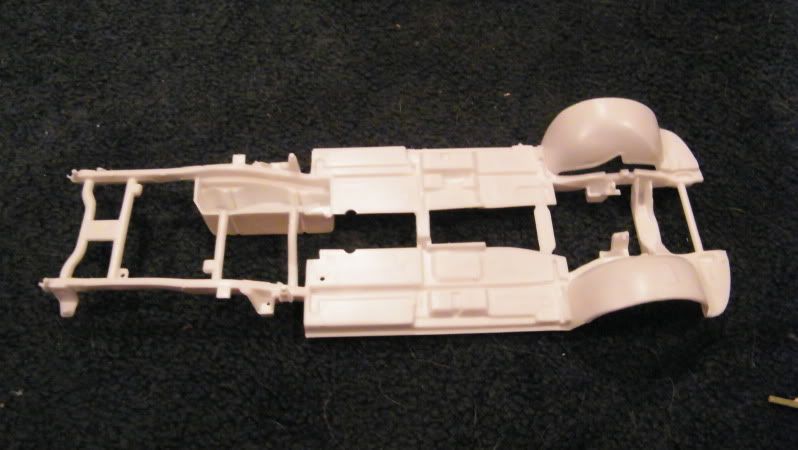 And the chassis design. 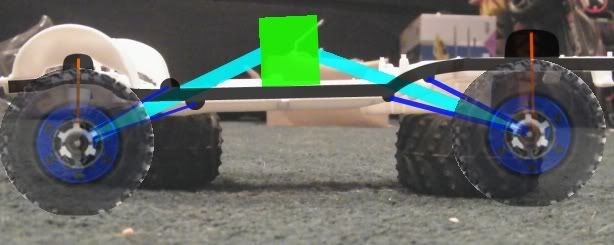 |

|  |
| Sponsored Links | |
| | |
|
12-18-2009, 09:29 PM
| #2 |
| Pebble Pounder Join Date: Nov 2009 Location: Utah - Rocks Are EVERYWHERE
Posts: 141
|
Looks like a fun project, GL! And for the chassis I personally prefer aluminum.  |
|
| |
|
12-18-2009, 11:36 PM
| #3 |
| Quarry Creeper Join Date: Jan 2006 Location: Dallas
Posts: 244
|
I was panning on building a micro silverado at some point too. I'm looking forward to this build! good luck  |
|
| |
|
12-18-2009, 11:52 PM
| #4 |
| Quarry Creeper Join Date: Dec 2008 Location: Post Falls, ID
Posts: 337
|
me too. anyone know of a work shell that would fit? I drive a silverado, regular cab for work. i would love to have a scale directv 4x4. with a couple ladders on top! I live in North Idaho and get sent places I would not make it in the 2wd vans most of the guys get! maybe a 1/24 scale satellite dish too? |
|
| |
|
12-19-2009, 06:05 AM
| #5 | |
| Quarry Creeper Join Date: Dec 2009 Location: Long Island
Posts: 262
| Quote:
I'm thinking of getting maybe a ladder(probably not though), a cooler, an axe and a few other goodies off this guy on eBay I'll try to find it again.EDIT: Heres the guy I was looking for, stuff like this http://cgi.ebay.com/4-Coca-Cola-Red-...#ht_1686wt_939 http://stores.ebay.com/Diorama-Scale...34Q2ec0Q2em322 etc.. Will be ordering in some of those for the crawler Last edited by Stampedekid; 12-19-2009 at 06:11 AM. | |
|
| |
|
12-20-2009, 09:55 PM
| #6 | |
| Rock Stacker Join Date: Jun 2007 Location: Abbotsford BC
Posts: 82
| Quote:
| |
|
| |
|
01-02-2010, 11:39 AM
| #7 |
| Quarry Creeper Join Date: Dec 2009 Location: Long Island
Posts: 262
|
Small update, got the chassis painted a few days ago in freezing cold weather. Currently it is snowing again so no painting for a few days on the body. Haven't had a chance to work on it because of being with family/friends then yesterday we went out to NYC to get my cousin and just go there..etc... Well anyway I was hoping for it to come out flat black like it had 2 years ago when dad and I painted an XMOD body back when I was into them. Well I guess sitting for 2 years made it glossy? Oh well it looks pretty cool, this was right after I had painted it 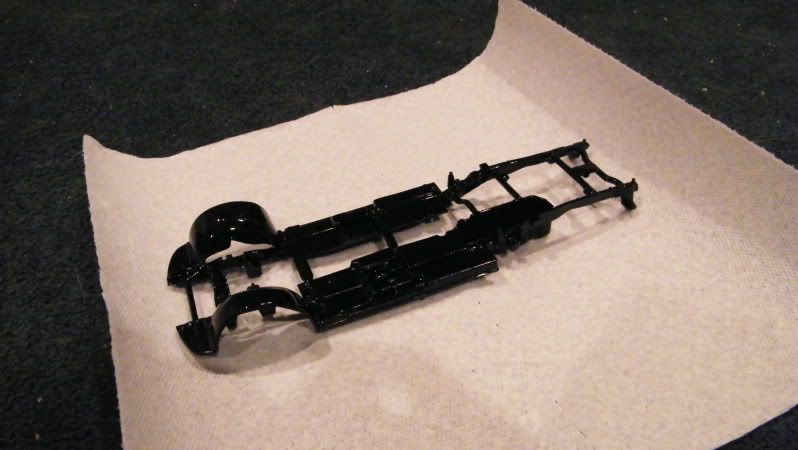  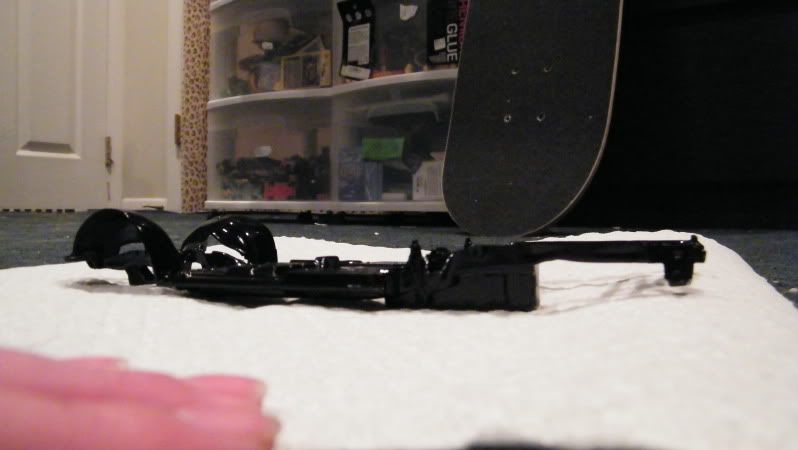 My hand was in here to hold down the paper towel that it was sitting on after it had dried(painted it on a cardboard box) 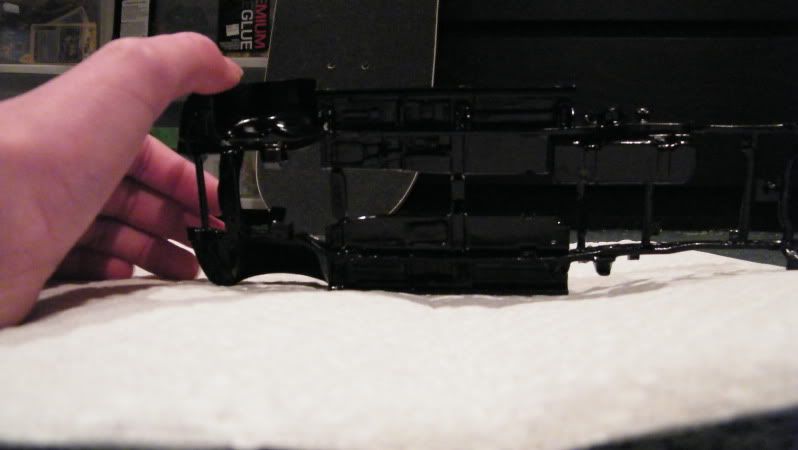 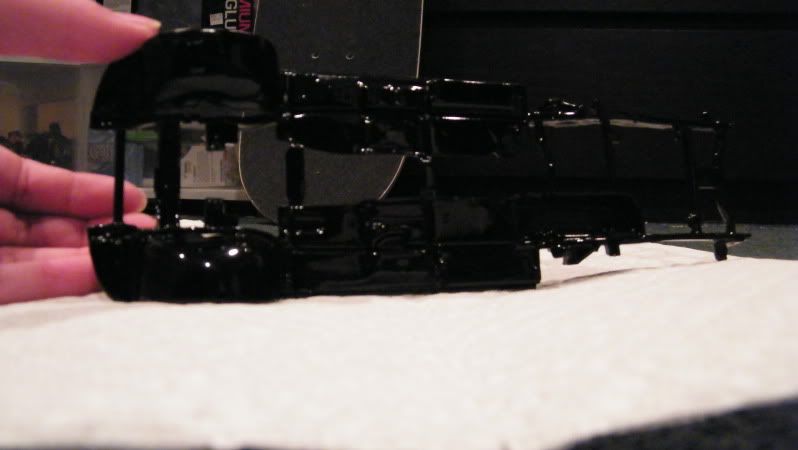 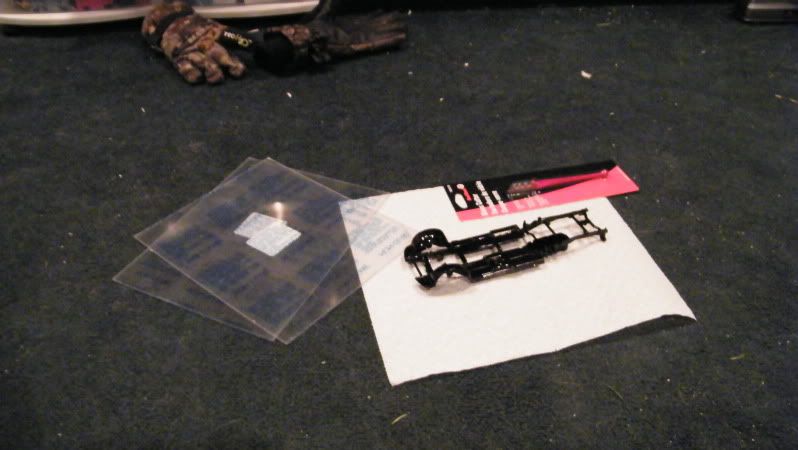 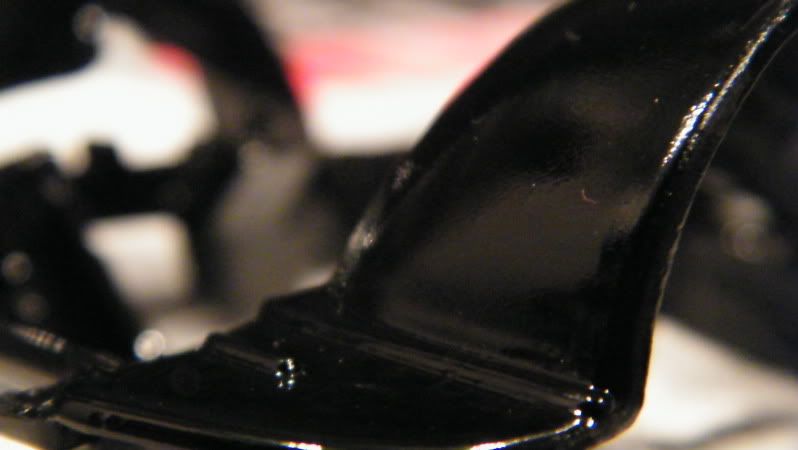 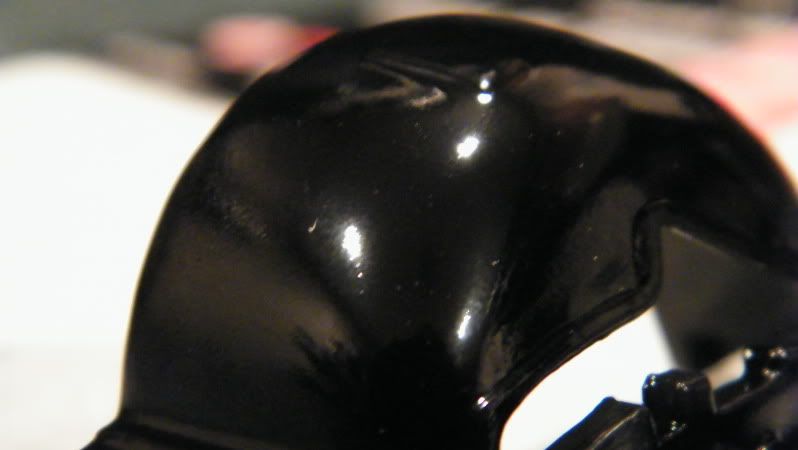 |
|
| |
|
01-16-2010, 07:11 PM
| #8 |
| Quarry Creeper Join Date: Dec 2009 Location: Long Island
Posts: 262
|
Sorry I wasn't keeping you guys updated, if you wanna see the full build, please go here, below is what I posted word for word on the other forum http://beatyourtruck.com/forum/showthread.php?t=63049 Looks more MT than a scaler, but I love tall, lifted trucks so its all good, performs very well too. Well guys, another BIG update. I got the chassis finished today, made up the other rear links and all, ran it, glued down the hood, dremeled out the bed and all. Accidentally cut all the way through the bed before so just gonna cover the entire bottom with a sheet of aluminum, and friend is making me a Toolbox out of my aluminum because he wants to, for the battery to sit in. As for droop, I got it sprung just right and it performs great, just finished about a half hour ago, and it runs just how I wanted it to. It lost some travel compared to stock but it looks great while flexing, so its all good. As long as it doesn't rain tomorrow, the body will be painted, detailed and then get a layer of clearcoat and best of all, no school on monday so a full day of running this little bad boy. The links needed a LOT of adjustment to get it straight and with no play, and had to redo the shock mounting position on the rear AGAIN, still has a little bit of play, gonna get that solved out tomorrow or may just leave it as it performs as well as I wanted it to. This morning, after breakfast 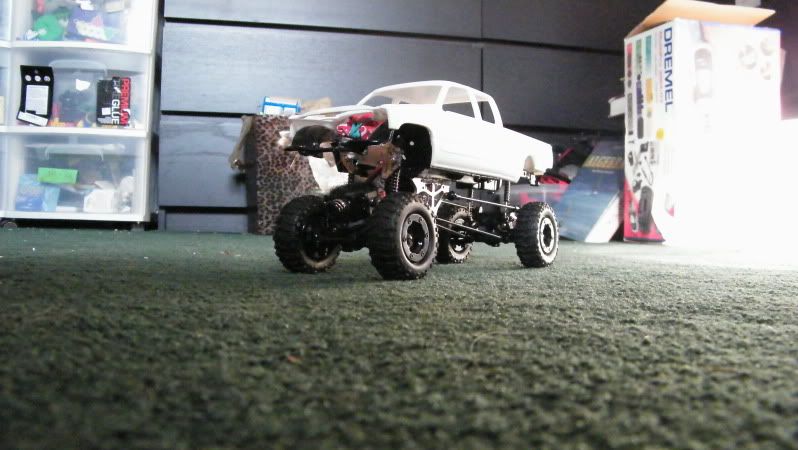  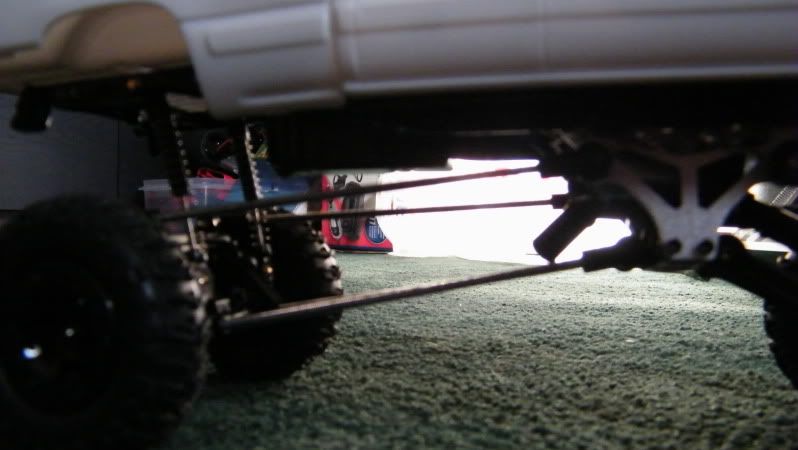 Size comparison with my BL/LiPo Micro DT with a wheelie bar 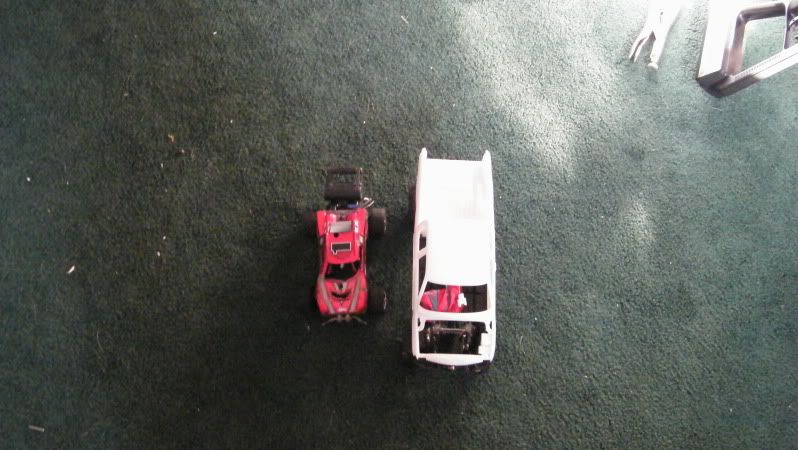 Size comparison with the DT, and the XMOD F150 with lift kit and body lift 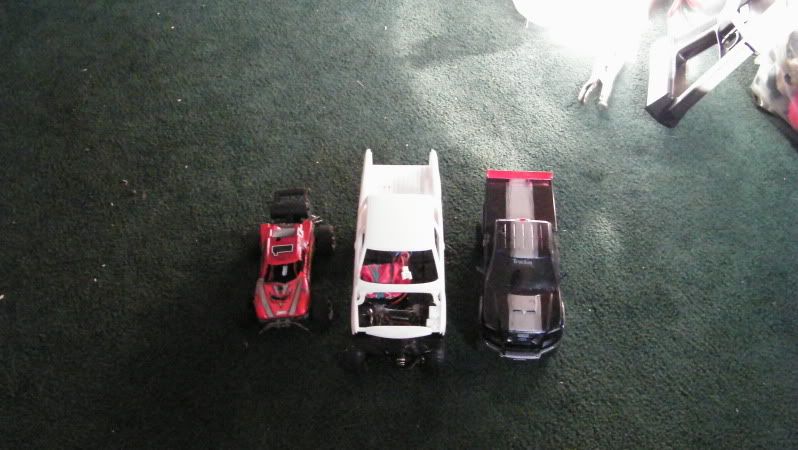 Size comparison with the F150, DT and stock body 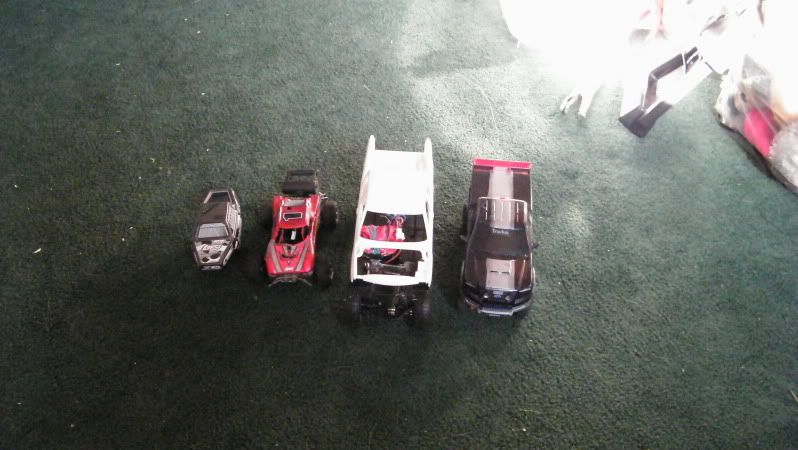 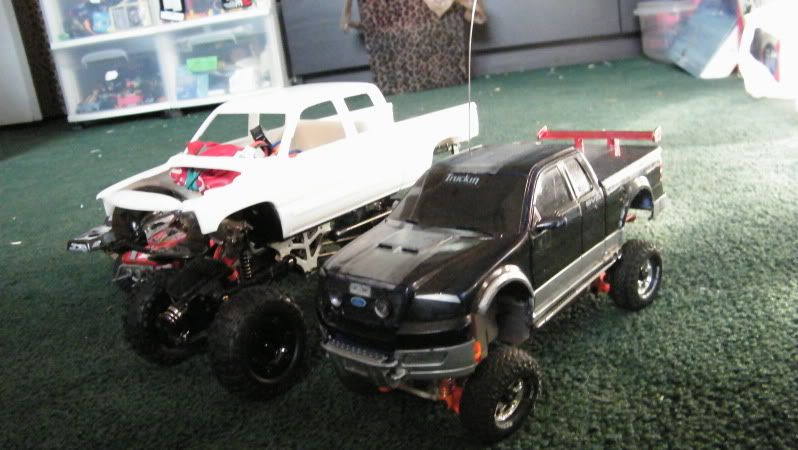 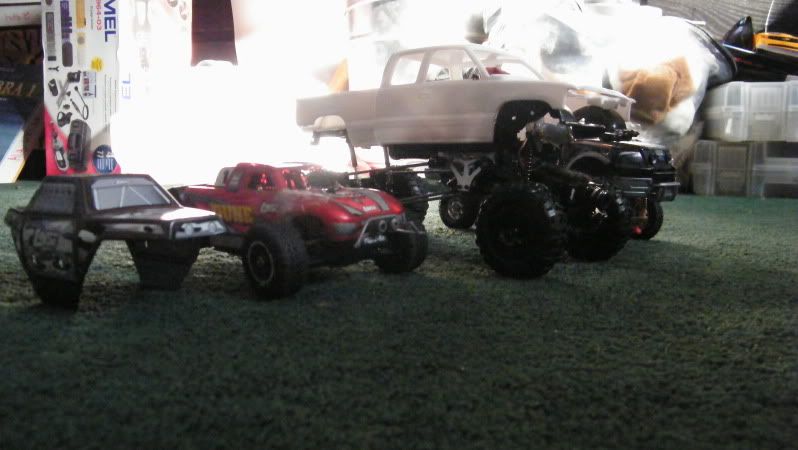 Just about a half hour ago, after finishing the chassis 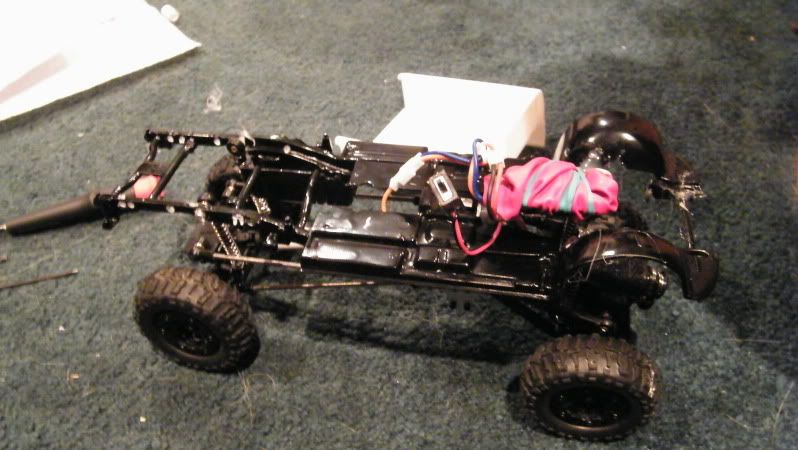 Hacked up a pen tube with some rod cutters, a dremel and an electric drill, yesterday and today, then used shafts from Horizon Hobby to connect to the original ones 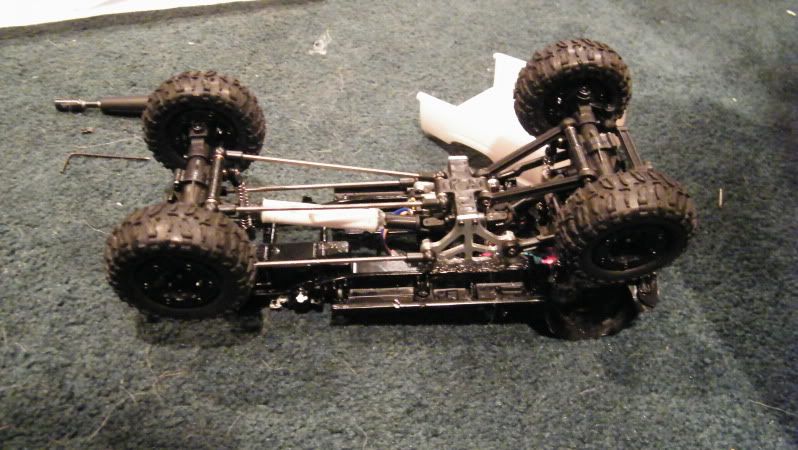 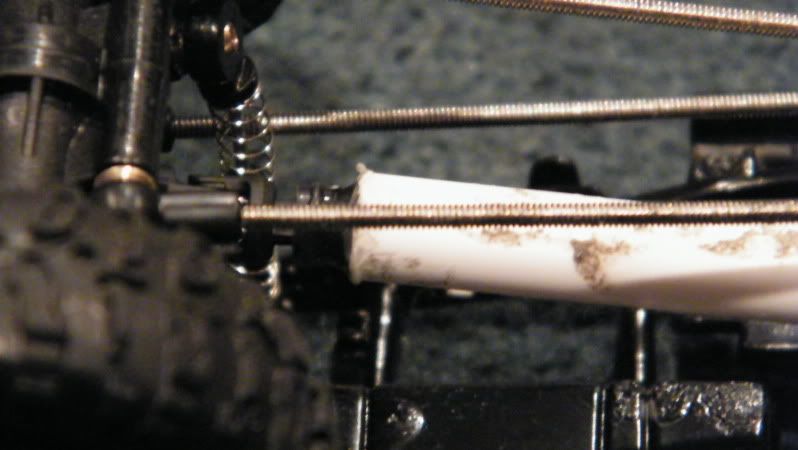  Bed after first day of dremeling, did it last night now it looks worse, but works 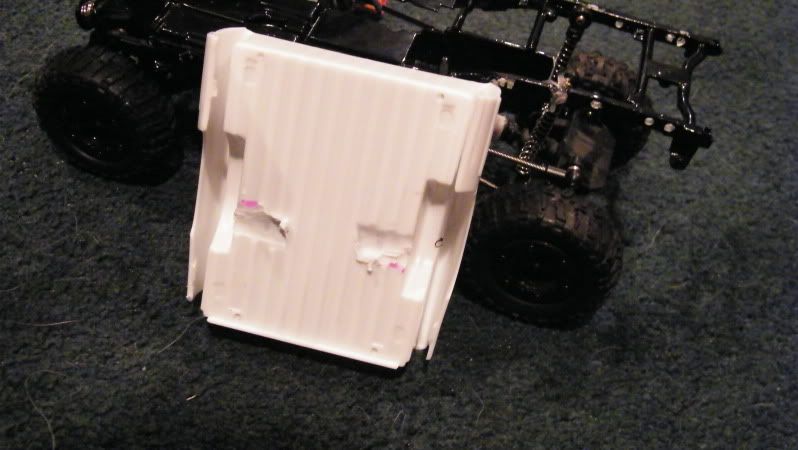 Also got some more pictures, after the first run with the scaler setup. Might lower it just a little bit, but not much gotta see how I like it or dislike it sitting lower..actually I like it lower but the problem is one of the shocks is impossible to get to the screw, so may just dental floss/rubber band to get droop 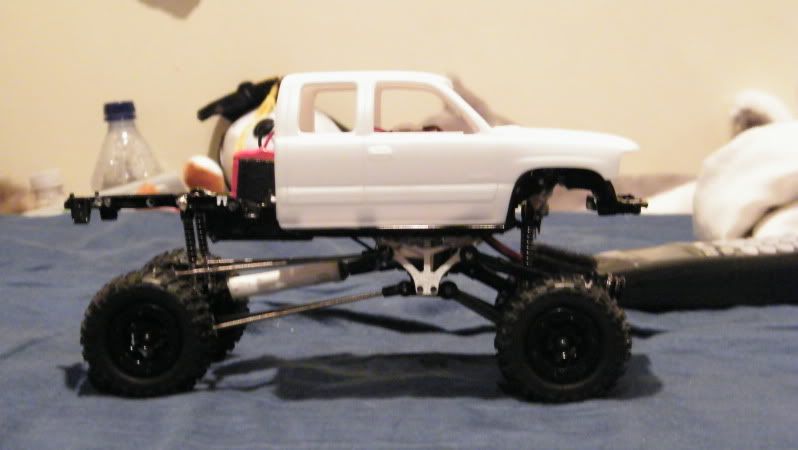 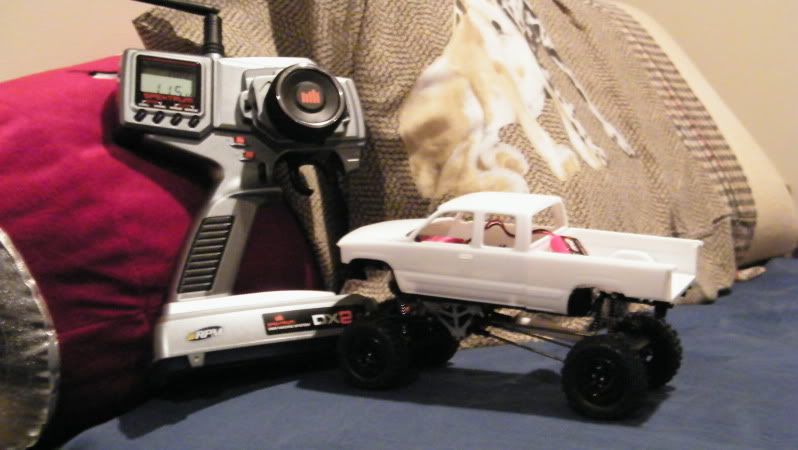 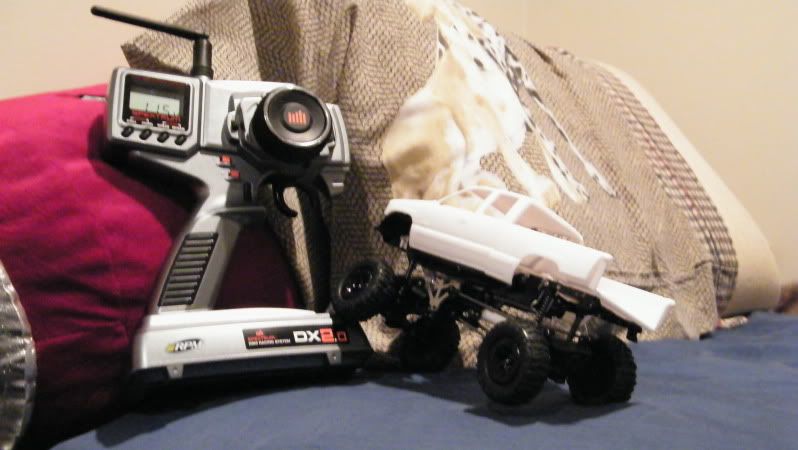 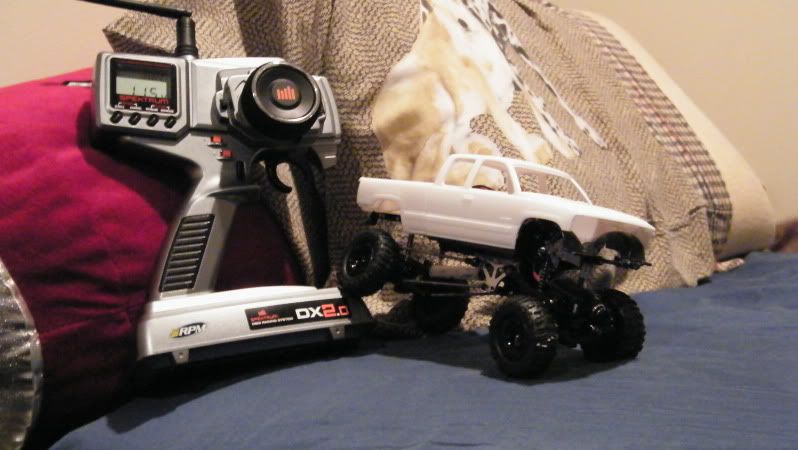 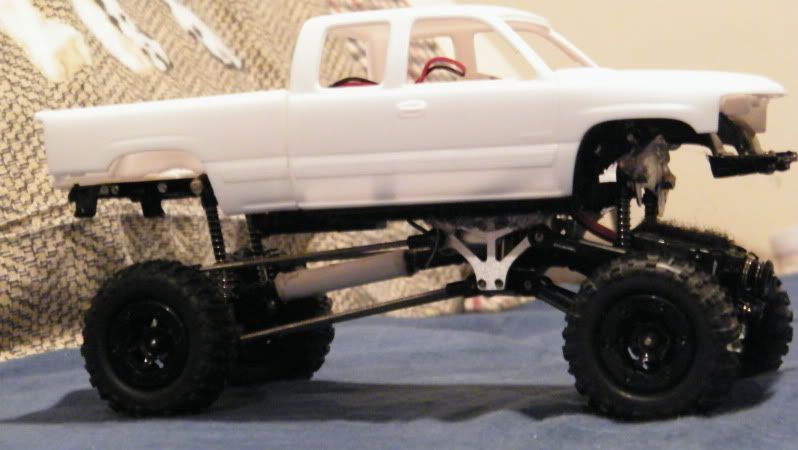 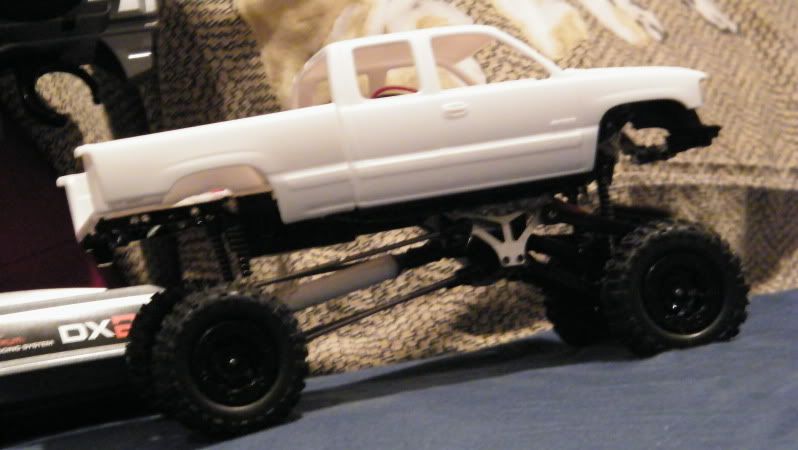  Last edited by Stampedekid; 01-16-2010 at 07:26 PM. |
|
| |
|
01-16-2010, 08:13 PM
| #9 |
| Quarry Creeper Join Date: Jan 2006 Location: Dallas
Posts: 244
| |
|
| |
|
01-16-2010, 09:39 PM
| #10 | |
| Quarry Creeper Join Date: Dec 2009 Location: Long Island
Posts: 262
| Quote:
| |
|
| |
|
01-16-2010, 10:03 PM
| #11 |
| Quarry Creeper Join Date: Dec 2009 Location: Long Island
Posts: 262
|
Well went searching around the house and found some rubberbands that dad uses for the fish tank filters, tried them out(very tiny, fits over my thumb tightly) and it runs perfectly, flexes nicely, better than I imagined and sidehills very nicely. Sits at a good looking height too. Enough talking, onto the pictures. Sorry about the quality it was around 11:50PM when I took them 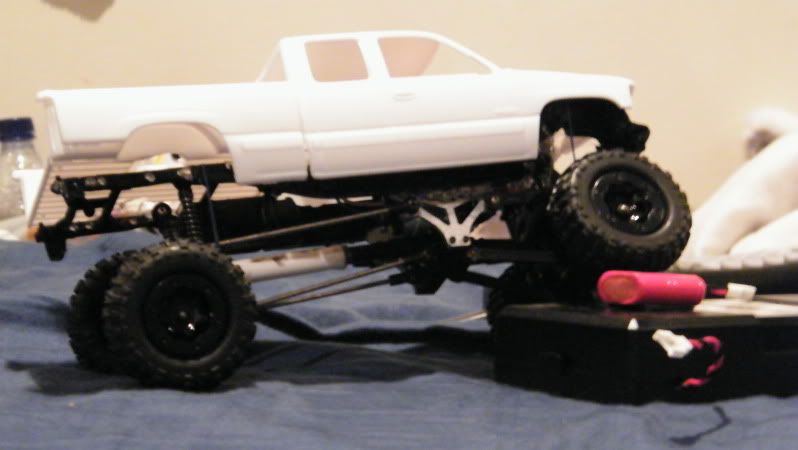  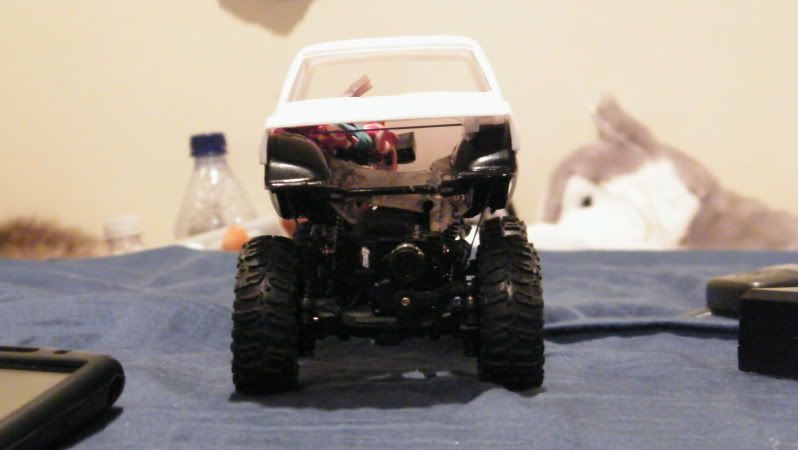 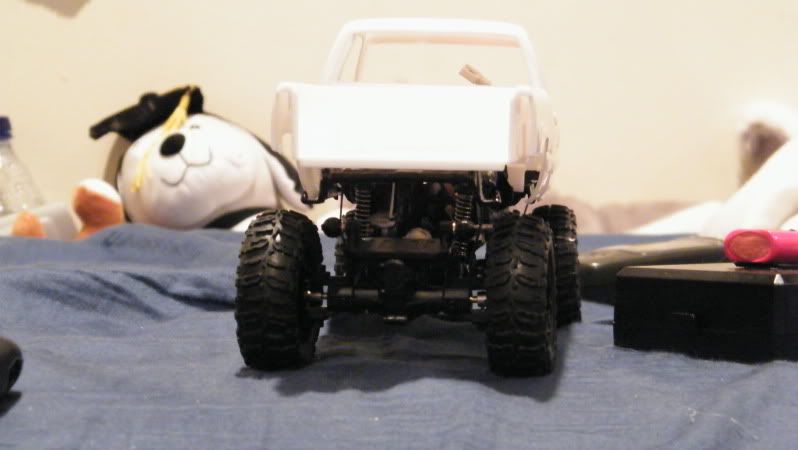 Hopefully I can get it out on some rocks tomorrow in the front yard(please wish for no rain!). |
|
| |
|
01-16-2010, 10:09 PM
| #12 |
| Quarry Creeper Join Date: Jan 2006 Location: Dallas
Posts: 244
|
definitely like that ride height better. If you want the truck to sit at that ride height but still have upward suspension travel you can just make some shock hoops on the chassis to raise the upper shock mounts. just a thought
|
|
| |
|
01-16-2010, 10:37 PM
| #13 | |
| Quarry Creeper Join Date: Dec 2009 Location: Long Island
Posts: 262
| Quote:
| |
|
| |
|
01-16-2010, 11:21 PM
| #14 |
| Pebble Pounder Join Date: May 2009 Location: ashland
Posts: 162
|
it wont be long untill there are bugger tires for these things hitting the market and you can fill up theose wheel wells alittle better. right now its a little to high for my liking.
|
|
| |
|
01-17-2010, 11:30 AM
| #15 | |
| Quarry Creeper Join Date: Dec 2009 Location: Long Island
Posts: 262
| Quote:
| |
|
| |
|
01-17-2010, 06:28 PM
| #16 |
| Quarry Creeper Join Date: Jan 2006 Location: Dallas
Posts: 244
|
i believe the swampers that were on that aoshima range rover were actually a little smaller diameter than the stock just to let you know
|
|
| |
|
01-17-2010, 10:10 PM
| #17 | |
| Quarry Creeper Join Date: Dec 2009 Location: Long Island
Posts: 262
| Quote:
| |
|
| |
|
01-28-2010, 09:40 AM
| #18 |
| Quarry Creeper Join Date: Dec 2009 Location: Long Island
Posts: 262
|
OK: Some updates from yesterday, before my Math Exam(yaaa no more this week so I'm home!) and before clearcoat. It's all dry now, I just need to assemble it and it will be finished, some of it was very sloppy from bleeding but it looks good far away, did touch up after. If any spots looked smudged, mom tried to touchup with a paint pen for me but we ended up going to the regular color, bright white. Any spots that look pink, are actually red my camera lets in lighting weird and turns it pink. Now, after clearcoat it looks great but that does not mean its done. Also in the pics is the cheapo toolbox my friend hot glued up for me, i told you it looks like poo actually it looked worse till I hit it with the dremel, just gonna do one outta brass tubing and cover it with leather Also the left side(standing from behind it) NITRO decal ripped in one place, still turned out nice, and the Kevin VanDam decal ripped in 3 so I got it as best as I could, waterslides are easy but they rip too easily! 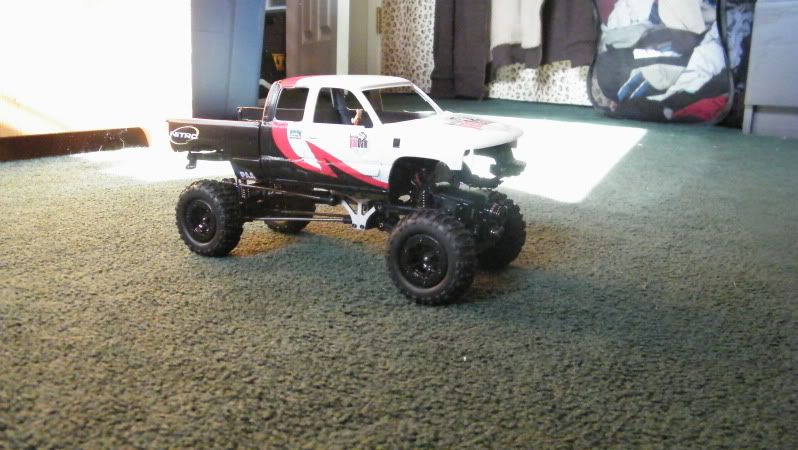  Next two pics you can see the sloppy ness, sanded that off with 320grit sandpaper and did touchup paint with the real color 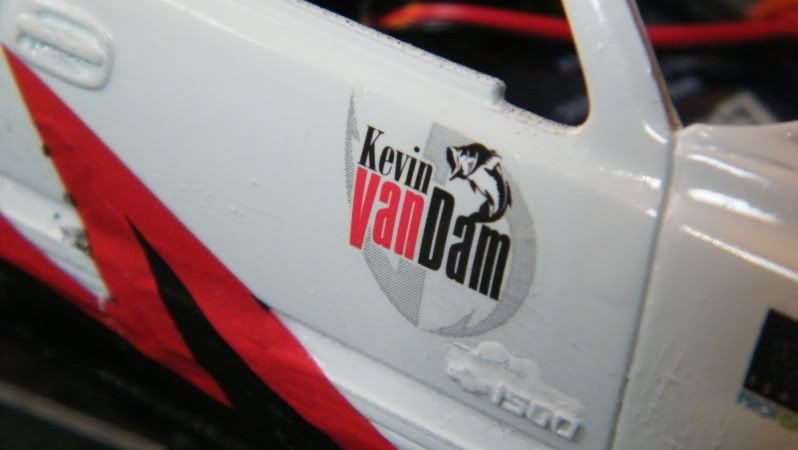 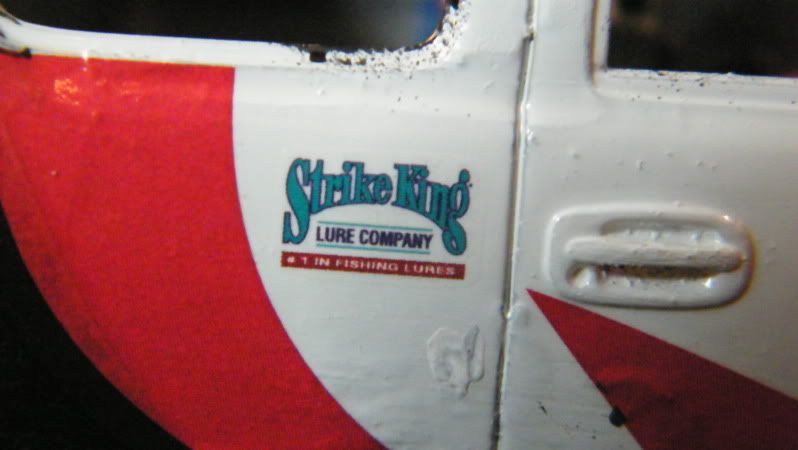 The Nitro decal that didnt rip  Below, isn't really as noticeable as shown in the picture, especially after clearcoat  Driveshaft turned out nice  Not actually pink, actually a very nice red 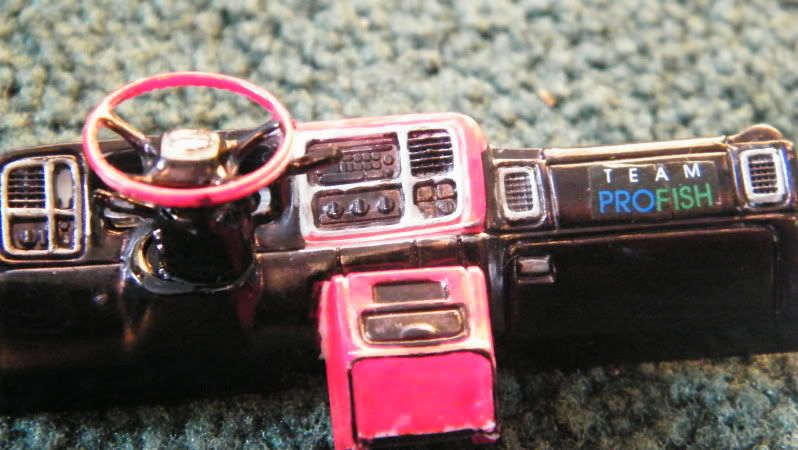 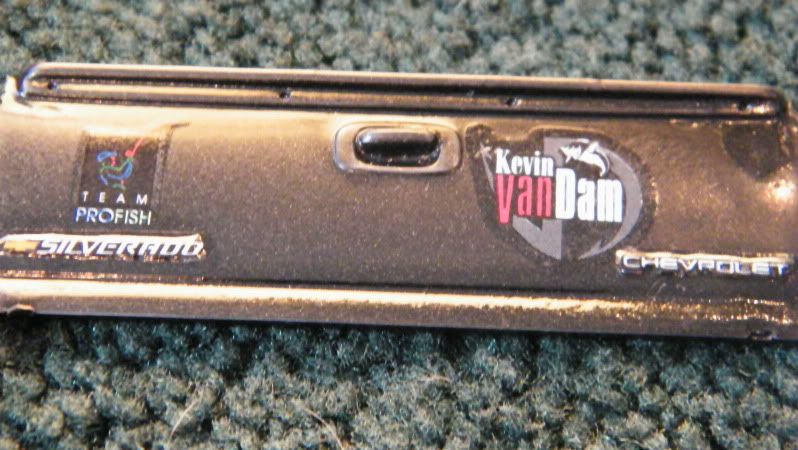 No they aren't that noticeable either, after clearcoat Chevy Bowtie decal fell off then tore in half, so originally did it orange but it didnt show too much so covered it with red sharpie, looks much better now(not shown in the pics) 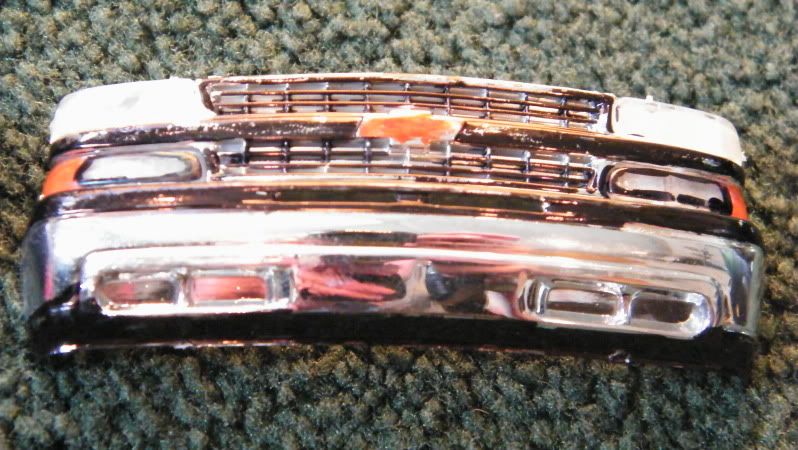  Yes the LP is chrome too 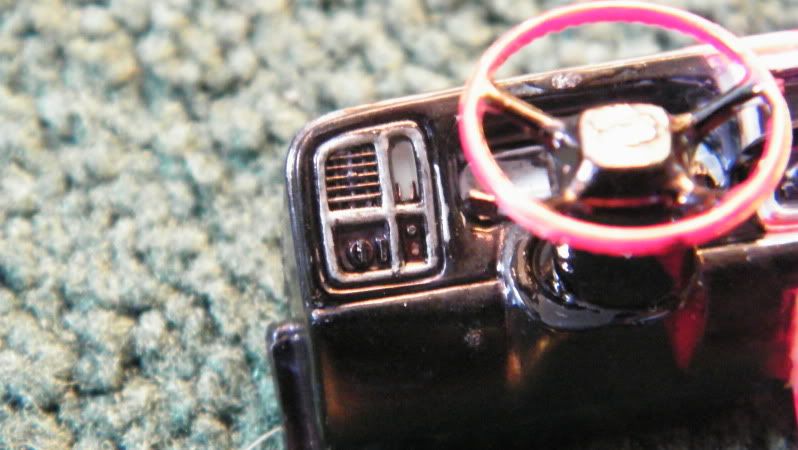 Didn't have a superfine sharpie to hit the inside of that vent, oh well 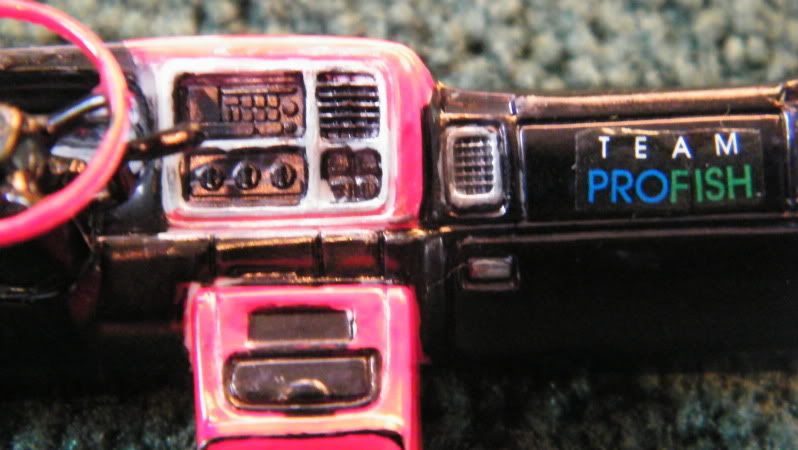 Yep they're both waterslide decals below 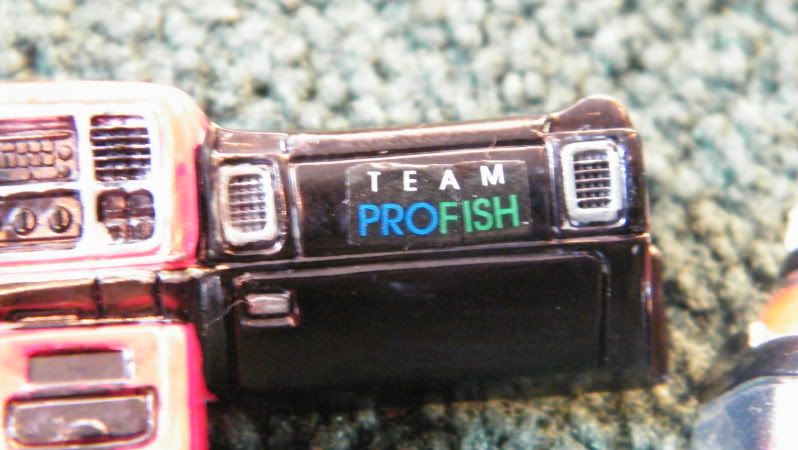 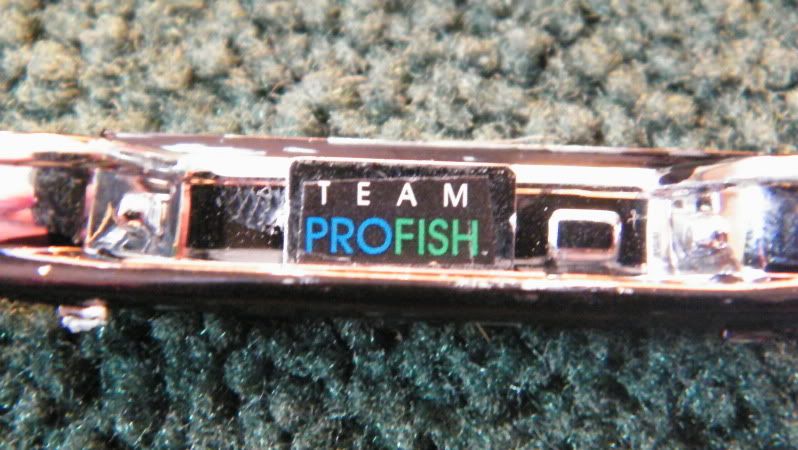 AAAND onto the cheap toolbox, it fits tightly but looks like cr@p 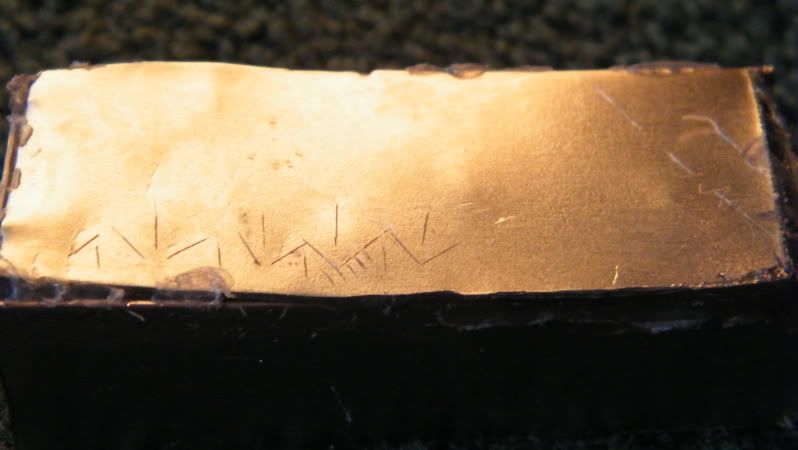 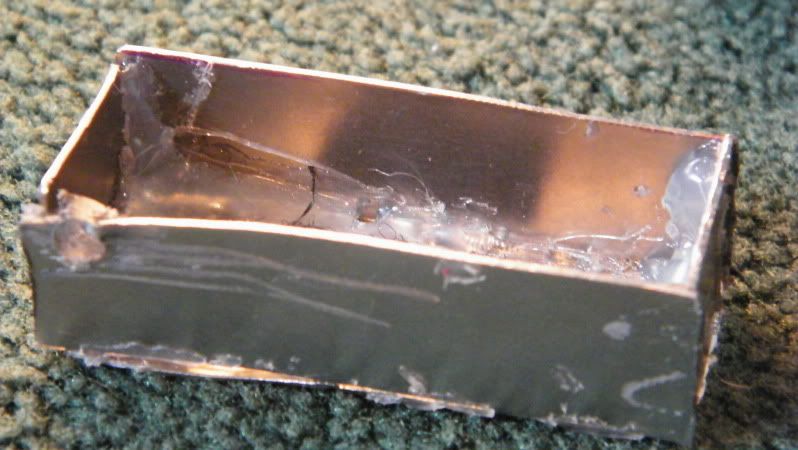 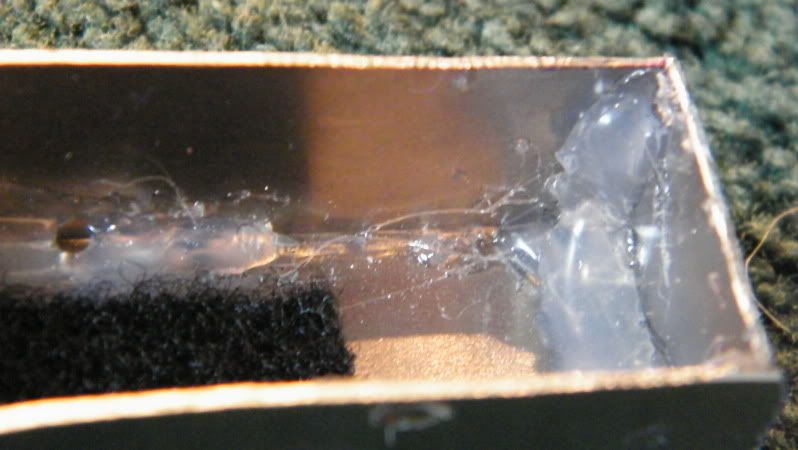 Another sloppy spot, see the bleeding from when it was masked? Not too bad after touch ups 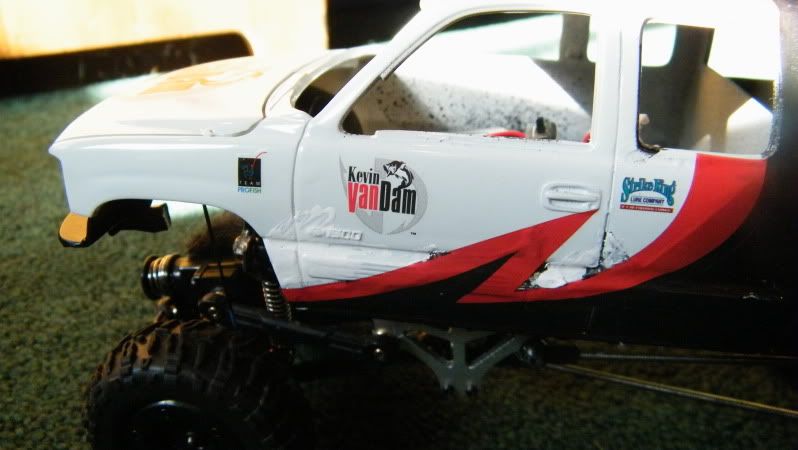 The ripped decal below, not too bad right? It had split completely in half  Made it an LT not an LS 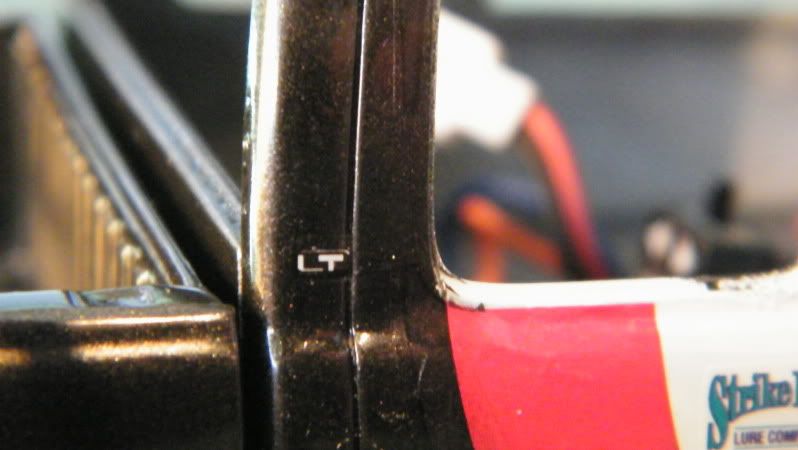 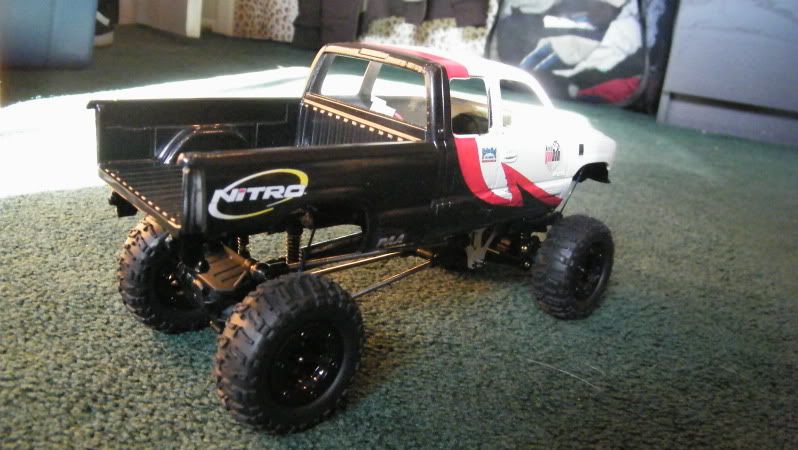 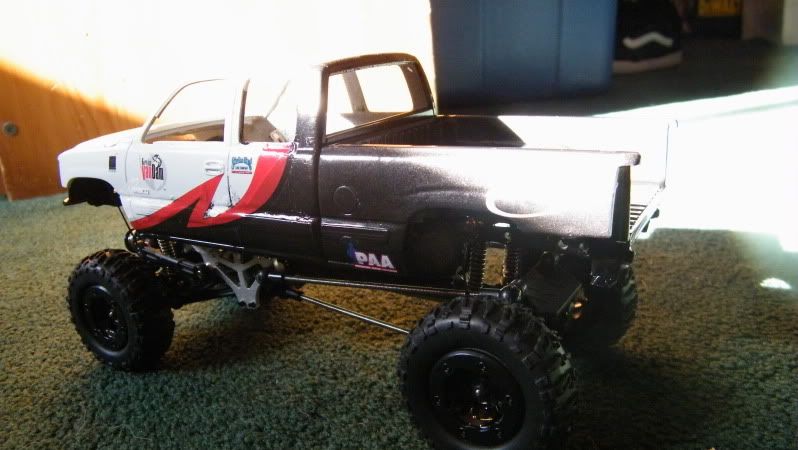 |
|
| |
|
01-28-2010, 06:09 PM
| #19 |
| Quarry Creeper Join Date: Dec 2009 Location: Long Island
Posts: 262
|
Thanks guys, I'm happy to say for the most part, it is done! Had some screw ups where hot glue dripped and when I peeled it, it peeled the paint but it's ok as it will get scratched while out on the rocks. Got everything mounted but as said before, the parts are red not pink, its just how my camera is..yeah I don't know, lets in too much light to the lens. The rear really is level with the front the pics just make it appear different and I know the rear is tilted, needs some adjustment. The stuff I got were 5/8"x5/8" hinges, some thin wood, a mini hot glue gun ($3 works great!) and 18 mini hot glue sticks(also $3 work great too), all from Michael's then some copper tubing, a cutting wheel(with diamond) for my Dremel(35k RPM's dremel) and a soldering set with flux and a brush for copper and brass. Going to make a roll cage for looks out of that as well as a bull bar for the bumper, and maybe some other stuff, time will tell on that one. The toolbox took much longer than expected, cut it while watching Winter X-Games 14, ended up having to cut it thinner(used razor blades for scoring for first time) because it was too wide to fit behind the wheel wells so cut it down with the cutting wheel on the dremel, my room smells nice now 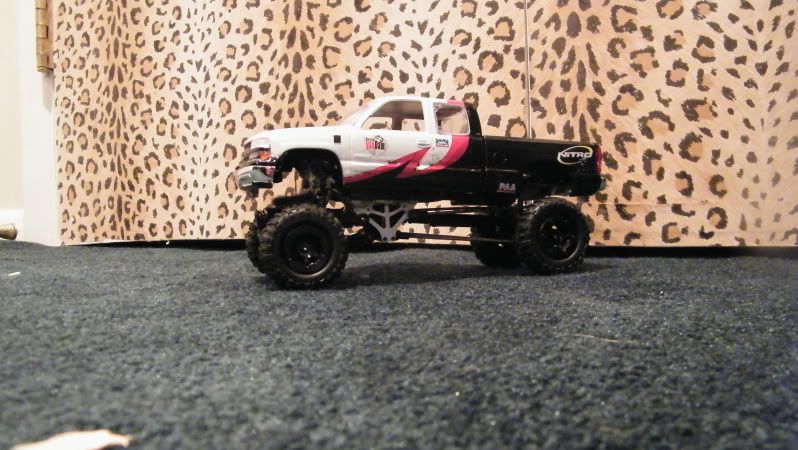 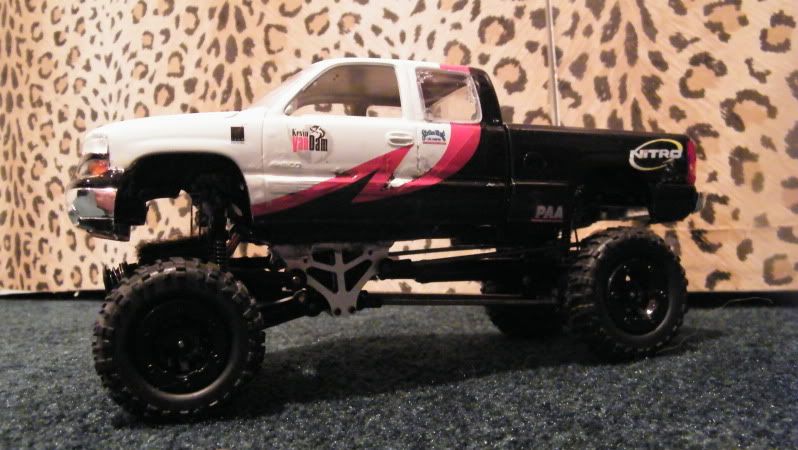 where the hot glue drip was, >.< not too noticeable but still   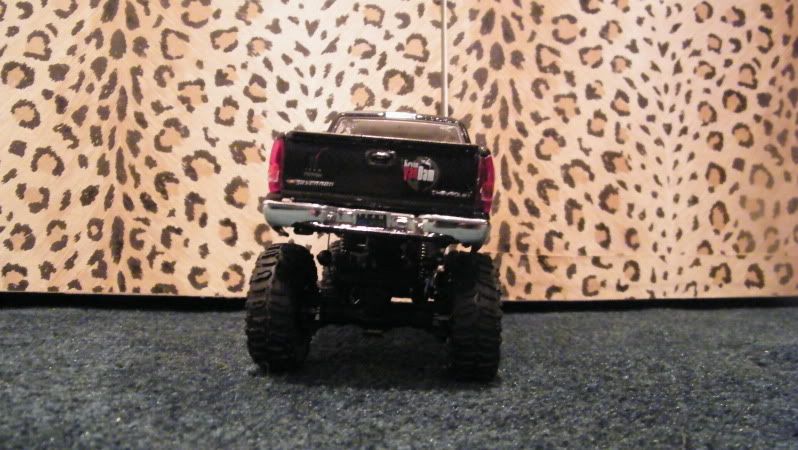 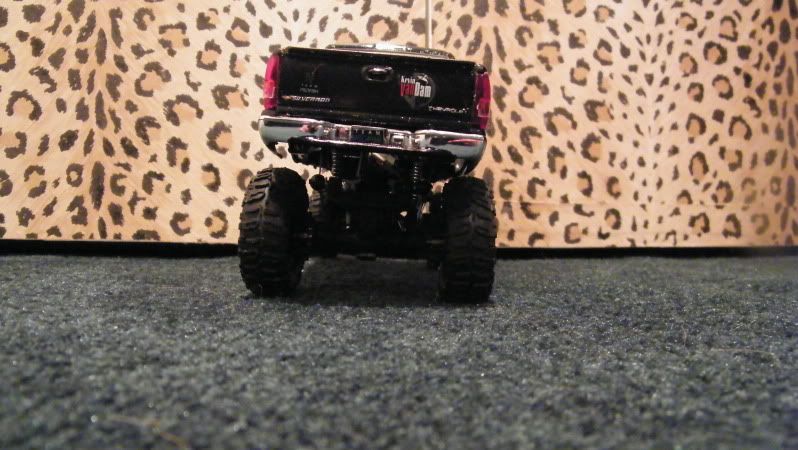 Beginning phases of the toolbox, I took off the edges with my cutting wheel and a sanding bit 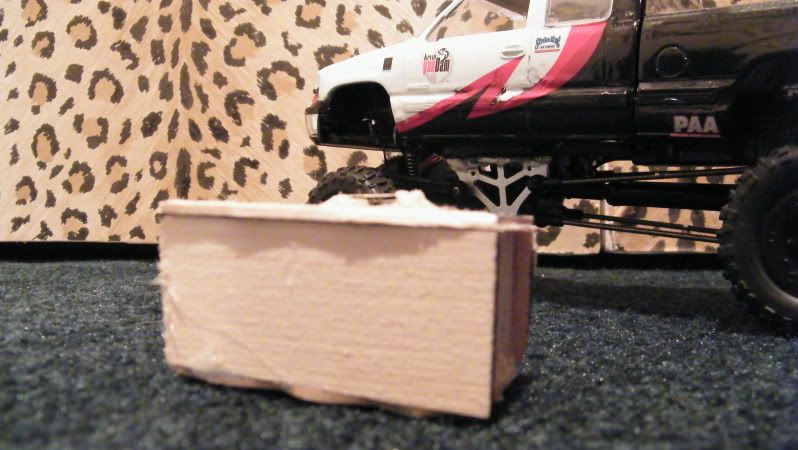 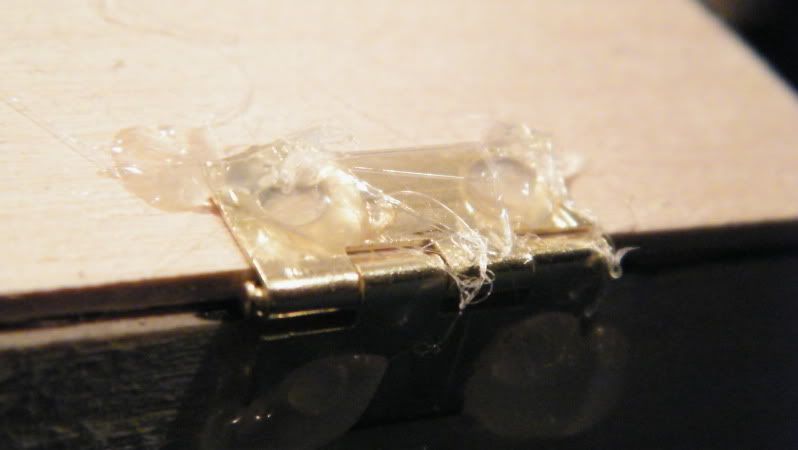 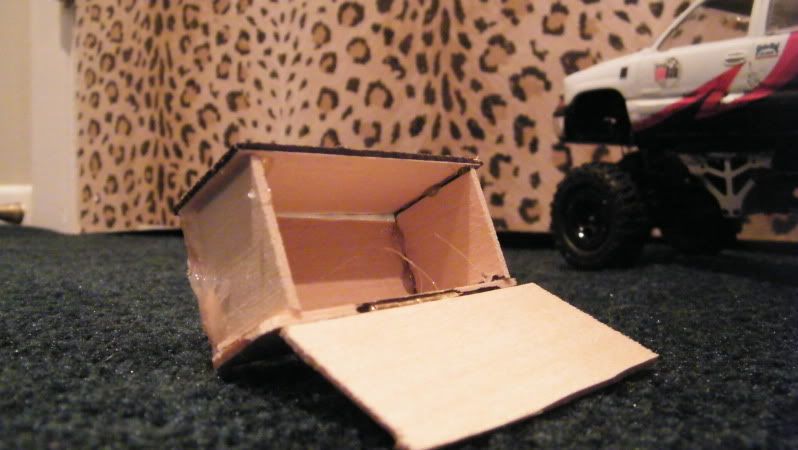 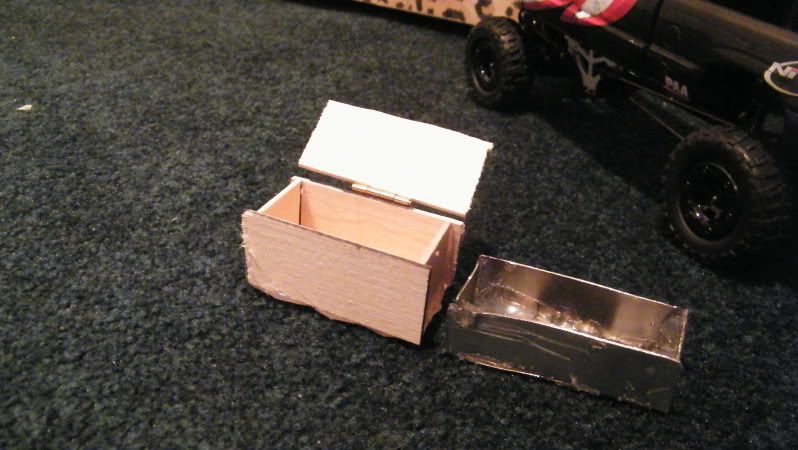 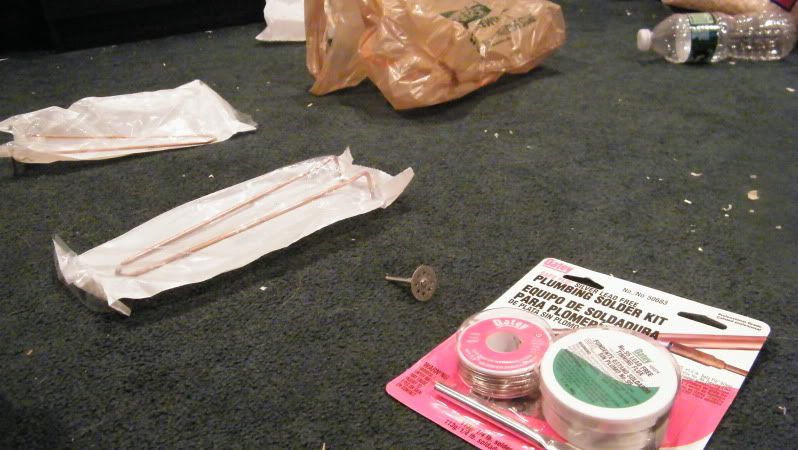 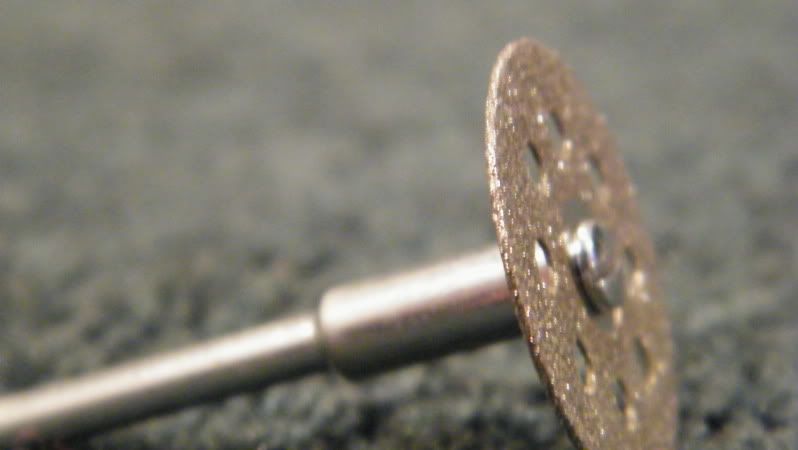 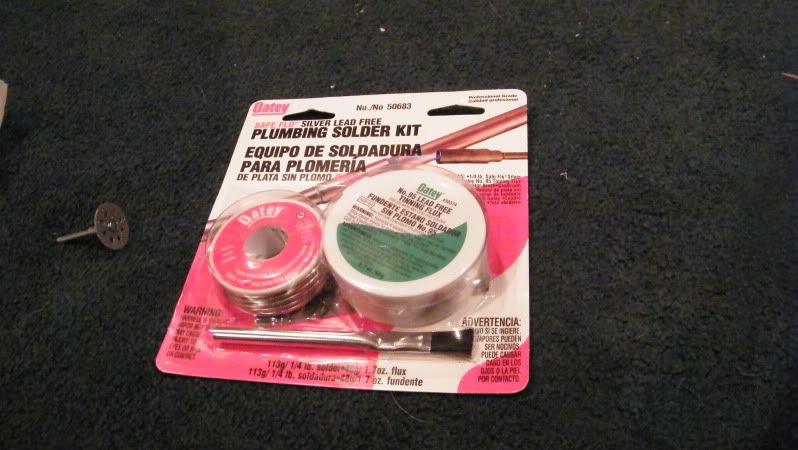 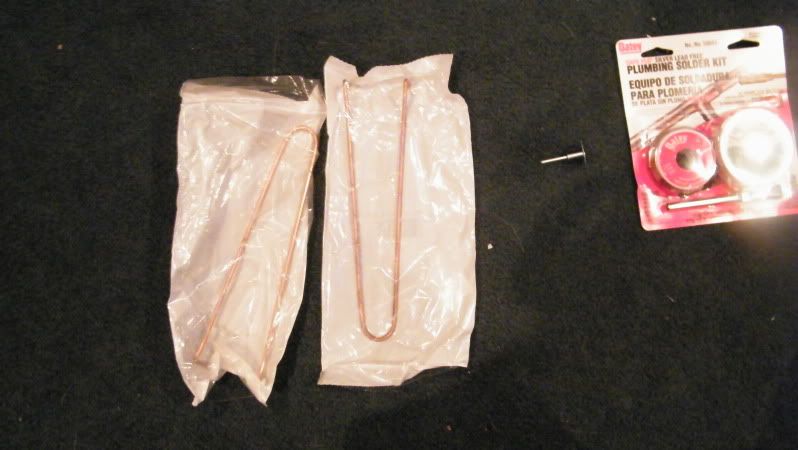 Battery secretly hidden away 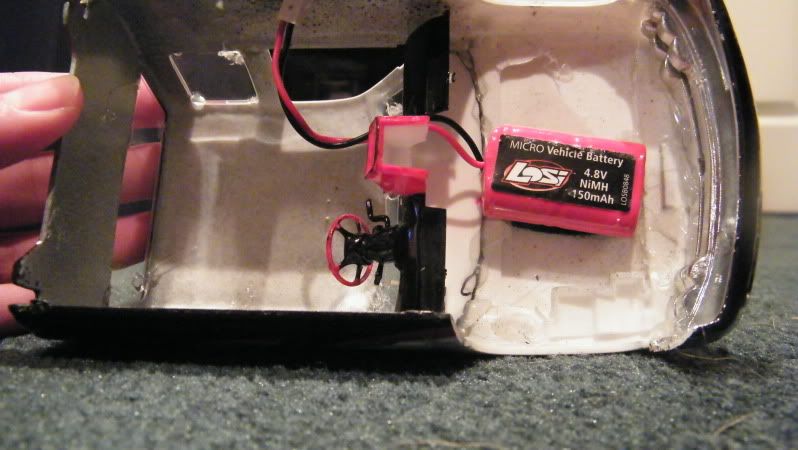 No its not pink, but a very nice red actually   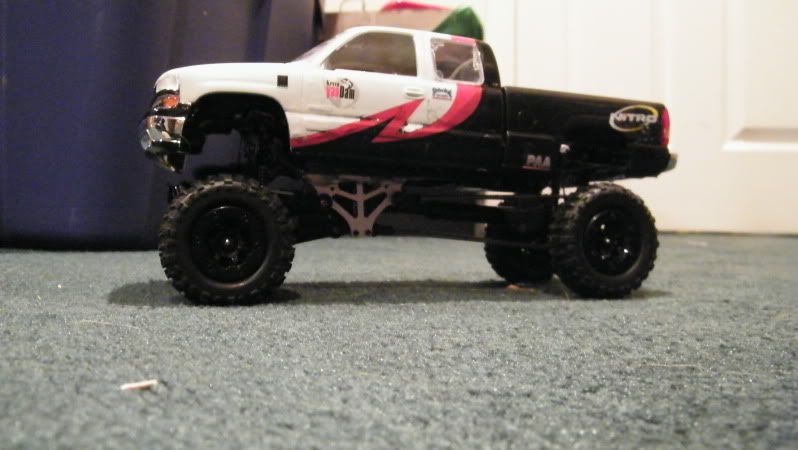 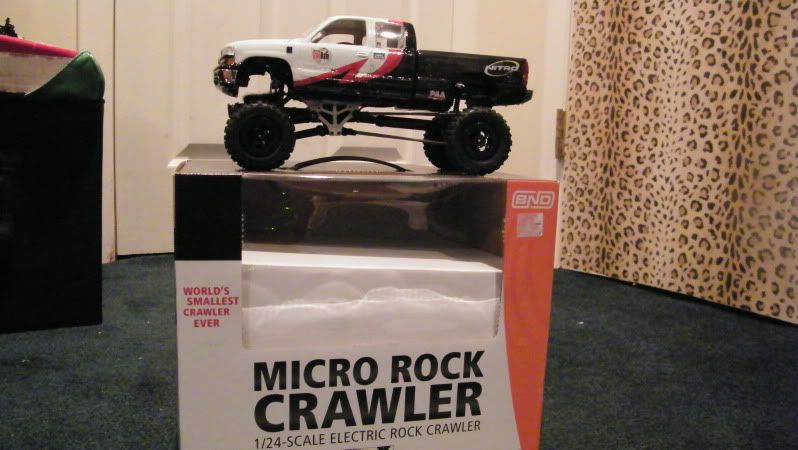 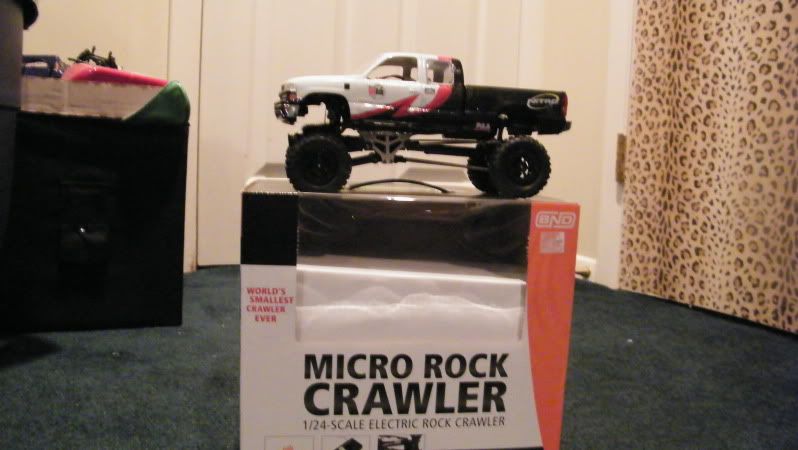 Size comparison to the stock body 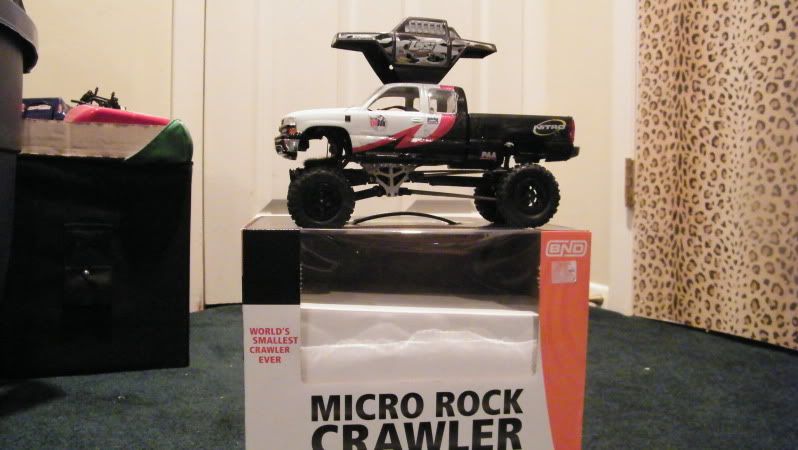 Pictures of the finished toolbox are to come! Stay tuned---It is finished, but figured I'd hold off for now, to tease you guys :P |
|
| |
|
01-28-2010, 06:28 PM
| #20 |
| Quarry Creeper Join Date: Dec 2009 Location: Long Island
Posts: 262
|
Fine, couldn't wait, 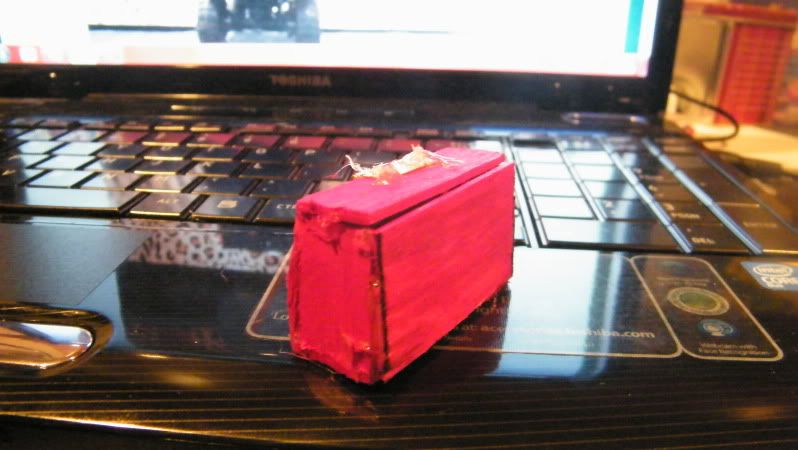 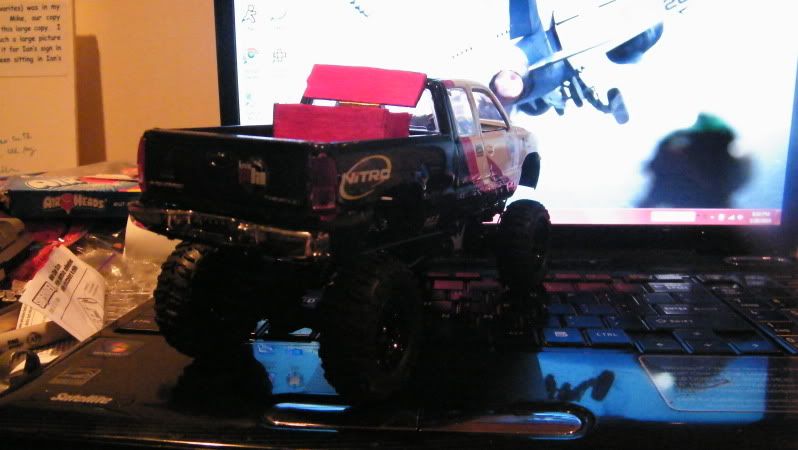 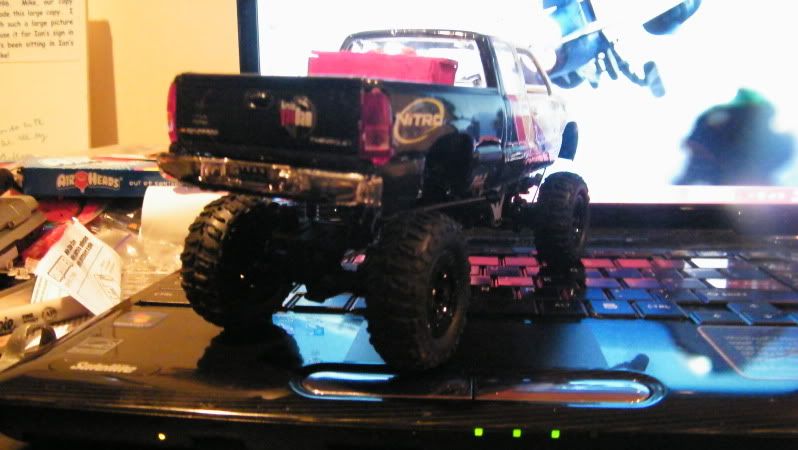 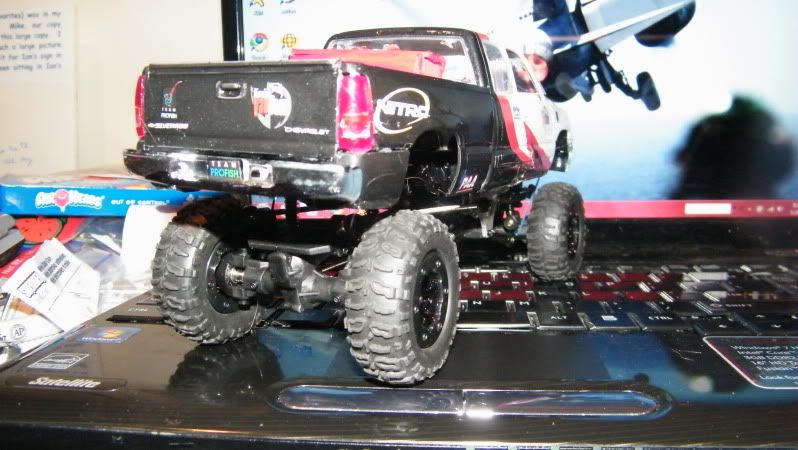  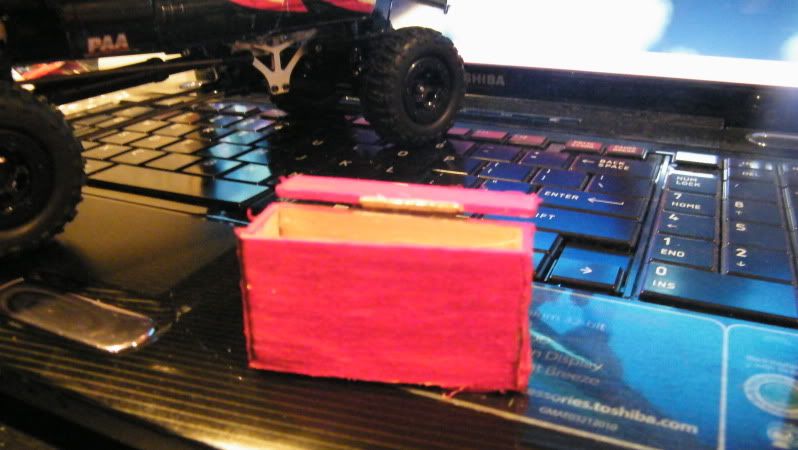 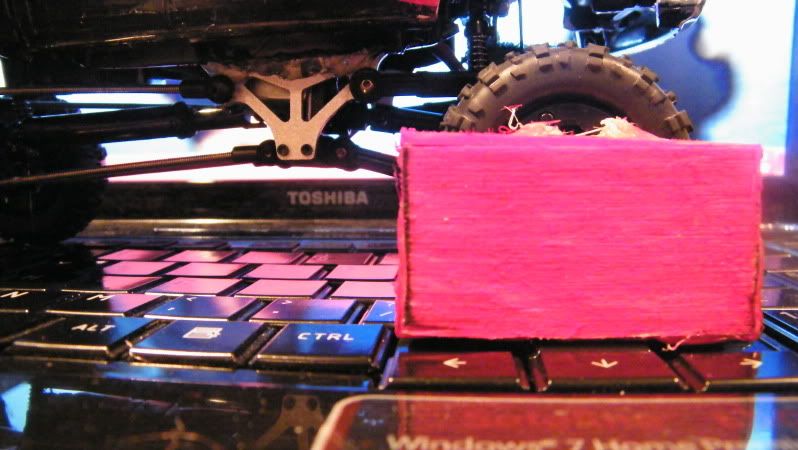 |
|
| |
|
| |


 Linear Mode


