| |
 12-03-2010, 08:46 PM
| #1 |
| Quarry Creeper Join Date: Oct 2010 Location: TX Coast
Posts: 196
|
Howdy, folks. Been roaming the site for a bit, & figured it was time to post up a build thread for my "semi scale" Micro Crawler. I picked up a new Micro off the 'Bay, opened it up & ran the little critter 'round the house. I had been reading up on the Micros, so I was prepared for the bad handling out of the box. I don't think I even ran a full batt thru it before it came apart. 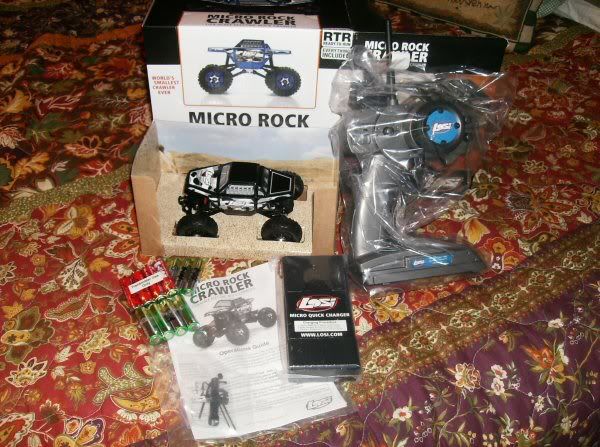 |

|  |
| Sponsored Links | |
| | |
|
12-03-2010, 08:54 PM
| #2 |
| Quarry Creeper Join Date: Oct 2010 Location: TX Coast
Posts: 196
|
I did the normal mods right off- moved the ESC & battery to the axles, as well as removed the springs. That made it a little better, but at full droop I really can't say it was any real improvement. I decided to pop the springs back on the rig, & turned a few coils around the shock ends to limit travel & still have a dampening effect. I ran it like that a day or so, then made my way to the LHS for a couple packages of Mini T rod ends, some 2-56 all thread, and some aluminum tubing. I stretched the wheelbase to about 4-3/4"- by lengthening the rear links only. I figure it would help set more weight forward on the chassis this way. Put some 1/8 tubing over the lowers & used some 9/32 to stretch the 'shaft. 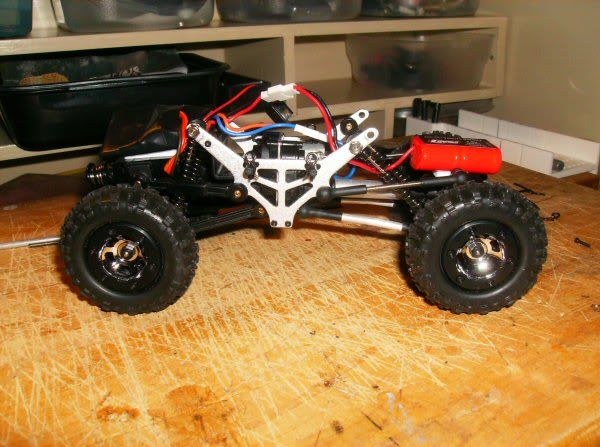 |
|
| |
|
12-03-2010, 09:03 PM
| #3 |
| Quarry Creeper Join Date: Oct 2010 Location: TX Coast
Posts: 196
|
From the get-go I had planned to run a scale looking body. I'm a 1:24/25 scale model car builder & have been putting kits together since I was about 5. I have a decent collection of kits, & after some digging in the store room I found this thrift store refugee: 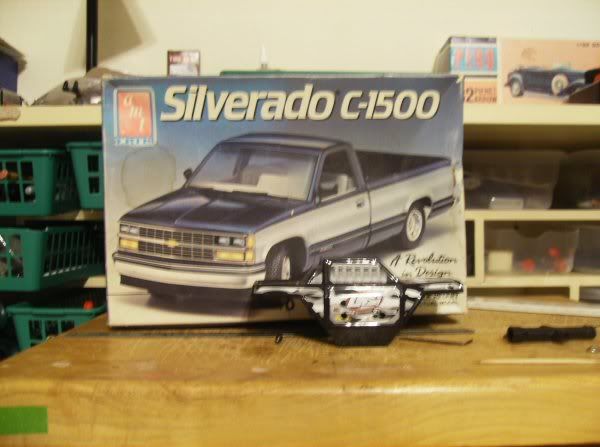 It was built by some kid & tossed back in the box to end up on the thrift shop shelf. |
|
| |
|
12-03-2010, 09:07 PM
| #4 |
| Quarry Creeper Join Date: Oct 2010 Location: TX Coast
Posts: 196
|
I started the mock up to see what was feasable. The truck was a long bed, so I knew it was gonna get either cut down or replaced. I decided to keep the bed & shorten it as needed. 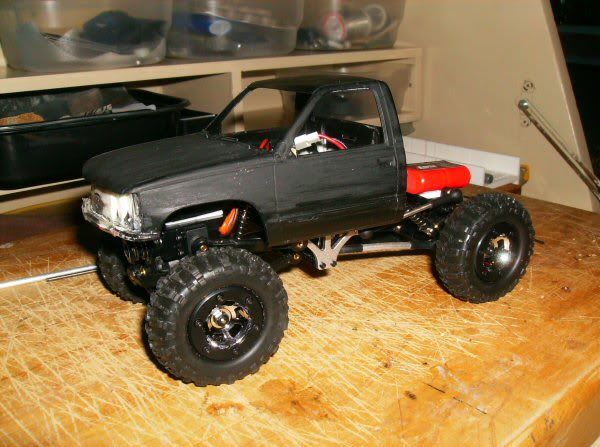 Prepped for some surgery: 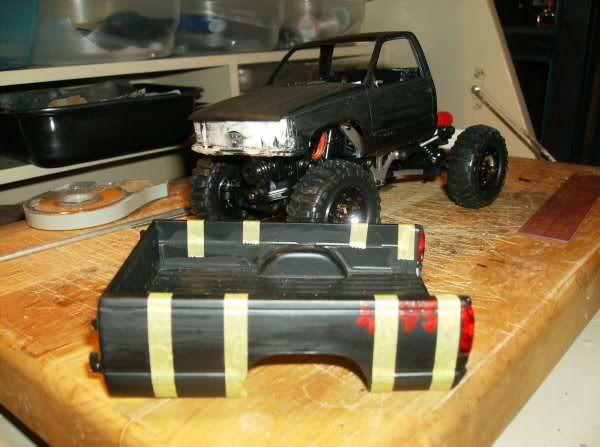 |
|
| |
|
12-03-2010, 09:12 PM
| #5 |
| Quarry Creeper Join Date: Oct 2010 Location: TX Coast
Posts: 196
|
After the slice-n-dice, I taped it back together to see where I was. I had hoped the amount I took out of the rear would give it a "bobbed" look, but somehow I managed to take out nearly the exact amount to make it look like a plain short bed Chebby.  Like I said- this kit had been built & painted (poorly) before I got it. I took another few scale inches outta the tail of the bed, then gave the whole thing a bath in Purple Power cleaner. After soaking for most of a day, I pulled this out of the vat: 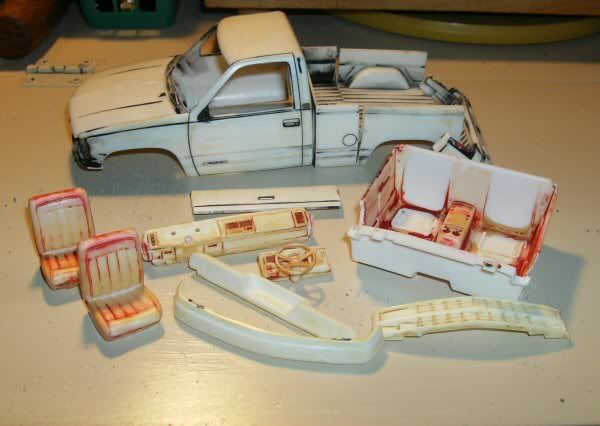 |
|
| |
|
12-03-2010, 09:17 PM
| #6 |
| Quarry Creeper Join Date: Oct 2010 Location: TX Coast
Posts: 196
|
I glued the bed back together & marked the fenders for some hacking. It ended up like this: 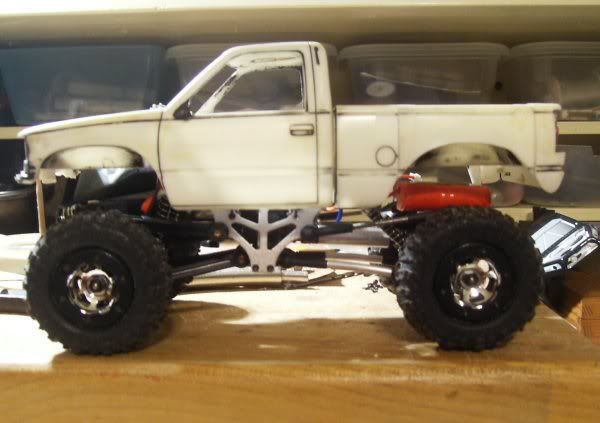 I wanted to make sure it had enuff room to stuff the tires, so I did up a couple poser shots to check: 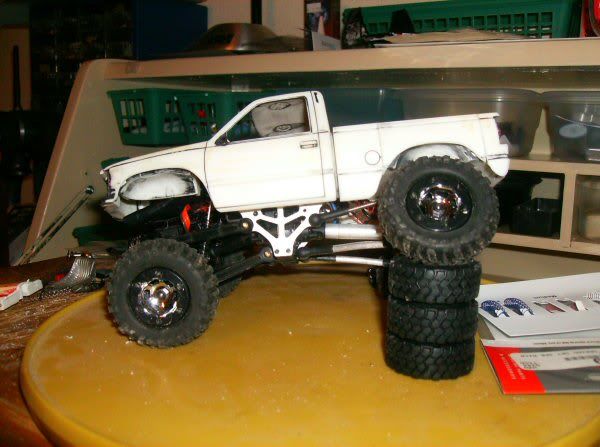 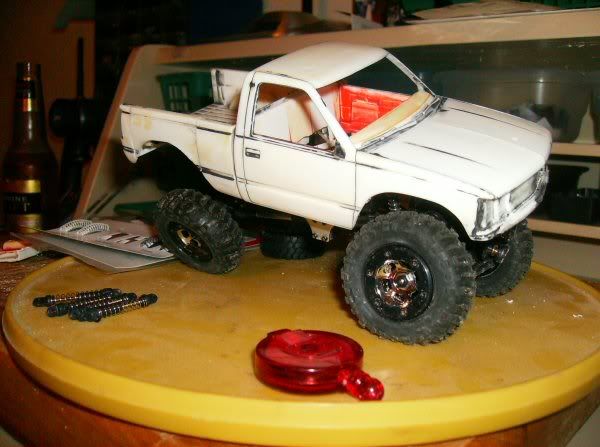 |
|
| |
|
12-03-2010, 09:21 PM
| #7 |
| Quarry Creeper Join Date: Oct 2010 Location: TX Coast
Posts: 196
|
I had also seen the recoil ID badge winch idea in Jamus' build thread, so decided I wanted to try that, too. I thinned down the case a little bit: 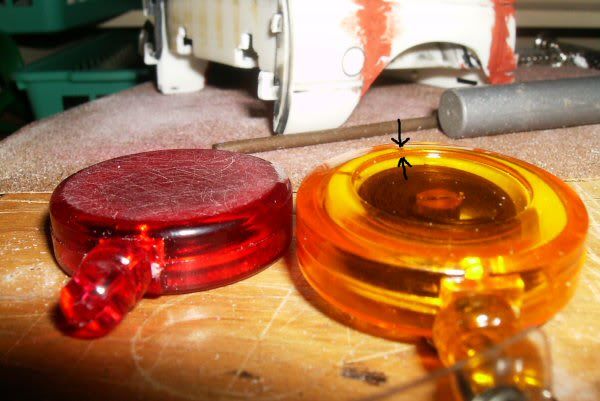 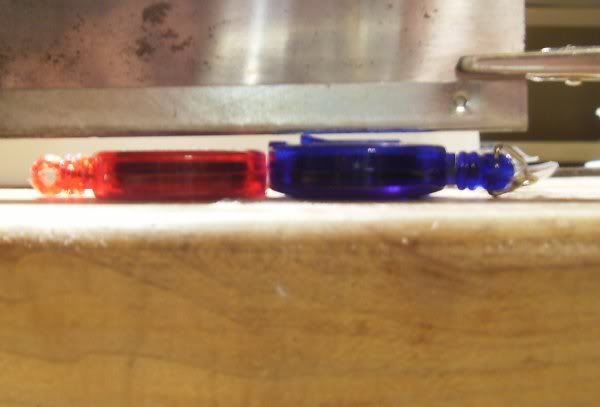 Its not much, but on the Micro's every little bit seems to help. |
|
| |
|
12-03-2010, 09:28 PM
| #8 |
| Quarry Creeper Join Date: Oct 2010 Location: TX Coast
Posts: 196
|
I did the bodywork & got the truck in paint. Like I said- I build models.... and I did not like the way the paint came out at first. I kinda rushed it & the results were bad in my opinion. I started to take it outside to strip the body back down to bare plastic when my wife made an intelligent observation: why was I overly concerned w/ perfect paint on a truck that was gonna get beat on rocks & driven around the yard? Smart girl- I left the paint alone. Sorry about the blurry pic- my camera is a PITA.  |
|
| |
|
12-03-2010, 09:33 PM
| #9 |
| Quarry Creeper Join Date: Oct 2010 Location: TX Coast
Posts: 196
|
Next on the list was mounting the body to the chassis. I had read where some of y'all used magnets to secure the bodies, so a trip to the craft store yielded me a couple packages. I made up a couple simple sections of angle out of aluminum, then drilled out a couple holes & bolted the angle to the chassis plates. I cut a couple strips of metal & superglued them to the bottom of my interior tub. Next I superglued a couple magnets to the angle. Turned out that the CA wasn't strong enuff. I tried some E6000 & thats held up great. 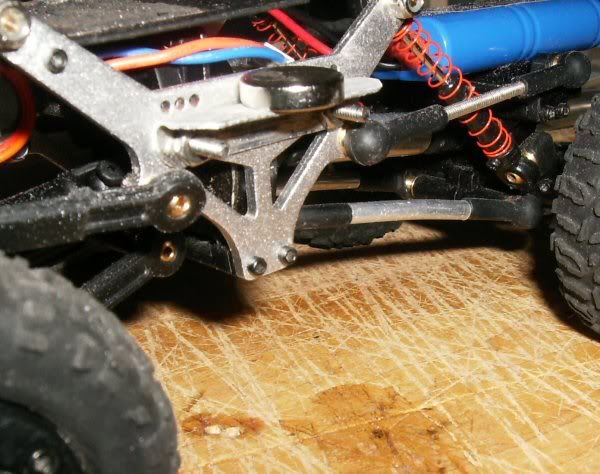 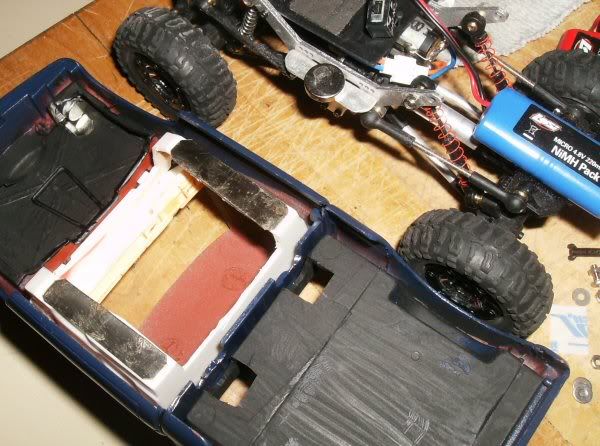 |
|
| |
|
12-03-2010, 09:37 PM
| #10 |
| Quarry Creeper Join Date: Oct 2010 Location: TX Coast
Posts: 196
|
I used a smaller magnet to hold the hood in place. I used CA to attach a strip of metal on the underside of the hood & glued the mag to the radiator support. The hood pins in at the rear & the mag keep it in place:  Here's how the truck sat on the new body mounts: 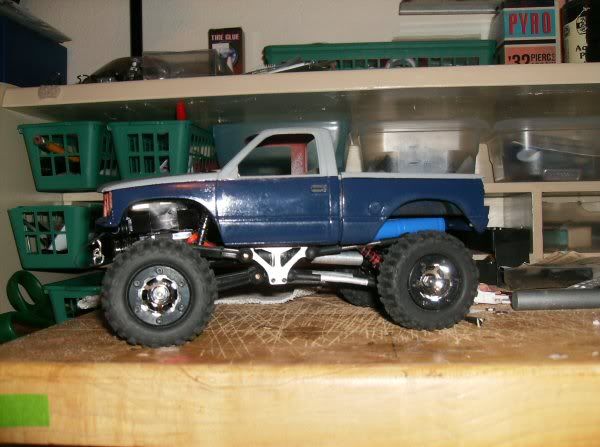 |
|
| |
|
12-03-2010, 09:40 PM
| #11 |
| Quarry Creeper Join Date: Oct 2010 Location: TX Coast
Posts: 196
|
I set up a few pillows to test the mounting system, & for grins I brought out another truck to give the Micro an anchor for winching: 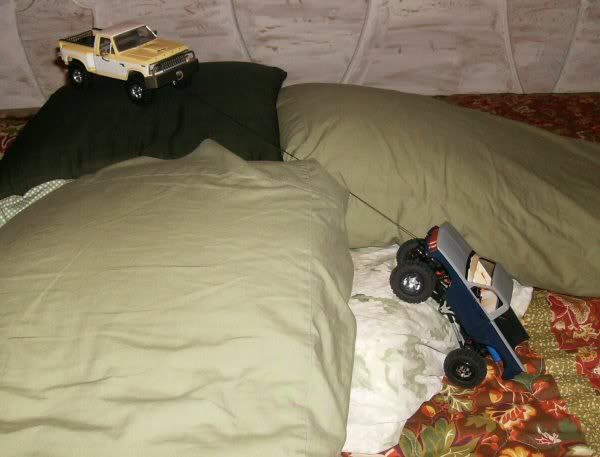  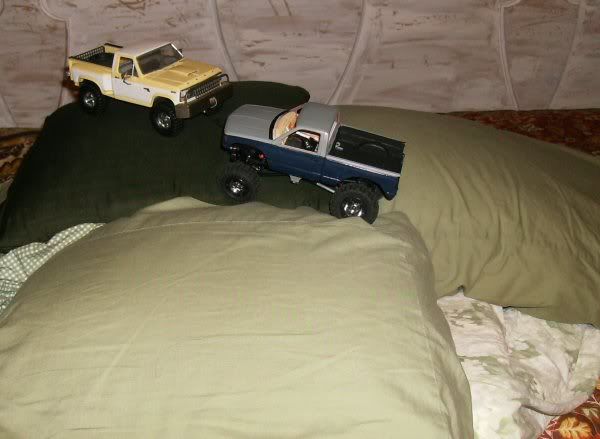 Works purty good. |
|
| |
|
12-03-2010, 09:43 PM
| #12 |
| Quarry Creeper Join Date: Oct 2010 Location: TX Coast
Posts: 196
|
I decided pillows weren't a real good test of the magnets, so I set up a "rock garden" next to the driveway, made up of misc concrete & rocks I'd scavenged. 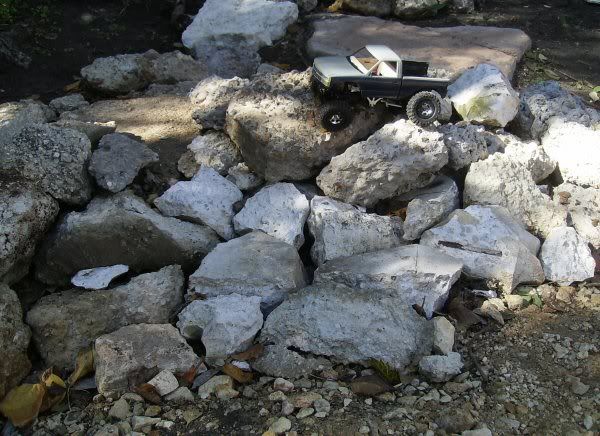 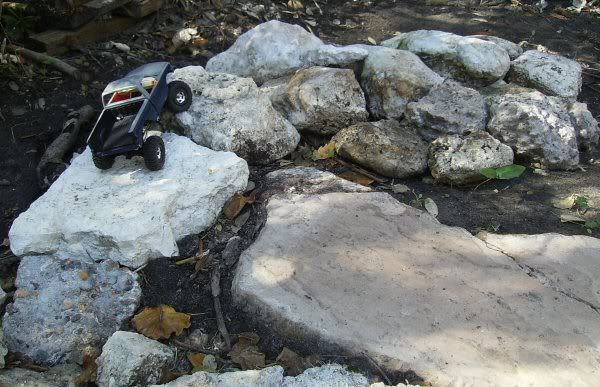 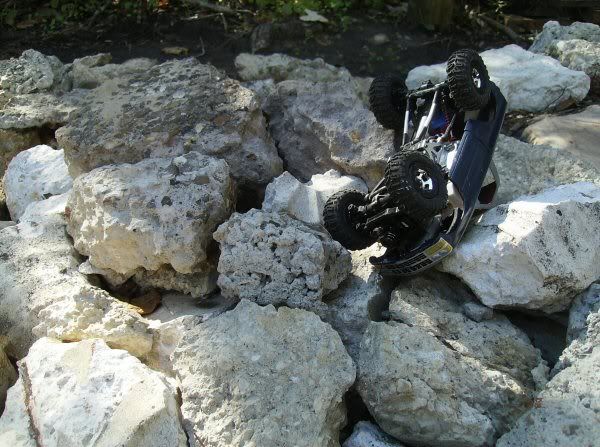 |
|
| |
|
12-03-2010, 09:48 PM
| #13 |
| Quarry Creeper Join Date: Oct 2010 Location: TX Coast
Posts: 196
|
I figured out I needed some weight in the tires pretty badly. I also saw that my wife's observation about the paint was spot-on. 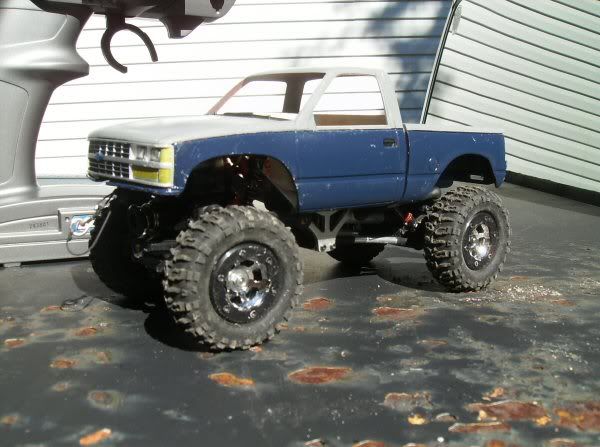 I'd read Wrenchheads tutorial on cheap PVC beadlocks & decided to give that a try. Man, just follow his directions & you'll be hard pressed to screw up. Only snag I hit was a few threads stripped out on one side of one rim. A few drops of CA & it was good 'nuff. I added some solder on all 4 corners as well. |
|
| |
|
12-03-2010, 09:53 PM
| #14 |
| Quarry Creeper Join Date: Oct 2010 Location: TX Coast
Posts: 196
|
With all the major stuff about solidified, I turned to the details. I grabbed some styrene & fabbed up a couple simple bumpers: 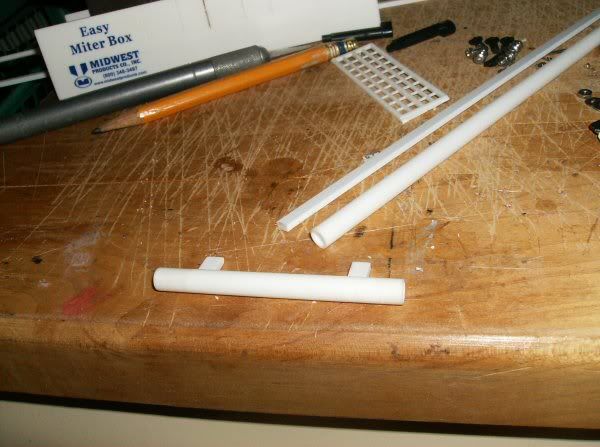  Jamus thinks I hit a deer, but the blood is just Bondo spot & glazing putty.  I also did up a pretty basic interior, mounted the taillights & tail gate, & even the side view mirrors (which were prompty torn off on the next outside run  ) )
|
|
| |
|
12-03-2010, 09:55 PM
| #15 |
| Quarry Creeper Join Date: Oct 2010 Location: TX Coast
Posts: 196
|
Here's where the truck is at as of today: 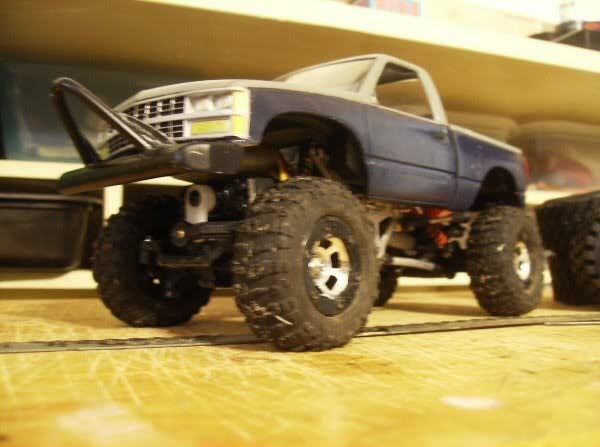   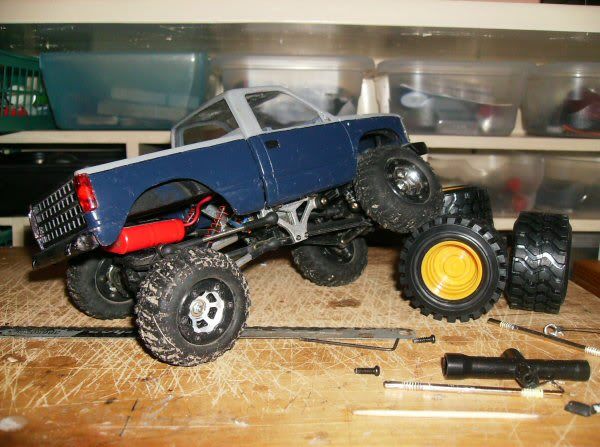 |
|
| |
|
12-03-2010, 10:00 PM
| #16 |
| Quarry Creeper Join Date: Oct 2010 Location: TX Coast
Posts: 196
|
Runnin' the rocks in its scale glory...... 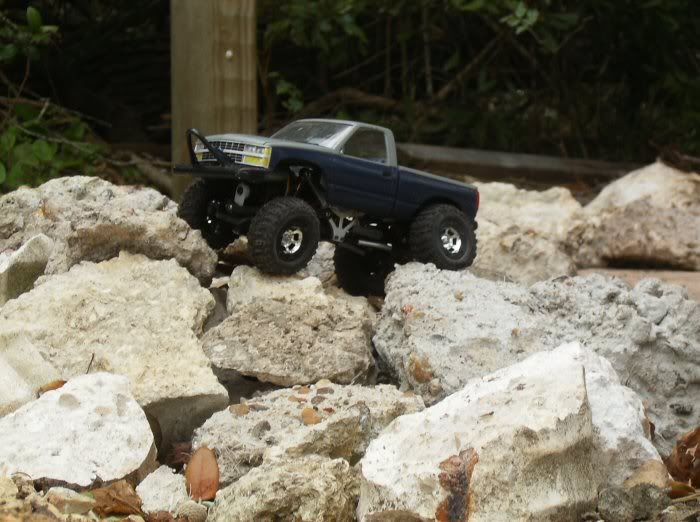 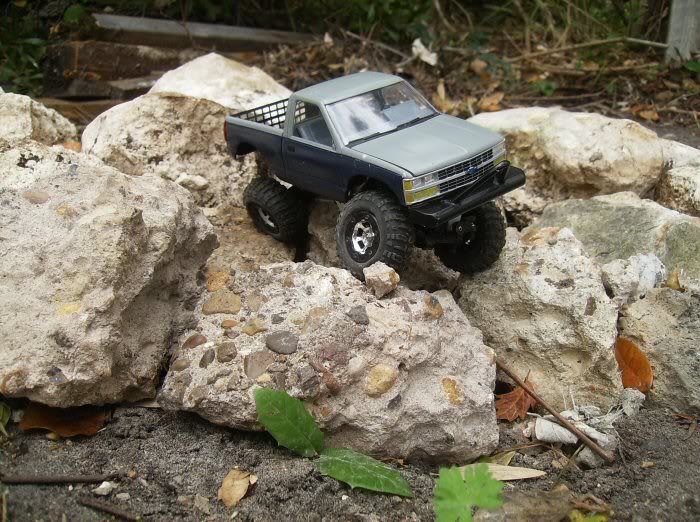  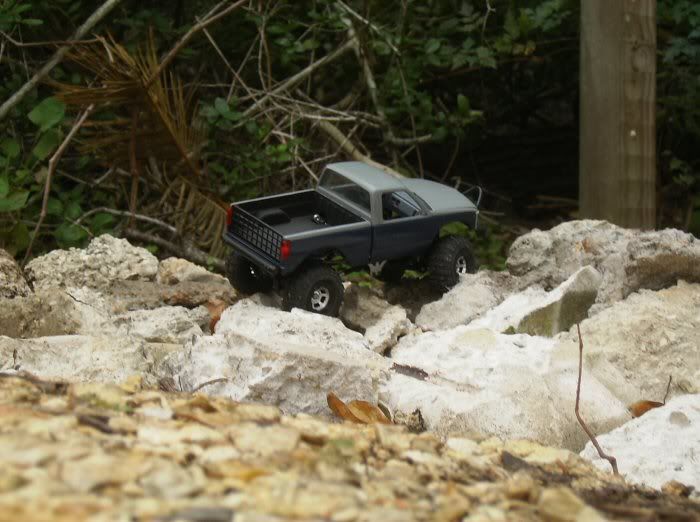 |
|
| |
|
12-03-2010, 10:08 PM
| #17 |
| Quarry Creeper Join Date: Oct 2010 Location: TX Coast
Posts: 196
|
Now then, a couple things that I did forget to mention along the way was the servo & the batteries. I wanted longer run times, but I'll wait 'til after the holidays to switch to lipo. So for now I picked up a Losi 220 mah pack from the Micro SCT/Rally. I get 15+ minutes or so out of it, & around 10 from the stock pack. And one day the servo flipped out & stayed hard left. I was able to get it recentered, but it ended up doing it again a couple days later & was toast. I picked up a HiTech HS-65 at the LHS. Its niiiice. So thats it- my semi scale full size Chebby build. I want to make some side view mirrors that are "folded in", & I'll prolly build an in-bed toolbox to cover the chassis horns stickin' up thru the front of the bed. Otherwise the ol' gal is about done. Comments, suggestions, or creative jabs are welcome...... |
|
| |
|
12-03-2010, 11:42 PM
| #18 |
| Pebble Pounder Join Date: Aug 2008 Location: Edmonds, WA
Posts: 155
|
looks great! love the paint scheme!
|
|
| |
|
12-04-2010, 01:13 AM
| #19 |
| Rock Stacker Join Date: Jun 2008 Location: Gladwin, mi
Posts: 80
|
That looks really nice man, good job!
|
|
| |
|
12-04-2010, 06:22 PM
| #20 |
| Quarry Creeper Join Date: Oct 2010 Location: TX Coast
Posts: 196
|
Thanks for the compliments! king krawl22, I painted it the same color combo as my 1:1 Silverado.
|
|
| |
 |
| |


 Linear Mode


