| |
| |||||||
 |
| | LinkBack | Thread Tools | Display Modes |
 11-21-2007, 08:54 PM
| #1 |
| Quarry Creeper Join Date: Jul 2007 Location: Sierra Vista, Arizona
Posts: 271
|
Please post all of your VW Bug body paint schemes. I just got a new one, and I need some ideas. So please, any VW bug body will be great. Thanks. -Chris |

|  |
| Sponsored Links | |
| | |
|
11-21-2007, 09:05 PM
| #2 |
| I wanna be Dave Join Date: Sep 2005 Location: Dirty South
Posts: 4,064
|
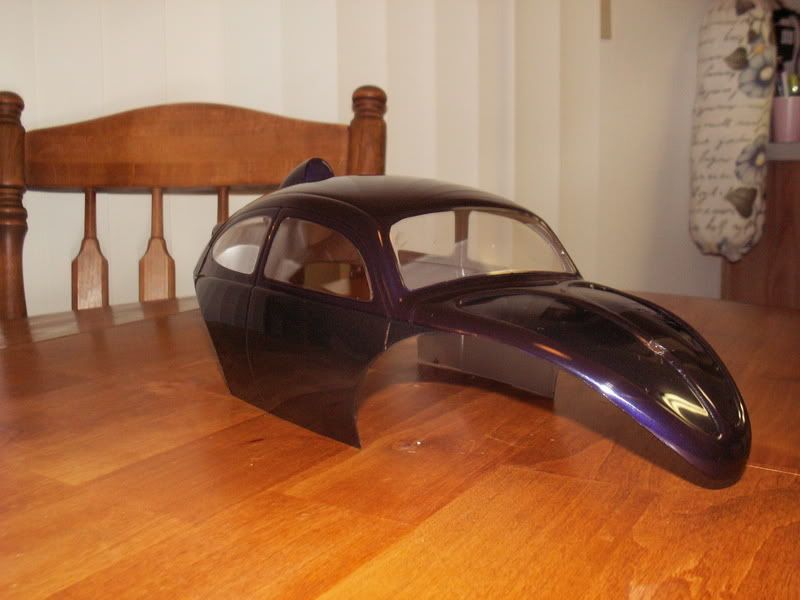
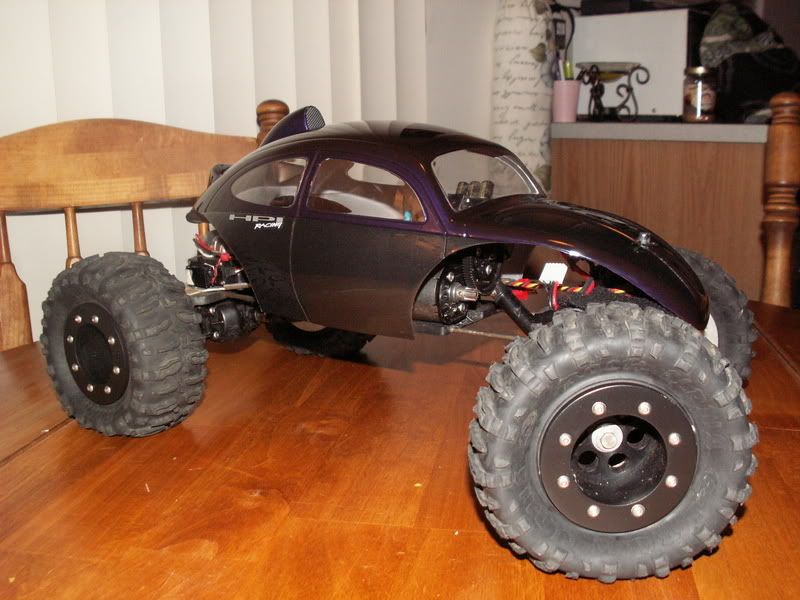
on My little girls Axial 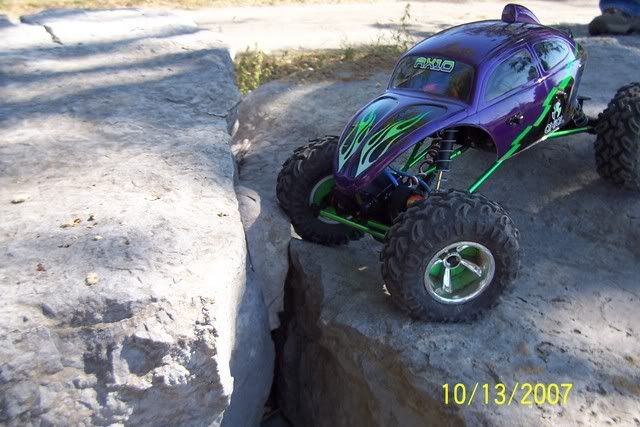 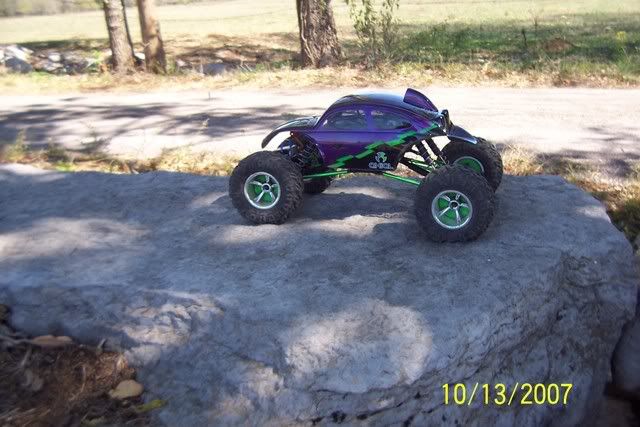 my Bender comp rig my Bender comp rig 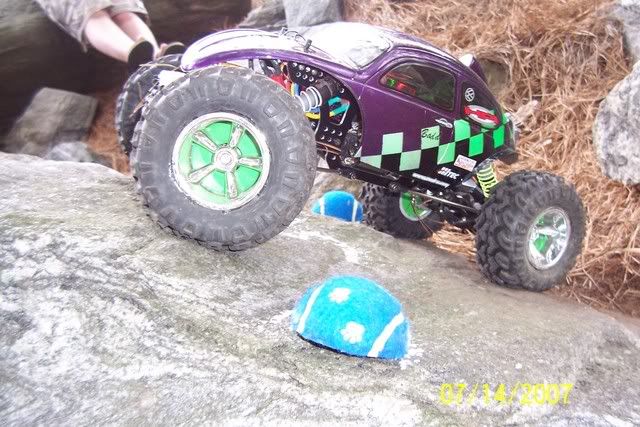 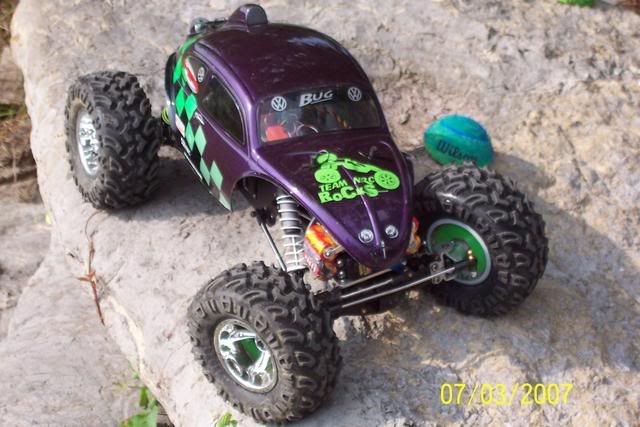 Last edited by Badd; 11-21-2007 at 09:07 PM. |
|
| |
|
11-21-2007, 09:31 PM
| #3 |
| Rock Crawler Join Date: Apr 2007 Location: APPLE VALLEY,CALIFORNIA
Posts: 985
|
wow...those are beautiful....nice jobs...especially like the first pic ...very cool
|
|
| |
|
11-21-2007, 10:12 PM
| #4 |
| RCC Addict Join Date: Jun 2006 Location: IN THE PIT !!
Posts: 1,039
|  |
|
| |
|
11-21-2007, 10:42 PM
| #5 |
| I wanna be Dave Join Date: Apr 2007 Location: We-Go, Chi-Town, Ill
Posts: 2,551
|
Look here for mine, it's below the Caddy Post Your Custom Painted Bodies Here!!! |
|
| |
|
11-21-2007, 10:51 PM
| #6 |
| Quarry Creeper Join Date: Aug 2007 Location: tx
Posts: 254
|
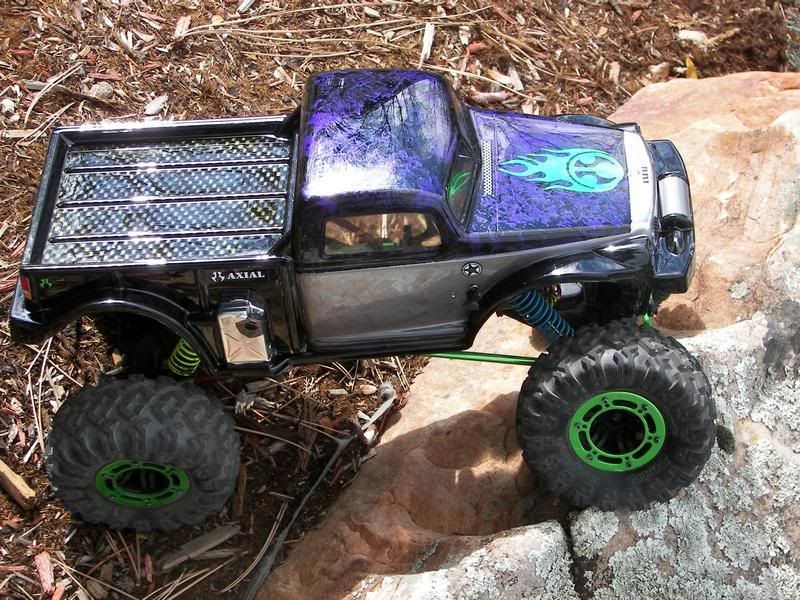
Here is mine first painted then hacked and mounted.  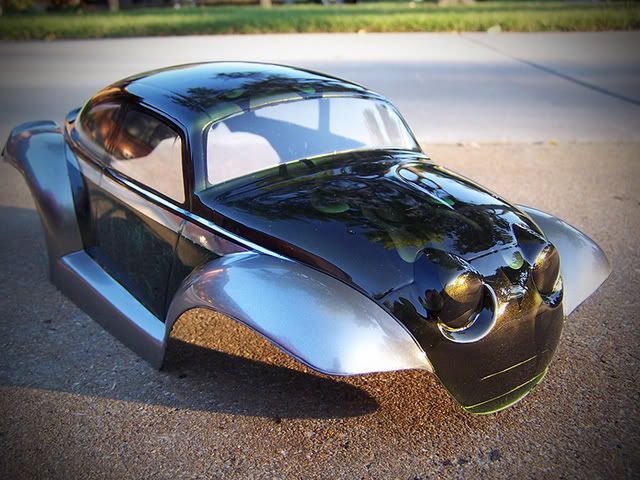 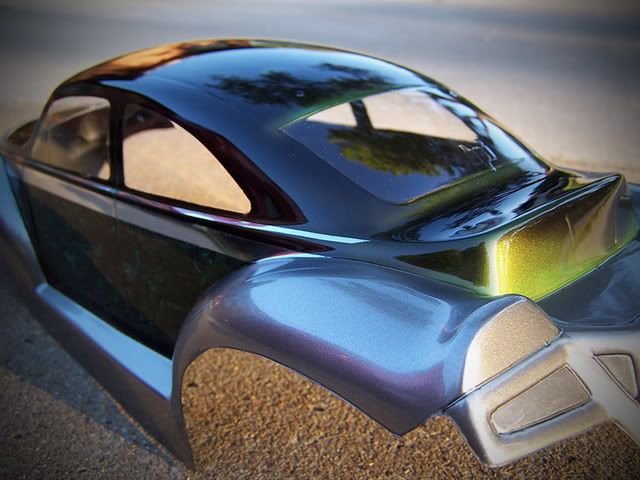 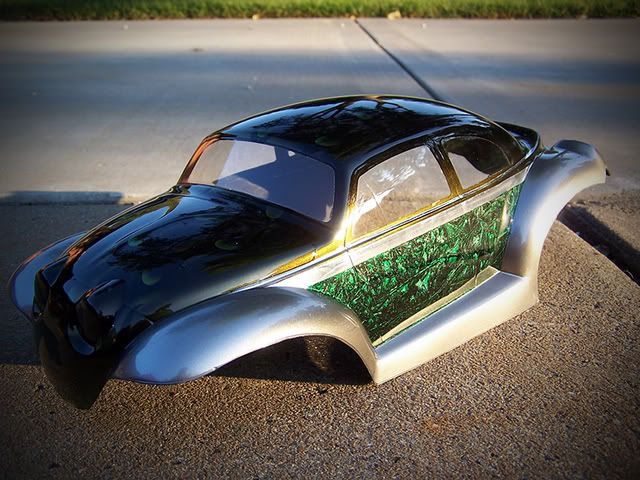 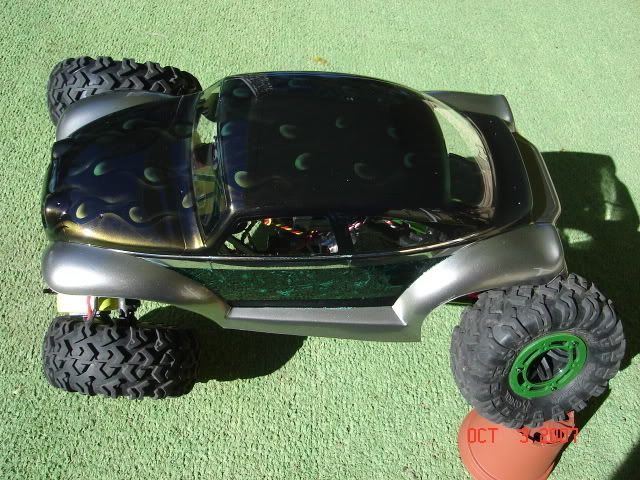 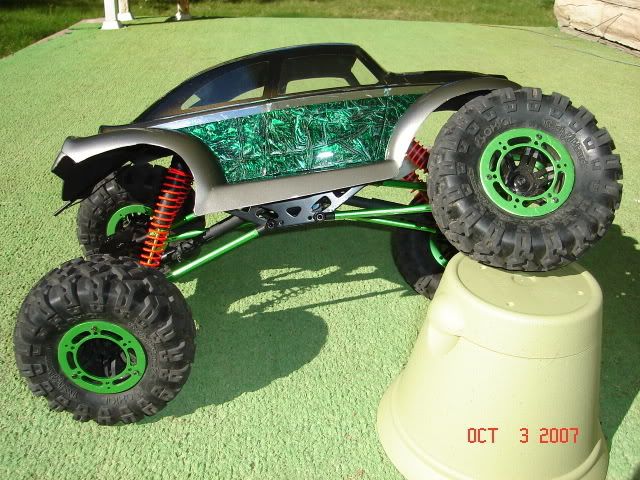 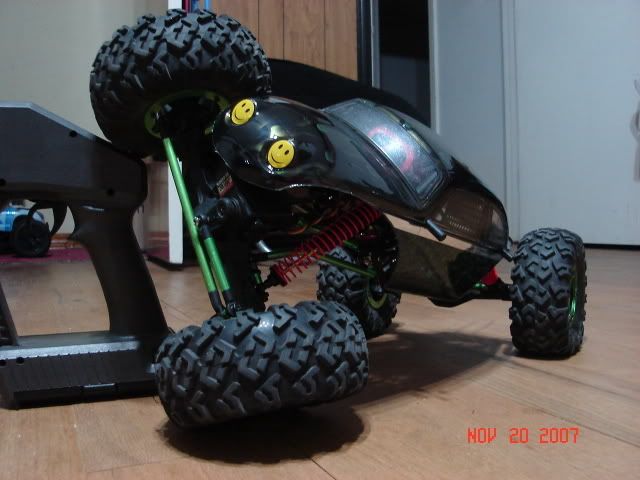  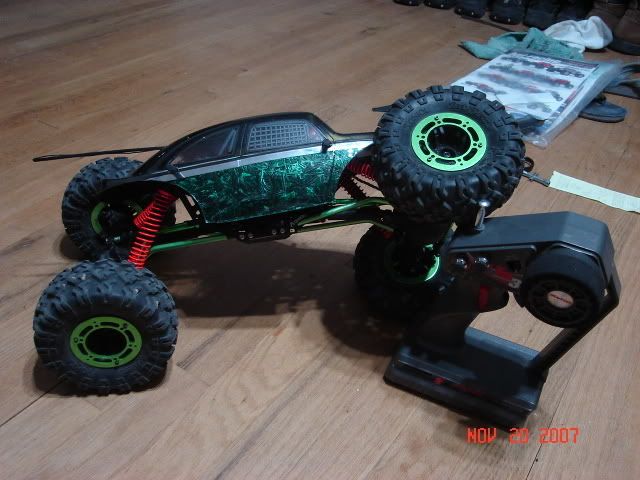 |
|
| |
|
11-21-2007, 11:32 PM
| #7 |
| RCC Addict  Join Date: May 2005 Location: Utah
Posts: 1,124
|
Here's a couple of mine...Parma lid Old Skool.  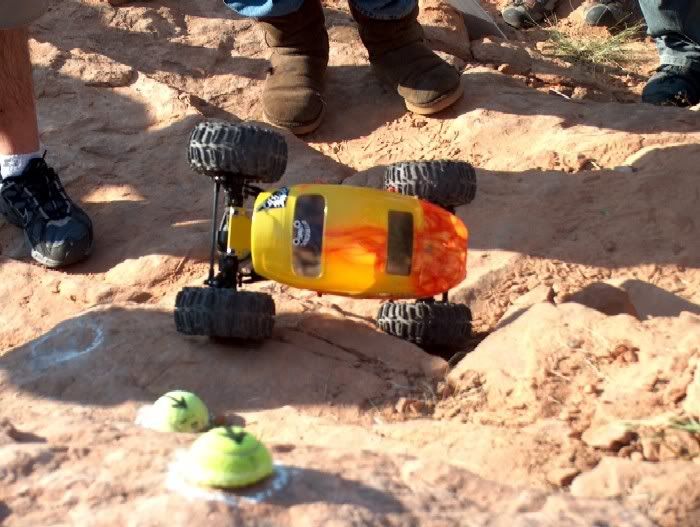 |
|
| |
|
11-21-2007, 11:34 PM
| #8 |
| Rock Crawler Join Date: Jun 2006 Location: Dallas, Oregon
Posts: 567
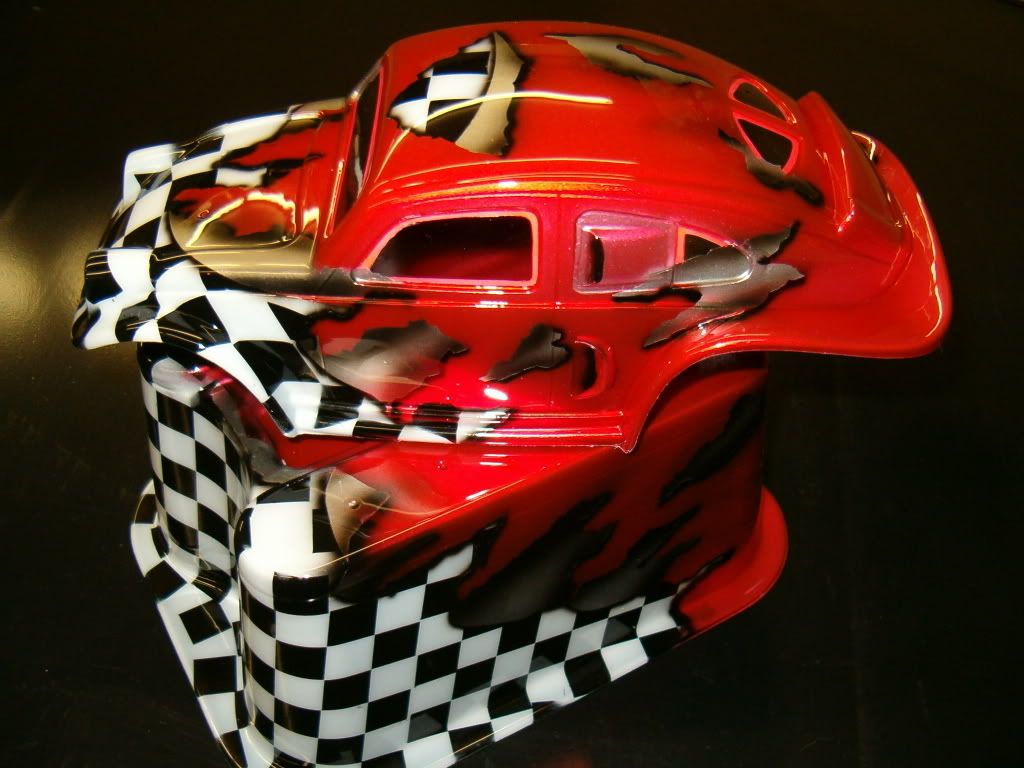
|   |
|
| |
|
11-22-2007, 08:25 AM
| #9 |
| Quarry Creeper Join Date: Jul 2007 Location: Sierra Vista, Arizona
Posts: 271
|
Thanks for the pics guys! I really appreciate the help. I have actually found a bunch of pictures of them on google as well, and I decided on this- Base Coat- Chevy Orange, and I may do some marbeling with a piece of saran wrap. Detailing (engine, air scoops, headlights, and a smile in the front)- Gloss Black Secondary Coat- White double racing stipes right down the middle. BTW, this body is the Mega Baja body from Team Losi. If anyone has some info on marbeling techniques with saran wrap, please post them. Thanks again. -Chris |
|
| |
|
11-22-2007, 11:54 AM
| #10 | |
| RCC Addict  Join Date: Jan 2004 Location: Gunbarrel
Posts: 1,167
| Quote:
 | |
|
| |
|
11-22-2007, 12:59 PM
| #11 | |
| Quarry Creeper Join Date: Jul 2007 Location: Sierra Vista, Arizona
Posts: 271
| Quote:
If I just spray the base coat (Chevy Orange), can I take a piece of a plastic bag or saran wrap, and lay it on the paint, and then take it off, leaving me with a marbeling effect? Or do I need to spray, then lay/dab plastic on the paint, then take the plastic off, and spray black behind the orange, then do I get a marbeling effect? | |
|
| |
|
11-22-2007, 01:32 PM
| #12 |
| Rock Crawler Join Date: Apr 2007 Location: APPLE VALLEY,CALIFORNIA
Posts: 985
|
nothing close to you guys but here's mine
|
|
| |
|
11-22-2007, 01:35 PM
| #13 | |
| I wanna be Dave Join Date: Jun 2007 Location: Canada, eh.
Posts: 2,919
| Quote:
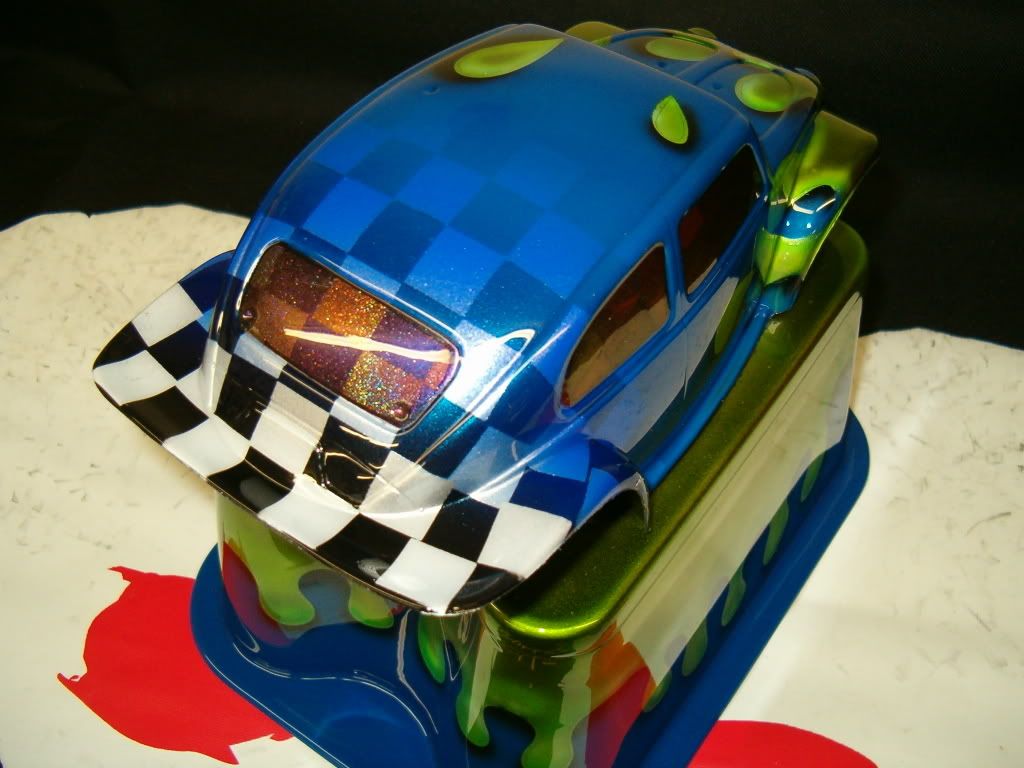
Depending on the colours used, you can do a three step marbeling effect. If you use a metallic or candy that is semi-transparent, spray that on first in a light coat, let dry, back with silver, blot this, let dry, back with white or black. The following picture isn't mine (off of the CFX forums), but shows the results:  Note also this was done by a pro, but it's still a relatively simple effect to create! Chris Edit: Practice on scrap lexan first! No point trashing a $30 body by screwing up the paint job. Last edited by ecoli; 11-22-2007 at 01:37 PM. | |
|
| |
|
11-22-2007, 01:46 PM
| #14 |
| Rock Crawler Join Date: Jan 2006 Location: Derbyshire UK
Posts: 623
|
Here is my 9 year old daughters Bug body that is going on her AX10   |
|
| |
|
11-22-2007, 01:52 PM
| #15 | |
| Quarry Creeper Join Date: Jul 2007 Location: Sierra Vista, Arizona
Posts: 271
| Quote:
 . I am for sure going to do marbeling on this body, providing I have the time. I am trying to get it ready for a crawl on Sunday, so I may not. . I am for sure going to do marbeling on this body, providing I have the time. I am trying to get it ready for a crawl on Sunday, so I may not. I really appreciate everyones help. Thanks guys. -Chris | |
|
| |
|
11-22-2007, 03:03 PM
| #16 |
| Rock Stacker Join Date: May 2007 Location: I don't even know how I got here.
Posts: 68
|     Last edited by tooslickforyou; 11-22-2007 at 03:06 PM. |
|
| |
|
11-22-2007, 09:28 PM
| #17 | |
| RCC Addict Join Date: Jan 2004 Location: Gunbarrel
Posts: 1,167
| Quote:
The marbled section was left clear, being the first section painted. The first step in painting was to put the purple in for the marble. I poured paint out on some paper and then wadded up a plastic bag and blotted the bag into the paint. Then blotted the paint/bag onto a clean section of paper to remove some of the paint so it is not just a big blob being put on to the body. I repeated this step until I had enough coverage. You really don't need it very thick, unless you plan to have the base color lighter then the marble color. The second step was to use black over the purple. Third step was to use gold and silver to get the carbon fiber look Fourth step was to pull off all masking except for the silver and gas cans and paint black. Fifth step was to pull of masking for silver on doors and hood and paint. Sixth step was to spray in the chrome paint. Last step was to back the chrome in black and to give every thing one last coating in black. I plan on painting another body tonight and I'll try to do it with step by step pictures. | |
|
| |
|
11-24-2007, 05:14 PM
| #18 |
| Rock Crawler Join Date: Feb 2006 Location: Warner Robins
Posts: 803
|
I spray on a light candy coat and dab it with a bag, wait for it to dry then spray on the 2nd color when that's dry I use a cover coat either black, gold, or silver.
|
|
| |
|
11-24-2007, 05:19 PM
| #19 |
| Rock Crawler Join Date: Feb 2006 Location: Warner Robins
Posts: 803
|
If you looking for a practice bug to draw on check out this site: http://www.volkswarenhaus.de/bugselecta.htm I changed the year, tires, wheels, stance, etc. on a white bug then copied it into paint to make my own color scheme.  I'm painting my real bug and my tamiya bug and my crawler bug body like this. |
|
| |
|
11-24-2007, 05:31 PM
| #20 |
| Quarry Creeper Join Date: Aug 2007 Location: Englewood, CO
Posts: 292
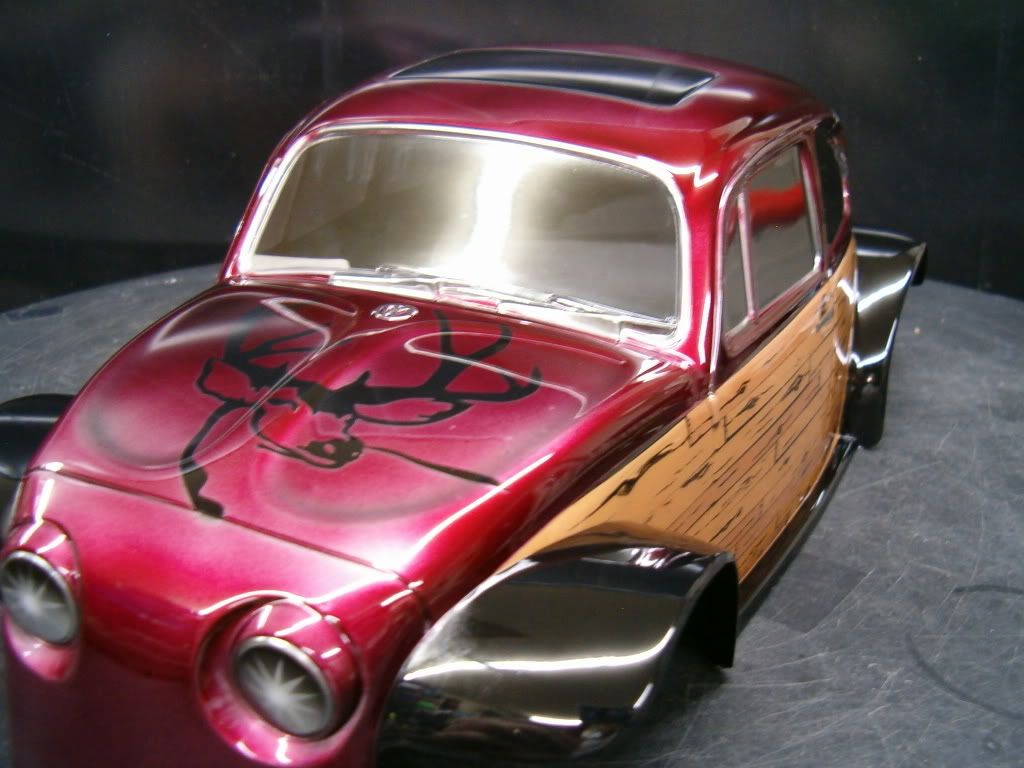
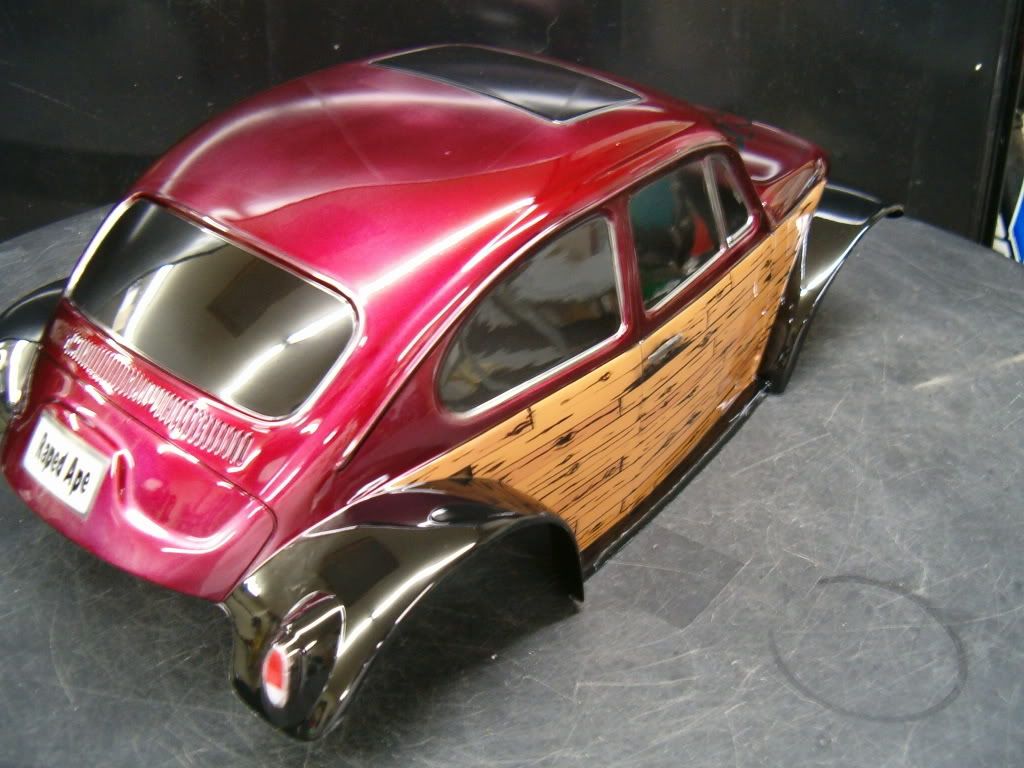
|   |
|
| |
|
| |


 Linear Mode


