| |
| |||||||
 |
| | LinkBack | Thread Tools | Display Modes |
 06-01-2007, 11:22 AM
| #1 |
| '08 2.2 National Champ  Join Date: Nov 2006 Location: UTRCRC
Posts: 5,585
|
I was going to do this on the thread I started earlier but I figured this was big enough for its own thread. I will also post how to do this to Mashers the next time I do a set. So here we go  What I use is a sharp set of Lexan Scissors, 1-3 Second Glue and Rubberized CA. Start by puncturing the tire in the middle so you don't screw up the line 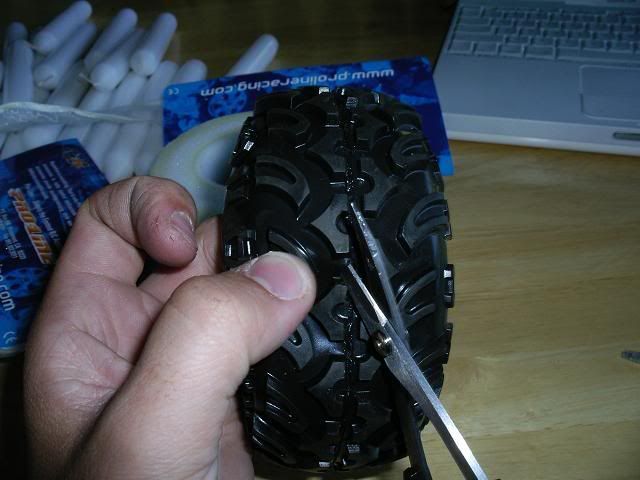 Next cut over to the lug and decide how narrow you want to cut it. I think it works out very well this wide, just at the tips of the triangle 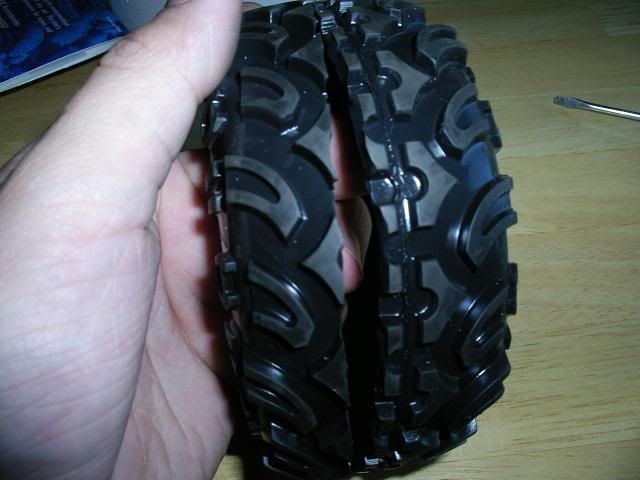 Continue cutting around, lug to lug, making sure you cut in a straight line. If you are right handed it is usually easier to cut the left side and hold with your left hand. I would assume it would be the opposite for a lefty. 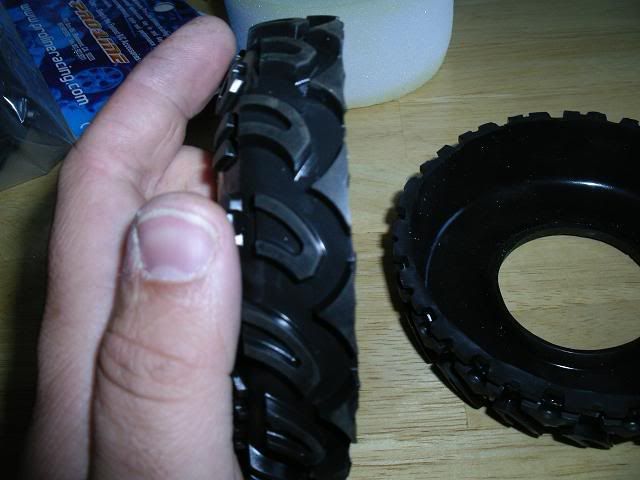 You will end up with the other half looking like this 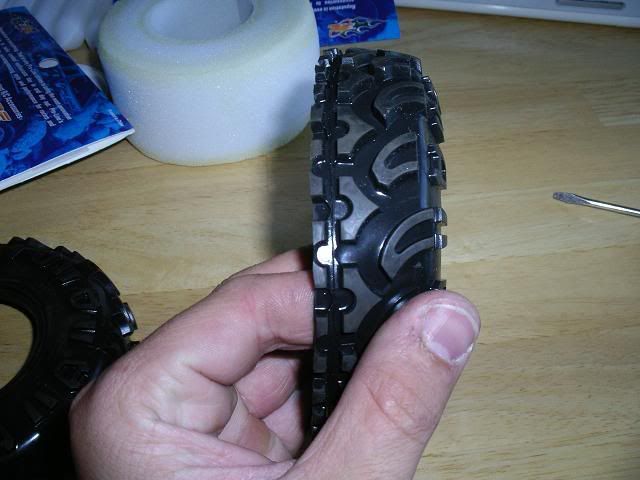 Then cut the other side to match the one you have already cut 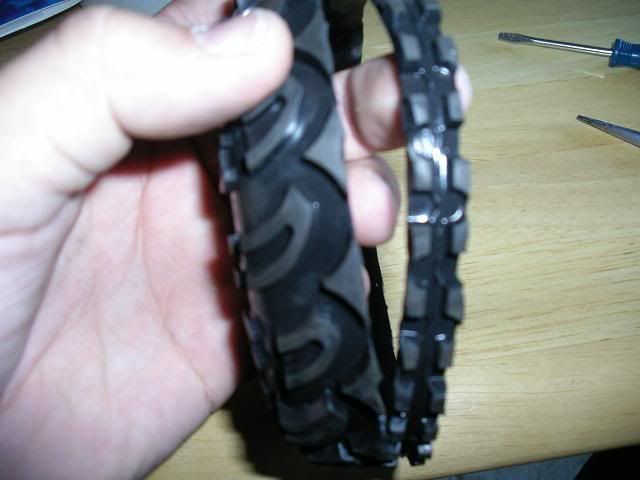 Now it is time to line up the sides of the tires, for the best looks make sure you line up the Proline logo and the Moab logo so that when you cut a section out you do not cut out any of the logos 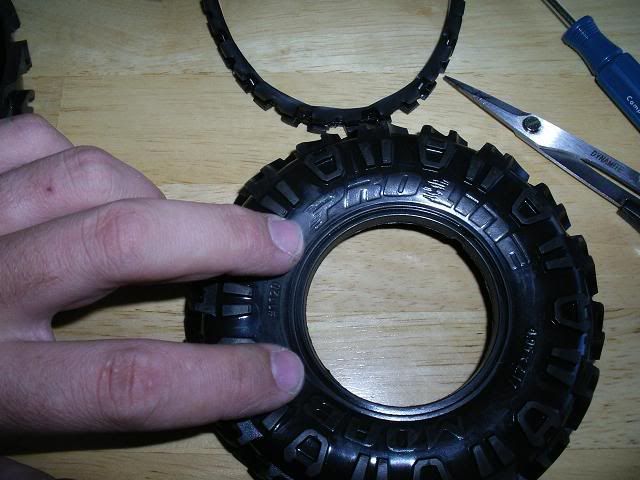 This is the glue I use, I know you can find it in many hobby shops, I have tried using other glue and the results haven't been even close to as good. 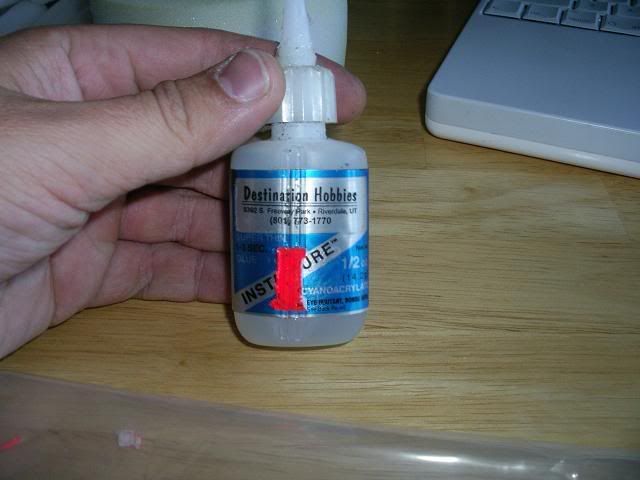 Now line the tires up together making sure the logos match, this is the way I like to line them up so the outside lugs offset each other but I have seen them done to match. 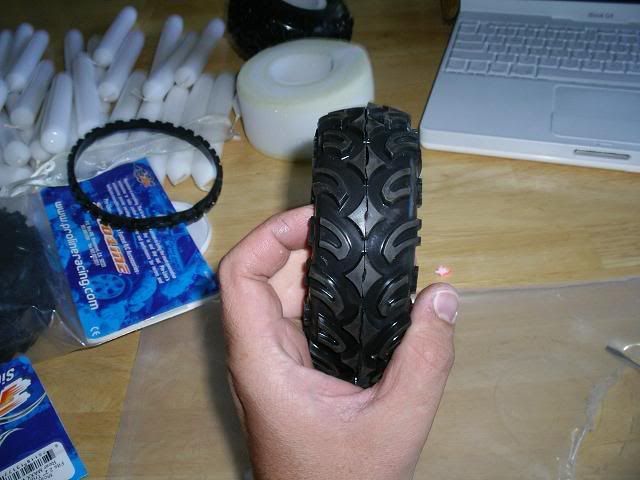 Next put a dot of glue down to tack them together, making sure you line the lugs back up when you tack them. 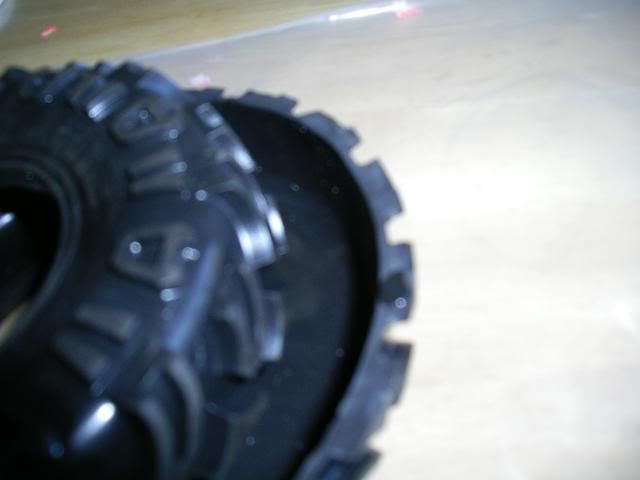 This is how it should look after you have tacked it together. 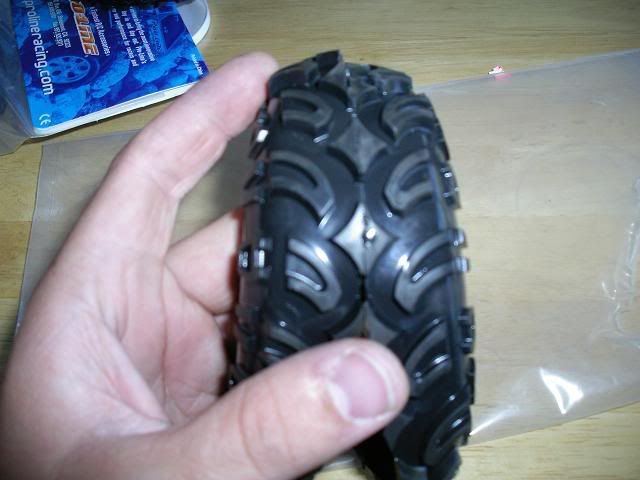 Now Continue gluing, about 2-3 lugs at a time until you have gone all of the way around. After you have glued it, pinch the seam between you fingers and drop a dot of CA where the seam is not glued.  |

|  |
| Sponsored Links | |
| | |
|
06-01-2007, 11:35 AM
| #2 |
| Adilynsdad too!   Join Date: May 2004 Location: G ville
Posts: 8,844
|
Cool write up , so far
|
|
| |
|
06-01-2007, 11:37 AM
| #3 |
| '08 2.2 National Champ Join Date: Nov 2006 Location: UTRCRC
Posts: 5,585
|
Now its time to reduce/section the tire. If you have lined up you logos correction you can cut up next to the logo cut to the side of one of the lugs. Make sure you cut straight. I have found that cutting and an angle does not work as well.  Then, continue cutting through the top lug like so and over to the other side 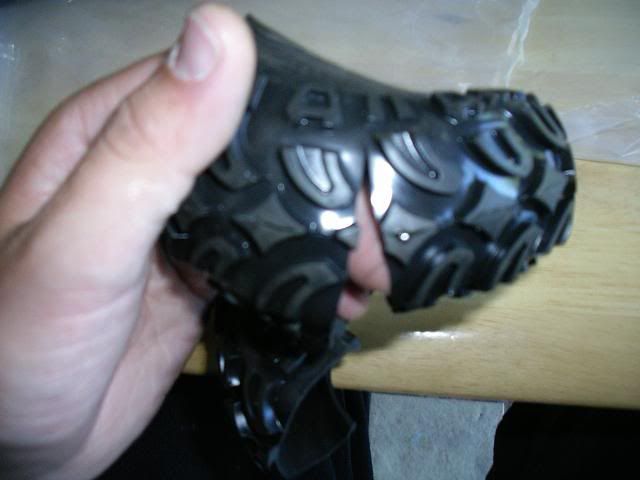 Cut a section out like this, you will cut out 3 side lugs total. 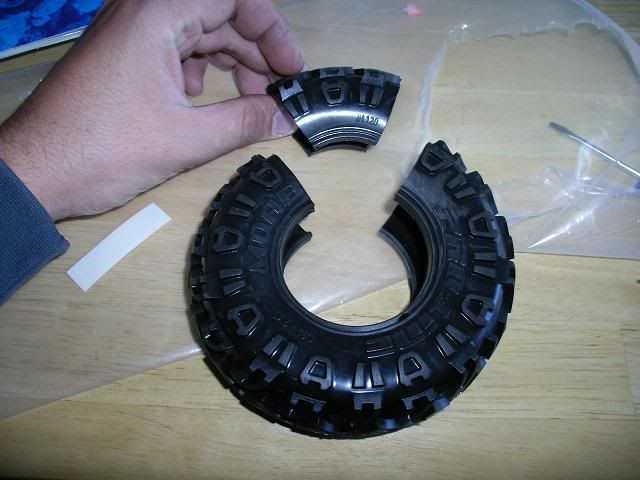 Now it is time to tack it back together, put a drop of glue in the center of the tire and tack it together, then tack the bead, then glue the rest of the seam 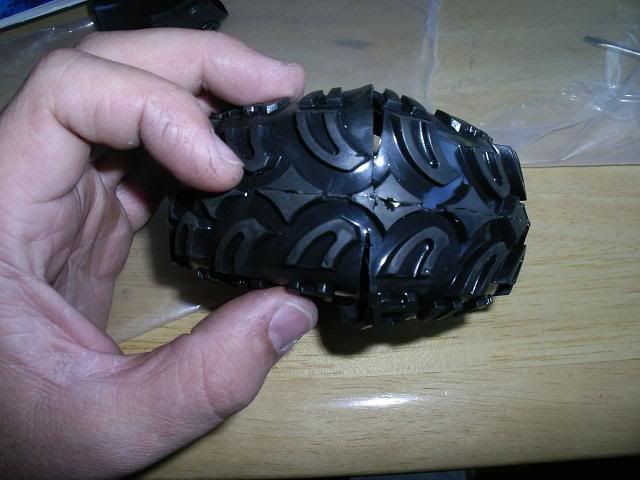 Now its time to seal it, turn it inside out 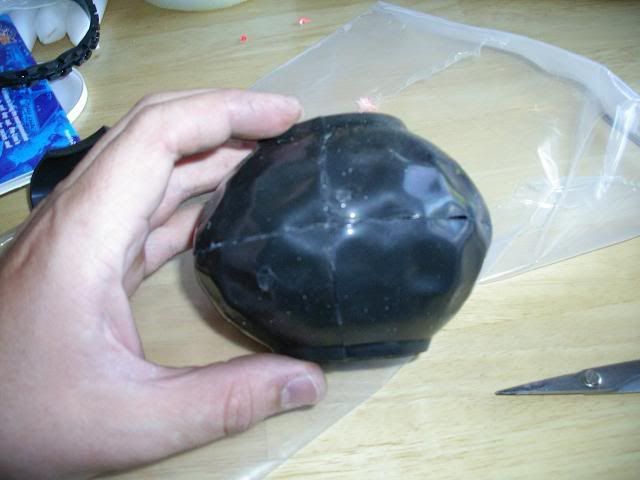 This is the Glue I use 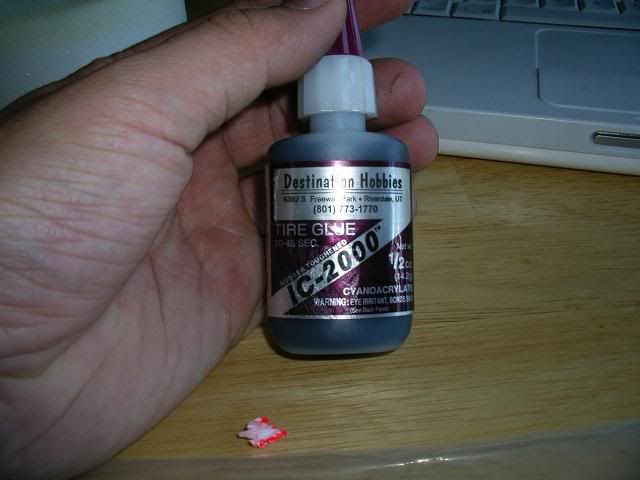 Run a bead along the seams to seal the tires. 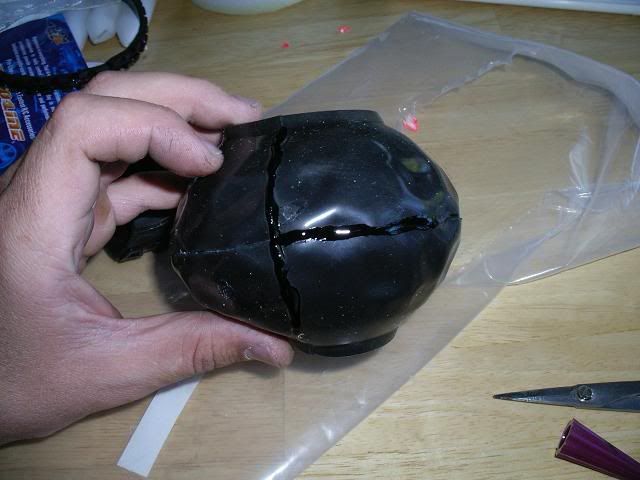 And you're done, wait for the glue to dry for a few hours and you've got 1.9 Moabs I forgot to get the pictures of the finished product but I will Last edited by Just Zach; 06-01-2007 at 12:34 PM. Reason: pictures |
|
| |
|
06-01-2007, 11:45 AM
| #4 |
| I wanna be Dave Join Date: Aug 2005 Location: G6'N
Posts: 7,391
|
awesome write up Zach, may have to try it now. |
|
| |
|
06-01-2007, 12:32 PM
| #5 |
| '08 2.2 National Champ Join Date: Nov 2006 Location: UTRCRC
Posts: 5,585
|
Thanks Ben, I figure this makes it stupid simple and Mashers are even easier
Last edited by Just Zach; 06-01-2007 at 12:33 PM. Reason: add |
|
| |
|
06-01-2007, 01:06 PM
| #6 |
| Rock Crawler Join Date: Feb 2007 Location: weather sucks ,mn
Posts: 680
|
to easy
|
|
| |
|
06-01-2007, 02:29 PM
| #7 |
| Rock Stacker Join Date: May 2007 Location: location
Posts: 91
|
Great write up! I knew it wasn't rocket science but damn, thats a hell of alot easier than I thought it was.
|
|
| |
|
06-02-2007, 10:35 AM
| #8 |
| Quarry Creeper Join Date: Jul 2004 Location: Deland
Posts: 376
|
please sticky this, it's a great how-to.
|
|
| |
|
06-03-2007, 08:47 AM
| #9 |
| I joined the Band! Join Date: Dec 2006 Location: jacksonville
Posts: 198
|
yeah, this should definatly be a sticky
|
|
| |
|
06-03-2007, 08:56 AM
| #10 |
| Rock Crawler  Join Date: Sep 2006 Location: Esco.
Posts: 930
| Nice write up, thats exactly how I did mine. To lazy to do a write up, kudos for taken the time. |
|
| |
|
06-03-2007, 05:59 PM
| #11 |
| '08 2.2 National Champ Join Date: Nov 2006 Location: UTRCRC
Posts: 5,585
|
Thanks for the compliments guys, I do think it would be a good sticky too. The more rigs I see with tires like this on them the better in my opinion.
|
|
| |
|
06-05-2007, 11:04 AM
| #12 |
| Quarry Creeper Join Date: Jun 2005 Location: quarryville
Posts: 299
|
how about some pics side by side of the new ones next to the original ?
|
|
| |
|
06-05-2007, 05:08 PM
| #13 |
| '08 2.2 National Champ Join Date: Nov 2006 Location: UTRCRC
Posts: 5,585
|
I'll work on that |
|
| |
|
06-05-2007, 05:44 PM
| #14 | |
| RCC Addict  Join Date: May 2005 Location: Utah
Posts: 1,124
| Quote:
| |
|
| |
|
06-05-2007, 05:55 PM
| #15 |
| Rock Crawler  Join Date: Jan 2005 Location: Post Falls
Posts: 570
|
Great write up! I would like to see the finish product on a truck if you got a pic. |
|
| |
|
06-05-2007, 06:08 PM
| #16 | |
| Adilynsdad too! Join Date: May 2004 Location: G ville
Posts: 8,844
| Quote:
| |
|
| |
|
06-05-2007, 08:05 PM
| #17 |
| I lost my vendor privileges Join Date: May 2006 Location: TOP OF THE HILL
Posts: 3,014
|
great write up on this. will have to try it now also.
|
|
| |
|
06-05-2007, 09:09 PM
| #18 |
| Rock Crawler Join Date: Jan 2007 Location: Do I look like a freaking people person?
Posts: 874
|
Great write up! It's not as complicated as I've been making it out to be.
|
|
| |
|
06-05-2007, 09:22 PM
| #19 | |
| RCC Addict Join Date: May 2005 Location: Utah
Posts: 1,124
| Quote:
| |
|
| |
|
06-05-2007, 09:24 PM
| #20 |
| Adilynsdad too! Join Date: May 2004 Location: G ville
Posts: 8,844
|
Hahaha, the crawler that makes a mess!
|
|
| |
|
| |


 Linear Mode


