hillbillyrc
RCC Addict
Keep us all up to date. Thanks for all your work! Very interesting.
Pete
Here you go.
http://www.rccrawler.com/forum/general-scale-talk/595660-hillbillys-barrage-upgrade-bible.html
Keep us all up to date. Thanks for all your work! Very interesting.
Pete

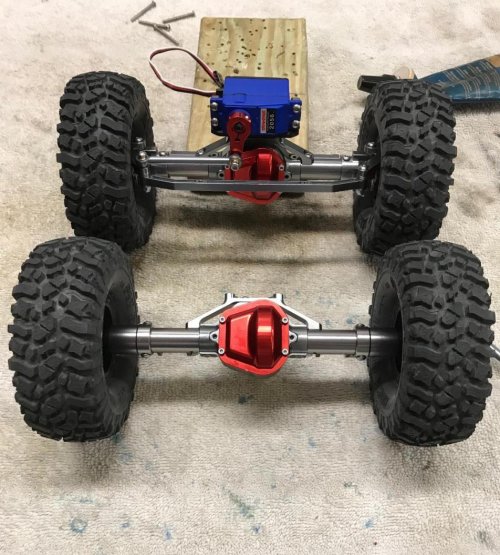
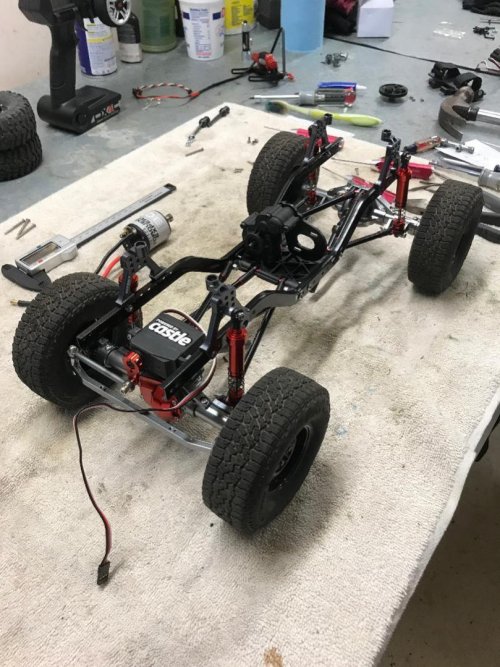
What is your wheel base at the moment?
If you flat fender the front and trim off the rear fenders the barrage body would look cool at that wheelbase. Imho
Yeah, the name may change. I just thought it was a funny bastardization of the two!:ror:First off very nice. Thanks hillbillyrc!
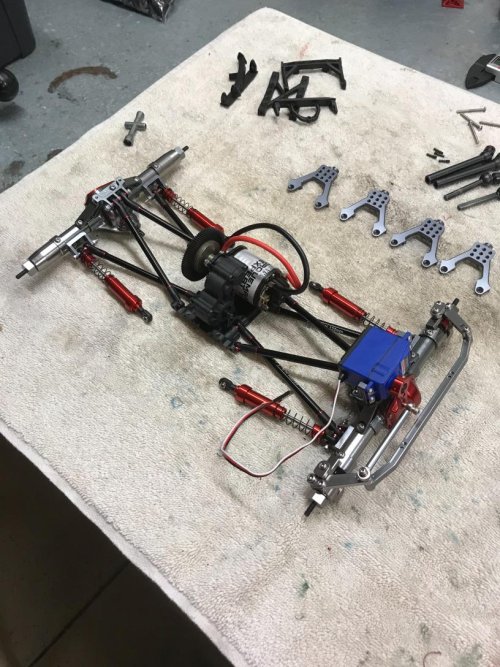
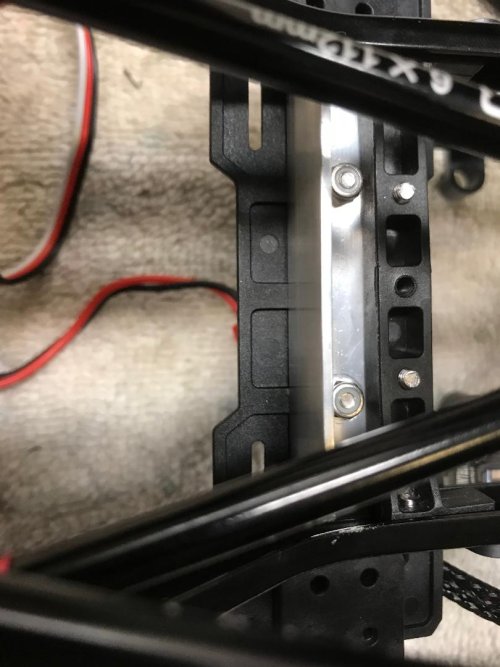
Now a few questions, any spacers to fit the stock cross member after the skid swap? I used 2mm on each side. The frame still pinches a tiny bit at the very front and very back, but short of taking a gauge to it, you wouldn't notice. They definitely serve their purpose for me to continue mocking things up. Ideally, and eventually, I'll fabricate some aluminum ones. But honestly, the rig could be easily run and used as they sit.
How far off are the holes for the shock hoops and skid? They are close. I used one of the existing holes to mount and mock them up. I'll have to drill for the other. They are so close in fact that when I drill for the second mounting bolt, it's going to get in to the other existing hole a fraction. Should not be a problem though because it will encroach on it so little and it will be bolted at the back, plus I'll use washers.
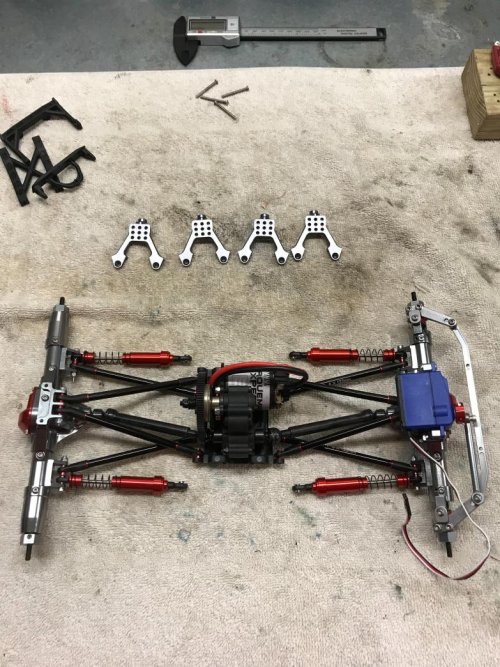
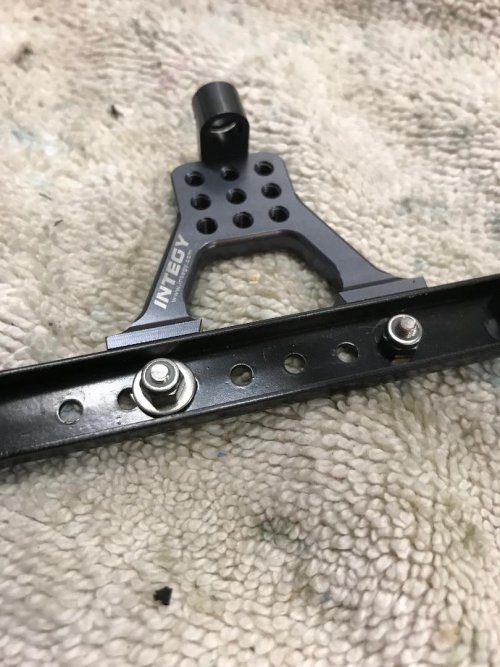
For the skid, I was able to land the plastic keeper pins molded in to the skid on both sides in to existing frame holes. Also got the two front bolts to secure it with existing holes. I'll have to drill for the back bolts. (although, between the plastic pins landing, the two bolts to secure the skid that I have in at the front, and all four lower links tied in to it through the frame, it's not going anywhere. (I did have to drill all 4 holes for the upper links.)
Also if you don't mind would like to add a few mods to the bible?
Is the bible here in the Barrage forum? I'll need to check that out. I just sort of jumped in to this little rig head first!:lmao: But yes, by all means, anything I've done so far that could be helpful to others is fine to publish in the bible!"thumbsup"
Baraxial is a nice mix of names, but maybe Barroncho? Might be better suited? Lol Idk.
Thanks for the info.
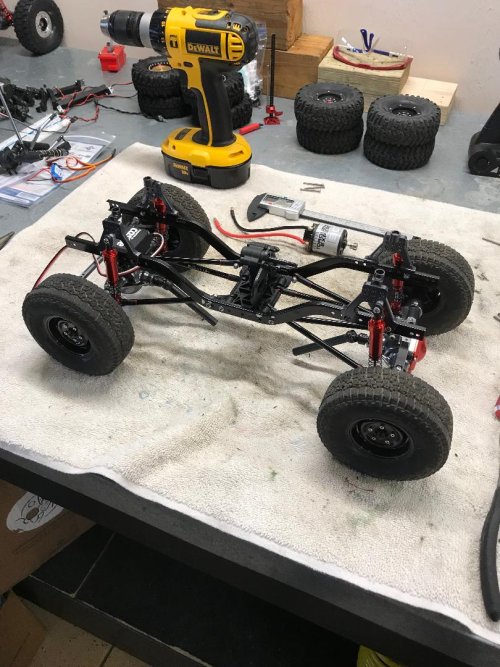
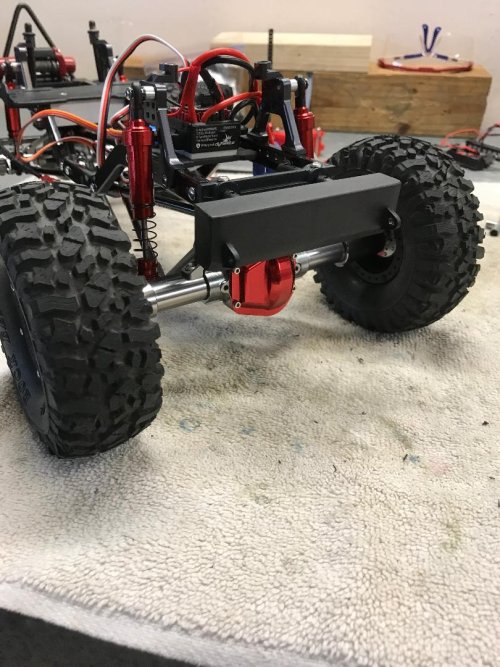
In my set up those will work perfectly in the rear. The front is a different story at least in mock up it is, but I need to mount my trans first to gauge clearance issues with the motor. I did pick up some 1"x1/8" aluminum flat bar to help with clearance. Since it will sit outside of the chassis rails and not on top.