• Welcome to RCCrawler Forums.

    It looks like you're enjoying RCCrawler's Forums but haven't created an account yet. Why not take a minute to register for your own free account now? As a member you get free access to all of our forums and posts plus the ability to post your own messages, communicate directly with other members, and much more. Register now!

    Already a member? Login at the top of this page to stop seeing this message.

A Capra build by B-MOW

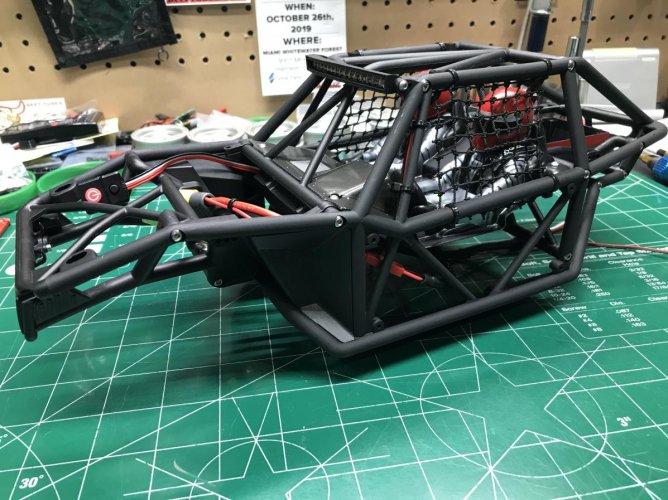
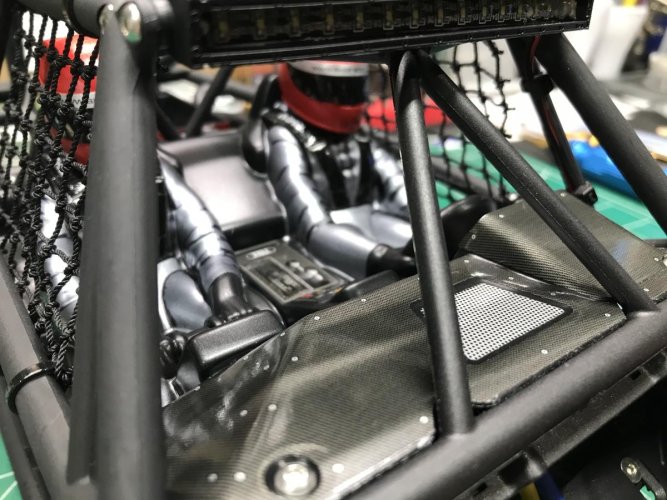
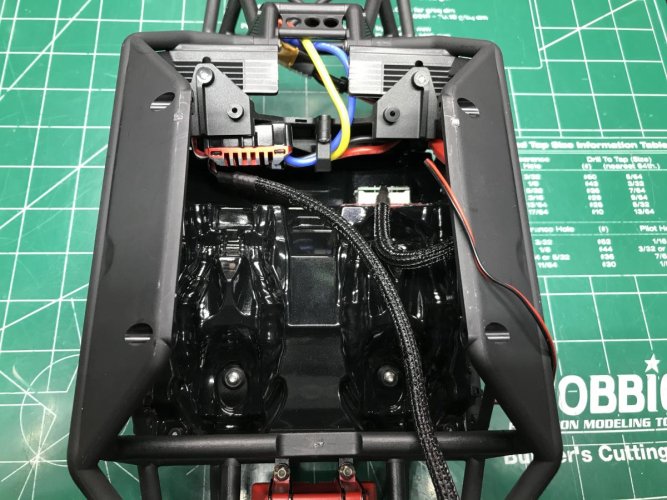
I got the interior installed last night. I didn't realize how small the cage was until I put the interior in. Man, it's tight in there! I'm glad I went with HW 1080 ESC. It's going to be fun to get all the wiring in and tied down!:ror:

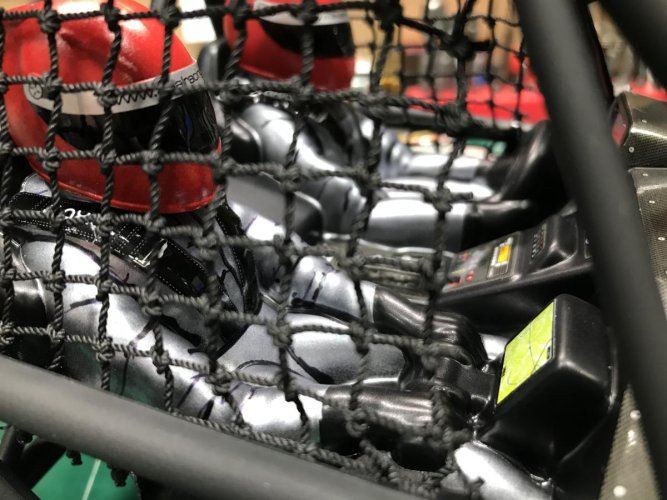
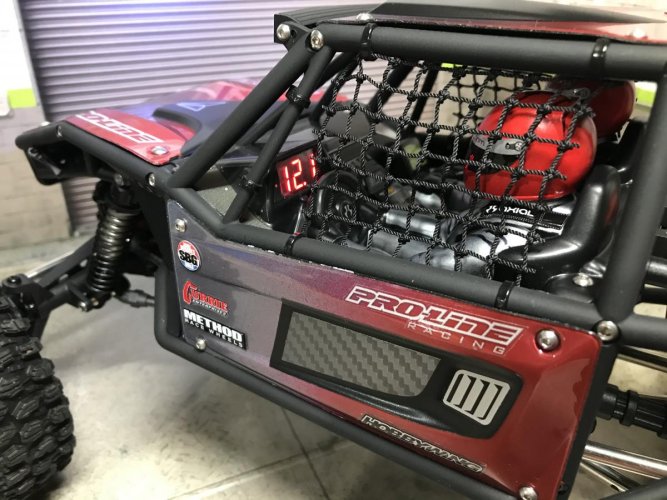
I bought a few packs of Lego netting off eBay. I think it fits the cage nice and looks fairly scale. I had to cut off 2 rows of each net to fit the cage. Then used a torch to singe the thread so it wouldn't fray. I just used some small cable ties to attach it to the cage.

Also installed a battery volt meter in the dash. I ended up cutting a piece of lexan and used E6000 to attach the volt meter to the lexan. Then used the E6000 to attach the lexan/meter into the back side of the dash. When I first lit up the meter with the lexan, it was kinda hard to see the numbers, so I sprayed a light coat of transparent silver paint on the lexan and then a thin layer of metallic red. It took the glare off of the lexan and made it easier to make out the numbers. Once I get power to the meter I'll post up a pic to show how it looks.

IMG_4635.jpg

IMG_4636.jpg

IMG_4637.jpg

IMG_4639.jpg

IMG_4638.jpg
 
A Holmes Crawlmaster Pro motor's can has 4 mounting holes that lets you play with the motor mounting screw placement so you can fit down to a 9T pinion.

Same trick applies to the 6 mounting holes on a Hobbywing Xerun Axe brushless motor.
 
A Holmes Crawlmaster Pro motor's can has 4 mounting holes that lets you play with the motor mounting screw placement so you can fit down to a 9T pinion.

Same trick applies to the 6 mounting holes on a Hobbywing Xerun Axe brushless motor.

Thanks for the tip!"thumbsup"

I'll keep them in mind!
 
I bought a few packs of Lego netting off eBay. I think it fits the cage nice and looks fairly scale. I had to cut off 2 rows of each net to fit the cage. Then used a torch to singe the thread so it wouldn't fray. I just used some small cable ties to attach it to the cage.

I might have to borrow that Lego netting idea!

A Holmes Crawlmaster Pro motor's can has 4 mounting holes that lets you play with the motor mounting screw placement so you can fit down to a 9T pinion.

Same trick applies to the 6 mounting holes on a Hobbywing Xerun Axe brushless motor.

I'm running a Axe system.... Did not know you could go down to 9T! :shock: The smallest pinion I had was the stock, I need to go buy some.
 
Do it![emoji106]

It really looks good on there especially after the body panels are installed!


Sent from my iPad using Tapatalk
I finished my panels. Not sure if I'll post it up yet. I'm satisfied with how it looks though!

Sent from my K88 using Tapatalk
 
I finished my panels. Not sure if I'll post it up yet. I'm satisfied with how it looks though!

Sent from my K88 using Tapatalk


Nice! Can’t wait to see them![emoji106]

My panels are done too! I installed them tonight. I’m hoping to get some pics posted tomorrow.


Sent from my iPad using Tapatalk
 
It was nice having a nice long four day weekend! I had big plans on spending some good quality time at my workbench finishing up the Capra and working on a few other rigs that have been on hold for the last couple of weeks! Well, between family, food and the numerous football games I watched this weekend, it didn't leave much time to work on tiny trucks!

I did however get the Capra 90% complete. I first started off by making a rear bulkhead to help hide the wiring mess inside the cage. I used a piece of scrap lexan that I painted black and then added a couple coats of flat clear to dull it up a bit. I think it adds a nice touch and makes the cage look more complete.

IMG_4647.jpg

IMG_4648.jpg


As I was attempting to route the wiring back to the rear fuel cell, I realized that the cutout for the wires was way to small. I opened up the slot quite a bit to be able to slide all the wires through it. I still need to come up with a way to somewhat seal it up. I may just squirt some silicone around the wires on the inside to keep dirt out. I don't plan on submerging the Capra in water, so I'm not to worried about keeping the box water tight.

IMG_4649.jpg


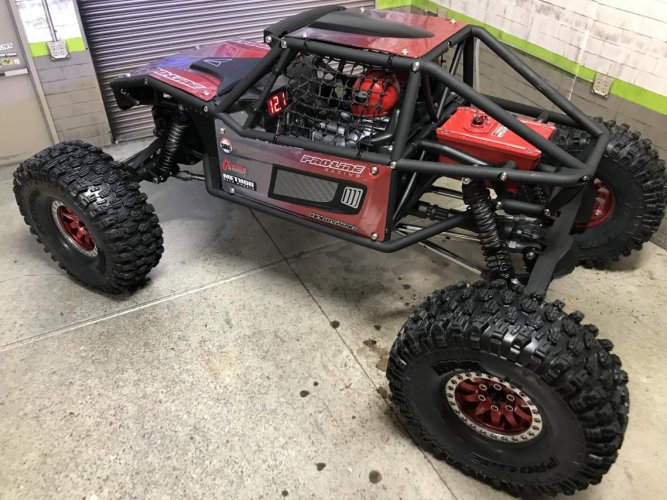
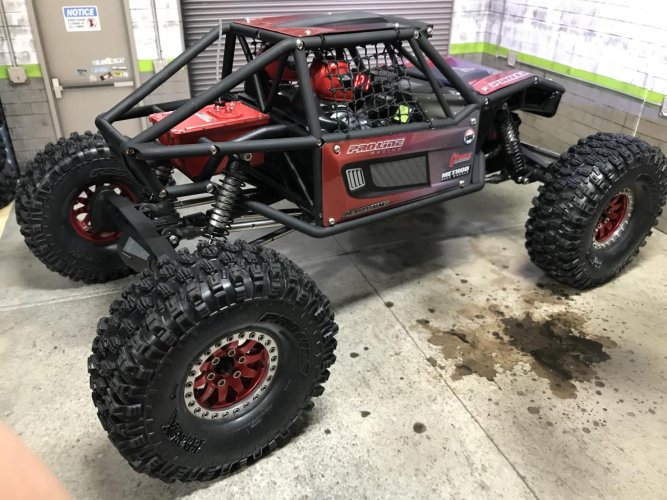
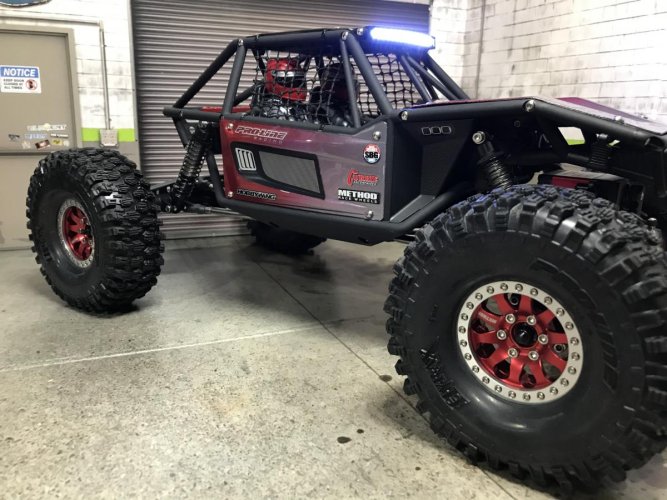
I was able to get the body panels painted a couple weeks ago. I decided to change up my usual paint scheme that I normally do and went with Tamiya PS-63 Bright Gun Metal faded into a Tamiya PS-15 Metallic Red. I backed it a couple coats of white and then a couple coats of black. On the outside, I cut the film around the hood scoop, the top panel scoop and the side panels. Painted them with Tamiya PS-5 Black and topped it with a couple coats of Tamiya PS-55 Flat Clear.

I added a piece of gray vinyl carbon fiber to the side panels just to give it a little depth and so that it didn't look too plain. Then added a few decals and this is how it turned out.

IMG_4653.jpg

IMG_4662.jpg

IMG_4654.jpg

IMG_4655.jpg

IMG_4656.jpg

IMG_4660.jpg

IMG_4659.jpg

IMG_4661.jpg

Next step is to add a piece of tubing to the fuel cell and add a filler cap and plate to the roll bar. My plan is to hide the receiver antenna in the tubing. Also want to add some LED lights to the front grill.

Thanks for looking and I hope to have more to share soon!!!!:)
 
Looks friggin' awesome. While I still love my Imperial Stormtrooper capra, I gotta admit, I'm "jealous" of yours.

~ More peace, love, laughter & kindness would make the world a MUCH better place
 
Looks friggin' awesome. While I still love my Imperial Stormtrooper capra, I gotta admit, I'm "jealous" of yours.

~ More peace, love, laughter & kindness would make the world a MUCH better place

Thanks Panther!"thumbsup"

Trust me, your Stormtrooper Capra is cool and "one of a kind"! Can't ever go wrong with a Star Wars themed rig!:)
 
Wow that came out awesome! Love the paint scheme. Carbon fiber is a real nice touch too. The wheels and rings fit in great. Knocked it out of the park BMow.

Hopefully you get to drive it soon, looking forward to hearing your first impressions.
 
Wow that came out awesome! Love the paint scheme. Carbon fiber is a real nice touch too. The wheels and rings fit in great. Knocked it out of the park BMow.

Hopefully you get to drive it soon, looking forward to hearing your first impressions.

Thanks TB, I appreciate it!"thumbsup"

I was hesitant to veer away from my normal paint scheme. You know me and how I love orange!;-) I just needed to find a home for these red VP Method wheels! I think this look will work for me!:)

Glad I swapped out the beadlock rings. I wasn't too sure how the clear would look with the red. I agree, they do fit the look!

Yeah, excited to get this out on the rocks! Hopefully the weather will be halfway decent next weekend!:)
 
I love the fade on the paint scheme! It looks fantastic. My tires and foams should show up today, so I can finally finish up my build in stock form.
 
I love the fade on the paint scheme! It looks fantastic. My tires and foams should show up today, so I can finally finish up my build in stock form.

Thanks Soze!"thumbsup"

The fade was a technique I used to use way back in the day (late 80's, early 90's) on my 1/10th scale dirt oval latemodel and sprint cars. My goto paint scheme was florescent yellow fade to florescent yellow. It made them easy to see during the races.

Can't wait to see what you have planned for yours! I still haven't had a chance to watch your YT Capra videos yet.:cry: I need to get caught up on them!;-)
 
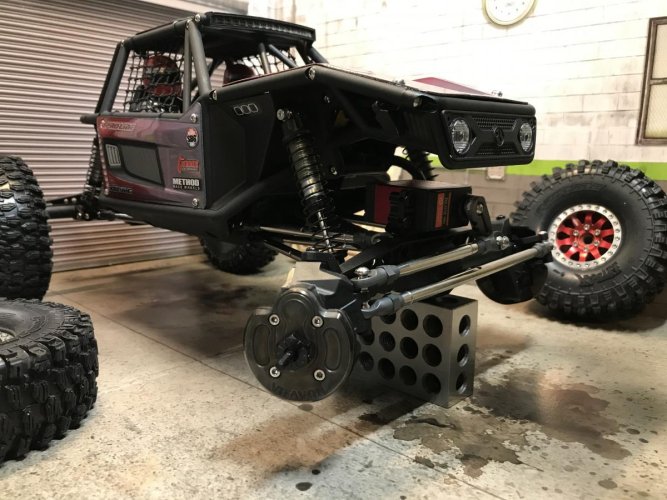
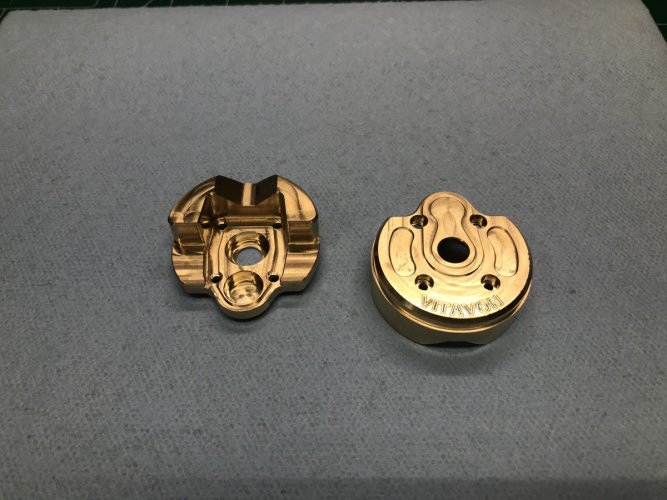
I finally received my Vitavon brass portal covers in the mail a few days ago.

I decided to coat them with some Brass Black. I didn't want the brass look and I wanted them to blend in with the axle.

They went together very well. I did not have any issues with fitting the bearings into them. I read that some people were having issues with the bearings fitting in them, but my bearings slid in nice and smooth.

IMG_4676.jpg

IMG_4679.jpg

IMG_4710.jpg
 
That's some friggin' cool stuff. Decided to check it out, and discovered it's from a firearm refinishing supply manufacturer. They also make aluminum blackening liquid, as well as blueing liquid. Just ordered the Brass Black, and Aluminum Black (even Walmart carries it).

~ More peace, love, laughter & kindness would make the world a MUCH better place
 
I definitely prefer the non-brass look. That’s one of the reasons I went with Samix for the TRX. Looks great Brian. I’ll be doing the same. I’m also going to borrow your Lego netting idea! Two thumbs up on this whole build!"thumbsup""thumbsup"
 
Hey, what’s the purpose of the 3x5x0.1mm MST shims? I read the SVT thread and saw the 5x7 shimming for the idler. But the 3x5 has eluded me
 
Back
Top