Skeeno
RCC Addict
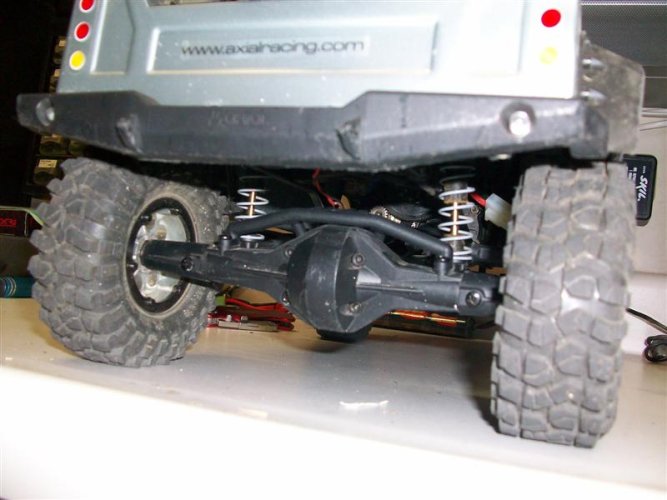
Well, I decided to install the 4-link truss on my SCX10 TR. Since only Brandon, Jason, and I seem to have them, I figured I'd take some pics and post this for whomever needs it.
Things I needed:
4-link truss
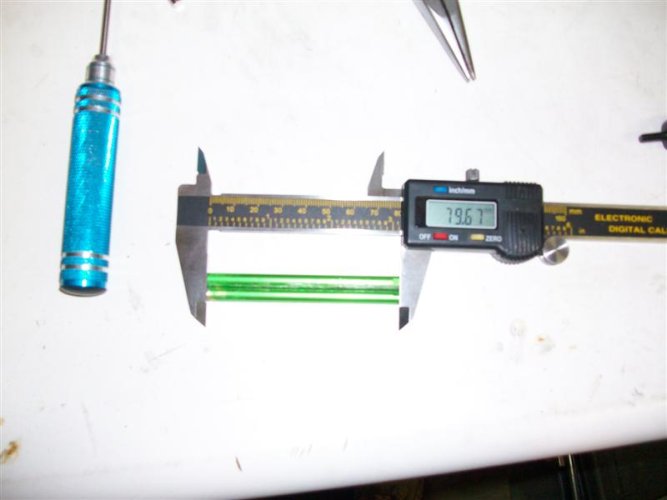
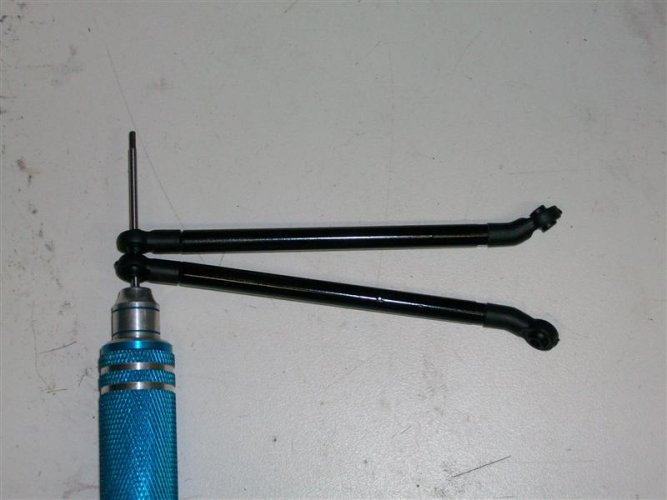
2x80mm links
2xAX80032 Shock ends
2xAX80005 Rod ends from SCX10 kit or AX10 kit
4xAX80018 Pivot balls for AX80005 and AX80032
1x33mm screw
4x3mmx16mm setscrews to hold the links together
2x3mmx8mm screws to hold down the truss on the axle
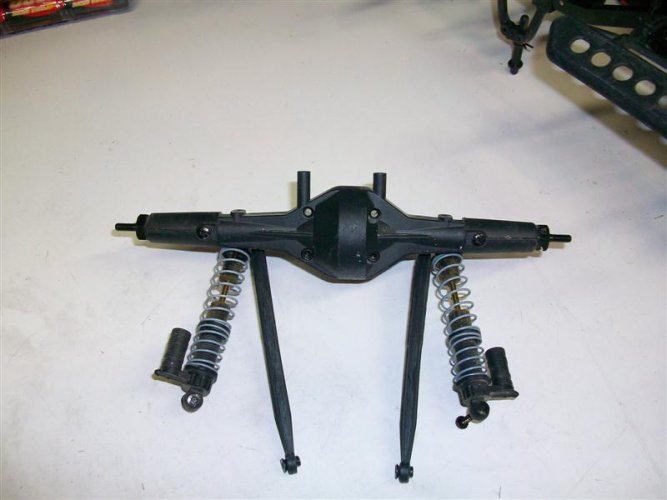
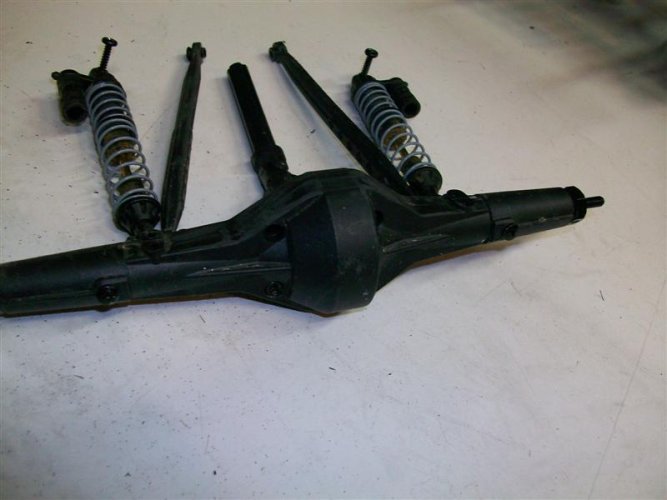
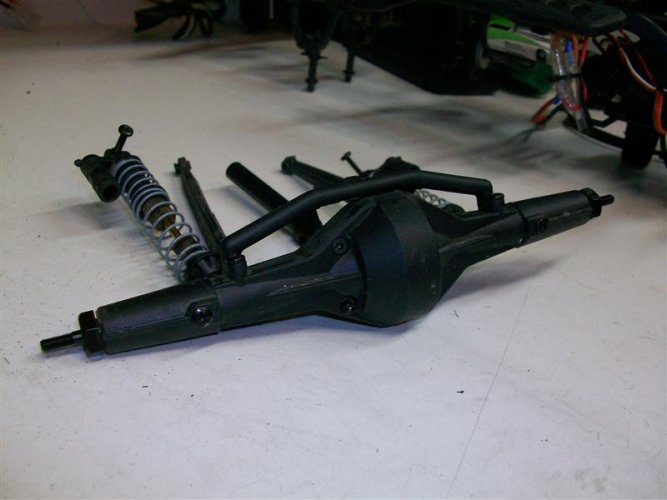
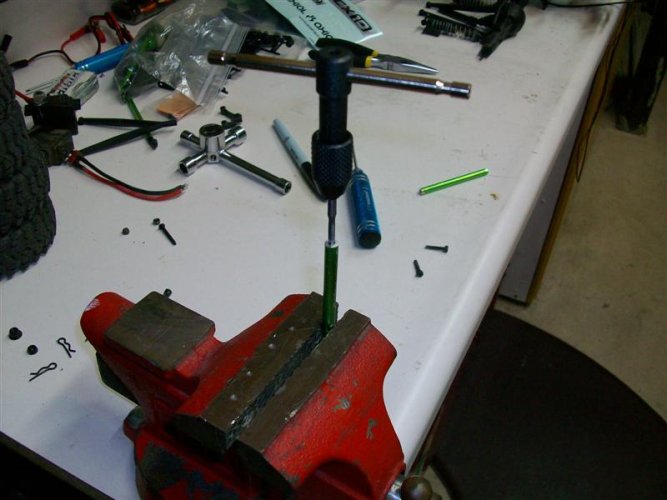
Step 1
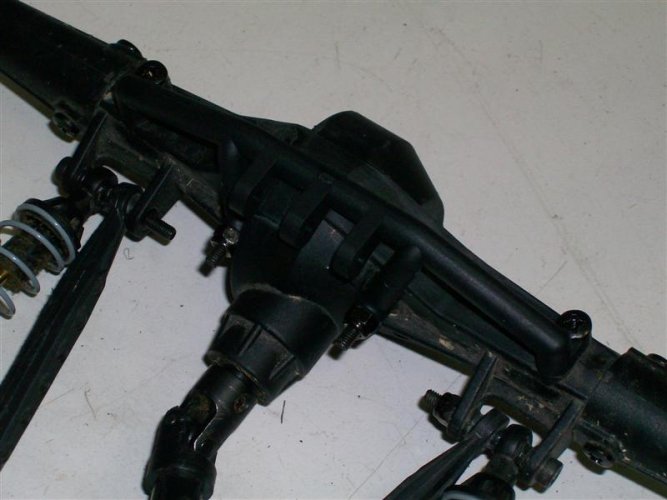
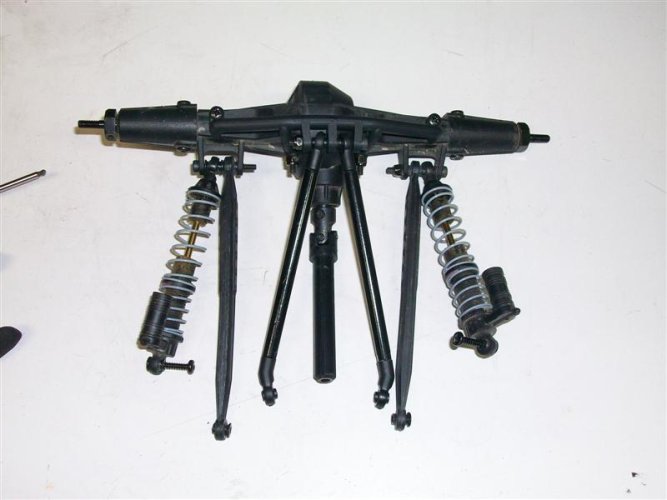
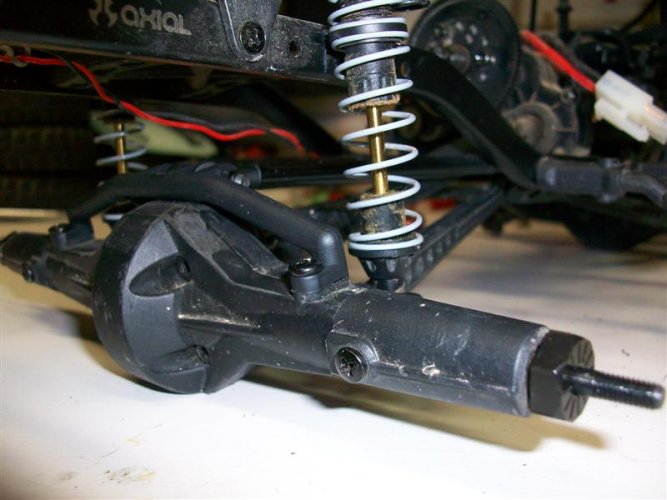
Remove the rear axle and take off the stuff I didn't need; the three-link triangle and mount.
Things I needed:
4-link truss
2x80mm links
2xAX80032 Shock ends
2xAX80005 Rod ends from SCX10 kit or AX10 kit
4xAX80018 Pivot balls for AX80005 and AX80032
1x33mm screw
4x3mmx16mm setscrews to hold the links together
2x3mmx8mm screws to hold down the truss on the axle
Step 1
Remove the rear axle and take off the stuff I didn't need; the three-link triangle and mount.
Attachments

Last edited: