• Welcome to RCCrawler Forums.

    It looks like you're enjoying RCCrawler's Forums but haven't created an account yet. Why not take a minute to register for your own free account now? As a member you get free access to all of our forums and posts plus the ability to post your own messages, communicate directly with other members, and much more. Register now!

    Already a member? Login at the top of this page to stop seeing this message.

Scrunch and Dad (re-)build a TF2

new2rocks

I wanna be Dave
Joined
Apr 2, 2014
Messages
2,254
Location
North Carolina
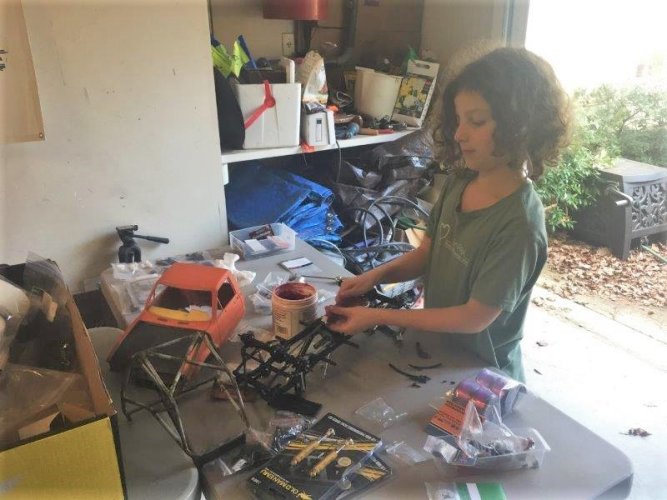
A couple of years ago, during one of my periodic visits to RC-Recycler, I spotted a TF2 truggy project sitting in a box that caught my fancy. I didn't pull the trigger at the time, but I told Rob he wasn't allowed to sell it without talking to me first. A year or so later, I pulled the trigger and brought the box home, and there it sat, until...
IMG_7626.jpg

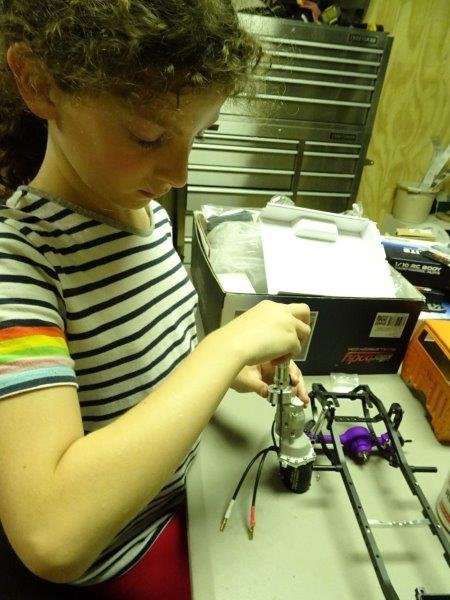
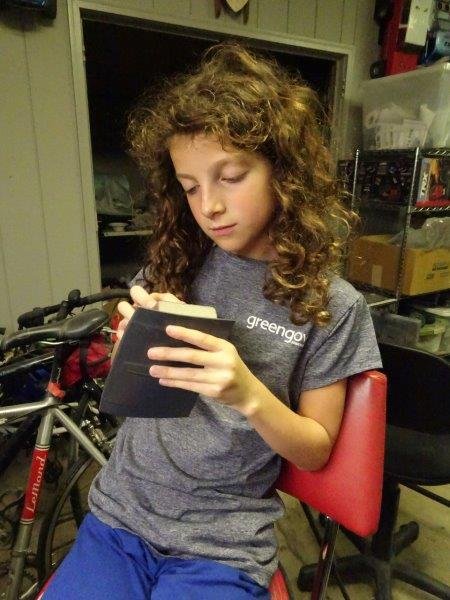
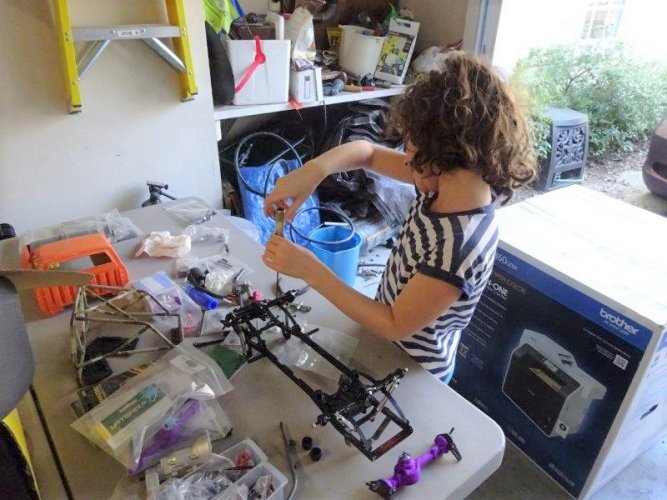
It was only a matter of time before Scrunch expressed an interest in trying her hand at a build after watching her brother build a few (okay...maybe a little more than a few) trucks. Knowing that she wasn't likely to have Roo's level of patience, I figured this one would be a good first build. Parts of it (esp. the chassis) were already assembled, but lots of parts would get swapped out along the way, including shocks, axles, and tranny, among other things). Other parts, like the cage and cab, would serve as excellent starting points.

So off she went with plenty of guidance and encouragement from Dad:
DSC08824.jpg

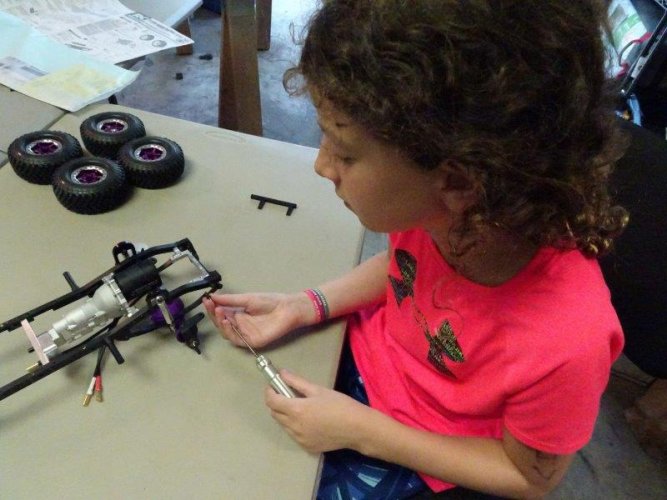
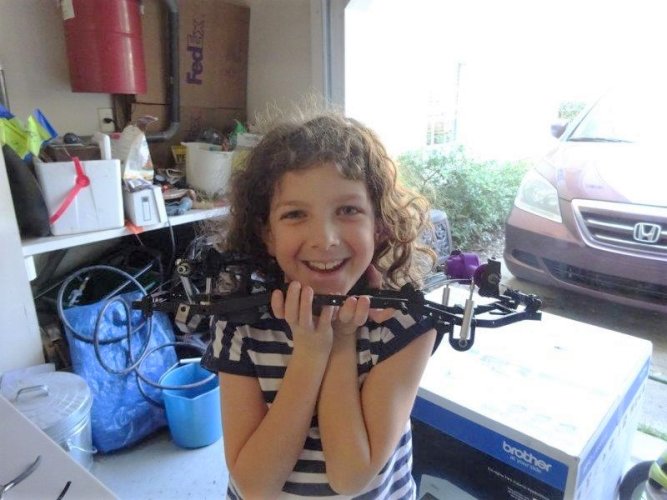
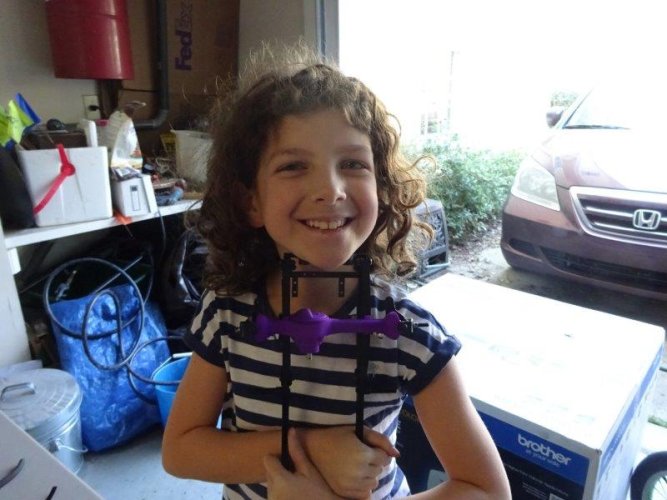
You may have noticed some colorful parts in that picture. Ever the artistic one, Scrunch decided on purple BowHouse RC NCYotas (the only ones in existence as best we know), and she was quite pleased with them:
DSC08831.jpg

DSC08832.jpg

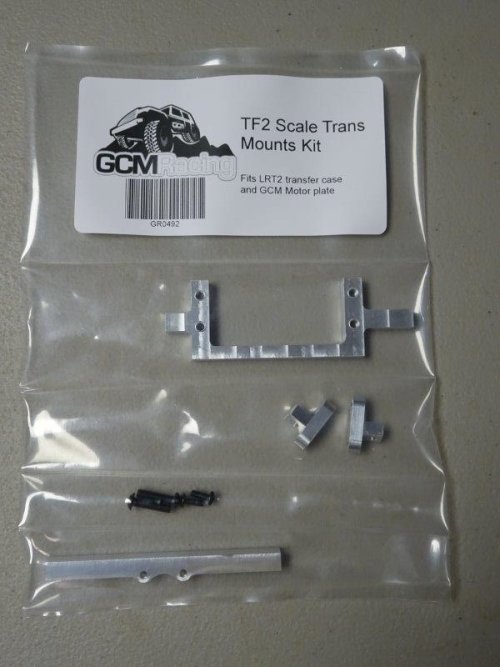
The original builder had already done the work of cutting open the hood, so we naturally wanted a scale driveline to allow for a proper engine bay. Fortunately, between the time I originally brought this project home and when we finally got to serious work on it, our good friends at GCM released their TF2 Scale Trans Conversion Kit utilizing GCM's familiar LRT2 transmission and transfer case combo along with TF2-specific mounts. My persistent please north of the border apparently paid off.

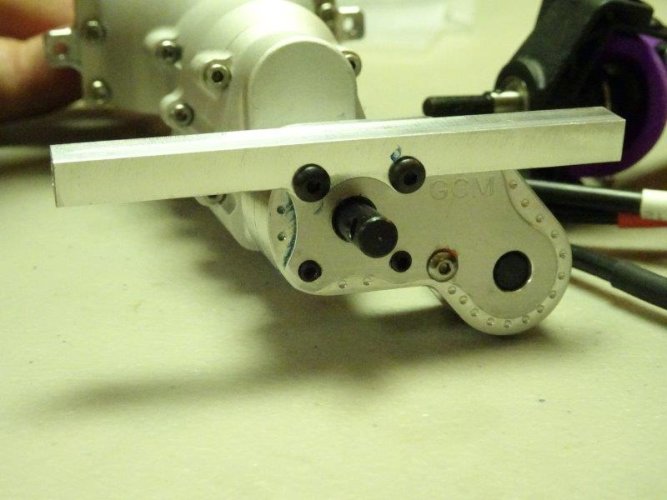
If you already have an LRT2 lying around (as I did), you can buy just the mounts:
DSC00727.jpg

Included are a pair of motor plate mounts, a cross-member to mount the t-case, and a new servo mount.

Scrunch got to work on the tranny:
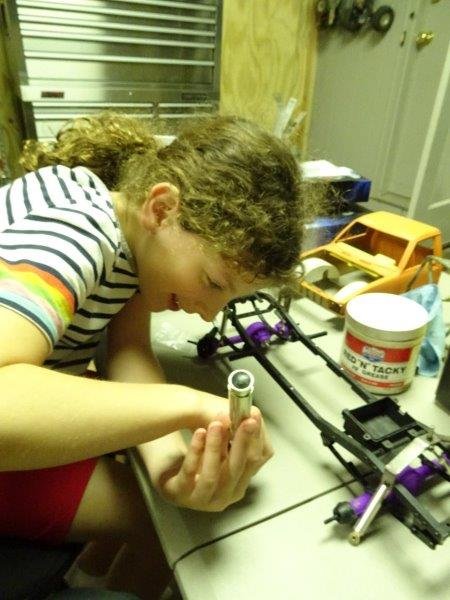
DSC00732.jpg

DSC00735.jpg

DSC00747.jpg

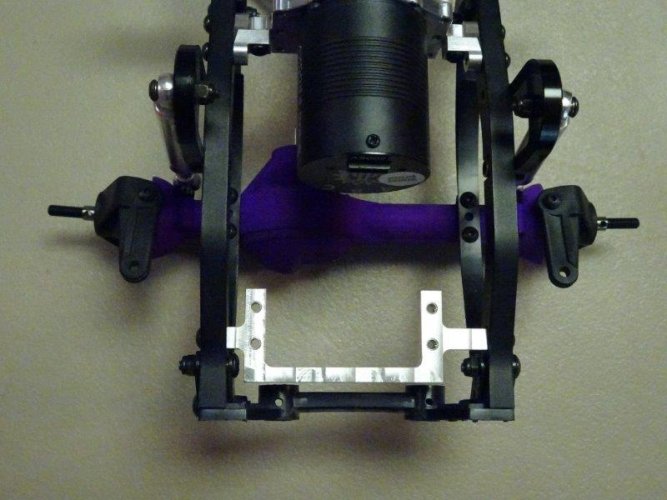
And then the servo mount:

DSC02895.jpg

Here's a before and after showing the stock servo mount vs. GCM mount:
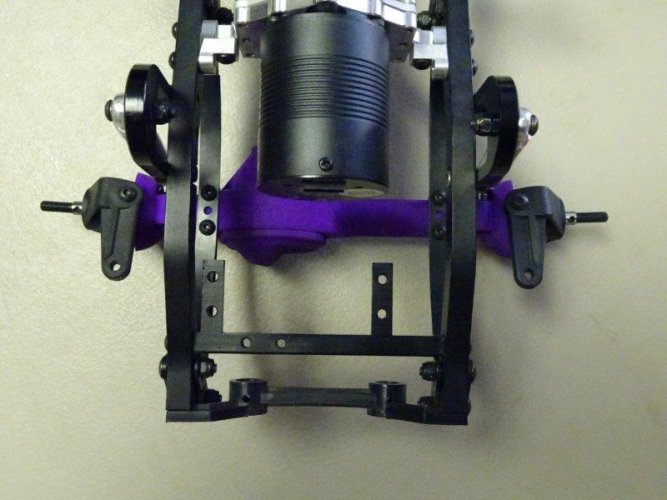
DSC02894.jpg

DSC02897.jpg

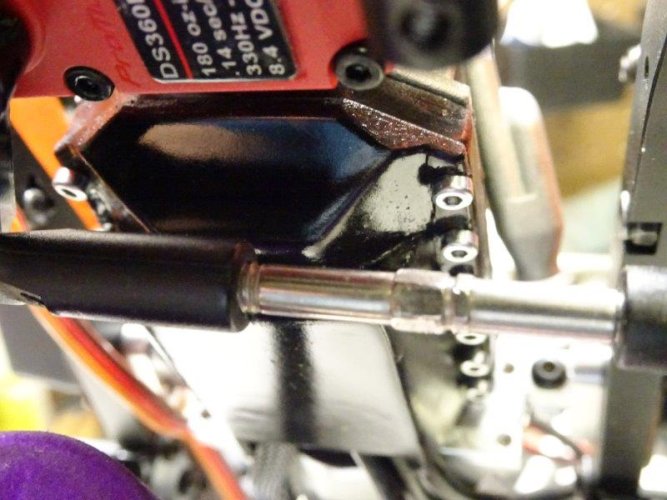
In case you were wondering, that is a Holmes Hobbies Puller Pro Stubby 2200 kv that we'll run on 3S. It's one of my all-time favorite motors. For steering duties, I decided to try something new:
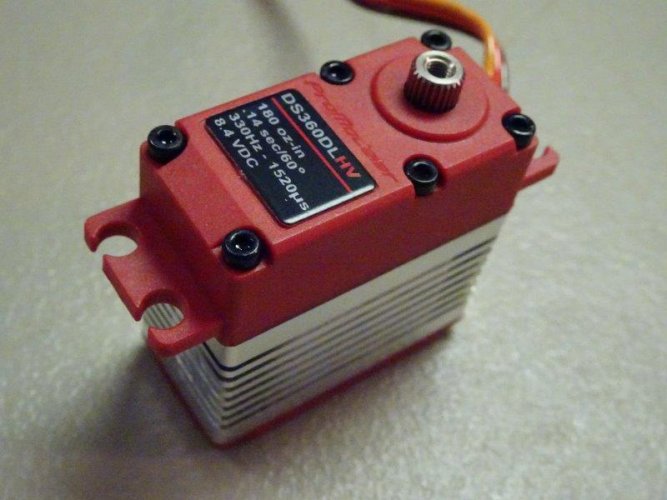
DSC02901.jpg

After the tranny and t-case were in, it was time for some suspension work. RC4WD 90mm Old Man Emus with springs removed and 3k diff fluid makes for one of my favorite leaf-sprung setups, so we went with it:
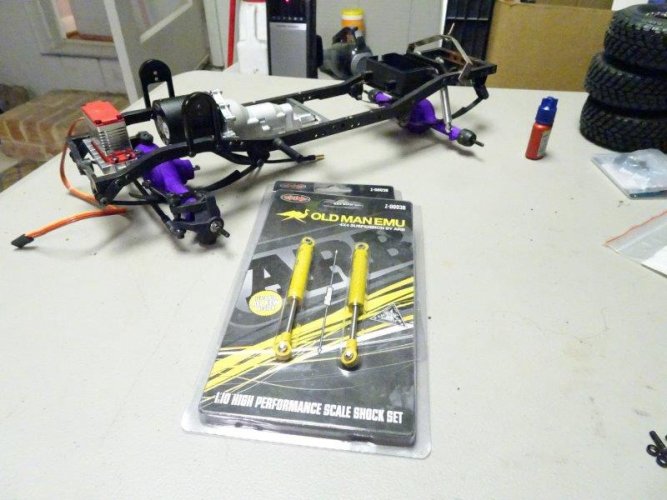
DSC03059.jpg

Things were starting to look pretty good...
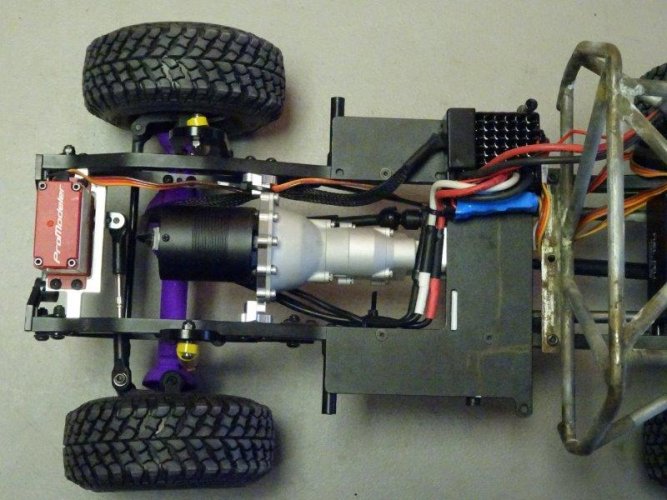
DSC03101.jpg
 
Love this!!!
Is it just me or is tf2 hitting a sort of popularity spike? Maybe its just because I have been more interested lately.

That gcm trans kit is fantastic! I didnt know about that since I figured cmax was cmax and tf2 was tf2. Never thought gcm would be so genirus lol see what I did there...

Those axles are so COOL!!! Another reason 3d printing is such a huge part of this hobby.
Scrunch looks like she is having fun and getting a super nice rig in the process!

Great thread!
 
Always great getting the kids involved!

I kinda like the purple axles - definitely something different. My 6 year old - who is sitting here next to me destroying a pop tart - has just opined that they would have "looked better with rainbow colors" :)
 
Love this!!!
Is it just me or is tf2 hitting a sort of popularity spike? Maybe its just because I have been more interested lately.

That gcm trans kit is fantastic! I didnt know about that since I figured cmax was cmax and tf2 was tf2. Never thought gcm would be so genirus lol see what I did there...

Those axles are so COOL!!! Another reason 3d printing is such a huge part of this hobby. Scrunch looks like she is having fun and getting a super nice rig in the process!

Great thread!

Thanks! Yes...the GCM trans kit is fantastic. I have lots of experience with it in my various CMAXs, so it's great to have a bolt-on option for the TF2. I'll be doing more updates on that once we get it out for some testing.

Re the TF2, I don't have numbers to back it up, but certainly the subjective impression is that they've grown in popularity over the past 3-4 years. The introduction of the LWB, LC70 and Marlin versions has definitely helped keep things fresh. It's such a great platform with so much flexibility.

Always great getting the kids involved!

I kinda like the purple axles - definitely something different. My 6 year old - who is sitting here next to me destroying a pop tart - has just opined that they would have "looked better with rainbow colors" :)

Amen to getting the kiddos involved. And lol re the colors...I'm quite sure Scrunch would have chosen the rainbow option if Shapeways offered it. Wait until you see her idea for the body (if we can pull it off...). ;-)
 
Last edited:
Your brazen and boundless use of child labor for personal gain is admirable. I have much to learn to get such productivity out of my workforce. :mrgreen:

There has got to be some purple knuckles to go with the purple axles, right? You must know a guy that can make that happen.
 
Looks like a great project. Kids helping out and showing interest is always great, so thumbs up there. That's great gcm has a mounting kit out now.

What transmission are you using from gcm new2rocks? Always heard great things about gcm.
 
Your brazen and boundless use of child labor for personal gain is admirable. I have much to learn to get such productivity out of my workforce. :mrgreen:

It's either that or they don't eat. They choose to help. Smart kids. :mrgreen:

There has got to be some purple knuckles to go with the purple axles, right? You must know a guy that can make that happen.

The thought has crossed my mind... :idea:
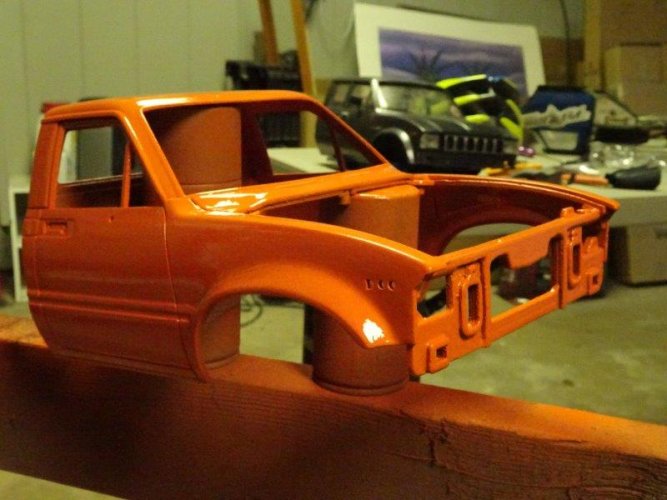
Looks like a great project. Kids helping out and showing interest is always great, so thumbs up there. That's great gcm has a mounting kit out now.

What transmission are you using from gcm new2rocks? Always heard great things about gcm.

Thanks! The GCM kit for the TF2 comes with the LRT2 transmission and transfer case, which is the same tranny/t-case combo on the CMAX. It's a great (great) setup. "thumbsup"
 
Great keeping Scrunch and Roo involved building and driving RCs! What’s next and where the purple knuckles? The ProModeler servo looks very enticing! :)
 
Great keeping Scrunch and Roo involved building and driving RCs! What’s next and where the purple knuckles? The ProModeler servo looks very enticing! :)

Thanks! They definitely help keep things interesting. I'll give some updates on the servo once we get this running. As for purple knuckles... :idea:
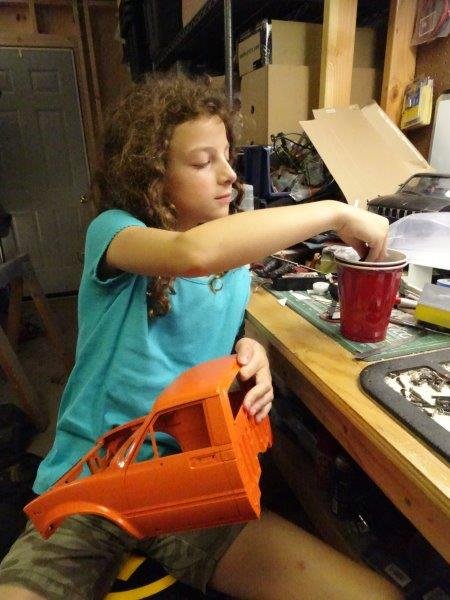
But there are other updates in the meantime. In the interest of creating dramatic tension, I'll save the best for last.

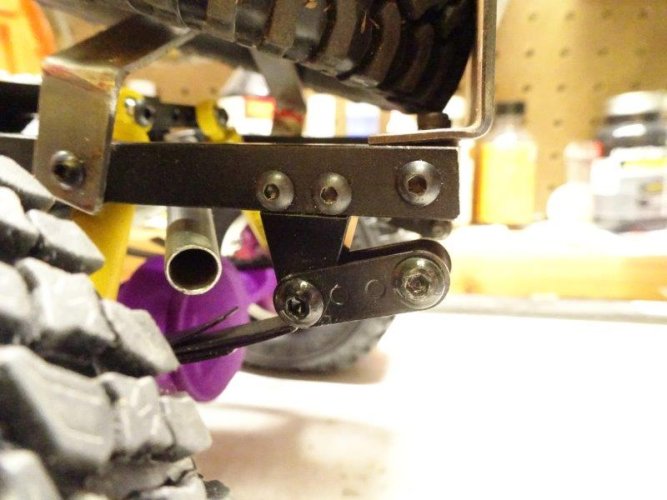
First up was fixing this common problem:
DSC03164.jpg

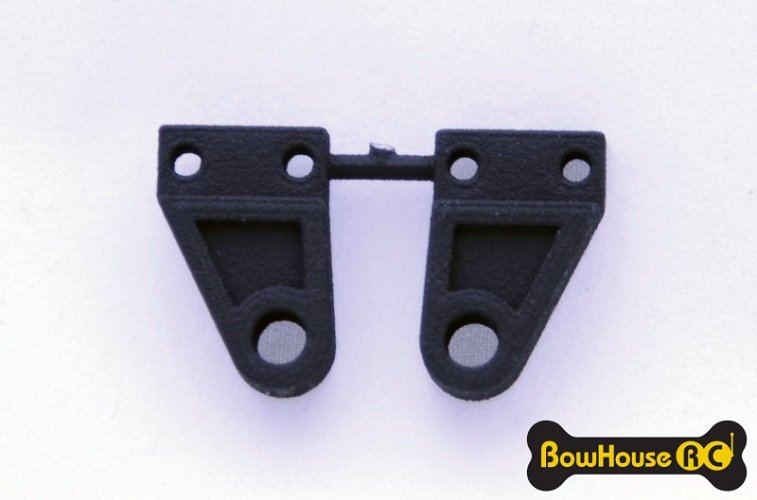
With a pair of these guys:
TF2 Rear Leaf Shackle Mount 1 with logo.jpg

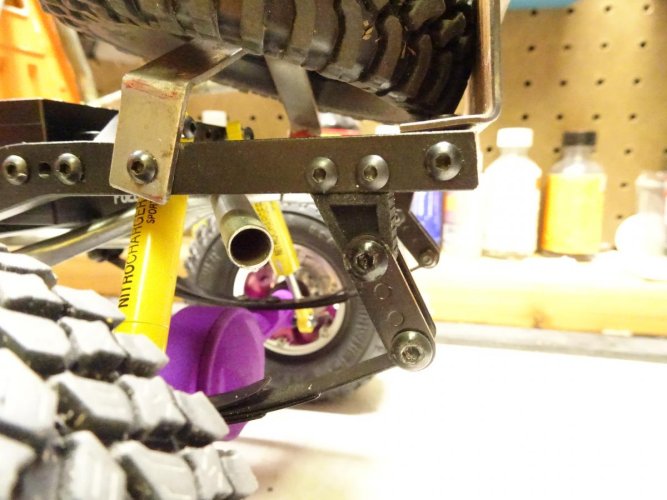
Installed:
DSC03169.jpg

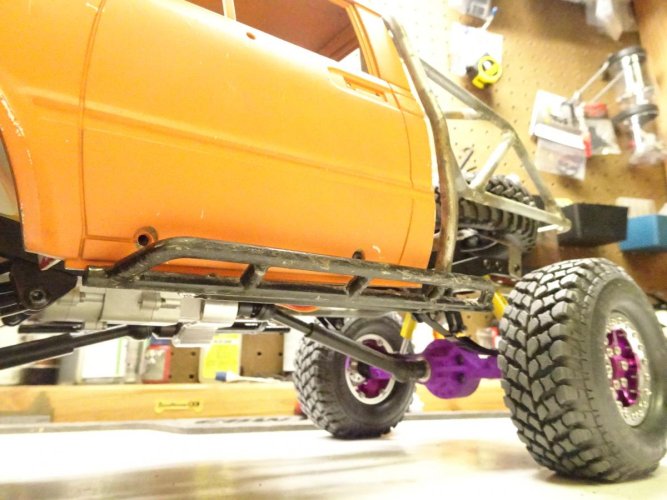
Much better! How about some sliders for sliding?
DSC03174.jpg

Those of you who were at ECSC 2015 might have remembered seeing my green TF2 tumble 30 or so feet off a cliff on course 1, only to be rescued by Metal Masher (who is suspiciously fleet of foot). Well...these are the now repaired sliders that cracked upon impact with the tree at the base of the cliff that fateful morning. I still owe you, Blake!

Now for the fun stuff. The prior builder that abandoned this project fabbed up some hood hinges:
DSC03183.jpg

DSC03181.jpg

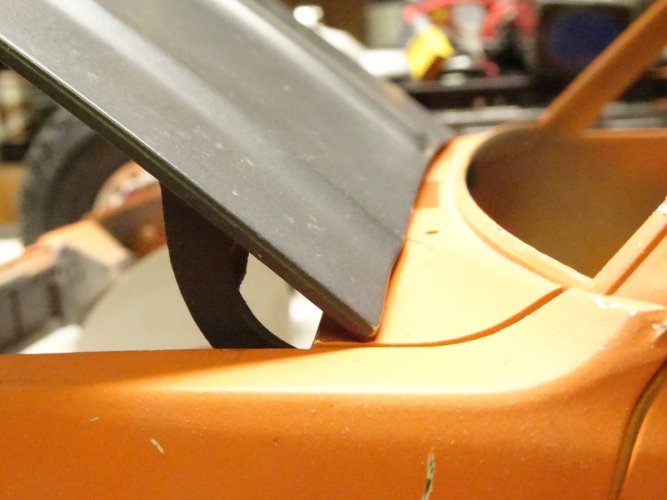
Not a bad effort, but there's one issue with trying to use this style of hinge on this body:
DSC03188.jpg

Hmm... :idea:
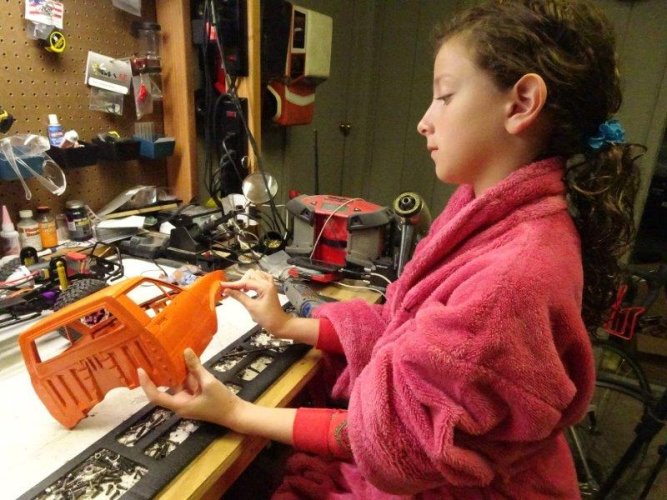
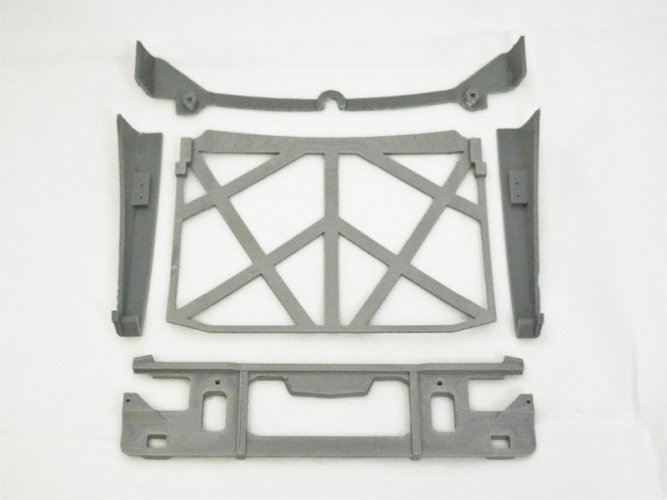
You might have seen that we just released a limited production run of our BowHouse RC Hood Hinge Mount Set for Mojave / Hilux bodies...perfect timing! Here's what the set looks like before installation:
DSC03151 v2 small.jpg

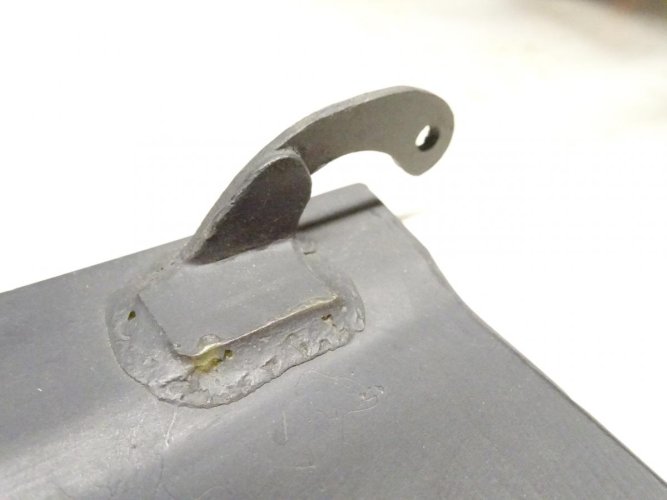
These are printed in ABS to make them strong, flexible, and easy to glue to the body. They use the RC4WD Blazer hood hinges so that everything clears nicely when you open the hood. Time to put Scrunch back to work:
DSC03193.jpg

Installation is pretty simple. It's best to start with the cowl piece:
DSC03225.jpg

Remember the outer windshield/dash mounting posts that are sacrificed when removing the hood? We don't like sacrifices, so our cowl pieces includes new posts to replace the lost ones.


After installing the cowl, next up are the inner fender brackets:
DSC03237.jpg

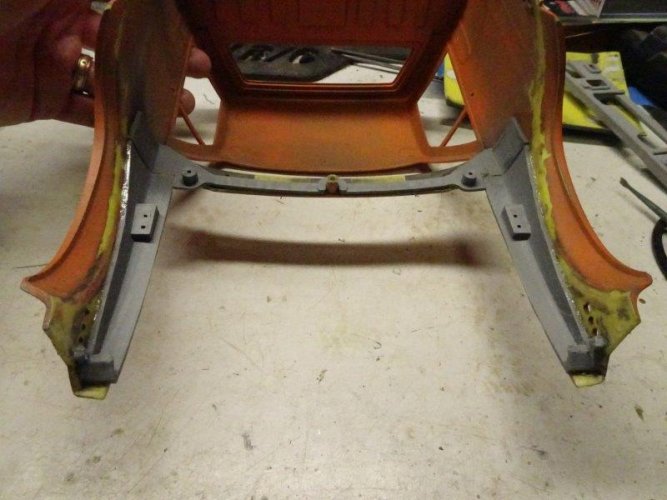
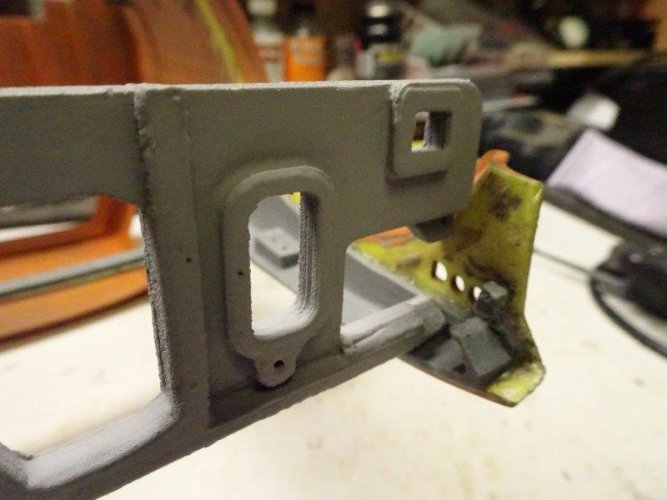
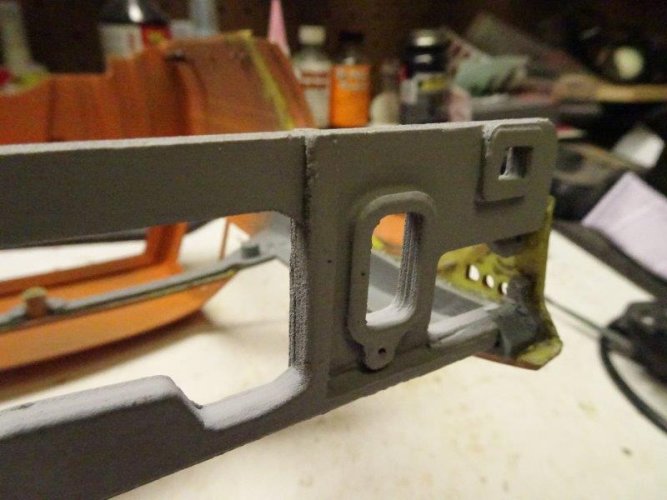
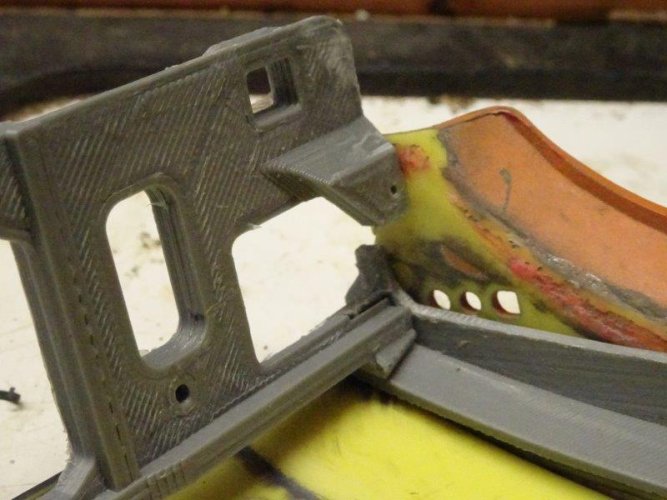
And then my favorite part...the structural rad support. Nick designed these clever nooks in the inner fender brackets with matching notches on the rad support to help line everything up without guess work and create a very strong mount:
DSC03238.jpg

DSC03240.jpg

DSC03214.jpg

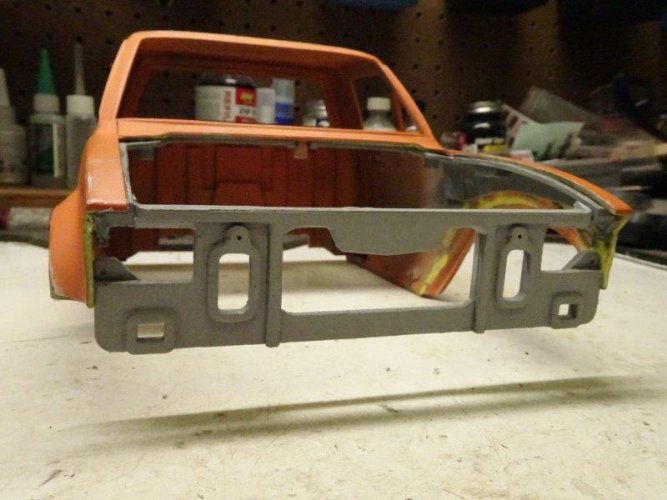
Wondering about that little hole on the lower outside corner of the light bucket opening? That happens to line up with an unused hole in the back of the Mojave grill...perfect for using a hidden screw to secure the grill to the rad support. More on that later.

Here is how the rad support looks from the front after installation:
DSC03244.jpg

Now we're starting to get somewhere!
 
Watch out Roooo..... Little Sis has came to town! I love getting the kids involved...."thumbsup" I also am digging the purple housings and will be ordering a few of the BH hood/ reinforcement/ hinge/ thingy..... Thanks Scrunch for all of your hard/fun work thus far"thumbsup"
 
This is a great build! Love that your daughter is in the garage with you! Can't wait till mine gets a little older. She doesn't have the patience for spending hours on one thing yet. Soon tho! She does love helping me tinker with my truck. Keep up the great work Scrunch! Totally digging it!
 
If this Nick guy keeps up the good work, maybe one day he will make partner.

Quiet, you! Don't give him any ideas...he's already overpaid as it is. :mrgreen:

Watch out Roooo..... Little Sis has came to town! I love getting the kids involved...."thumbsup" I also am digging the purple housings and will be ordering a few of the BH hood/ reinforcement/ hinge/ thingy..... Thanks Scrunch for all of your hard/fun work thus far"thumbsup"

Scrunch says thanks (even though she is most definitely not his LITTLE sister or even little, for that matter). You'll be hearing more from her soon enough. ;-)

This is a great build! Love that your daughter is in the garage with you! Can't wait till mine gets a little older. She doesn't have the patience for spending hours on one thing yet. Soon tho! She does love helping me tinker with my truck. Keep up the great work Scrunch! Totally digging it!

Thanks! This is the most interest she's shown in a truck, and it's been fun getting her involved. The hardest part is keeping Roo's little hands off it, lol.

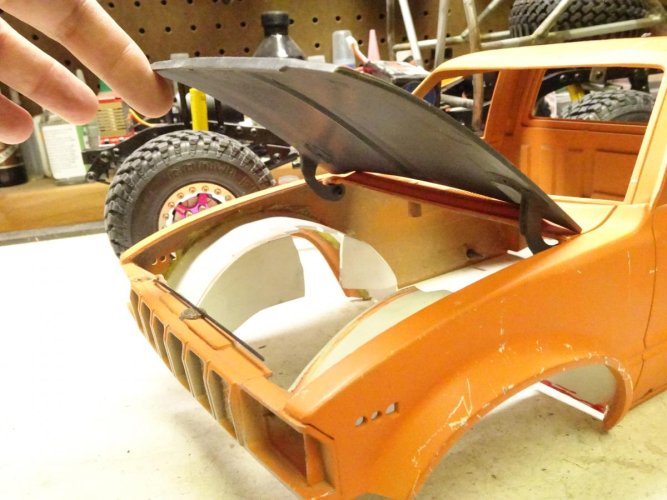
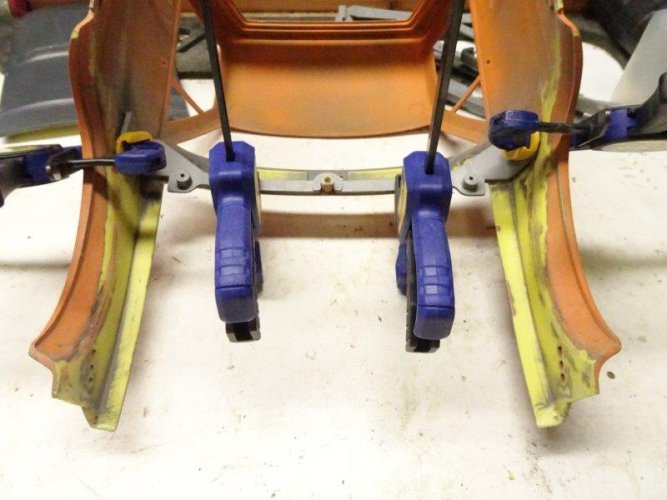
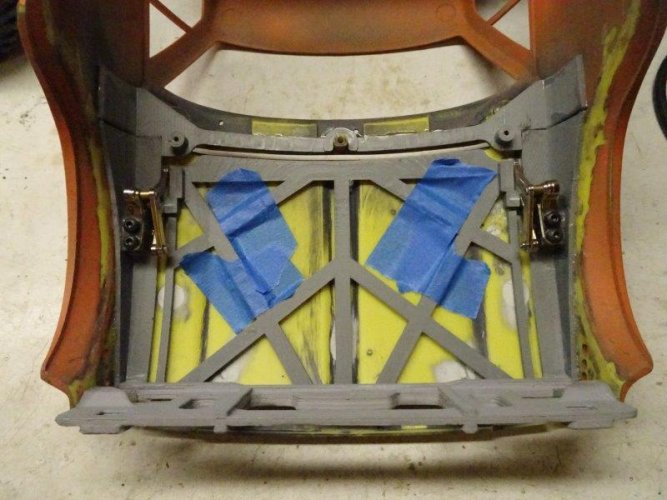
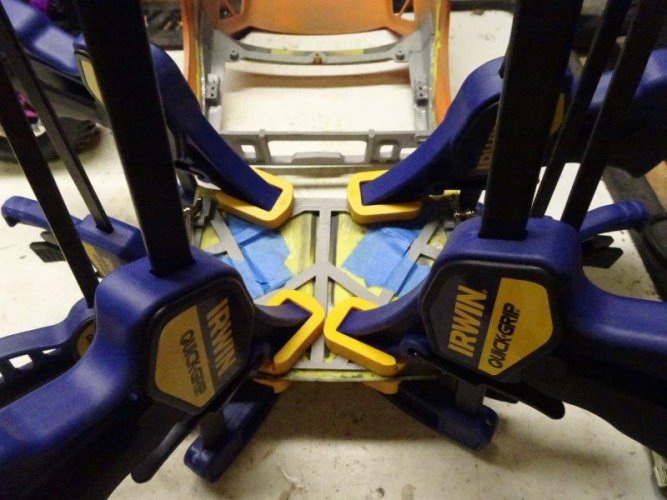
Let's get back to the build. With the rad support in, the next step was getting the hood brace installed. The easiest way to do this is to install the hinges on the cab and hood brace, then mask the hood and brace in place to get the alignment of the brace to the hood. Like this:

DSC03249.jpg

Make sure everything lines up:

DSC03251.jpg

Then glue it all into place:
DSC03254.jpg

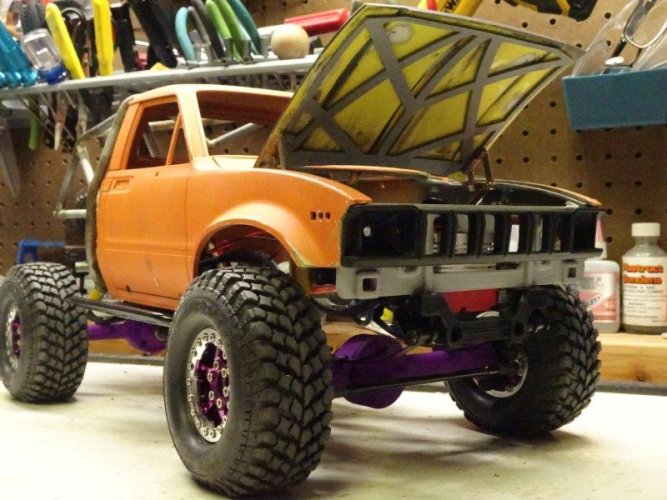
Another fit test:
DSC03269.jpg

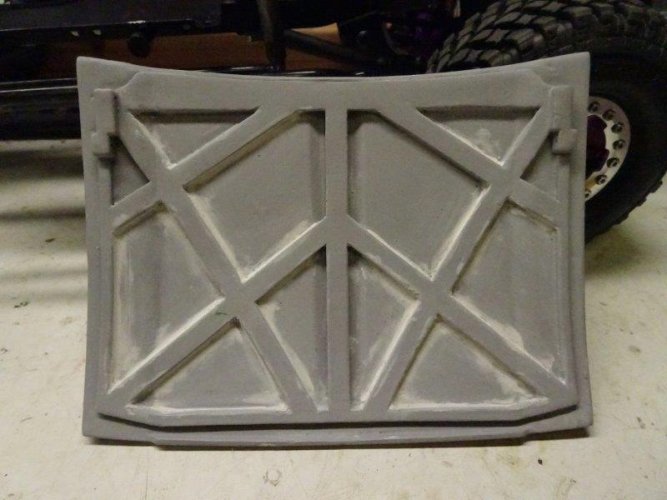
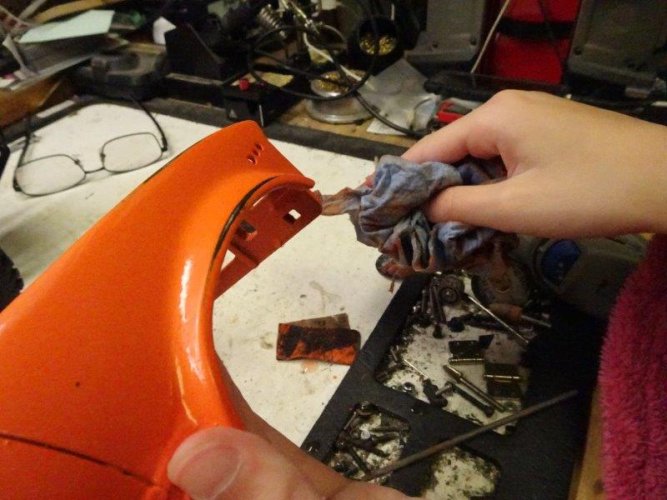
That works. A little prep work:
DSC03289.jpg

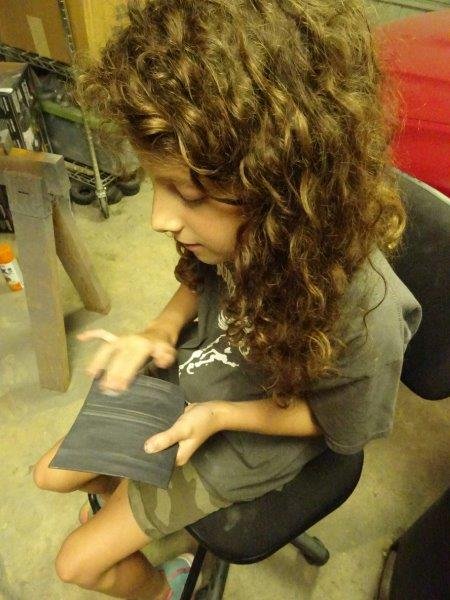
Scrunch loves to sand:
DSC03292.jpg

DSC03294.jpg

Next up were some accessories to help keep everything in place out on the trails. I decided on 3mm x 1mm neo magnets for the back corners of the hood (2 deep on the cab side and 1 deep in the hood):
DSC03361.jpg

DSC03333.jpg

DSC03363.jpg

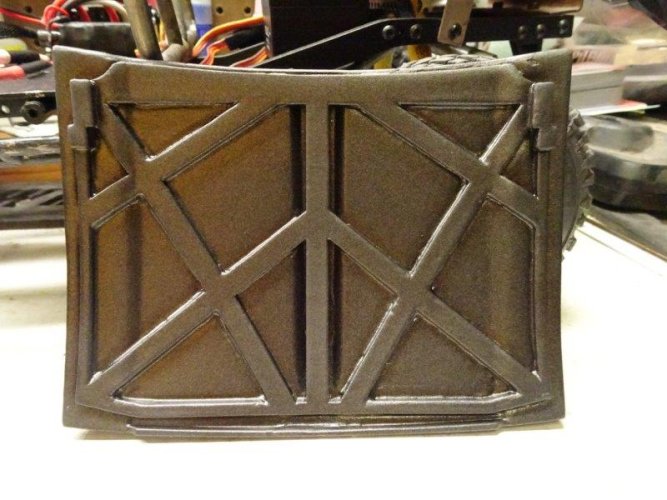
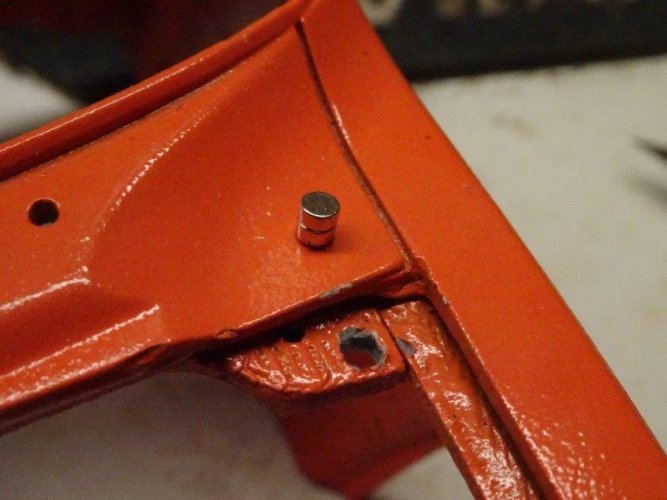
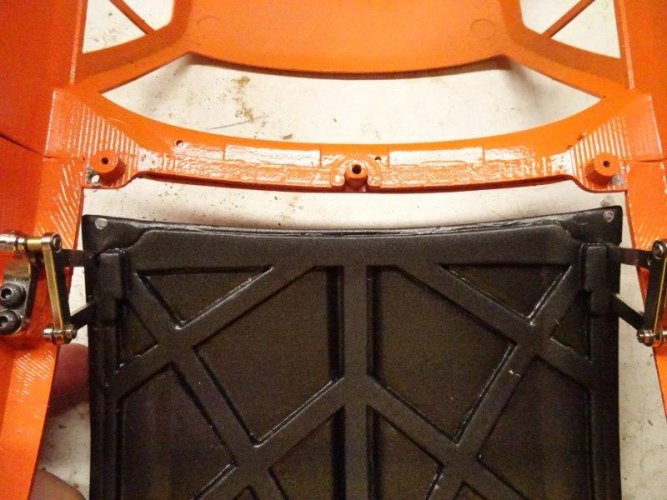
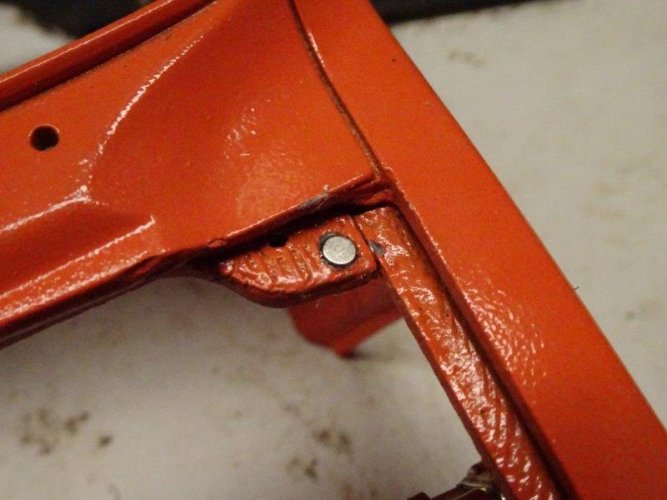
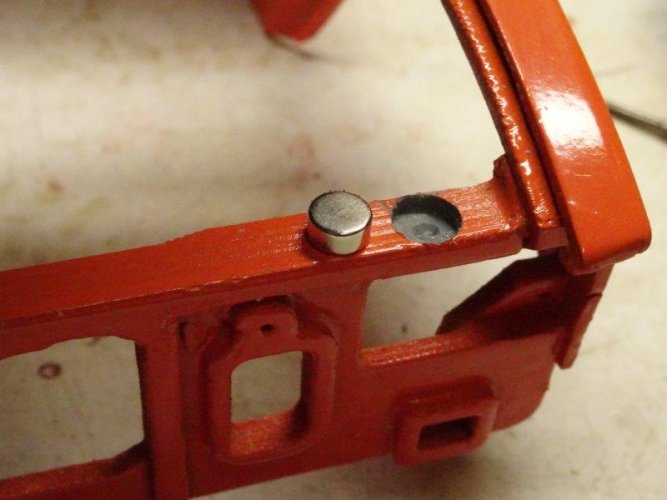
At the front corners, 1/4" (approx. 6mm) neo magnets in the rad support:
DSC03364.jpg

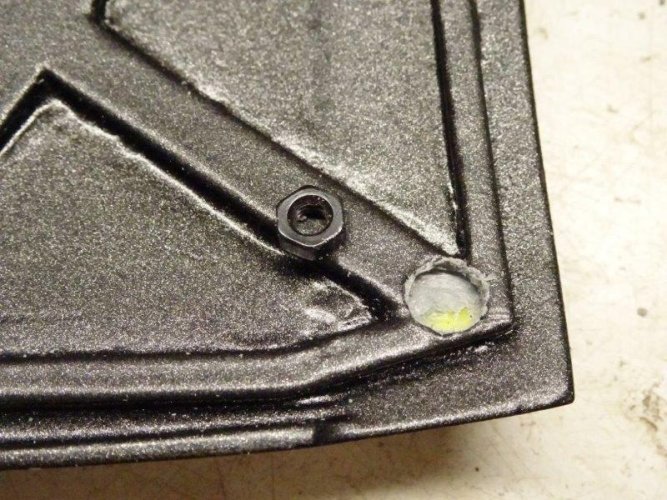
Under the front corners of the hood, I chose to use M3 nuts (not the nylock variety) for reasons you'll see in a bit:
DSC03367.jpg

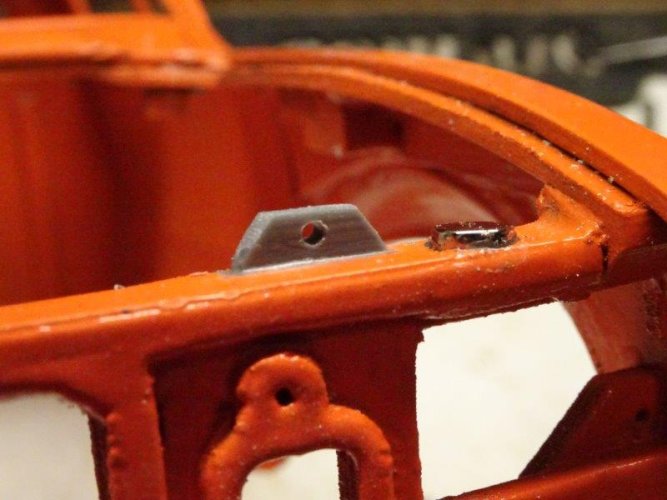
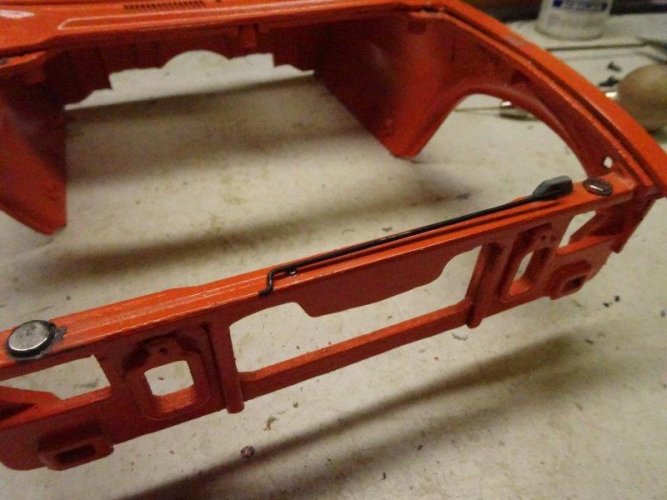
Added a bracket for the hood prop:
DSC03369.jpg

DSC03370.jpg

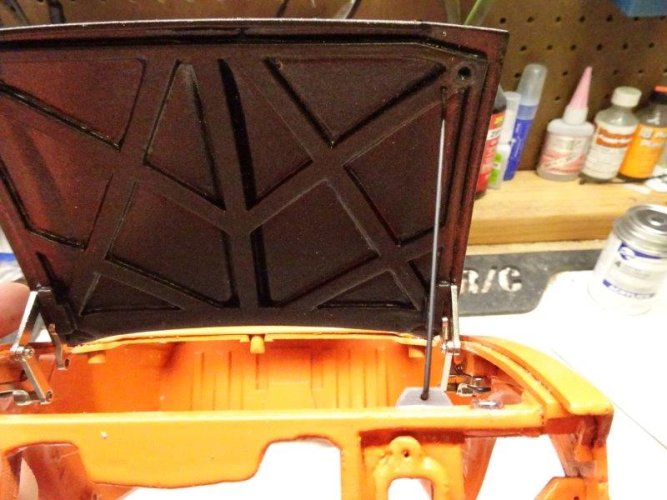
One last 3mm x 1mm magnet to keep the prop in place:
DSC03374.jpg

That completes the installation of the hood hinge kit. From here on out, it will be pretty much all painting and detailing. And I'll need my helper for that...
 
My kitties help, but they don’t do sanding. What adhesive did you glue the hood to the under hood bracing with? Prop rod is great detail! :)
 
Last edited:
My kitties help, but they don’t do sanding. What adhesive did you glue the hood to the under hood bracing with? Prop rod is great detail! :)

Don't feel bad...our Berner isn't much help, either. For glue, I used Sci Grip 4, which works great on ABS and styrene.

Aces! we need more Scrunch!:mrgreen

Ask and ye shall receive...

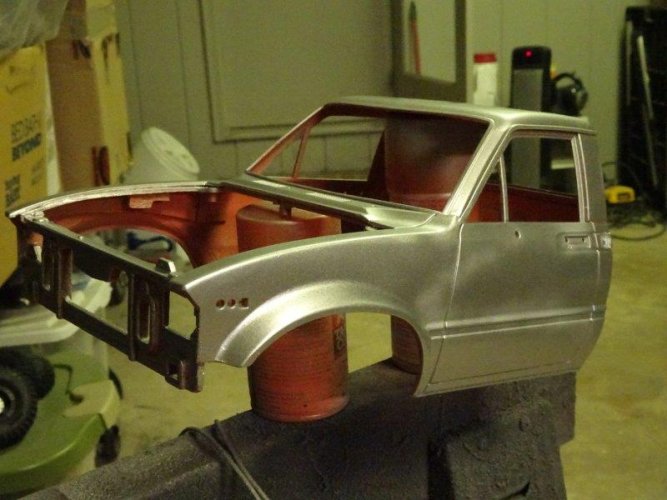
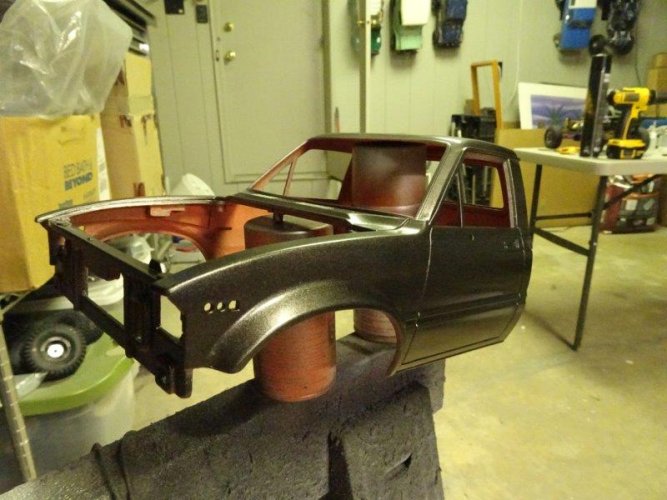
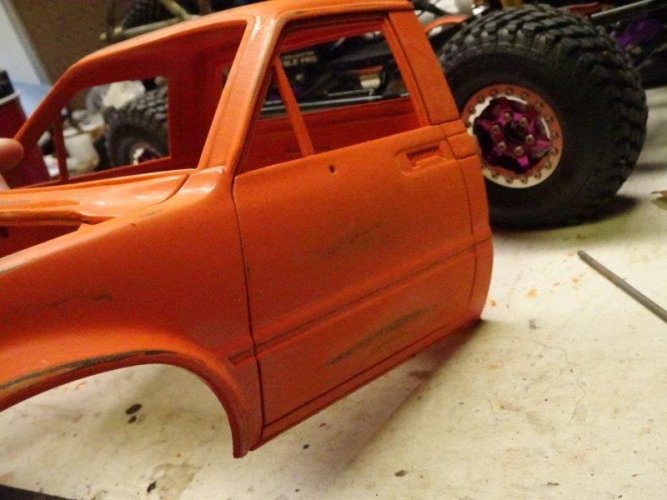
Let's get back to the build. I tried a little experiment with this one, laying a couple of metallic coats:
DSC03385.jpg

DSC03386.jpg

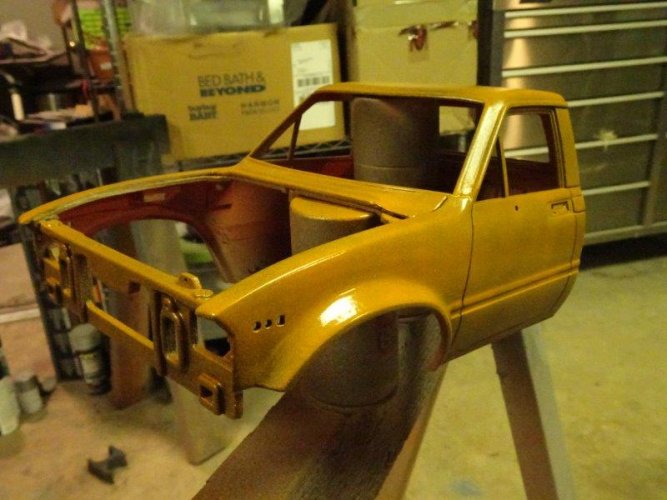
Followed by a faded orange:
DSC03416.jpg

And then the finish coat:
DSC03417.jpg

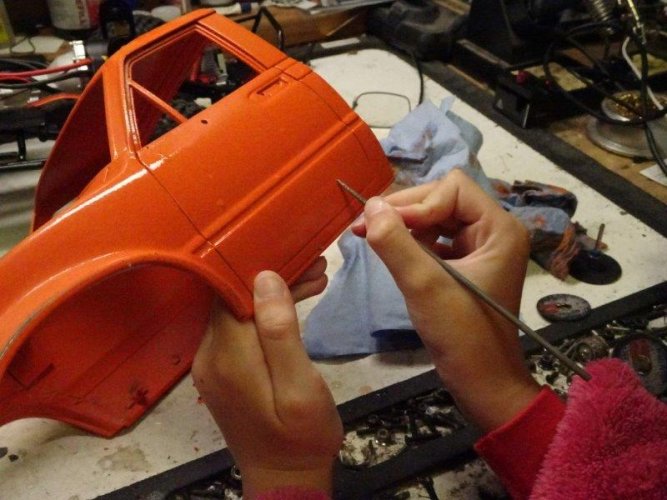
Scrunch likes wet sanding, and she's quite good at it:
DSC03379.jpg

DSC03426.jpg

The results started to look pretty interesting:
DSC03430.jpg

So she continued to scratch and sand away:
DSC03434.jpg

DSC03437.jpg

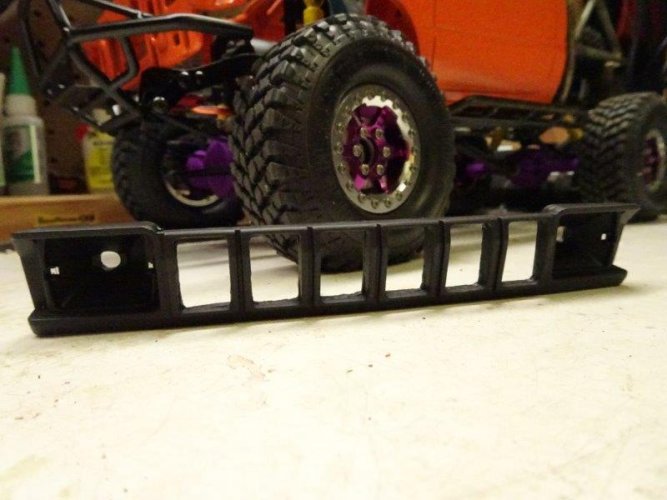
Next up was the grille. I took care of removing the fake mesh:
DSC03421.jpg

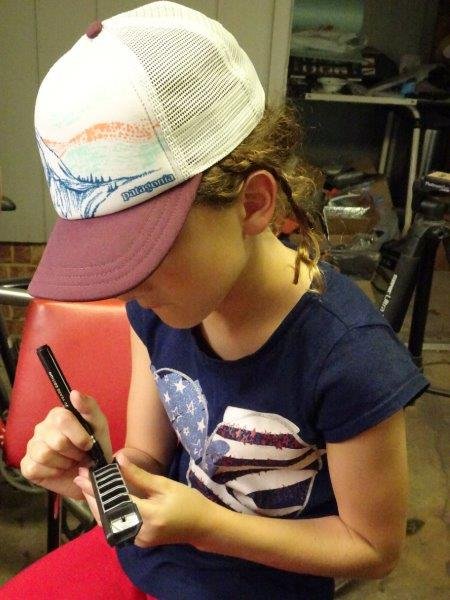
And we tag-teamed the chrome highlights:
DSC03471.jpg

Which got us to here:
DSC03474.jpg

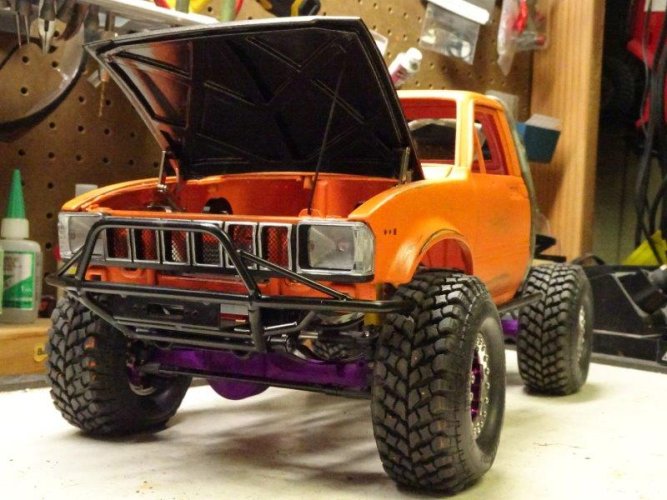
Open wide:
DSC03477.jpg

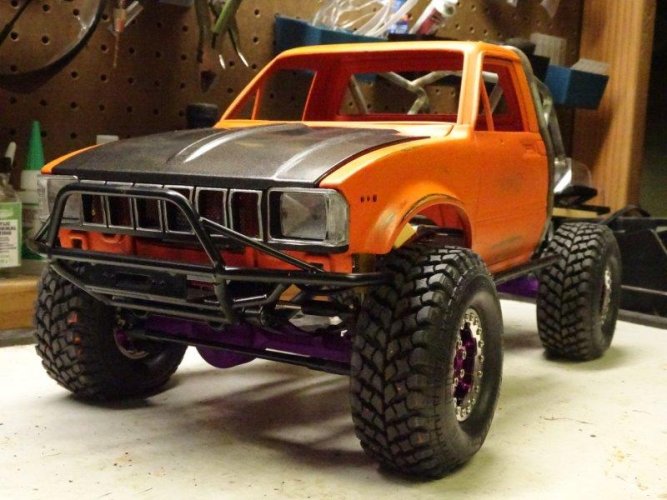
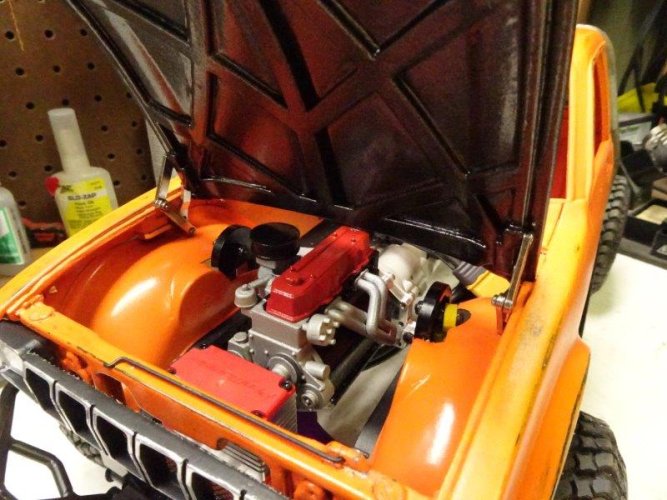
Looks like it's time to fill that engine bay... :mrgreen:
 
love this!!!! Just recently got my daughters involved. They're not big on crawlers and like to rip and tear, so we build an e maxx together. I love the nicknames, mine also have them, mine go by Goose and Bug. We are a tattoo family and my oldest who is 12 has informed me that "Goose" will be her first tattoo because its what dad calls her
 
The truck is looking good. A bit jeolous, lol. Makes me think different when i paint my next hard body.
 
love this!!!! Just recently got my daughters involved. They're not big on crawlers and like to rip and tear, so we build an e maxx together. I love the nicknames, mine also have them, mine go by Goose and Bug. We are a tattoo family and my oldest who is 12 has informed me that "Goose" will be her first tattoo because its what dad calls her

That's awesome...I love seeing parents who share this with their kids. I wouldn't do it if I couldn't get them involved.

The truck is looking good. A bit jeolous, lol. Makes me think different when i paint my next hard body.

Lol...it's all about experimenting and going one step further each time. "thumbsup"

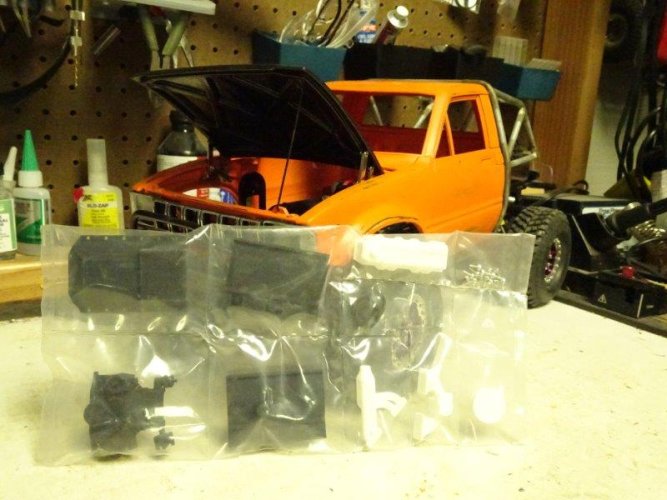
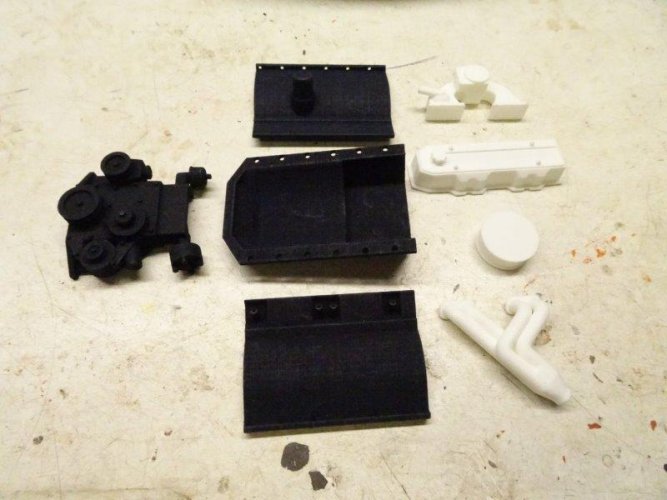
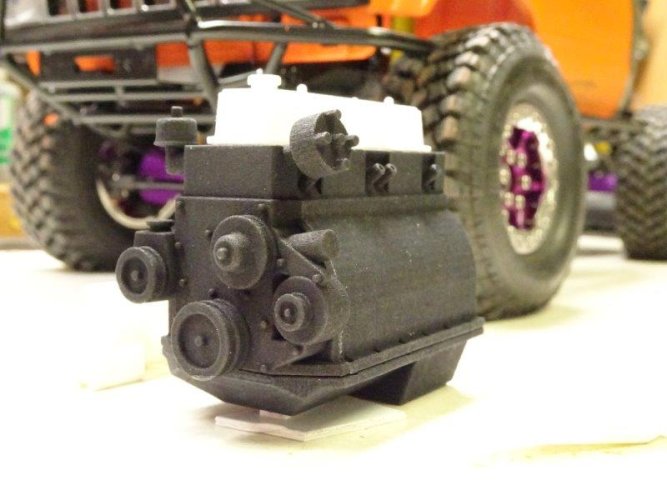
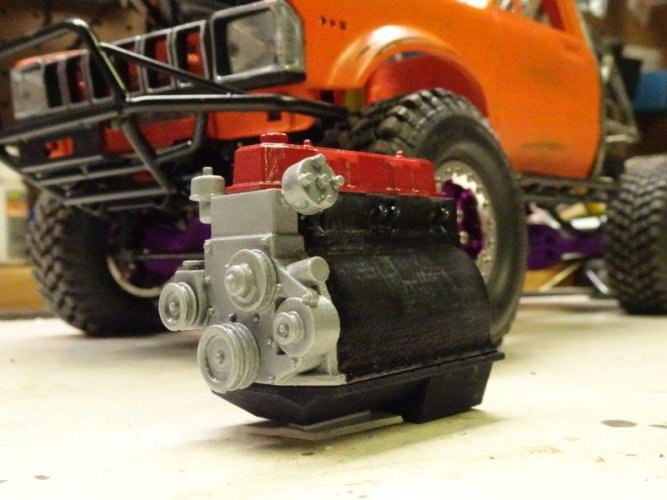
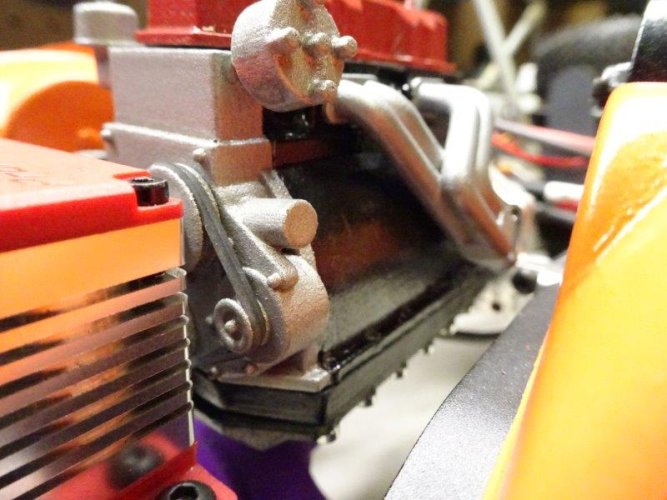
Let's get back to that engine bay. Our good friends at GCM sent over one of their 22R motor kits. It came in a bag with very GCM'y compartments:
DSC03509.jpg

To get parts out of the compartments, you need to get rid of the comments (compartments - comments = parts):
DSC03510.jpg

I mock parts:
DSC03516.jpg

I paint parts:
DSC03522.jpg

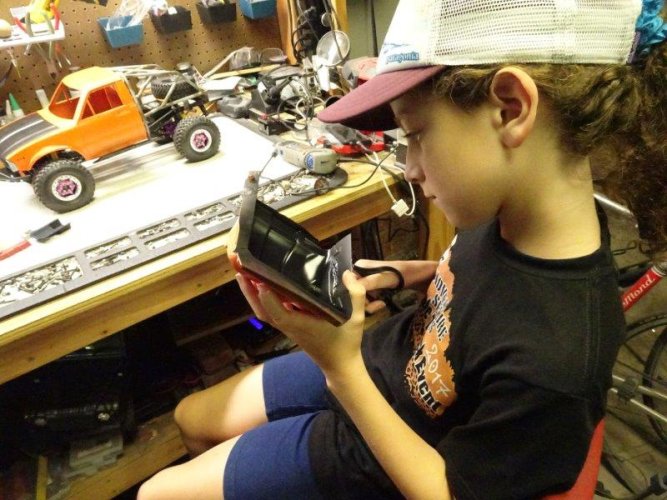
Scrunch cuts parts:
DSC03525.jpg

More mockery:
DSC03551.jpg

DSC03555.jpg

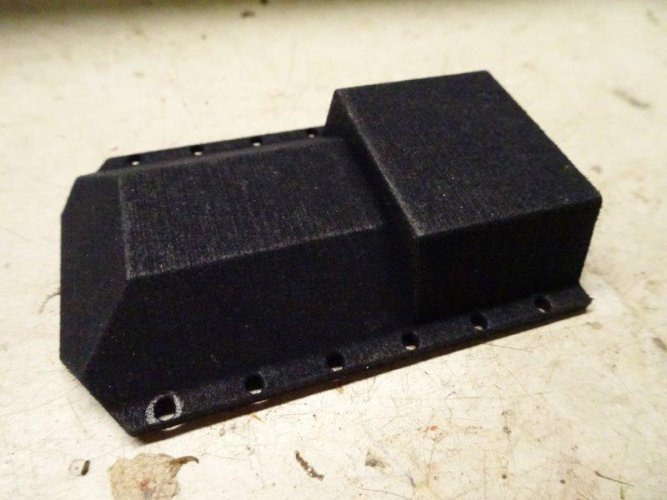
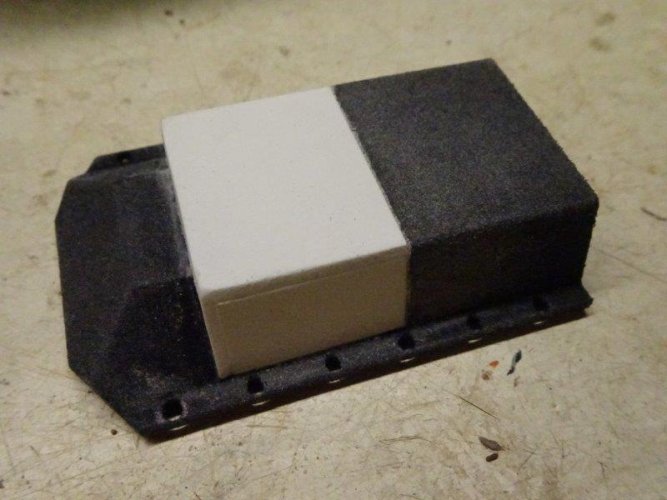
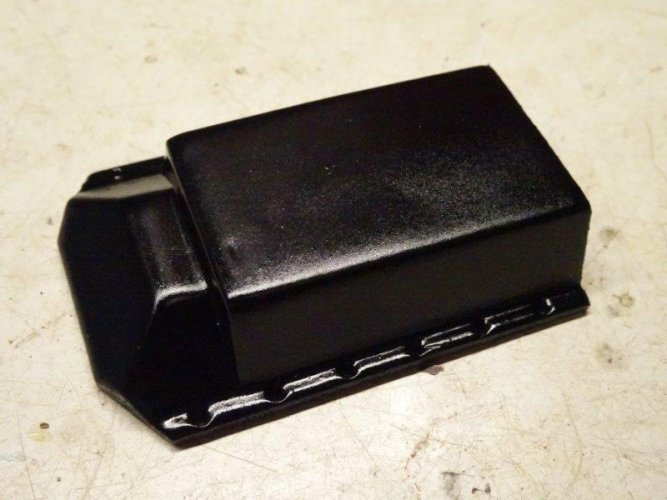
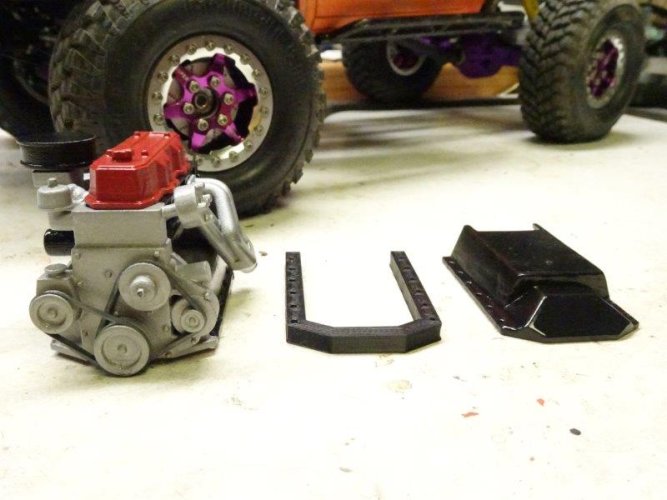
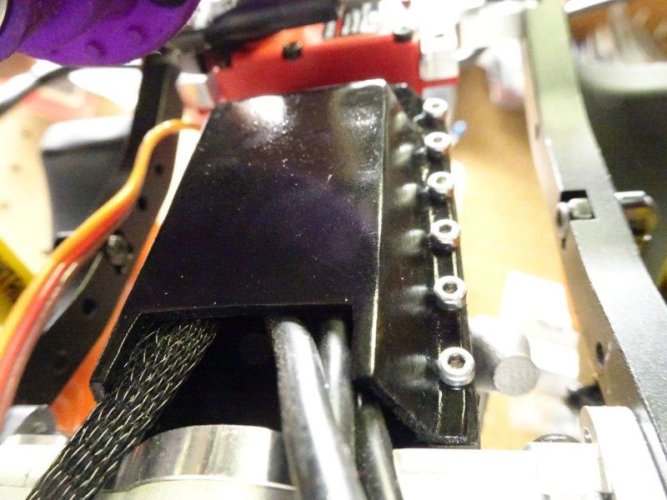
Apparently, some Canadians don't approve of brushless motors. But we like wheelies down here in the South, so I had to do my own mini episode of Chop, Cut, Rebuild:
DSC03556.jpg

DSC03557.jpg

DSC03564.jpg

DSC03644.jpg

DSC03647.jpg

DSC03649.jpg

DSC03650.jpg

Much more betterer. And more Scrunch coming soon... :-)
 
Nice deep sump with windage tray setup! 22R looks good, but needs oil filter on left side of block and PS pump up by distributor. :mrgreen:"thumbsup":)
 
Back
Top