Alright...Hi everyone!
ive read alot in the team losi thread and foound tons of awsome information pertaining to the lcc and few key notes on the lnc. i made a trip to a lhs and they had both in stock, didnt get pics, but yes! they are super similar to one another and both based upon the same set up. With that main ? solved, lol i ordered a lnc online, (santa found one ALOT cheaper online)! there are a few guys/gals ive seen post a few ??? on the lnc here in the lcc area, so i wanted to break it all down for current and future lnc owners. the rtr set up really is impressive straight from the box. follow along, i got some good pics tearing into a fresh lnc...hope this becomes a helpful thread to some.
Ryan
getting started...

k, when you pull the wheels off, take the hex pin out and set it off to the side, they slip out easy from the shaft...

go ahead and remove the hardware from the lower shock mounts, upper and lower link mounts at the axle...i started with the front axle...and then remove it and youll have this...

k, one of my front shaft set screws on the axle is locked for life! this will be an issue later, but for now i know i wont lose it right? lol. but remove both your set screw and slide the drive shaft off the pinion...

a couple notes for dissassembly here, i didnt remove the steering, just pulled the knuckles from the axle housing by removing the upper n lower king pins, which is a pretty cool set up compared to others ive seen, note where the set screws are for king pin removal, take both out per side and use a small flat head screw driver to gently lift them out.

watch out for the bearing spacer, keep these with your shaft pins...

now when you go to remove the c-hubs, keep there position in mind, left/right, they are offset 10deg, putting the on backwards is possible, but not benifical by any means.

after removing the x4 allen bolts from the inside of the pinion side of the housing, remember theres x2 smaller allen bolts on the "face" as well.

then pop the case halfs apart...


in my manual, it specifies and illustrates that there should be x3 shims on either side of the pinion, since my front drive shaft wont come off right meow, i kinda feel safe that since x3 are on the side i can see, theres gonna x3 more on the inside, i hope lol!

heres what i all took apart just for the axle inspection...

before reassembly i wanted to add a grease fill hole as ive read from others advise, however in choosing the location i looked at where the grease would be sprayed in the housing and thought tha right over the gear assembly would be wise. when you look in the housing, (it hard to see in the one pic i took of it), but you can see the section where the outter spool bearings rest, i drilled and pluged a hole just on the insde, under the pinion but right over the main spool gear, it should work pretty good between tear downs...


reassemble in a reverse order...dont forget your lil spacers...

i didnt have any reason to re-grease yet, the factory puts a good amount of grease in the housing, next tear down/inspection i will clean and replace with the tacky red stuff. had to chuck up the drive shaft into the drill, (note my rusty back up drill..HAHA) it works, ran it both directions, about a comercial break time for each direction.

k, i read about this, and once i had mine, i saw it. when the suspension flexes, it over flexes! which creates contact between the upper/lower links and could eventually contact the driveshaft. will it hurt, no. but why right?
so basically i just cycled my suspension til it hit, then backed it off a lil til bout it was bout a 1/4" from hitting then measured my shock, measured mounting hole to mounting hole, they measured 3.25", so then i removed the spring, measured the shaft and cut fuel line 9/16 piece and slid it over the shaft, reassembled and walla! my suspension stops 1/4" before any contact.


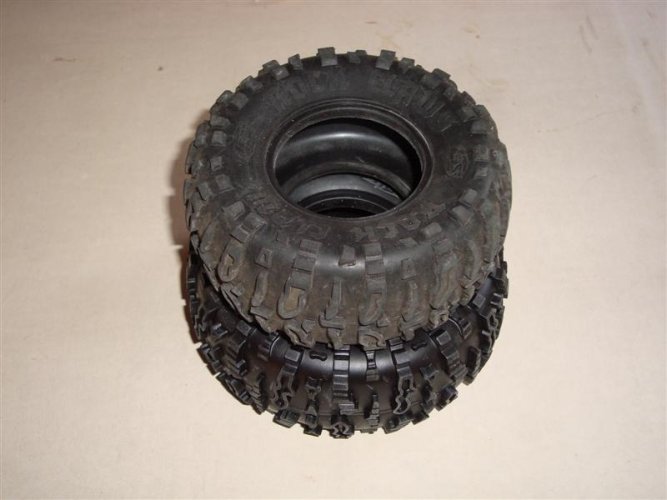
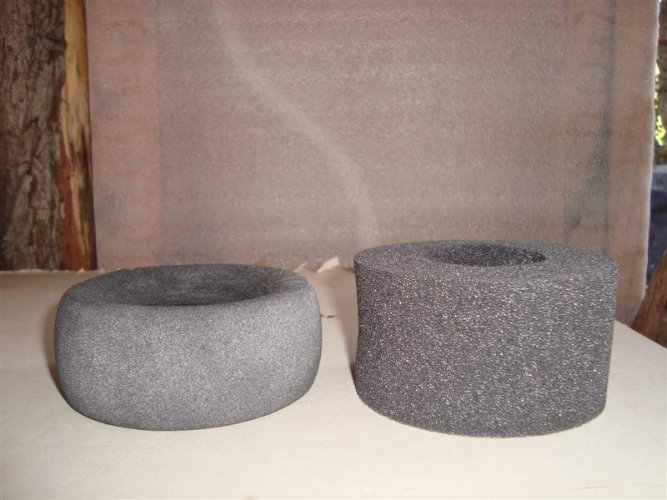
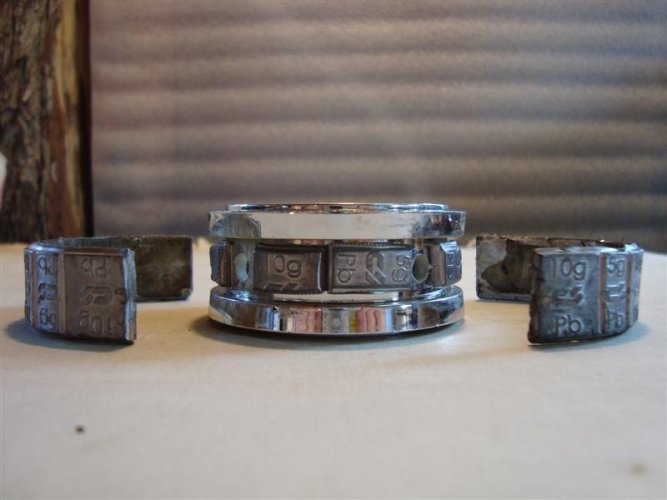
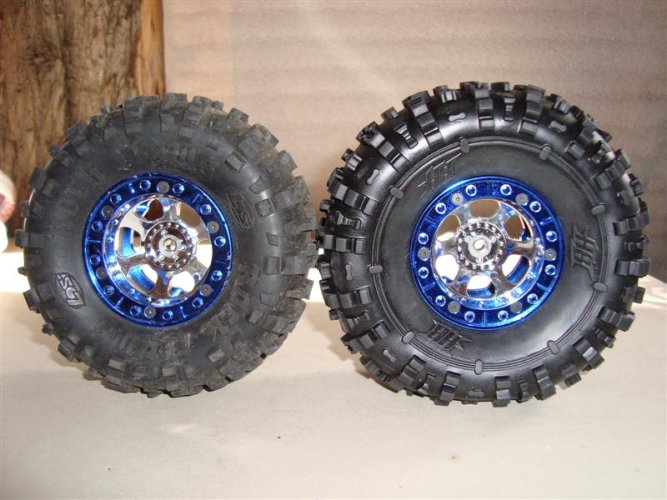
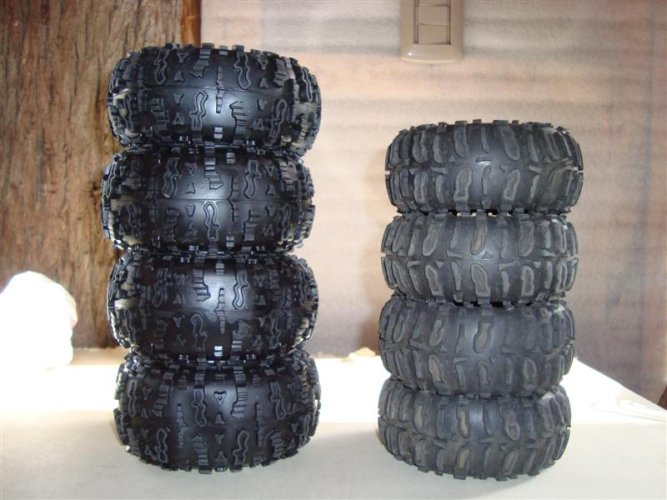
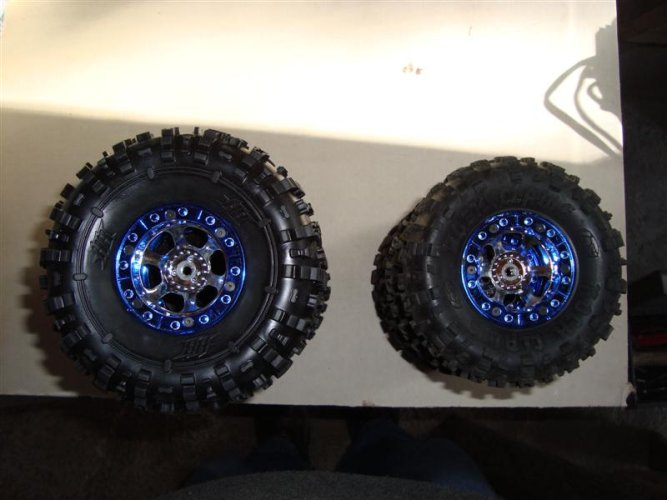
hmmm, the stock wheels/tires...well, the 12mm hex is plastic, probually gonna swap that out for some aluminums, heard some sceptical opinions on the guys so i thought id go ahead n try to make worthy while im working out the kinks on this crawler. shaved the corner edges to a slant for the hopes of a better side bite grab, and then just siply shaved a thin top layer all the way around the foam. all of this along with some automtive sticky wheel weights proved to do some good on the first run...heres what i did. fronts have 8.25 oz and rears ended up with 4oz. have not siped the tread yet.


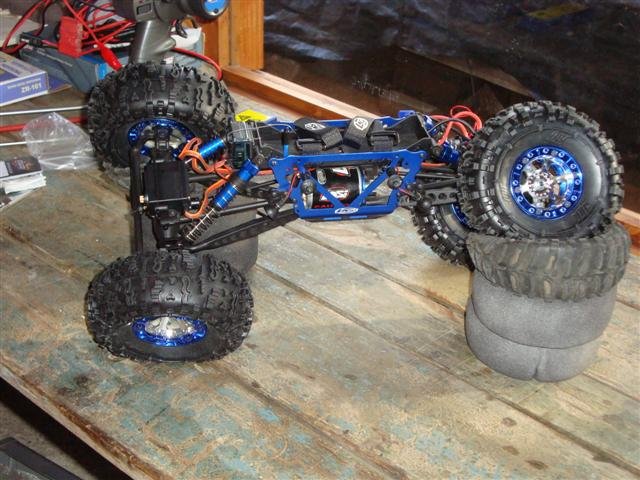
very very small difference in static heigth between a done and not yet assembly but there was...

thats it for the moment. wont lie, lol i still have to do everything you just read to the rear! got super excited and wanted to crawl this thing!!!:mrgreen:
YAY!!! first run today! the girl and i took the fresh crawler to north mountain park and just started playing around on this large line of rocks and had a blast! nothing broke, took a few mental notes for mods and different stuff that will be needed to over come some stuff, but all in all after a lil over an hour of wheelin on these rocks, the lnc proved to be an awsome out of the box crawler and dont forget the upgrade possibilities for upgrades...anythin available for the lcc can be used onto the lnc!
futures lookin good for this lil electrical creature of the rock!
enjoy the rest of the pics and this will be my lnc build thread from here on out. hope it helps others.


lol our objective was just to stay on the rocks and go all the way around!


ive read alot in the team losi thread and foound tons of awsome information pertaining to the lcc and few key notes on the lnc. i made a trip to a lhs and they had both in stock, didnt get pics, but yes! they are super similar to one another and both based upon the same set up. With that main ? solved, lol i ordered a lnc online, (santa found one ALOT cheaper online)! there are a few guys/gals ive seen post a few ??? on the lnc here in the lcc area, so i wanted to break it all down for current and future lnc owners. the rtr set up really is impressive straight from the box. follow along, i got some good pics tearing into a fresh lnc...hope this becomes a helpful thread to some.
Ryan
getting started...
k, when you pull the wheels off, take the hex pin out and set it off to the side, they slip out easy from the shaft...
go ahead and remove the hardware from the lower shock mounts, upper and lower link mounts at the axle...i started with the front axle...and then remove it and youll have this...
k, one of my front shaft set screws on the axle is locked for life! this will be an issue later, but for now i know i wont lose it right? lol. but remove both your set screw and slide the drive shaft off the pinion...
a couple notes for dissassembly here, i didnt remove the steering, just pulled the knuckles from the axle housing by removing the upper n lower king pins, which is a pretty cool set up compared to others ive seen, note where the set screws are for king pin removal, take both out per side and use a small flat head screw driver to gently lift them out.
watch out for the bearing spacer, keep these with your shaft pins...
now when you go to remove the c-hubs, keep there position in mind, left/right, they are offset 10deg, putting the on backwards is possible, but not benifical by any means.
after removing the x4 allen bolts from the inside of the pinion side of the housing, remember theres x2 smaller allen bolts on the "face" as well.
then pop the case halfs apart...
in my manual, it specifies and illustrates that there should be x3 shims on either side of the pinion, since my front drive shaft wont come off right meow, i kinda feel safe that since x3 are on the side i can see, theres gonna x3 more on the inside, i hope lol!
heres what i all took apart just for the axle inspection...
before reassembly i wanted to add a grease fill hole as ive read from others advise, however in choosing the location i looked at where the grease would be sprayed in the housing and thought tha right over the gear assembly would be wise. when you look in the housing, (it hard to see in the one pic i took of it), but you can see the section where the outter spool bearings rest, i drilled and pluged a hole just on the insde, under the pinion but right over the main spool gear, it should work pretty good between tear downs...
reassemble in a reverse order...dont forget your lil spacers...
i didnt have any reason to re-grease yet, the factory puts a good amount of grease in the housing, next tear down/inspection i will clean and replace with the tacky red stuff. had to chuck up the drive shaft into the drill, (note my rusty back up drill..HAHA) it works, ran it both directions, about a comercial break time for each direction.
k, i read about this, and once i had mine, i saw it. when the suspension flexes, it over flexes! which creates contact between the upper/lower links and could eventually contact the driveshaft. will it hurt, no. but why right?
so basically i just cycled my suspension til it hit, then backed it off a lil til bout it was bout a 1/4" from hitting then measured my shock, measured mounting hole to mounting hole, they measured 3.25", so then i removed the spring, measured the shaft and cut fuel line 9/16 piece and slid it over the shaft, reassembled and walla! my suspension stops 1/4" before any contact.
hmmm, the stock wheels/tires...well, the 12mm hex is plastic, probually gonna swap that out for some aluminums, heard some sceptical opinions on the guys so i thought id go ahead n try to make worthy while im working out the kinks on this crawler. shaved the corner edges to a slant for the hopes of a better side bite grab, and then just siply shaved a thin top layer all the way around the foam. all of this along with some automtive sticky wheel weights proved to do some good on the first run...heres what i did. fronts have 8.25 oz and rears ended up with 4oz. have not siped the tread yet.
very very small difference in static heigth between a done and not yet assembly but there was...
thats it for the moment. wont lie, lol i still have to do everything you just read to the rear! got super excited and wanted to crawl this thing!!!:mrgreen:
YAY!!! first run today! the girl and i took the fresh crawler to north mountain park and just started playing around on this large line of rocks and had a blast! nothing broke, took a few mental notes for mods and different stuff that will be needed to over come some stuff, but all in all after a lil over an hour of wheelin on these rocks, the lnc proved to be an awsome out of the box crawler and dont forget the upgrade possibilities for upgrades...anythin available for the lcc can be used onto the lnc!
futures lookin good for this lil electrical creature of the rock!
enjoy the rest of the pics and this will be my lnc build thread from here on out. hope it helps others.
lol our objective was just to stay on the rocks and go all the way around!
")