| |
 06-22-2006, 06:37 AM
| #21 |
| owner, Holmes Hobbies LLC   Join Date: Nov 2004 Location: Volt up! Gear down!
Posts: 20,290
|
pretty cool build man. Slick thinking on drilling out the plates and then milling the edges. |

|  |
| Sponsored Links | |
| | |
|
06-22-2006, 08:50 AM
| #22 |
| Sinking with the ship  Join Date: Mar 2005 Location: El Capitan...sole survivor and sinking fast
Posts: 8,864
|
Damn Rik that looks awesome! How long did take to make the frame rails though Mike |
|
| |
|
06-22-2006, 08:57 AM
| #23 |
| Quarry Creeper Join Date: Jan 2005 Location: Milan, Italy
Posts: 323
|
Thanks ;) It tooks 3/4 hours (from the drawing to the complete items) |
|
| |
|
06-22-2006, 09:37 AM
| #24 | |
| ~THE SCALE SHOP~ Join Date: Apr 2006 Location: KILLEEN TX
Posts: 10,056
| Quote:
| |
|
| |
|
06-22-2006, 09:41 AM
| #25 |
| Quarry Creeper Join Date: Jan 2005 Location: Milan, Italy
Posts: 323
|
Thanks man when the time will come I'll tell you for sure ;) Thanks again |
|
| |
|
06-22-2006, 11:01 AM
| #26 |
| I wanna be Dave Join Date: Dec 2005 Location: Orlando
Posts: 7,420
|
HOLY CRAP that's alot of work! Looks sick and well worth it!
|
|
| |
|
06-23-2006, 04:33 AM
| #27 |
| Quarry Creeper Join Date: Jan 2005 Location: Milan, Italy
Posts: 323
|
Well yesterday evening I did some more. I'm spending a lot of time in mock ups, but the whole thing is talikng shape in my mind. I like the result. I built a couple of side plate. They should complete the scale look of the rig belly and will support the body. That's the ride height. The frame is supported by the CDs, but the body is supported by the frame here. 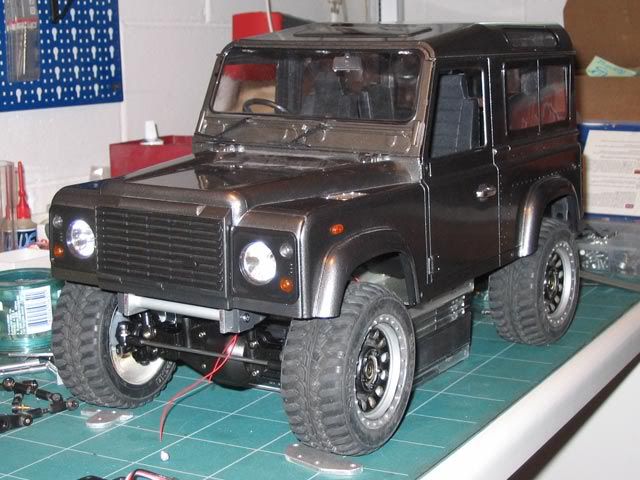 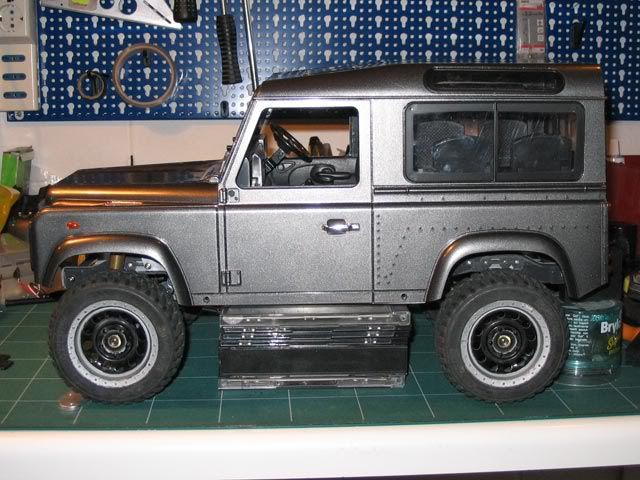 Frame naked. 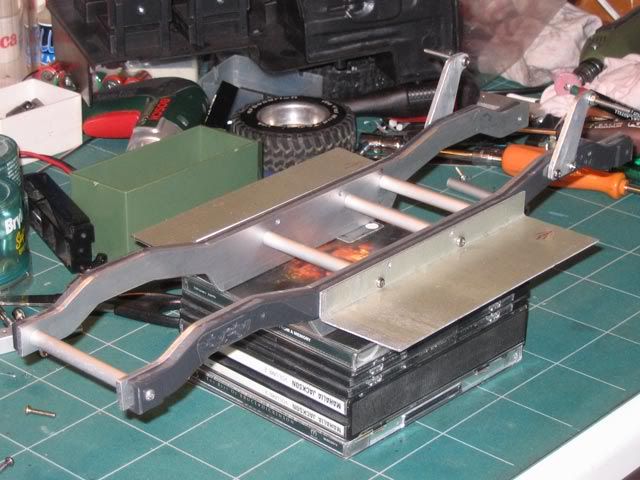 Belly view. Note over the rear tires there's the interior of the body. 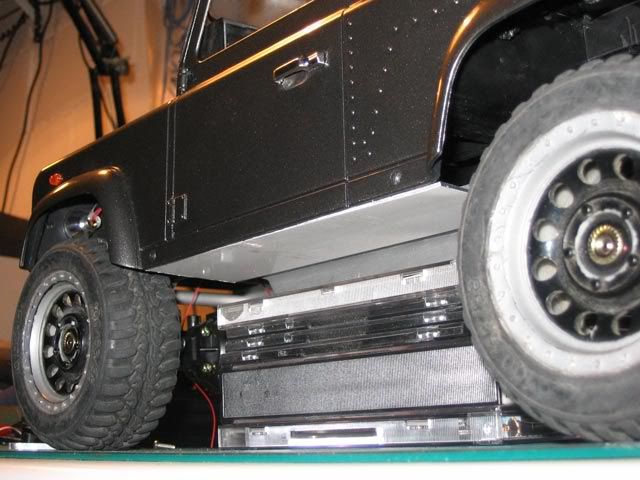 How the LADY looks without her dress  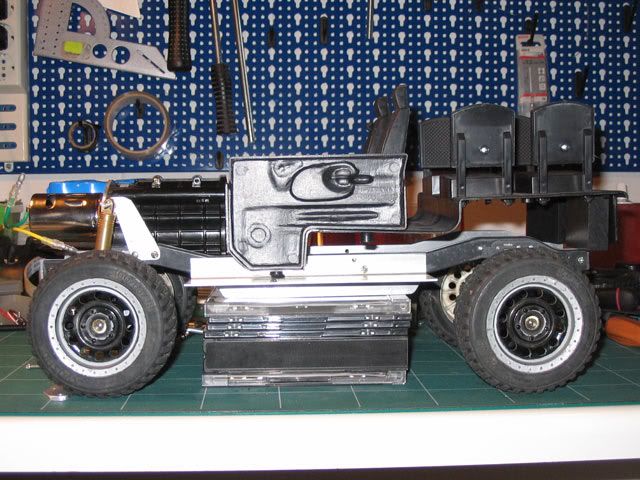 That's the trimming needed to lower the interior at the height I want. I didn't hope so little trimming could be enough. 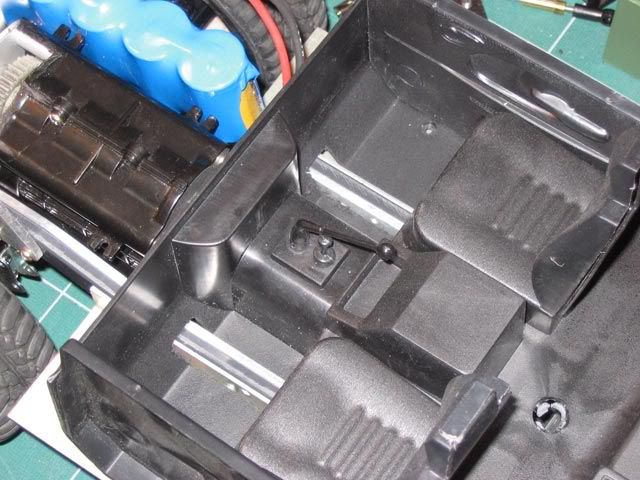 Even the tranny almost fit into the interior. I have to trim a bit the front section of the interior to make the tranny slide backward more or less 5mm. 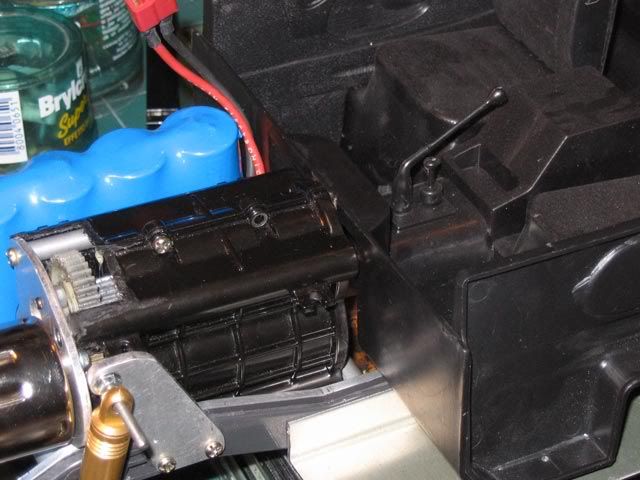 I'm still thinking to place the battery where you see it. The only problem is that this area is going to be crowdy. Steering servo will be between the frame rails. I think the shifting servo will be on top of T-case with a long rod, cause there's no way to place it in front of the tranny. Winch servo will probably be in the middle/rear section also with a tube bringing the cable to the front. I'm still thinking about doing something different from 4 link, but I have a lot of doubts I could manage a solution to add even a panhard bar over there. I have to keep room for the suspension travel. 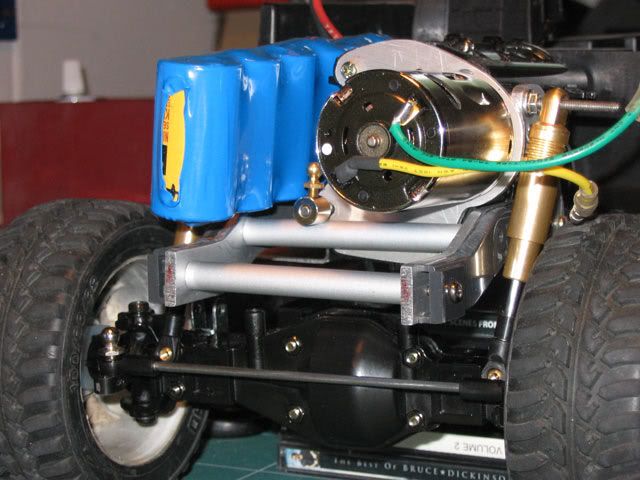 Opinions? ;) |
|
| |
|
06-23-2006, 06:38 AM
| #28 |
| owner, Holmes Hobbies LLC Join Date: Nov 2004 Location: Volt up! Gear down!
Posts: 20,290
|
looking good! Where else could you mount the battery? Is there room for a saddle pack on the aluminum sideplates? What about a brick pack under the rear seating area? You could hide it there if it will fit.
|
|
| |
|
06-23-2006, 04:04 PM
| #29 |
| Quarry Creeper Join Date: Mar 2006 Location: Lutz
Posts: 457
|
yea i was thinking that too.....why not just put a small brick battery under neath the rear seating area...that looks like an anwesome place to put it...thats my .02 though. lol awesome build though! im liking the creative path of this build.
|
|
| |
|
06-23-2006, 05:21 PM
| #30 |
| Rock Crawler Join Date: Aug 2005 Location: White Lake
Posts: 764
|
That is looking really good.
|
|
| |
|
06-23-2006, 06:02 PM
| #31 |
| Official Scale Nazi Join Date: Sep 2004 Location: Monticello, IL
Posts: 1,240
|
The coolest thing about this rig is that it will act alot more like a 1:1 the way you have the motor/tranny positioned. Do you have any boxes big enough to ship this to me when it's done? haha
|
|
| |
|
06-25-2006, 01:44 PM
| #32 |
| RCC Addict   Join Date: May 2005 Location: the land of the midnight sun
Posts: 1,451
|
Looks killer Rik..... It's going to look so real...... |
|
| |
|
06-25-2006, 01:58 PM
| #33 |
| I wanna be Dave Join Date: Sep 2005 Location: USA
Posts: 11,196
|
Man it's coming along great. I've been watching it from the start. Lookin good. I'm really digging how clean it's going together.
|
|
| |
|
06-25-2006, 04:31 PM
| #34 |
| Pebble Pounder Join Date: May 2006 Location: Scottsdale
Posts: 180
|
love the side plates, they really tie in the whole body to the frame, looks very scale
|
|
| |
|
06-25-2006, 09:00 PM
| #35 |
| Quarry Creeper Join Date: Feb 2006 Location: over there
Posts: 264
|
Looking very good, Rik! Got to love the LED's |
|
| |
|
06-26-2006, 08:52 AM
| #36 |
| Quarry Creeper Join Date: Jan 2005 Location: Milan, Italy
Posts: 323
|
Thanks to all guys ;) Well talking about the battery position, the easy way will be to place the pack between the frame rail in the back of the rig. I did it on Pitbull and it's one (maybe the only ) thing I don't like in that rig. You know what rear positioned weight means while crawling. Plus I don't know of any real defender with the most weight item placed in the rear. Saddle packs battery is a good suggestion, but I don't want to have dedicated battery. I mean I have some rigs and I want to be able to use my packs indifferently on all my rigs. BTW (call me newb ;) |
|
| |
|
06-26-2006, 09:15 AM
| #37 |
| I wanna be Dave Join Date: Feb 2005 Location: Cleveland, OH
Posts: 8,009
|
Bellissima! You're making me want one.
|
|
| |
|
06-26-2006, 09:26 AM
| #38 |
| owner, Holmes Hobbies LLC Join Date: Nov 2004 Location: Volt up! Gear down!
Posts: 20,290
|
A brick pack would be shaped like a brick, basically a 2x3 chunk of cells. A side by side stick pack folded over if you will. I know what you mean about dedicated batteries. I gave up the ghost on that battle a long time ago. I have my regular stick packs now, and then I have my slew of vehicle specific packs. If the rig gets taken apart I take apart the battery and reuse. |
|
| |
|
06-26-2006, 09:30 AM
| #39 |
| Pebble Pounder Join Date: Sep 2005 Location: College Station
Posts: 109
|
why dont you use a micro servo for the shifting duties? it wont take up much space and im sure it can do the job. it could lay down ontop of the steering servo, between the 2 rails. this build looks amazing! very nice!
|
|
| |
|
06-28-2006, 03:28 AM
| #40 |
| Quarry Creeper Join Date: Jan 2005 Location: Milan, Italy
Posts: 323
|
Microgoat, you know you want one Jonhrobholmes, Thanks for the info. Maybe you're right, but I don't have so many packs since I don't sell them ;) Johnathanlopez, Thanks. I'll use a microservo for sure, but I don't know if there's room for the steering servo even Now the update: I started to work on the skidplate/t-case. That's not the final item, but give you the idea. Parts are from a 8 mm nylon plate. a lot of material is still to be removed. 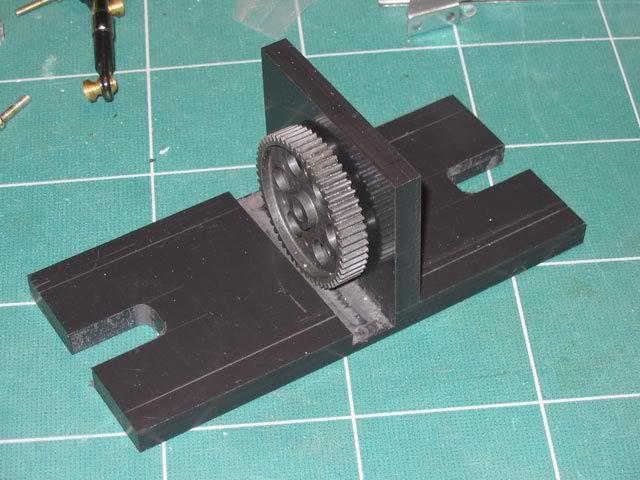 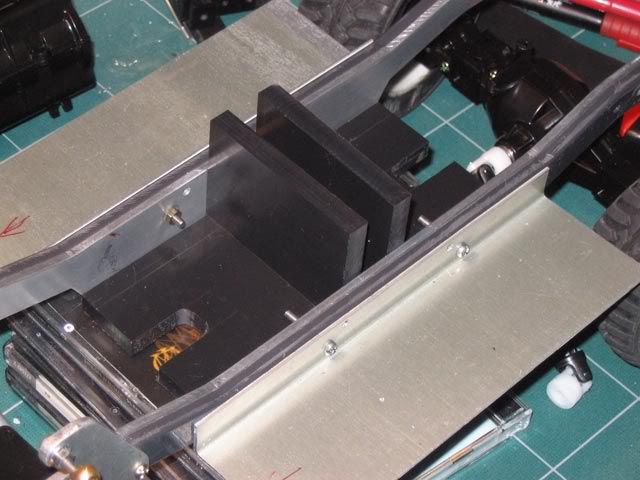 These are the gears I'm going to use in the t-case. They are a 54/18T combo. This means a 3:1 geared down T-case. Finals ratios should be 97,20:1 - 53,07:1 - 31,76:1 using a 10T pinion on the motor. Torquey!  I think I give up the idea of the 2 link and panhard bar. There's not enough room under the tranny and in the front section. Links 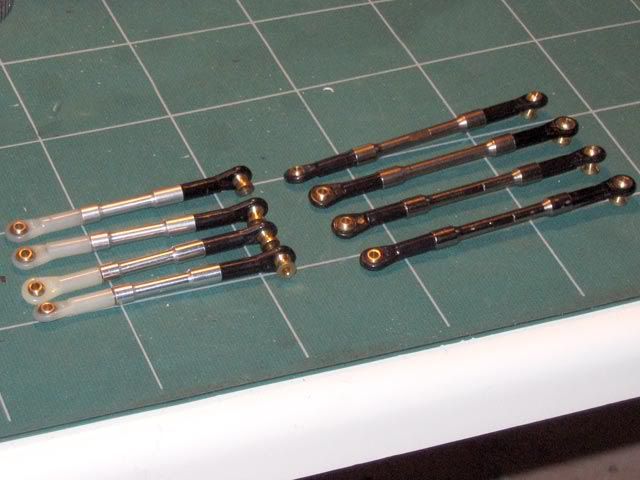 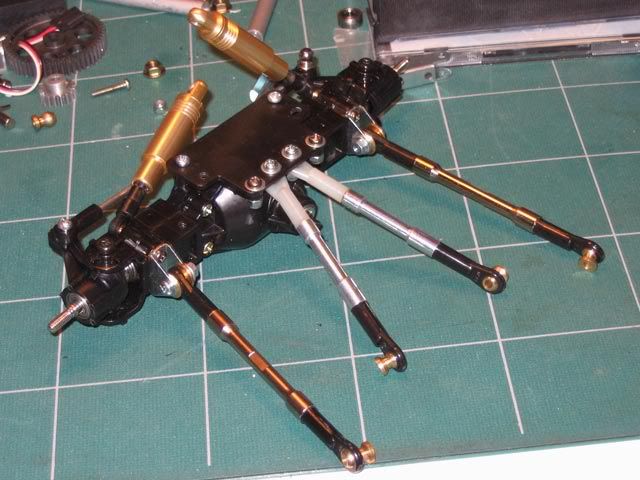 More to come soon ;) |
|
| |
 |
| |


 Linear Mode


