| |
 01-15-2013, 05:20 PM
| #1 |
| Newbie  Join Date: Feb 2012 Location: Bloomington
Posts: 21
|
With a few spare parts/trucks laying around collecting dust, I decided to make them useful. Here it is Axles: ax10 Chassis: Hilux Motor: Tekin 35T Transmission: R2 Battery: 3s 2200 ESC: HH TM BL Body: Tamiya Mercedes 406 Tires: Cut/narrowed Mashers Tires 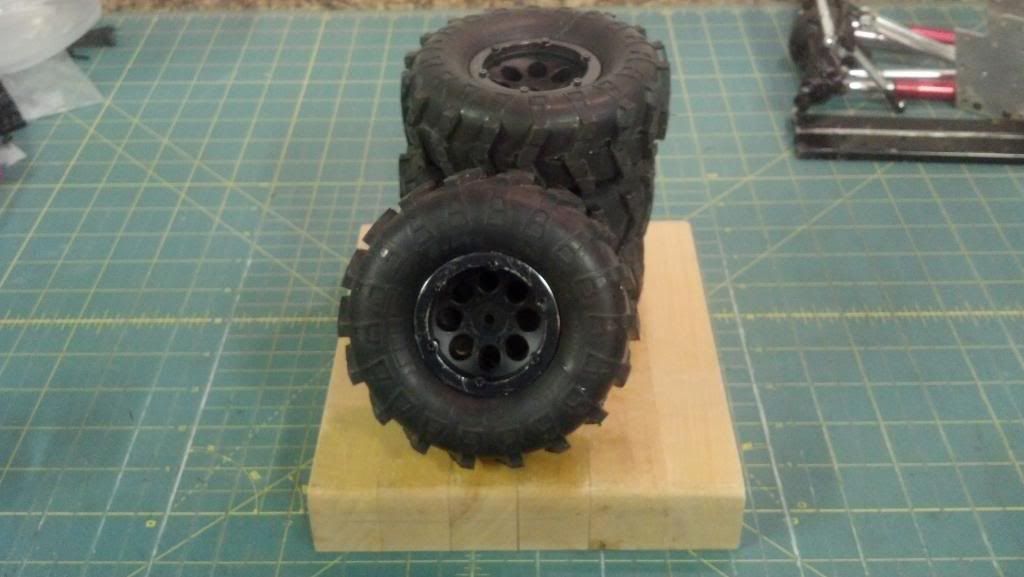 The Tamiya chassis and Transmission plate off of a PTI Goilath 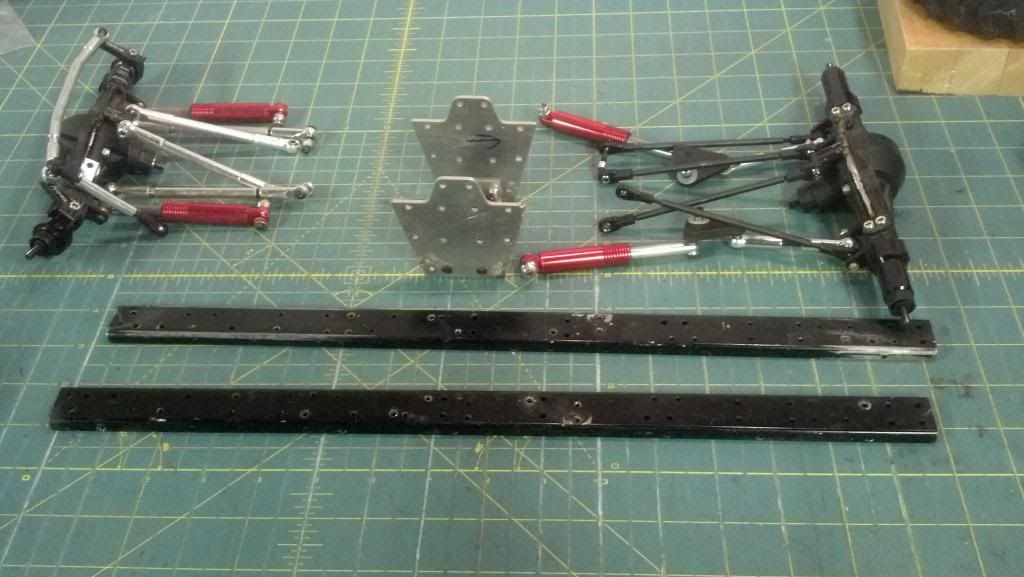 I originally was gonna use the Hi Lift axles and leaf springs, but ended up 4 link. 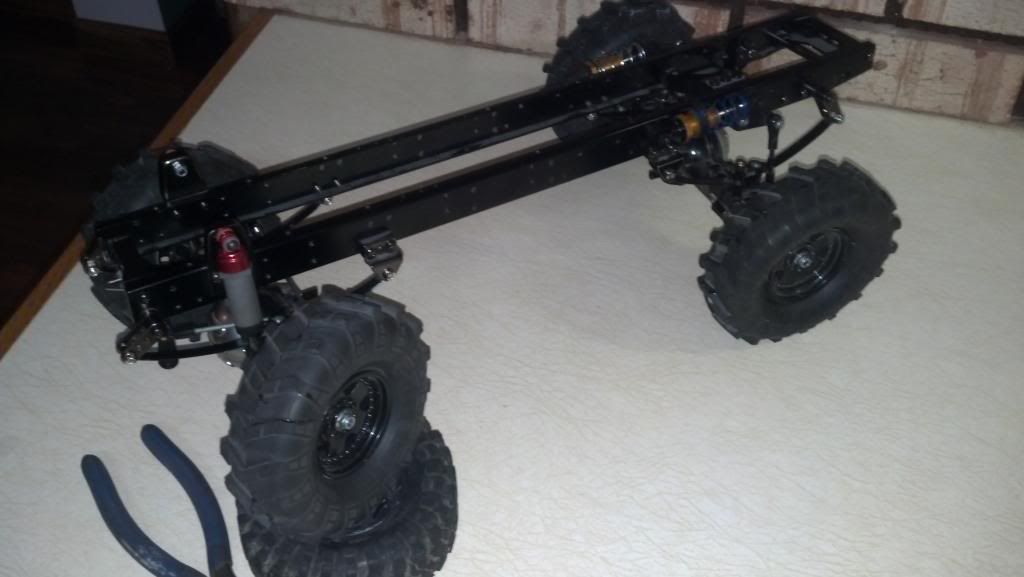 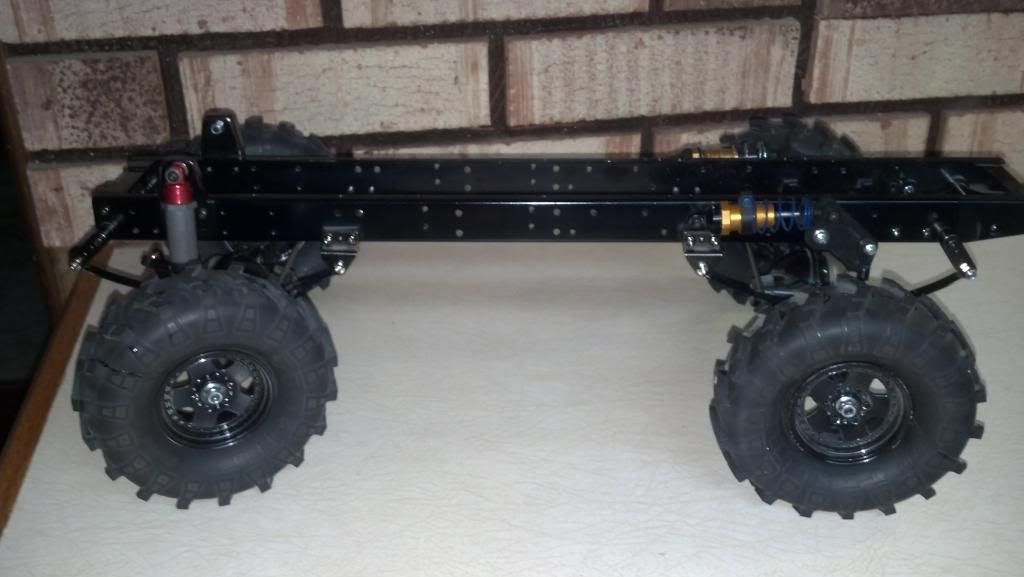 I had to do it  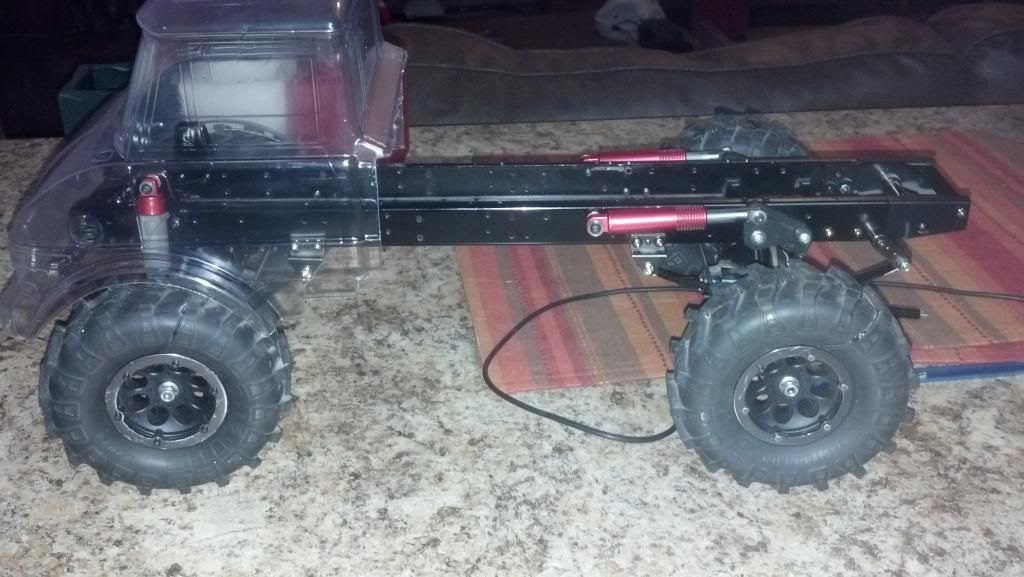 Bam! 6 hours, and 8 beers later we have a cage. 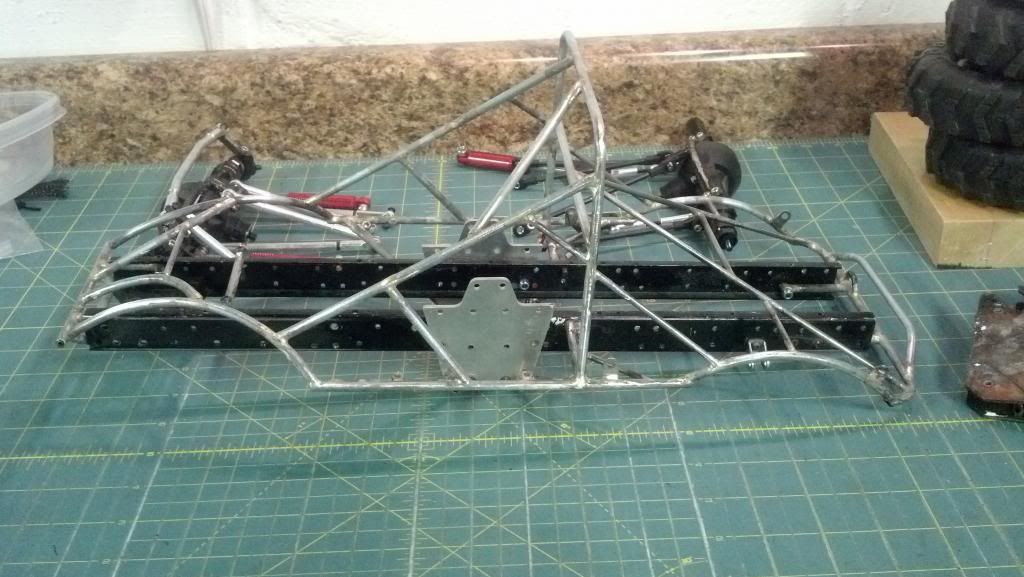  I melted the plastic brace that holds the rails together. I guess I'll have to make a new one 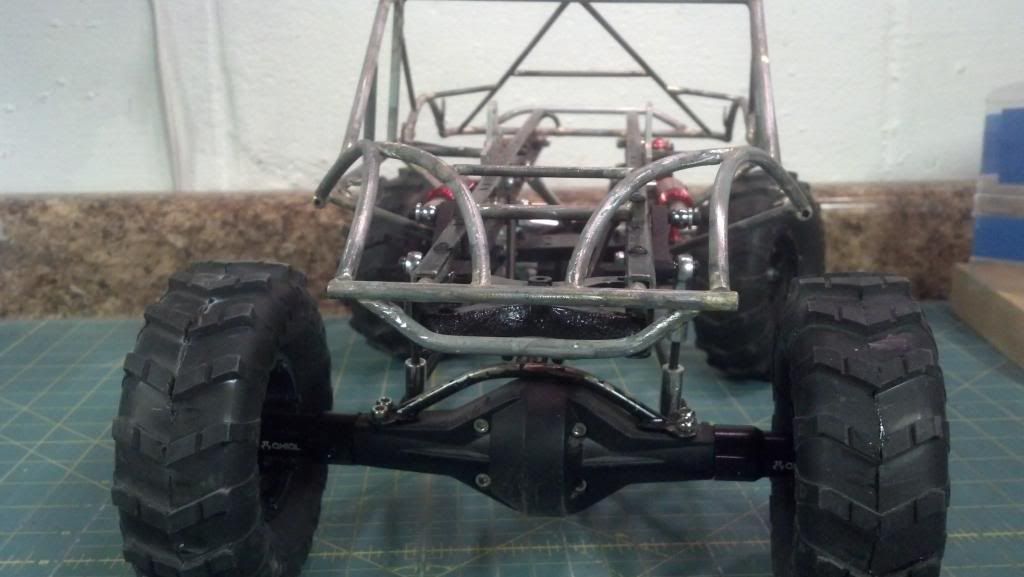 Painted 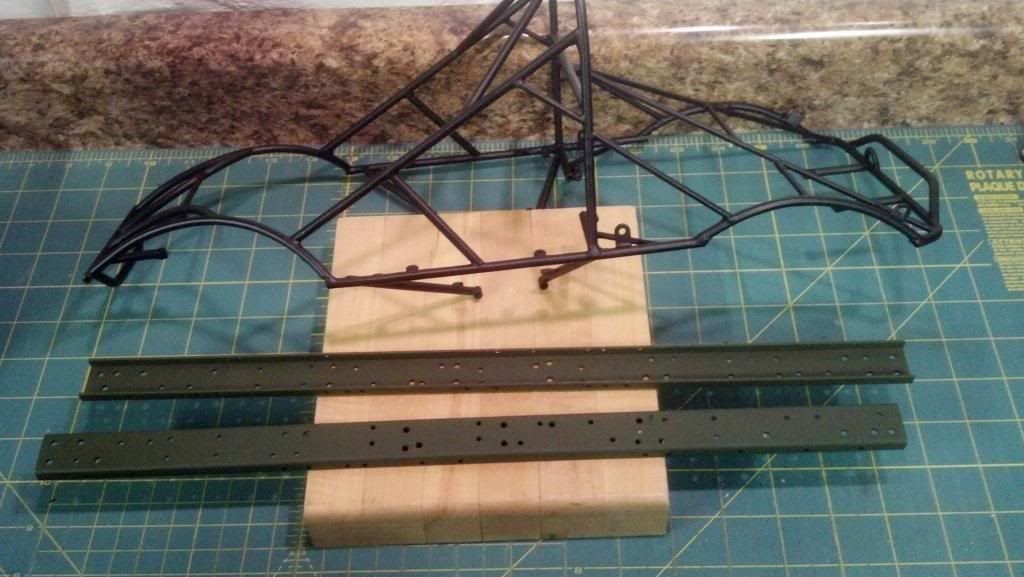 Thanks for looking, more coming soon |

|  |
| Sponsored Links | |
| | |
|
01-15-2013, 06:54 PM
| #2 |
| Rock Stacker Join Date: Sep 2011 Location: cookeville
Posts: 75
|
nice build i'm about to start a mog too. looks good keep up the good work  |
|
| |
|
01-15-2013, 10:01 PM
| #3 |
| Rock Crawler Join Date: Jul 2012 Location: In a van down by the river
Posts: 529
|
Nice MOG! Keep on Moggin! Cheers, Doc |
|
| |
|
01-16-2013, 08:27 AM
| #4 |
| Newbie Join Date: Feb 2012 Location: Bloomington
Posts: 21
|
Thanks for the encouragement 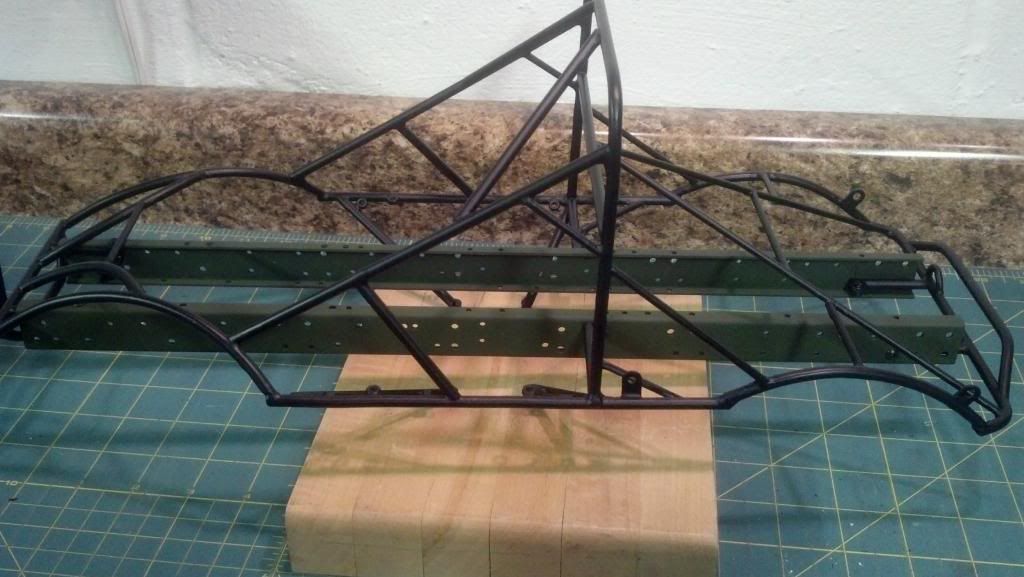 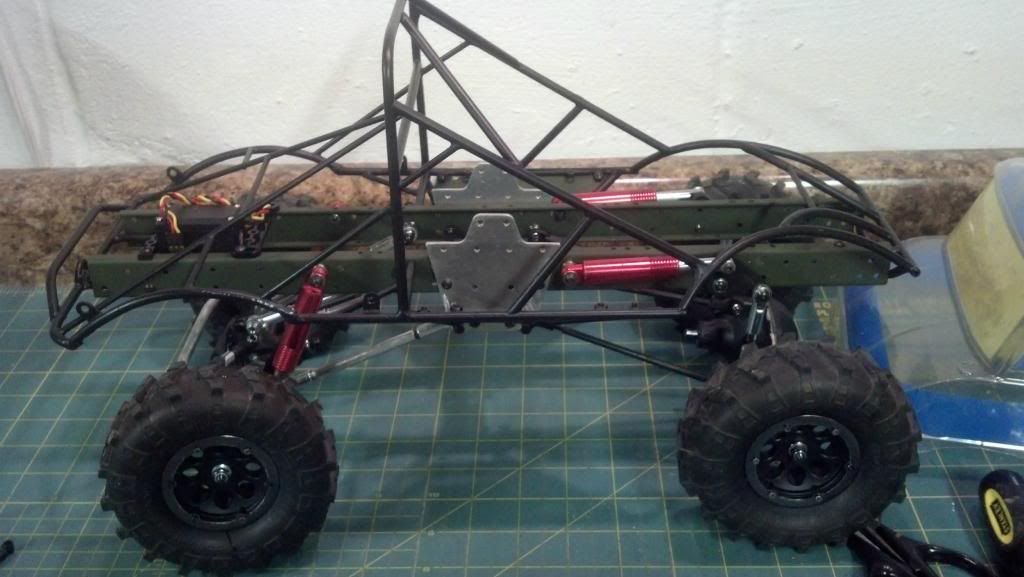 Some paneling cut and painted 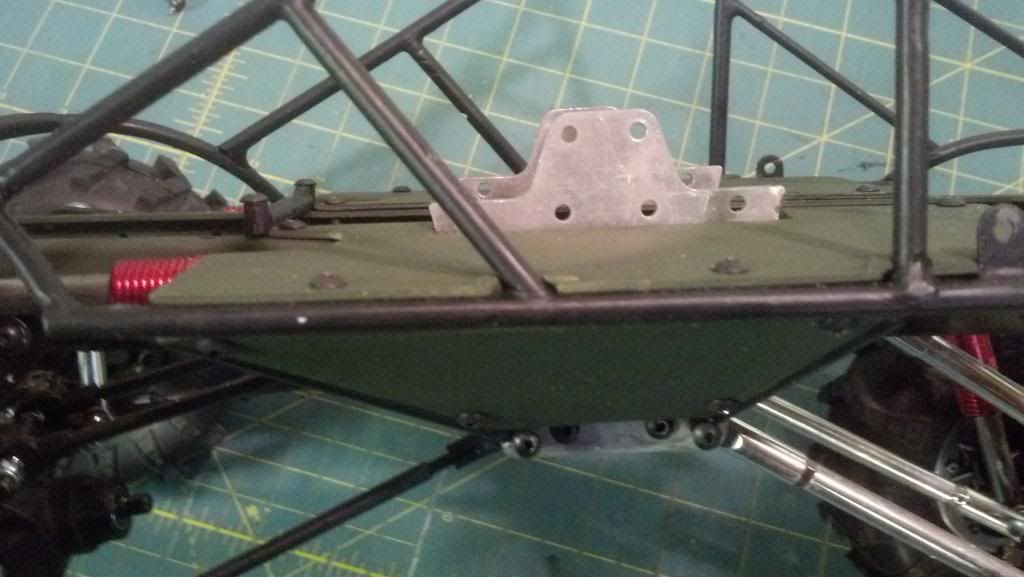 The beginning of a battery box/ammo case. 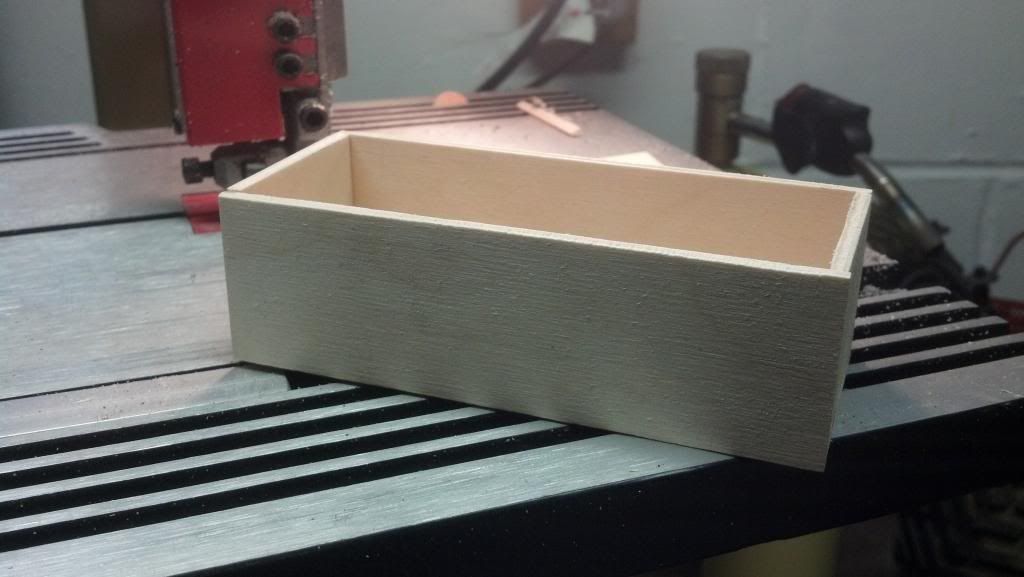 Here it is with some paint and detail. still need to figure out a spot to mount it. 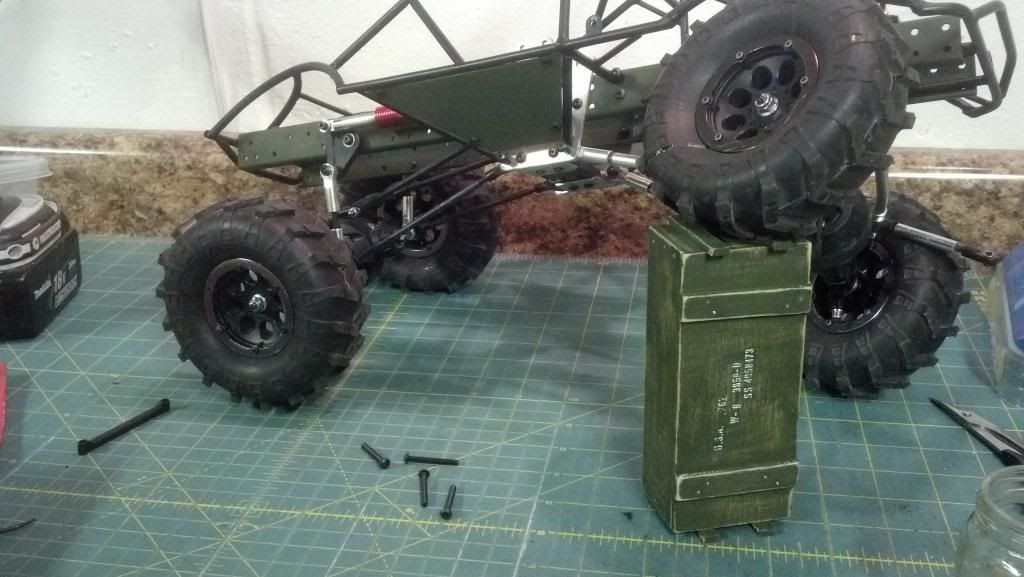 Close up of rear suspension  Paint is next this afternoon! 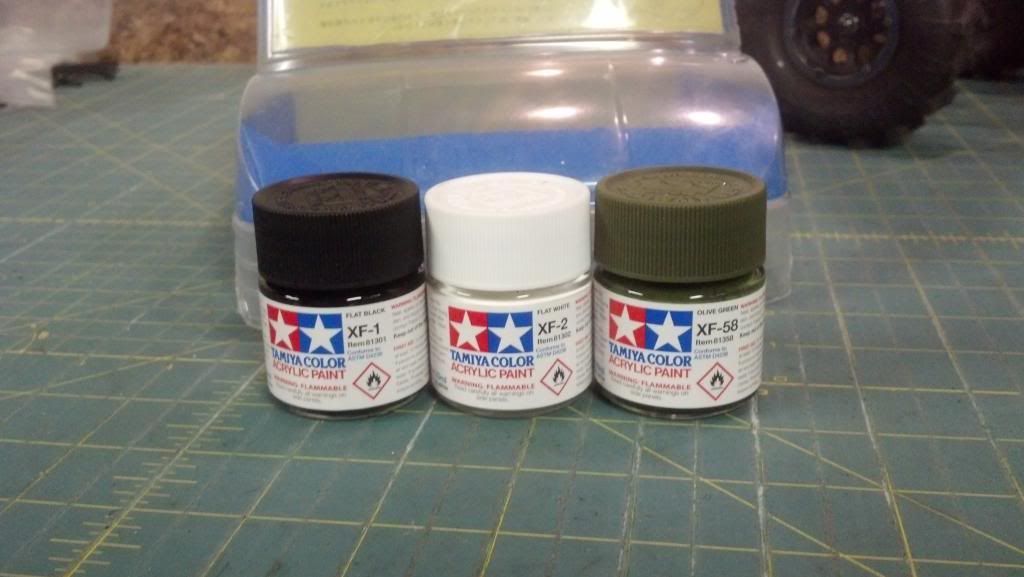 Thanks for looking! |
|
| |
|
01-17-2013, 11:34 PM
| #5 |
| Rock Crawler Join Date: Oct 2011 Location: Another place, another time
Posts: 575
|
Nicely done on the ammo case, looking to see how the rest of the build turns out. |
|
| |
|
01-18-2013, 10:01 AM
| #6 |
| Newbie Join Date: Feb 2012 Location: Bloomington
Posts: 21
|
Fresh paint. Still need to throw on a few more detail parts and maybe some more decals. 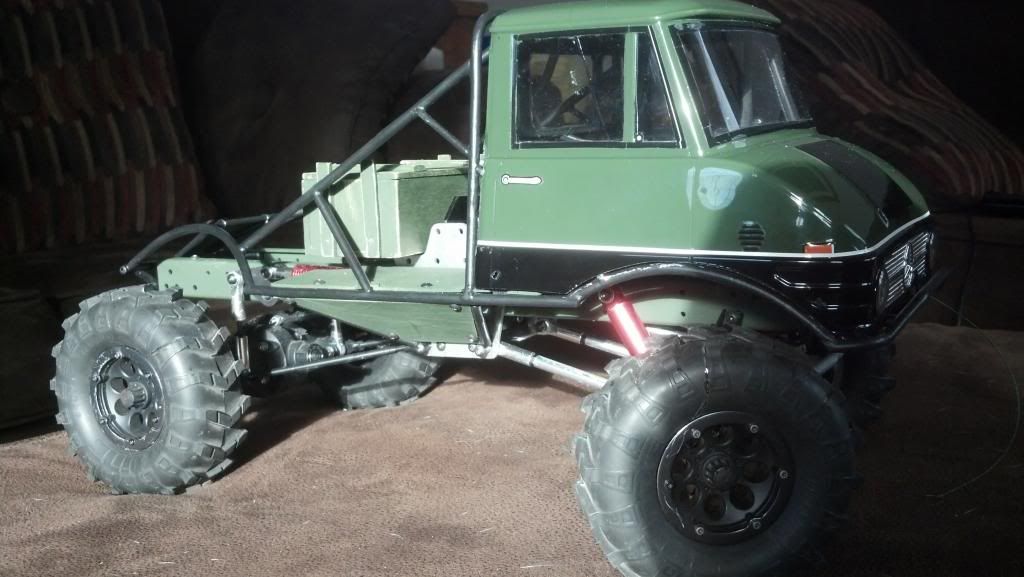 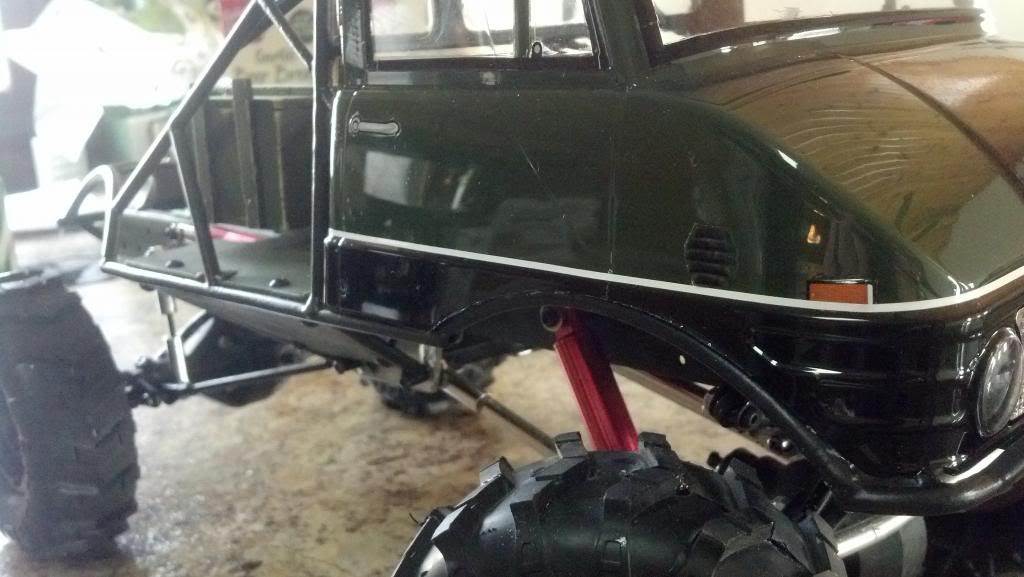 Also started permanently installing electronics. Steering and winch servo installed. 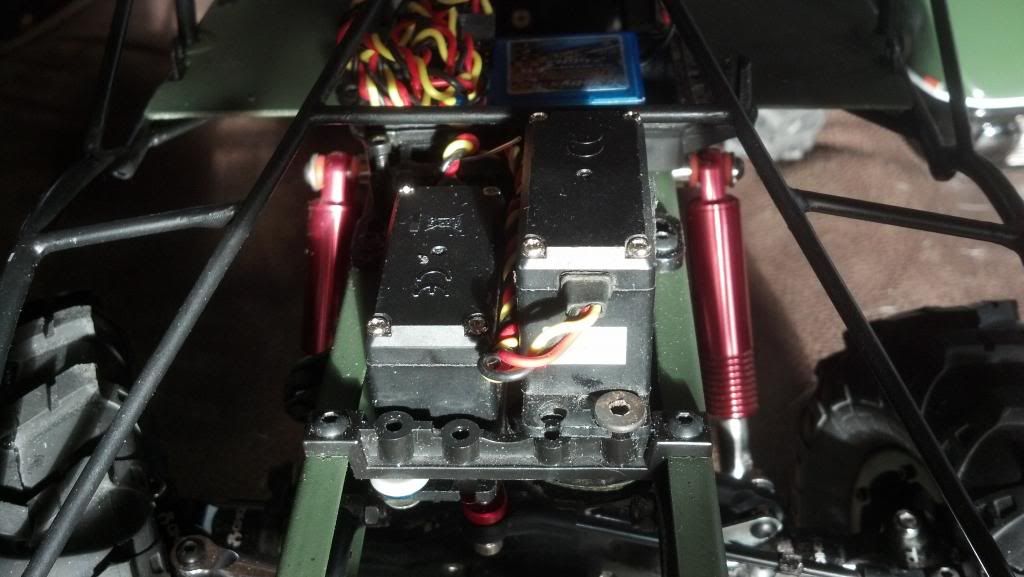 Extremely tight area, everything moves free and is clear of one another, barely. 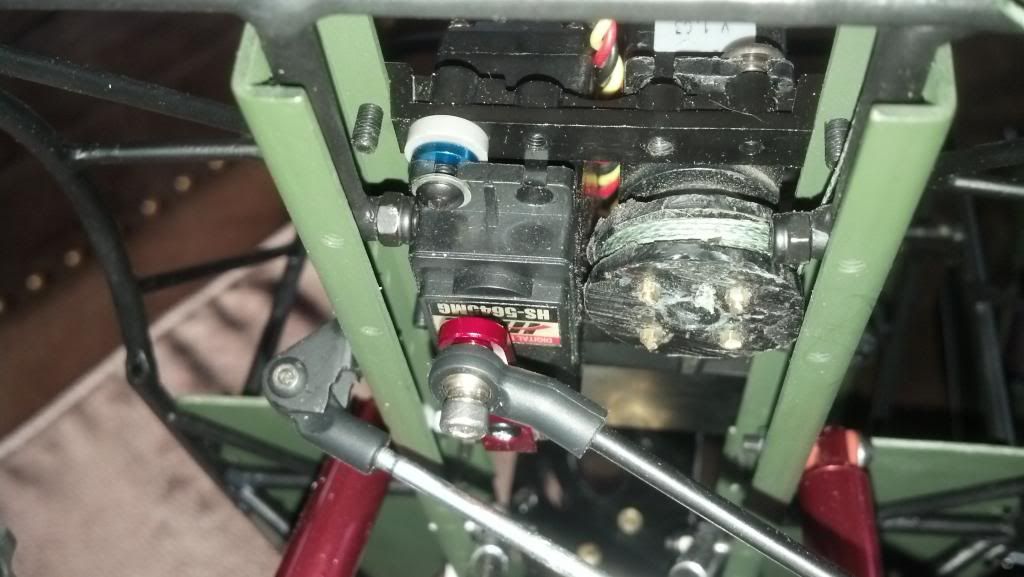 Panhard a must 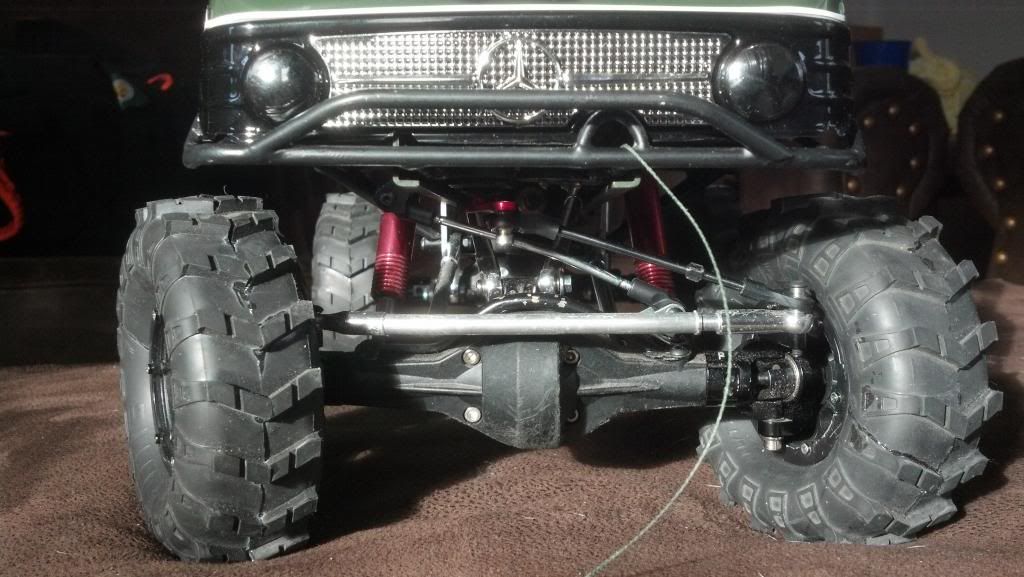 Next is to install motor and build a box to cover the transmission and motor. 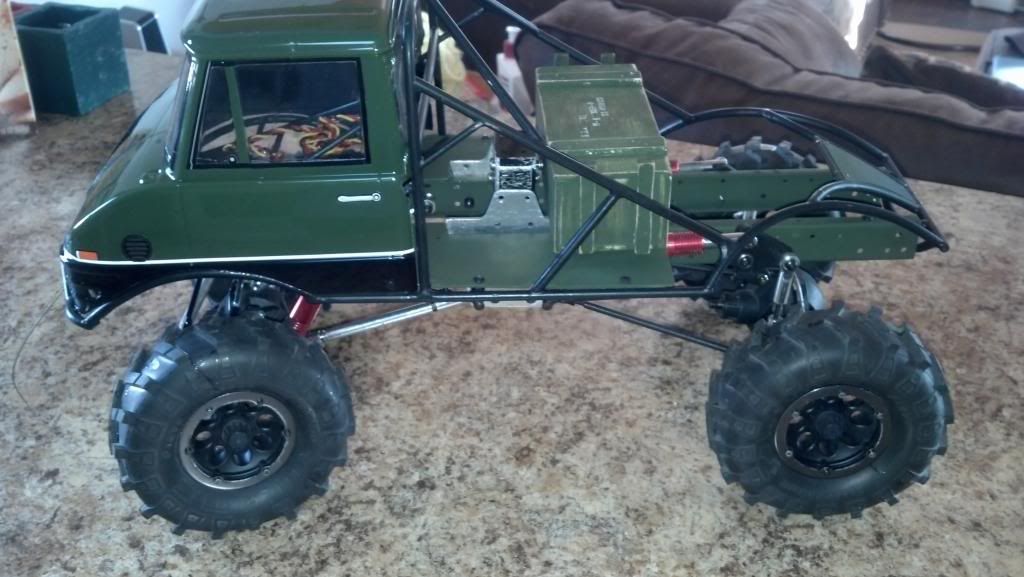 Thanks for looking. |
|
| |
|
01-18-2013, 02:40 PM
| #7 |
| Rock Crawler Join Date: Jul 2012 Location: In a van down by the river
Posts: 529
|
Yeah, this is a sweet MOG build you got going there! Cheers, Doc |
|
| |
|
01-18-2013, 04:48 PM
| #8 |
| I wanna be Dave Join Date: Jul 2010 Location: Toronto
Posts: 2,389
|
Really digging that rear suspension layout. Looks to be rather effective too!
|
|
| |
|
01-18-2013, 06:18 PM
| #9 |
| Rock Crawler Join Date: Jul 2012 Location: Albuquerque, New Mexico
Posts: 535
|
thats sweet. did you make that footlocker? i like it with the stencils too. |
|
| |
|
01-18-2013, 07:12 PM
| #10 |
| SuperShafty.com Join Date: Jan 2008 Location: Visalia CA
Posts: 2,902
|
nice detail on that box. how did you do the stencils for the box?? i am building one of these in a week too. things are just in the mail. anyway. nice work on the cage too. i like this look. seems like a lot of the Mog builders are doing it this way. nice rounds around the wheels, and straight lines of the bed. just looks great. did you use tube or rod on this? |
|
| |
|
01-18-2013, 08:50 PM
| #11 |
| Newbie Join Date: Feb 2012 Location: Bloomington
Posts: 21
|
Thanks for all the kind words. The ammo box idea came from another post on this forum. I can't remember where I saw it, as soon as I find the link, I will post it. The box is 1/8" plywood glued, and some stick pins that were cut to about 1/4" were used for the "nails". Its not finished, but close. Need to throw some hinges on it and a latch. 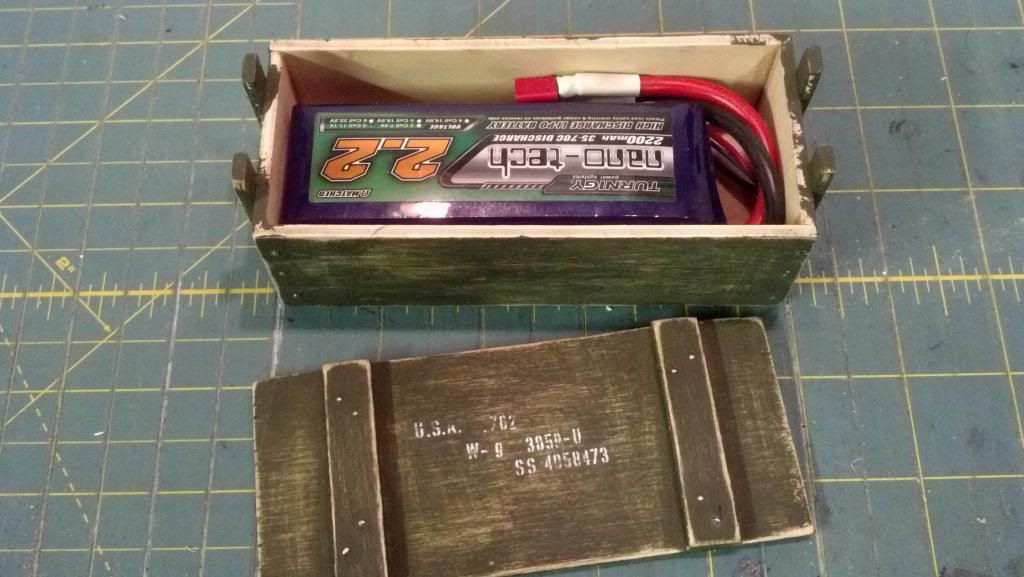 The lettering/numbers were dry transfer decals from Archer Fine Transfers used for static model tanks/aircraft. They work great, and will NOT come off. I used a little sandpaper to weather them a bit. 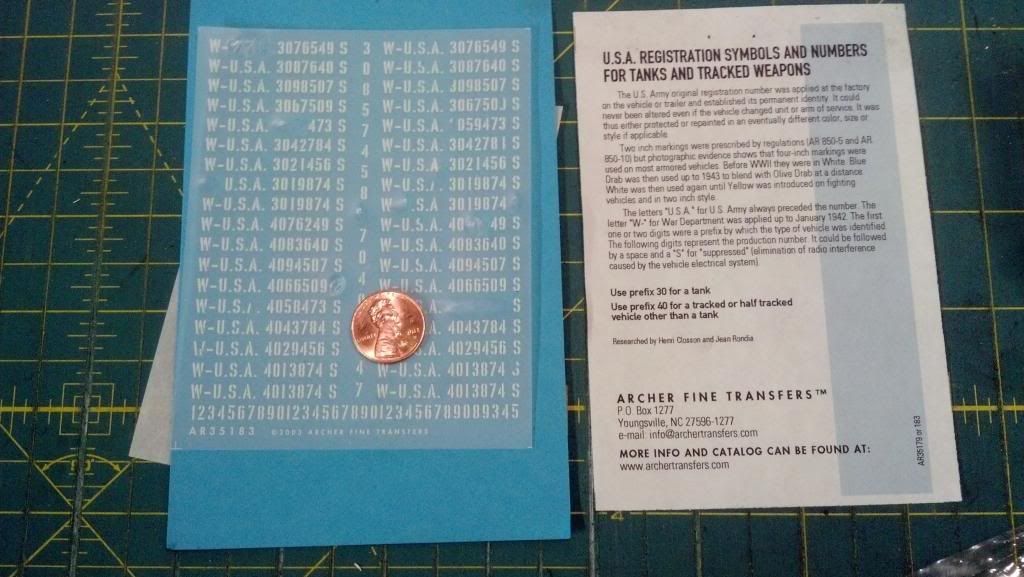 |
|
| |
|
01-18-2013, 08:53 PM
| #12 | |
| Newbie Join Date: Feb 2012 Location: Bloomington
Posts: 21
| Quote:
| |
|
| |
|
01-18-2013, 09:05 PM
| #13 |
| Newbie Join Date: Feb 2012 Location: Bloomington
Posts: 21
|
Now back to the meat and potatoes of this thing. Fresh paint. Still need to add some more of the detail parts that came with the body, and a few more decals. Gonna build a box to cover the transmission and motor. I have an idea for that that should help add a little something to the paint scheme. Steering and winch servo permantly mounted. Not much room in there, but somehow everything managed to work out perfectly. Panhard is a must. 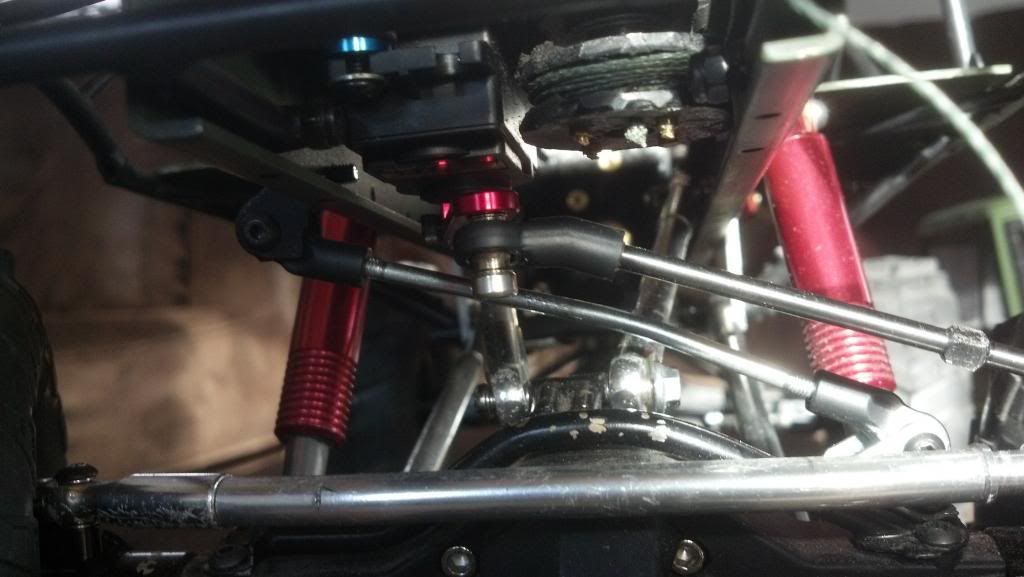 Thanks for looking! |
|
| |
|
01-18-2013, 09:43 PM
| #14 |
| SuperShafty.com Join Date: Jan 2008 Location: Visalia CA
Posts: 2,902
|
looking better and better man. thanks for the answers. ill have to get some of the those transfer stickers for my box. my buddies keep telling me it looks like a coffin. its got OD green on it now. just needs some ropes and stenciled letters like you have. 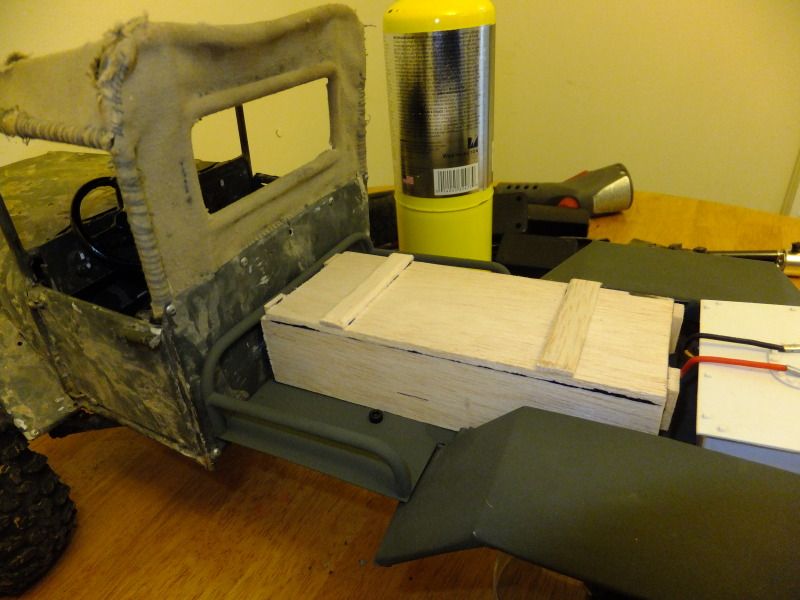 love those cut n shut tires too man. i'l be changing mine to a panhard like yours, and also trying to hide a winch in there somewhere. gonna be a hard, but it will work. |
|
| |
|
01-21-2013, 06:38 PM
| #15 | |
| Newbie Join Date: Feb 2012 Location: Bloomington
Posts: 21
|
That looks awesome man. I don't think it looks like a coffin at all. Keep going. Quote:
This is what my backyard looks like a few times a year. I think the paddle style might work nice back there!! 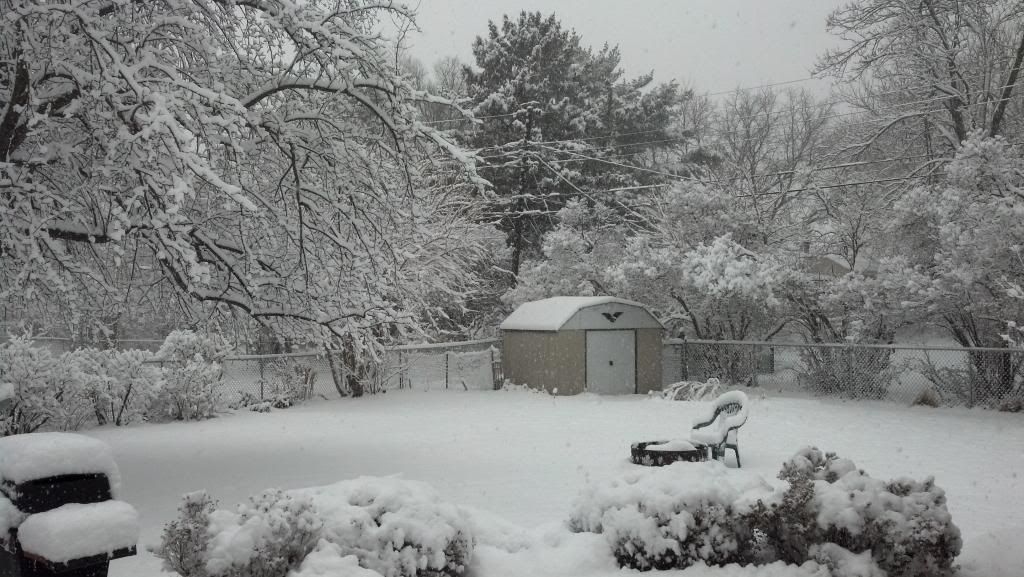 | |
|
| |
|
01-21-2013, 06:47 PM
| #16 |
| Newbie Join Date: Feb 2012 Location: Bloomington
Posts: 21
|
I took a few days off to celebrate "Hockey Day Minnesota" (lots of beer drinking) But now back to it! Got some goodies. Now it time to see whats gonna break. 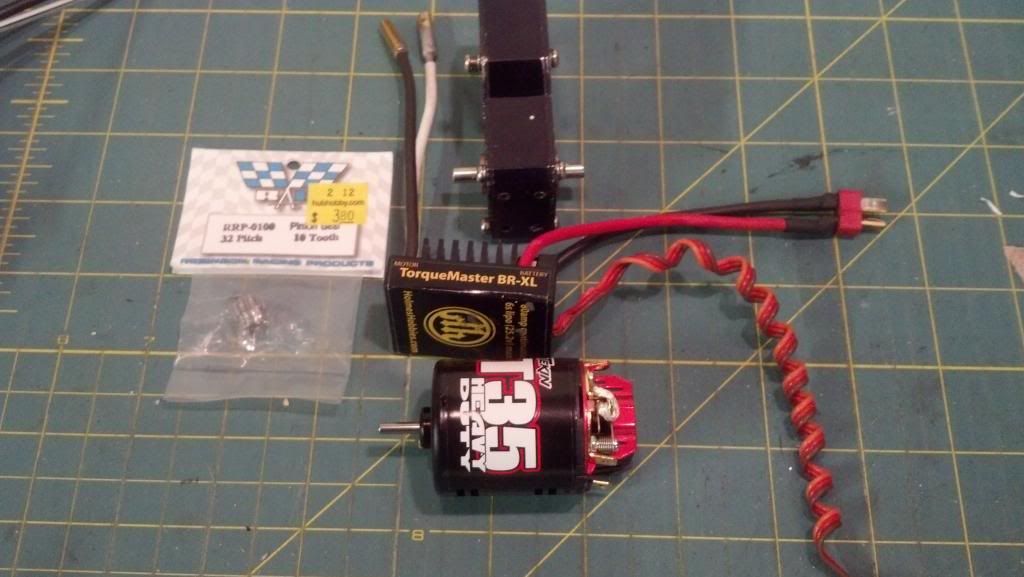 Got the batt box mounted, and the cover for the trans/motor build and painted. 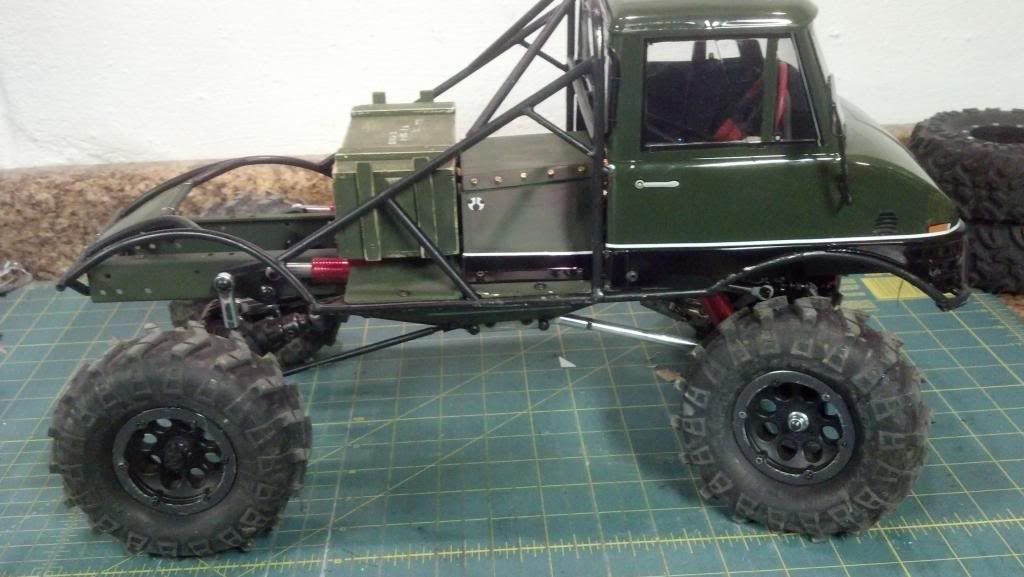 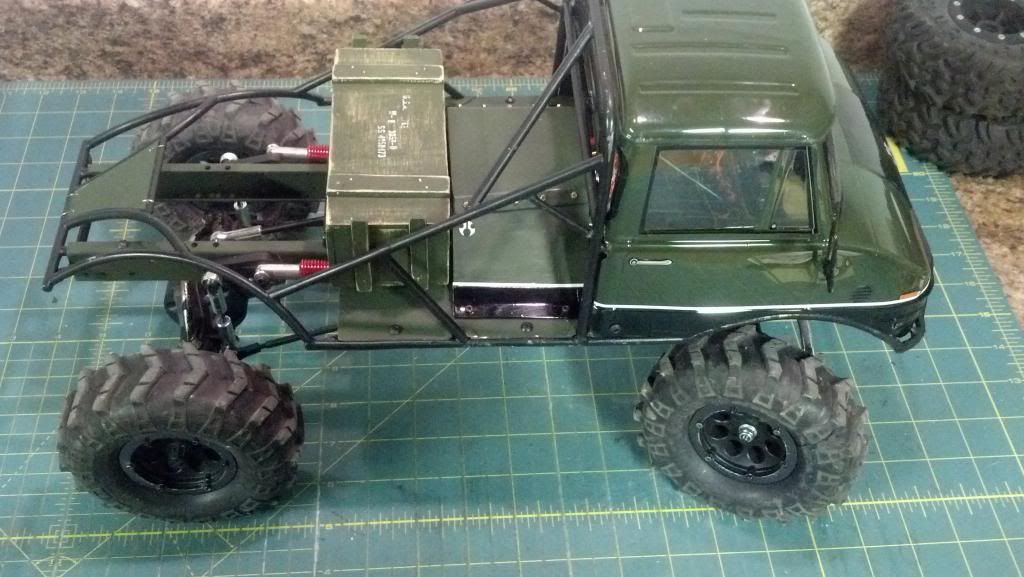 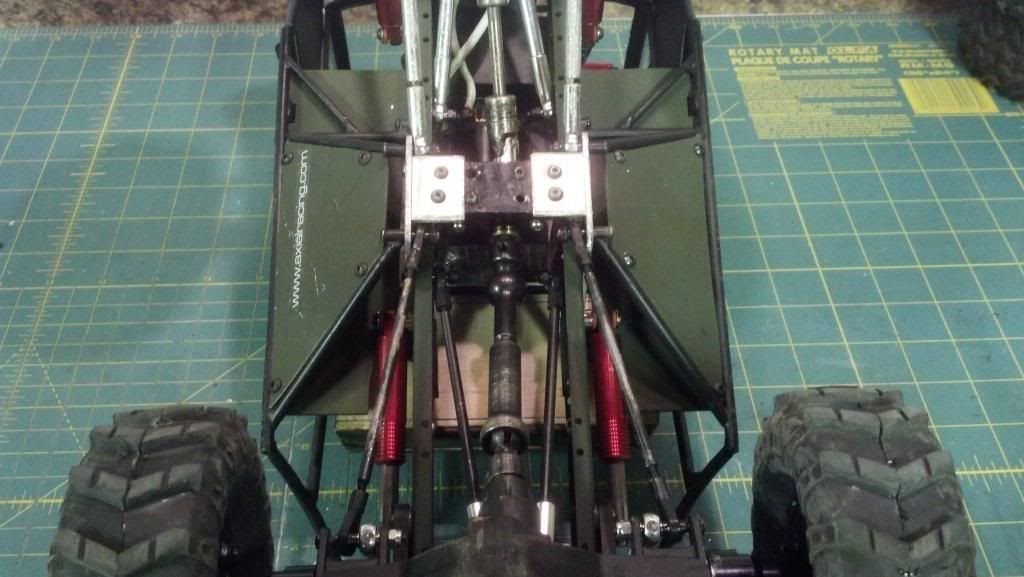 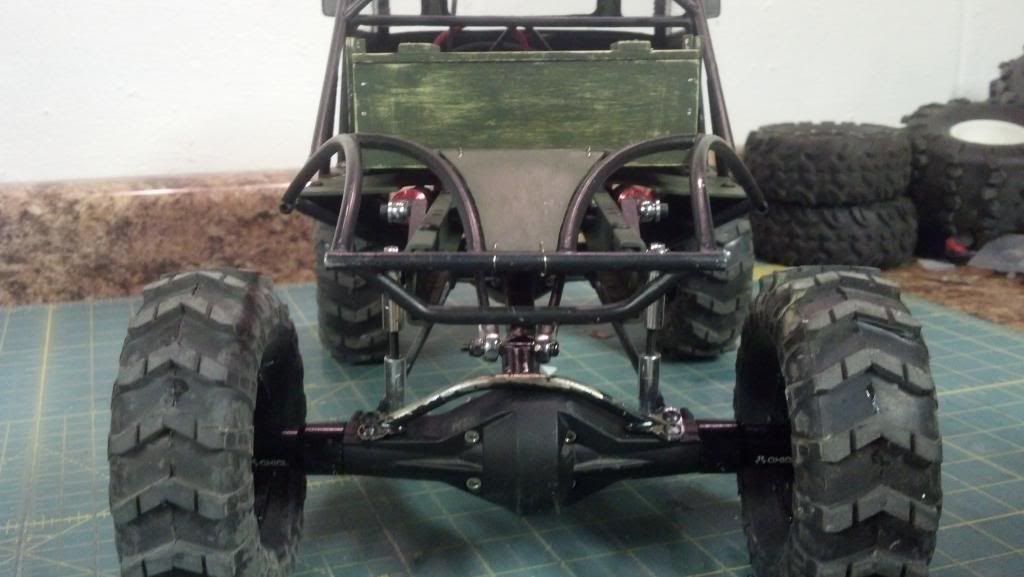 My shop always ends up like this when I build something!! Now if I could only find my flux... 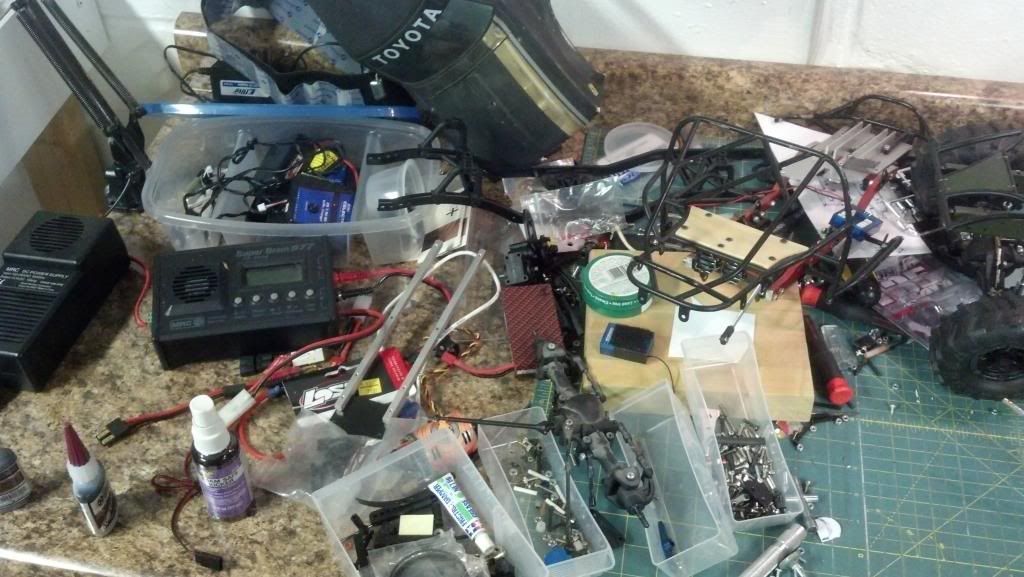 |
|
| |
|
01-21-2013, 08:10 PM
| #17 |
| SuperShafty.com Join Date: Jan 2008 Location: Visalia CA
Posts: 2,902
|
oh the box has paint on it now. just didnt have any new pics of the thing. lookin good man |
|
| |
 |
 Mog build - Similar Threads
 | ||||
| Thread | Thread Starter | Forum | Replies | Last Post |
| "Big Bird" Mog build | Oso787 | 1.9 Scale Rigs | 84 | 06-05-2012 08:04 PM |
| RC Soup's Mog Build & Review (with video!) | kevin107 | Tamiya XC/CC01 | 8 | 04-20-2012 12:06 PM |
| gottorque's 404/406 mog build | gottorque | Axial SCX-10 | 22 | 03-22-2011 08:10 PM |
| mog build...looking for advice. | 73fordhighboy | Tamiya CR-01 | 10 | 06-23-2010 11:45 AM |
| 2.2 'Mog build ??'s | xgerstandtx | 2.2 Scale Rigs | 6 | 10-20-2009 06:41 PM |
| |


 Linear Mode


