| |
| |||||||
 |
| | LinkBack | Thread Tools | Display Modes |
 02-09-2011, 10:56 PM
| #1 |
| Rock Stacker Join Date: Jan 2011 Location: Upstairs, Canada
Posts: 72
|
Well, I've been checking out the forum and really liking it here so far  . I race 1/8 nitro in the Summer, and needed something I could play with here in the Winter ( and Summer ) because I drive 100km one way to get to the off road track I race at. . I race 1/8 nitro in the Summer, and needed something I could play with here in the Winter ( and Summer ) because I drive 100km one way to get to the off road track I race at. I've always liked full scale trail driving and figured it was time I built a scale version of a trail truck. I chose the Honcho kit because it was the easiest way in for a newb Being used to 1/8 scale race kits, building this was pretty straight forward. For the most part, the kit goes together very well, and seems of decent quality,there was a few things that I thought were sketchy, like the cast looking diff gears, plastic balls in all the rod ends ( something I expect to see on the RTR version, not the kit Finally here..wooO-hooO!!! 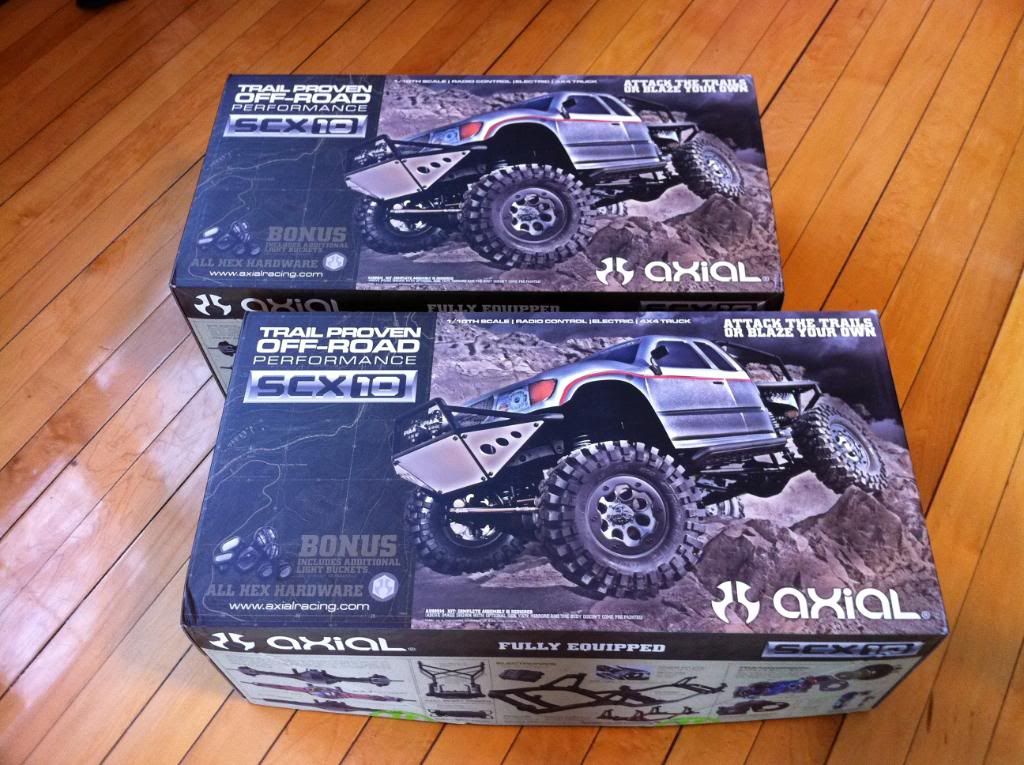 In the box: 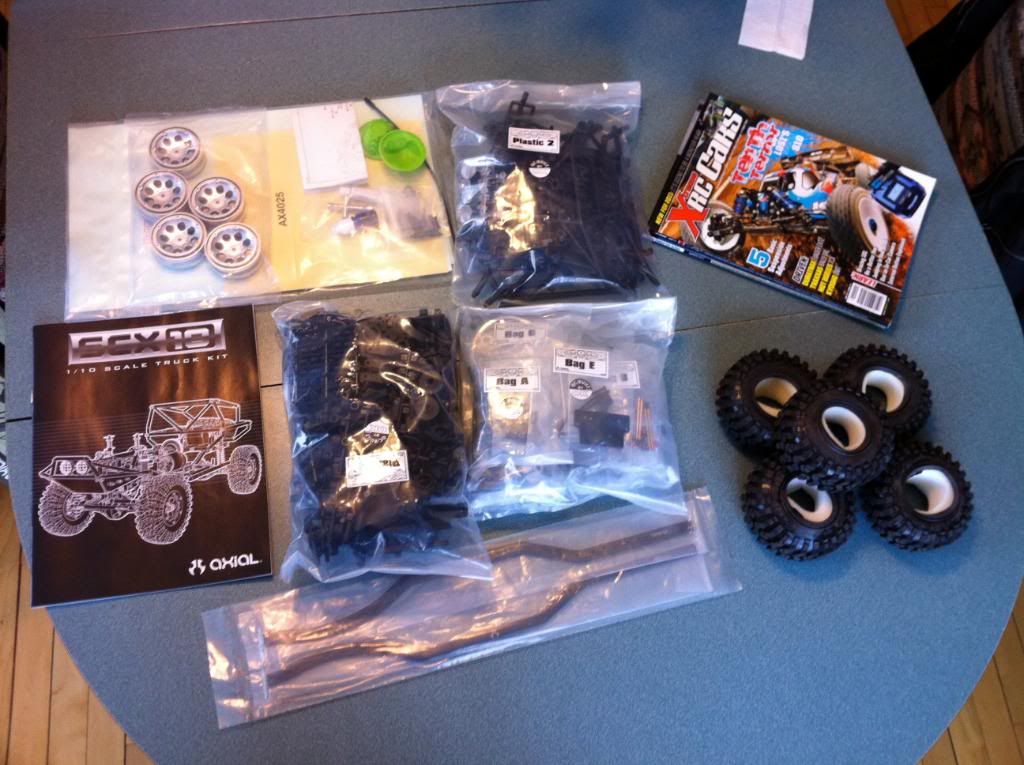 Inside the axles.. 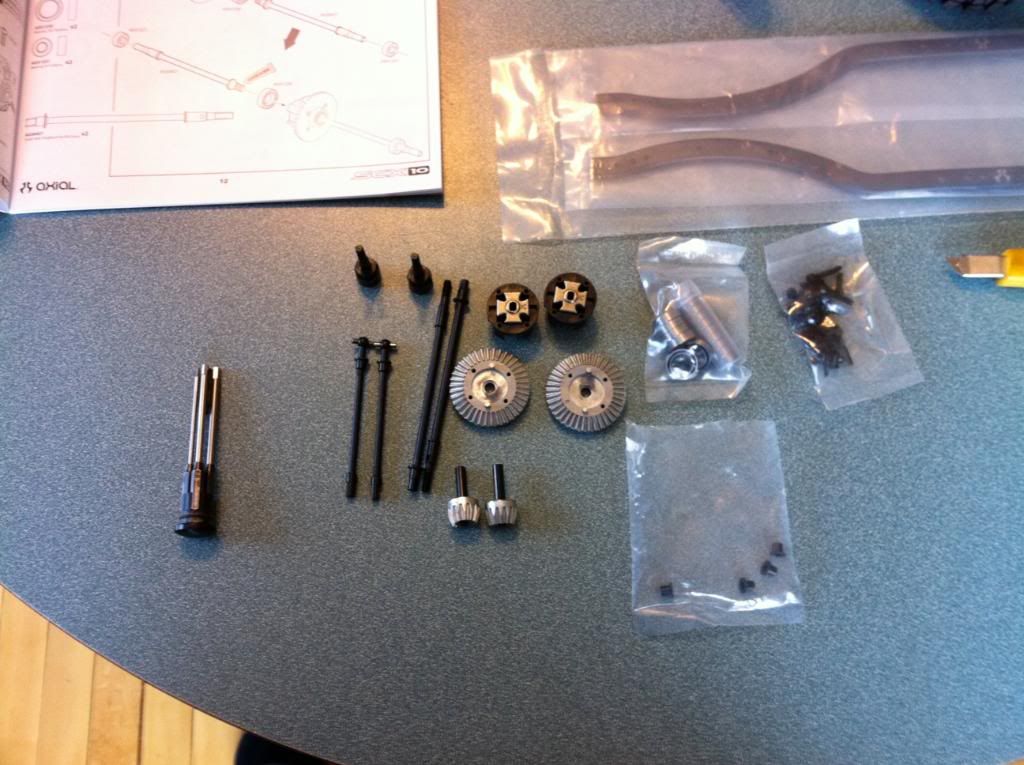 Axles built, so far, so good..  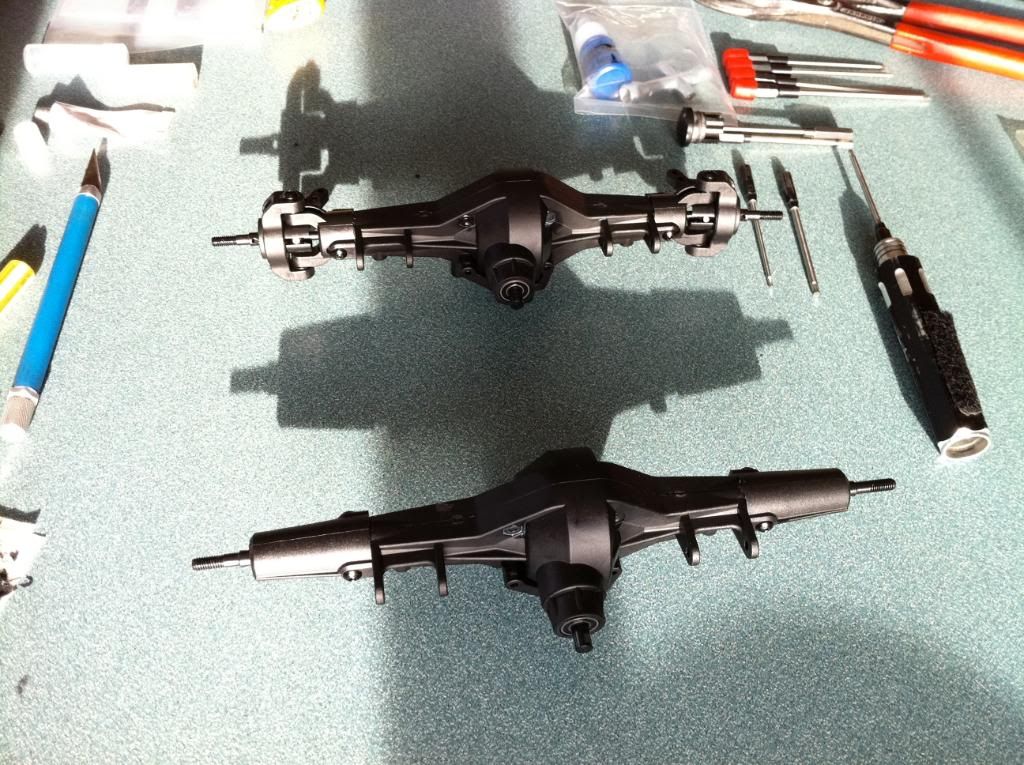 Shocks 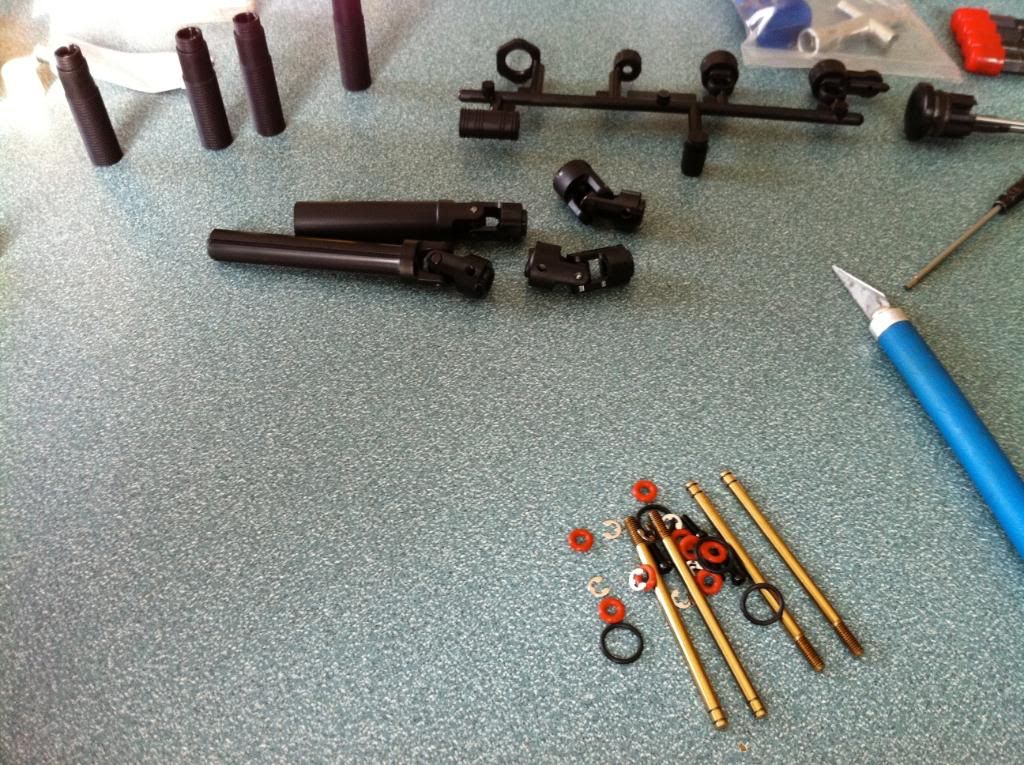 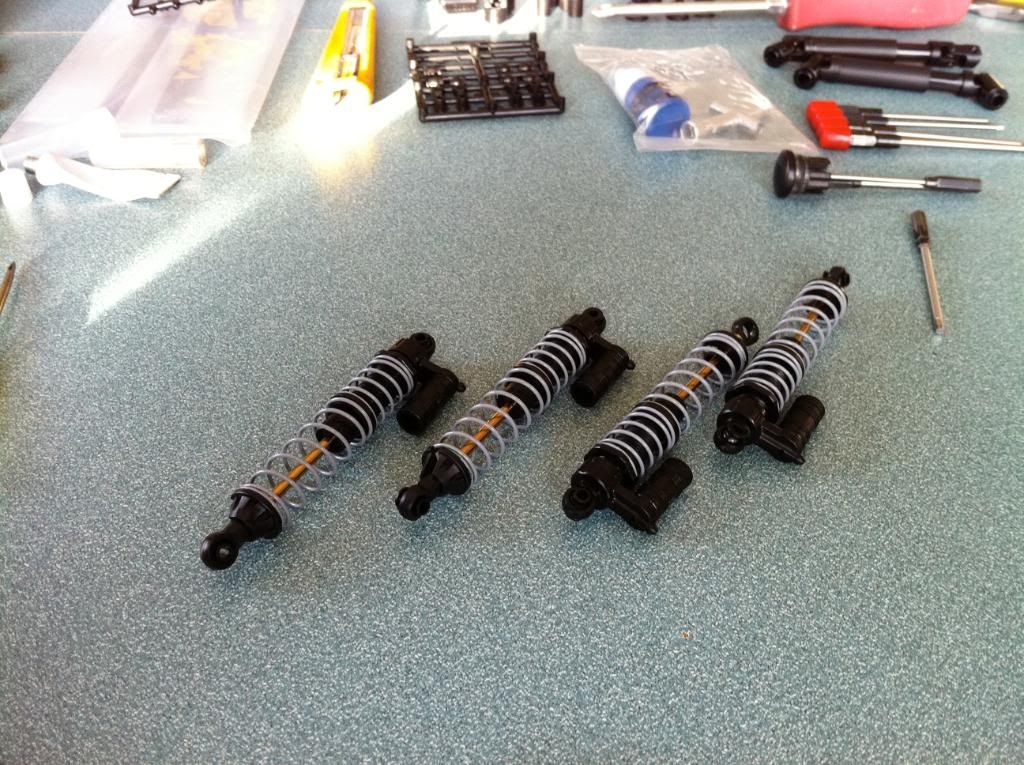 Front and rear complete: 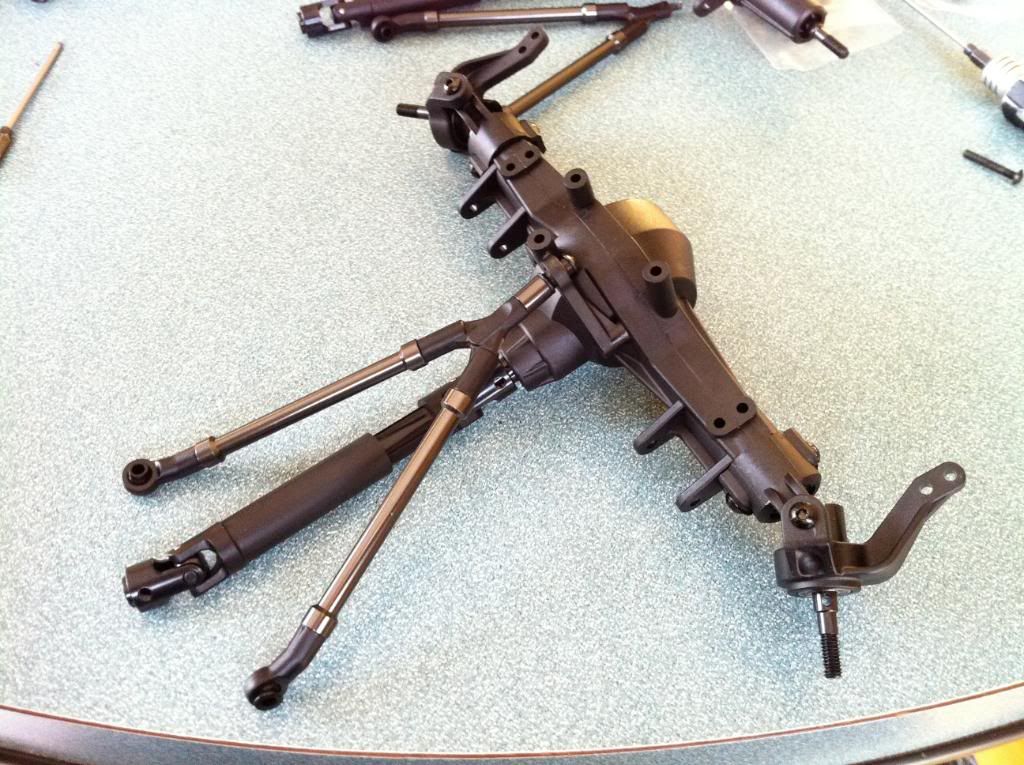 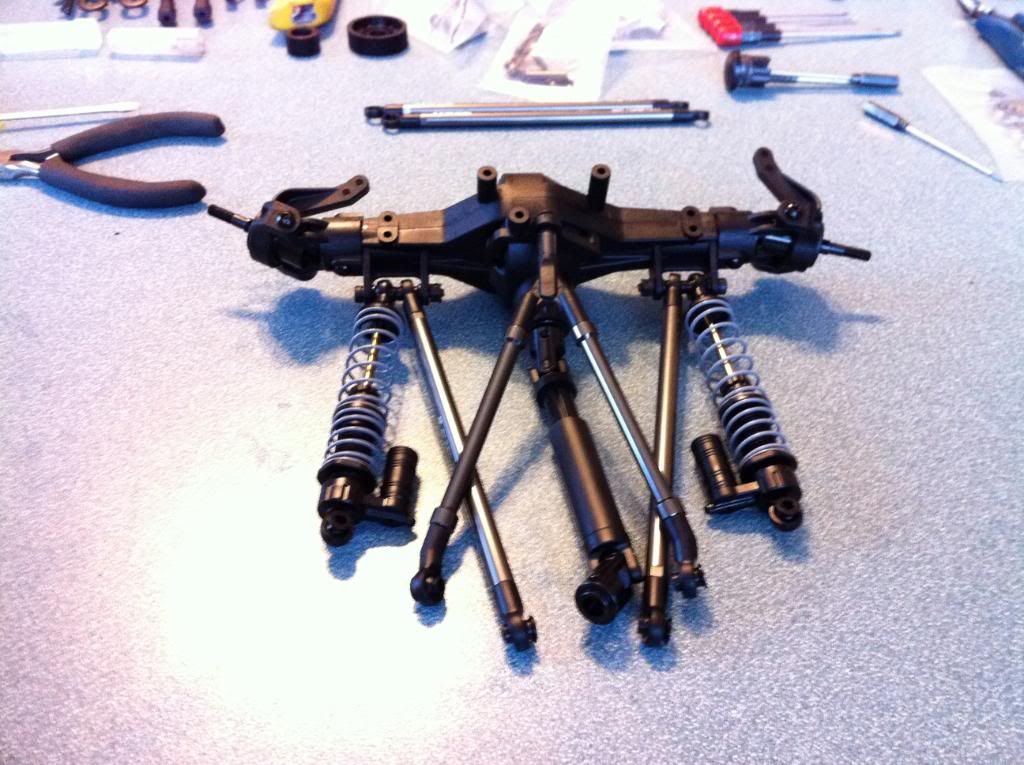 Tranny: 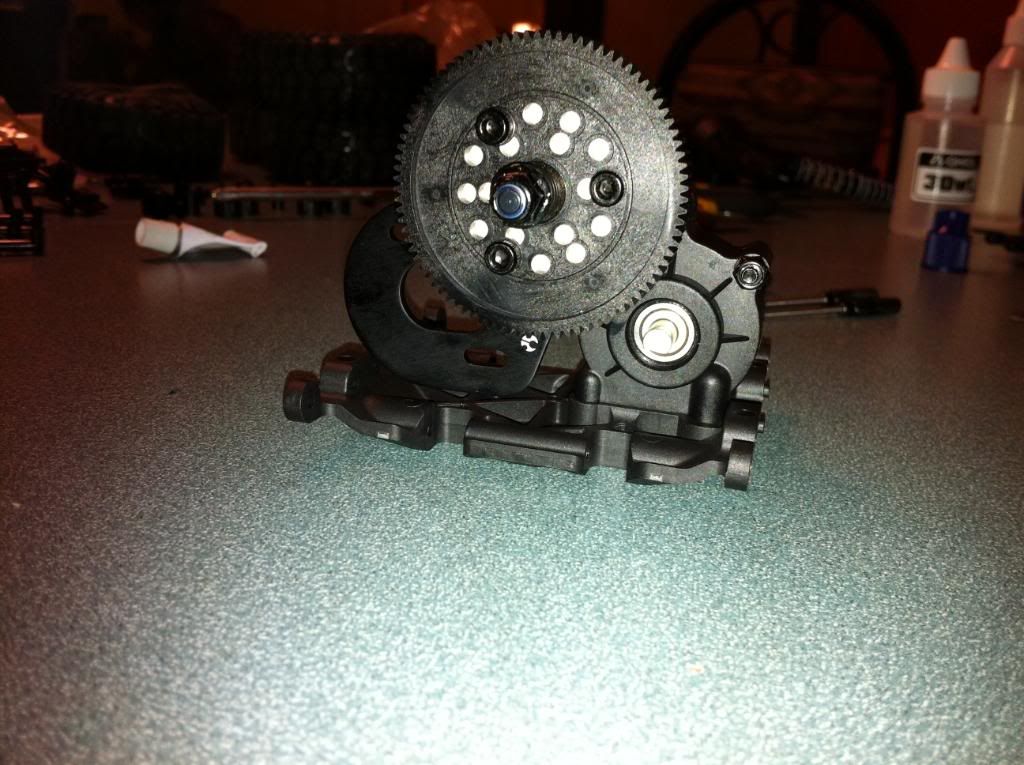 Chassis: 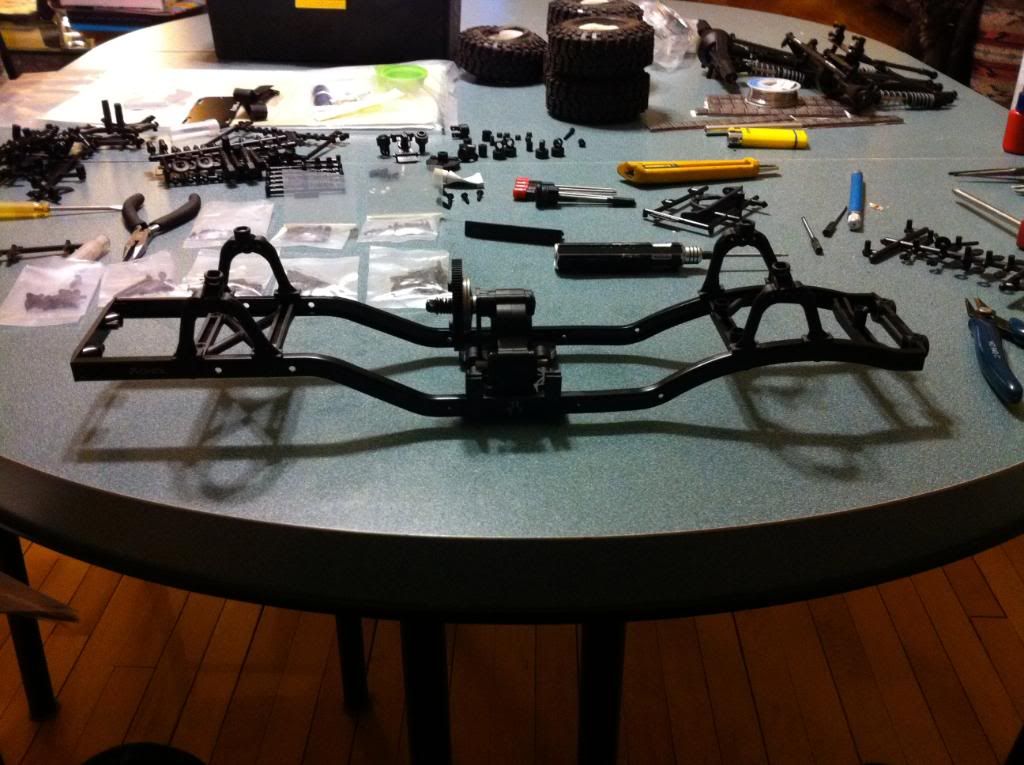 Weight of the wheel: 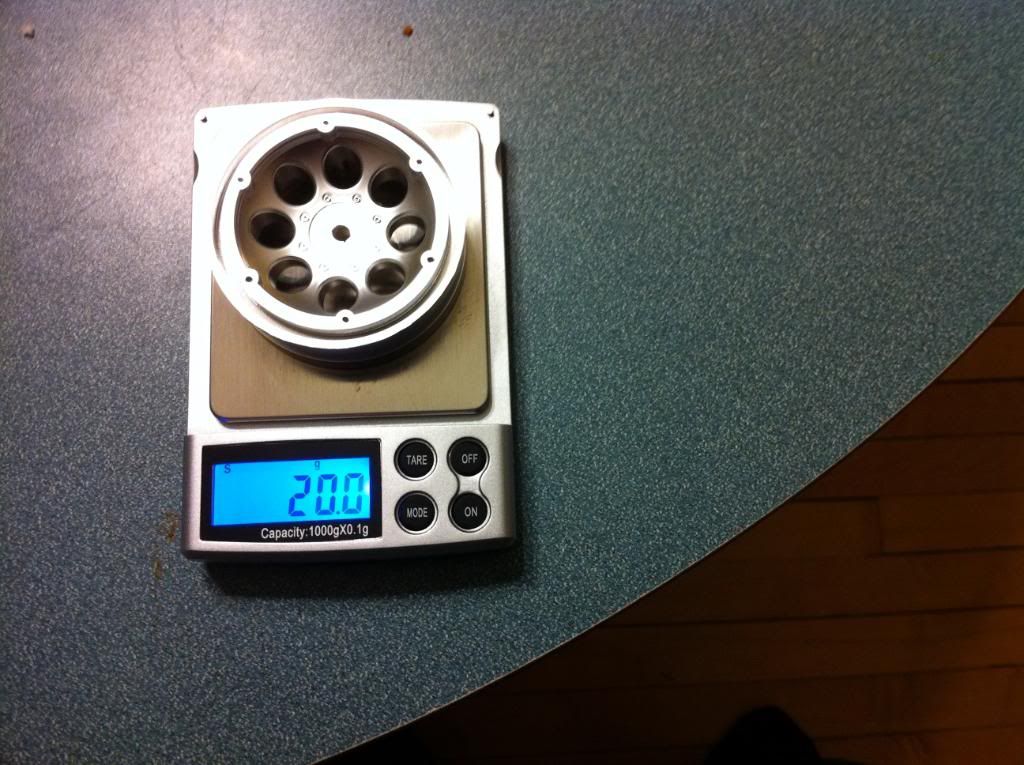 Painted rims.. 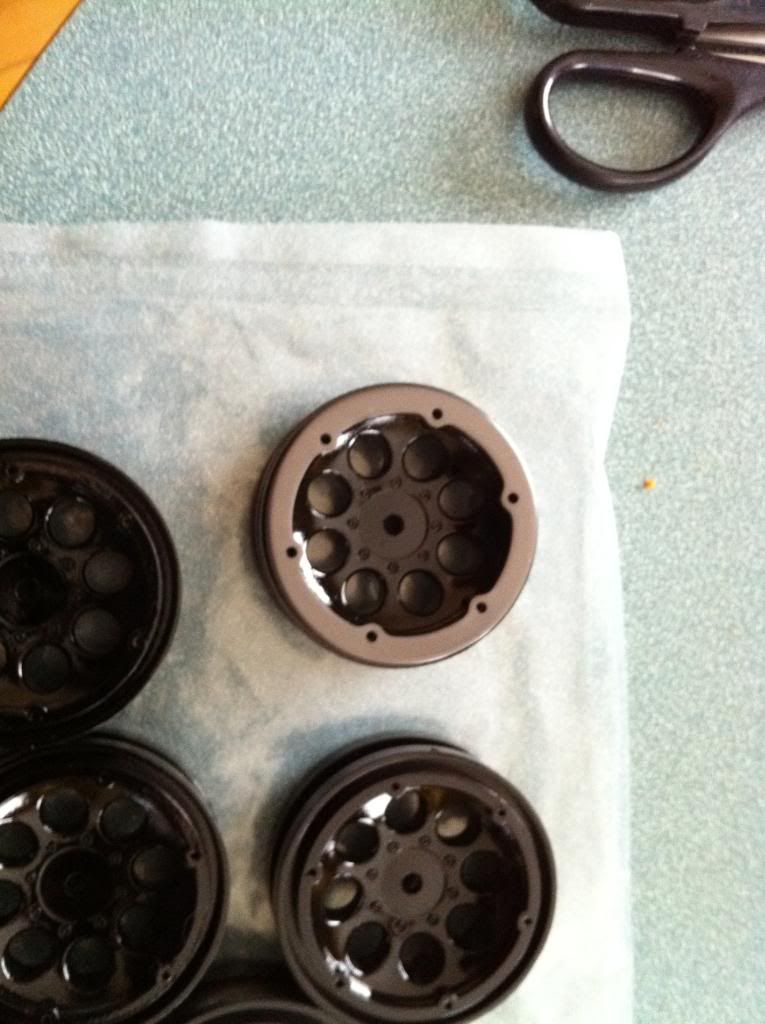 Nearly built 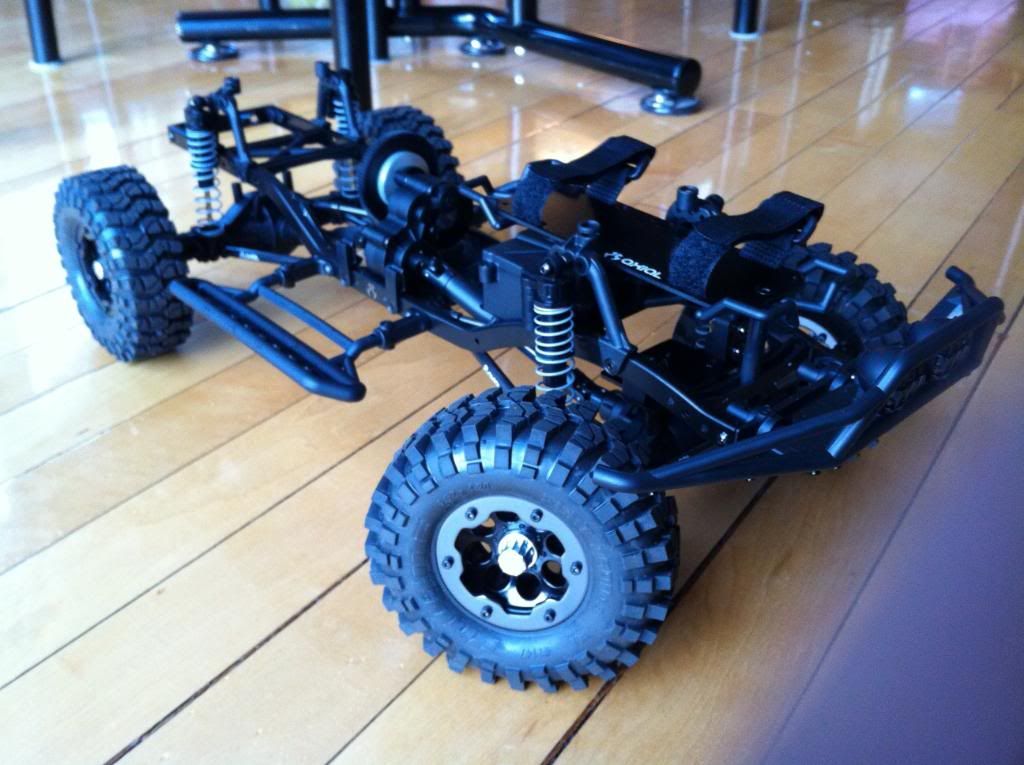 Paint complete: 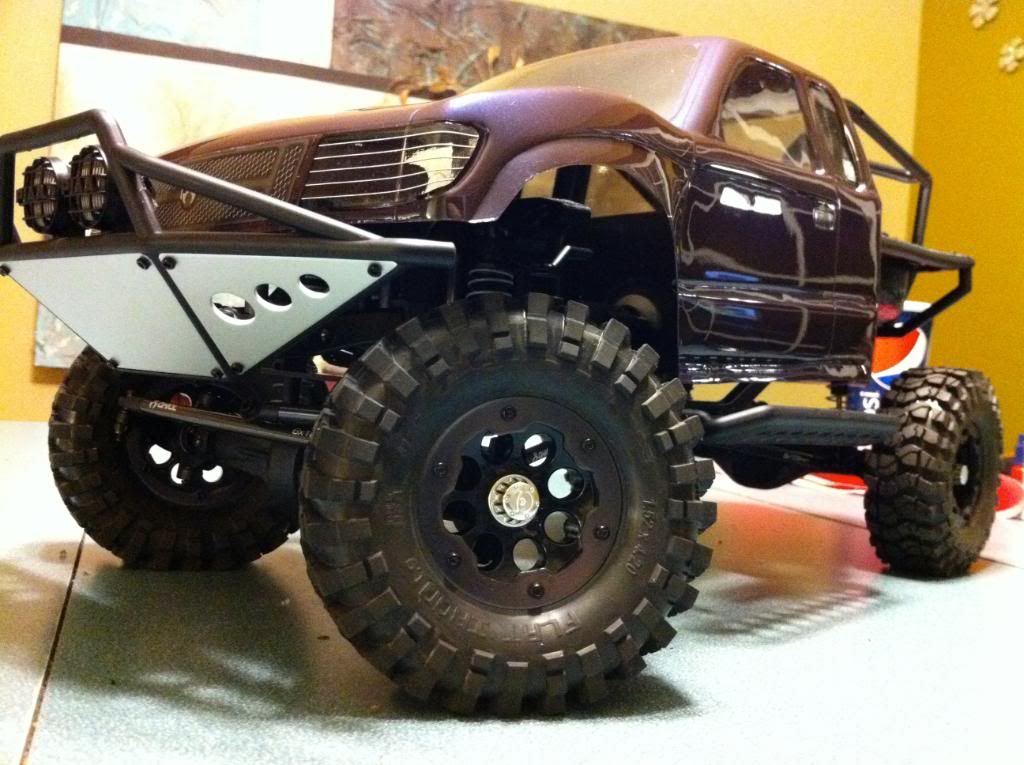 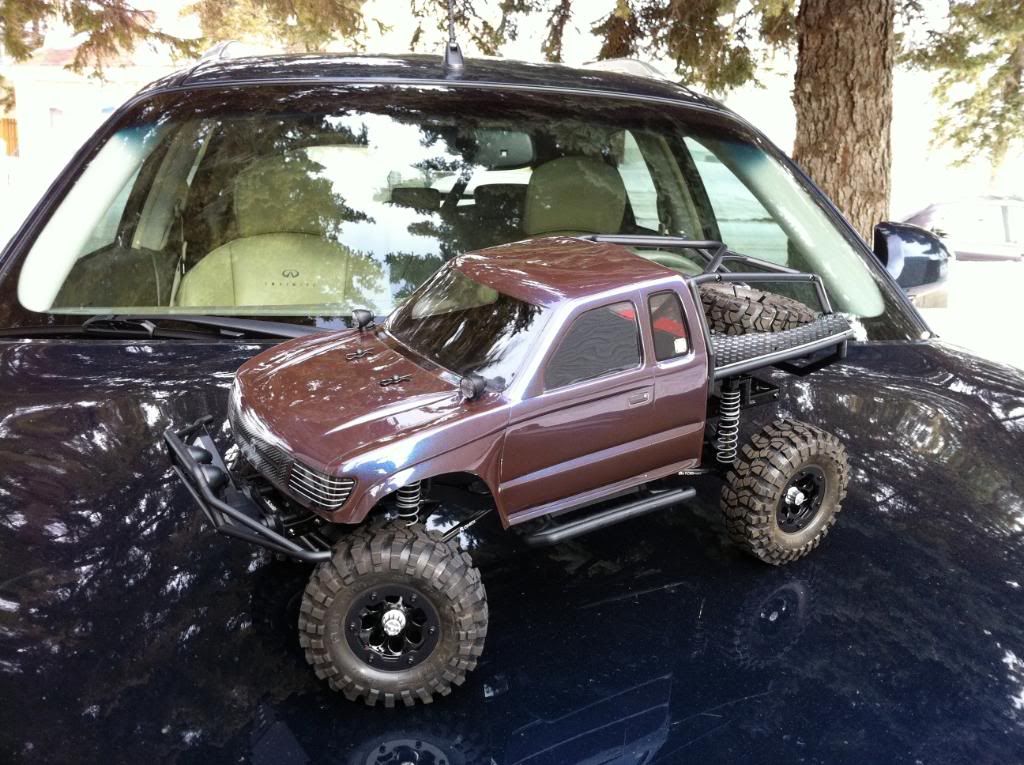 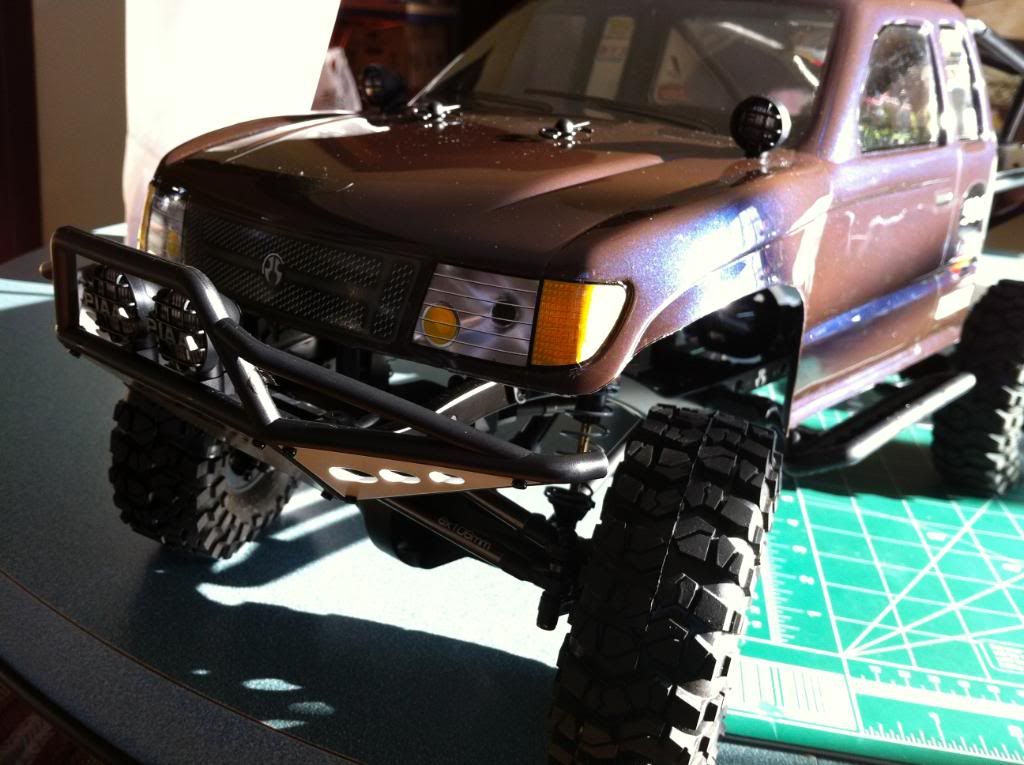 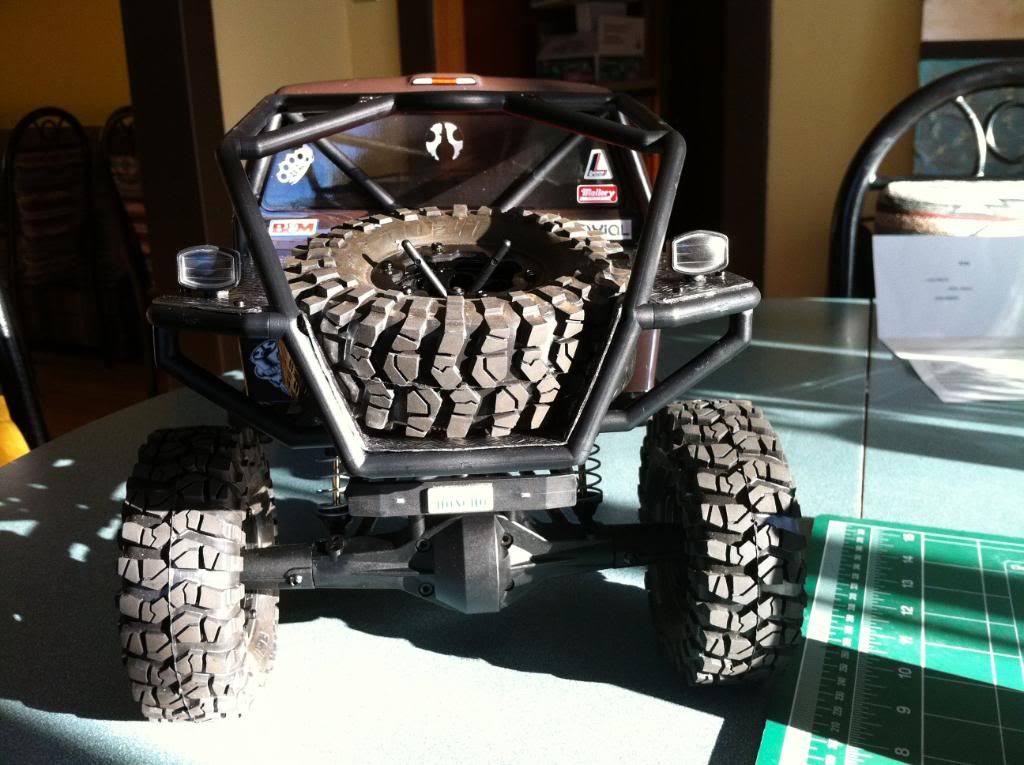 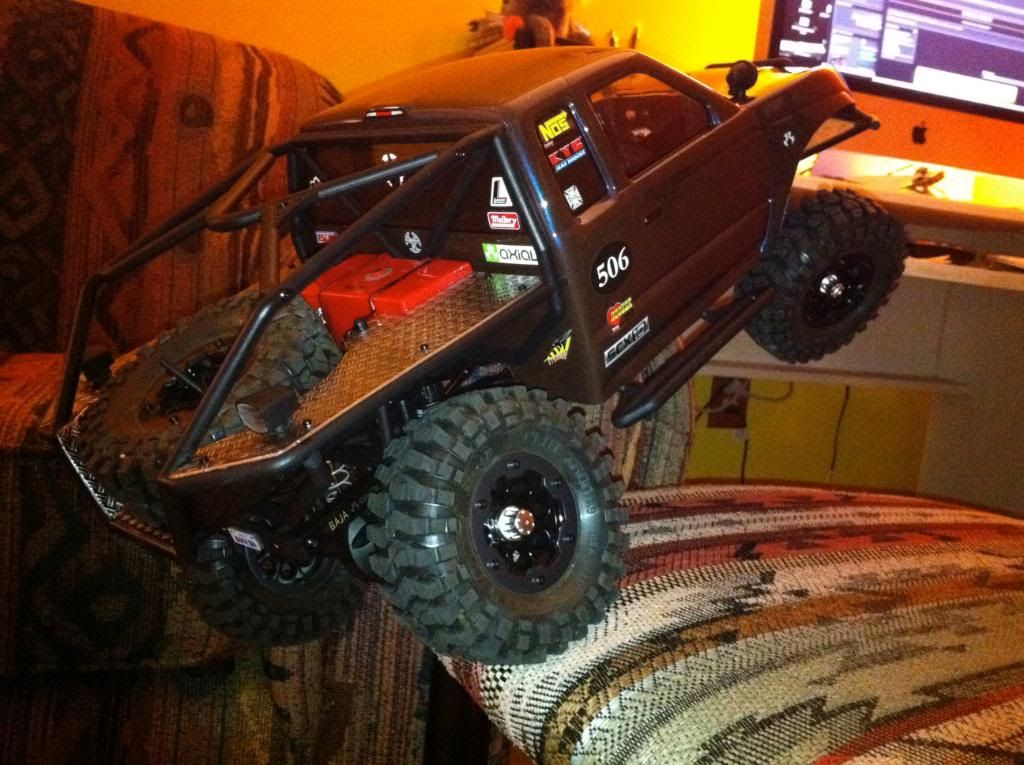 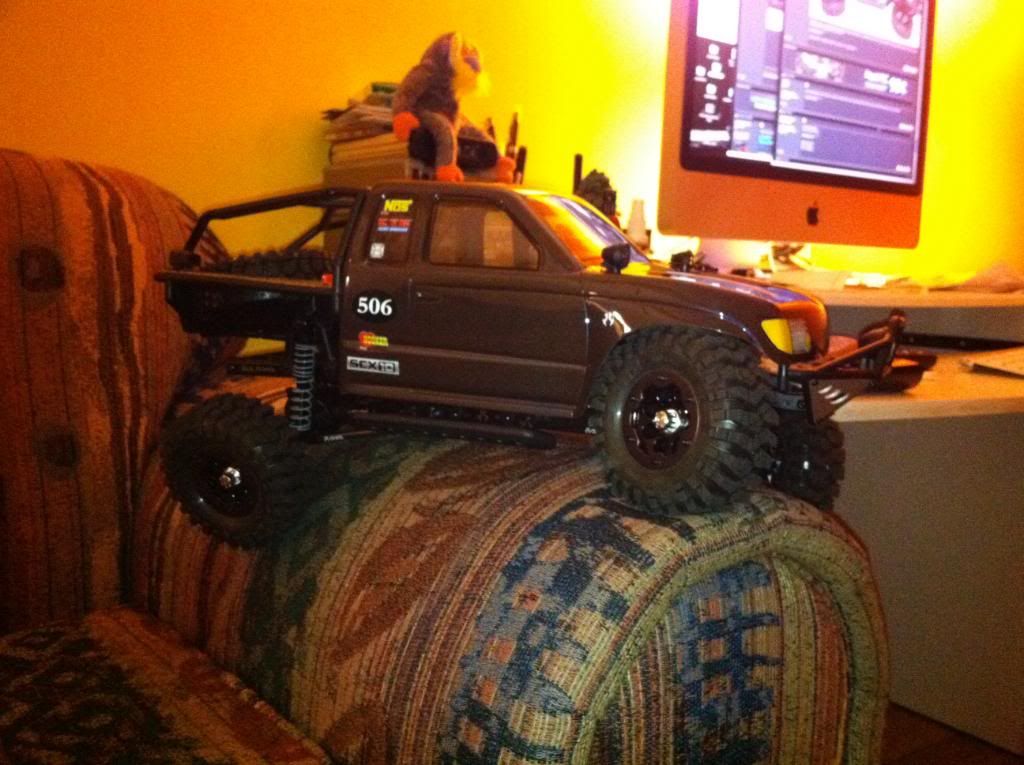 I use Lucky 7 to seal my nitro engines to prevent air leaks, so I thought I'd try it to seal my steering servo ( Airtronics 94358 ), if it keeps air out, it should keep water out. The nice thing about Lucky 7 is you apply it externally to and engine, and so I sealed around all the separate sections, the wires, and screws, it takes about 15 minutes to dry and comes off if you need to take it off later. I think it'll work but there's only one way to find out 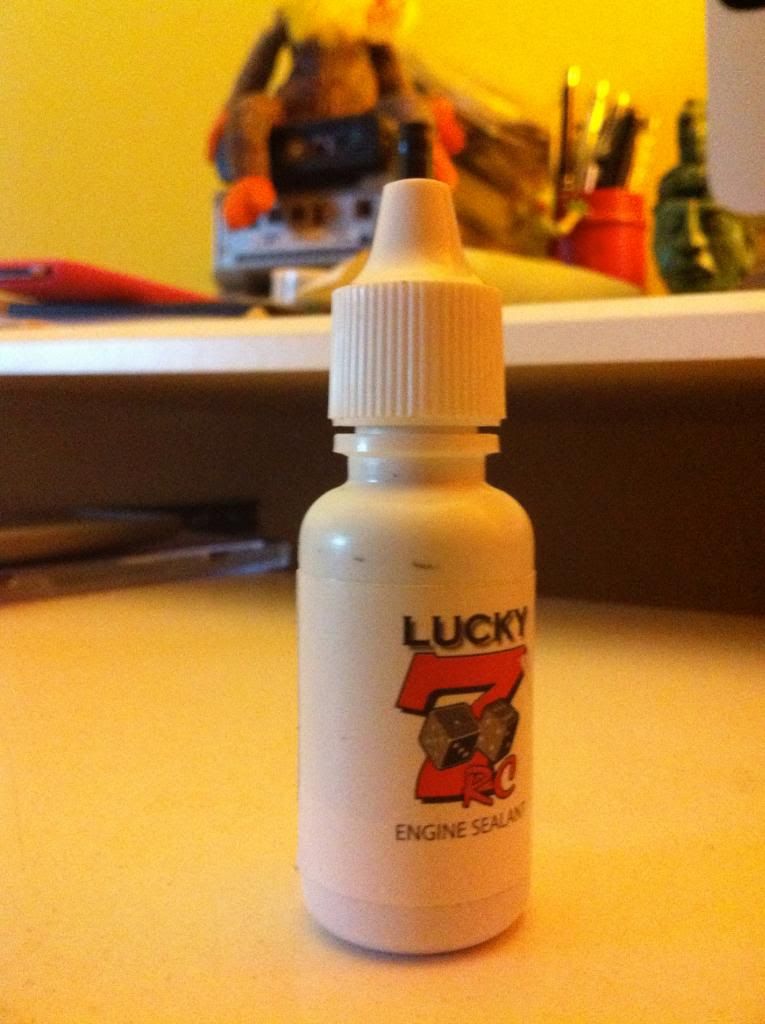 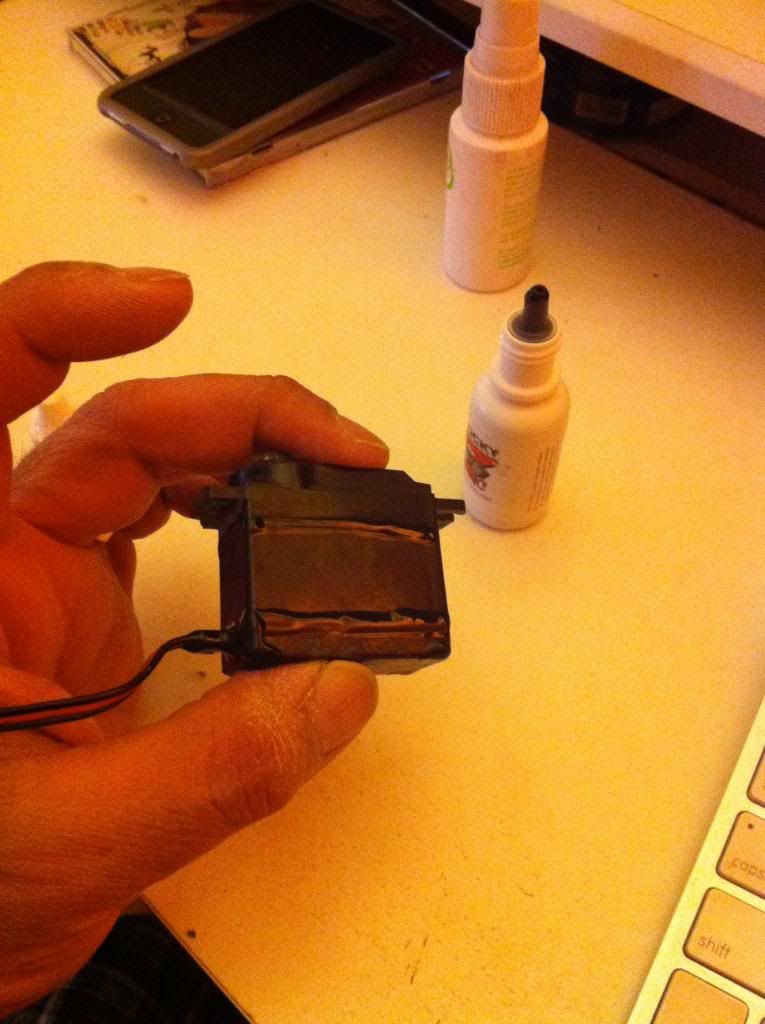 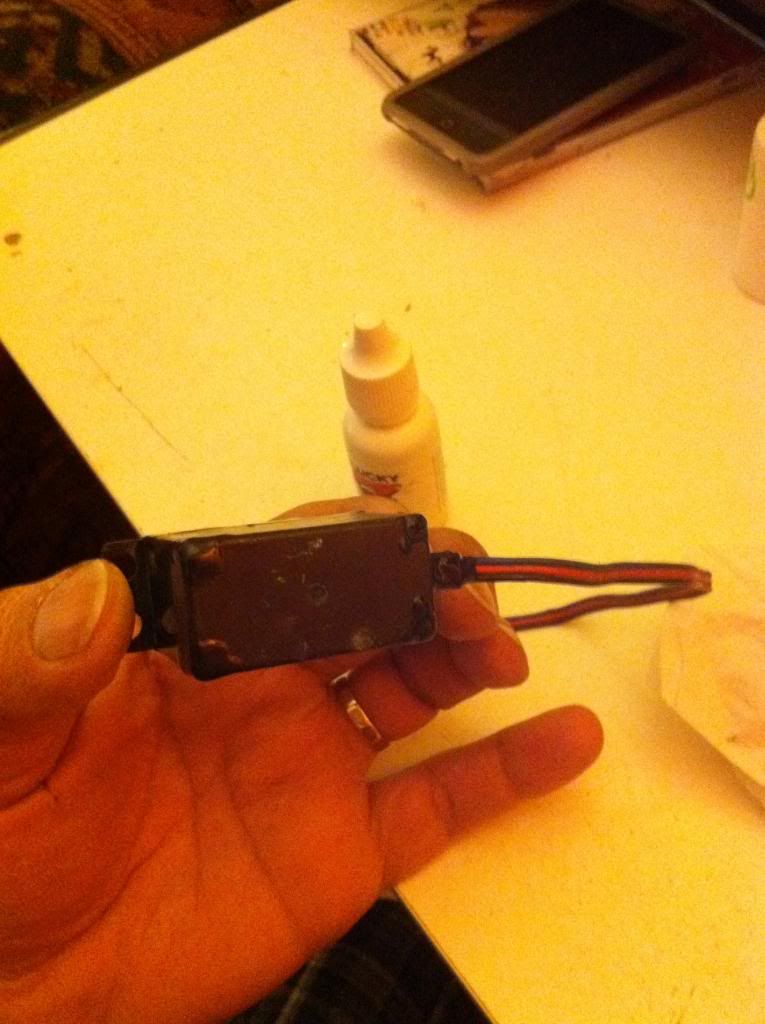 After mounting the steering servo, I was not very happy with the fact that the passenger's side compressed farther than the driver's side due to the steering geometry's flawed ( IMHO ) design. I tried modding my battery tray, as another member had done, to mount my servo similarly to the Hand Bros setup, but that made it worse, because the steering arm was now on a higher angle, which hits the chassis rails sooner on compression..NOT what I wanted at all. To minimize the arm hitting the chassis, I used spare parts from my RC8T..a titanium steering TB and rod ends with the steel AE balls, which are the similar to the stock plastic junkers. I also put the link on the passenger's side instead of running it from the driver's side because of a better angle, which, combined with a thinner rod, gives me better compression than stock. There's still some difference, but less than before: 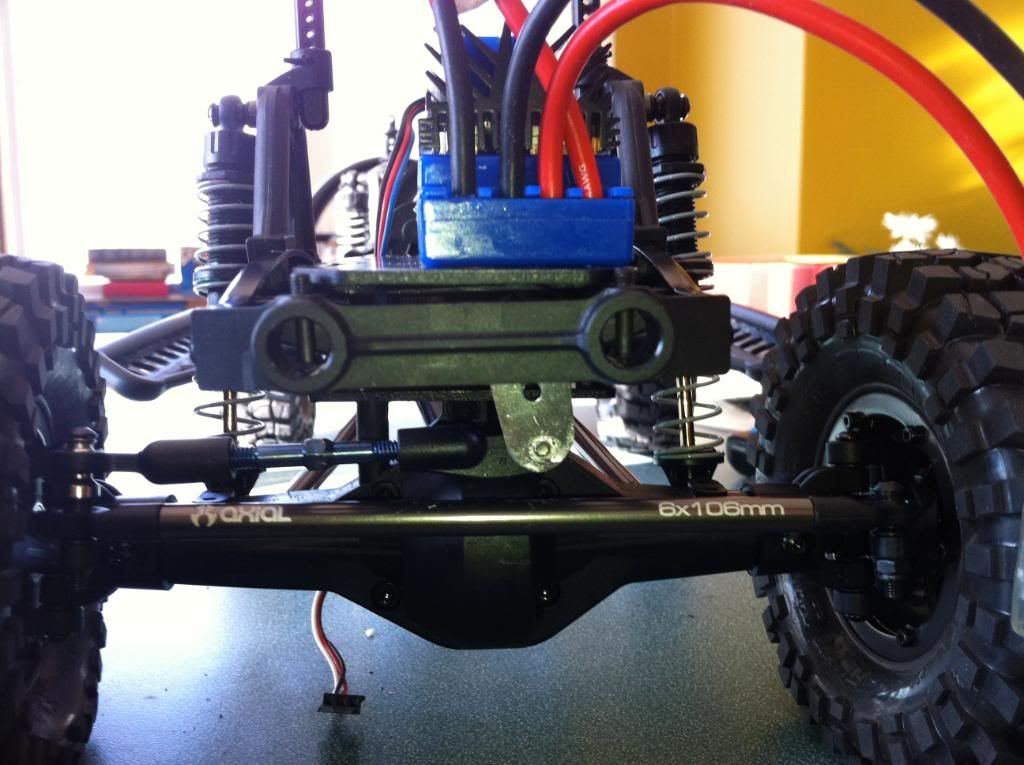 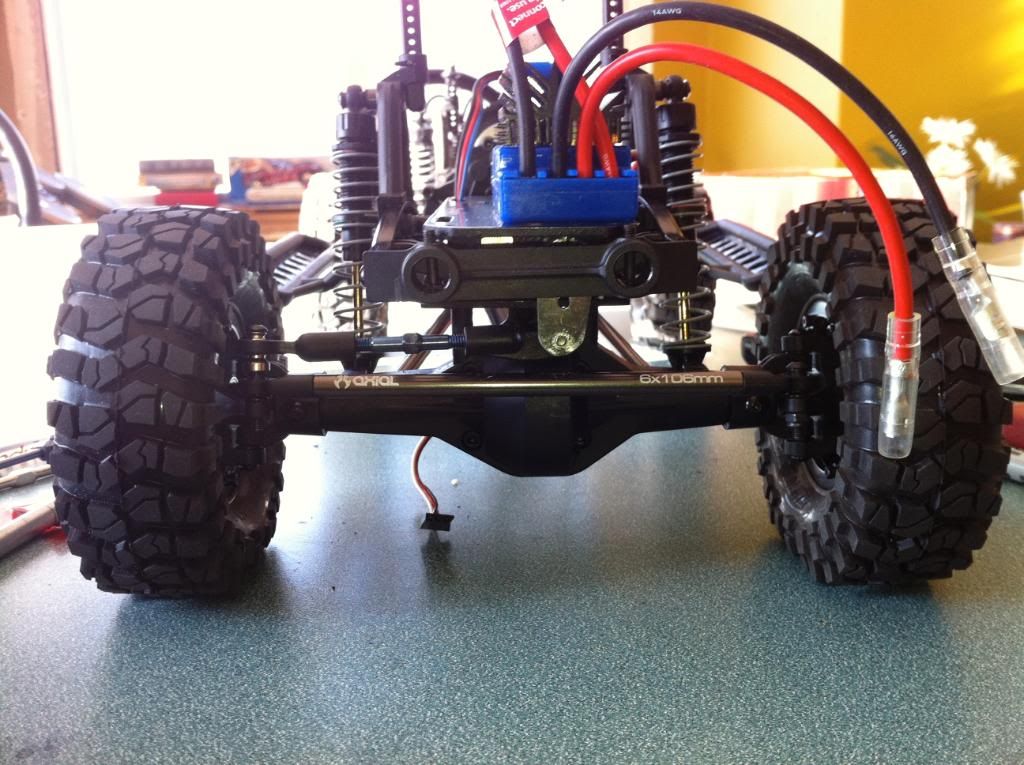 Another thing that I wasn't very crazy about was the location of the rest of the electronics, especially the battery. After trying a few different setups, which all sucked in the end, here's what I did ( ** this may have been tried before, I don't know, because I don't have enough time to search this whole forum, and I read slow lol , while also lowering my COG. I ditched the radio box, because this will be a cleaner layout ( I think )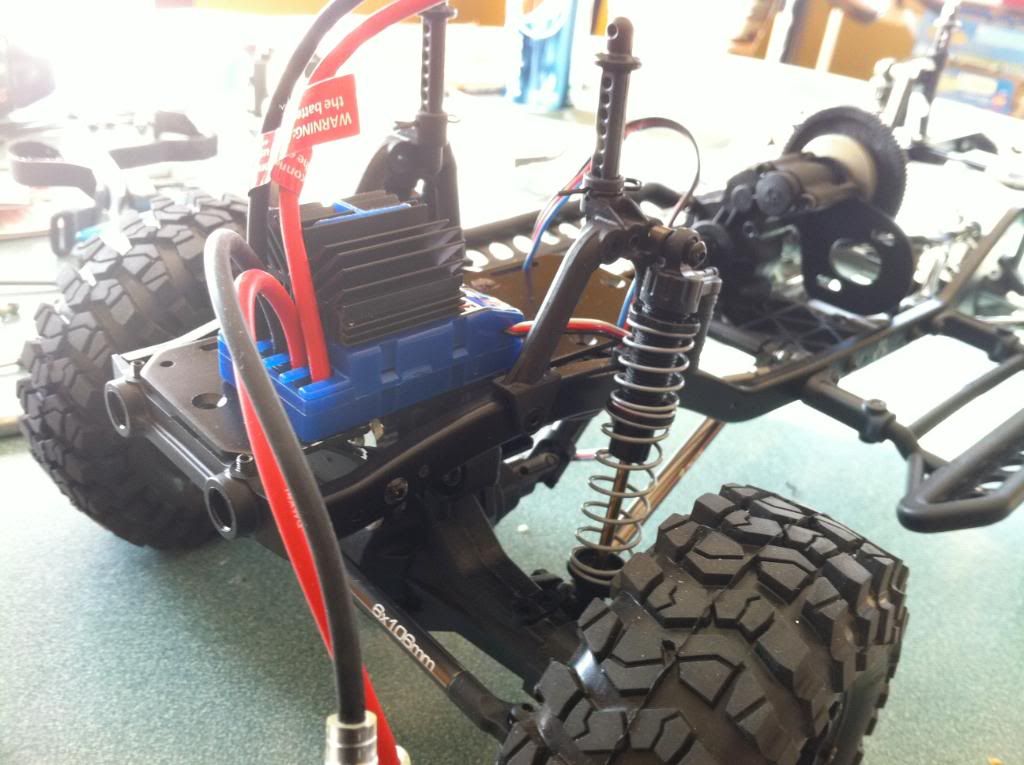 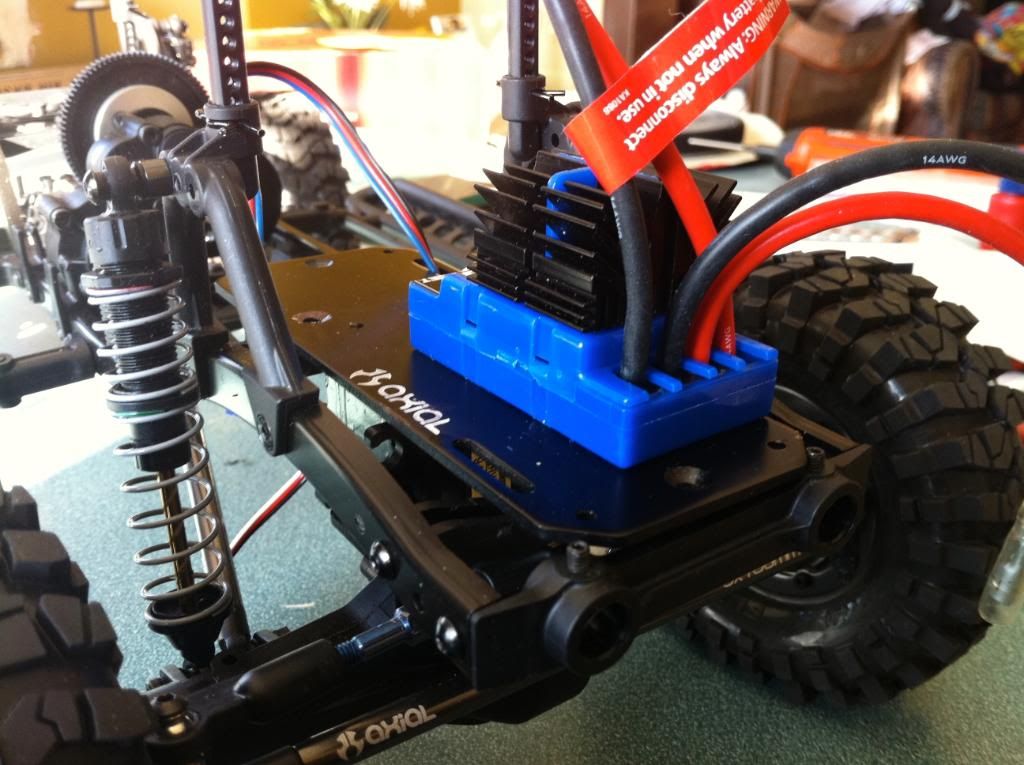 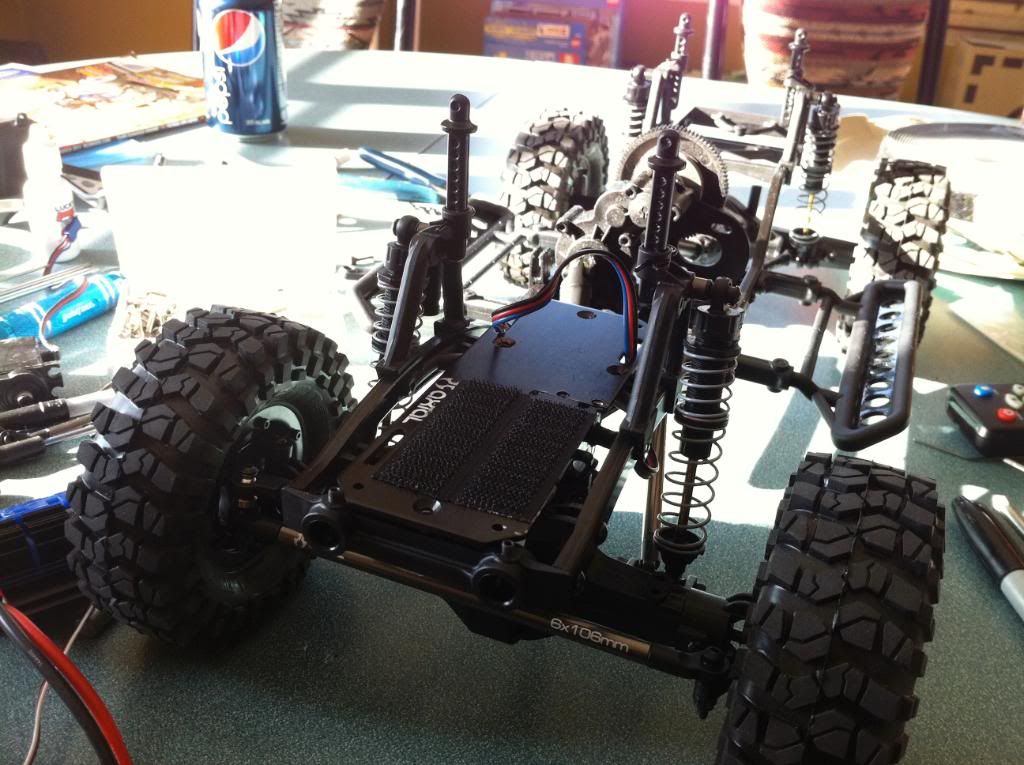 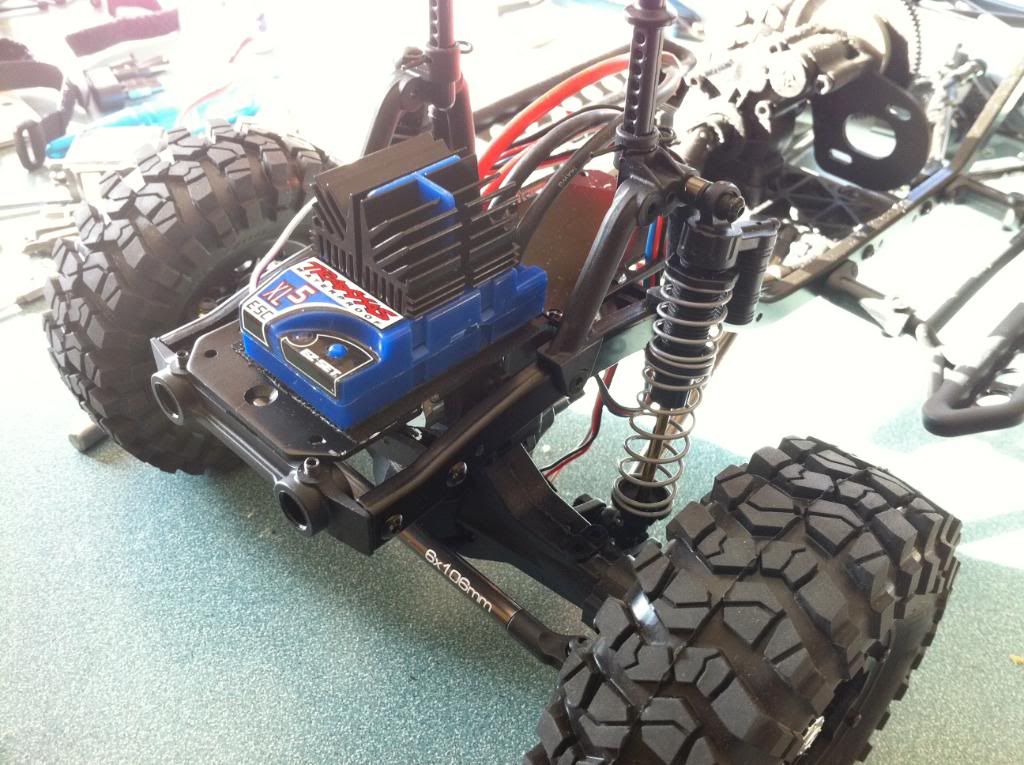 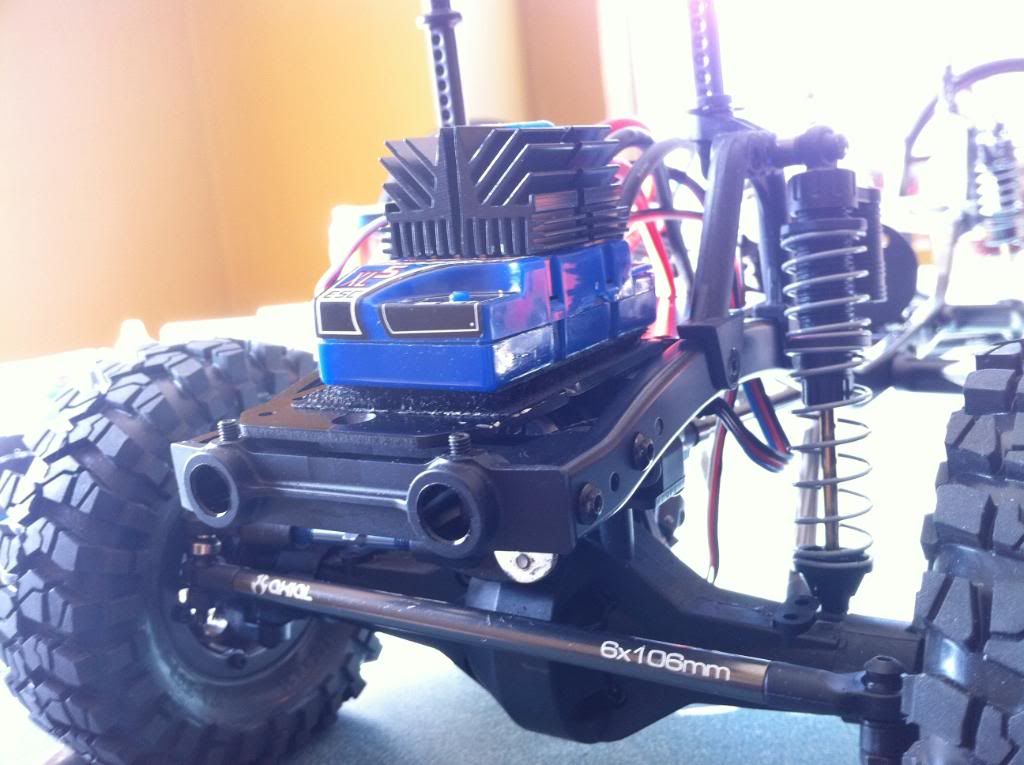 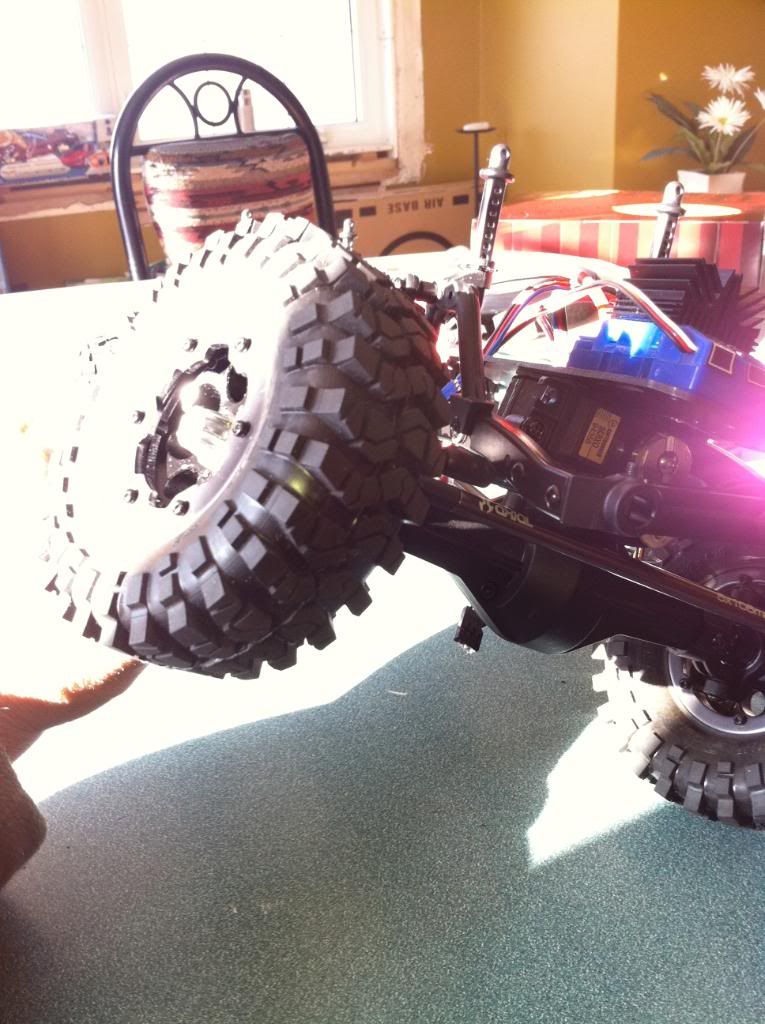 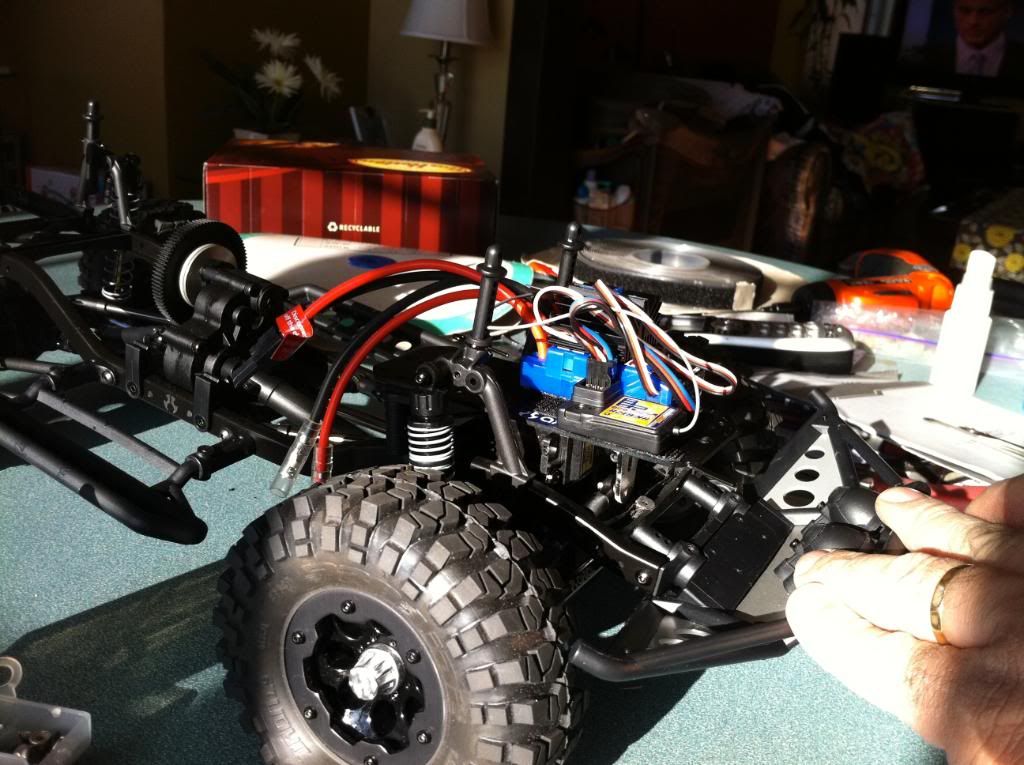 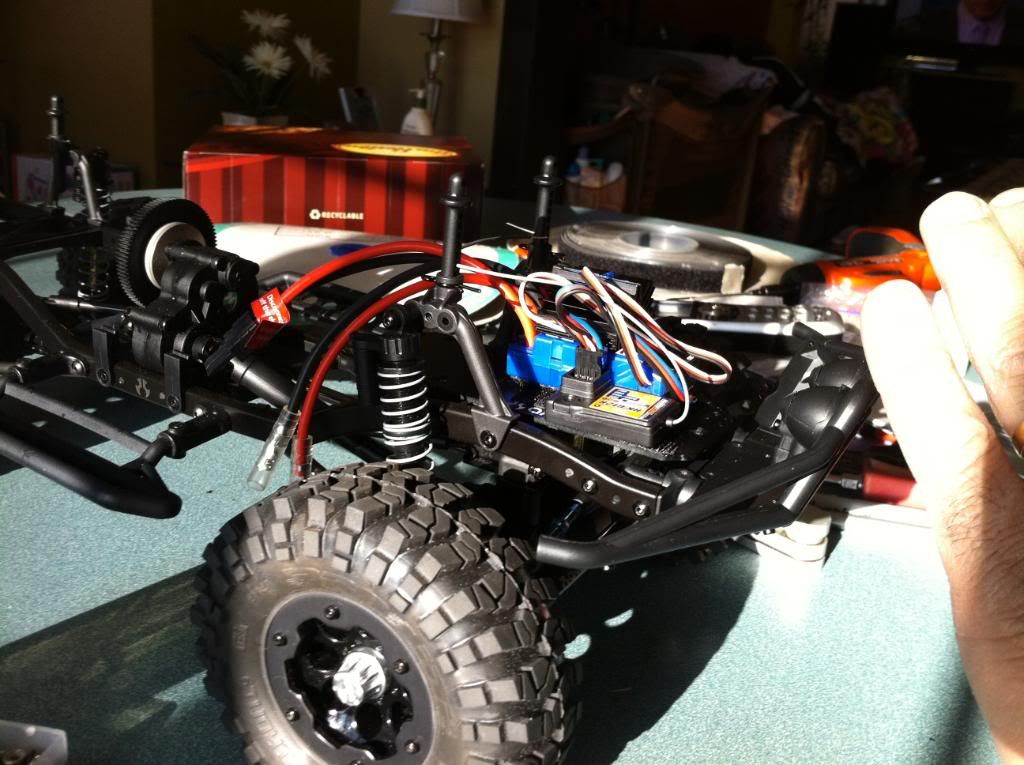 I put my el-cheapo HK receiver in here for now, but will likely use my React as I add lights and winch later on.. 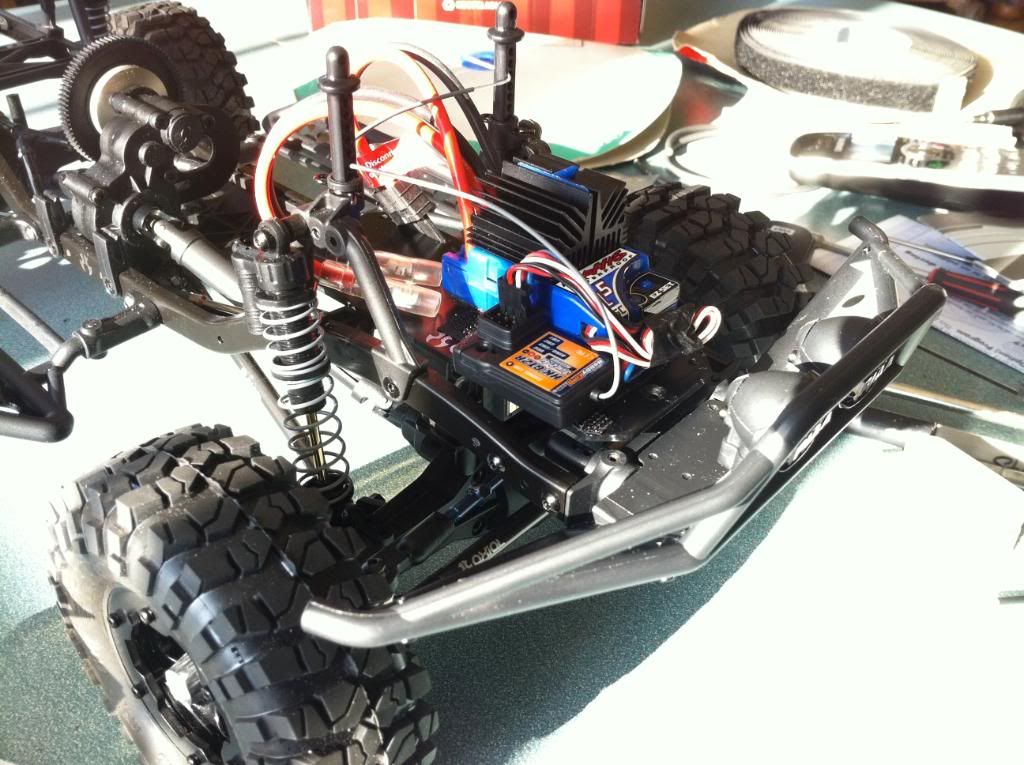 And with the lid on: 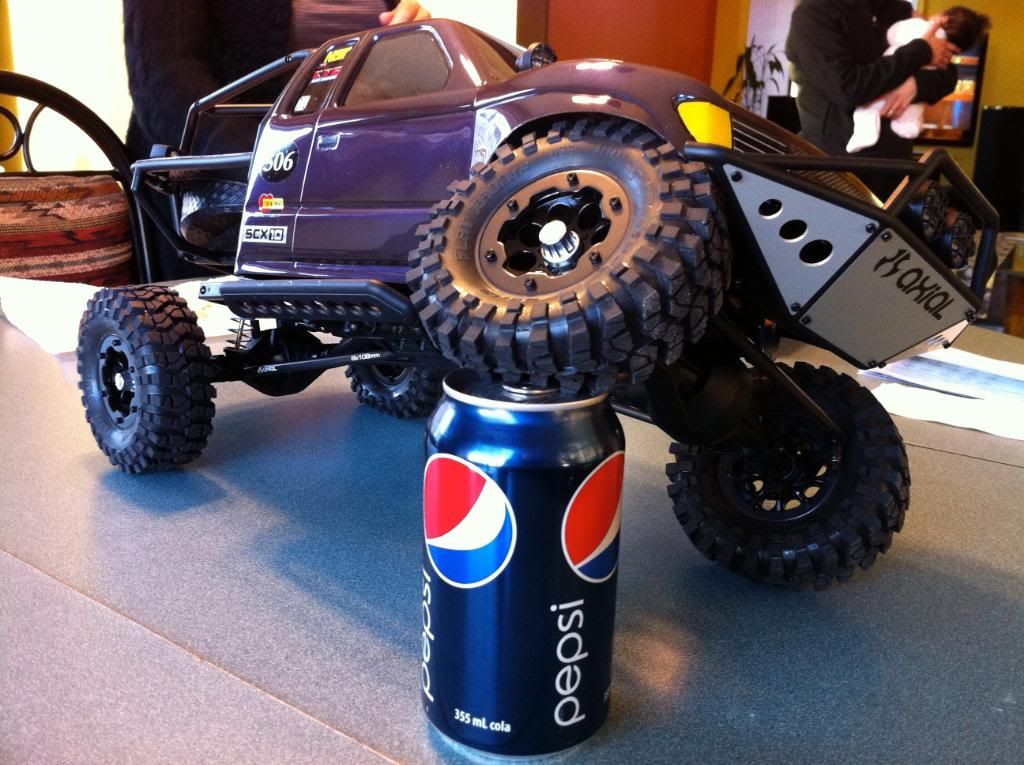 I plan on doing up some fenders to minimize clean-up 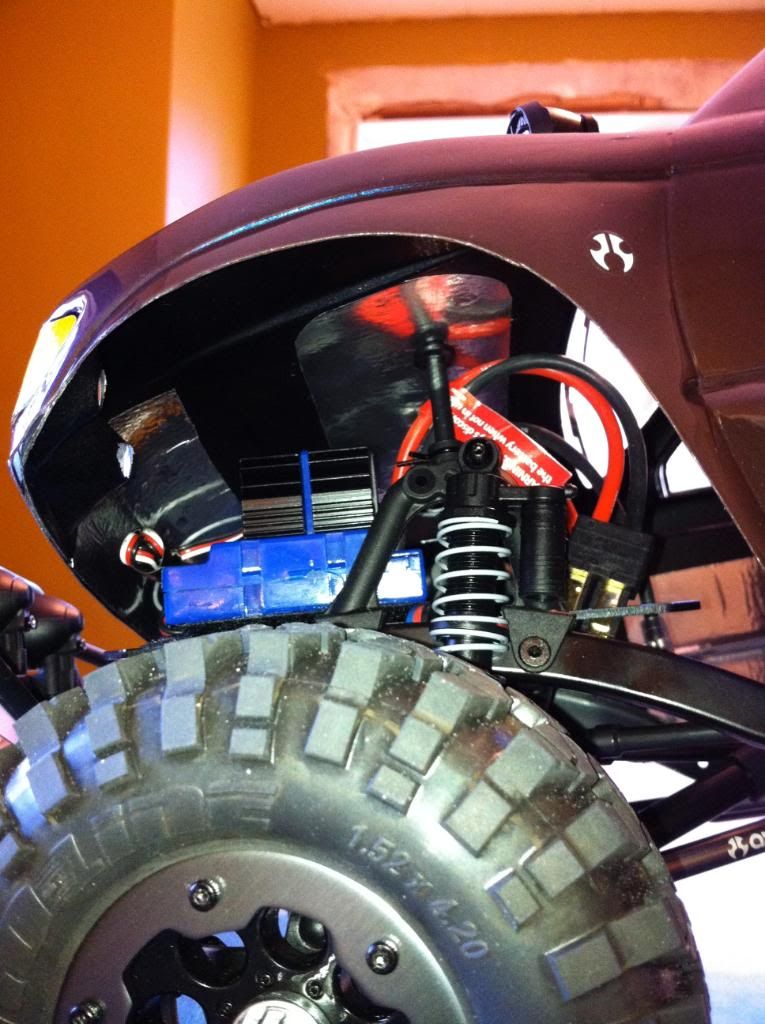 Sorry for all the pics, I can't wait to actually drive this unit so that I can keep on modifying as time goes on . I will update the thread when I do anything worthwhile. The only other scale truck I built is my SC8, and I LOVE that truck, looking forward to this one. Here's a couple of my SC8: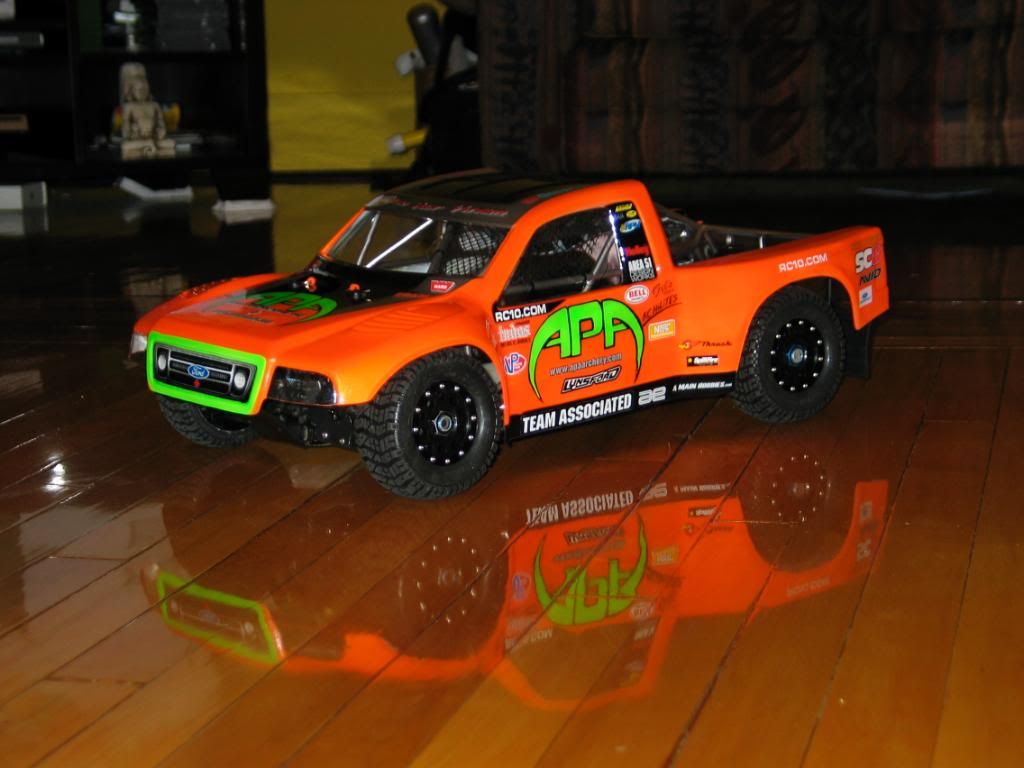 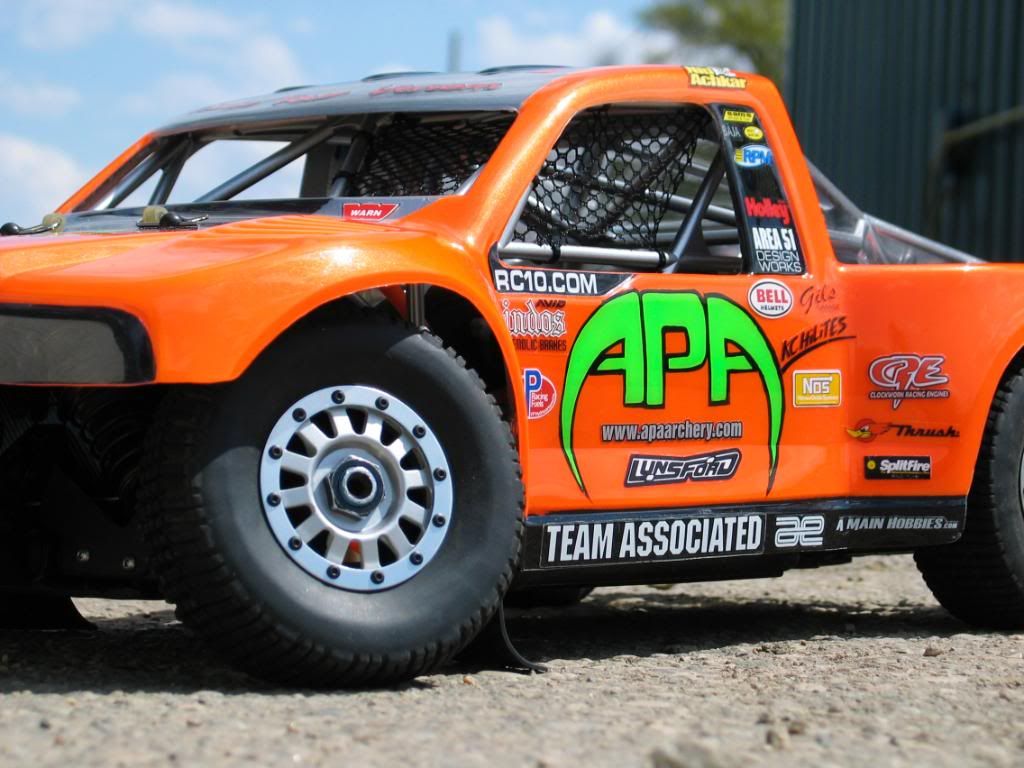 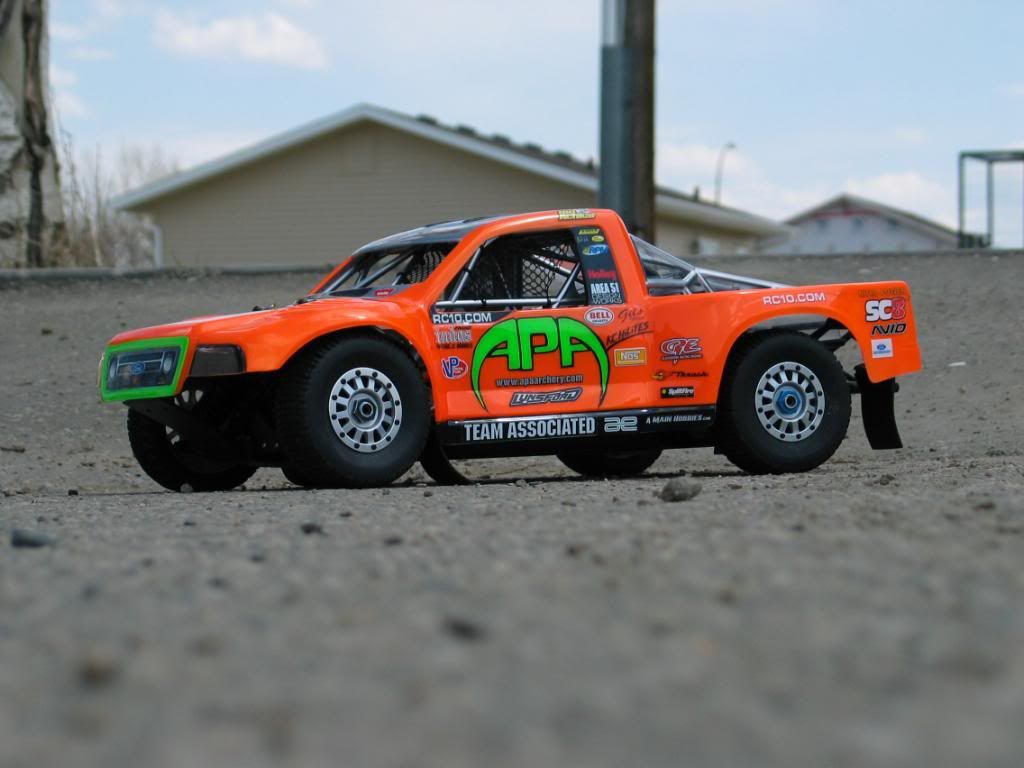 And after racing at the track: 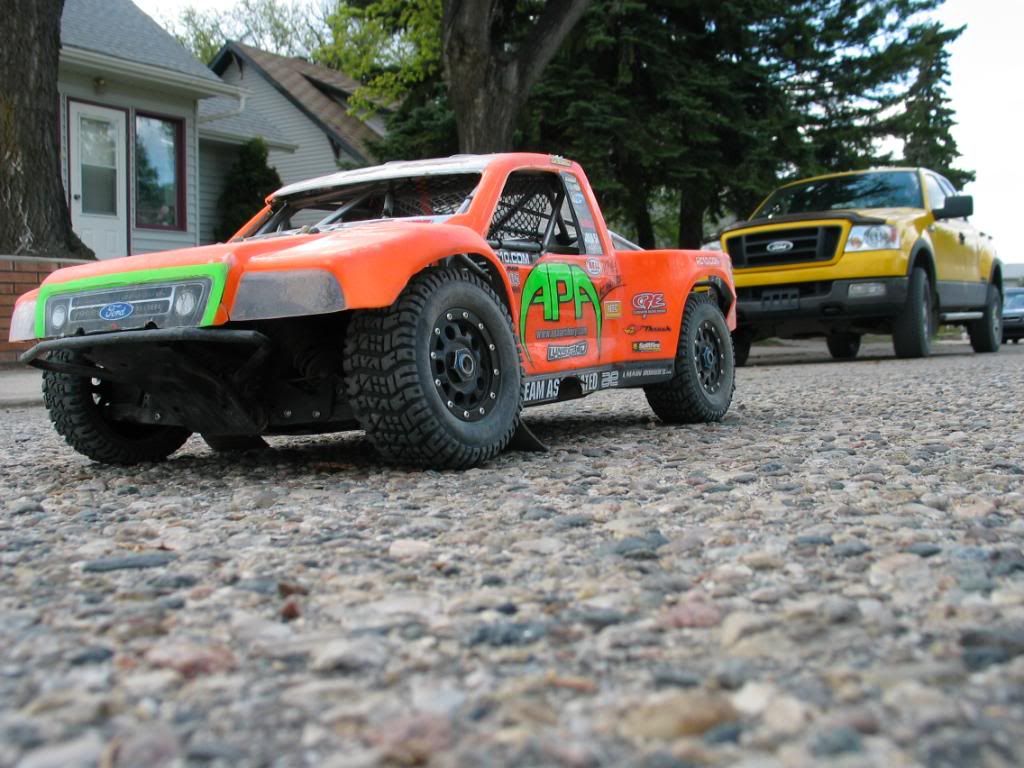 Last edited by Nitrofreakmanho; 02-11-2011 at 09:25 AM. Reason: Hit the wrong button instead of 'preview'! |

|  |
| Sponsored Links | |
| | |
|
02-09-2011, 11:37 PM
| #2 |
| Quarry Creeper Join Date: Jul 2010 Location: netherlands
Posts: 348
|
nice truck, and I love your sc8.. and it is possible to get an axial scx10 and having a baby in the house. two weeks after my daughter was born I decided to buy a honcho and 4 months and 1000 dollar ( for the honcho ) later they are stil here. Daugther and honcho. cheers and good luck !! |
|
| |
|
02-09-2011, 11:49 PM
| #3 |
| Rock Stacker Join Date: Jan 2011 Location: Upstairs, Canada
Posts: 72
|
Haha! Right on! Congrats on the baby girl I agree, If a person budgets properly, anything is possible. This segment of the hobby will actually be a break on my wallet compared to racingi'm really looking forward to this project. Thanks for commenting |
|
| |
|
02-10-2011, 12:26 AM
| #4 |
| Quarry Creeper Join Date: Jul 2010 Location: netherlands
Posts: 348
|
I think we are in the same boat.. I also race, but I race short course 4x4 and my scaler is far more expensive then my short course truck. because of my kids ( boy 4,5 years and girl 4 months ) I need to spend more time at home. and a scaler project is the ideal solution to keep me busy with the hobby and be able to stay more at home instead of 2 days a week at the track. this honcho scale thing has got me serious. now Im building a new workbench with everything on it. vise drill grinder welder oxy/acetyleen setup. and all kinds of tools. Im turning over from modelbuyer to modelbuilder No Im learing to braze, to make my own sliders/bumpers etc. etc. just got me a new bright jk hard body. all is possible as long as you know what your budget is.. I pay all my bills at the beginning of the month and spent my money for the hobby at the end of the month, well whats left of it. Im luck I have a nice job and the wife also, that helps.. |
|
| |
|
02-10-2011, 12:33 AM
| #5 | |
| Quarry Creeper Join Date: Jul 2010 Location: netherlands
Posts: 348
| Quote:
| |
|
| |
|
02-10-2011, 05:03 AM
| #6 |
| Newbie Join Date: Dec 2010 Location: Kansas City
Posts: 30
|
Looking good man, love the colour choice. |
|
| |
|
02-10-2011, 09:36 AM
| #7 | ||
| Rock Stacker Join Date: Jan 2011 Location: Upstairs, Canada
Posts: 72
| Quote:
, to me, it's the most realistic racing out there. I have an RC8T and an RC8, but decided that I wanted the SC8 instead, so I used my spare truggy chassis and RC8 parts to build my SC8, also have a highly modded LST2 racer, an HPI Mini Trophy Truck, a mini T, and a Losi Micro Rally car, and an AR Drone. All three of my racers cost me upward of $1600 each including race modified nitro mills, plus the countless spare part I must keep around for racing..I run top-notch equipment for racing, but it gets expensive, especially buying tiresThe other three smaller RCs are all stock. It's amazing how addicting RC can be, and now with this scaler, I feel yet another addiction has crept up and sunk in I really do love this truck. I like to modify things so this scale crawler class should be a fun time and should also make some good video for my Youtube channel. I did manage to get more travel with the current setup, but I agree that I'll likely never need it. I hope my motor shows up today! Quote:
| ||
|
| |
|
02-11-2011, 09:21 AM
| #8 |
| Rock Stacker Join Date: Jan 2011 Location: Upstairs, Canada
Posts: 72
|
Well I got fed up and I couldn't wait for my motor any longer I'm not sure how many winds it is, but it appears to work fine, and has enough torque to slip the slipper clutch when set at 2 turns out ( as recommended in the manual ). What do you guys set your slipper at ?? 2 turns out seems to slip pretty easily, but at the same time, I really don't know how durable the drivetrain is so I'm nervous about cranking it down to 1.5 or 1 turn out. What do you guys suggest for a happy slipper setting with the stock drivetrain?? Any info would be appreciated. Last edited by Nitrofreakmanho; 02-11-2011 at 09:23 AM. Reason: to add 'build thread' to the title |
|
| |
|
02-11-2011, 09:36 AM
| #9 |
| Quarry Creeper Join Date: Jul 2010 Location: netherlands
Posts: 348
|
I run a 45T on 2s with pinion 14 to 19 on stock spur and my slipper locked up tight . but I do just mild crawling. just some easy driving.. at night i put the fireplace on in my garden and drive around my honcho with his lights on. sitting in my loungechair seems to do good enough for what I throw at him .. noting broken yet. and I have undergears in the rear. Last edited by murky123; 02-11-2011 at 09:41 AM. |
|
| |
|
02-11-2011, 10:36 AM
| #10 |
| Rock Stacker Join Date: Jan 2011 Location: Upstairs, Canada
Posts: 72
|
Thanks Murky And you haven't twisted any of the plastic shafts, or damaged your diffs running like that so far? That makes me feel better. I will crank down on it a little more and test it out. Thanks again!
|
|
| |
|
02-11-2011, 02:35 PM
| #11 | |
| I wanna be Dave Join Date: Mar 2009 Location: sittin in the sky
Posts: 4,630
| Quote:
those diff gears would be the last thing to go! ive bent cv pins (3 on my honcho), broke 2 sets of kunckles and C-hubs, and drive shafts. still havent hurt a diff gear! but i would recomend drive shaft rings or MIP drive shafts, the plastic will fail eventualy but the plastic in the honcho kit is a lot better than what came with the ax-10s that had the notorious drive shaft problems. | |
|
| |
|
02-11-2011, 02:55 PM
| #12 |
| Quarry Creeper Join Date: Jul 2010 Location: netherlands
Posts: 348
|
no twisted shafts, broken diffs or what so ever.. I do run aluminum c-hubs and steer knuckles, cause I have a pretty heavy servo.. |
|
| |
|
02-11-2011, 10:18 PM
| #13 |
| Rock Stacker Join Date: Jan 2011 Location: Upstairs, Canada
Posts: 72
|
I'm glad to hear that this unit will be fairly robust, so you guys think that it'll be ok to set my slipper to one turn out instead of two ? I had an hour to kill this afternoon, so I made some wheel wells for it after seeing them on several truck on this forum. They turned out pretty good, and should help to reduce the amount of mud from entering. I may get some mudflaps for it a little later on: 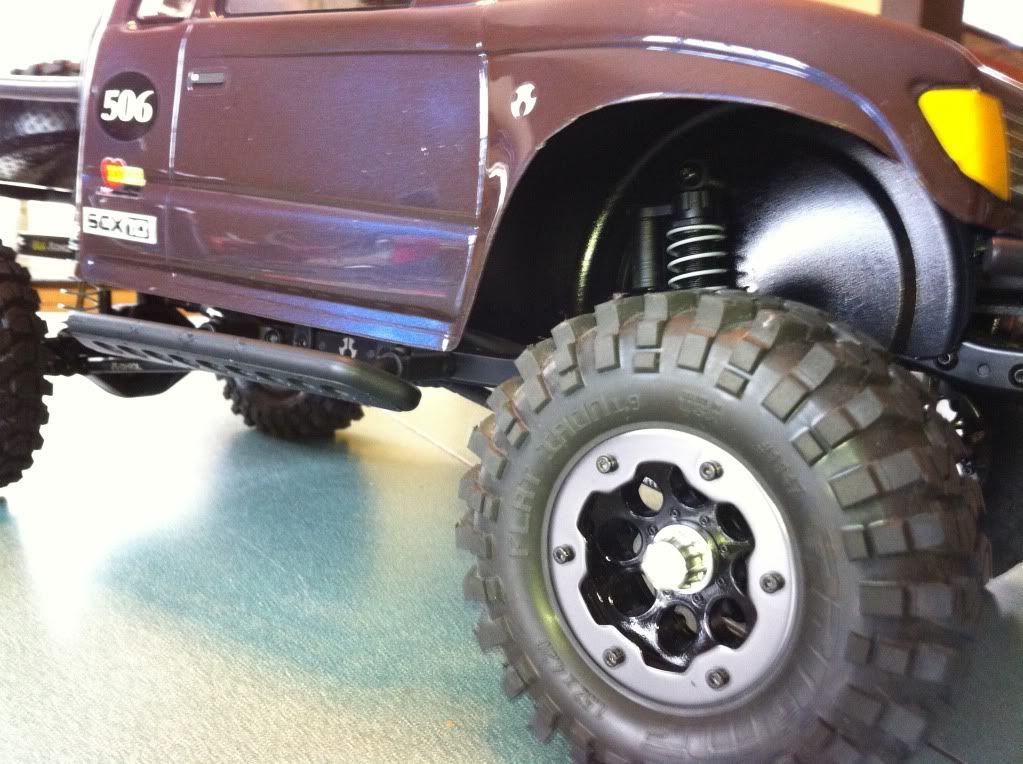 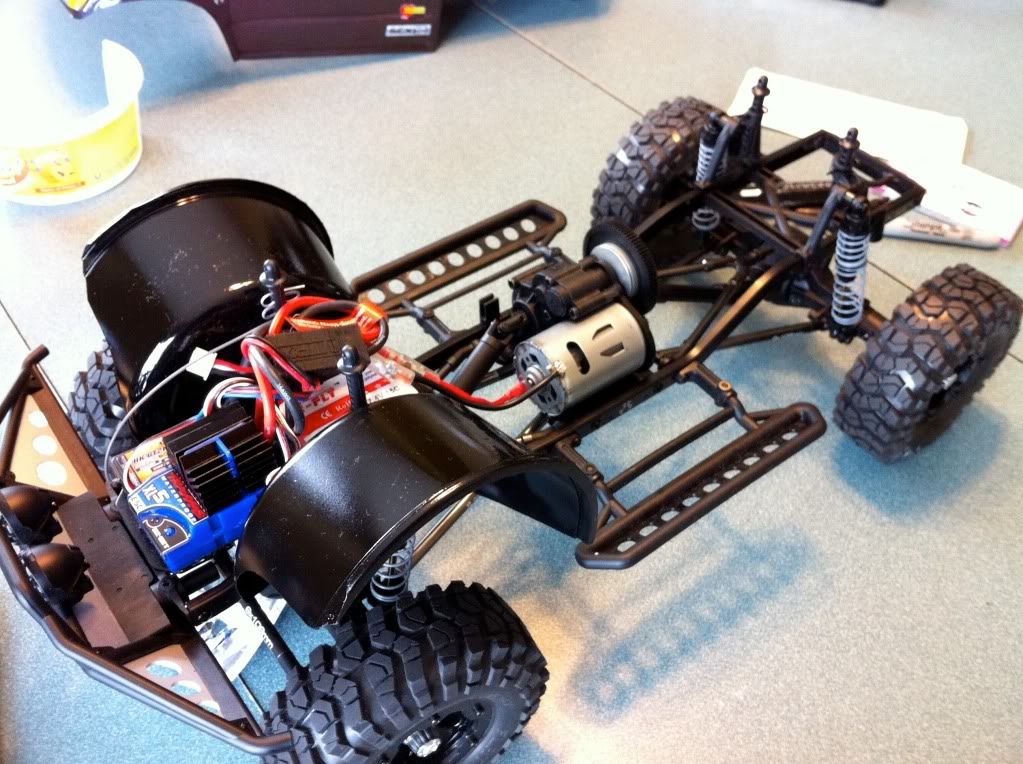 |
|
| |
|
02-11-2011, 10:25 PM
| #14 |
| Quarry Creeper Join Date: Nov 2008 Location: N. California
Posts: 424
|
I tightened my slipper alll the way down, then barely backed it off. Did the same with my AX10 3 years ago. Nice looking rigs! Like what you've done with the Honcho so far. |
|
| |
|
02-11-2011, 11:07 PM
| #15 |
| Quarry Creeper Join Date: Dec 2010 Location: Lodi
Posts: 345
|
Cool lookin rig man! I completely tightened my slipper as well. I've run my rig REALLY HARD and never had a problem with it. I will agree that after some drive time, you'll notice play in the lockers. That's to be expected. I am running MIP drivelines though just because of the torture my truck is put through... Never had a problem with those either. Next on my list is Aluminum C-hubs and new axle shafts & lockers... |
|
| |
|
02-12-2011, 07:43 AM
| #16 |
| Quarry Creeper Join Date: Sep 2010 Location: Gulf Coast
Posts: 214
|
Both trucks look really good! |
|
| |
|
02-13-2011, 10:14 PM
| #17 |
| Quarry Creeper Join Date: Sep 2010 Location: West Linn
Posts: 467
|
Hey! i see you got your honcho! I hope to see this thing beastly by the time i get back from Hawii! Check out my thread! Vintage Switches to Honcho?! The beast has unleashed! |
|
| |
|
03-01-2011, 11:53 PM
| #18 |
| Rock Stacker Join Date: Jan 2011 Location: Upstairs, Canada
Posts: 72
|
Well, it's been a while since I updated this thread because the lack of time! I've managed to add a couple of things here and there, my favourite ( and the most time consuming )being the LED lights, 18 in all, so far. I really gotta bust out my Canon camera, all the pics I've taken have been with my iPhone, because it's so darn convenient. I bought a 12 LED light set on eGay for around 18 bucks shipped, and already had a 6 light set which I will keep on the chassis itself, and the new set is on the body itself. I also slapped a Dingo front bumper on it, not sure which bumper I like more yet, cause I like them both 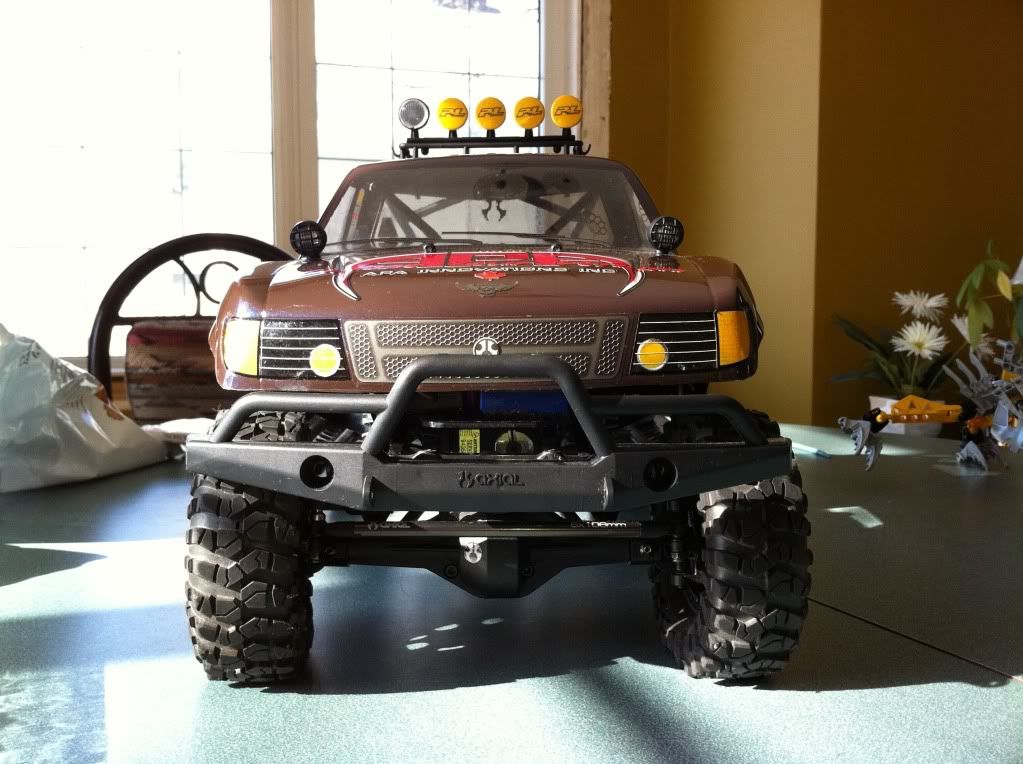 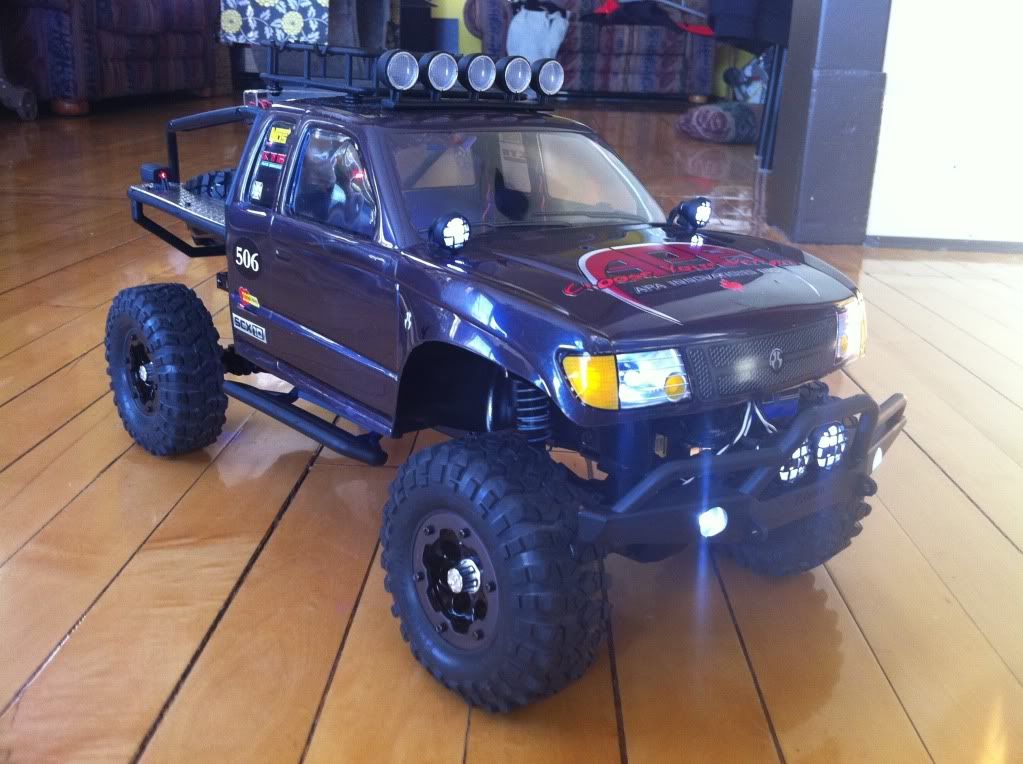 Here's one up on the floor jack: 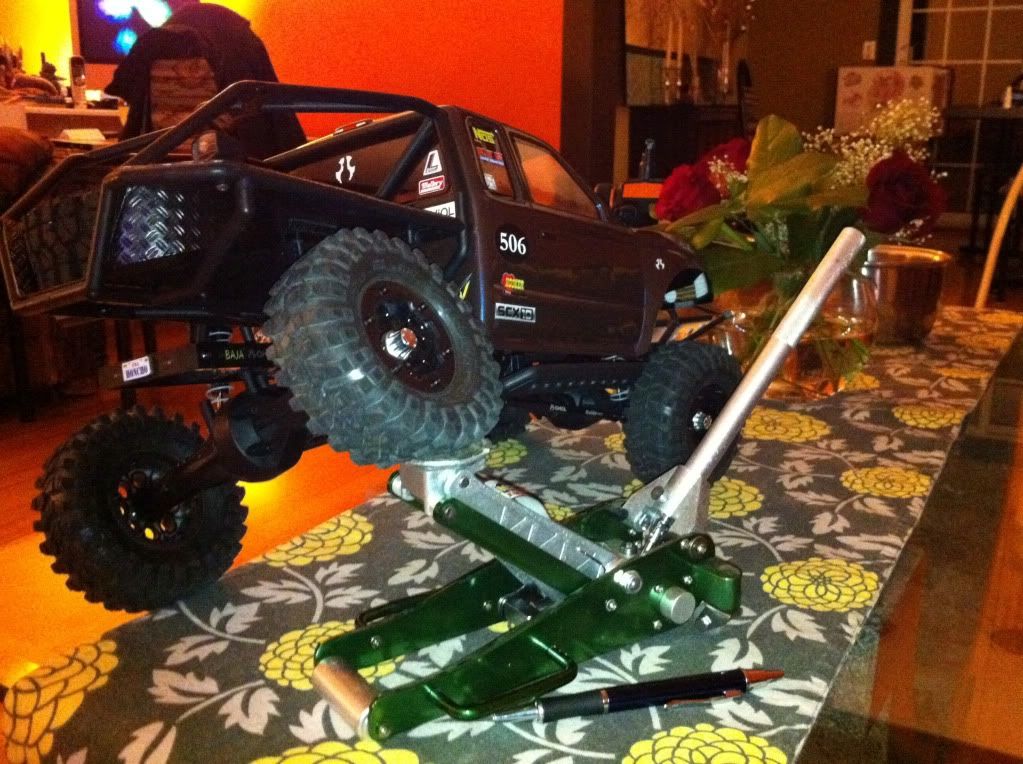 The Proline accessories I bought looked cool, but they were to plastic looking. I thought I would try painting them up and give them an aged look, I'm happy with the results for my first crack at it lol. 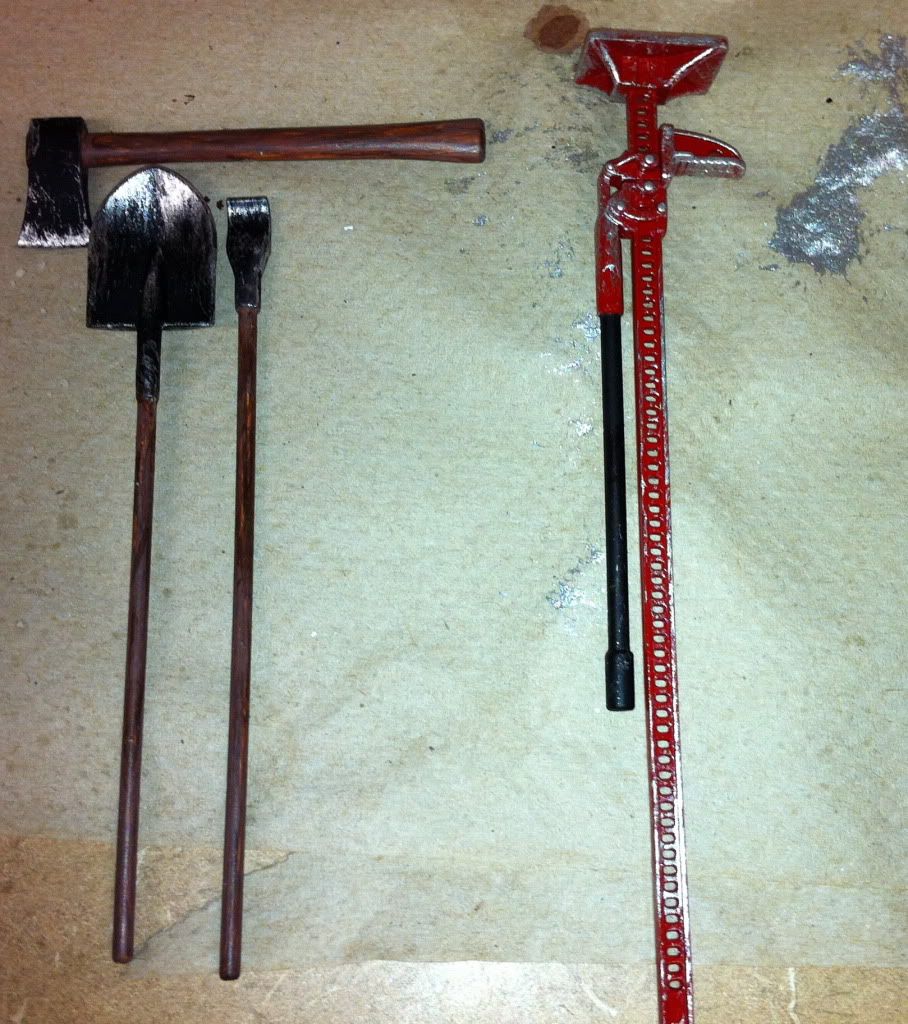 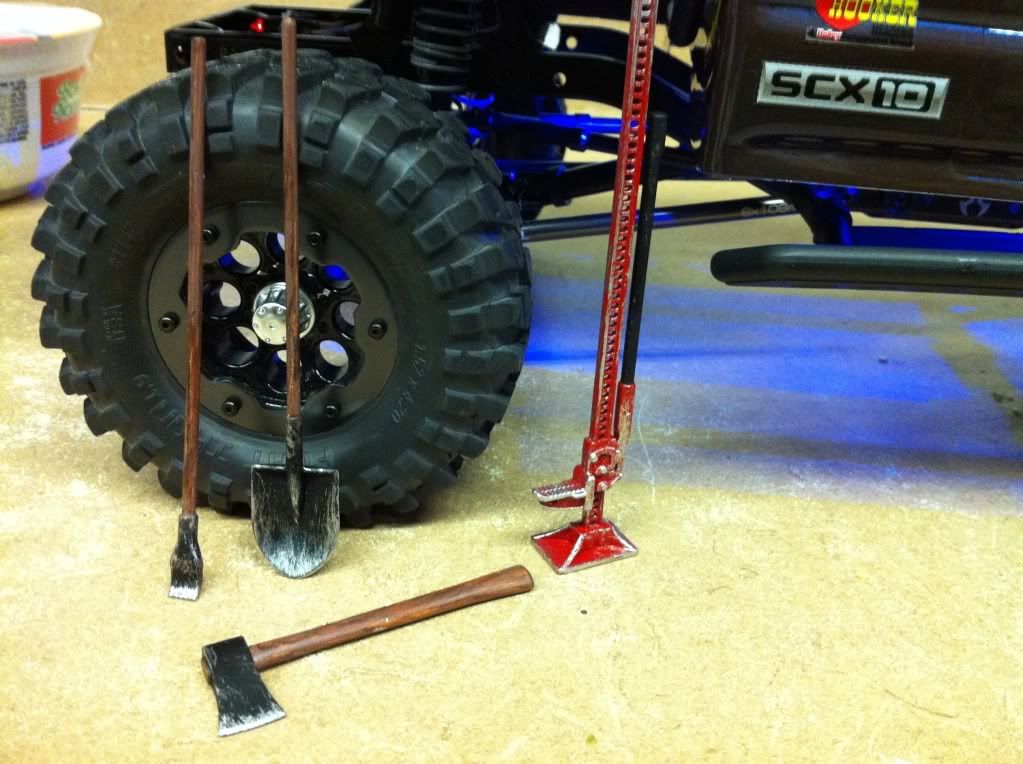 I figured I'd try it out on the Proline roof rack too, and here's the results: 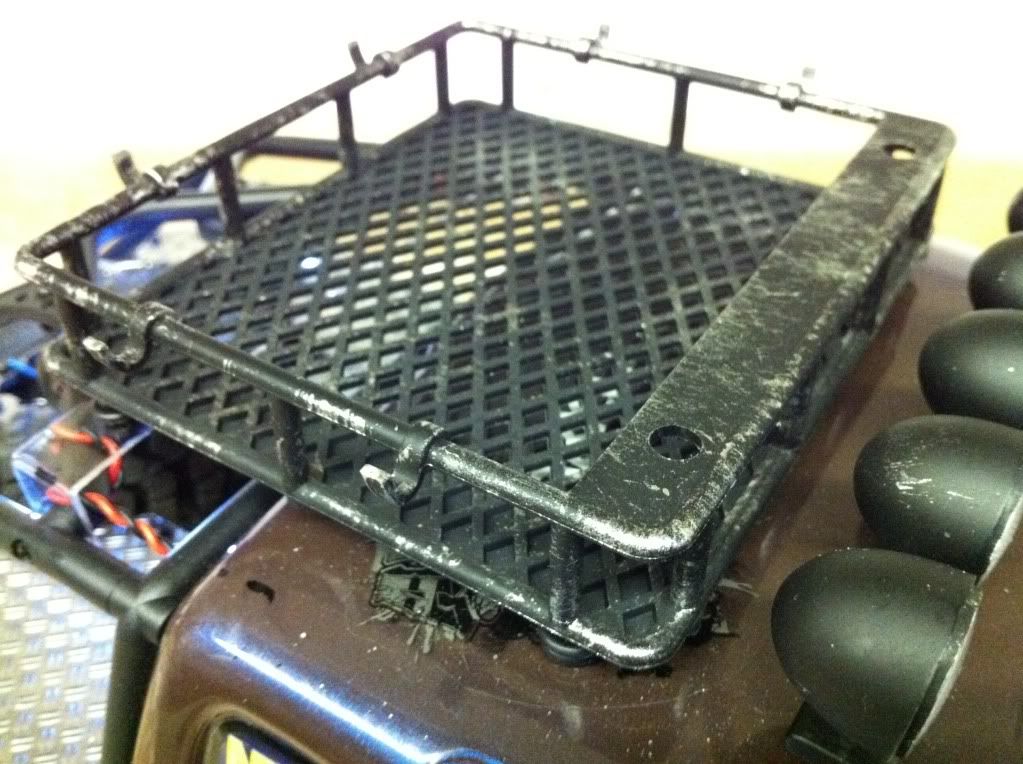 And a couple with the accessories in there: 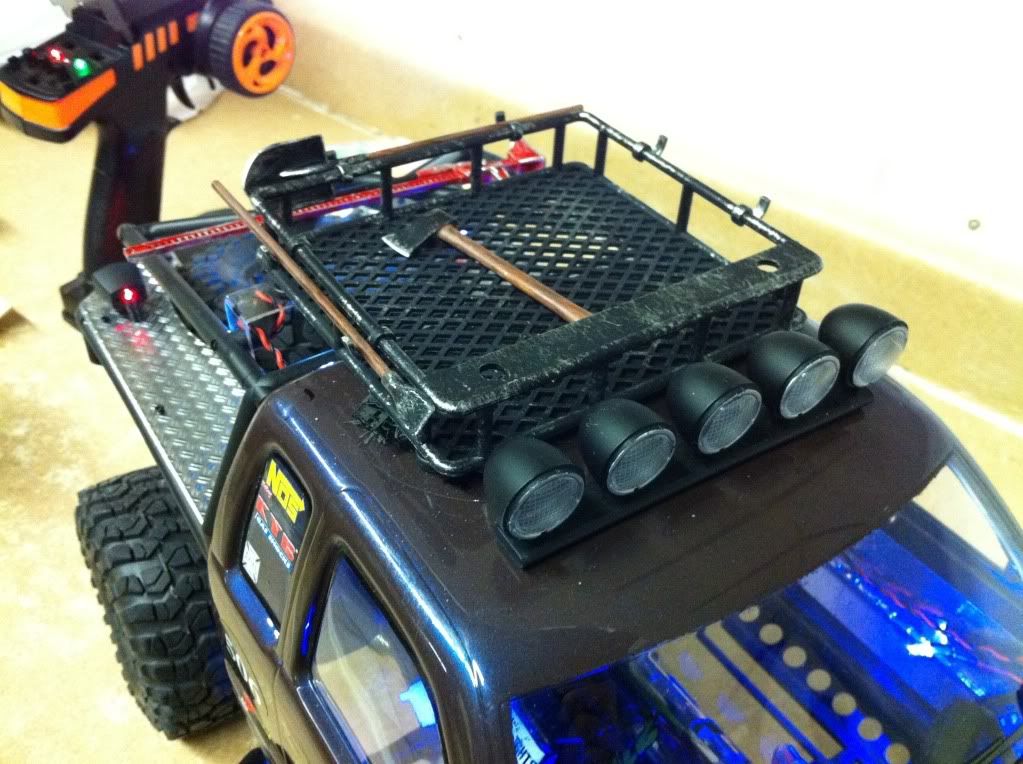 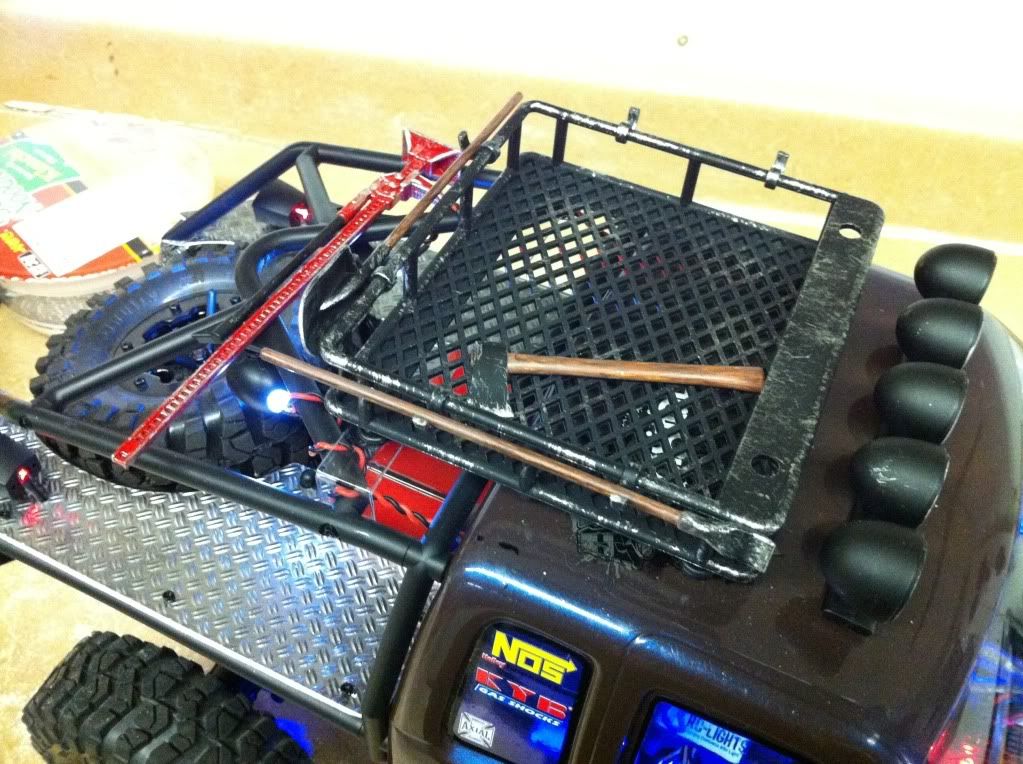 And here's the wires for the LED lights that are in the body: 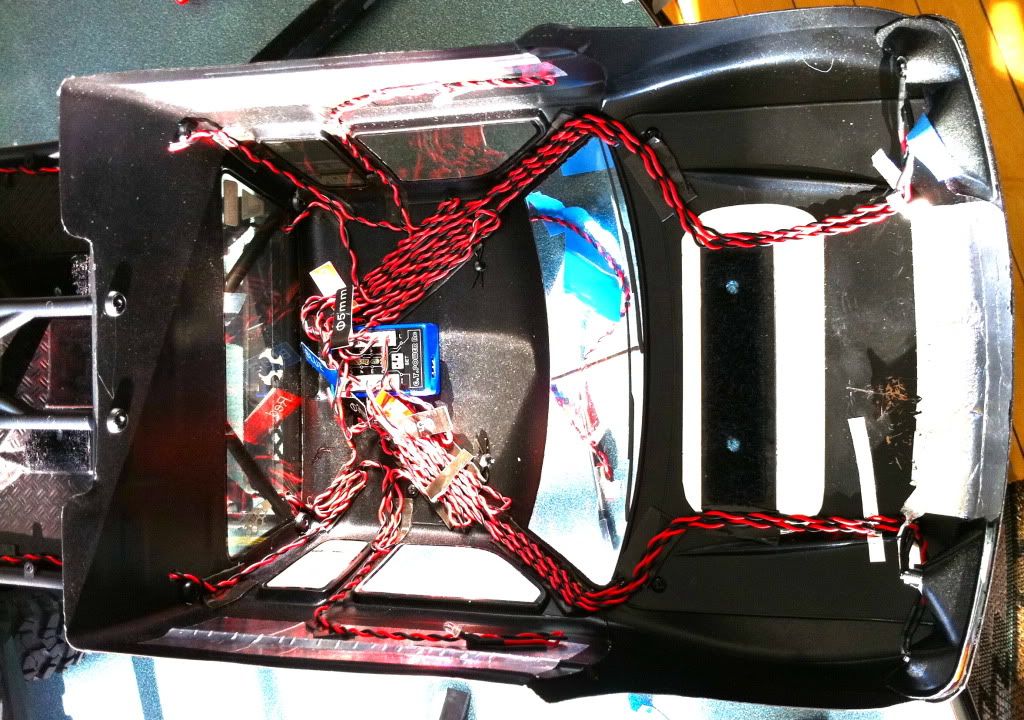 And the results: 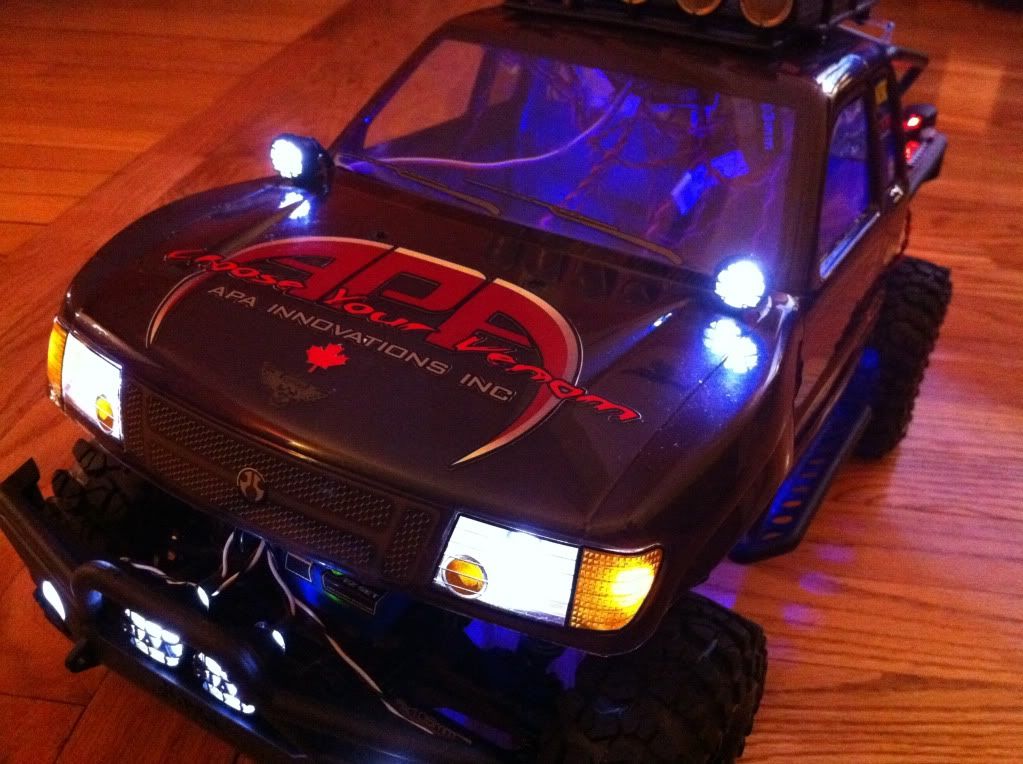 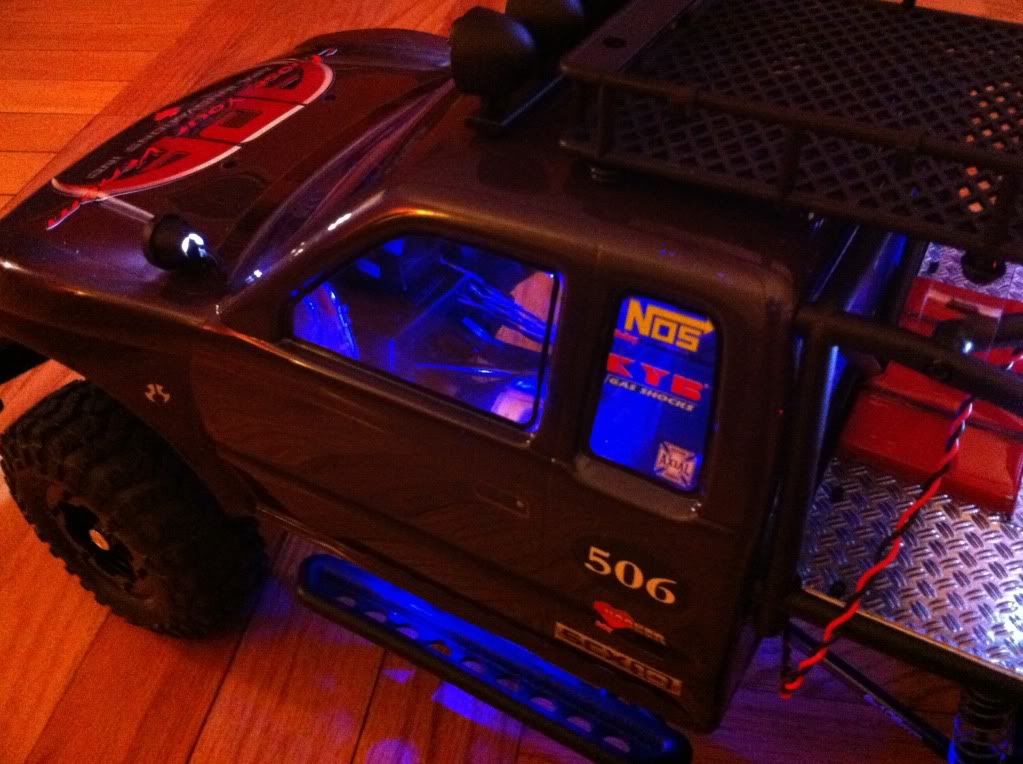 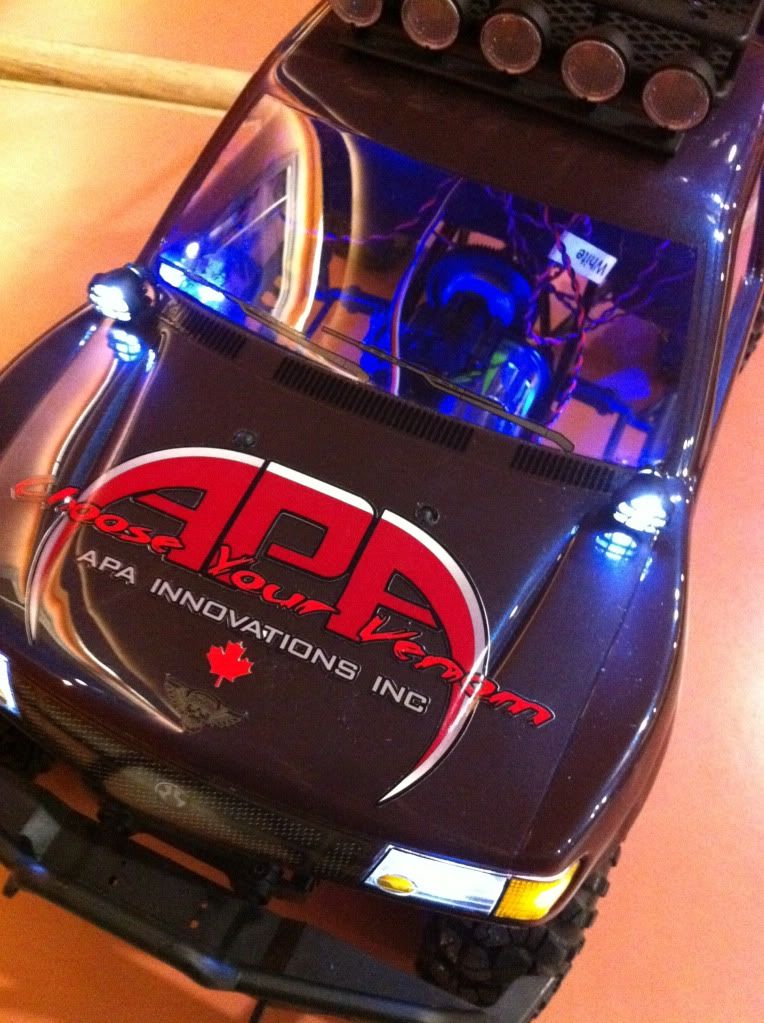 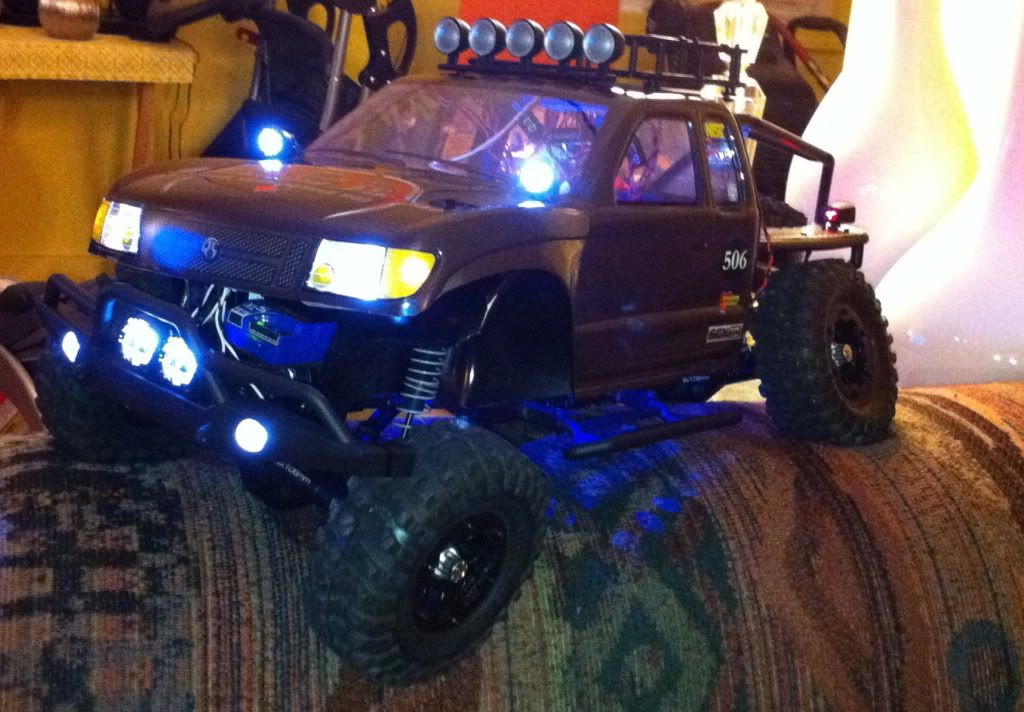 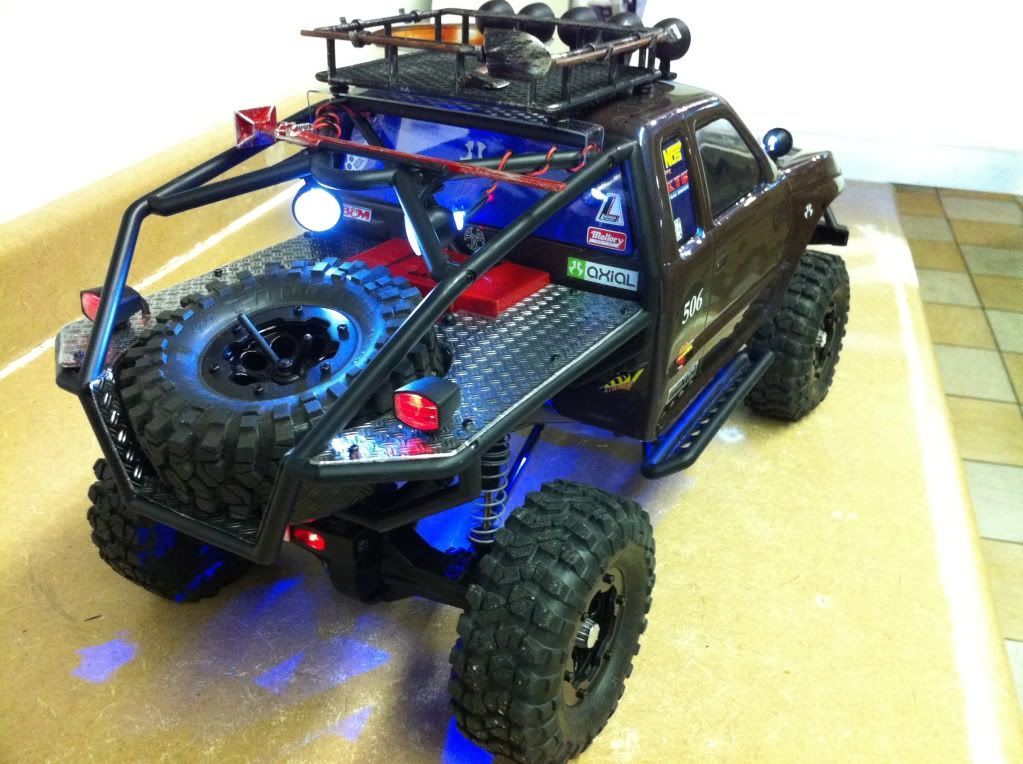 I will keep on working on this truck as time and $$$ allows, and will update this thread as I make progress and eventually videos. |
|
| |
|
10-31-2011, 12:20 AM
| #19 |
| Rock Stacker Join Date: Jan 2011 Location: Upstairs, Canada
Posts: 72
|
I finally got to take this truck out on the rocks and shot a very short video: NightCrawl Also my first video edited on FCP 10, so nothing too fancy, still learning. Hope you enjoy it. |
|
| |
|
10-31-2011, 12:36 AM
| #20 |
| RCC Addict   Join Date: May 2011 Location: Utah County
Posts: 1,802
|
i can't believe nobody commented on your painted scale accesories! they look amazing! much better than the plasticky look they come stock.
|
|
| |
|
| |


 Linear Mode


