| |
| |||||||
 |
| | LinkBack | Thread Tools | Display Modes |
 09-21-2013, 09:07 PM
| #1 |
| Rock Crawler Join Date: Mar 2013 Location: columbus
Posts: 508
| This mod is to move the servo off the axle and on to the frame. I want to let everyone know that to run this set up you will have to move the battery moun or make new mounting brackets for it. The factory receiver box needs to be moved or lifted so that the upper link bars do not contact the rear mounts of the box. I have added a link to my other build where I moved the battery and recever box. I have added a link to my other build where I moved the battery and recever box. Dingo gets a new home and new life. A.K.A. project old school Tools needed. Tools needed may vary depending on set up. #1 A drill. #2 A 3mm or 1/8th drill bit. #3 A set of allen wrenches. 1.5mm and 2.0 were used for mod. #4 A small vice or vice grip pliers. #5 A phillips head screwdriver.used to remove servo horn and servo mounting screws. #6 A set tire tool or a metric wrench set. #7 A razor knife or a dremel tool. #8 A tubing cutter. so u can cut the aluminum pipe #9 A 3mm x.50 tap. so u can rethread the aluminum pipe Step#1 You will need to rebove the body. Step#2 Use a 1.5mm allen wrench to remove the grub screws from the front bumper mount. Set bumper to the side. Step#3 Use a 2.0mm allen wrench to remove the frount bumper mount from the frame. Set mount to the side. 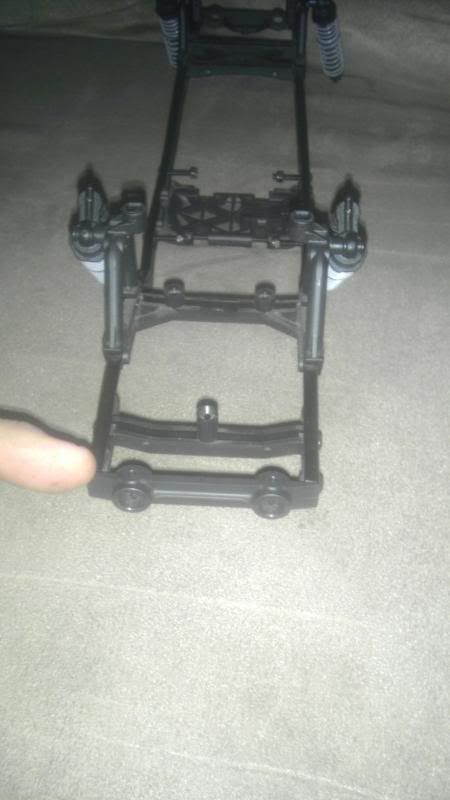 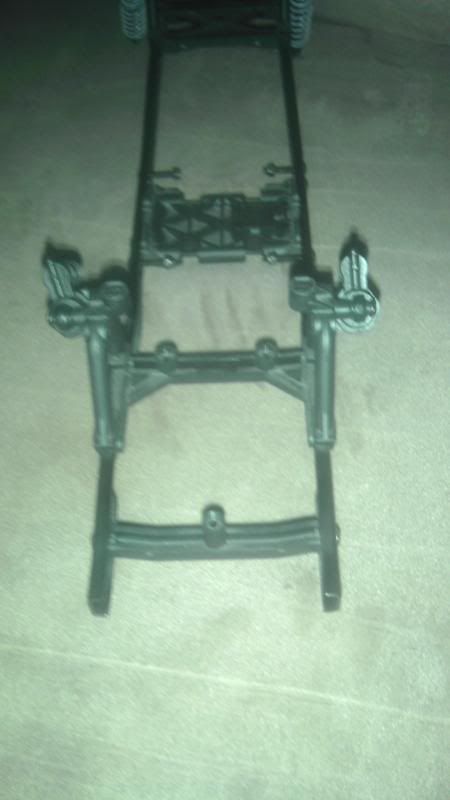 Step#4 Use a 2.0mm allen wrench to remove the front battery tray support from frame. This mount will not be used again. 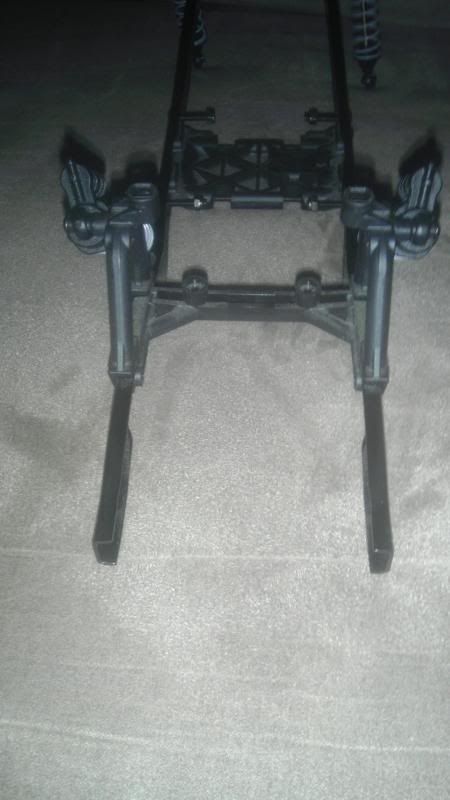 Step#5 Use a phillips head screwdriver and remove the servo horn frome servo. Step#6 Use a phillips head screwdriver to remove the mounting screws for the servo mount. Step#7 Use a 2.0mm allen wrench to remove the servo plate from the front axle. Step#8 you will need to cut the old servo mounts off the axle so it will clear under full compression. 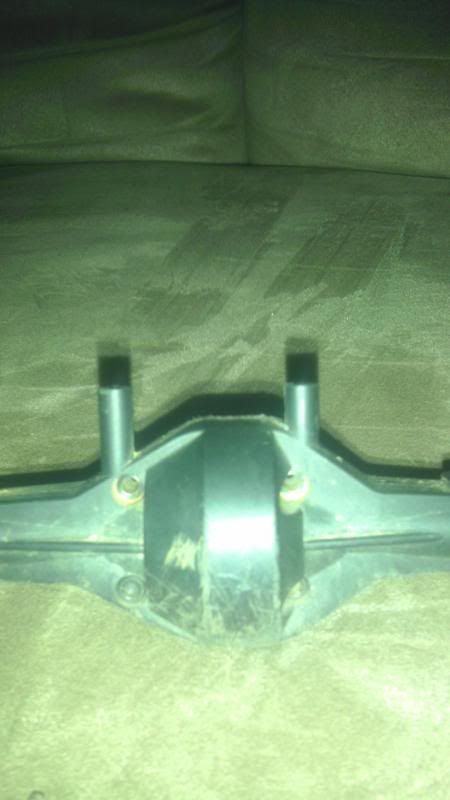 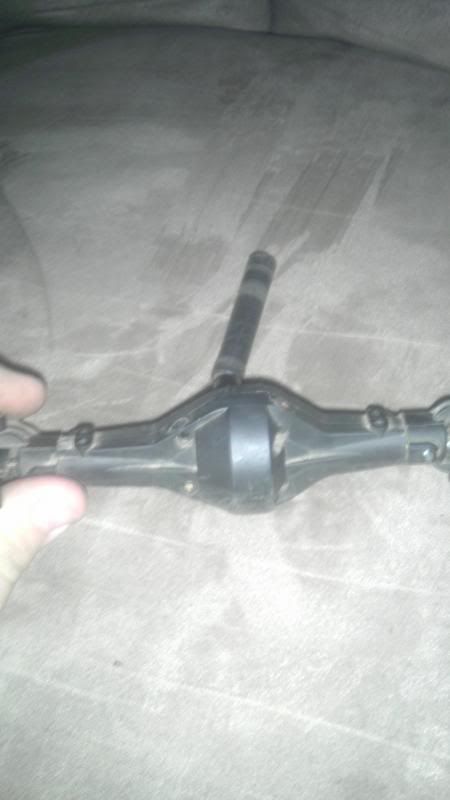 Step#9 You will need to remove the servo mount horns from the servo plate. 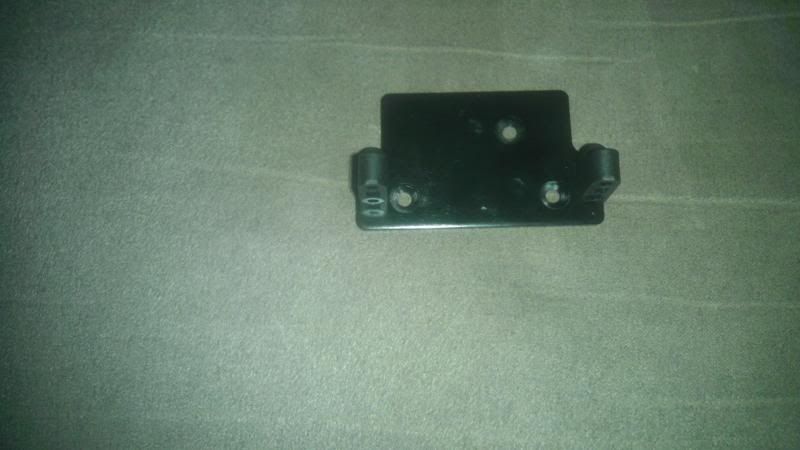 Sep#10 You need to mark the servo plate for the new holes. I used a spare servo plate to mark where i needed to drill. 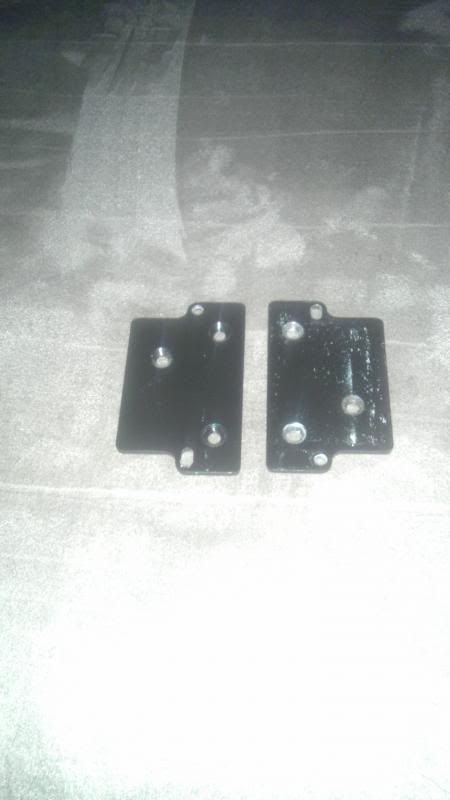 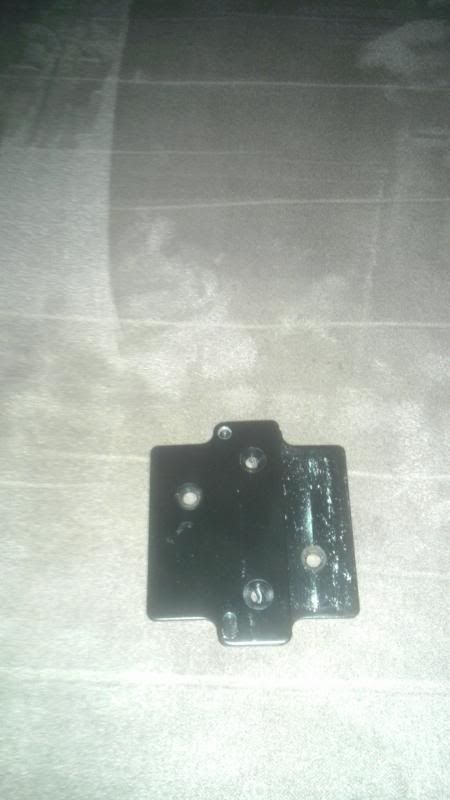 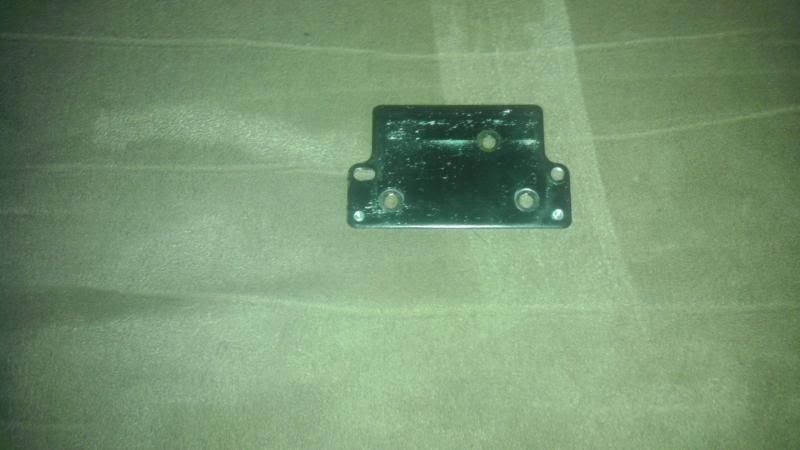 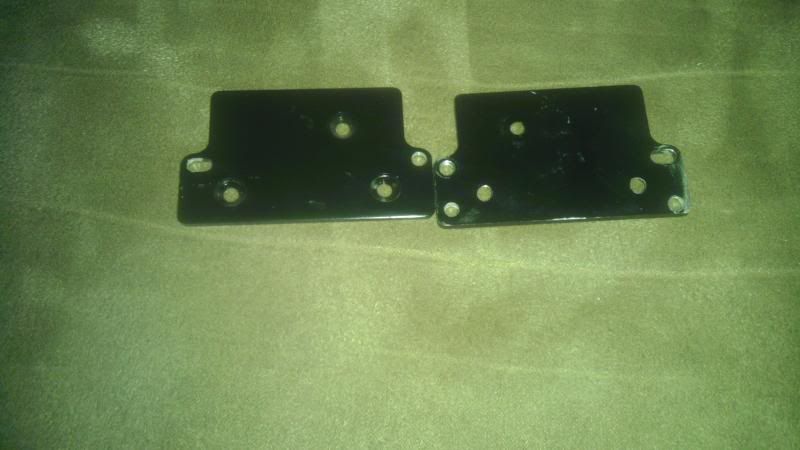 Step#11 You can now mount the servo mount horns to the servo mount plate. You will need to use the 2 holes you just drilled. 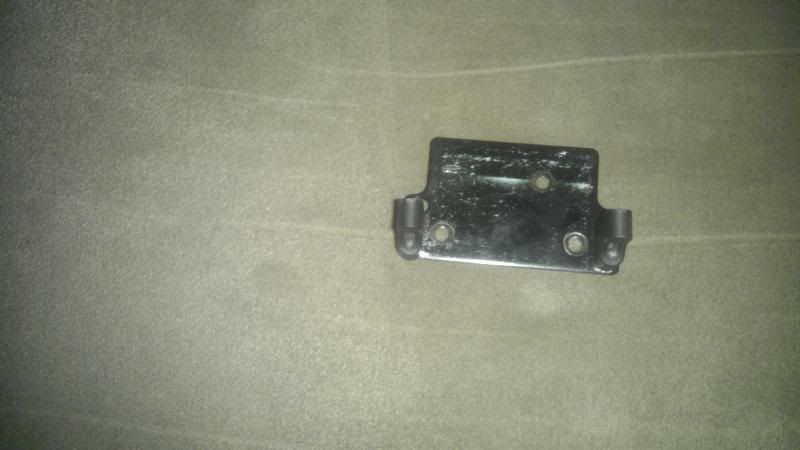 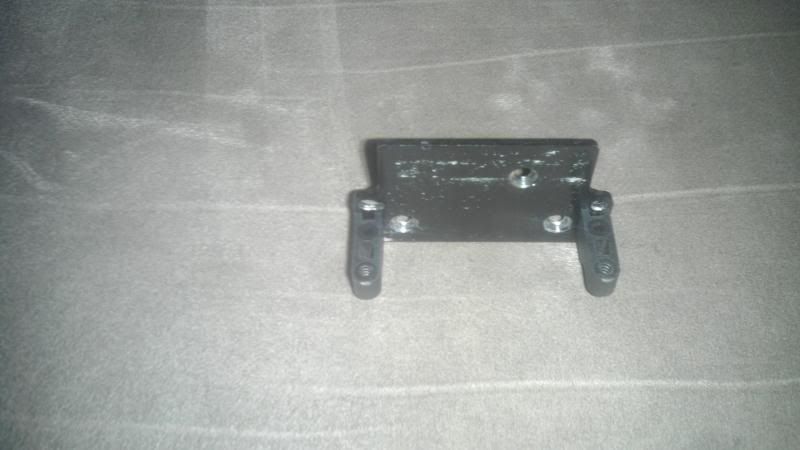 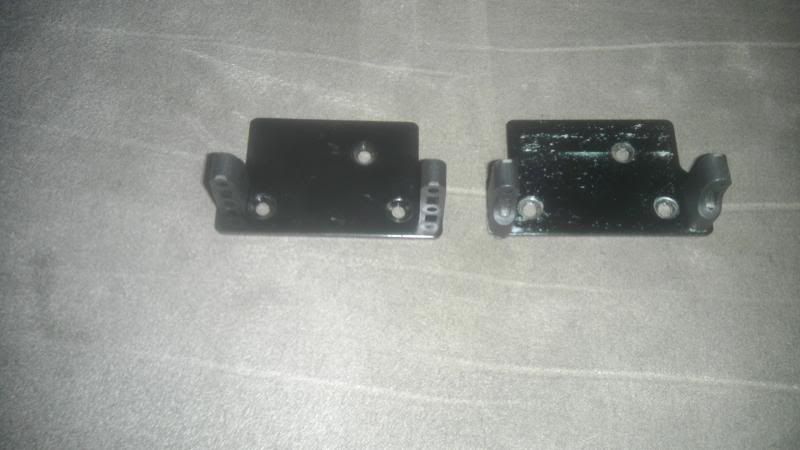 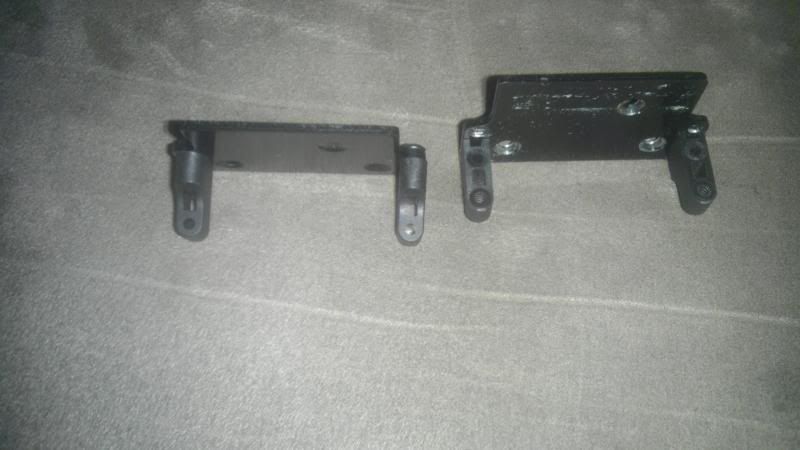 Step#12 you will need to remove the front left shock hoop screw. This screw is no longer needed as it will be replaced with a longer one. 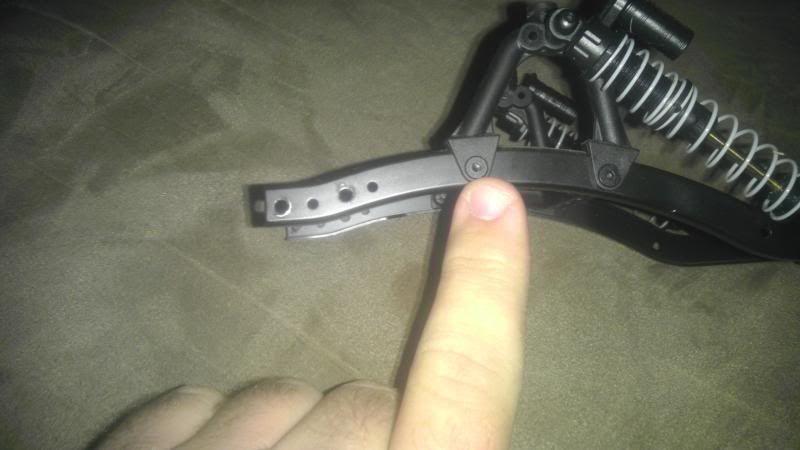 step#13 You will need to make a spacer for the servo plate. I used a spacer form the stock kit the parts tree is ax80009. If you dont have a kit truck can by this parts tree. 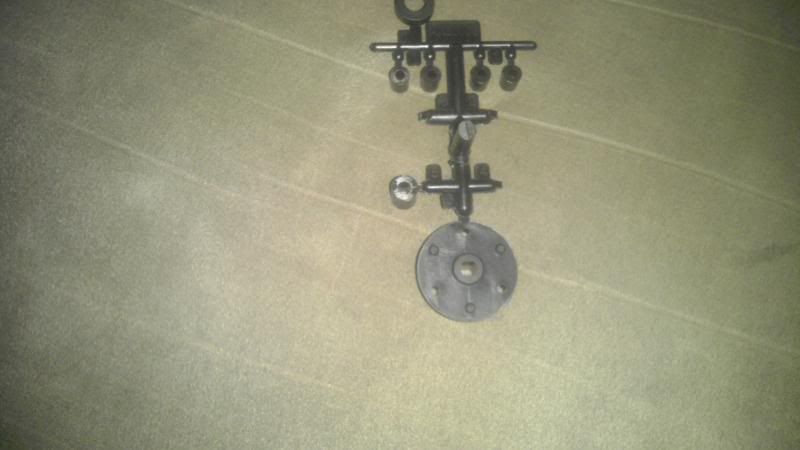 Step#14 you will need to cut 3mm of this spacer so it fits on the in side of the frame rail.This is to take up the space between the frame rail and servo plate. 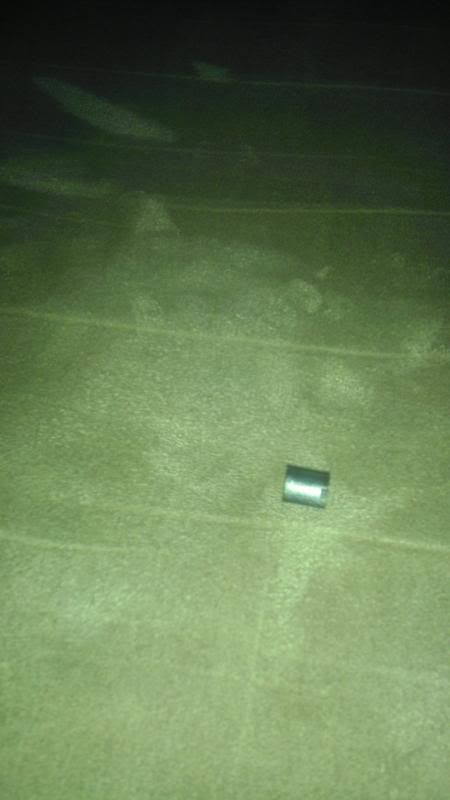 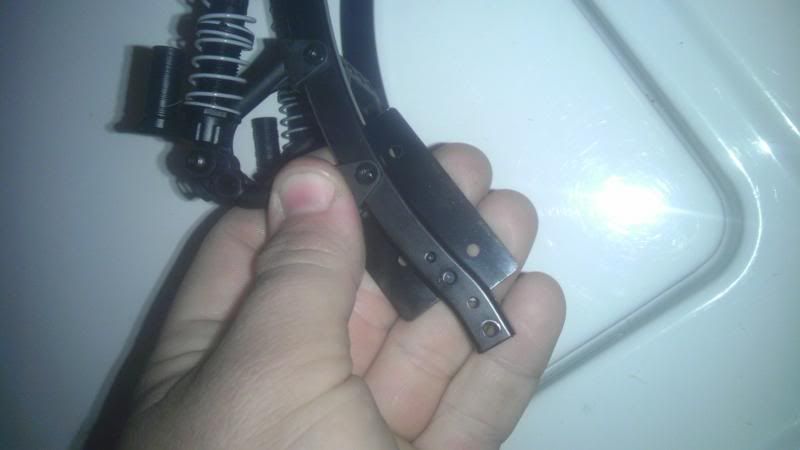 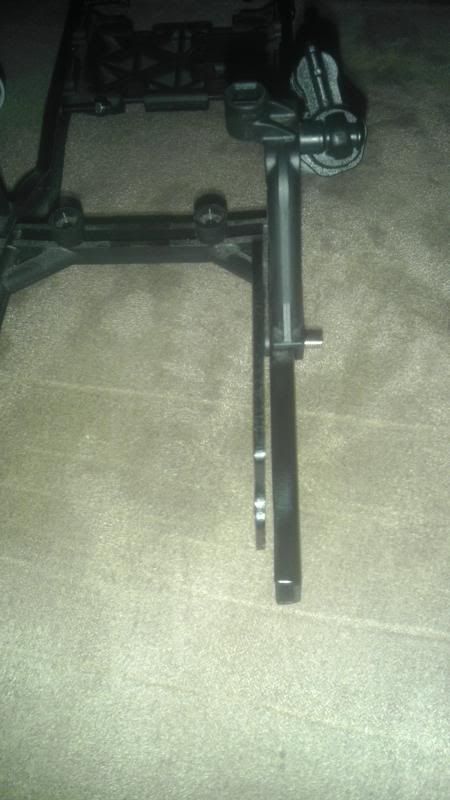 Step#15 you will need 2 3mm screws 2 flat washers and 2 polyurethane lock nuts so you can mount the servo plate to the frame. This is what I used. 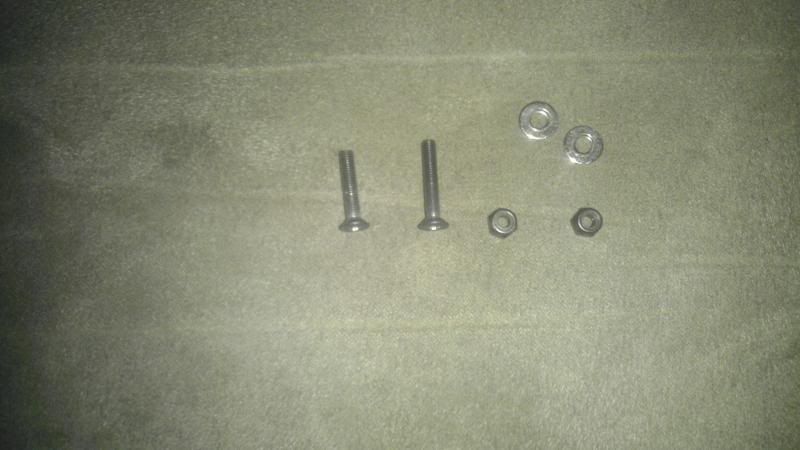 Step#16 on the servo ears there is a small tab. You will need to cut it off. this will let the servo sit flat on the new mount set up. 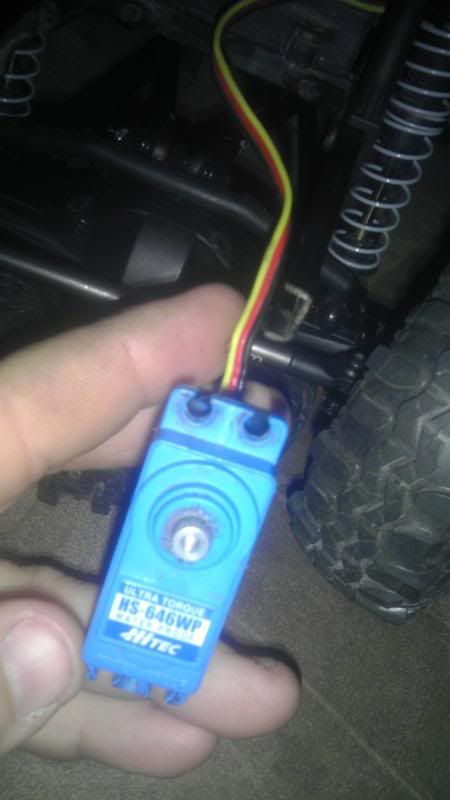 Step#17 Mount the servo to the new mount with the 4 servo screws. 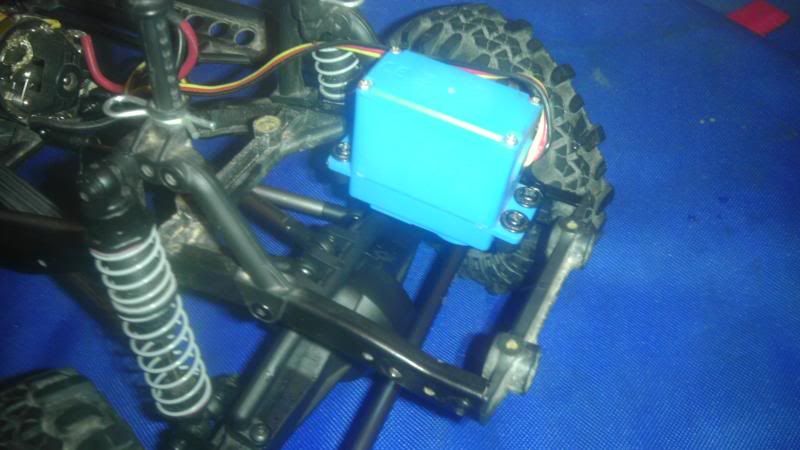 Step#18 You will need to trim one end of the stock bumper mount so it fit. This is what I did. 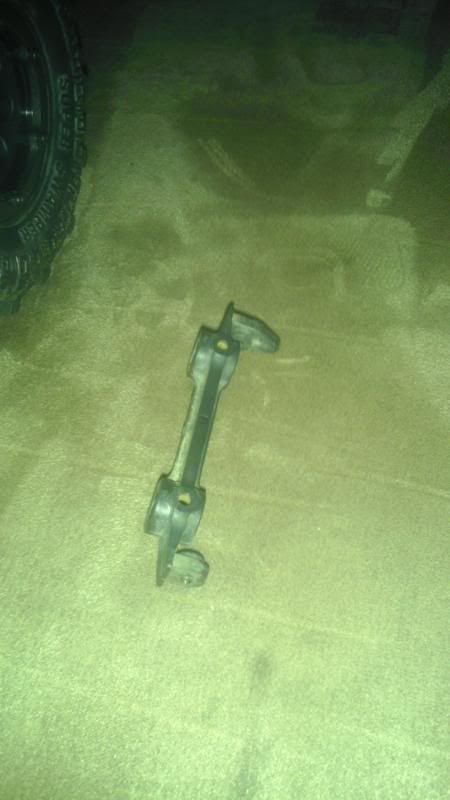 step#19 You will need 1 pack of ax30524 aluminum pipe, 1 pack of axa186 set screws,1 parts tree ax80005 for link ends and 1 parts tree ax80018 end link pivot balls. You will need 1 aluminum pipe,2 set screws,2 end links and 2 end link pivot balls from the parts above. 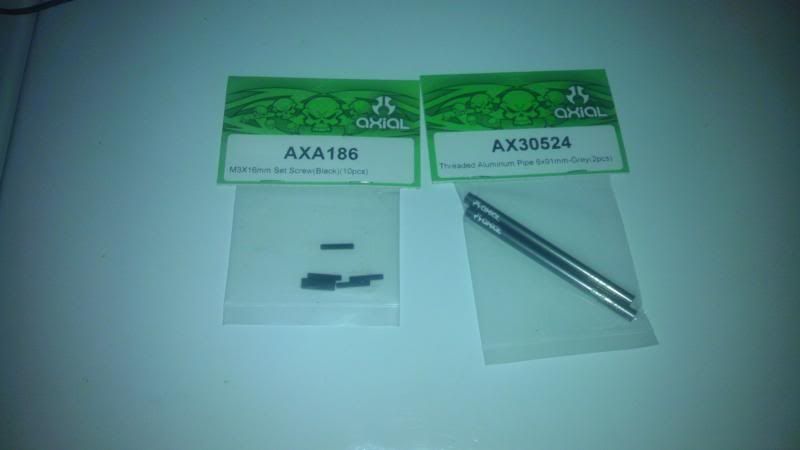 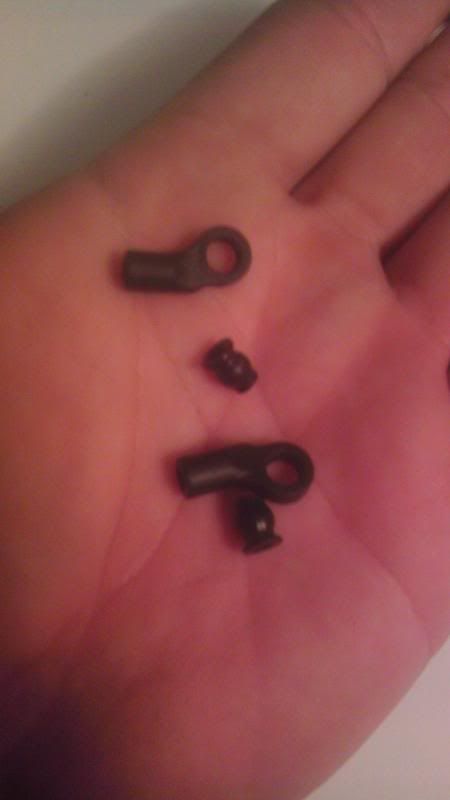 Step#20 You need to install the pivot balls in to the rod ends. You also need to install the set screws in to the rod ends. DO NOT OVERTIGHTEN Mount one of the rod ends to the right side knuckle and the other onto the servo horn. Thread one side of the aluminum pipe on to the rod end on the right side knuckle. You will need to measure and cut the aluminum pipe so that have sterring form lock to lock. This will be your drag link the drag link on my truck is 2.2/16 long this may may vary from truck to truck. You can use a tube cutter from the parts store or a dremel tool and cut off wheel. Do not forget to file the end of the aluminum pipe smoth so you dont damage the rod end. This is a photo of how I set up im running now. 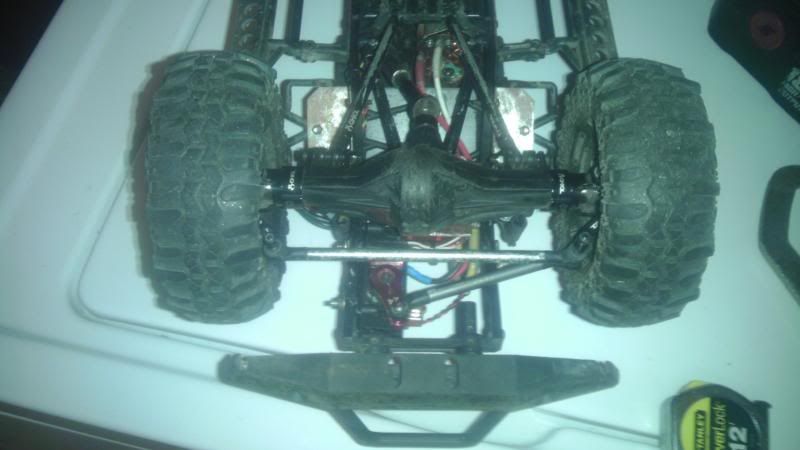 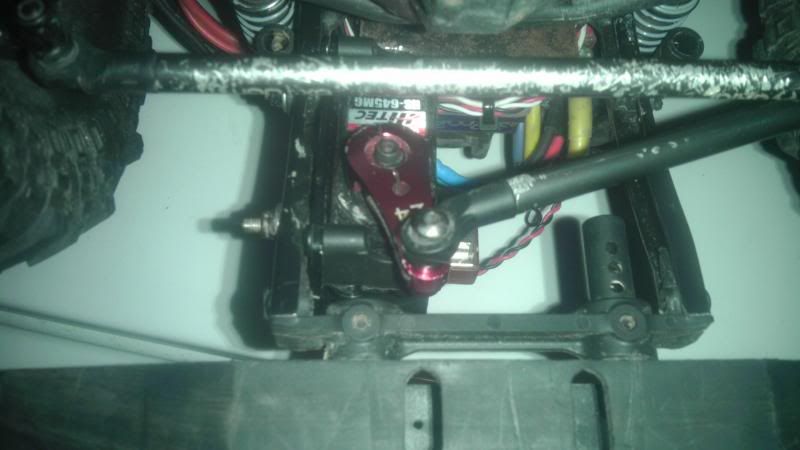 |

|  |
| Sponsored Links | |
| | |
|
09-21-2013, 09:13 PM
| #2 |
| Newbie Join Date: Aug 2013 Location: In my house
Posts: 44
|
That's a nice write up and a very nice job! I was just looking at your last pic and looks like you might have clearance issues with the servo horn and servo mount though. Last edited by THX_138; 09-22-2013 at 09:51 PM. |
|
| |
|
09-21-2013, 10:57 PM
| #3 | |
| Rock Crawler Join Date: Mar 2013 Location: columbus
Posts: 508
| Quote:
Its good its at full lock before it hits any thing. I'm running a Spektrum dx3c transmitter. I set the end points on the servo it has about 1/16" of clearance before it will contact. If i was using a Dynamite aluminum servo arm I would have more room between the mount and servo arm. But thats the arm I had on hand at the time of that build so I ran with it. Thanks for pointing that out. 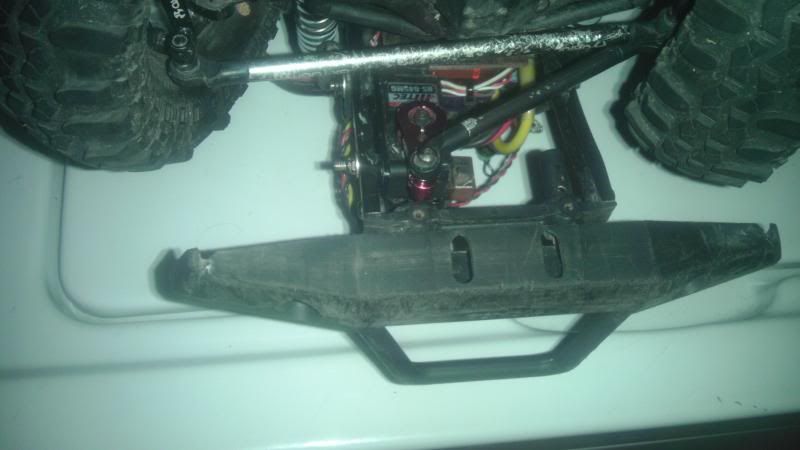 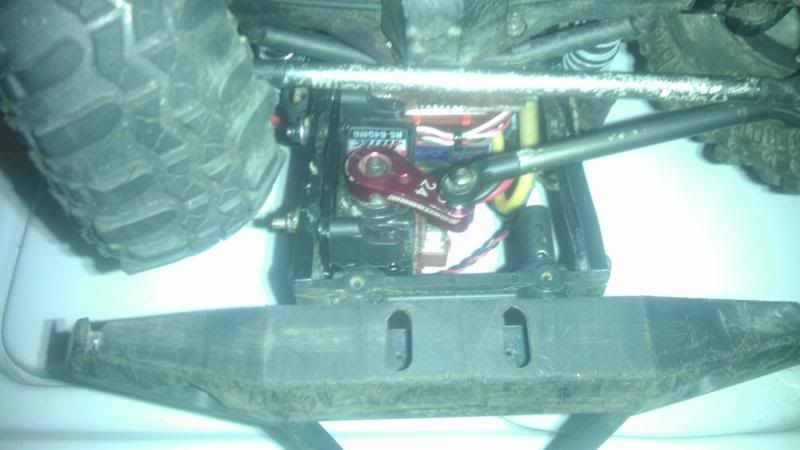 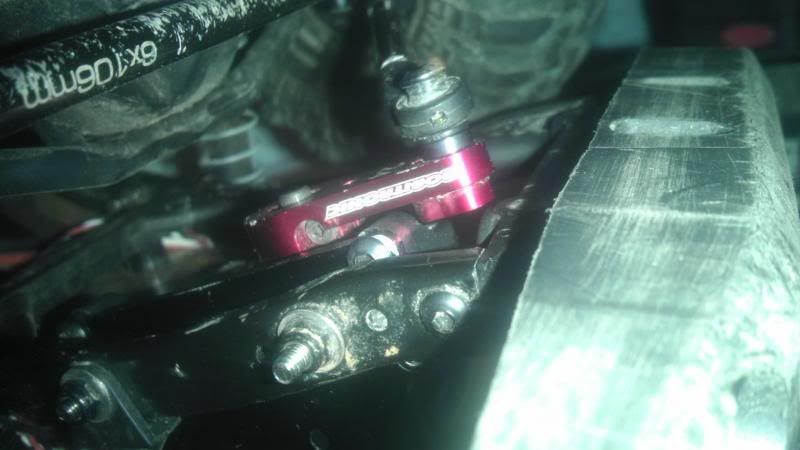 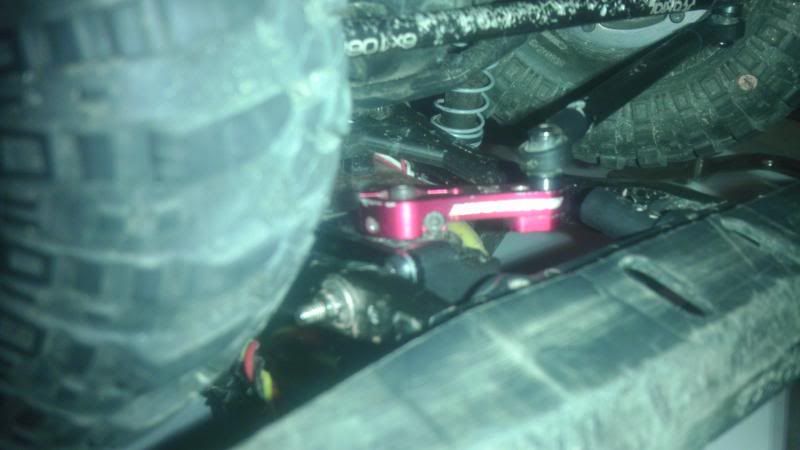 Last edited by THX_138; 09-22-2013 at 09:50 PM. | |
|
| |
|
 Axial C.M.S. using stock parts how to. - Similar Threads
 | ||||
| Thread | Thread Starter | Forum | Replies | Last Post |
| Axial Parts Back In Stock | RPP Hobby | RPP Hobby | 0 | 09-12-2011 07:09 PM |
| Axial XR10 Parts in stock | THE PARTS GUY | Vendors Market | 1 | 10-25-2010 06:24 PM |
| |


 Linear Mode


