| |
 01-20-2014, 12:19 AM
| #1 |
| Rock Crawler Join Date: Mar 2013 Location: columbus
Posts: 508
| December 23, 2013 I picked up a G6 kit as a christmas gift to my self. My plans for this kit is to build a long wheelbase version of my other rig old school. The only reason I got the G6 over a Dingo kit is the aluminum shocks and the 98mm front links. I did this so all I would have to get is the 106MM aluminum links to do the rear and extra rod ends to get my wheelbase where I needed it. Parts going into this kit are. AXI30464 Axial Universal Joint Set AXI30496 Axial Aluminum Knuckle AXI30495 Axial Aluminum C Hub Carrier AXI8087 Axial 1.9 8 Hole Beadlocks AXI80039A Axial Front Plate Bumper Set AXI80039B Axial Rear Plate Bumper Set AXIA186 Axial M3x16mm Set Screw AXI80005 Axial Linkage Set AX10 Scorpion AXI30206 Axial Shock Spring 12.5x40mm (Soft/White) AXI30205 Axial Shock Spring 12.5x40mm (Super Soft/Red) AXI30516 Axial Threaded Aluminum Pipe 6x106mm RRP1541 Robinson Racing Hardened Steel Idler Gear (AX10) RRP1542 Robinson Racing Hardened Steel 1 Piece Outdrive/Diff Locker Gear Replaced J90029 Junfac Hardened Carbon Steel Universal Shafts with MIP08101 MIP CVD AX10 C-Drive Spline Set VPS06872 Vanquish Products SCX10 Front Bumper & Servo Mount (Black) PRO1197-14 Pro-Line Interco TSL SX Super Swamper XL 1.9 G8 Crawler Tire HS-5955tg Hitec ultra torque servo NOV3224 Novak Timbuk2 "Wraith Edition" Brushless ESC/Ballistic Brushless Motor System (13.5T) #3227-00 Pro Line 1972 Chevy C10 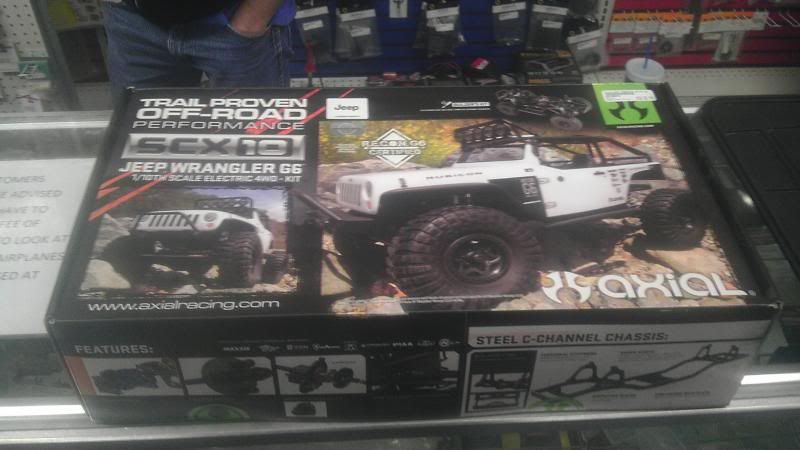 Last edited by greengoblin; 02-23-2014 at 06:06 PM. |

|  |
| Sponsored Links | |
| | |
|
01-20-2014, 12:35 AM
| #2 |
| Rock Stacker Join Date: Mar 2011 Location: Westfield
Posts: 70
|
Sweet! Thanks to you, I have a great shopping list! Hope this build goes flawless! Hope mine does as well.
|
|
| |
|
01-20-2014, 09:45 AM
| #3 |
| Rock Crawler Join Date: Mar 2013 Location: columbus
Posts: 508
| This is not going to be a step by step build as the truck is almost finished. But i will let you see what I have done. 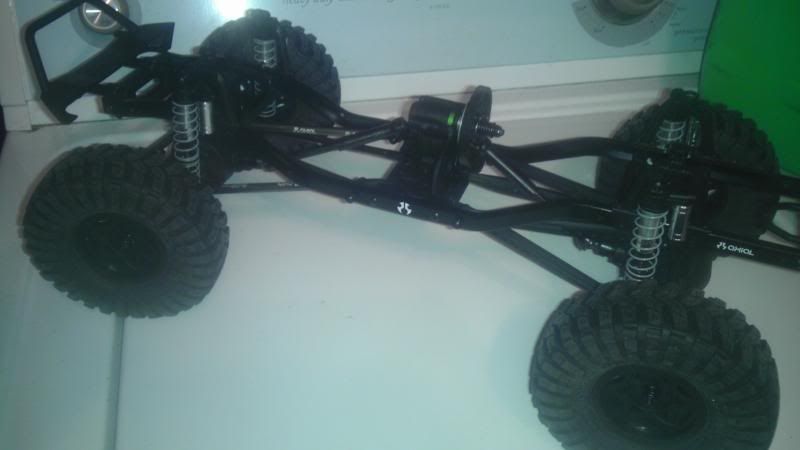 I Mirrored my Transmission in the G6. The like below will help you do yours. Scx10 Mirror Transmission mod I found that the factory servo mount plate and upper link bars are making contact with the servo plate. So Im doing the Vanquish Products SCX10 Front Bumper & Servo Mount. I will be making a panhard bar frame mount and bar for the front also. This was made from 16g steel some solder and 10 minutes of toruch time. I took traxxas sterring link ends added them to the factory axial drag like to make the panhard bar. The drag link is also from a traxxas slash its the turn buckel from the left rear and used 1 of the end from the others side to make it work.  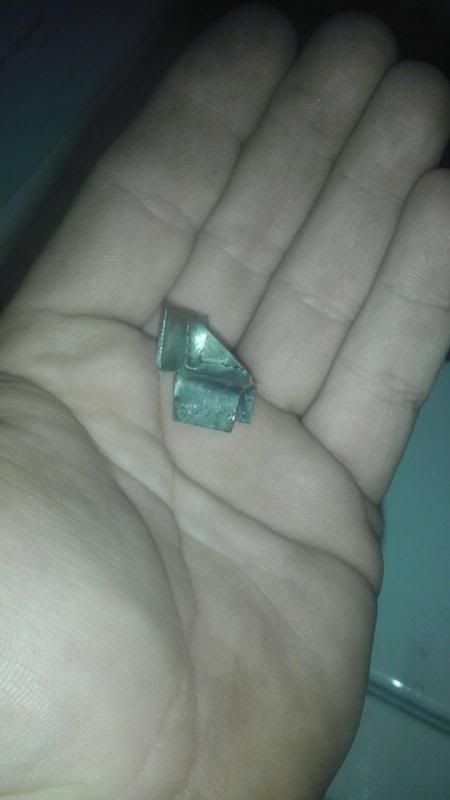 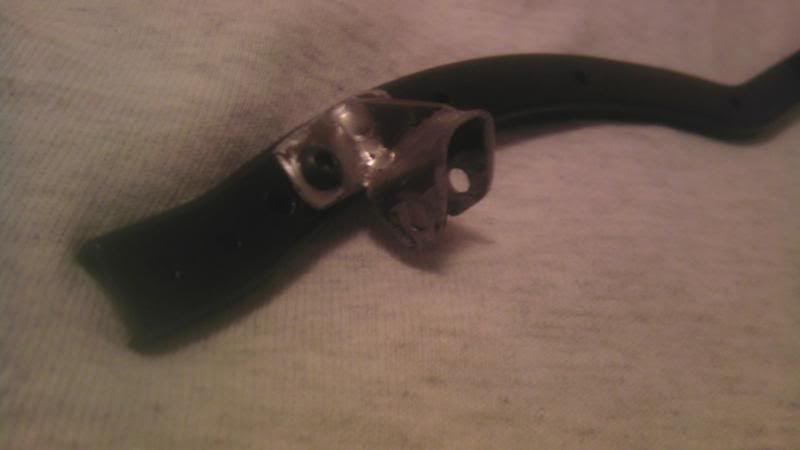 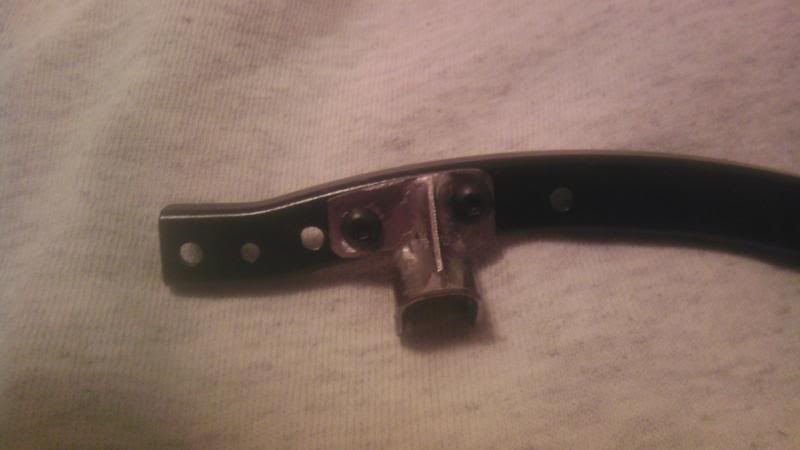 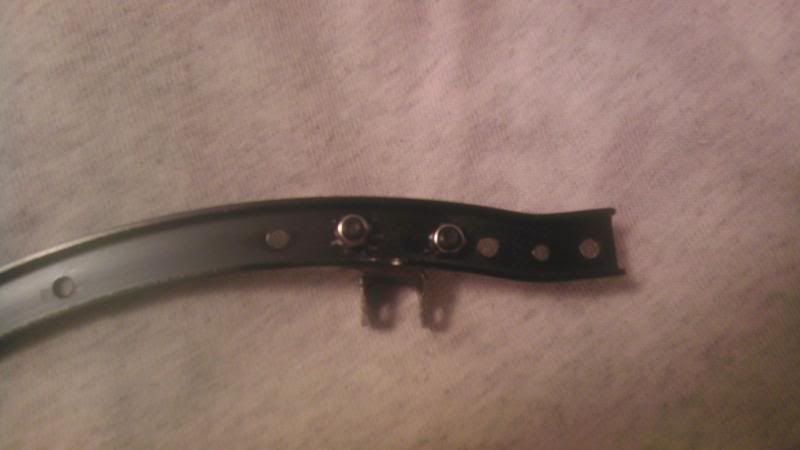 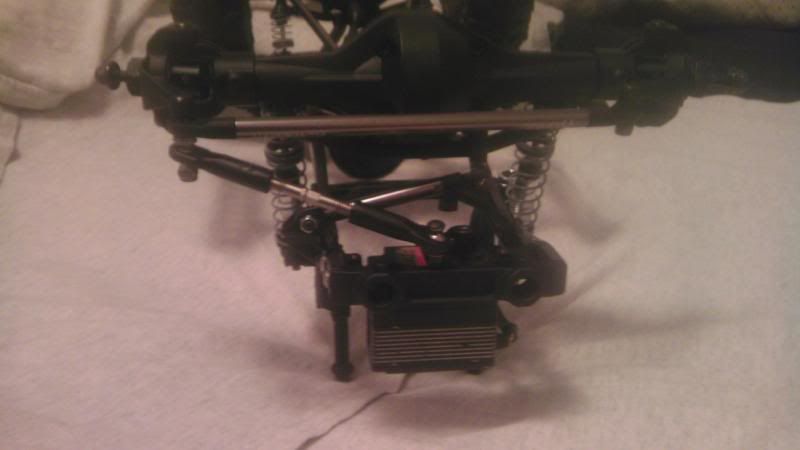 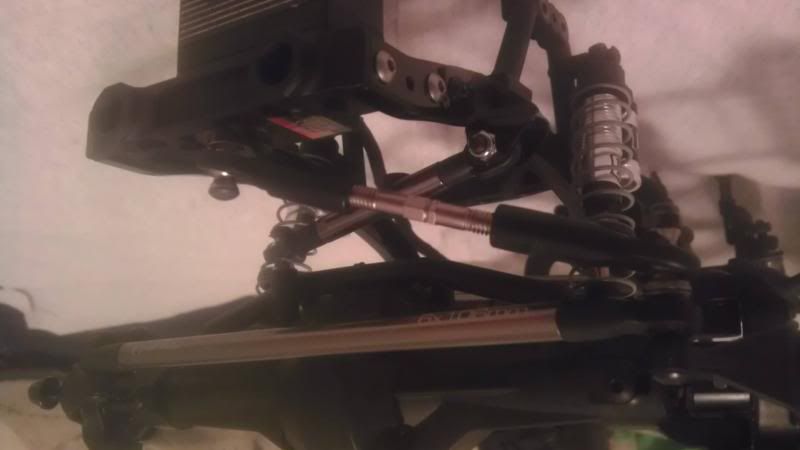  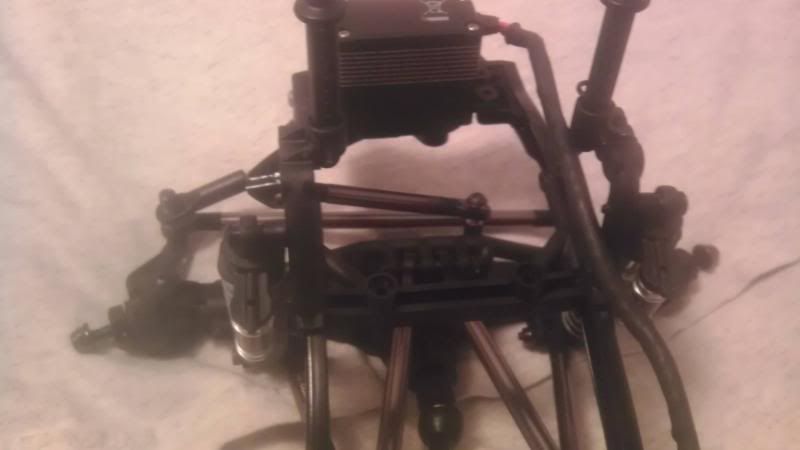 |
|
| |
|
01-20-2014, 02:42 PM
| #4 |
| Rock Crawler Join Date: Mar 2013 Location: columbus
Posts: 508
| Today tires meet the rims and the truck. The body for this rig is the Pro Line 1972 Chevy C10 #3227-00. i did have this body on one of the othere trucks untill my new one came in. I also made iner fenders for the truck from Glad 25oz containers. 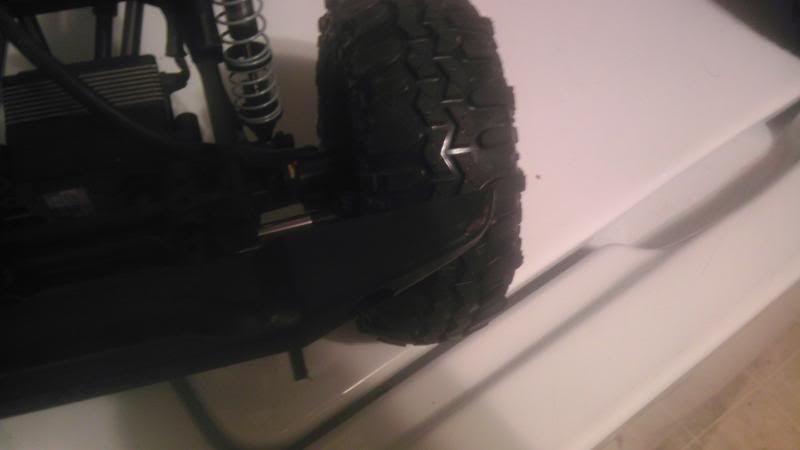 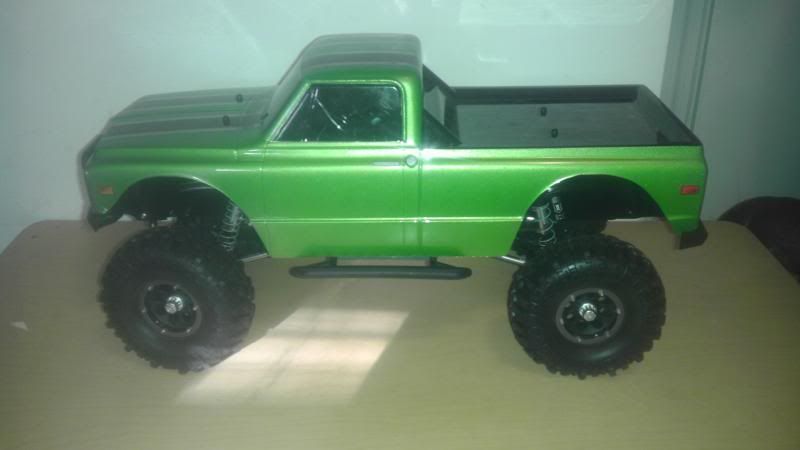 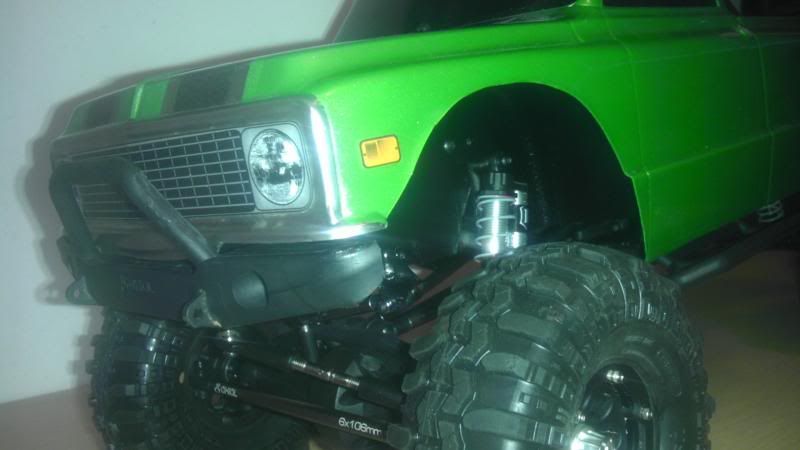 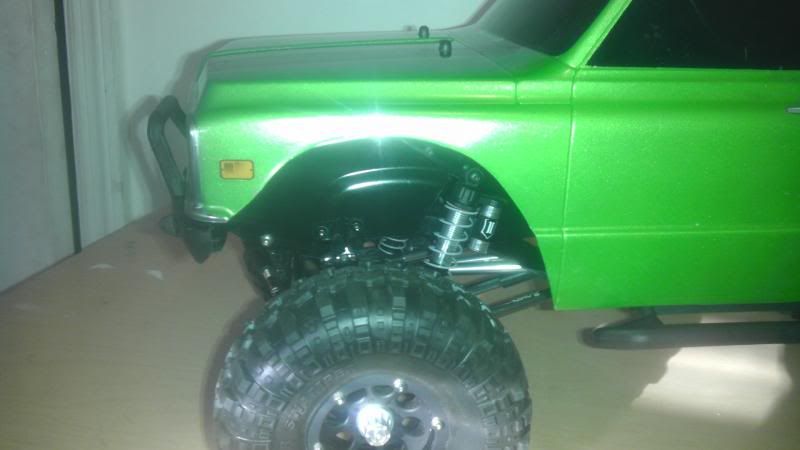 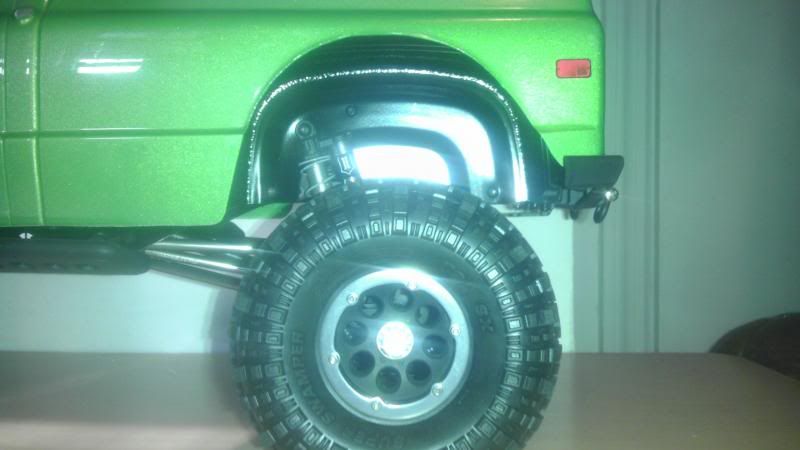 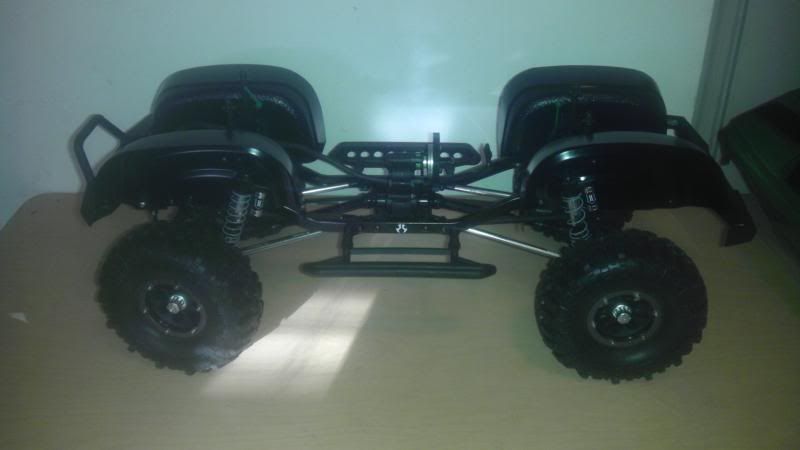  Last edited by greengoblin; 01-26-2014 at 12:36 AM. |
|
| |
|
01-20-2014, 03:09 PM
| #5 |
| RCC Addict Join Date: Aug 2010 Location: wherever paypal sais.
Posts: 1,740
|
Sir are you aware you drag link and pan hard are goin in oposite directions? That comoletely defeats the purpose of the panhard. It will inturn cause more bumpsteer. The chassis panhard mount looks great tho.
|
|
| |
|
01-20-2014, 03:14 PM
| #6 |
| Rock Crawler Join Date: Mar 2013 Location: columbus
Posts: 508
| Thanks I know its not finished im still building |
|
| |
|
01-21-2014, 10:47 AM
| #7 |
| Rock Crawler Join Date: Mar 2013 Location: columbus
Posts: 508
| Up date I installed the Axial aluminum C hub, aluminum knuckles, front cvds and motor into the truck. 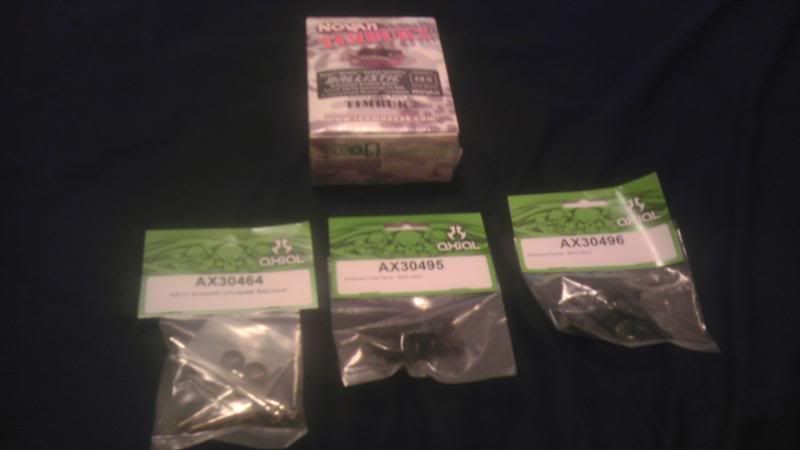 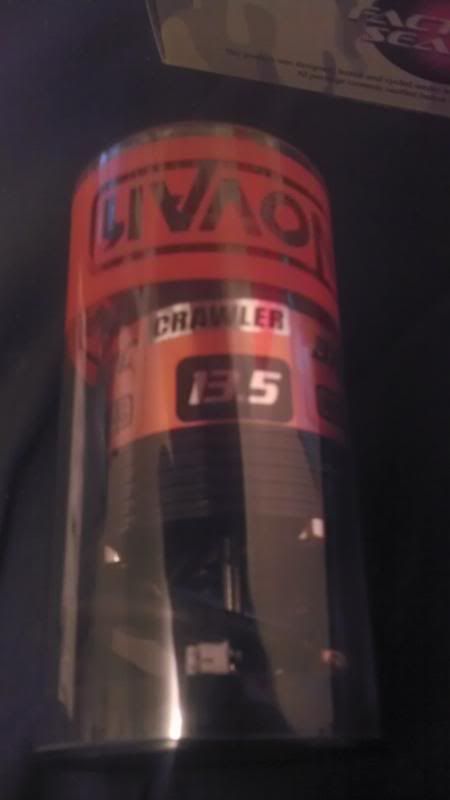 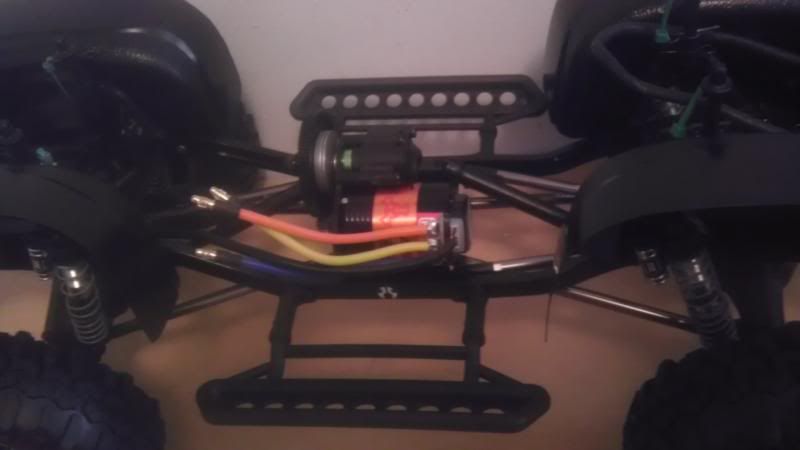  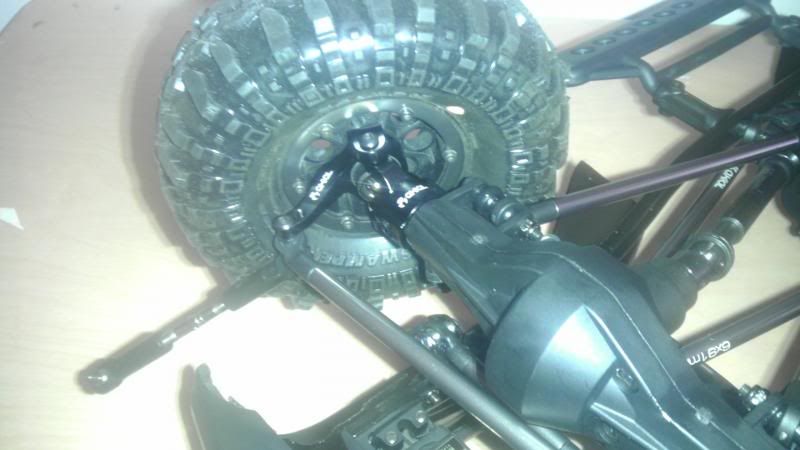 I had a brain fart and built a deep receiver box so I can put the esc and receiver inside. I took 2 receiver boxes cut the bottom out of one then trimmed the lip of the top of the othere. This is where im at as of now have. 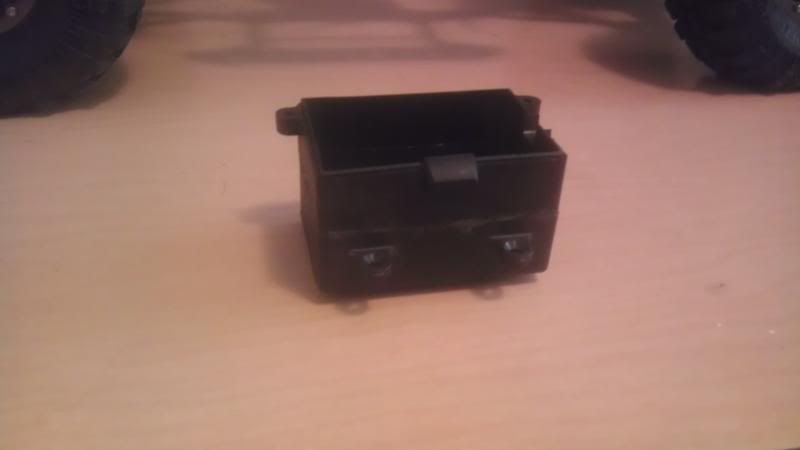 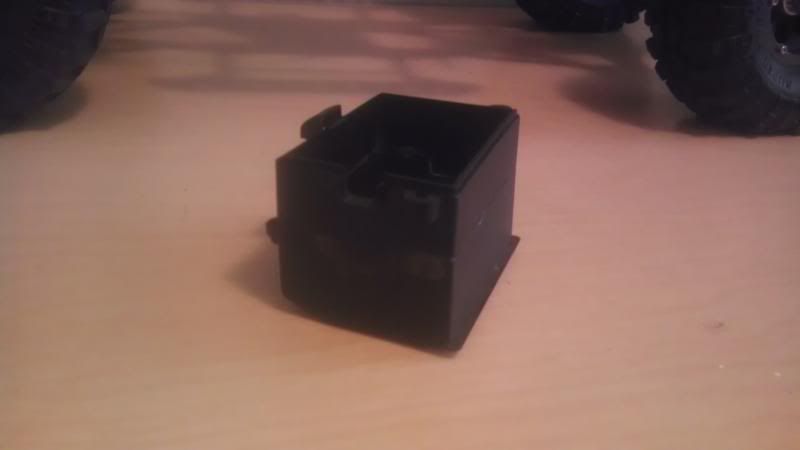 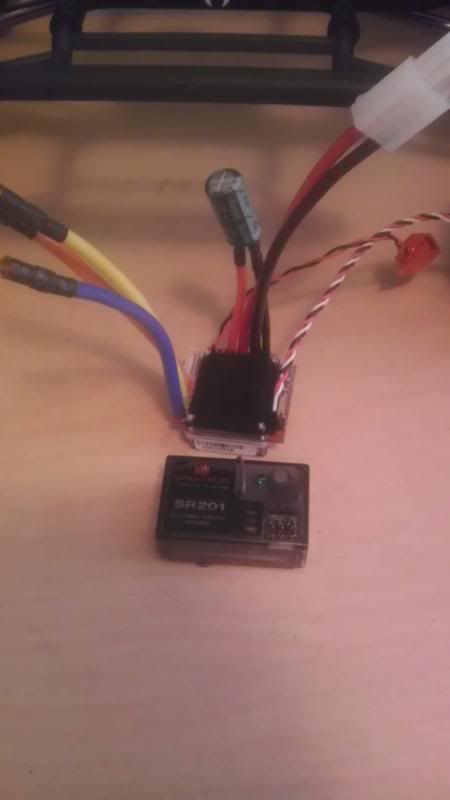 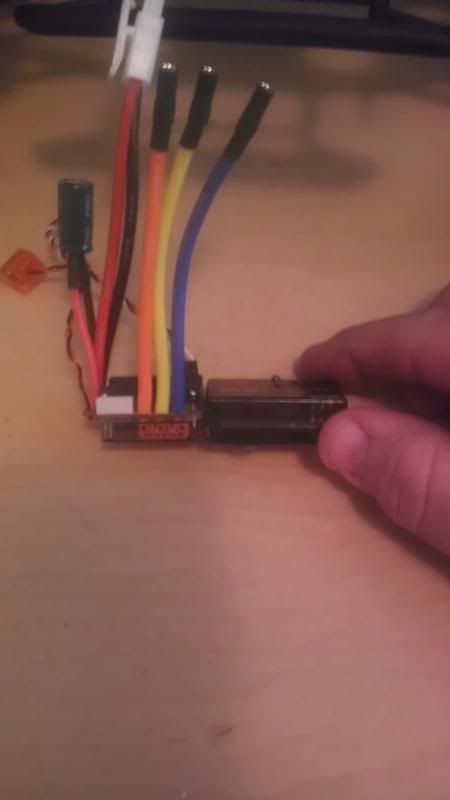 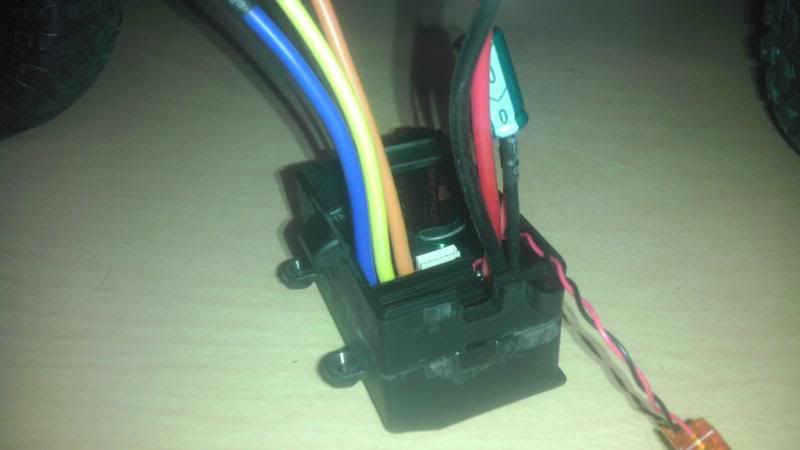  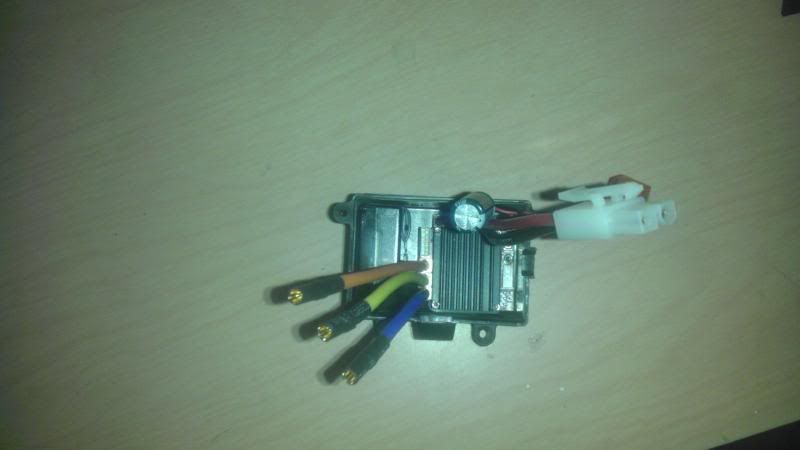 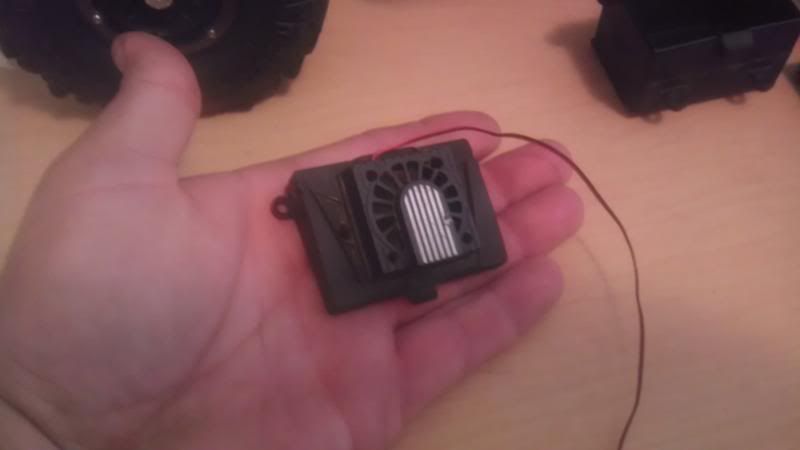 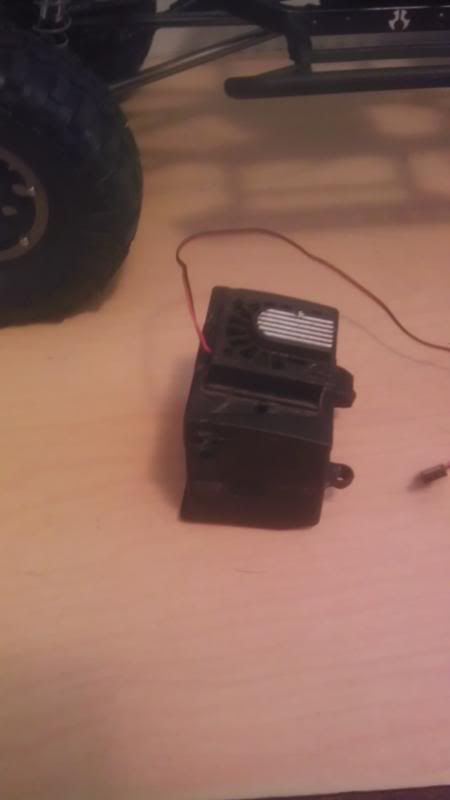 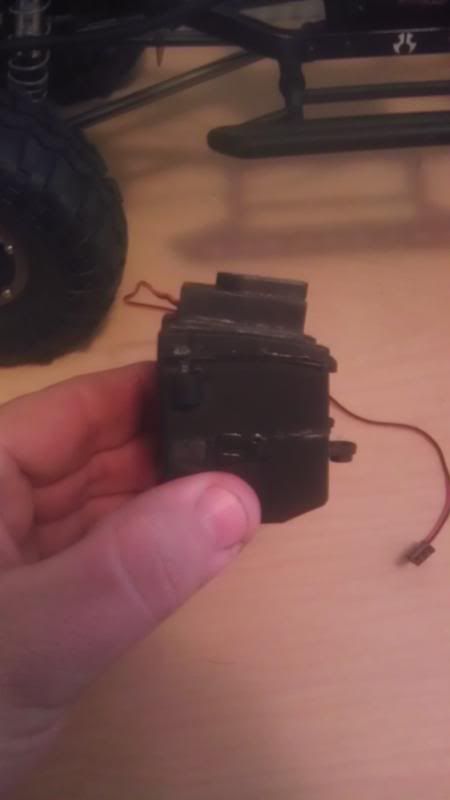  |
|
| |
|
01-21-2014, 11:26 AM
| #8 |
| Rock Crawler Join Date: Mar 2013 Location: columbus
Posts: 508
| Yes ther are vents in the box 2 on the lid each sid of the fan. Im going to make the wireing exit large so air can move. Im still working on the box there is sanding trimming and paint to still be done. Last edited by greengoblin; 01-21-2014 at 11:28 AM. |
|
| |
|
01-21-2014, 11:31 AM
| #9 | |
| RCC Addict Join Date: May 2008 Location: Southern,WV
Posts: 1,136
| Quote:
| |
|
| |
|
01-21-2014, 11:34 AM
| #10 |
| Rock Crawler Join Date: Mar 2013 Location: columbus
Posts: 508
| Its all good |
|
| |
|
01-21-2014, 12:52 PM
| #11 |
| Rock Stacker Join Date: Mar 2011 Location: Westfield
Posts: 70
|
Really like the fan on the receiver box mod. Also, great idea with those glad 25oz containers. Did you paint them black? Or did they come black? I am actually going to purchase all the same hop-ups you have. Some of the best upgrades to do! |
|
| |
|
01-21-2014, 01:28 PM
| #12 | |
| Rock Crawler Join Date: Mar 2013 Location: columbus
Posts: 508
| Quote:
I painted them. The fan I did some time back for my othere truck but do to a part failure I was not able to run it so now it gots a home. | |
|
| |
|
01-21-2014, 08:20 PM
| #13 |
| Rock Stacker Join Date: Mar 2011 Location: Westfield
Posts: 70
|
Will have to go to the store and get some containers now!
|
|
| |
|
01-21-2014, 09:17 PM
| #14 |
| Newbie Join Date: Jan 2007 Location: springfield
Posts: 49
|
How are your wheel tubs attached? is it just one or more of the green zipties. I'd love to see pics of how you attached them.
|
|
| |
|
01-21-2014, 09:54 PM
| #15 | |
| Rock Crawler Join Date: Mar 2013 Location: columbus
Posts: 508
| Quote:
I need to pull the drag link off and make a new one the traxxas one is making the front end lock to one side. i need to add my bec and finish the wireing the truck. I need to make a bracket for the battery tray so it dont flop around | |
|
| |
|
01-22-2014, 05:21 PM
| #16 | |
| Rock Crawler Join Date: Mar 2013 Location: columbus
Posts: 508
| Quote:
Front 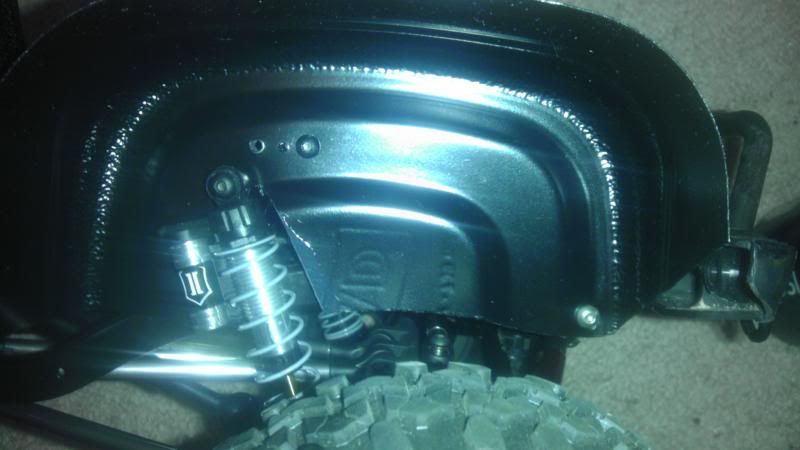 The Rear 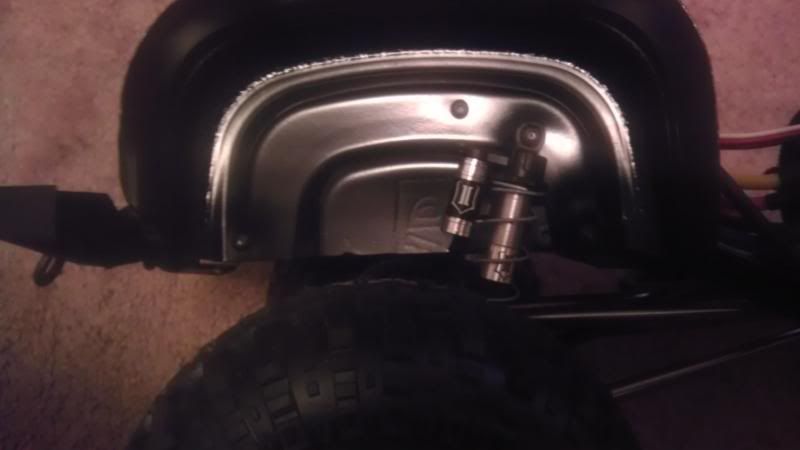 Almost time for a test drive. 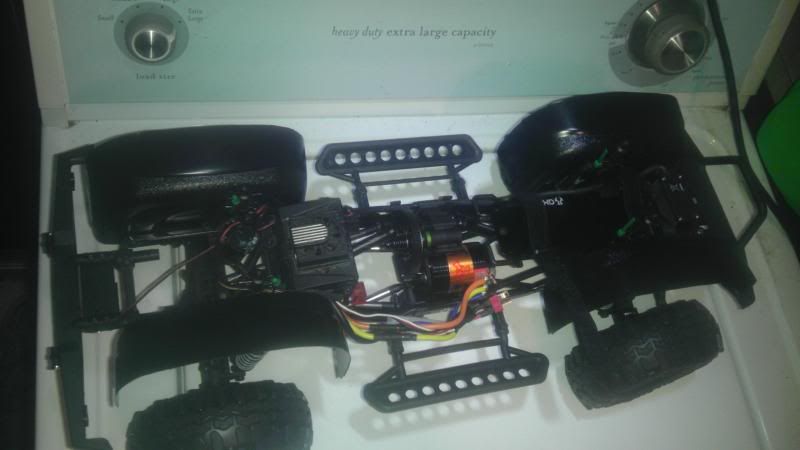 Last edited by greengoblin; 01-22-2014 at 05:32 PM. | |
|
| |
|
01-24-2014, 06:47 PM
| #17 |
| Rock Crawler Join Date: Mar 2013 Location: columbus
Posts: 508
| I made the new drag link today I used 6x106mm link tube with traxxas ball ends in the axial rod ends. The traxxas drag link i made was making the steering lock to one side. 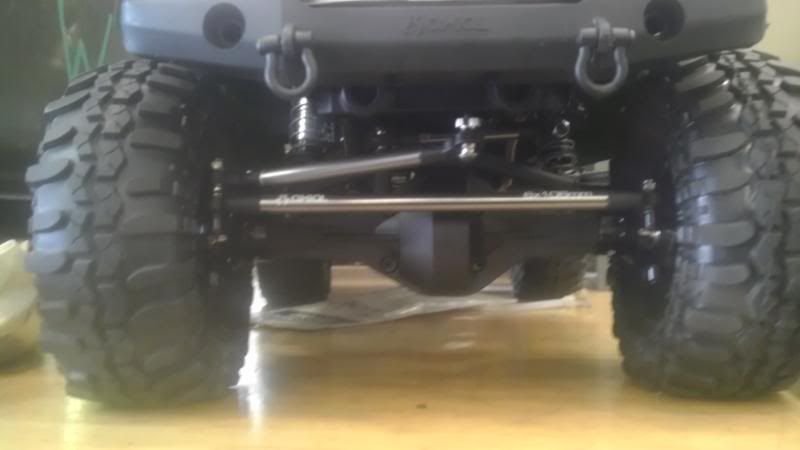 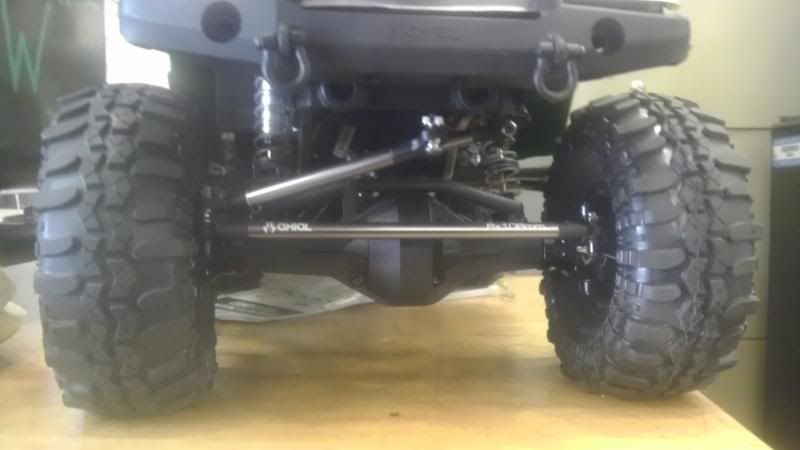 Last edited by greengoblin; 01-24-2014 at 06:52 PM. |
|
| |
|
01-25-2014, 12:29 PM
| #18 |
| Newbie Join Date: Jan 2007 Location: springfield
Posts: 49
|
looking good man. Thanx for the pics of how you attached the tubs
|
|
| |
|
01-25-2014, 07:44 PM
| #19 |
| Newbie Join Date: Jan 2013 Location: PA
Posts: 35
|
Smart idea with the receiver box.
|
|
| |
|
01-25-2014, 08:24 PM
| #20 |
| Rock Crawler Join Date: Mar 2013 Location: columbus
Posts: 508
| I put some more work in on stuntman today. I built the battery tray from 16g steel. 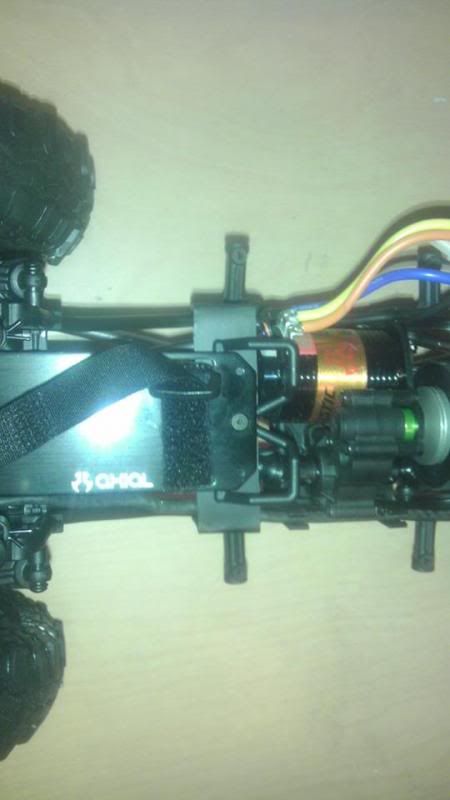 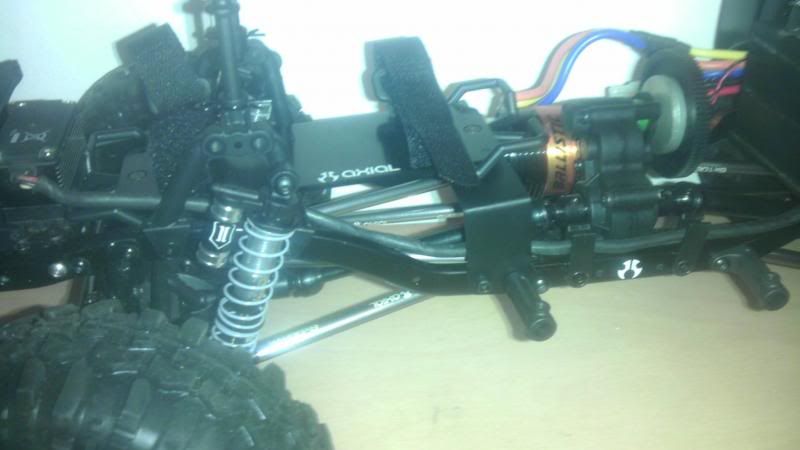 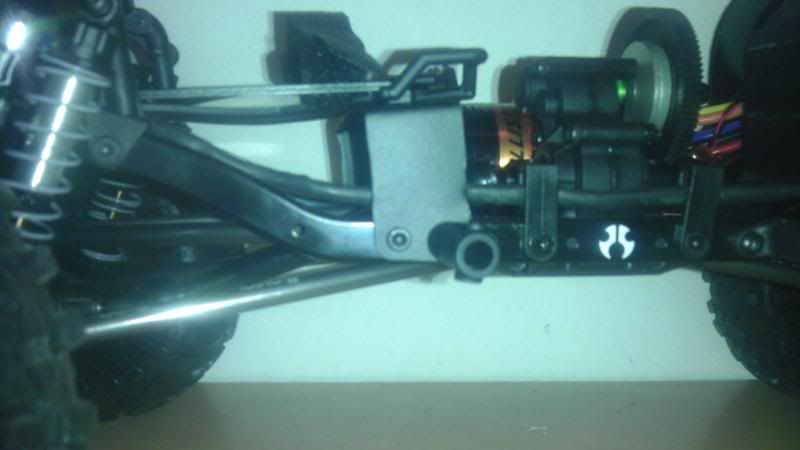 |
|
| |
 |
| |


 Linear Mode


